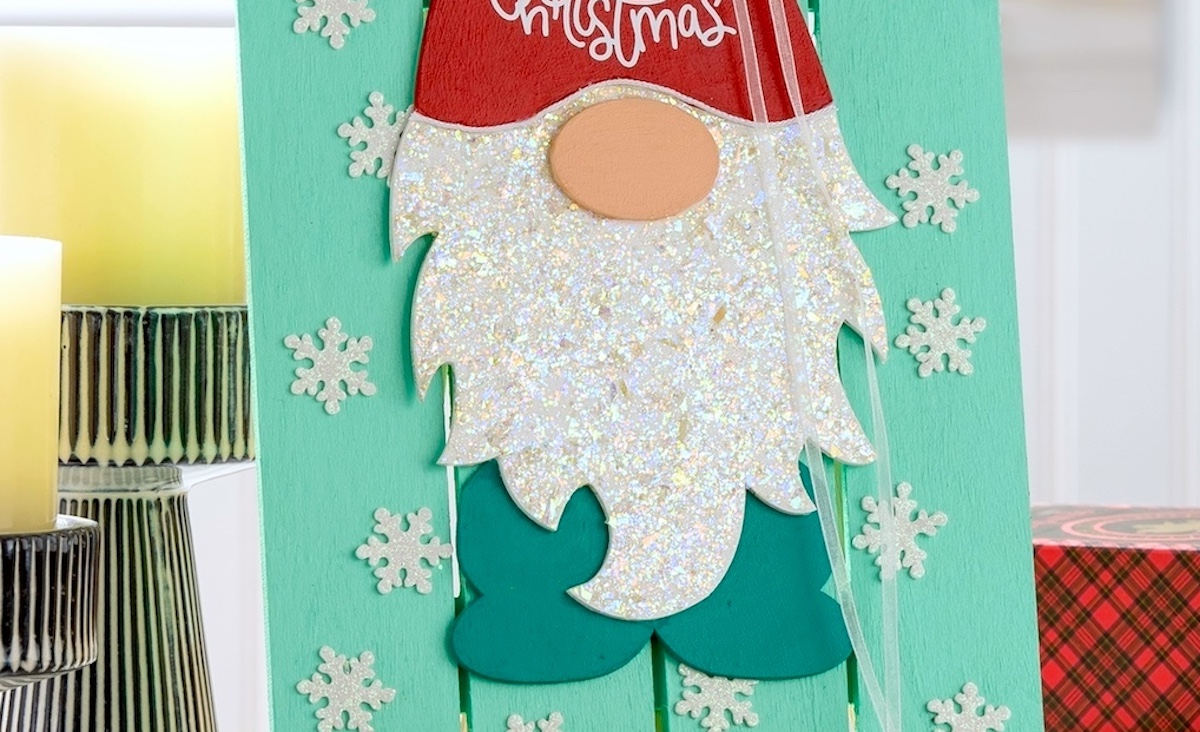
Wood Gnome Christmas Decor
Learn how to make this DIY gnome wood Christmas decor using paint and Mod Podge! An easy and colorful project for the holiday.
Yield: 1 project
Cost: $10
Equipment
- 1 Cricut with white vinyl (or adhesive letters)
Materials
- Wood gift tag
- Wood gnome shape
- Acrylic paint red, white, turquoise, aqua, skin tone
- FolkArt Glitterific
- Glitter snowflake stickers
- Ribbon and white mini cord
- Craft glue
Instructions
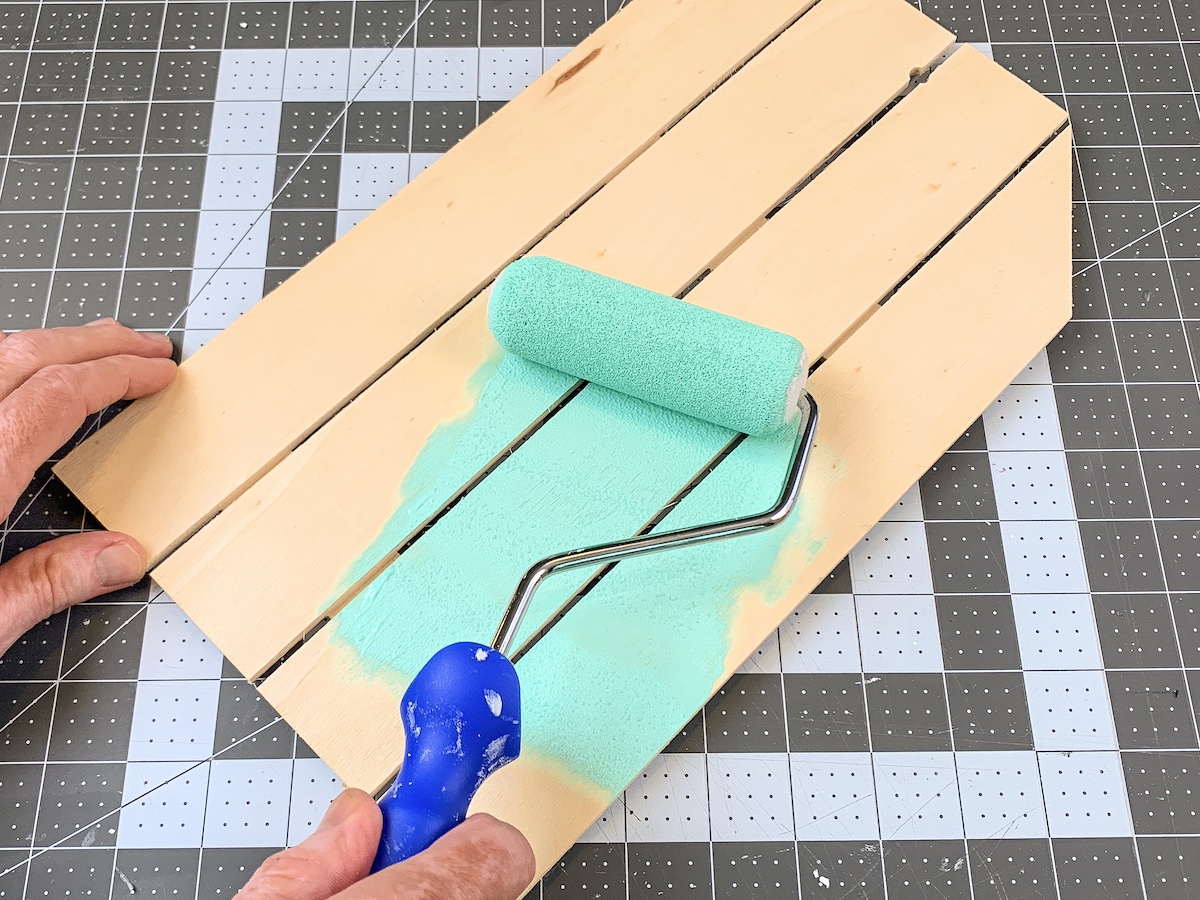
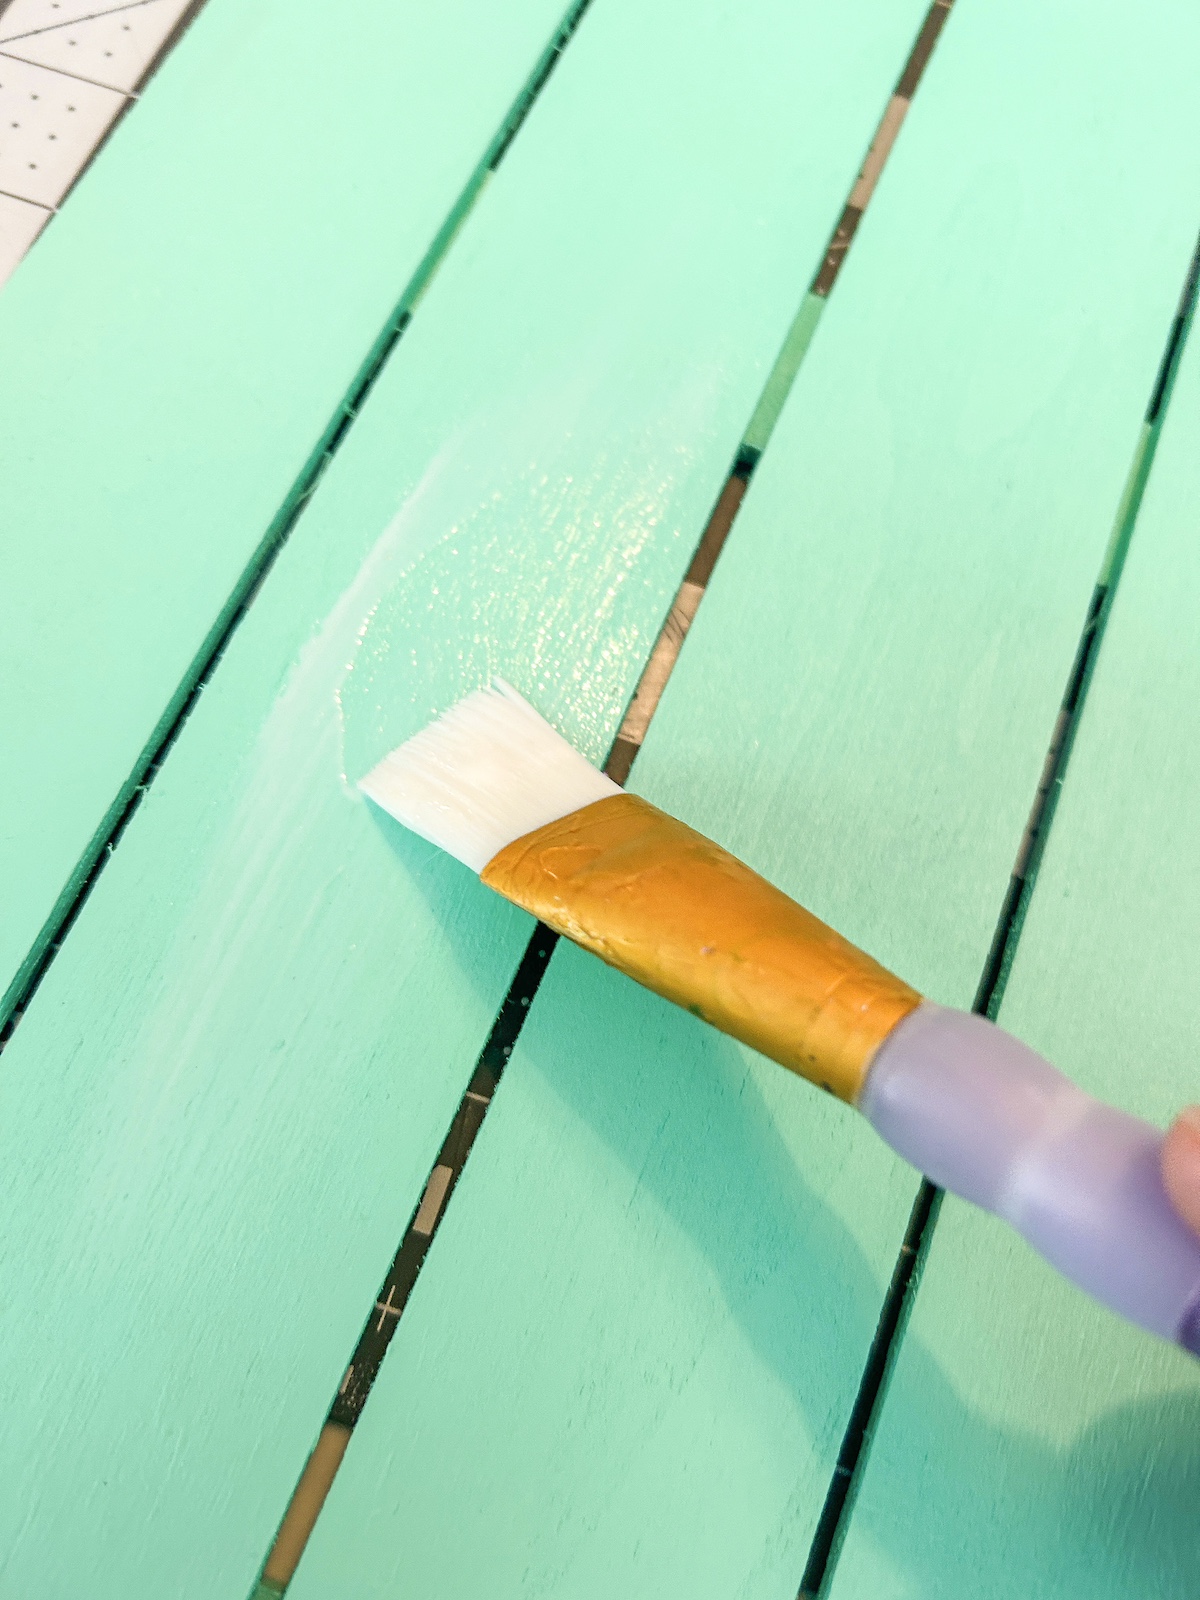
- Paint the wood tag with the color of your choice. Use a large brush or roller, do both sides, and let dry. Use smaller brushes to get into between the slats. Let dry completely.
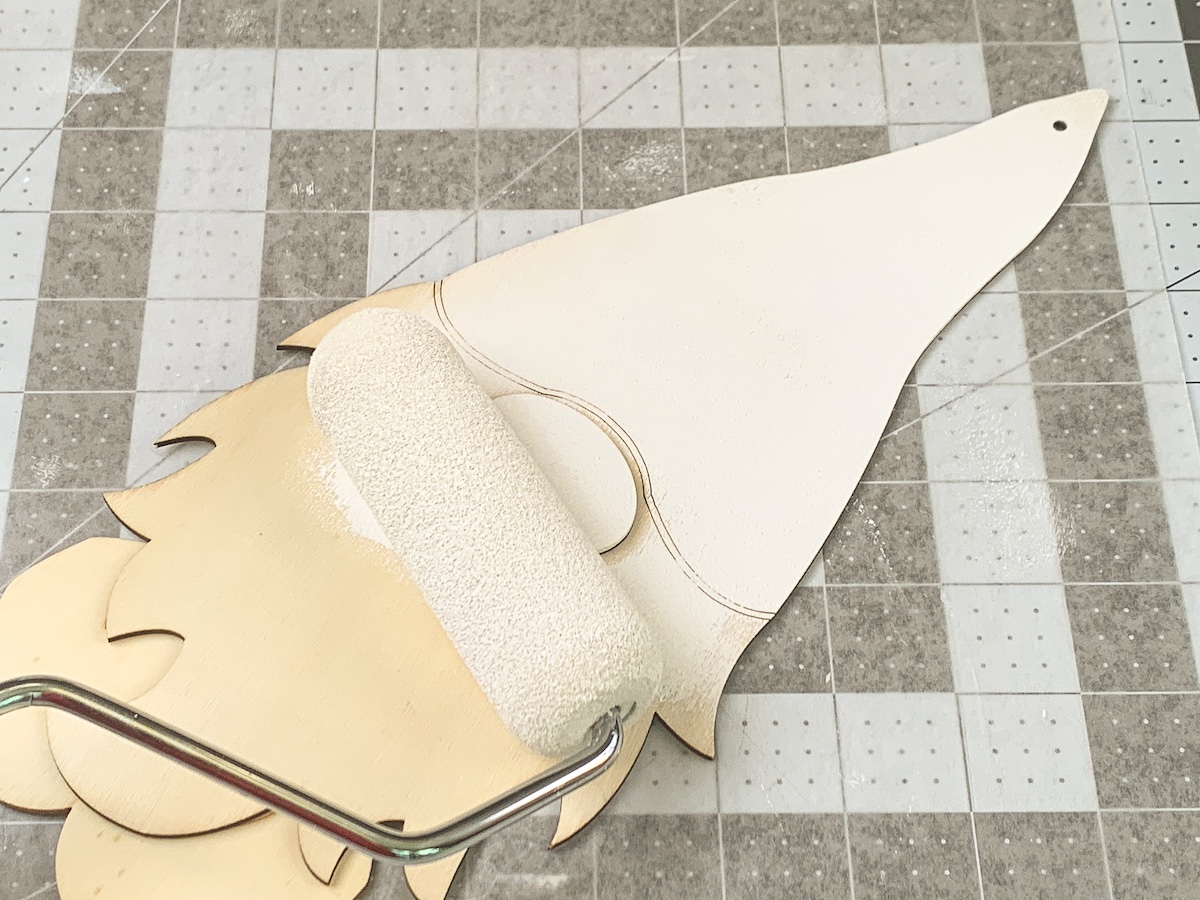
- Begin by painting the gnome. At first I didn't know what colors I wanted to paint my gnome, so I painted the whole thing white.
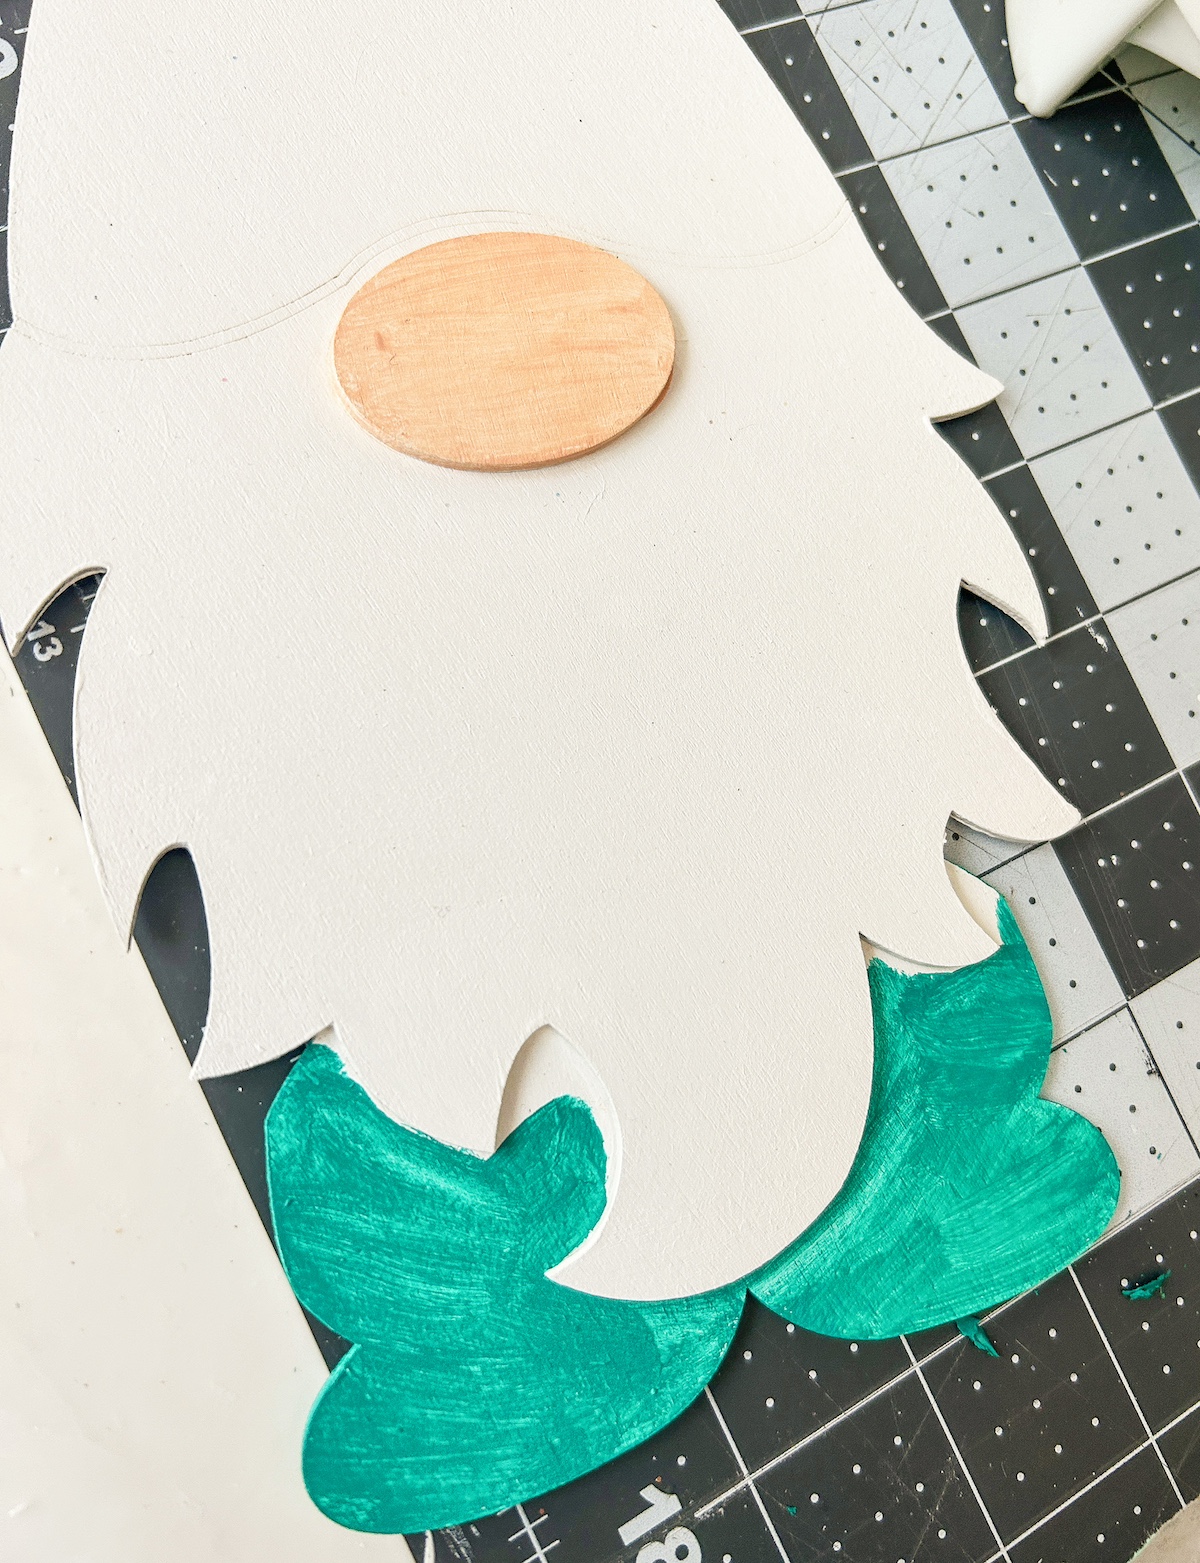
- Use detail brushes and the colors of your choice to paint the gnome hat, nose, and pants. Let dry.
- Seal the wood tag and gnome wood piece with Mod Podge. Let dry.
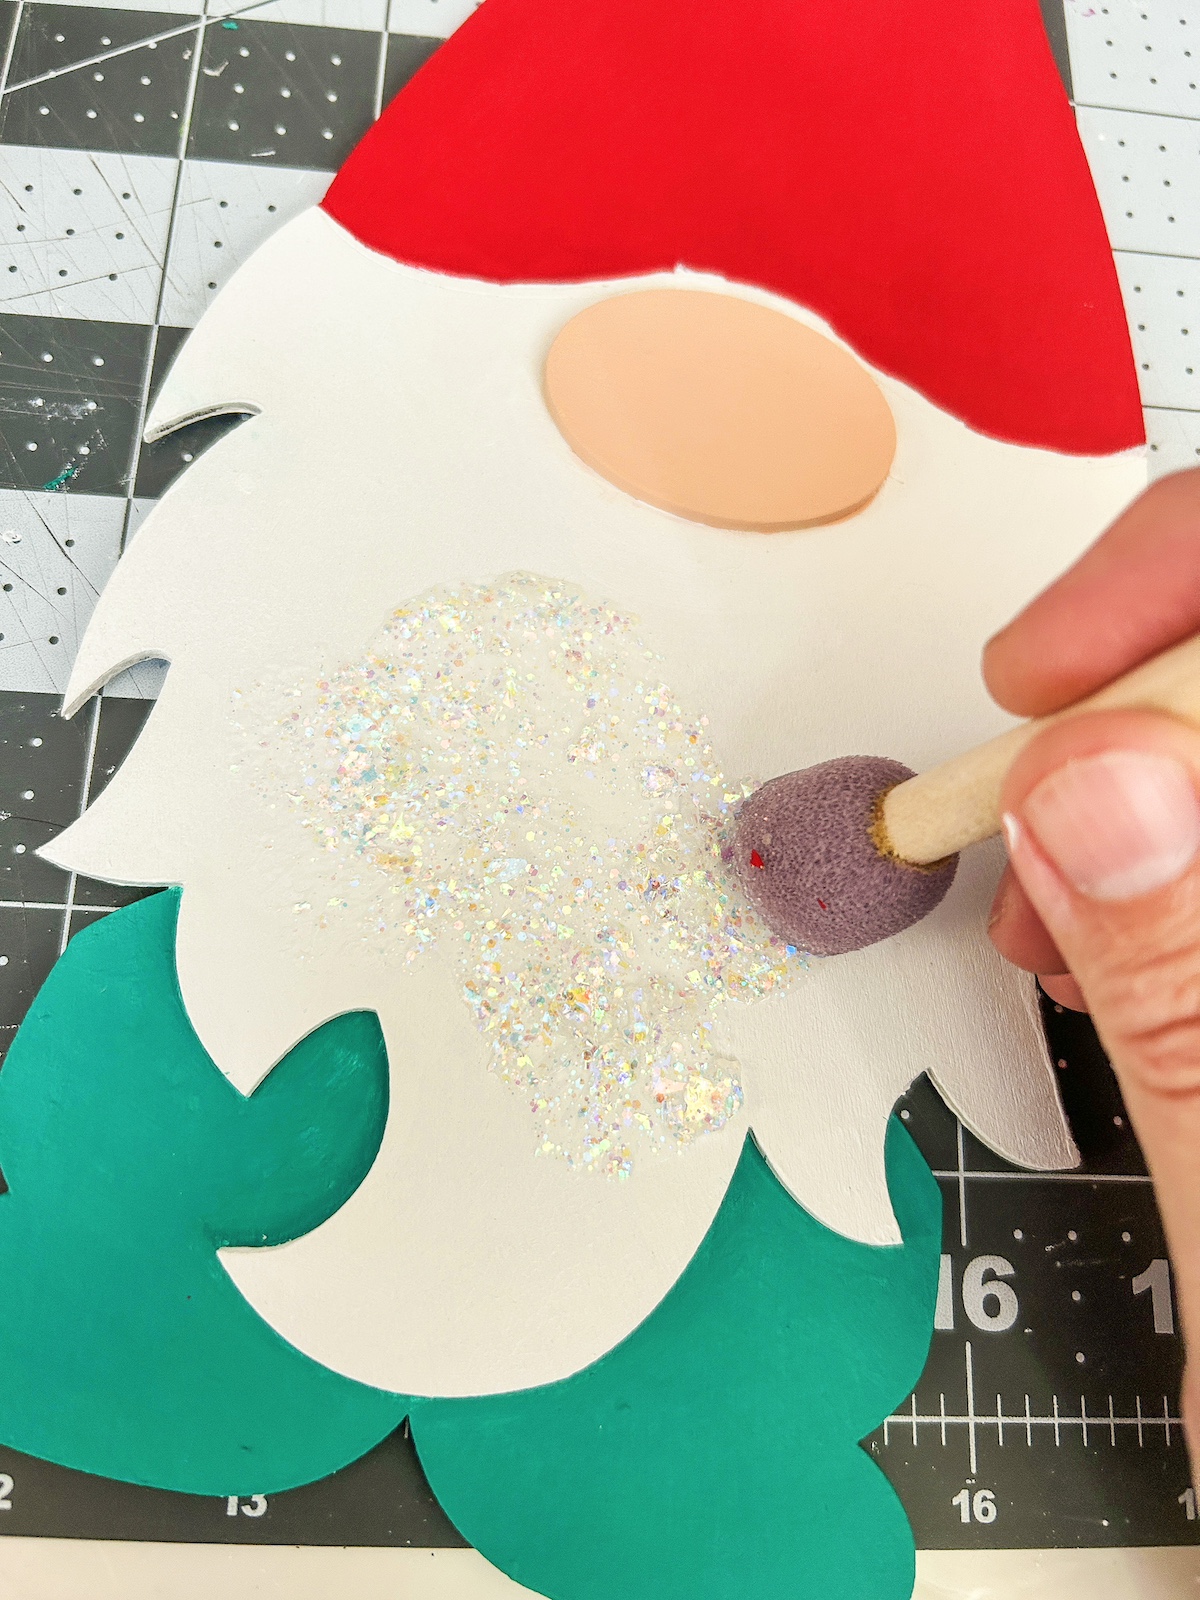
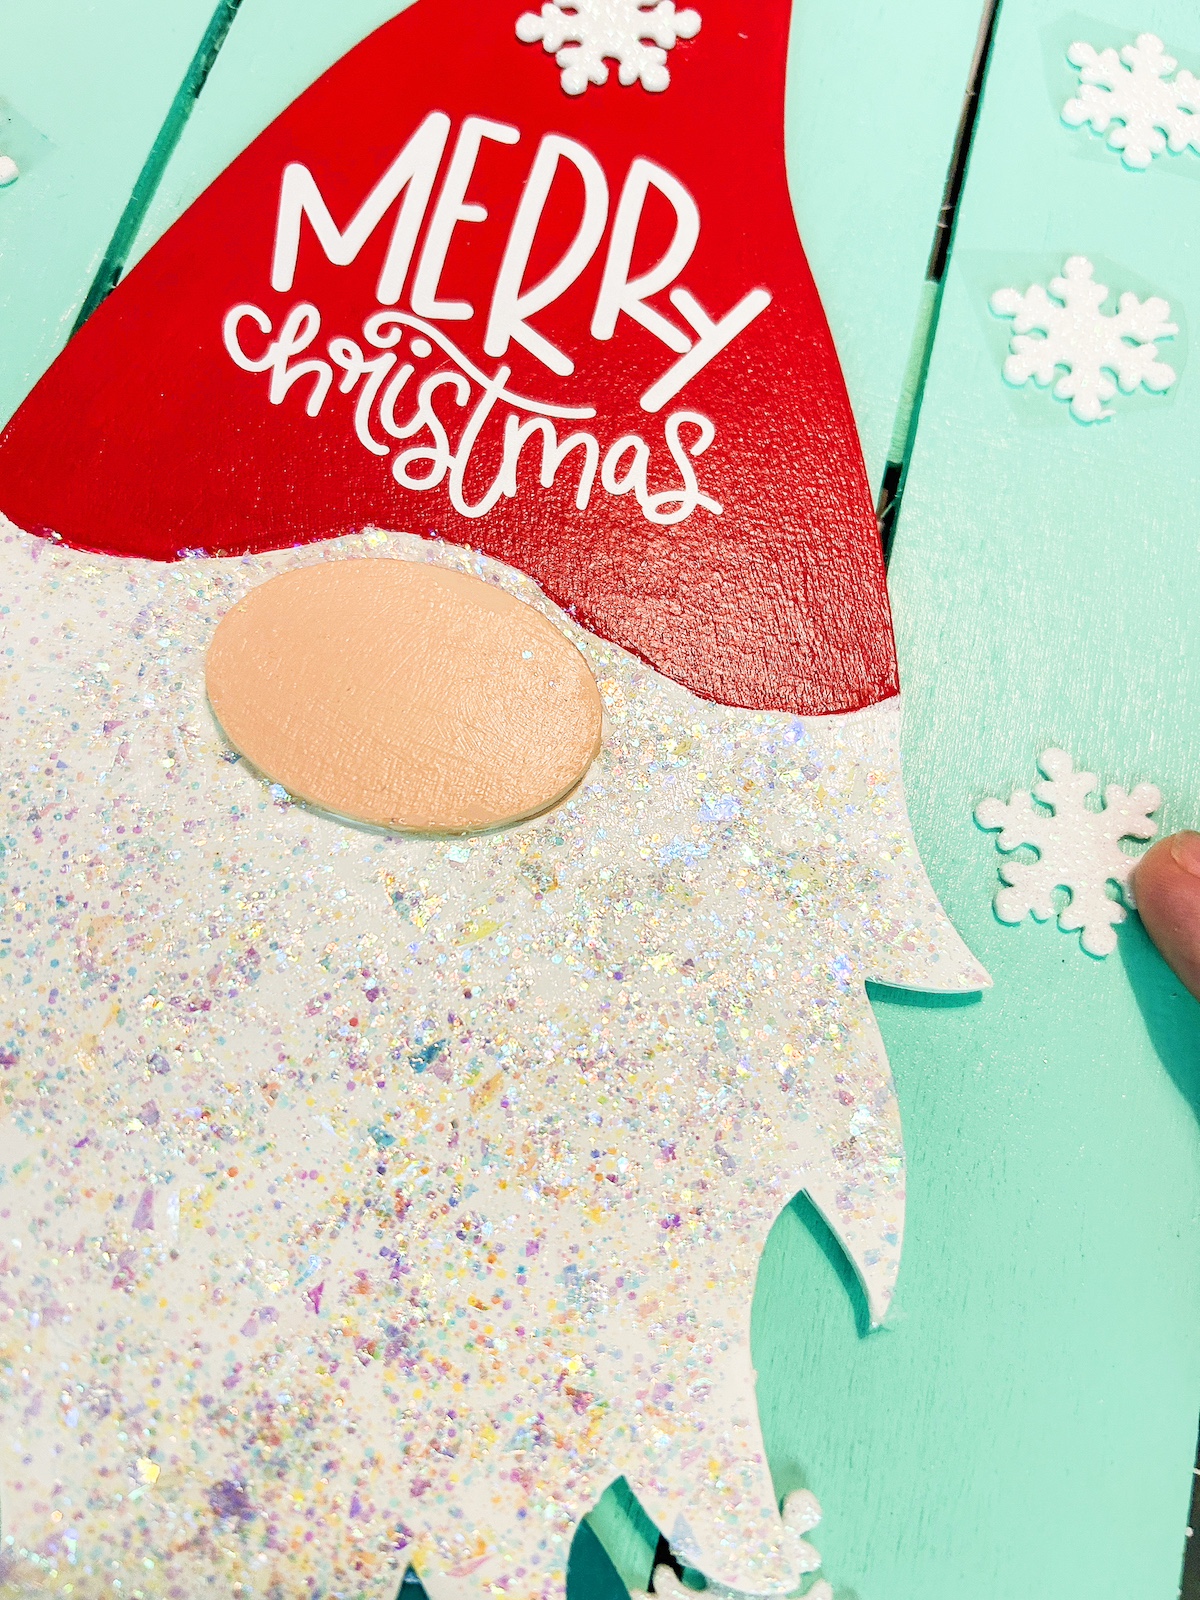
- Use a spouncer to apply the glitterific paint to the beard area. Let dry completely and touch up any areas, if desired.
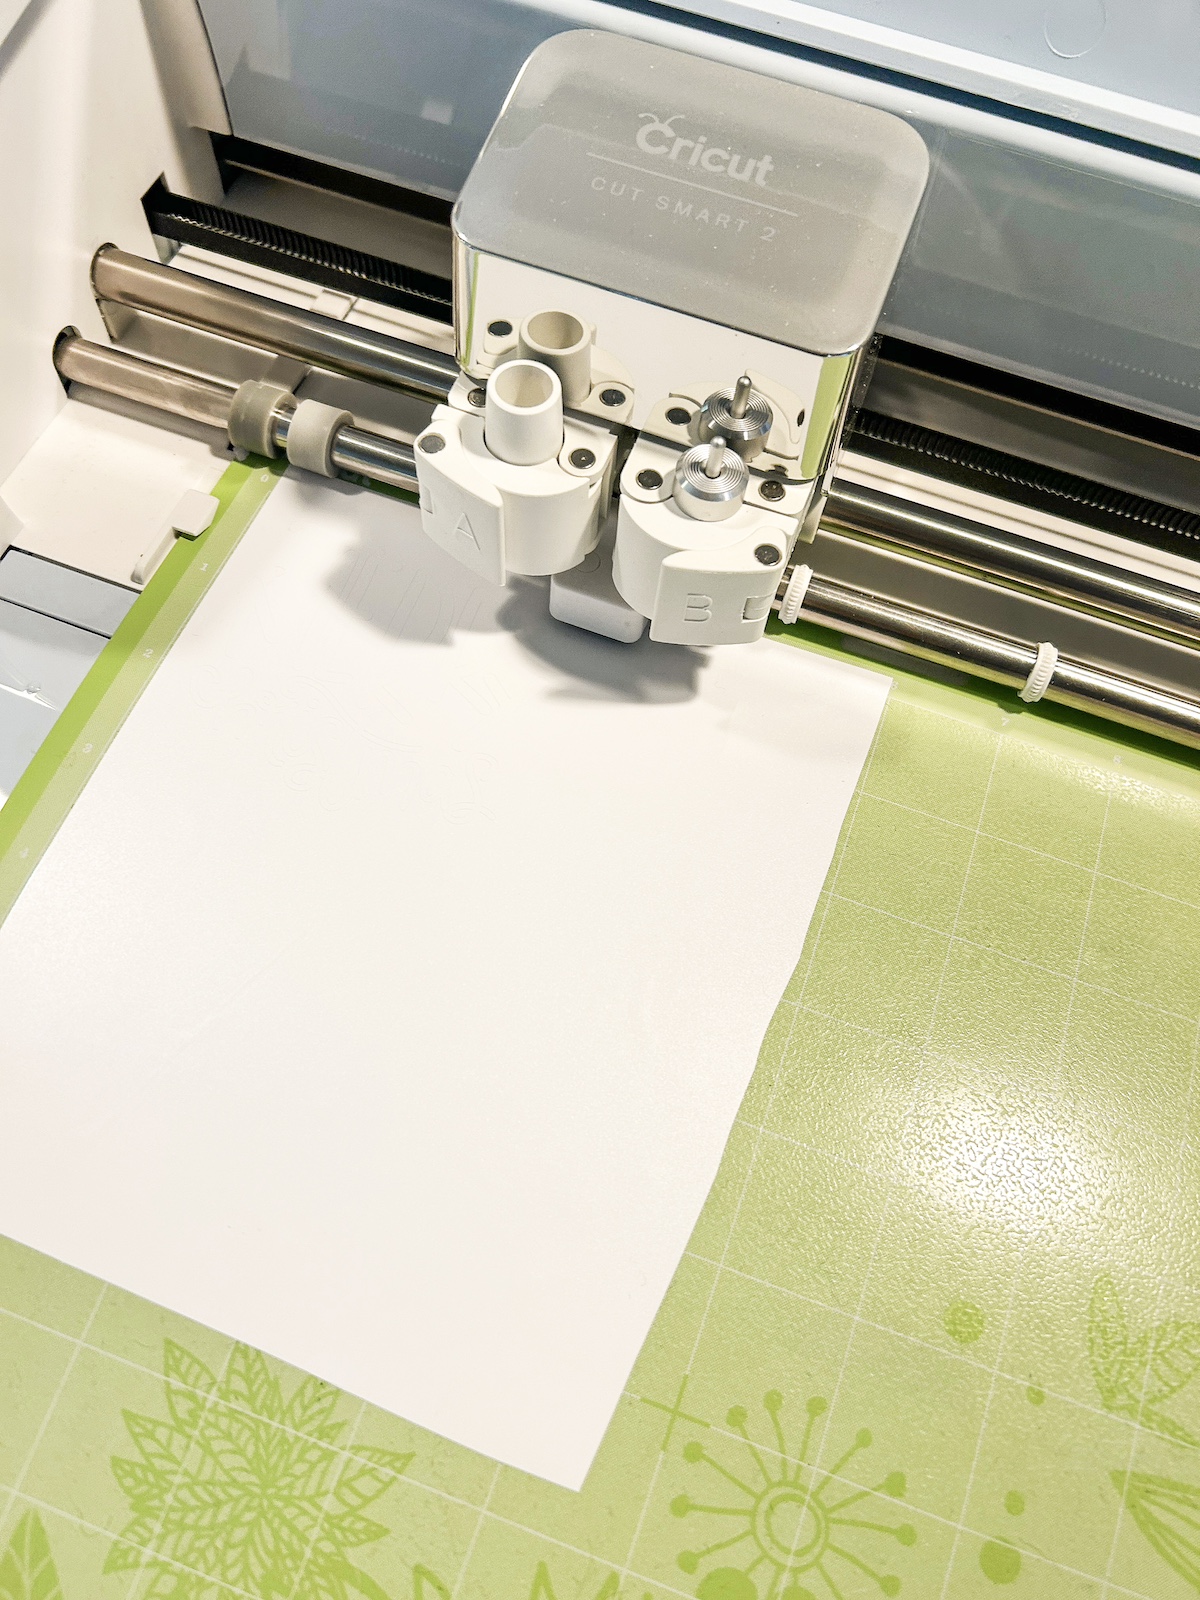
- Use your Cricut to cut out the saying or holiday phrase of your choice.
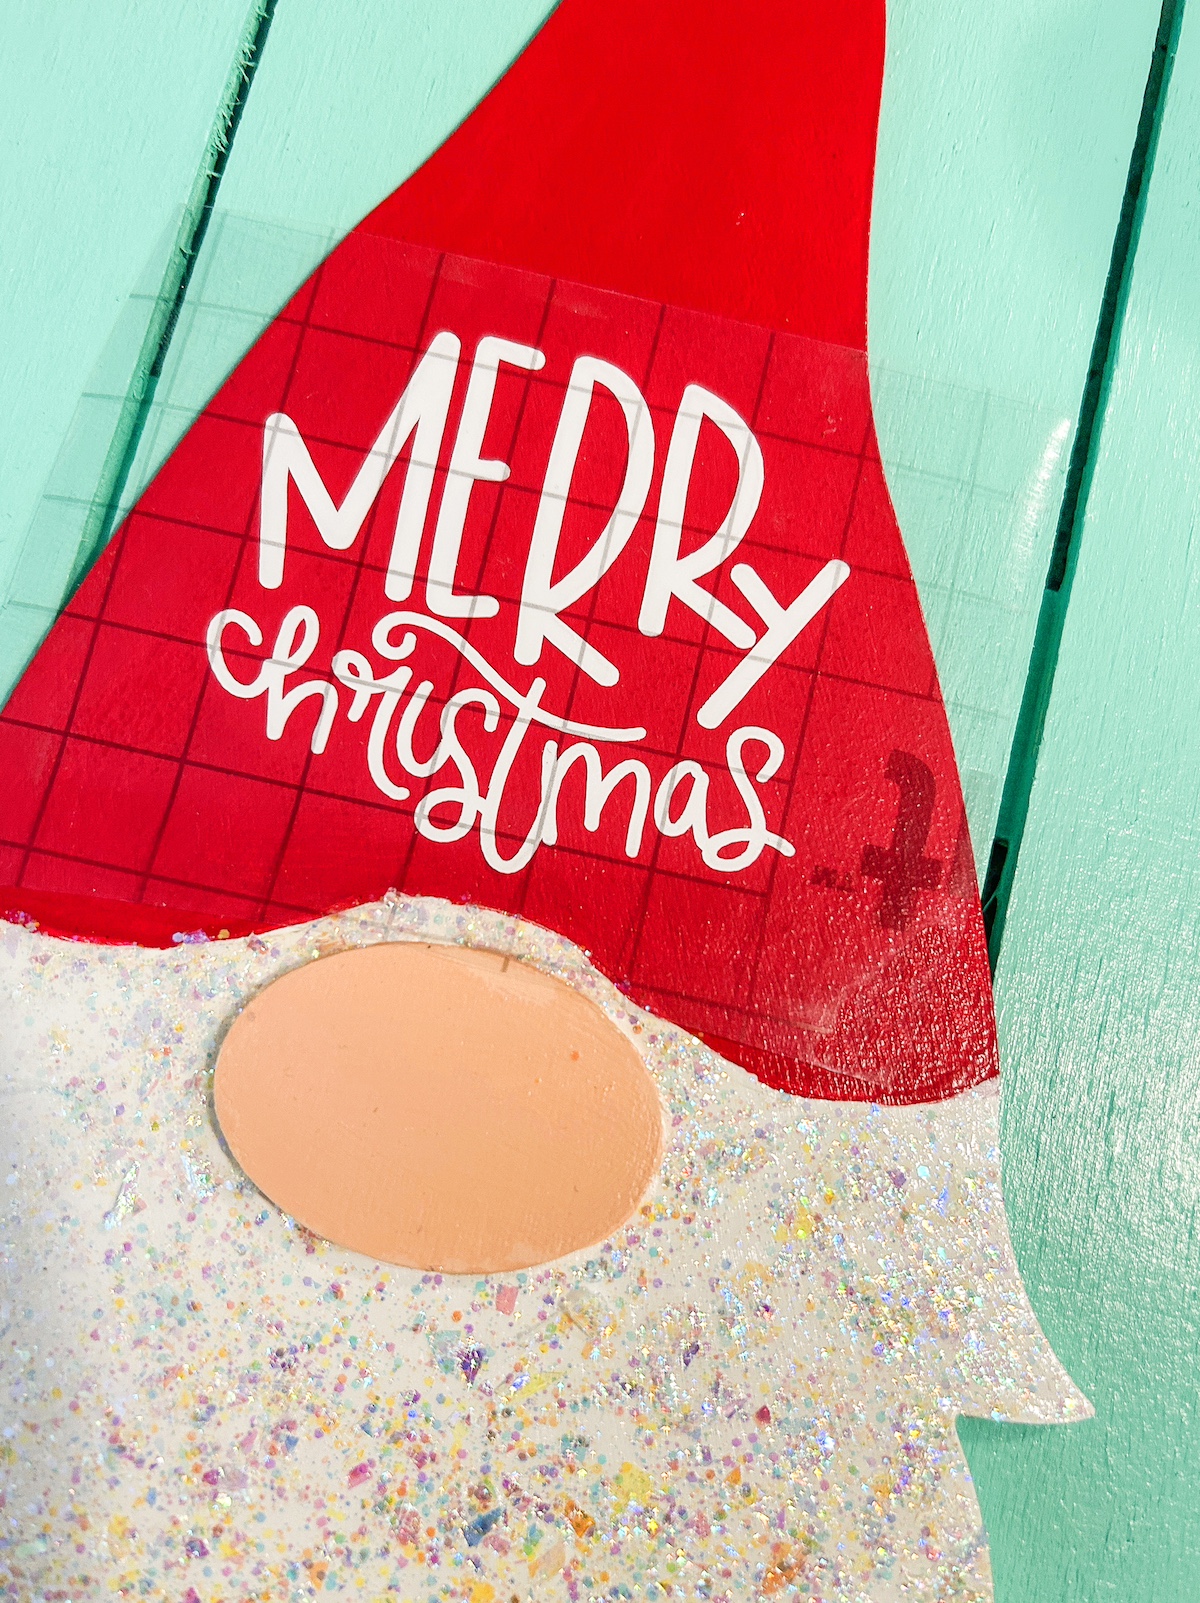
- Use the transfer tape to line up the decal on the hat. Smooth completely, then remove the transfer tape and make sure the decal is fully adhered.
- Use the craft glue (or hot glue) to attach the gnome to the wood tag.
- Randomly add the snowflake stickers around the wood tag, as desired.
- Glue a length of white mini cord along the hat line to clean up the project. Tie a ribbon to the top if desired. Let dry before displaying.