
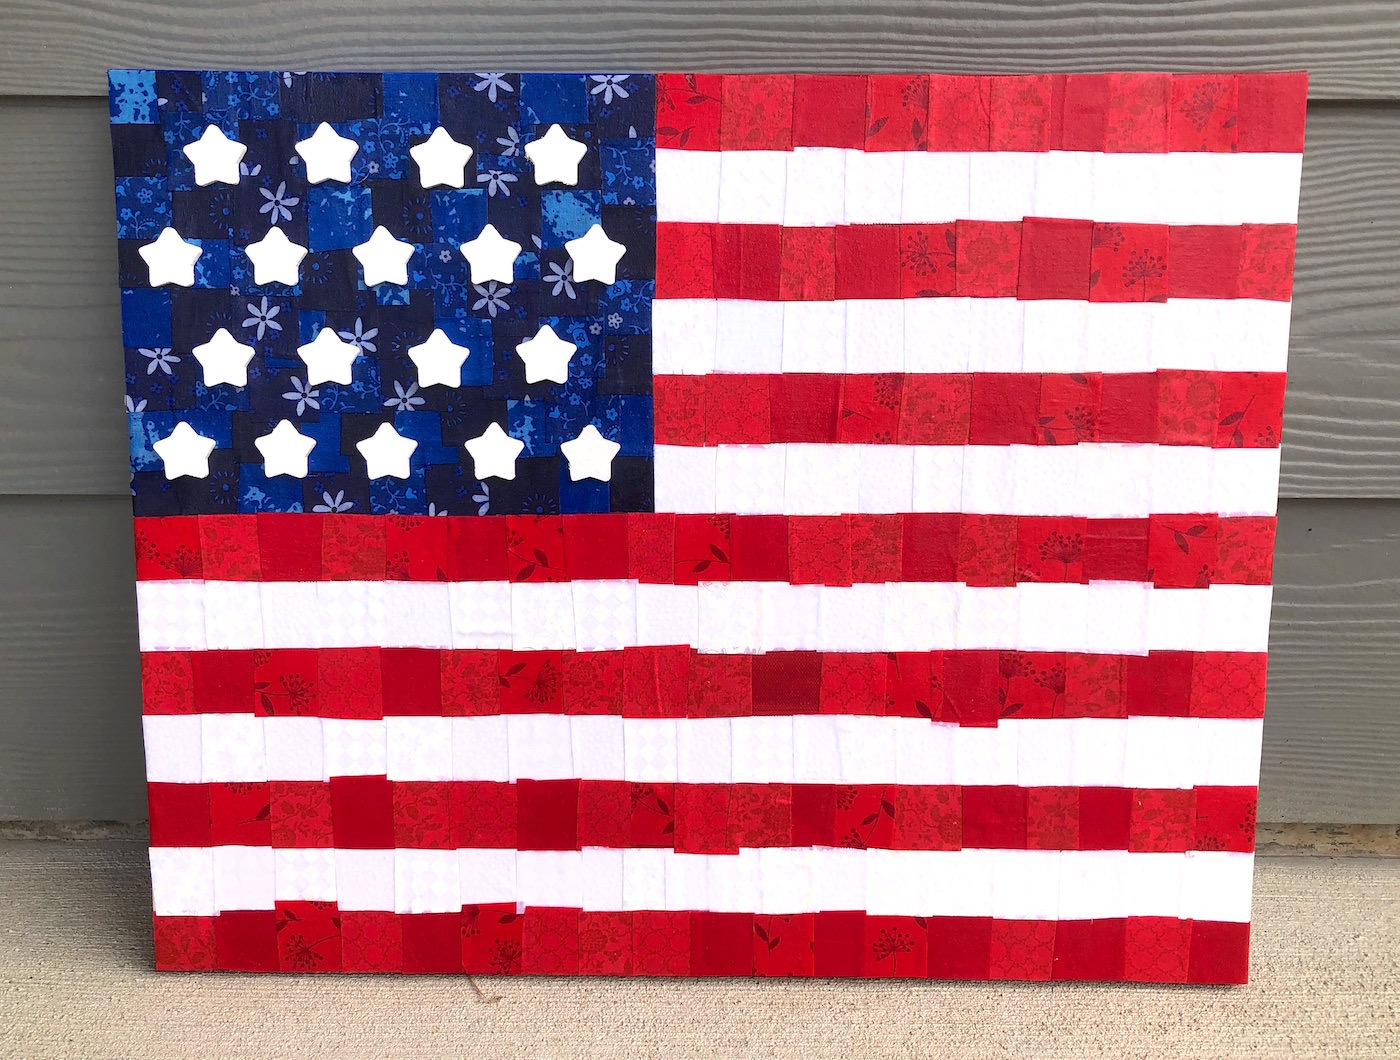
Make unique and EASY American flag wall art on canvas with fabric and Mod Podge! Perfect for the 4th or for just showing off your USA pride.
Skills Required: Very Beginner. This project is very easy, even if you’ve never Mod Podged before. Wrinkles are a concern with beginning Mod Podgers, but that is completely avoided by using such small squares of fabric. You are practically guaranteed success with this tutorial.
This American flag wall art project is one that I’ve been wanting to do for a long time! I don’t do a lot of decorating for the Fourth of July (guilty), and I wanted something to place out on the front of our house.
I’d see an American flag canvas like this one using paint chips, and I got it in my mind that I wanted to do something with fabric in a similar manner. This decoupage idea is unbelievable easy.
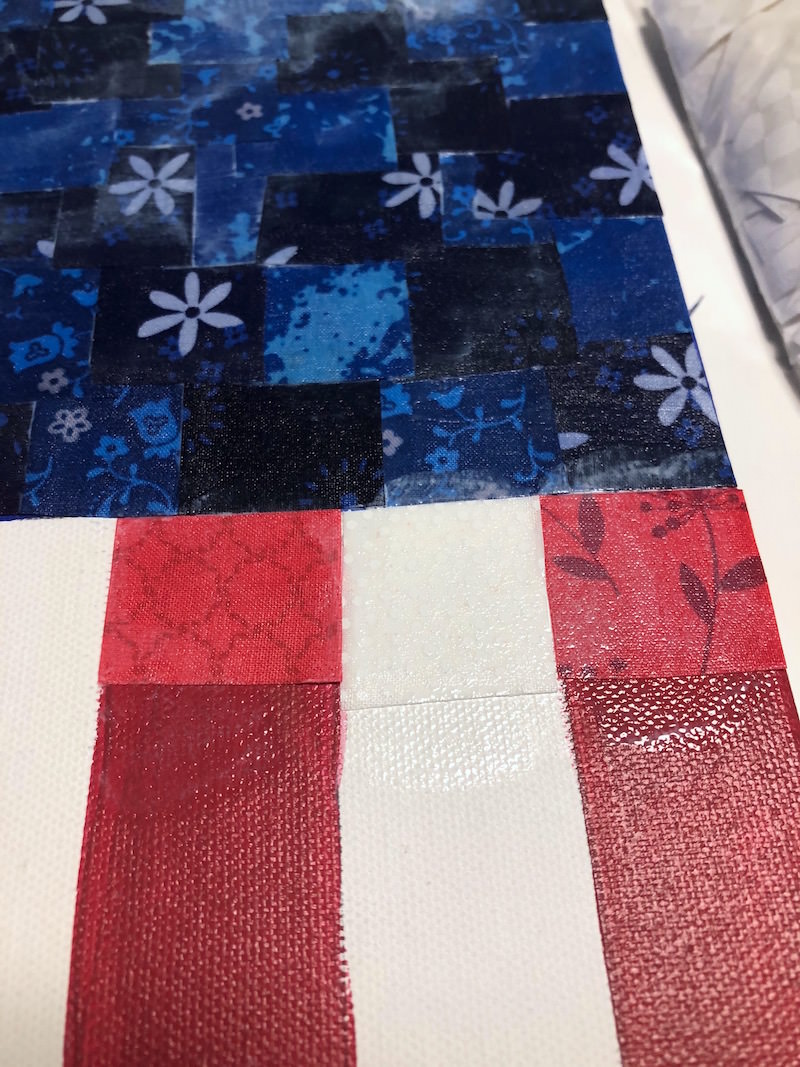
Making the Stripes
Now I have American flag wall art that I can use year after year! Right now it’s not raining so I can keep it outside (it’s out of the sun, too), but after the Fourth I’m going to bring it inside to display. It’s kind of quirky and kind of fun. I just love the patchwork effect!
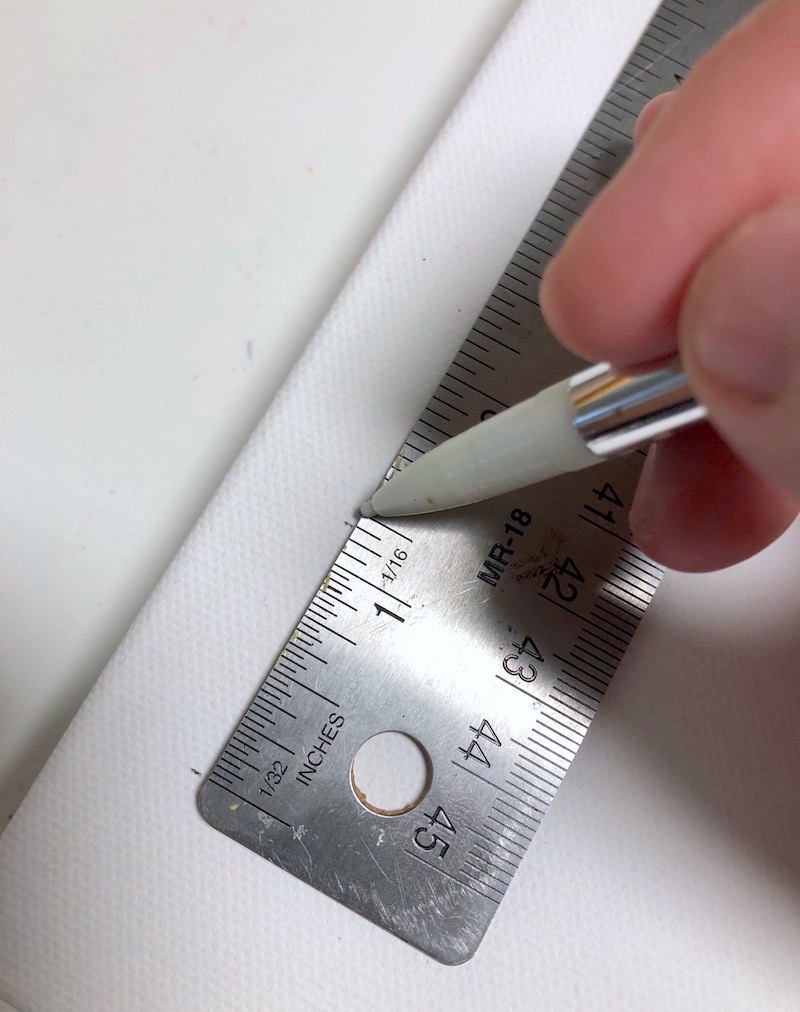
Taking the Measurements
In this project I used a 16 x 20″ canvas – having said that, the canvas was not exactly 16 x 20″. This didn’t matter for the 20″ length, but the height was important as I wanted to divide the canvas into 13 stripes. A measurement of my canvas put the height at 15 7/8″.
Dividing this measurement into 13 stripes was a pain when using the inches side of my ruler – it came out to 1.22 inches per stripe. You know what I found to be much easier? Using the millimeter side of my ruler!
My canvas measured at 43 millimeters, which gave me a length of 3.3 millimeters per stripe. Metric system to the rescue!
Regardless of the method you choose (inches or millimeters), make sure to measure your canvas and don’t go by my measurements. That’s because in the manufacturing process, every canvas is a little different.
Taking your own measurements will ensure your stripes are relatively even. The patchwork nature of this American flag wall art is nice because it doesn’t have to be exact, but you want to get close.

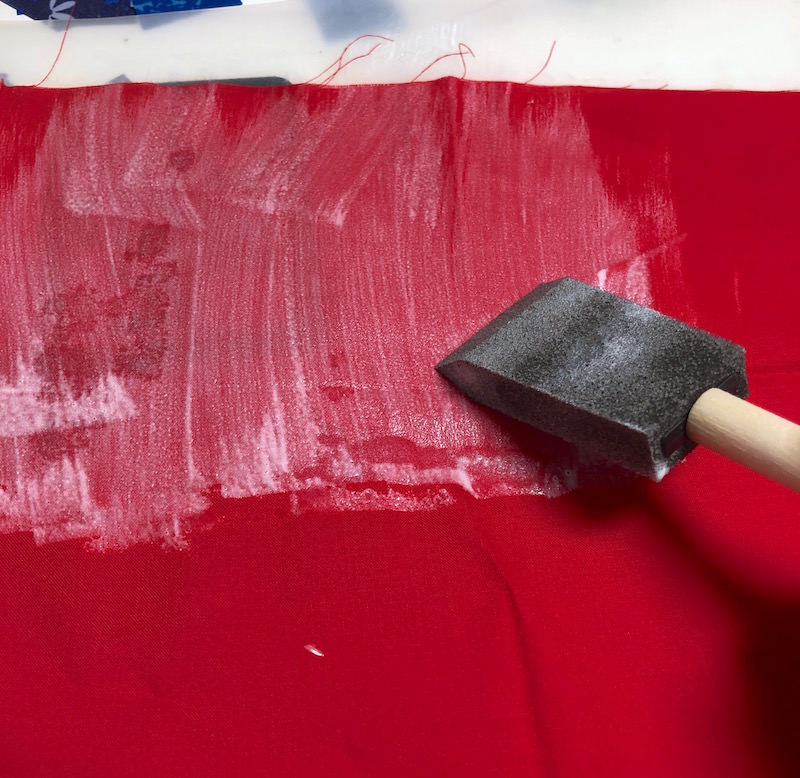
Why Paint the Canvas?
You might be wondering why I painted my American flag canvas when I just ended up putting fabric over the top. There are three reasons:
- Mod Podging fabric makes it somewhat transparent. If you are working with thin fabrics, it helps make the colors pop if you paint behind them.
- If I missed any areas with fabric (the pieces were too short, for example), the paint filled in the gaps.
- I wanted to paint around the edges of the canvas as well. The stripes continue on the sides (and top and bottom) as you can see in the photo above.
You don’t have to paint the canvas – but these are the reasons why I did it. I’ll leave it up to you!
Are you ready to get the tutorial for this unique American flag wall art? Keep reading!
Gather These Supplies
- 16 x 20″ canvas
- Mod Podge Satin
- Wood stars – 1″, 18
- Fabric scraps – red, white, blue
- Acrylic paint – red, white, blue
- Scissors
- Ruler
- Craft glue
- Paintbrushes
- Pencil
Tips and Thoughts for This Project
- I recommend using a pencil to draw your lines for the stripes simply because if you make a mistake, it can be erased! Plus the pencil lines are easy to paint over.
- With the union area (where the stars go), I just kind of winged it until I was happy with the proportions. The goal is to make it look proportional to the rest of the canvas.
- You do not need to paint the white stripes (just make sure any pencil lines that might show are erased).
- If you don’t have any fabric on hand, fat quarters are great. I used about 1/4 of each fat quarter for this project. The nice thing is now I have some fabric scraps left over for other projects! I will definitely use them so that wasn’t a concern.
Preparing the Fabric
Now, this is a special section I wanted to add in that could help you with not just this project, but others where you use fabric and Mod Podge. It’s called “preparing the fabric.”
When I say that I prepared my fabric for this American flag canvas, that just means I painted a layer of Mod Podge over the fabric (I placed it onto a silicone craft mat first) and let it dry.
Why did I do that?
Because it’s very difficult to cut fabric and use it in a Mod Podge project without it fraying; especially when the squares are so small. By painting this layer of Mod Podge over the top and letting it dry, you have a more stiff surface to work with that won’t fray.
Once the fabric is Mod Podged, it’s very easy to cut (almost like scrapbook paper!) and very easy to Mod Podge down. I do it every single time I do a Mod Podge fabric project like this.
Yes – it takes more time, but it saves me hassle, and then I don’t have to worry about any wrinkling. I hope you use this technique in this project, as well as others.
Once your flag canvas is complete, you can display it wherever you like! Hang it on the wall or prop it up on a table – either would work. Let me know your thoughts in the comments!

American Flag Wall Art
Equipment
Materials
- 1 Canvas(es) 16" x 20"
- Mod Podge Satin
- 18 Wood star(s) 1"
- Fabric scraps red, white, blue
- Acrylic paint red, white, blue
- Craft glue
Instructions
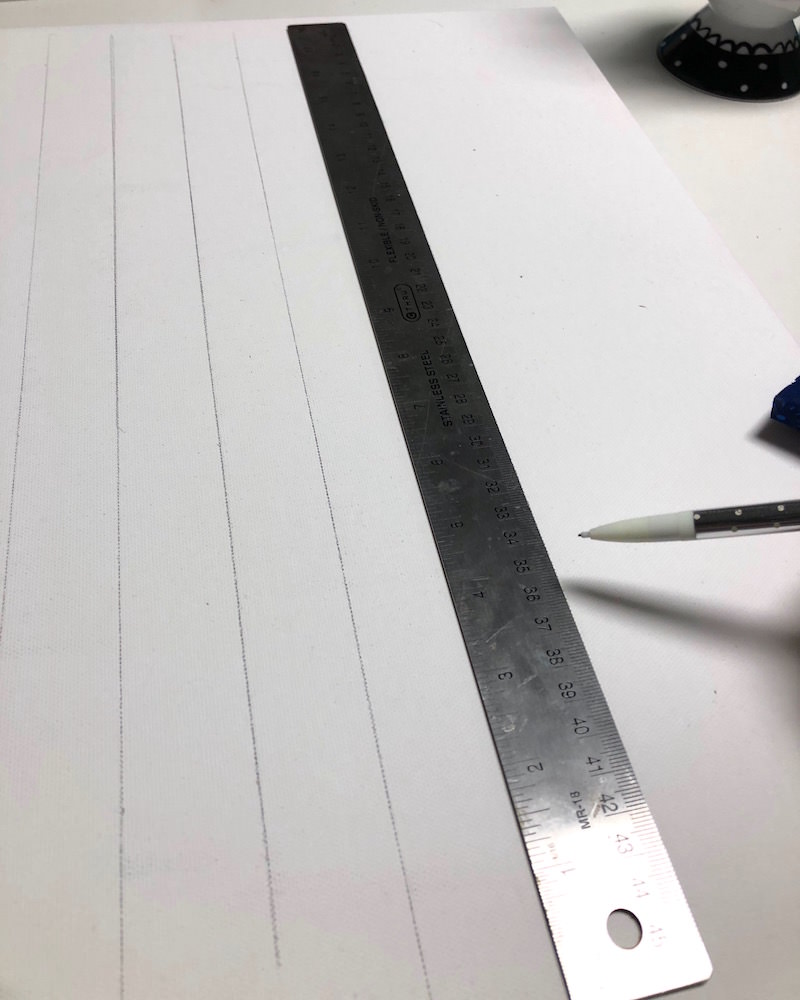
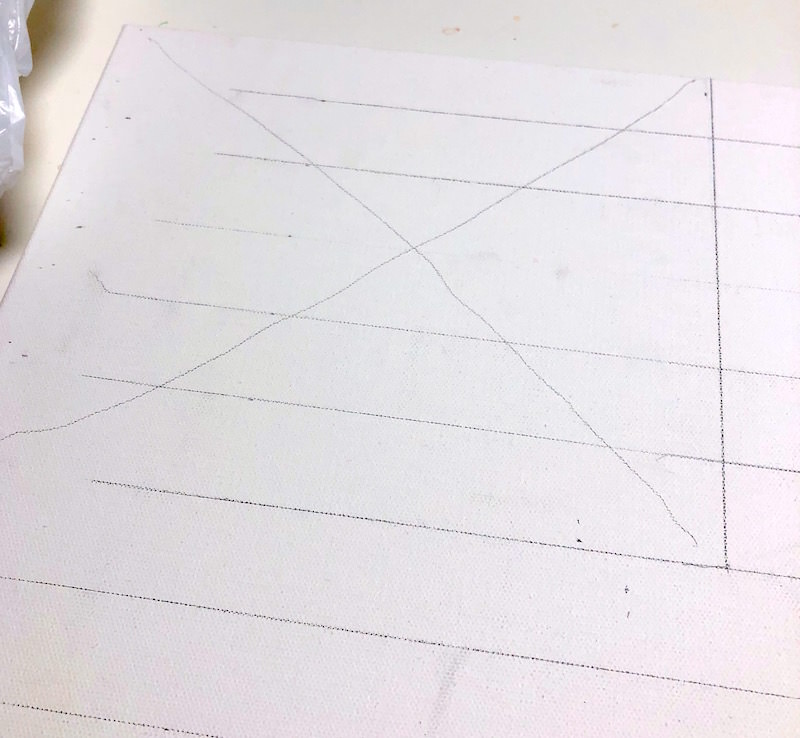
- Measure the thirteen stripes for your canvas using a ruler; mark off with a pencil.
- After you've made your marks with a ruler, trace the lines out all the way across the canvas.
- Mark out the union and star area that you are going to paint blue. I recommend five stripes tall and then 9 1/8" across.
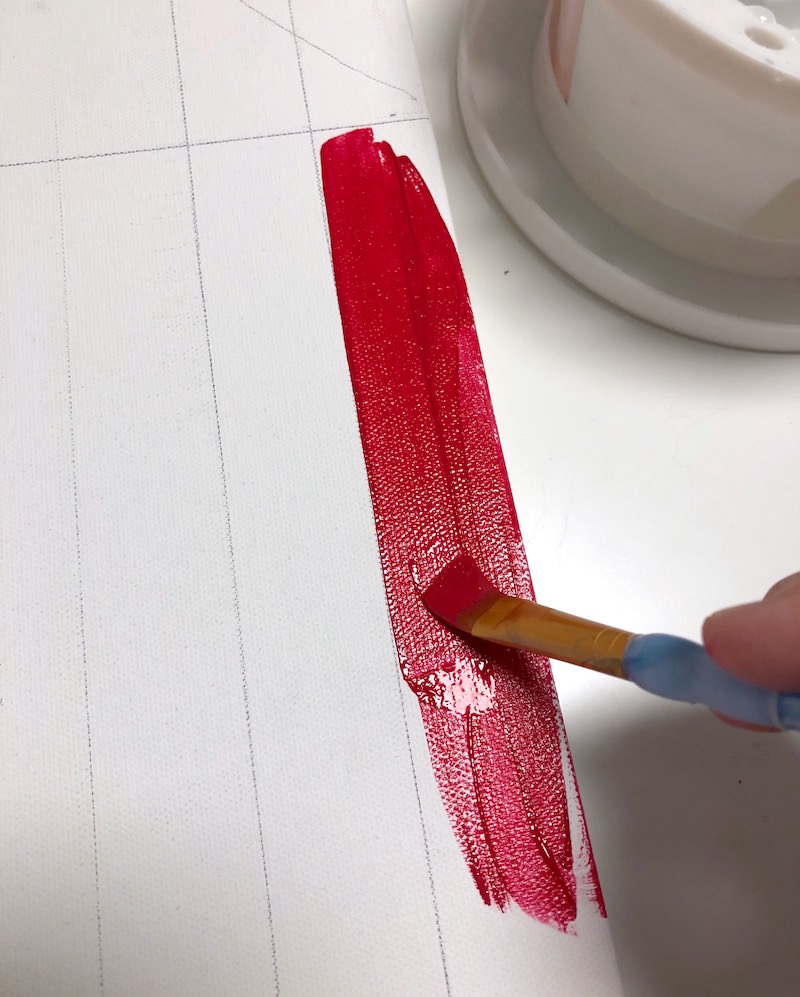
- Paint the red stripes using acrylic paint. Let dry. Erase any remaining pencil marks.
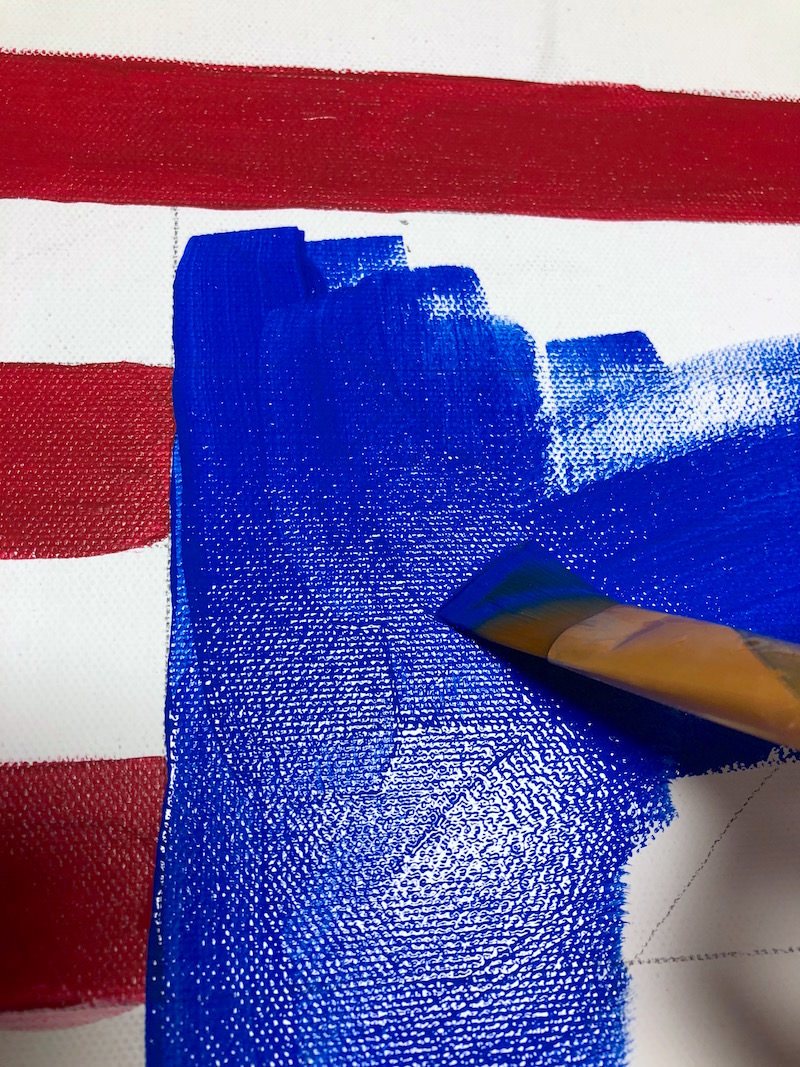
- Paint the blue area with acrylic paint. Set the canvas aside to dry and then begin preparing your fabric.
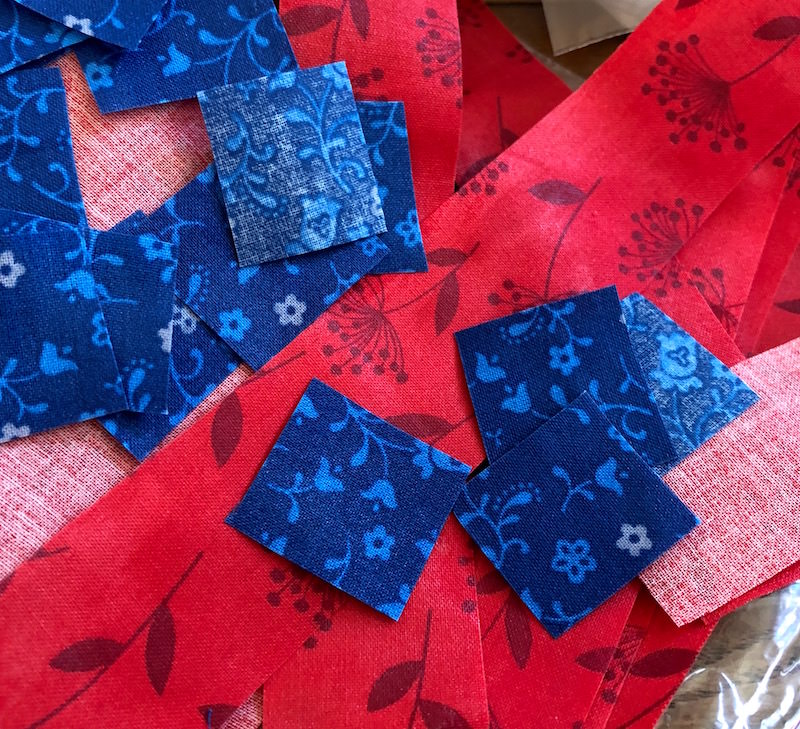
- Cut the fabric into strips a little over an inch, then cut into smaller squares a little over an inch. See the notes for estimated quantity.
- Start with the blue area. Add Mod Podge to the canvas with a paintbrush. Place down a square of fabric and Mod Podge over the top.
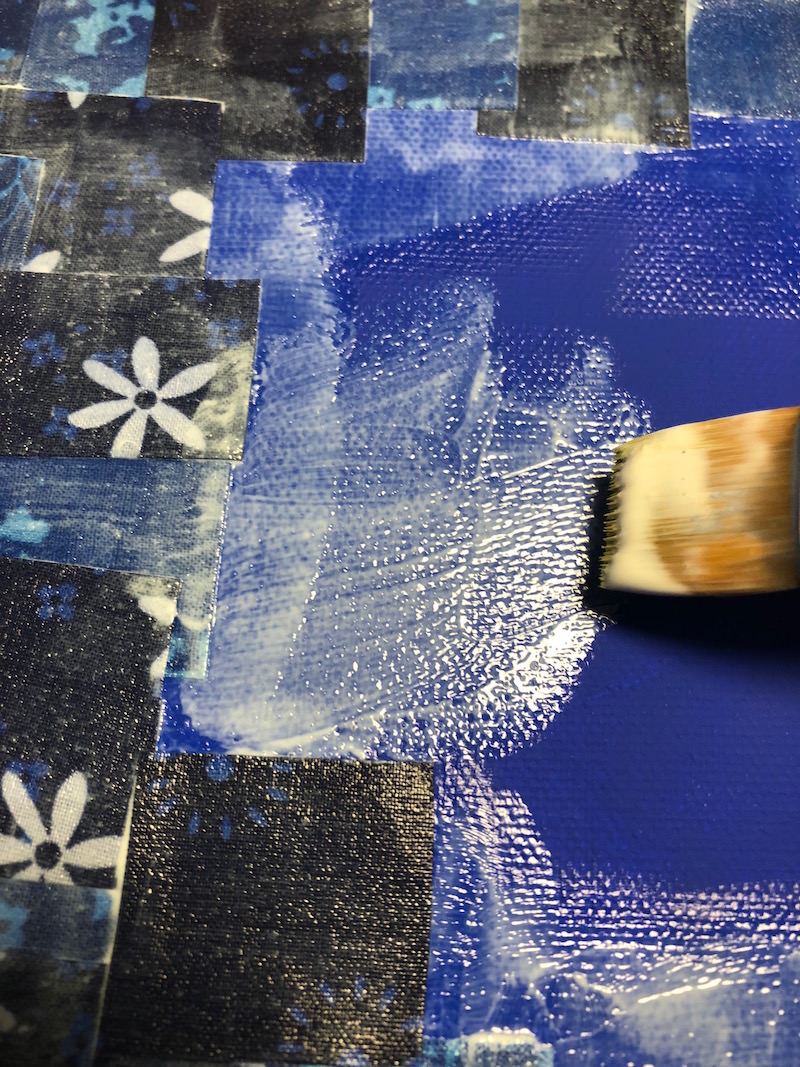
- Continue in this same method until the blue area is filled in, then work down the stripes. Use overlapping squares all the way down the canvas until covered. Let dry. Add a coat of Mod Podge to the canvas and let dry.
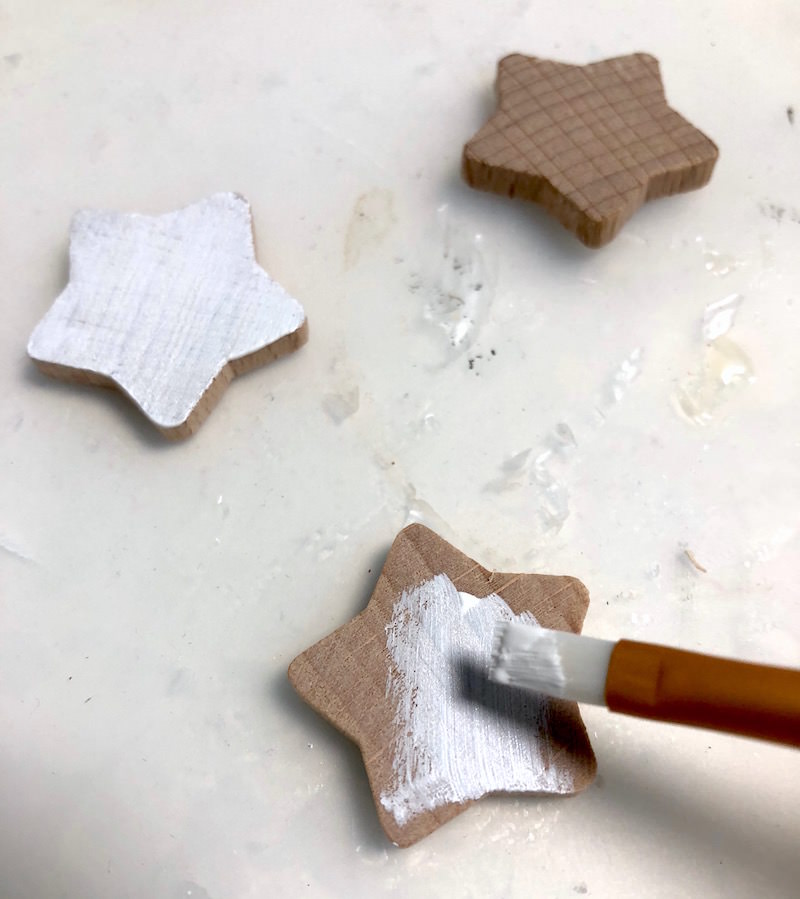
- Paint 18 wood stars with white acrylic paint and let dry.
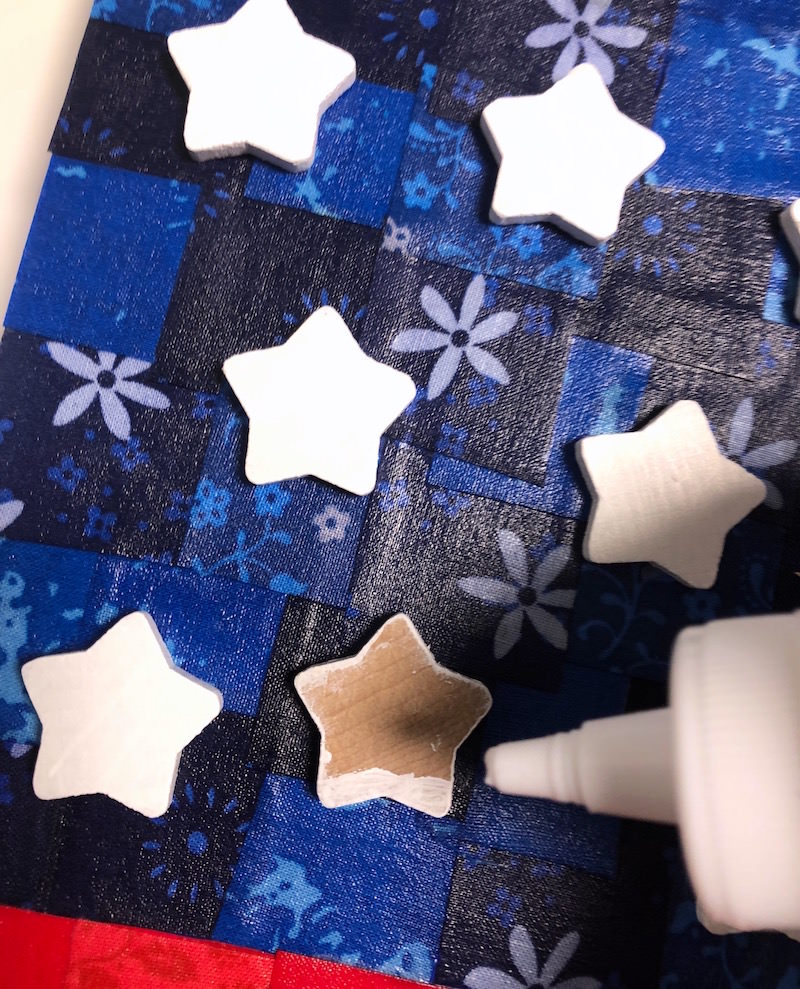
- Glue the stars down to the canvas with craft glue. Let dry completely before hanging.
Notes
- I buy my canvases in multi-packs, so my project cost is based on that
- I used the following square counts for this canvas: red – 104, white – 86, blue – 72
If you enjoyed this American flag canvas art project, you might also like these other 4th of July crafts:
Anchor Sign • DIY Candy Dish • DIY Door Hangers • Fireworks Plaque • Mason Jar Lanterns • Rustic Painted American Flag • Sparkly Nautical Decor • Tissue Paper Votives • Wood Star Decor


Loved the flag and the jars. That time of year!!!
Thank you so much!
Loved the craft
BEAUTIFUL
Thank you so much!