
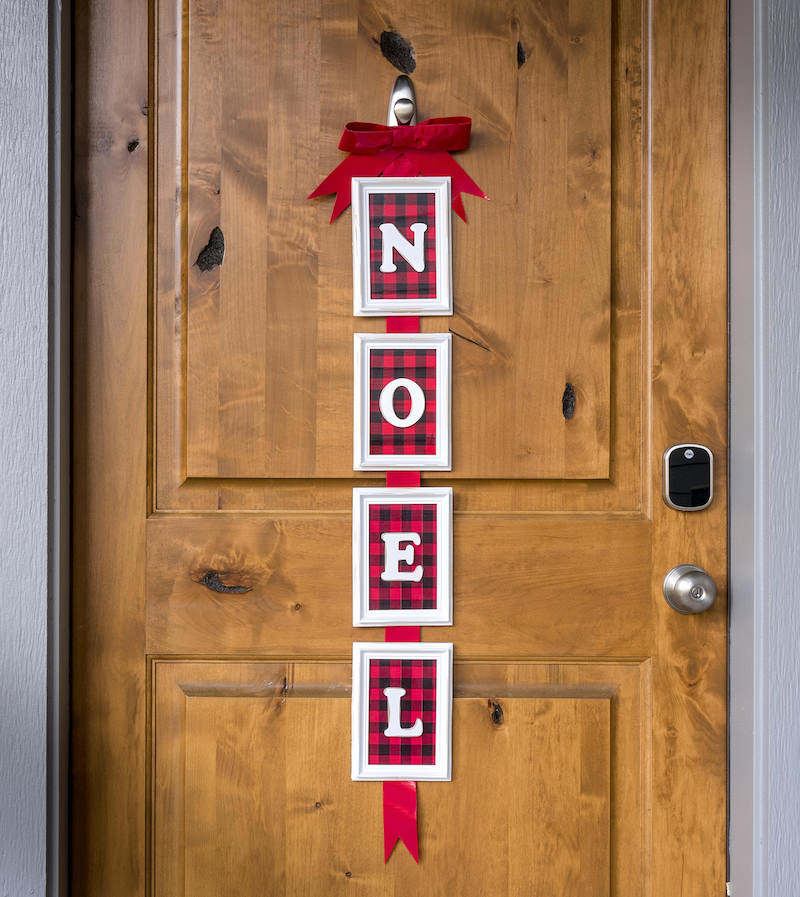
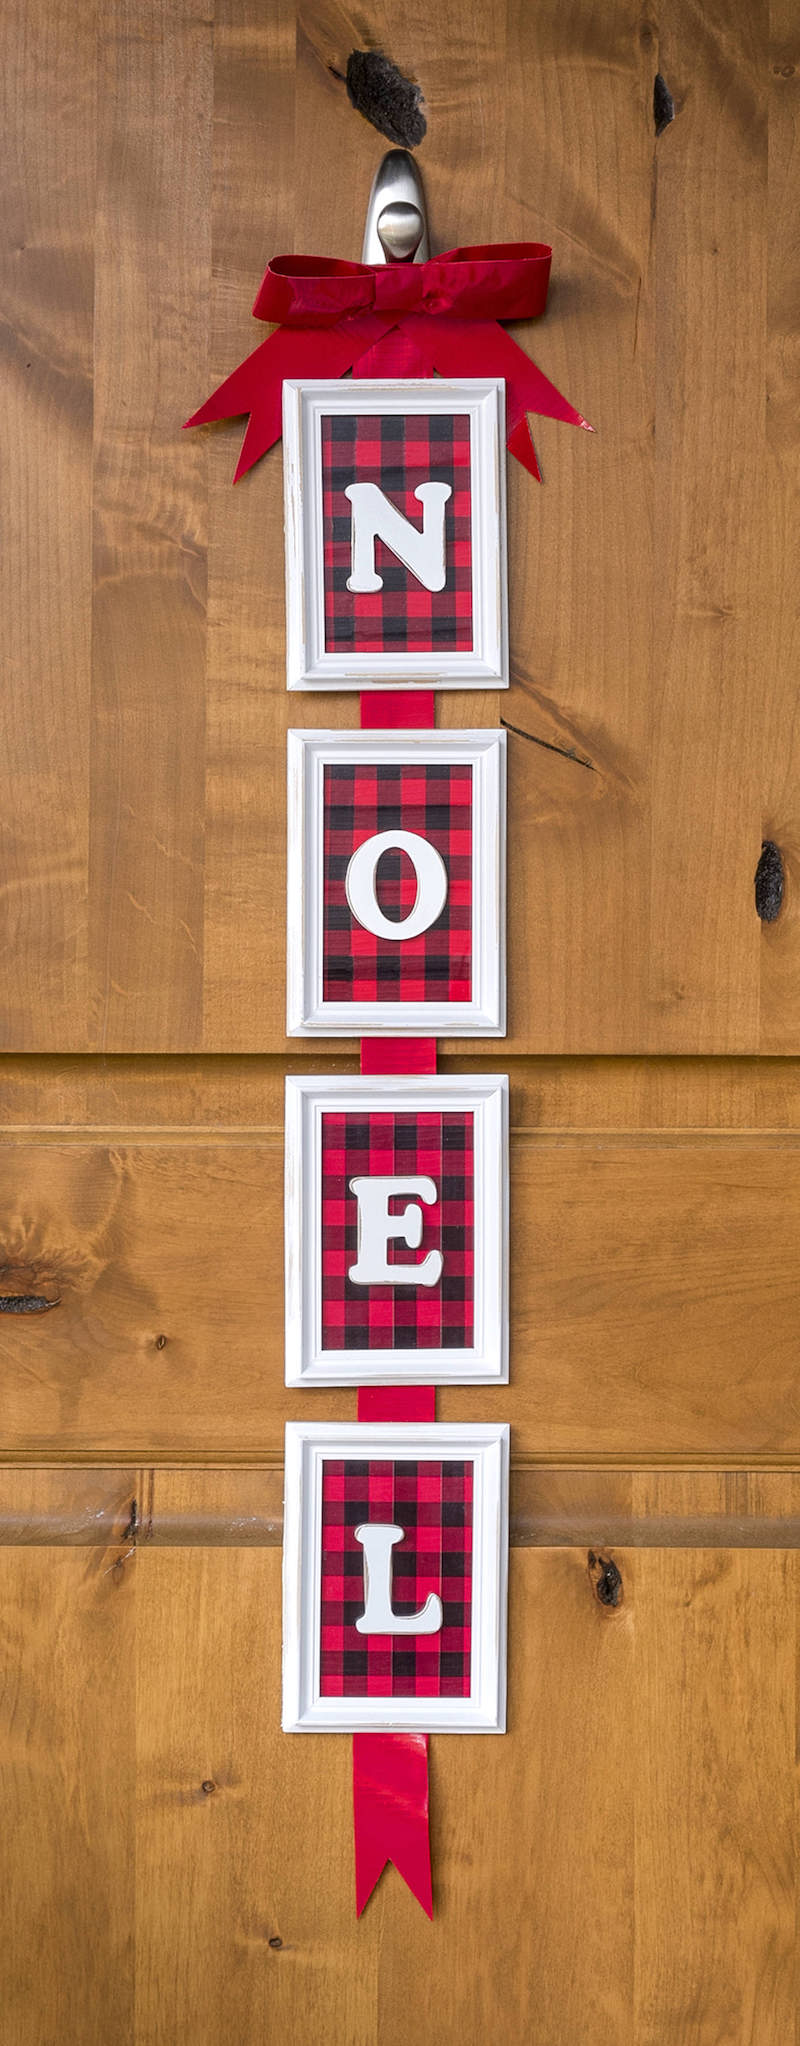
Learn how to make this Christmas door decor using buffalo plaid Duck Tape! This farmhouse style NOEL door hanging is super cute and simple to make.
Skills Required: Intermediate Beginner. It helps to have worked with Duck Tape a little to do this project, especially when you have to tape two pieces together. My suggestion is, if you haven’t worked with Duck Tape before, just take it slow and easy.
With the obsession over buffalo plaid this year, I just couldn’t help myself – I had to get in on the action! As I started to raid my craft stash to see what buffalo plaid I had on hand, I found two things: bandanas and Duck Tape.
I’m so in love with the buffalo plaid Duck Tape, so I had to use it! That’s how this Christmas door decor came about.
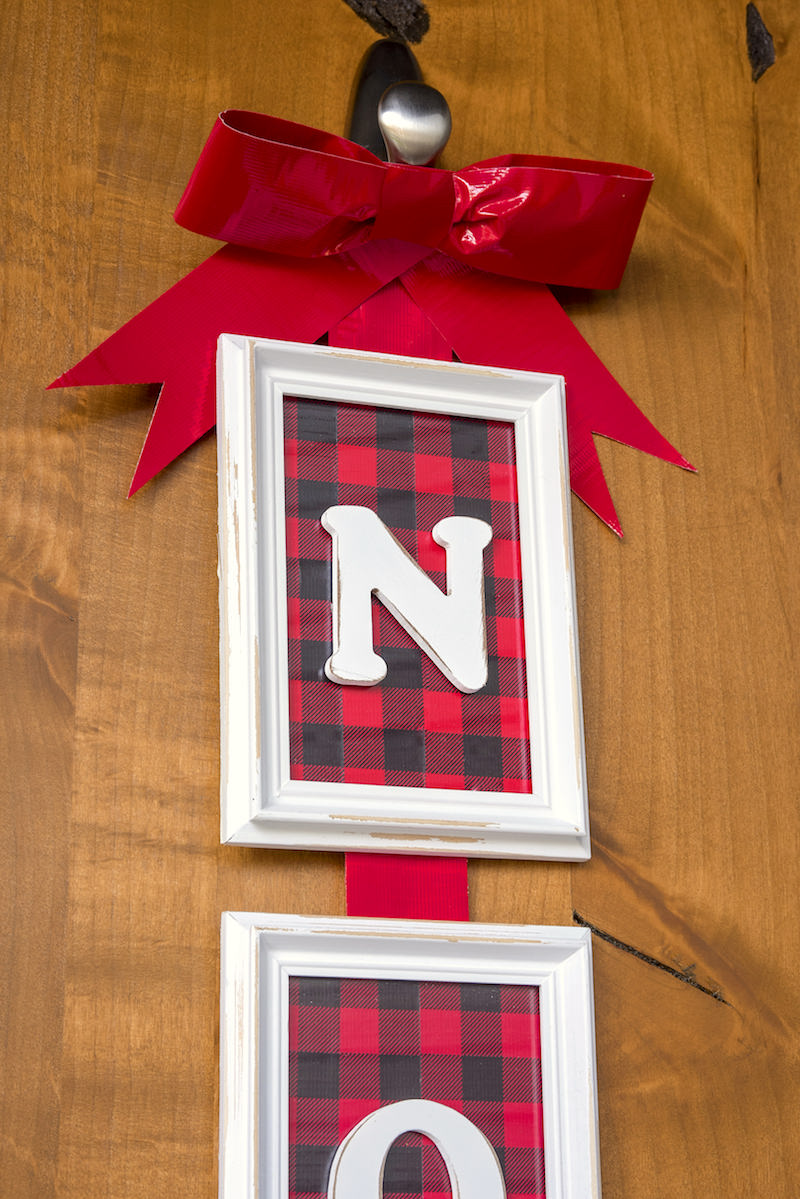
Making a Duck Tape Bow
For this project, you’re going to be making a Duck Tape bow that will be going at the top of your project. It’s not load bearing, so you don’t have to worry about hanging anything from it.
The basic idea behind the bow is that you’re going to make a loop of Duck Tape (a two-sided piece) and pinch it down in the middle to secure. Then you’ll add the ends of the bow on separately.
It’s not *really* a bow.
Are you ready to make this farmhouse style Christmas decor? Keep reading!
DIY Christmas Door Decor
Gather These Supplies
- Four white frames with a 3 1/2″ x 5 1/2″ opening
- 2 1/2″ white wood letters spelling “NOEL”
- Duck Tape – 1 roll each red, white, and buffalo plaid
- Scissors
- Craft mat and X-Acto
- Pliers (to remove the back of the frame parts)
- E-6000
- Floral wire for hanging
- Mod Podge Sparkle (optional)
- Sandpaper (optional)

Remove the glass from the four frames and set aside. You’ll need the four letters as well.
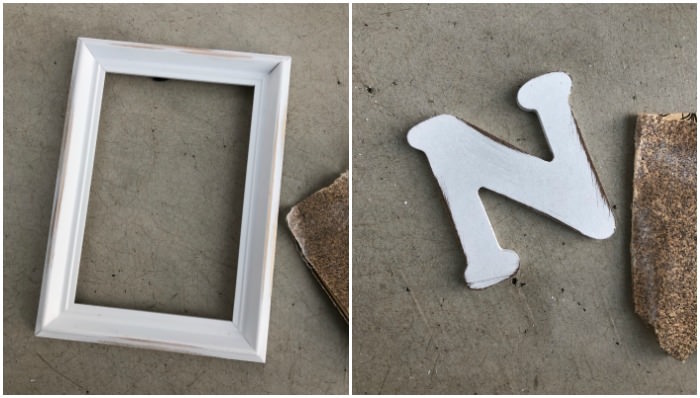
If you’d like a little distressing on your frame or letters, use 80-grit sandpaper to remove the white in some areas. It just adds to the farmhouse feel of our Christmas door decor!
Optional at this time: use Mod Podge Sparkle to add a bit of bling to the frames and letters. Let dry.
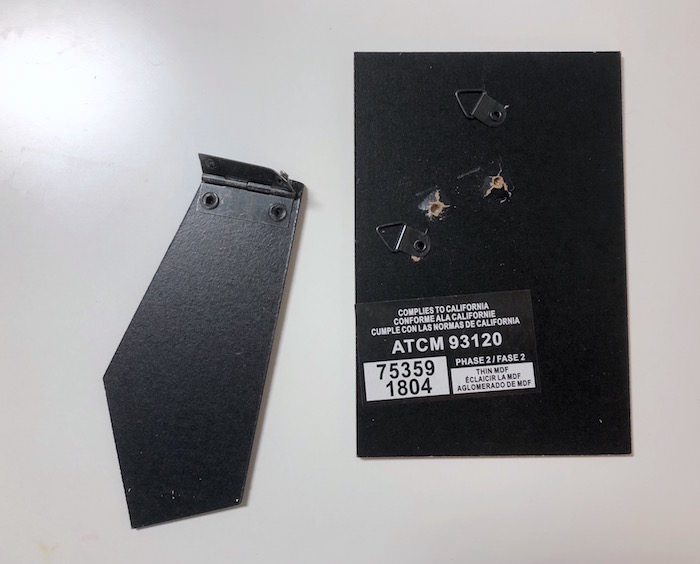
If there are stands on the backs of your frames, use pliers to remove them. You won’t need them and their removal will keep the frames flat on the door. Set the frames, letters, and backs of the frames aside.
It’s time to start using the Duck Tape for your Christmas door decor! First you’re going to make the bow.
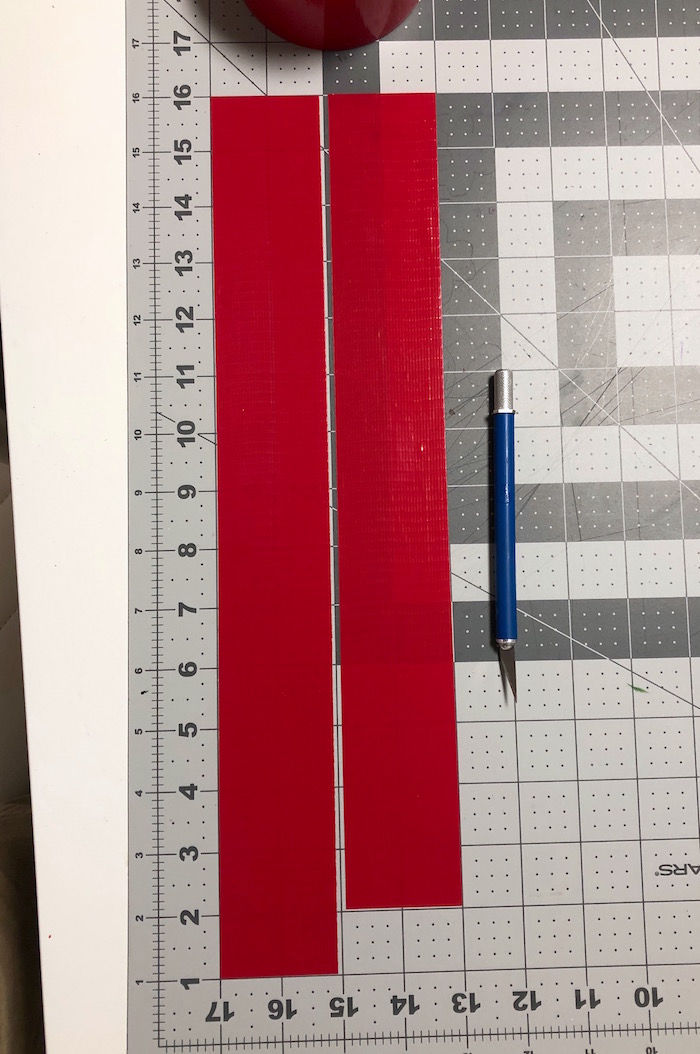
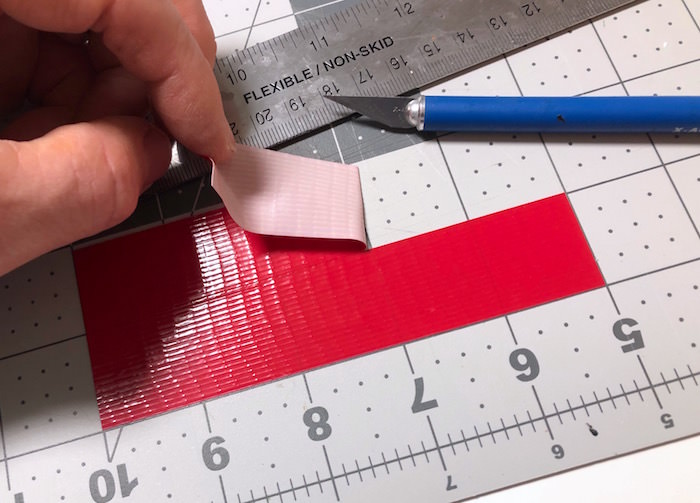
Place two pieces of Duck Tape down on your craft mat – one that is 15″ long and one that is 14″ long.
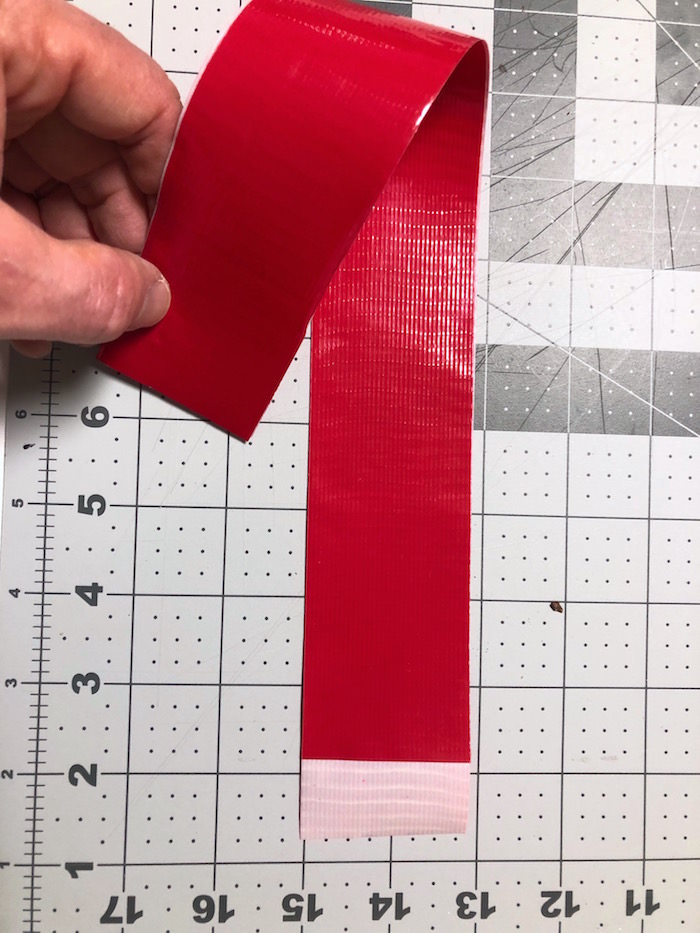
Place one piece on top of the other, matching one of the ends. This means you’ll have a 1″ overlap on one end. You’re going to need that for the next step.
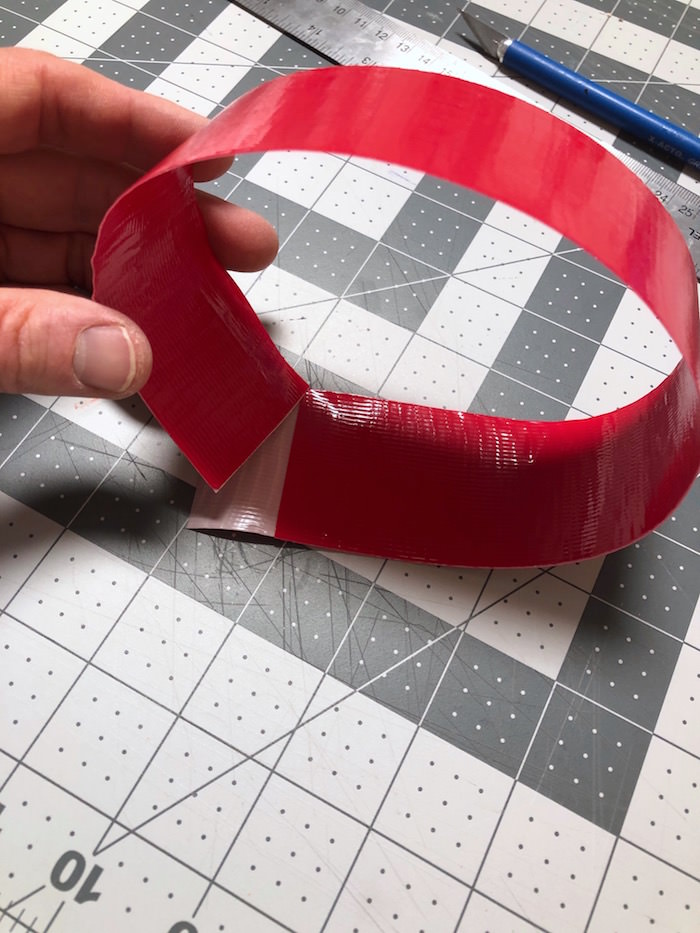
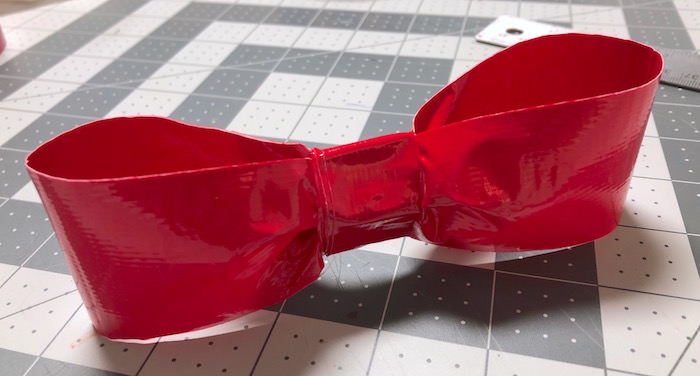
Turn the bow into a loop, using that 1″ overlap to secure it.
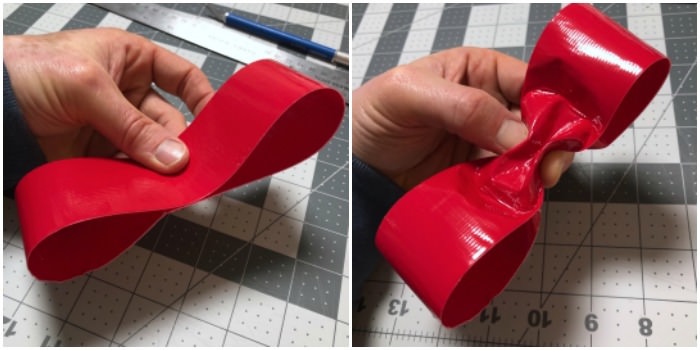
Pinch the loop down in the middle, then pinch it on the sides. Do you see the bow is starting to form?
Place a piece of Duck Tape that is 5″ long on your craft mat. Cut down the middle so that you’ll have two pieces.
Wrap these two pieces around the center of the larger loop to officially complete the bow – for now.
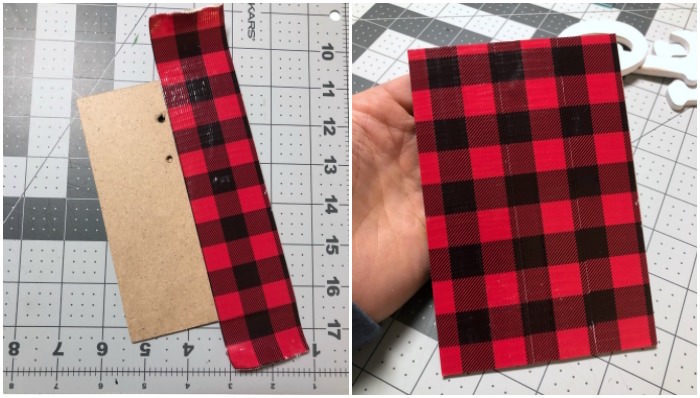
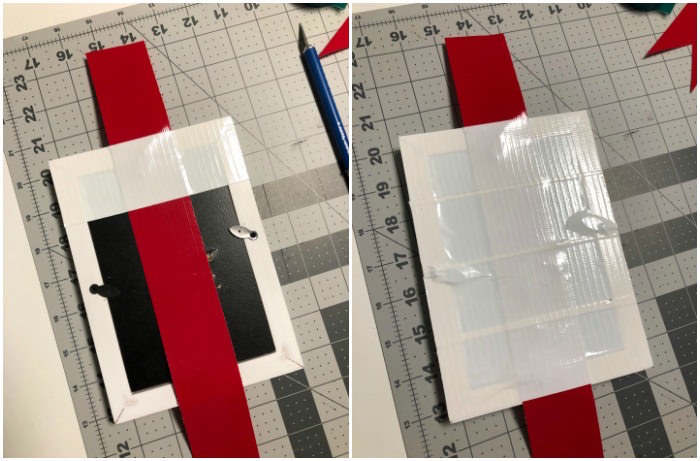
Grab the four backs of the frames and cover them with buffalo plaid Duck Tape. You’ll need to overlap the tape a bit to match the pattern correctly. Trim all around the ends so that they are clean.
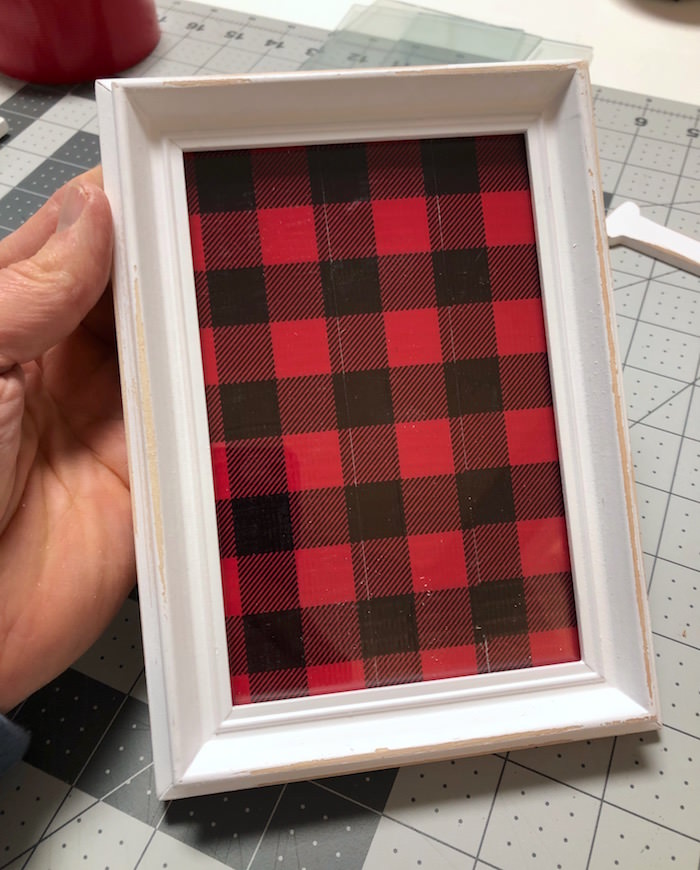
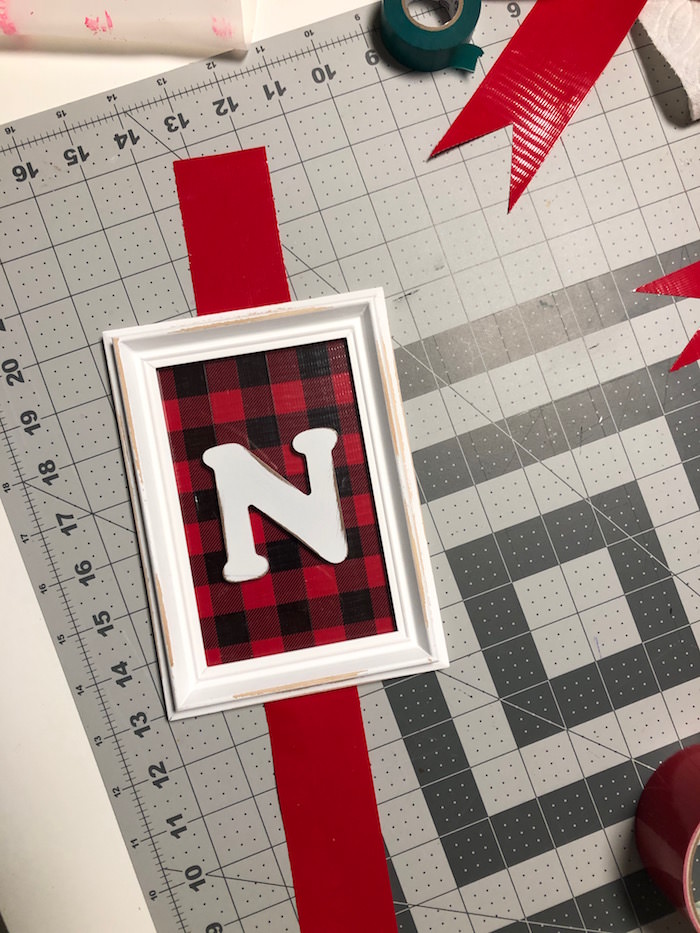
Insert all four sheets of glass and backers with the buffalo plaid Duck Tape back into the frames.
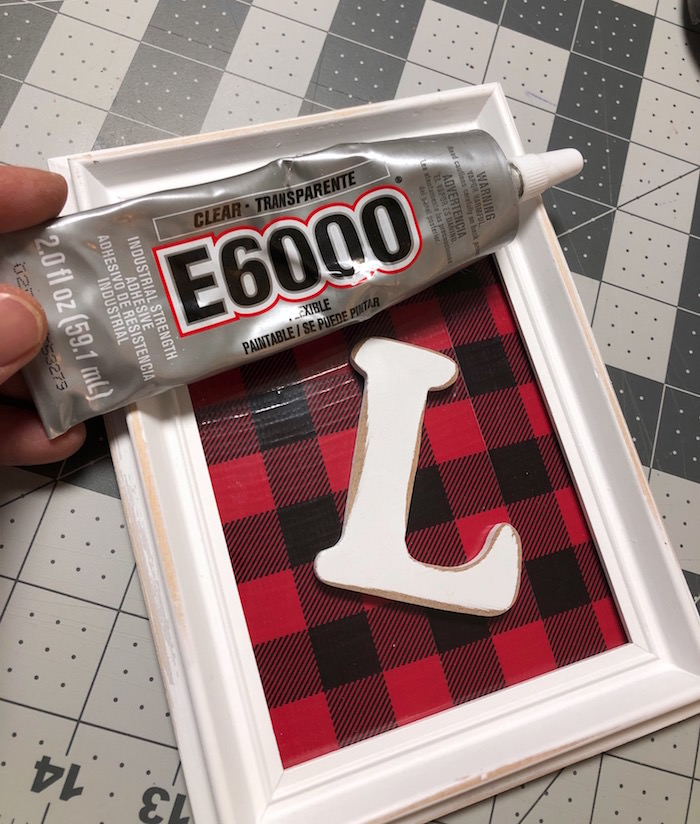
Use E-6000 to glue the letters “NOEL” to the glass on the fronts of the frames. Let dry.
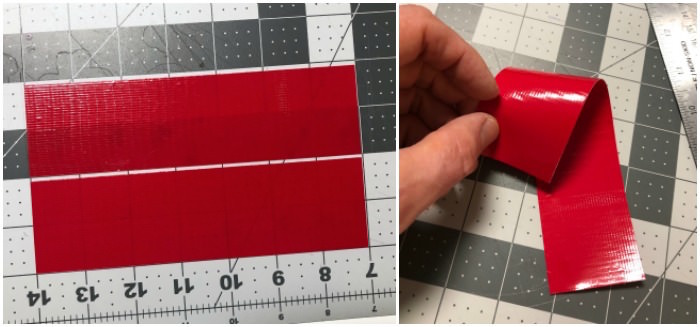
Cut two pieces of Duck Tape 7″ long. Place them sticky side together, forming one piece.
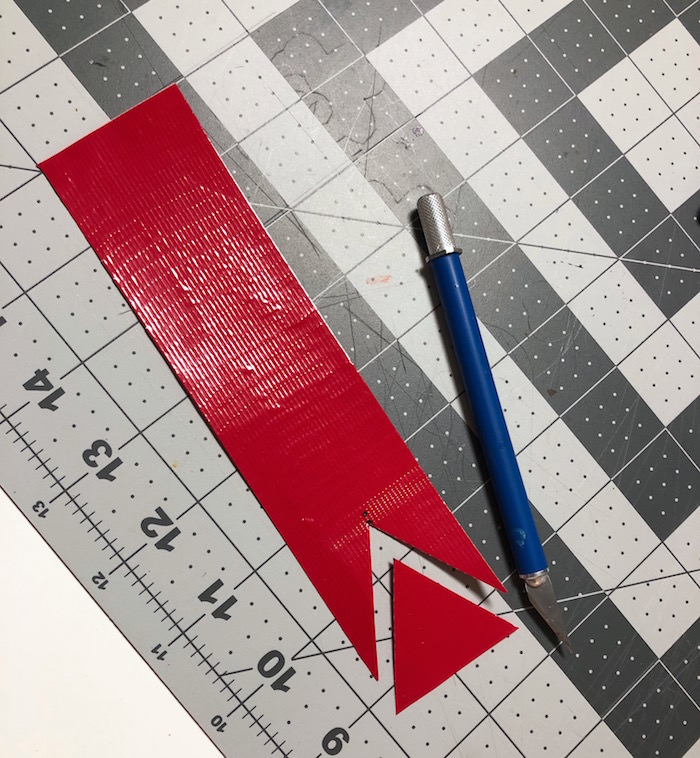
Cut a “V” shape into the end of the piece. Make another one of the pieces and do the same thing.
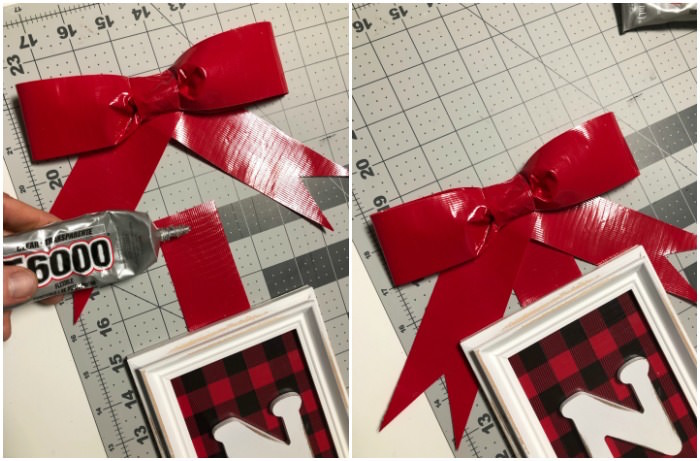
Glue these two pieces together with E-6000.

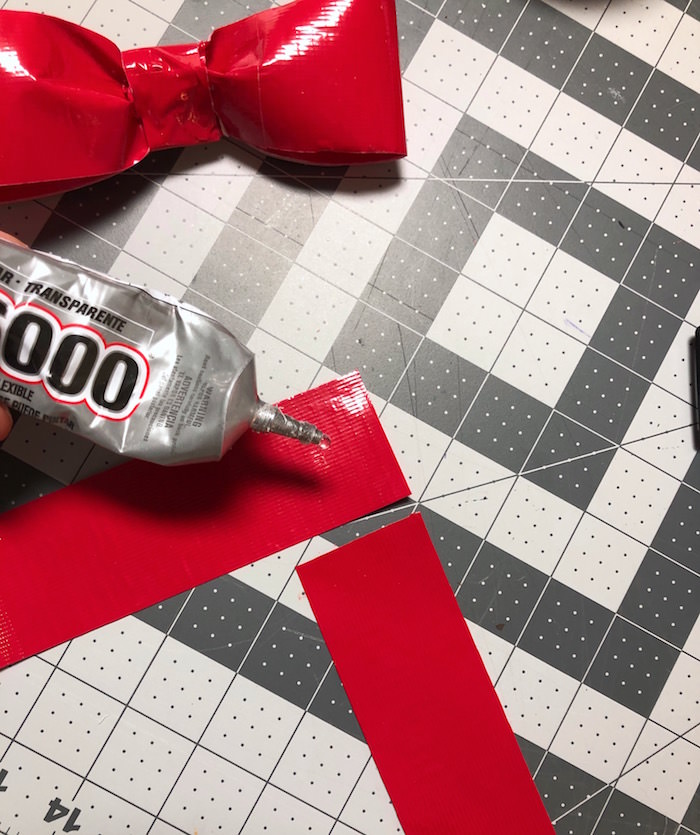
Cut the top off of the bow, then glue the main bow onto the two end pieces. The visual above shows you what to do. Let the bow dry.
The next step is the hanging strip for your sign.
Place a 40″ piece of red Duck Tape on your table, sticky side up. Be careful. It’s easy to get something stuck in the tape and you’re . . . stuck! (Bad joke, I know).
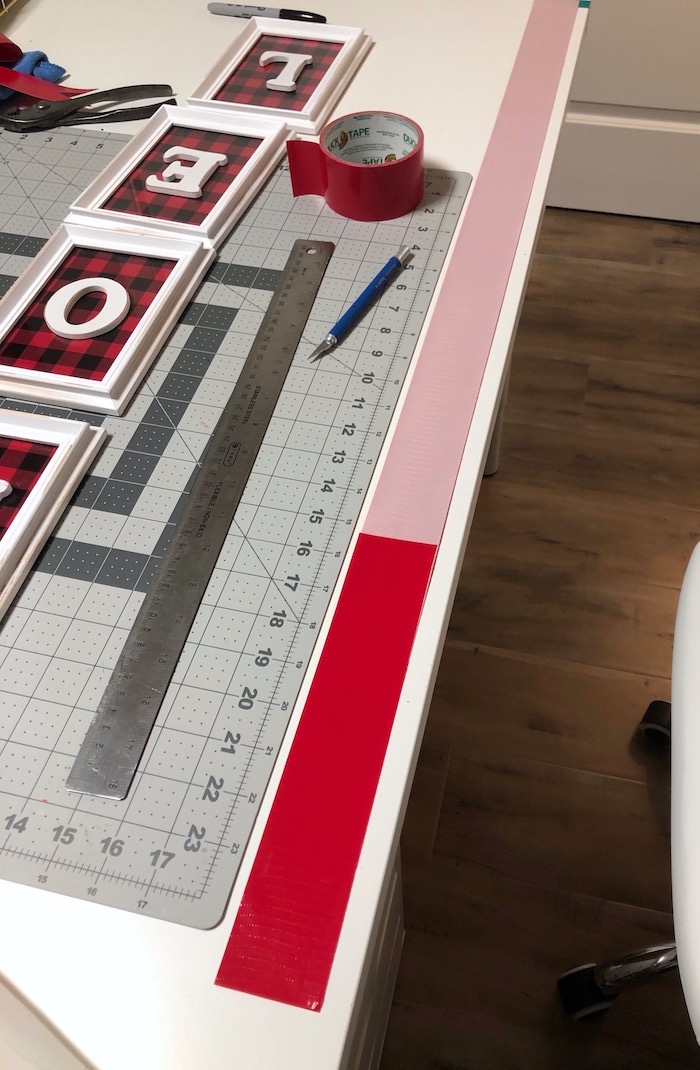
Cut small strips of Duck Tape and place it down on the 40″ strip. You’re going to do that so it’s harder to mess up.
I don’t have the ball bearings to try to tape a 40″ piece of Duck Tape to another 40″ piece. I think I’d cause myself great stress . . . so it worked way better to do it with smaller pieces, one at a time.
You’ll have a finished piece that looks like this.
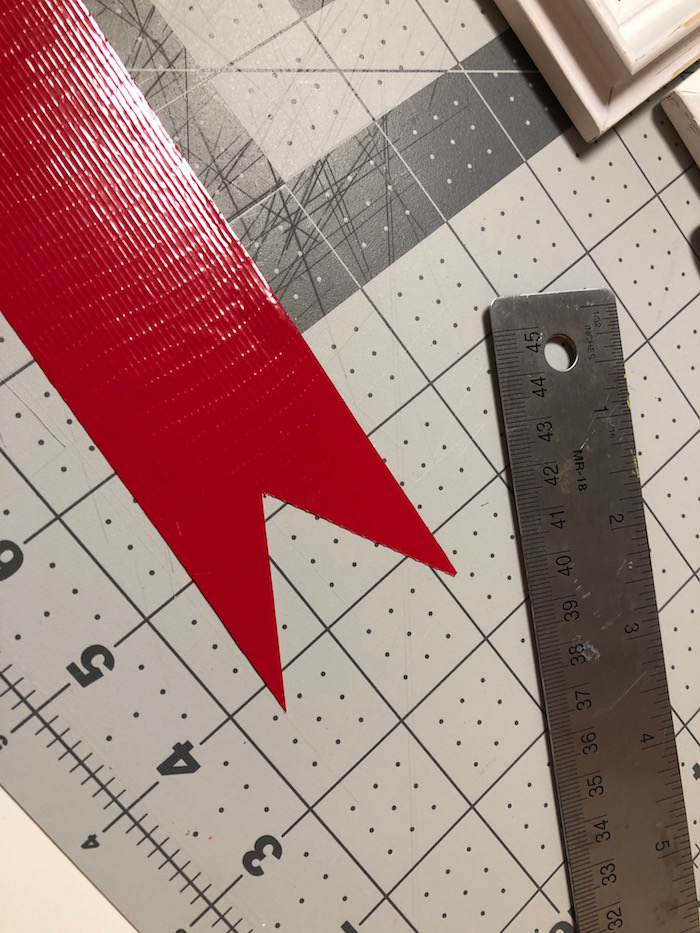
Cut a “V” into the end of your 40″ piece as shown above.
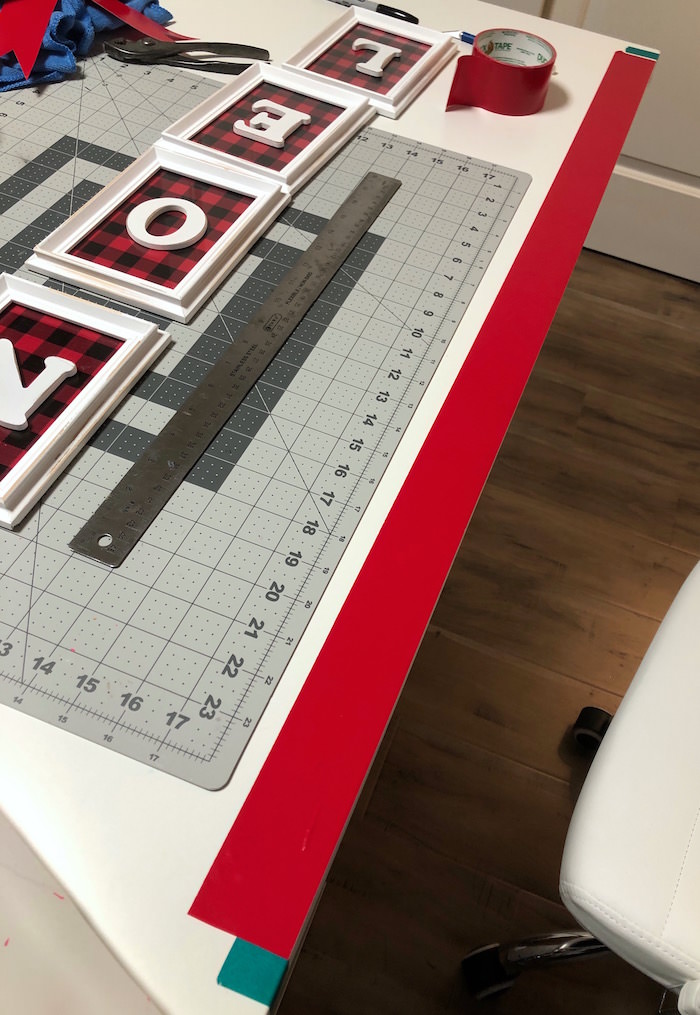
Choose the placement of the frames for your Christmas door decor. Lay them down where you want them and then flip them face down (with the red strip on the back).
Use Duck Tape to tape the 40″ piece down to the frame. Technically you can use any color Duck Tape because no one is going to see it.
Glue the bow to the top of the 40″ piece.
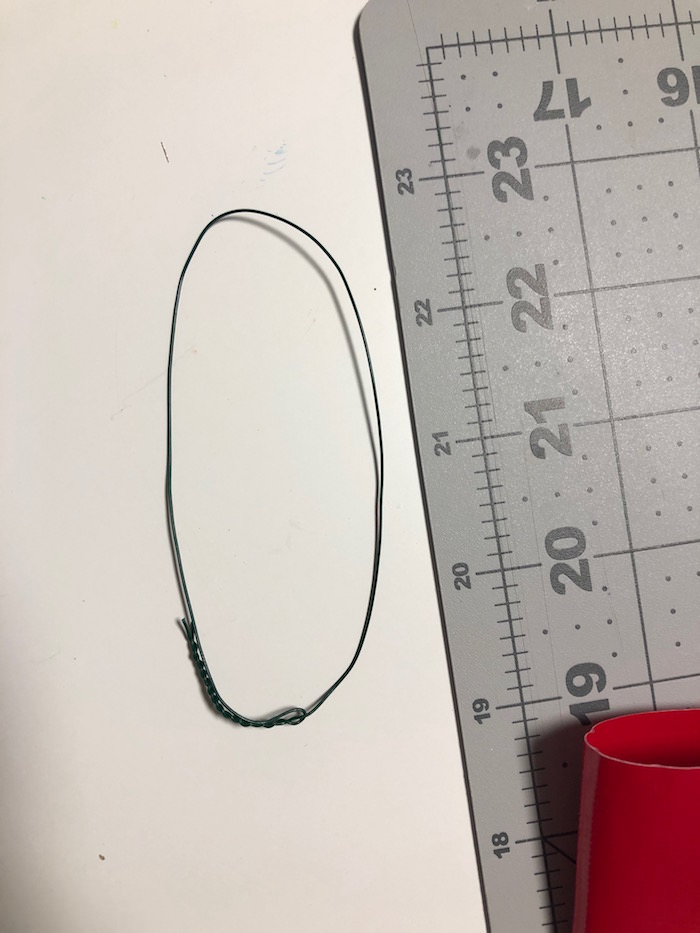
Use a piece of floral wire to create a hanger for your Christmas door decor. Just cut a length, and make a loop by twist the end as shown.
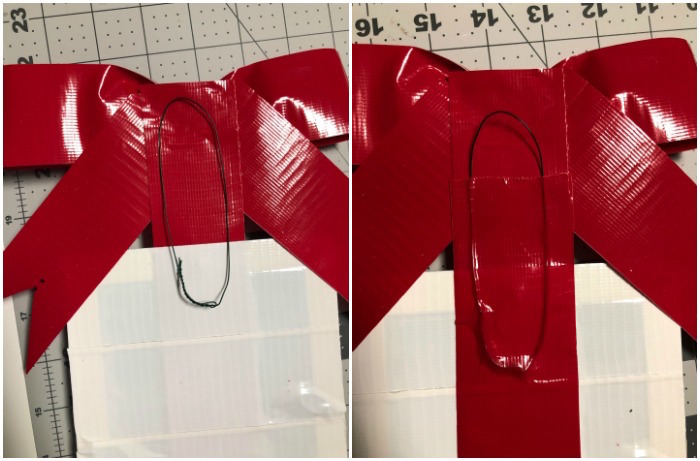
Add the hanger with yet another piece of Duck Tape, as shown. Your DIY Christmas door decor is ready to hang!
What do you think of this Christmas craft? It looks so great on a wood door in my humble opinion. Are you ready to try this farmhouse holiday decor?? I’d love to hear in comments! I’d also love for you to check out the following projects:
Believe Wood Star • Busted Canvas • Chalkboard Trees • Countdown Chalkboard • DIY Christmas Village • Farmhouse Sign • Frosted Mason Jar Luminaries • Gnome Wood Gift Tag • Holiday Door Hangers • JOY Plaque • Merry Christmas Decor • Peace Wood Decor • Tree Mantel Decor • Wood Tree Centerpiece • Wood Trees with Book Pages • Yarn Wrapped Trees


Love your Farmhouse Noel door sign. Great idea. Did you glue the letters to the outside of the glass? Wouldn’t it work just as well gluing letters onto checked tape? Guess perhaps it wouldn’t look as good tho since there might be a glare.
It was hard for me to find a glue for the tape. Everything just popped off! The glass allowed me to attach the letters. I’m wondering if adhesive Velcro strips would work . . .
I love this. It would look great on a door or inside. Change the colors and you have a great way to do a BABY’s name banner for their room or a last name of a family for a living area or kitchen perhaps. Thanks for continuing to come up with such great simple crafts!