Turn a dollar store find into a trendy DIY acrylic tray with the help of Mod Podge! This organizing project is perfect for beginners.
Skills Required: Beginner. It helps to have a little bit of experience with Mod Podge to prevent wrinkles when applying the paper.
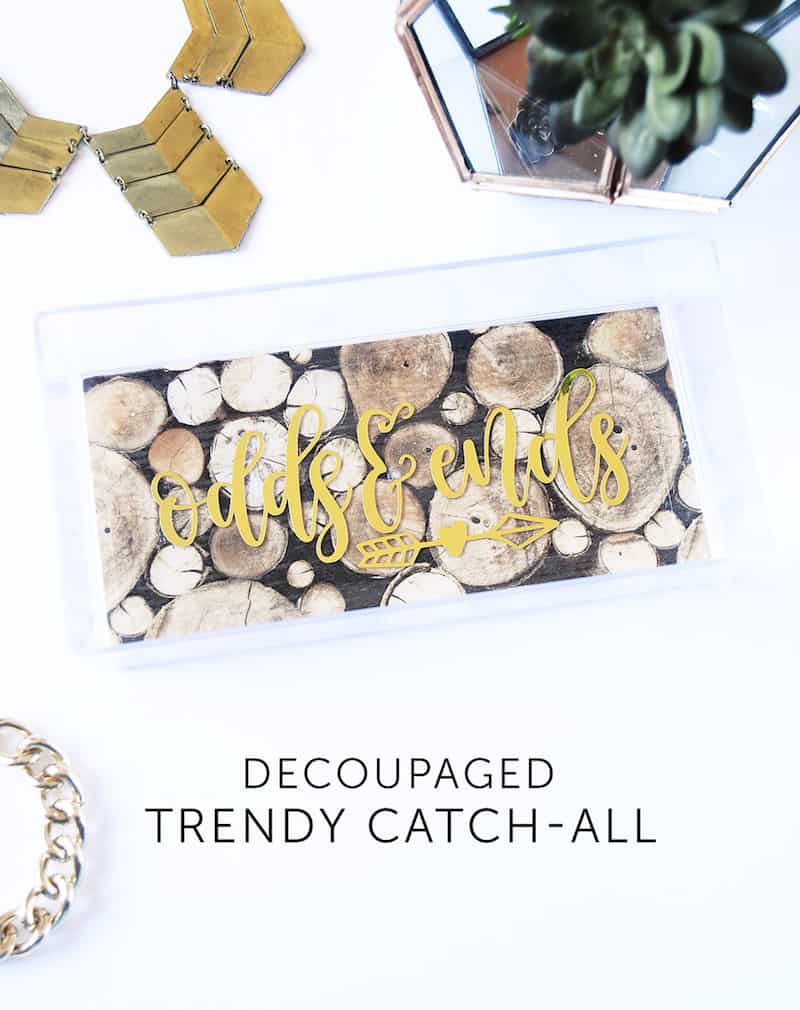
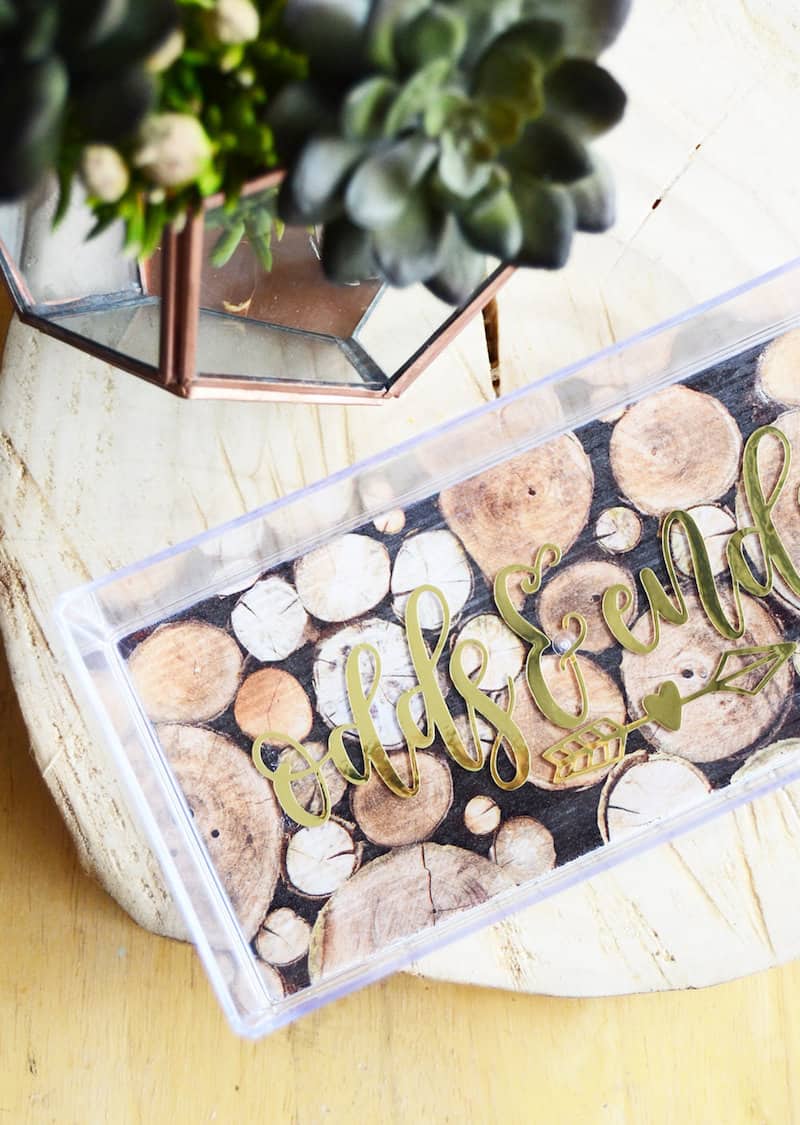
It’s officially spring! And with that comes some spring cleaning – I tend to organize more around the start of the year, but I just couldn’t pass up making this trendy DIY acrylic catchall tray for my bedside.
It turns out that adding paper to a clear tray is pretty simple. The paper goes on the outside with Mod Podge, and the vinyl sticker goes on the inside.
The Mod Podge formula you’ll use is really up to you. If it’s just going to sit on a shelf, you can use Gloss, Matte, or Satin and don’t have to do anything special. You can also use Hard Coat, which is a great idea for things that will be handled regularly.
If you’re going to use the tray for food, it’s fine because the paper and Mod Podge is on the outside. Yes, you can use Dishwasher Safe Mod Podge for this project. Follow all the instructions on the back of the bottle.
If you make it dishwasher safe so you are able to wash tray, I still recommend hand washing. It’s probably never going to be that dirty, and hand washing just makes designs last longer.
Learn how to create this easy tray with this super fast tutorial!
DIY Catch All Tray
Gather These Supplies
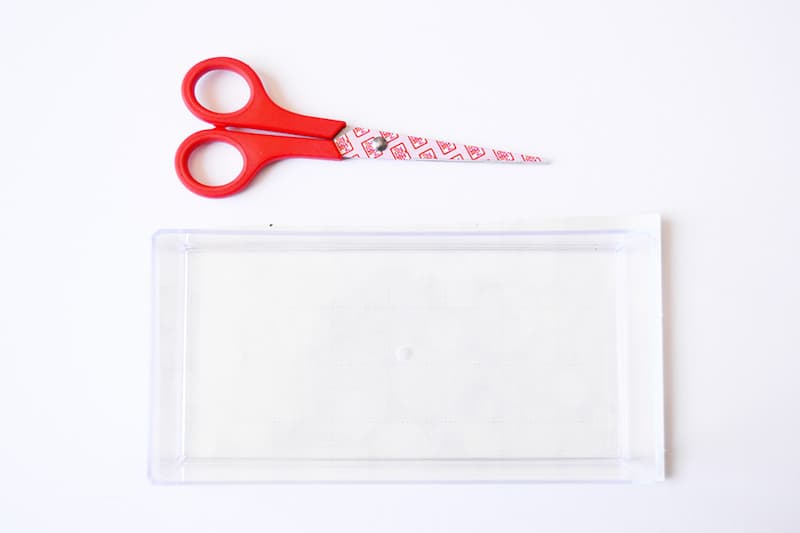
- Acrylic Tray (I got mine from the dollar store)
- Scrapbook paper or wrapping paper of choice
- Mod Podge Matte or Hard Coat
- Paintbrush
- Scissors
- Metallic Gold Vinyl or Pre-cut sticker letters
- Transfer Paper
Cut the Paper
Step 1. Cut your paper to size. Trace the bottom of your acrylic tray so your paper fits perfectly. Trim around the edge as necessary.
Apply Mod Podge
Step 2. Apply a layer of Mod Podge on the bottom of your acrylic tray. I wanted the inside to be smooth so I applied the decoupage on the outside, right side down.
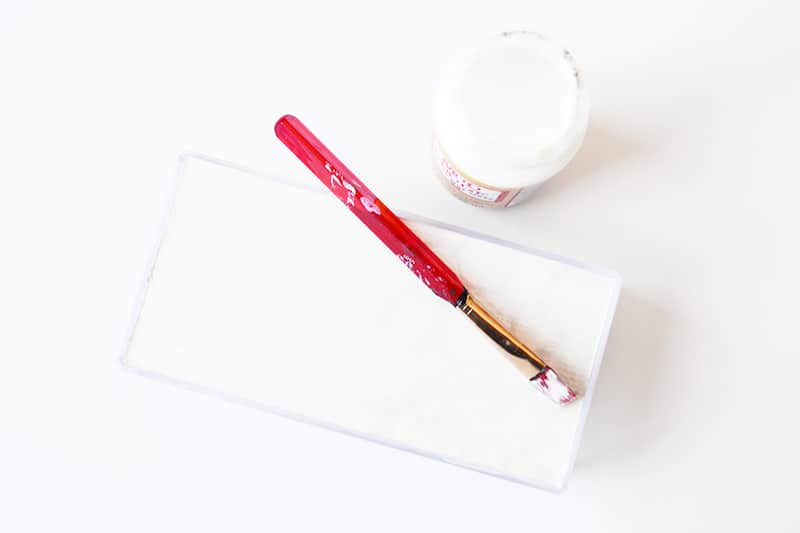
Smooth the paper down thoroughly, and wipe away any Mod Podge from the sides. Let dry for about 15 – 20 minutes.
After it’s adhered, apply a few more layers of Mod Podge to seal your paper and make it sturdy.
Cut and Weed the Design
Step 3. Cut and weed your design or lay out pre-cut sticker letters on a sheet of wax paper.
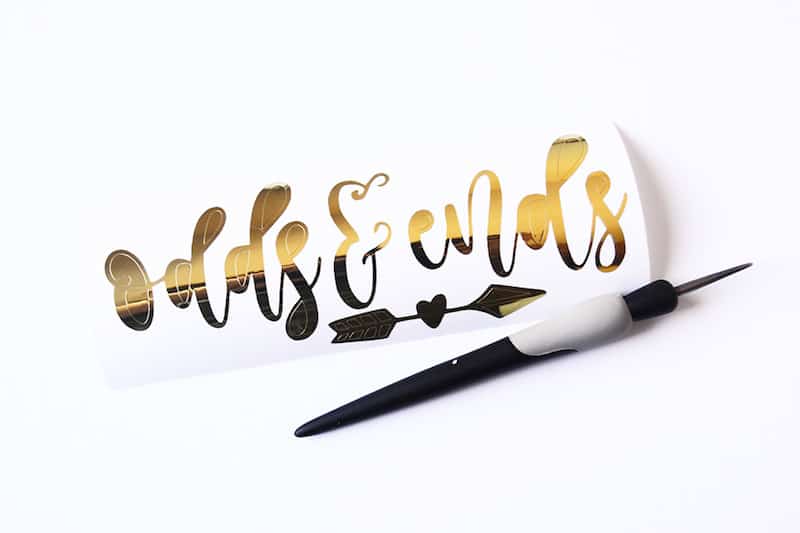
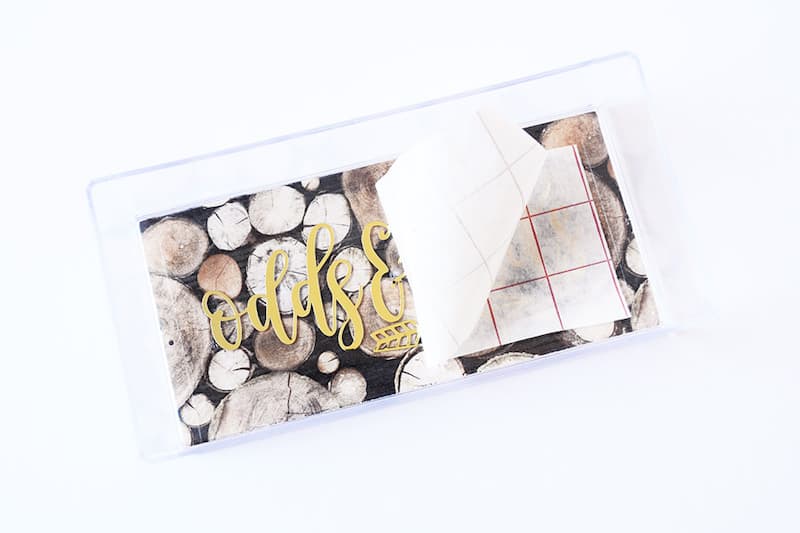
Transfer the Adhesive Design
Step 4. Transfer your design on the inside of the tray using transfer paper to line and center the design.
And you are done! Easily personalized your own inexpensive acrylic tray with your custom design, your giftee’s name and a mix of patterns and colors to suit your style or your giftee’s style. I love the personalization options.
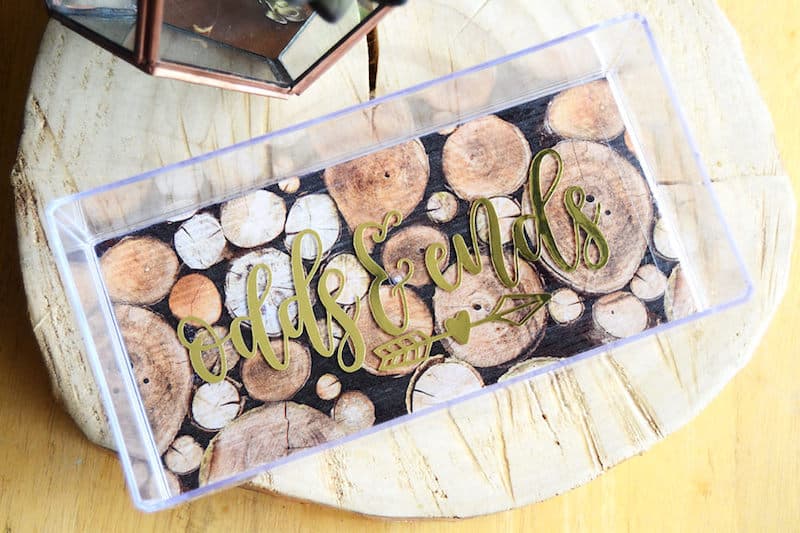
It’s just the perfect idea for anyone. Everyone can use a tray. And of course, don’t forget to have fun making it!
What are you excited to organize this spring? Have fun crafting and don’t forget to follow me on social media or my blog for more ideas, freebies and tutorials!
If you enjoyed this project, I think you’ll enjoy these other tray tutorials: