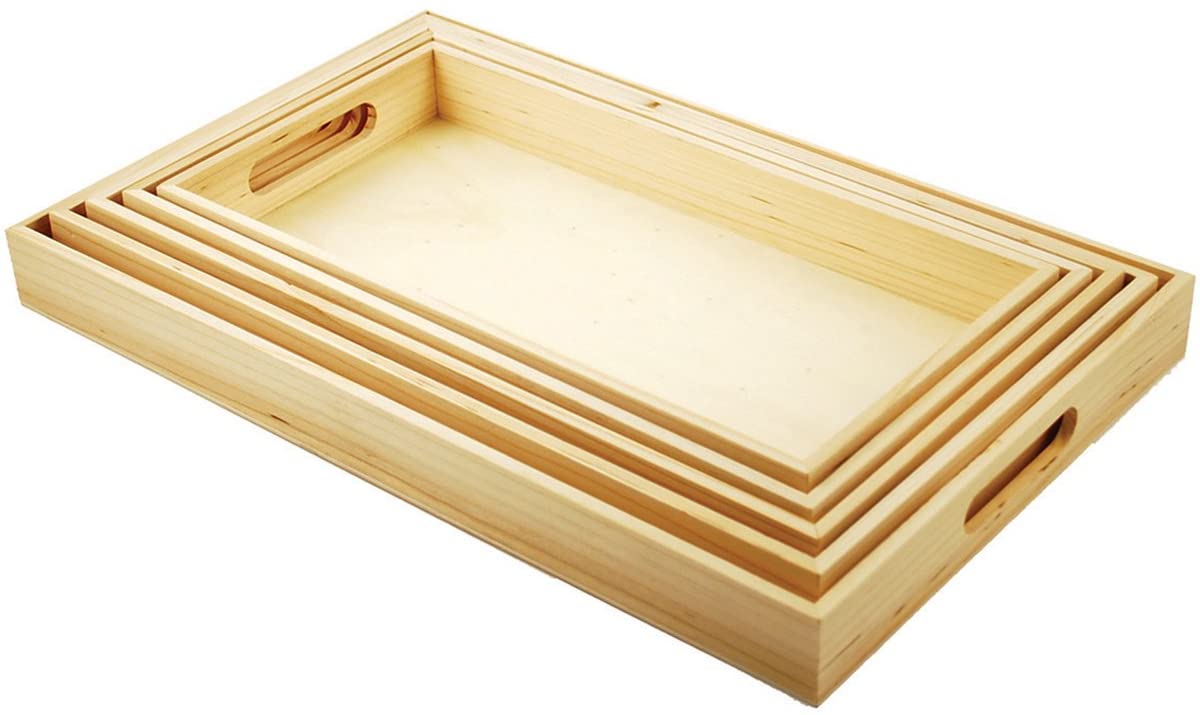
I don’t know about you, but I get excited when I see all those unfinished surfaces. To me they are like an unpainted canvas! What can I do with them?? The possibilities are endless.
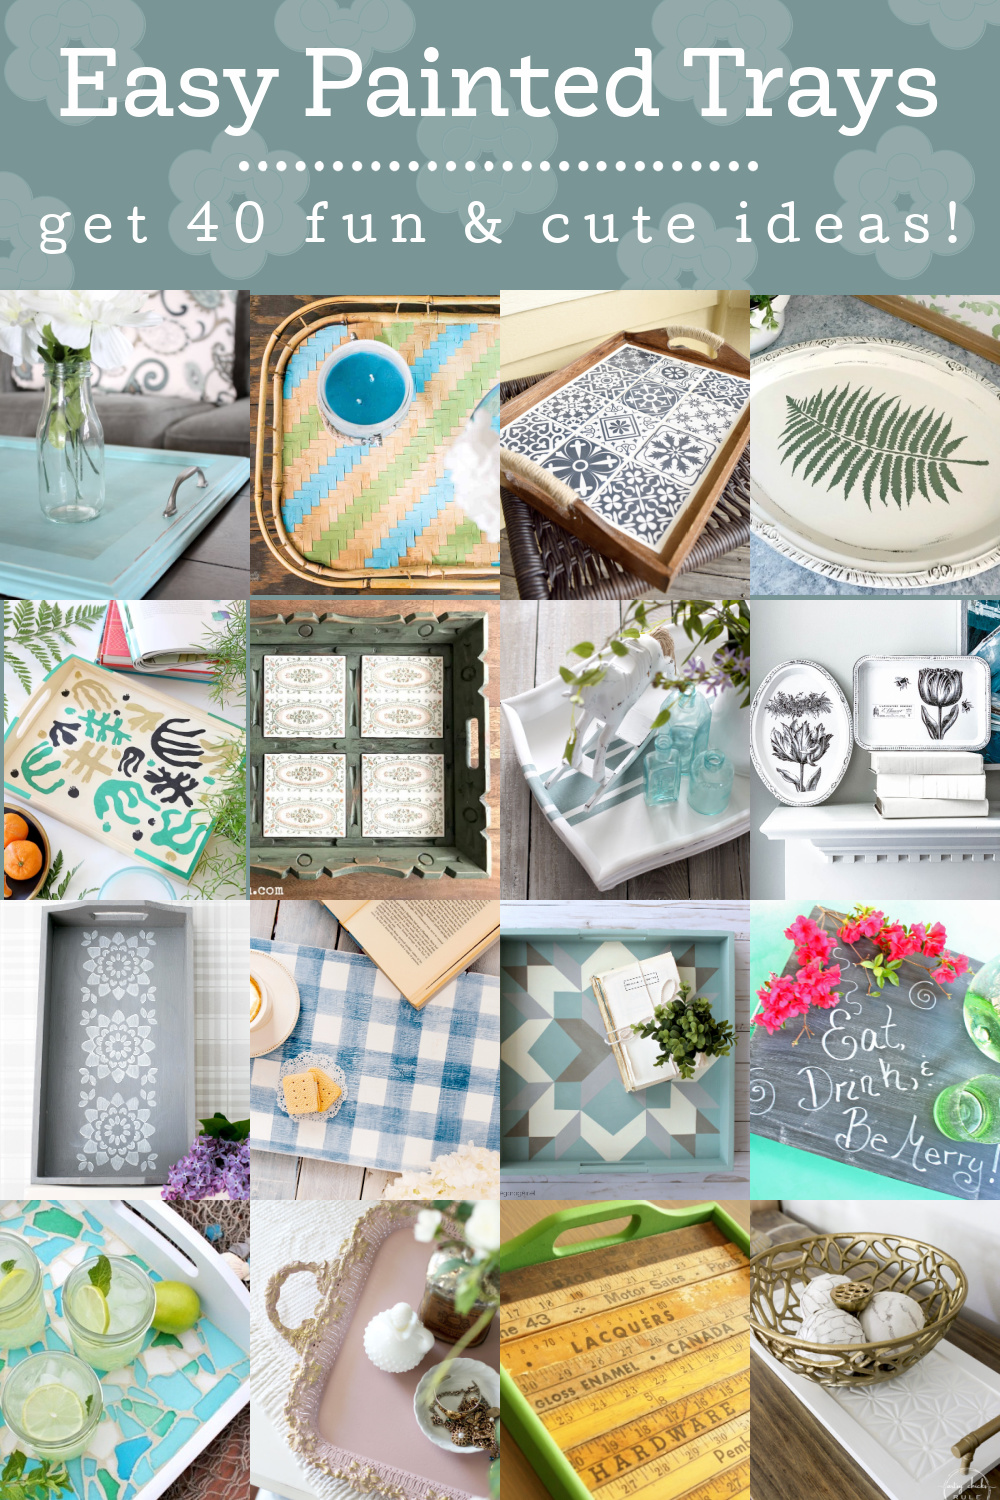
Because I love easy things to paint, and because we decorate so many trays here on Mod Podge Rocks, I pulled together a collection of my favorite painted trays so that I could show you a bunch of ideas all in one place.
I believe that little touches make a big difference in home decor, and decorating trays is one way to add that pop of interest or color. They are also great for creating vignettes or simply helping things stay sorted in your home.
Tips for Decorating Trays
I want to share some tips with you before you get started. If you’d like the ideas and want to skip the small talk, just scroll down to the list. Otherwise I hope this section helps you get ready!
The supplies I always like to have on hand are as follows: a tray, sandpaper, tack cloth, mild soap and water for cleaning, paint (chalk paint or acrylic), paintbrushes, paper/fabric and Mod Podge (if decoupaging), scissors.
Where to Get Surfaces
I already mentioned craft stores, but there are two other great places: Goodwill and Facebook Marketplace. Sure, some of the trays are going to be used or have a design on them, but that doesn’t matter.
One thing I like about reusing a tray that has been previously painted or has a design on it is that you can get a lot of interesting shapes and styles, more so than at the craft store. You’ll see a lot of Goodwill action in this post!
How to Prep a Tray for Painting
Before you begin, remove any stickers with adhesive remover. If it’s a metal (used) tray, you can wash it with mild soap and water and let dry. For wood trays, sand out any rough spots and use wood filler to fix if necessary.
If your tray is dark and you are decoupaging or painting a lighter color on top, you might want to prime. I always use Kilz primer for just such situations, as it goes on very smoothly and works well with paint and Mod Podge.
Type of Paint to Use
I’m pretty predictable when it comes to trays – I use one of three things: acrylic paint, chalk paint, or spray paint. You can use Mod Podge with any of these. I like spray paint with metal because it produces such an even finish.
With wood I like to use FolkArt acrylic paint OR FolkArt Chalk finish. I love the color selection and also the finish. Note for the chalk paint . . . you won’t have to prime with chalk paint. It has such amazing coverage. It’s also perfect for a more distressed look.
How to Finish
Once you’re done painting and decorating your tray, you need to finish the project by sealing it. Maybe you decoupaged paper or fabric into the tray as well. I use one of two things for the finishing: Mod Podge Resin or Minwax Polycrylic.
Resin provides a nice thick and glass-y looking finish that I really enjoy. But just plain polycrylic works well too. The nice thing about the resin is that it is waterproof if you put cool drinks on a tray. Remember to let your painted tray dry for 24 hours before using.
Are you ready to get a bunch of ideas for transforming a plain tray into something special for your home? Scroll down and enjoy them!
1
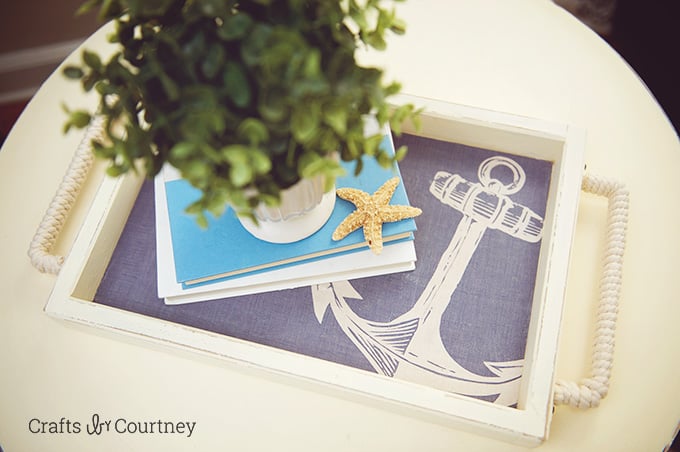
Decorate a Tray Using a Goodwill Find
Learn to decorate a tray with this simple tutorial! You're going to love the before and after of this $3 Goodwill find. SO easy to do.
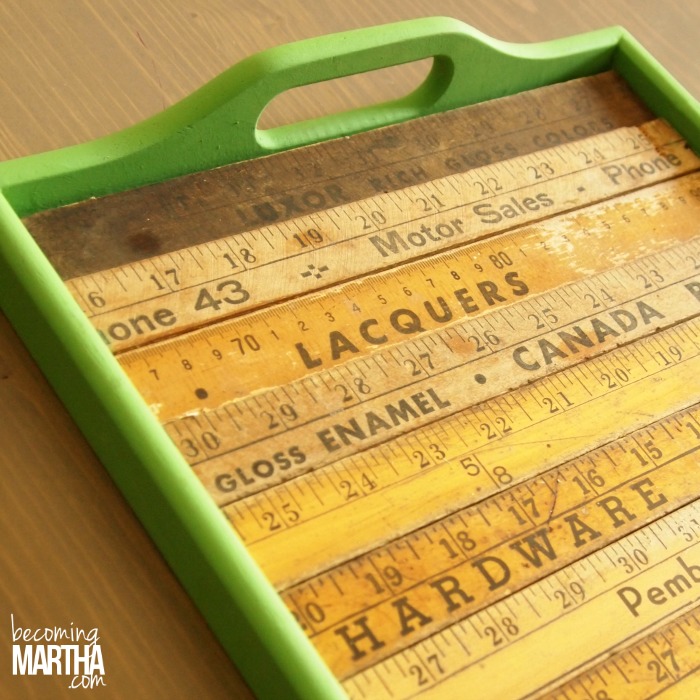
Have you ever thought about crafting with yardsticks? It's such a fun idea! I love the yardsticks combined with the green paint in this unique painted tray makeover.
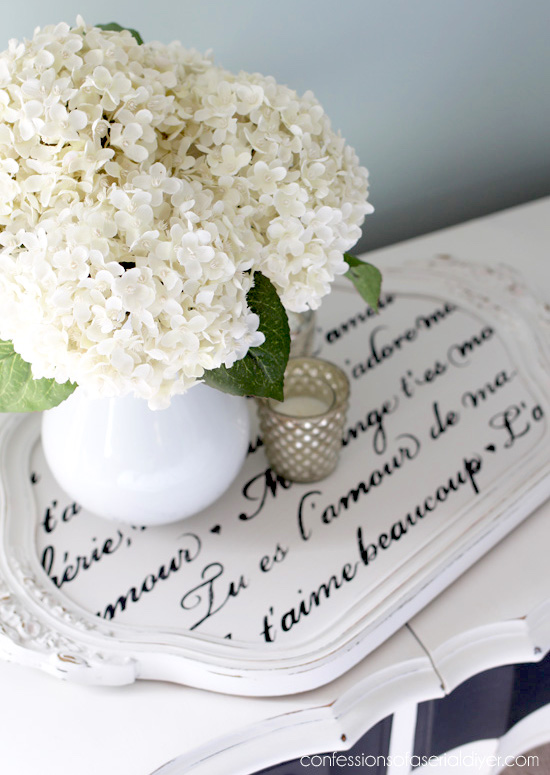
Did you know it's possible to purchase stencils with french writing? I love the idea of adding that kind of beautiful vintage style accent to furniture, canvases, and especially this painted tray.
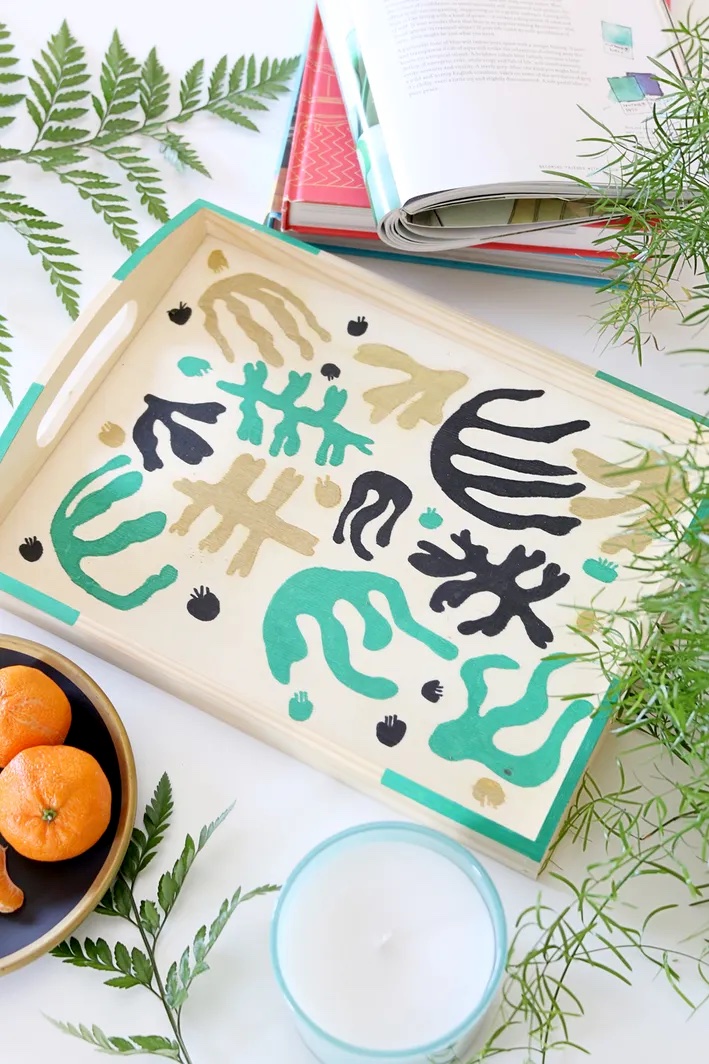
Lidy took inspiration from one of her favorite artists, Henri Matisse, and how he so perfectly captures nature's whimsical form and shape. With summer just around the corner, she decided to create this mixed foliage painted tray to add that burst of color and pattern to her home.
You might think painting a barn quilt is hard, but it's really not! Jen will show you her method for painting a barn quilt pattern on a wooden tray, and how to achieve success.
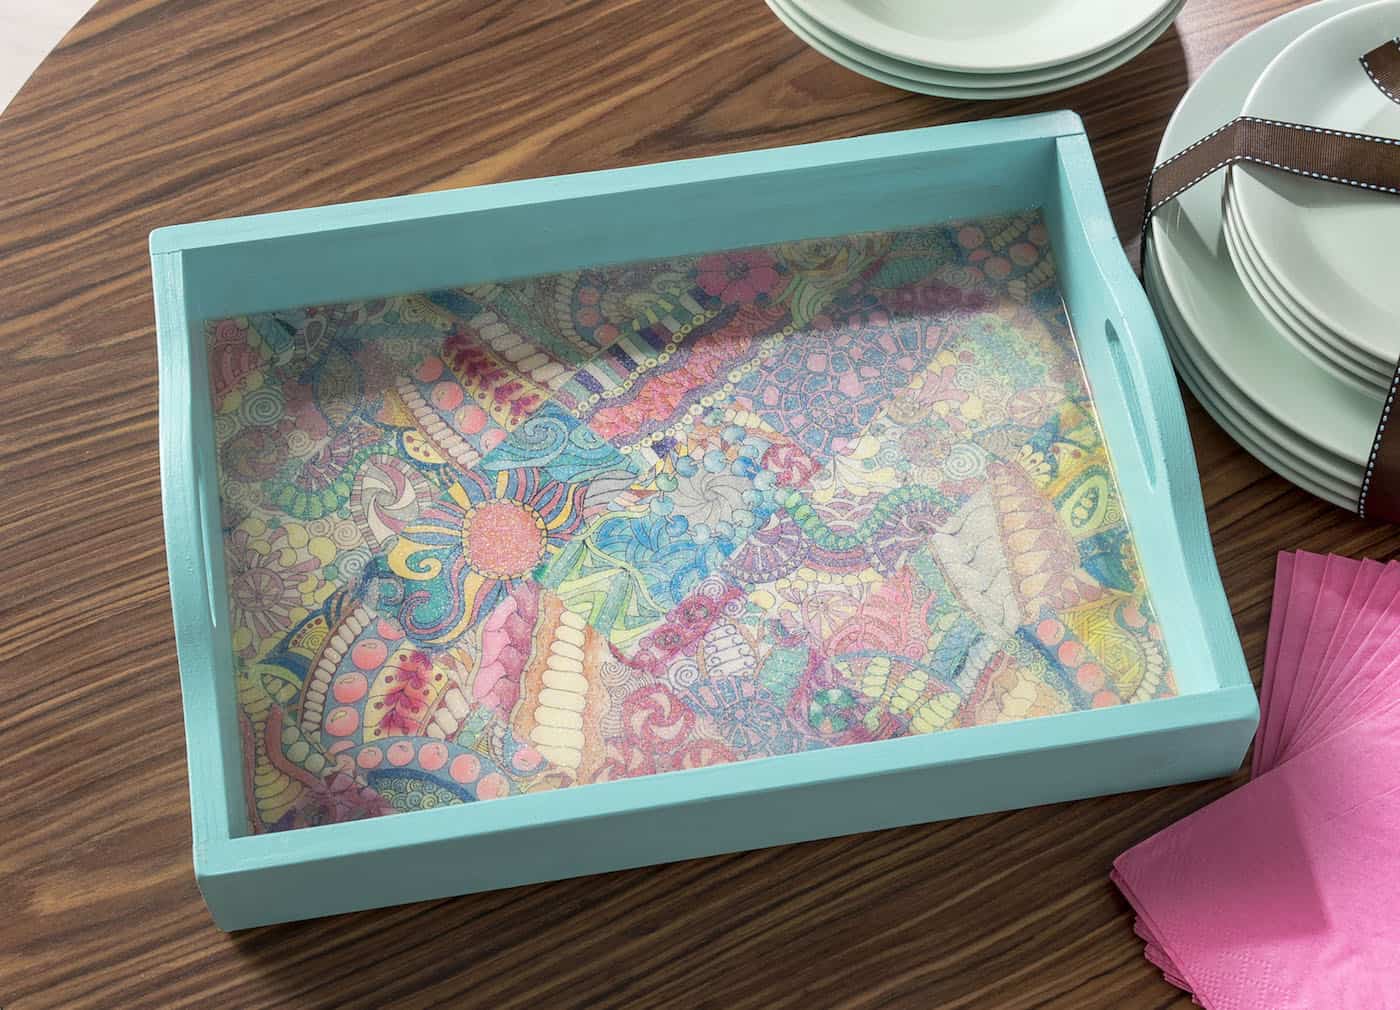
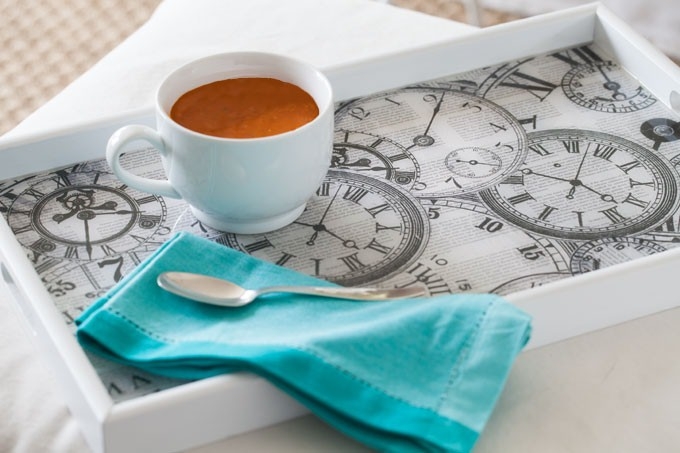
Diane shows you a great way to paint and decorate a tray – but also how to seal and protect the tray using resin when you're done painting. I love the final result!
Learn how to paint buffalo plaid easily on wood with some chalk paint and painter’s tape. Watch a video tutorial in the post to learn how Amy updated a thrift store tray!
This simple thrift store tray makeover was a budget-friendly makeover with pretty mosaic tile and a little gold paint! You'll be cutting tile and grouting, but I promise you it's easy – even easier if you find tile that closely fits your tray.
Grab some metal trays from Dollar Tree and paint them with chalk paint. Then decoupage your favorite vintage French graphics on top! These are so beautiful and perfect just for displaying on a mantel.
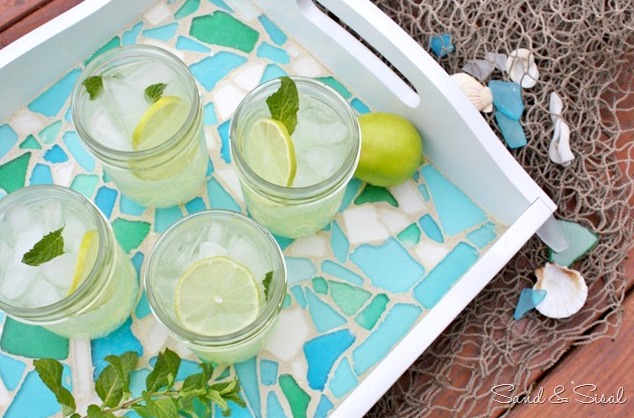
Sea glass is so beautiful, and I love how Kim incorporated that into her pretty painted tray! YOu have to see the before – you won't believe the transition from black colonial tray to this.
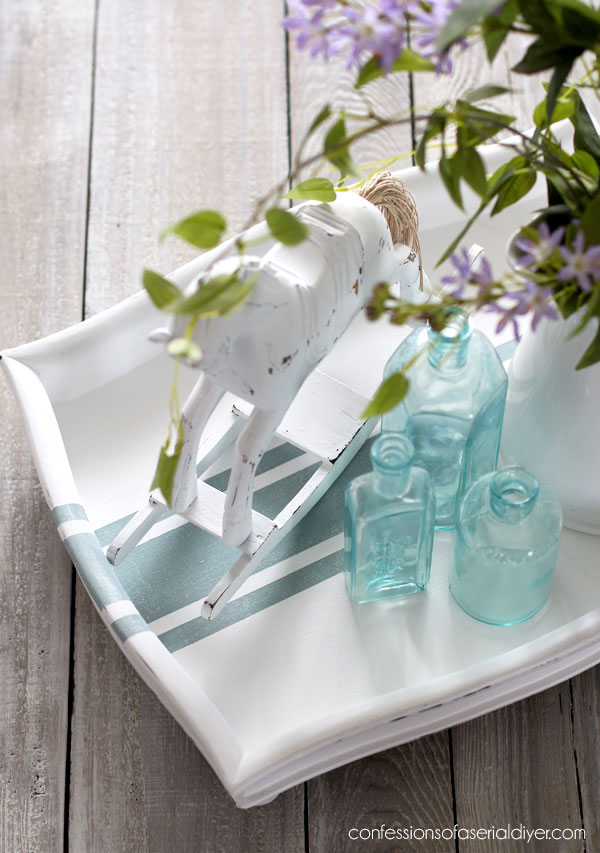
It’s yard sale season! If you find yourself bringing home an abundance of basic accents and accessories, now’s the perfect time to brush up on your painting skills. Turn a basic yard sale find Into a classic cottage serving tray with this tutorial.
Do you have an overabundance of wooden cutting boards? Maybe you spotted one at the Goodwill in need of a makeover? Turn it into a cute painted wooden tray with this tutorial.
You're not going to believe how this tray started out! For only $3 and a little bit of chalk paint, this tray got a huge makeover and it's so pretty. I love the addition of the feet, too.
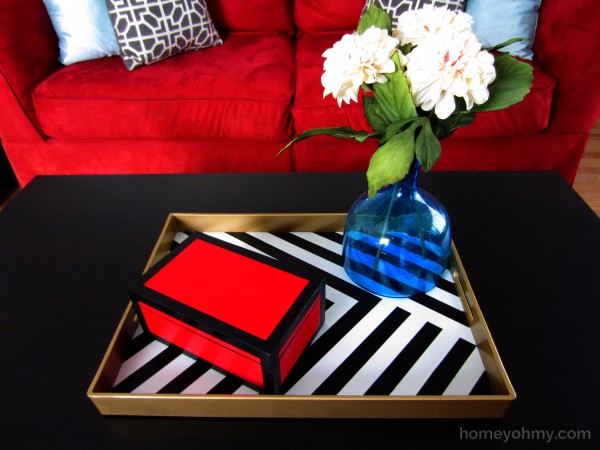
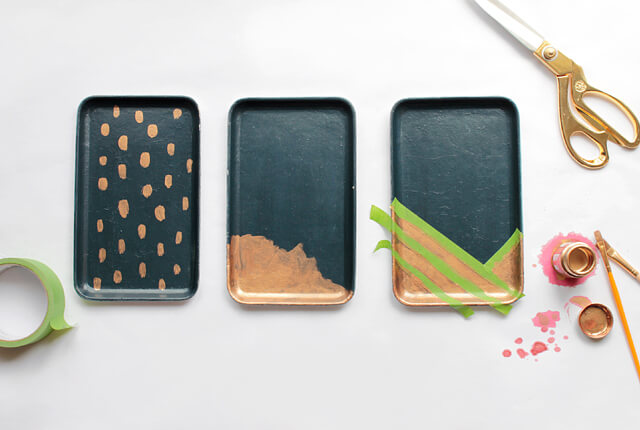
Paint is the simplest way to dramatically change something, and that's exactly what Amy used to revamp an old tray she had on hand. See how she created the stripes – I love the combination of black, white, and gold.
Jill grabbed an old cabinet door and made a painted tray out of it for her coffee table! You'll just need chalk paint and some handles; it's very easy to distress.
Grab yourself some patterned chevron Frog Tape to make this project about as easy as it gets! I love the idea of using some bold and bright spray paints for this craft.
You never know what you're going to find at the thrift store – but this painted tray gives you a great idea of the possibilities! I love that Carlene painted everything from the handles to the metal, and the results are so pretty.
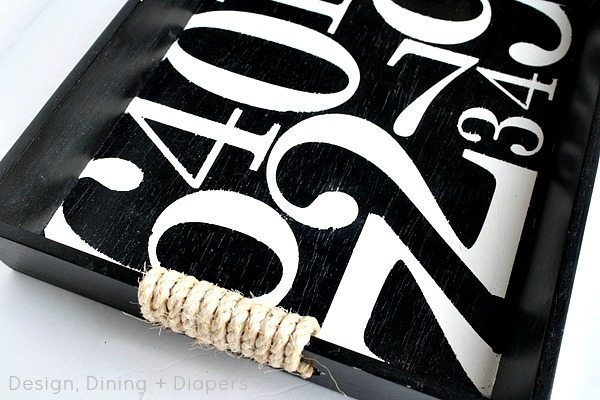
A little paint can completely transform any project! I love the beautiful color combinations of this painted tray, and the jute accents on the handles.
Have you ever tried decorative painter's tape? You can find different kinds on occasion in stores (scallops, waves, etc). You can also cut patterns into painter's tape and make any design you like!
I love that Brittany was inspired by the cool paintings at Salvation Mountain when she made these trays! The base is paper mache, which gives you yet another tray option.
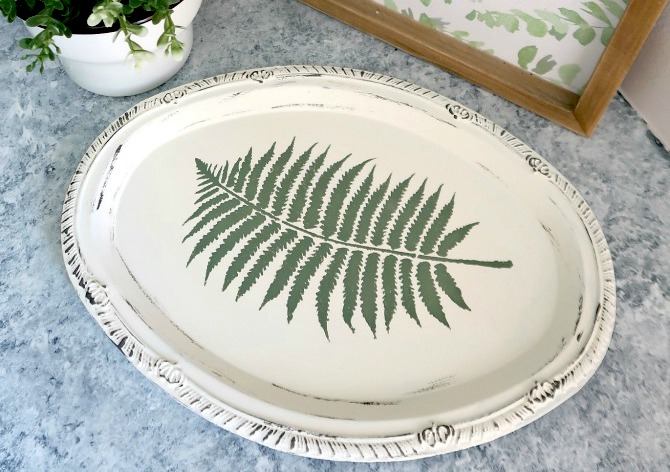
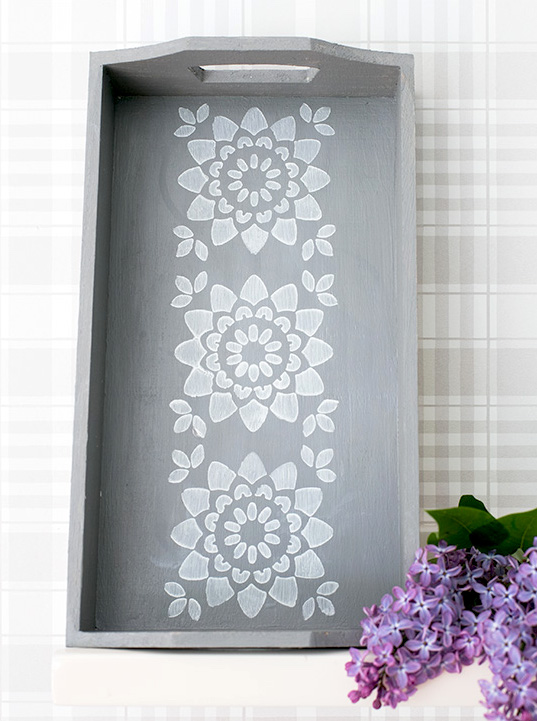
If you want a cute design on a tray but aren't sure how to achieve it – start with a smaller surface and a stencil! This tutorial shows you how to paint a tray the easy way.
I really love this method for making the tile tray of your dreams! It takes a little bit of patience to cut the wood to fit and there is some dry time, but overall this is a simple project with gorgeous results.
I don't know about you, but chalk paint gives me life! I especially love the darker colors. If you like simple painted trays, you'll have to try this. It adds a unique touch to your home decor.
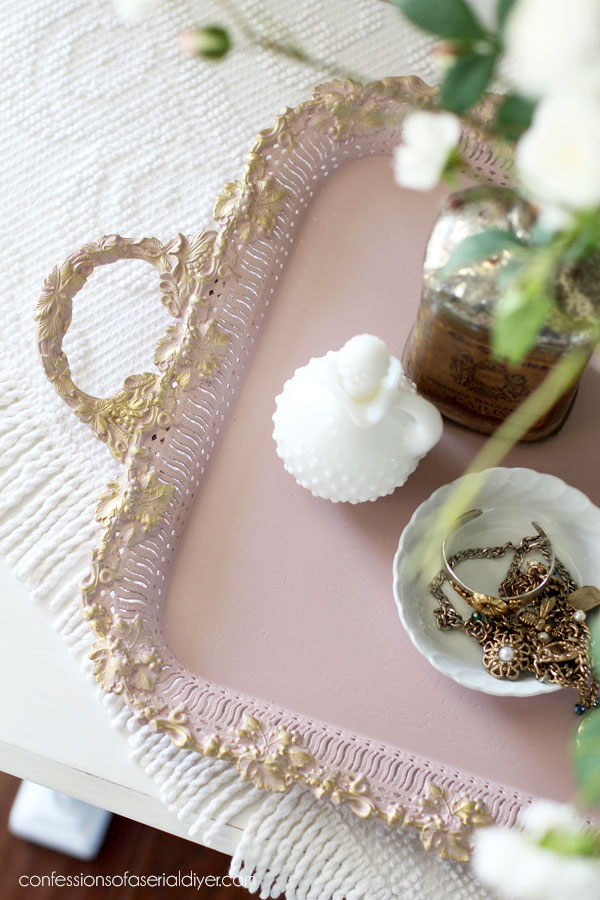
I'm the first to admit that I'm not really a pink girl when it comes to home decor – but this painted tray is just too beautiful not to share! I absolutely love the shade of pink that Christy chose, and the gold accents pull it all together.
Liquid gilding is a favorite craft material that I really don't get to use enough! I love that Ursula saw some floral trays and made them over with some gorgeous shades of dark navy and metallic.
If you're looking for a very simple painted tray idea, this is a great one! Start with an unfinished wood tray and add some paint, then some gold as an accent. Works with all types of decor!
If you're scared to work with resin, don't be! Paint a tray with a gingham pattern and then put resin on top. This project is perfect for the holidays.
Leaving some cookies out for Santa? Maybe doing a little holiday entertaining? You're going to need a pretty painted tray for Christmas – this is a great idea.


Thank you for sharing.