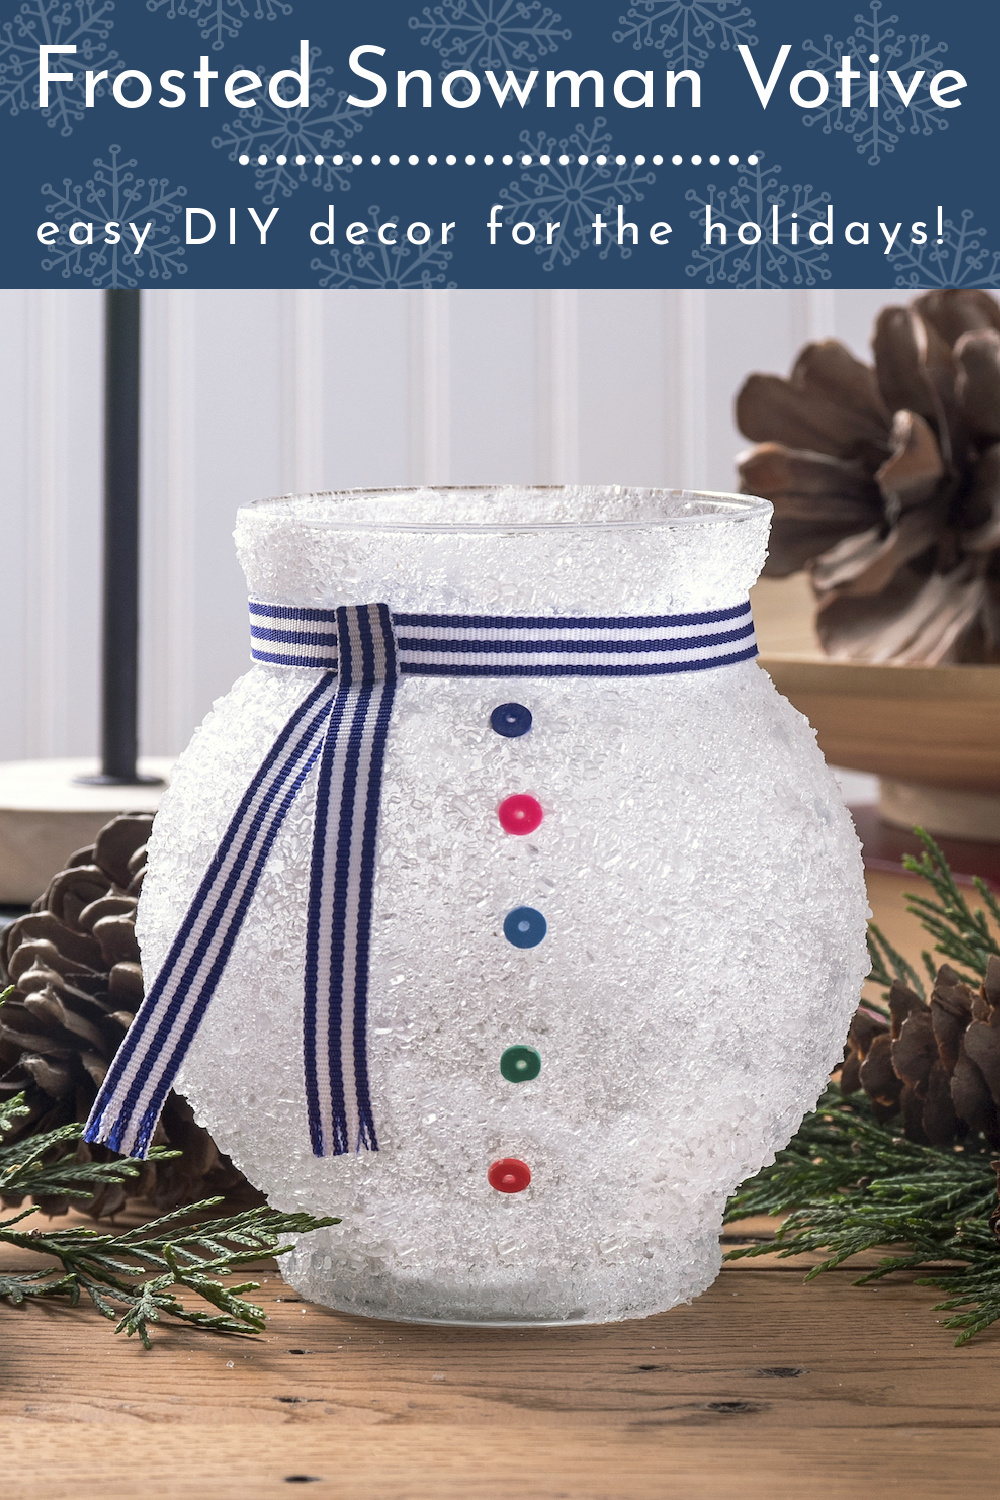
Celebrate winter indoors with a unique snowman craft – make this cute votive made with epsom salt and Mod Podge! Very easy winter decor.
Skills Required: None. This snowman candle holder is really easy to make, even if you’ve never crafted before. You’ll be adding epsom salt to a glass container with Mod Podge. The biggest thing you need for this project is patience.
Have you ever used epsom salt on glass? It’s pretty popular for the holiday season. I’ve used it on frosted mason jars as well as gold glitter votive candle holders. Something about the epsom salt says “it’s getting colder and it’s time to light some candles.”
Which is a sentiment that I totally appreciate.
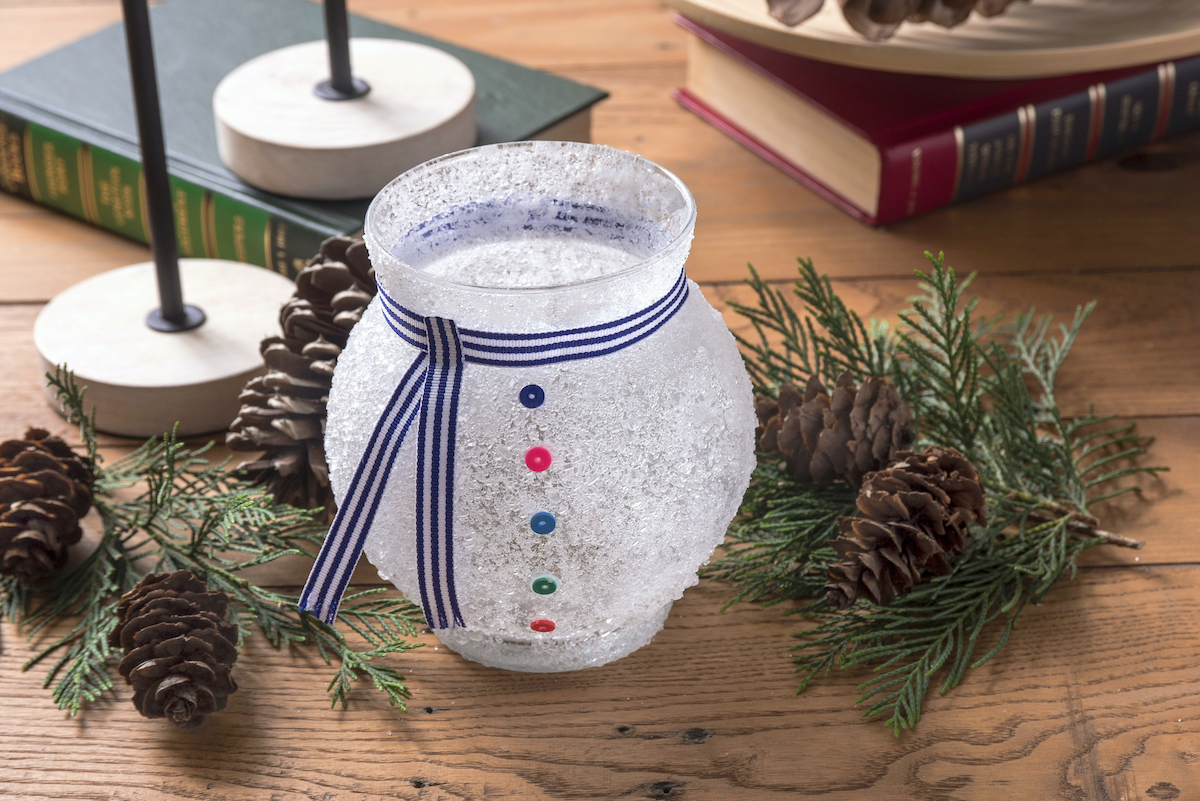
Besides providing a winter or snowy style ambiance, glass and epsom salt give off a very pretty light when you add a votive. That’s what I love about this snowman candle holder – it looks cute during the day and then provides a festive glow during the night.
If you’re feeling in the holiday spirit, I’m excited to show you how to get crafty and make this winter candle holder . . . that is so simple even a child could make it.
You can also make this pretty inexpensively. Hit the Dollar Tree and grab your glassware, ribbon, buttons – they might even have epsom salt. With one bag of salt, you can make quite a few of these!
Snowman Votive Candle Holder
This snowman candle holder is really easy to make in four easy steps! First you’re going to prepare your materials, then you’re going to add your first layer of salt.
You’ll touch up any blank areas then glue on the embellishments. Once you’re done with that, you can add your votive and light this baby up for winter! Learn how to make this Christmas craft below.
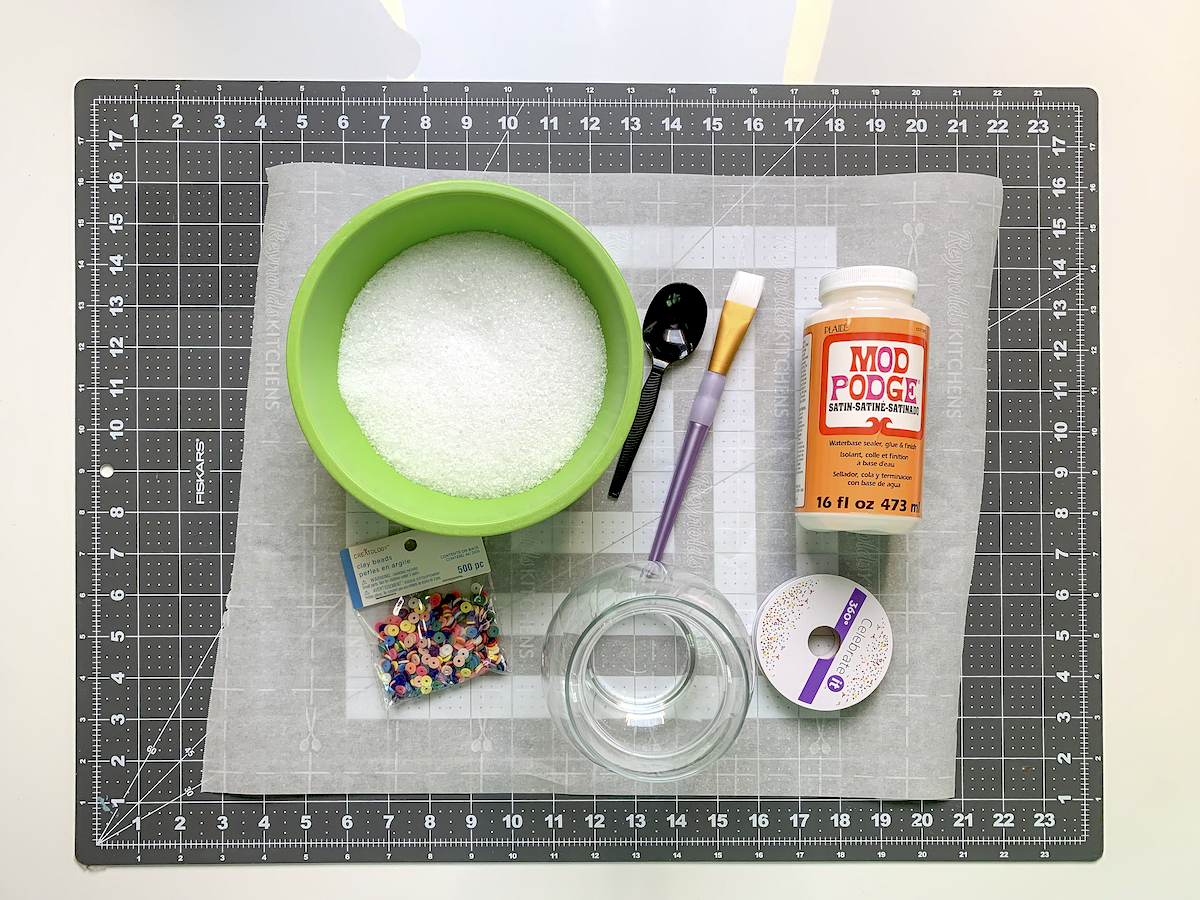
Gather These Supplies
- Glass candle holder – 5.5″ tall
- Mod Podge Satin
- Epsom salt
- Clay beads or buttons
- Ribbon – at least 2′
- Craft glue
- Scissors
- Paintbrush
- Votive or LED votive
Prepare Your Materials
Before you get started, you’ll need to clean the glass like I outline in my painting on glass post. Basically you’ll wash with soap and water or rubbing alcohol so that everything sticks. Let dry completely before starting.
You’ll also want to pour the epsom salt into a bowl that has a wide enough opening to roll the glass jar around.
Add the First Layer of Salt
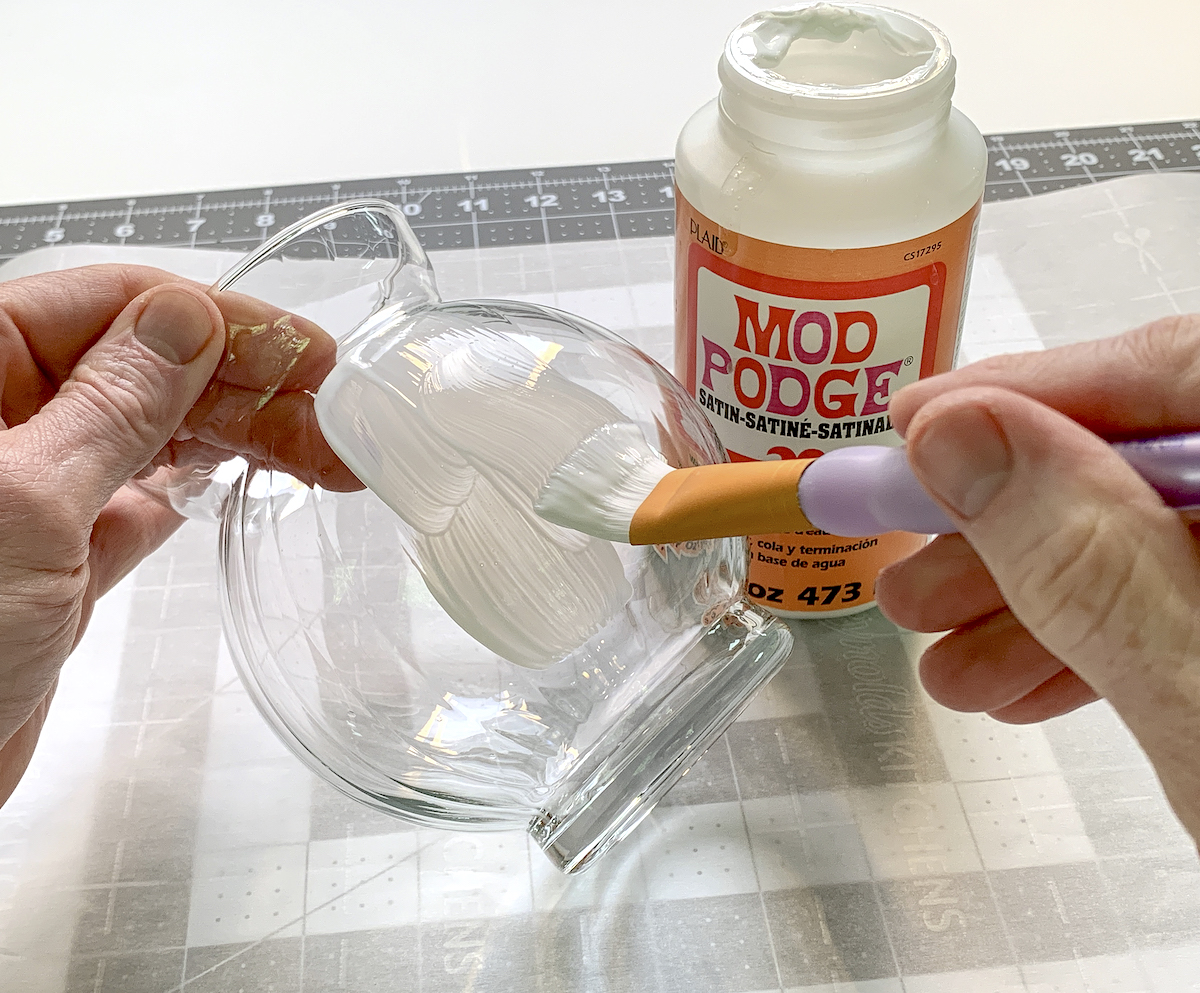
On your clean glassware, brush a medium layer of Mod Podge on about 1/5th – 1/6th of the body of the glass.
Tips:
- Mod Podge dries fast, so don’t do too much area at once, and make sure to use enough. It dries clear.
- You’ll want to do the top rim of your glass vessel, but you can wait to do that until the end. That way you will be able to hold onto the jar as you are adding the epsom salt without ruining your craft.
Once the surface is wet, place the Mod Podge down into the epsom salt. Roll it around a little bit.
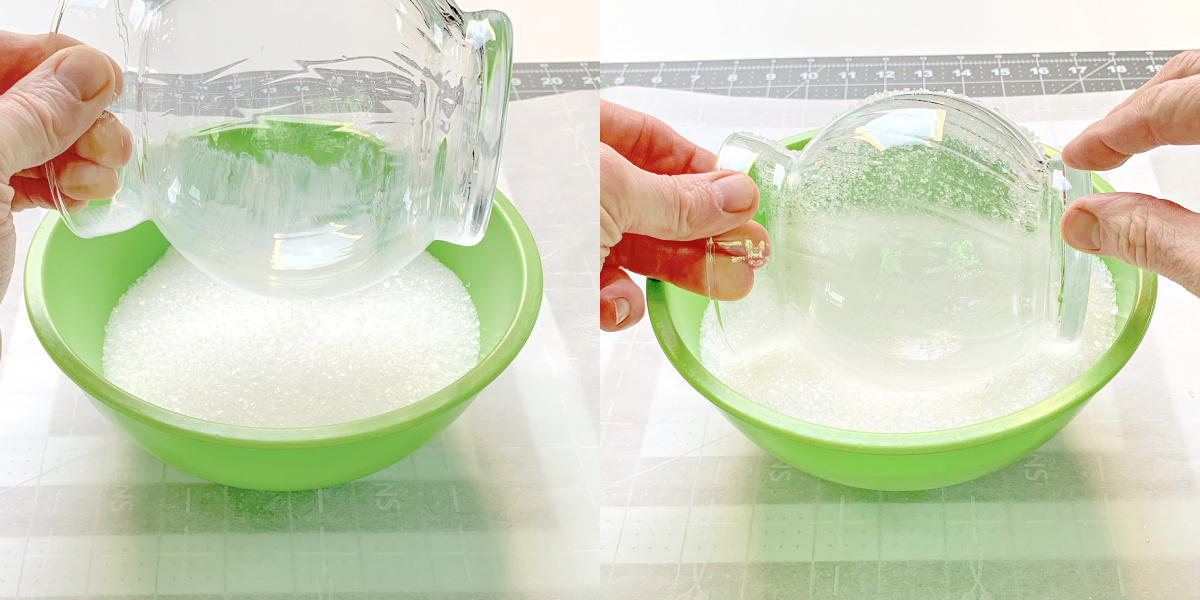
Bring the votive out of the salt and let any excess drop onto your work surface.

You won’t be able to continue rolling your snowman votive in the salt. For this next round of “wet and sprinkle,” you’re going to brush on more Mod Podge and sprinkle the epsom salt on top using the spoon.
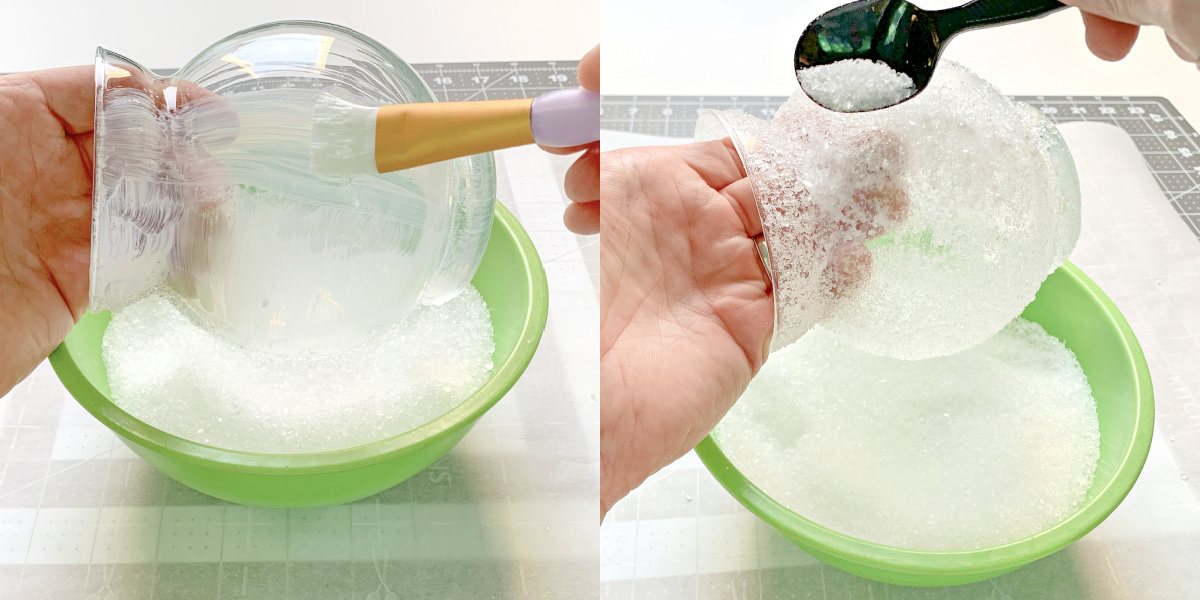
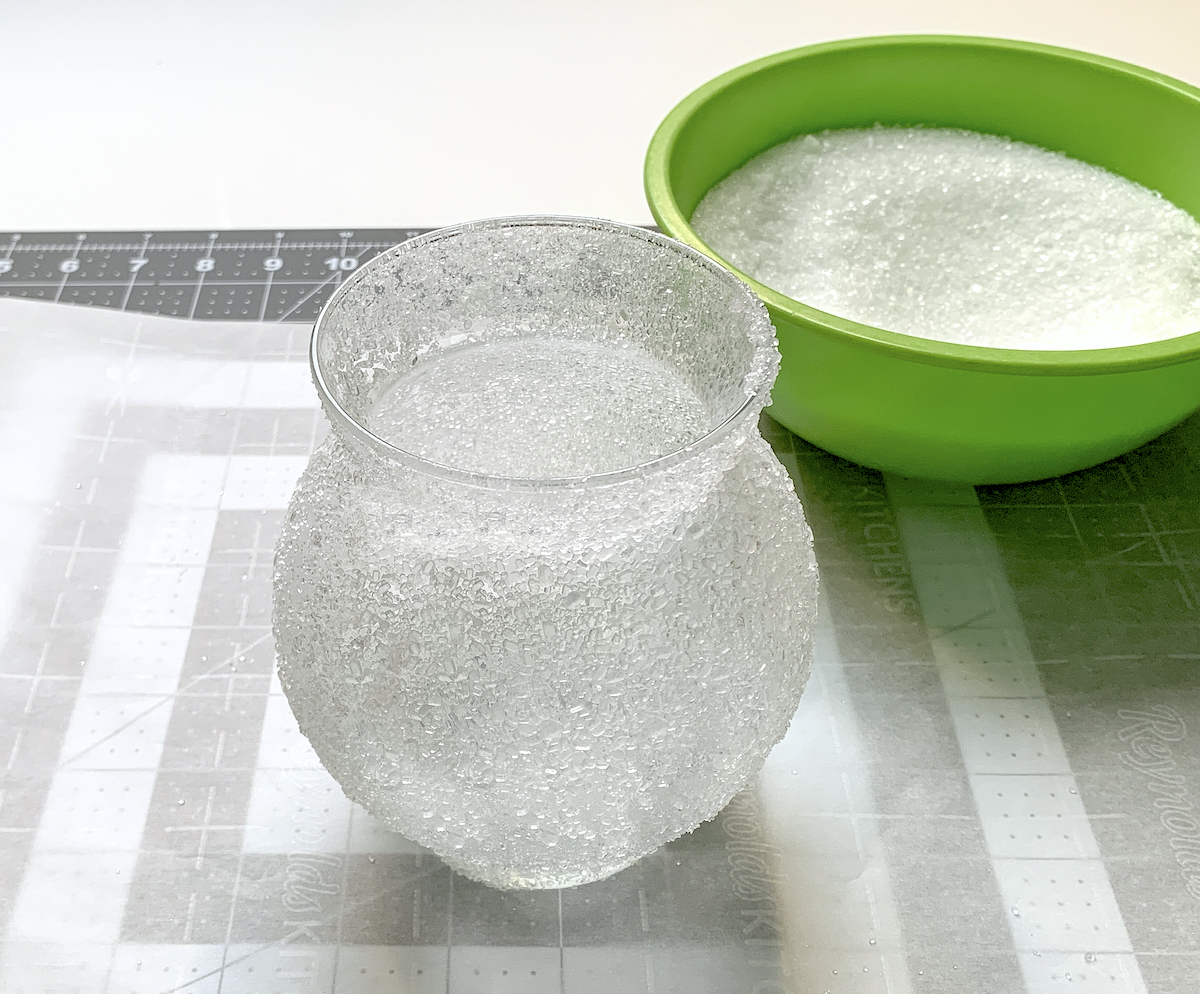
Repeat several times until you have covered the entire glass votive. Then let it dry completely.
Touch Up Blank Areas
Once your glass is dry, it’s time to check for any blank spots you might have missed. To touch those up, dab a little bit of Mod Podge onto the surface and sprinkle the salt.
Then you’re going to let dry completely.
At this point, you can paint Mod Podge on OR spray a clear acrylic sealer to secure the epsom salt to the glass. Keep in mind that with a brush, you might brush off some salt.
It’s easier with a spray sealer. But you also don’t have to seal it at all (if you don’t mind a little excess on your table, which I don’t).
Add the Embellishments
I spotted some flat clay beads in the kids’ section of Michaels, and I thought they were interesting so I bought them. You can use these for the buttons OR use real buttons. You could even use pom poms. There are a lot of options.
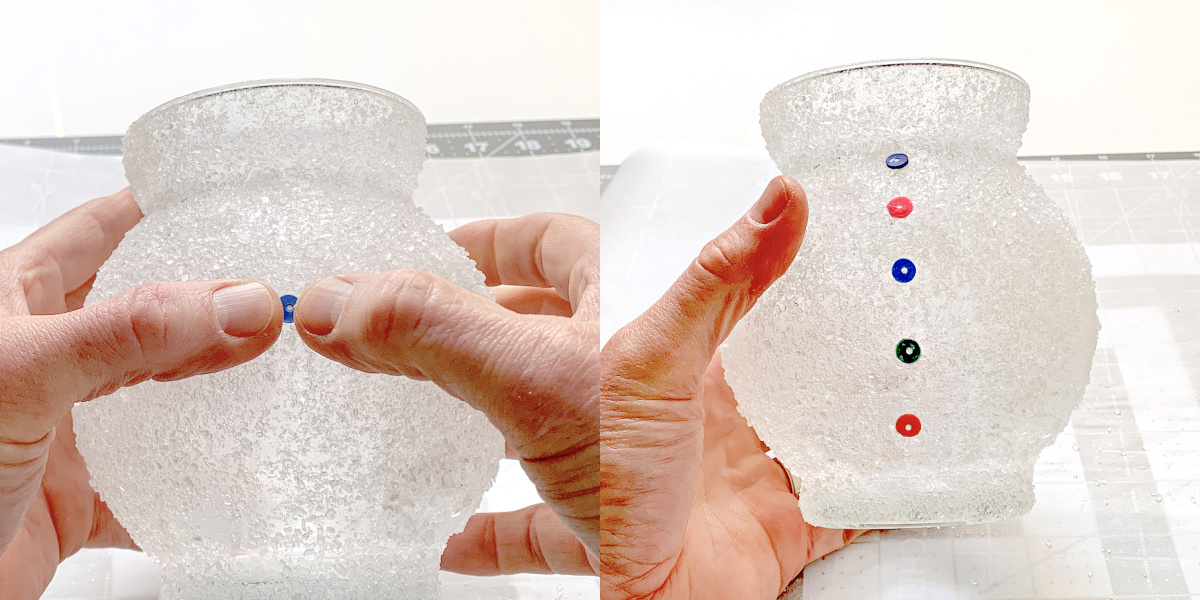
Whatever you choose, glue them onto the front of the snowman candle holder with craft glue. Let dry.
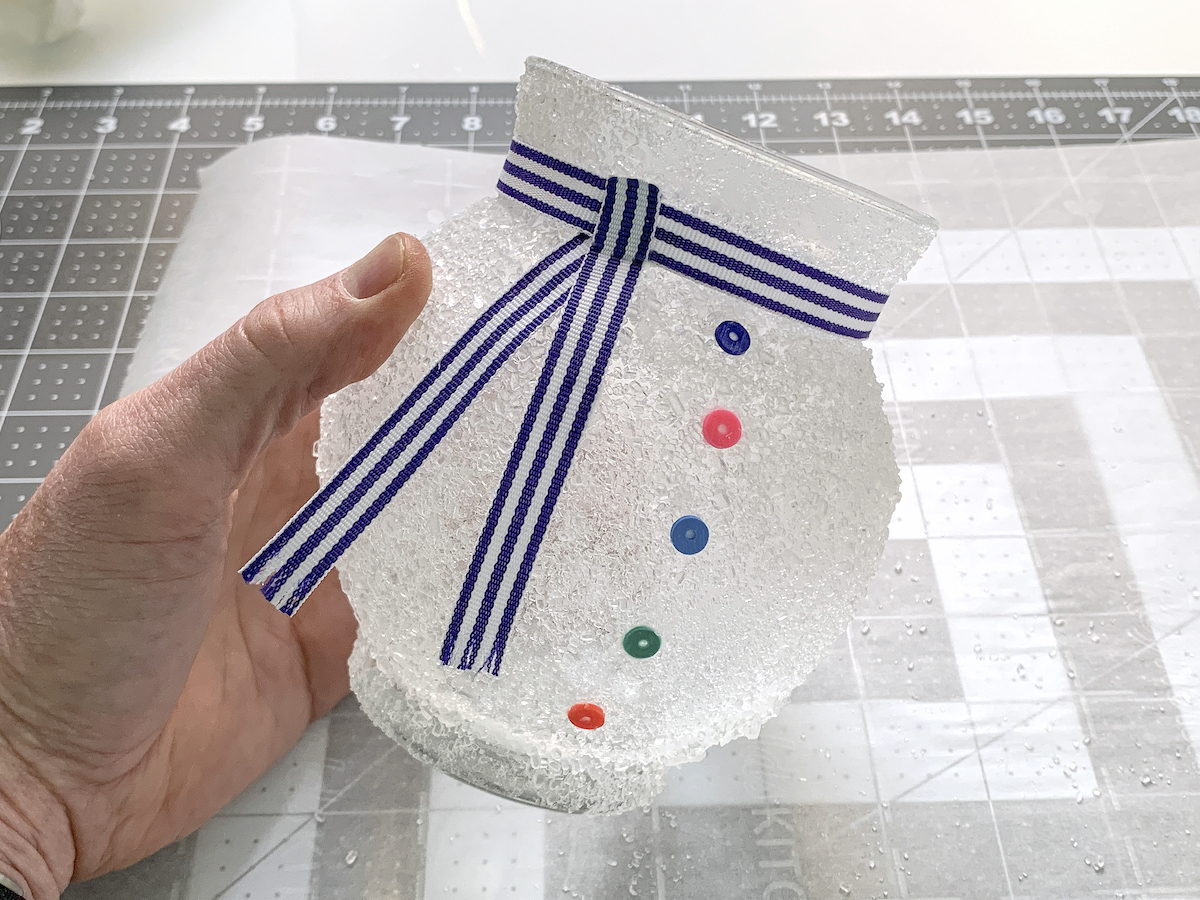
Cut your length of ribbon to fit your jar, then fray the edges a little bit at the ends with the scissors.

Wrap the ribbon around the mouth of your candle holder and fold as shown to create a scarf. Glue into place.
Let your “snowman” dry completely before displaying! Isn’t it cute? I love this guy so much.
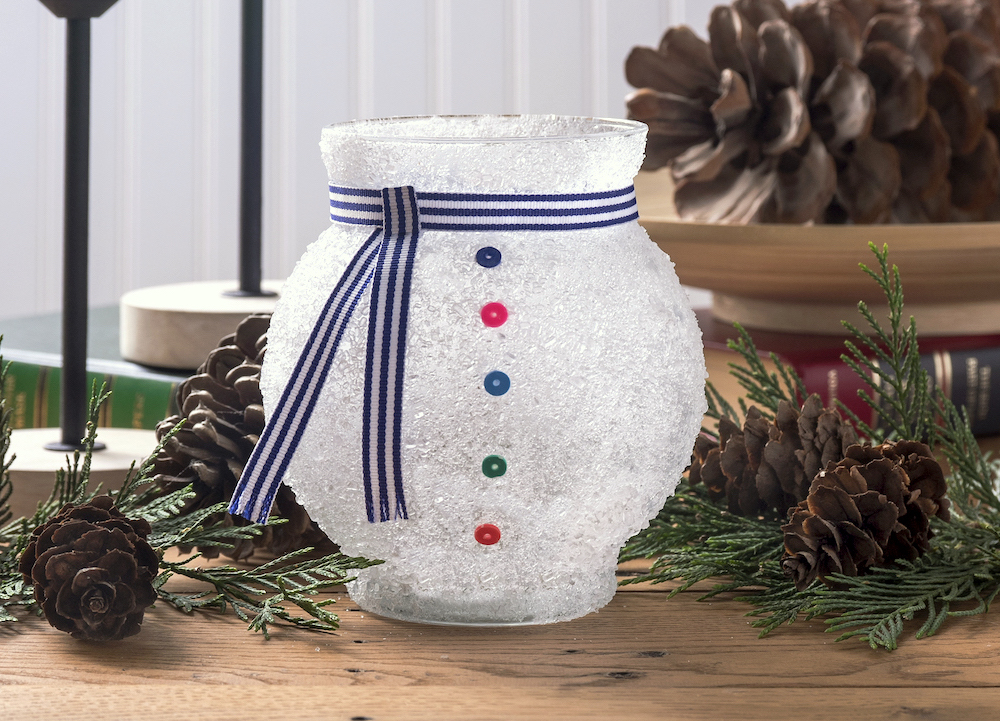
Both adults and kids are going to love this idea, and you can leave it out all Christmas and winter. Which is nice, because it’s fun to leave a few things out after gathering up all the holiday decor. Happy Holidays!
Project inspired by Shannon at Rosyscription
If you like my snowman votive, check out these other snowman options from this blog as well as a few of my friends!