
Make snowman hot chocolate jars for a festive holiday gift! This project is fun, easy, and perfect for friends, family, or party favors.
Skills Required: None. Even if you’ve never crafted before, you’ll be able to make these. You’re primary cutting felt and using a hot glue gun.

Have you seen these stacked hot cocoa snowmen out-and-about during your internet travels? You’ve got to admit – they are so cute. I recently saw this video and thought, “I need to make my own version immediately!”
Who wouldn’t love snowman hot chocolate jars, especially when filled with some delicious cocoa, marshmallows, and mints? I imagine these would be a favorite with teachers, neighbors, dog walkers, secret Santa recipients . . . or anyone, really!
With some basic mason jar craft supplies from Michaels, I made these silly snowmen with ease. I can’t wait to hand them out and see the smiles they are sure to inspire. Here’s how I made these Christmas mason jars!
Gather These Supplies
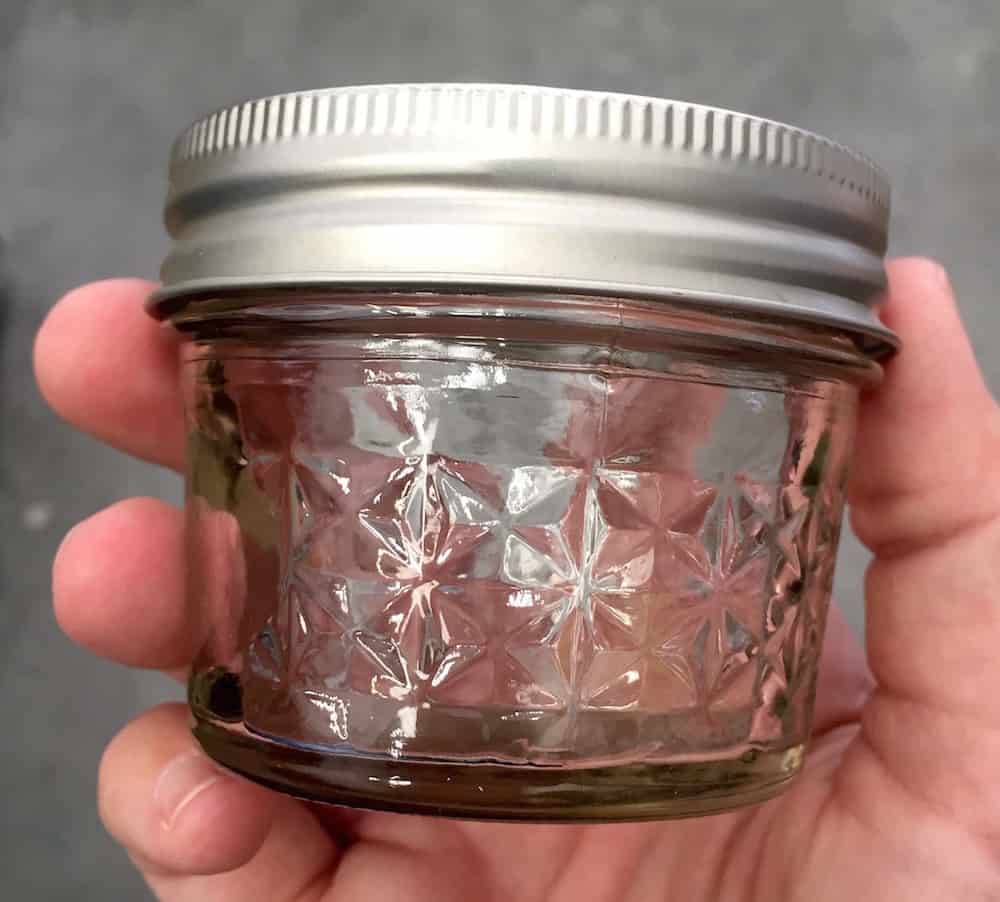
- Quilted mason jars – 4 oz., 3 for each snowman
- Acrylic paint – black and orange – get glass paint or multisurface
- Black felt – 1 piece
- Turquoise felt – 1 long piece, enough to fit around the jar
- Hot glue gun
- Scissors
- Paintbrush – small liner
- Craft knife and mat
- Ruler
- Silver Sharpie
- Round item slightly larger than your mason jar lid
Here’s the great thing about using hot glue on the jar lids – it’s removable later. When the jars are popped apart, you can peel the glue off the lids and reuse the jars.
Fill them with hot cocoa, marshmallows, mints, or anything else you like. You just need 12 oz. of goodies per snowman!

Get the printable how to below:

Cocoa Snowman Jars
Equipment
- Paintbrush(es) small liner
- Sharpie Silver
Materials
- Quilted mason jars 4 oz., 3 for each snowman
- Acrylic paint black and orange
- 2 pieces Felt turquoise; 1 long piece enough to fit around the jar. black; 1 piece
- Round item slightly larger than your mason jar lid
Video
Instructions
- Wash and dry mason jars with mild soap and water. Let dry.
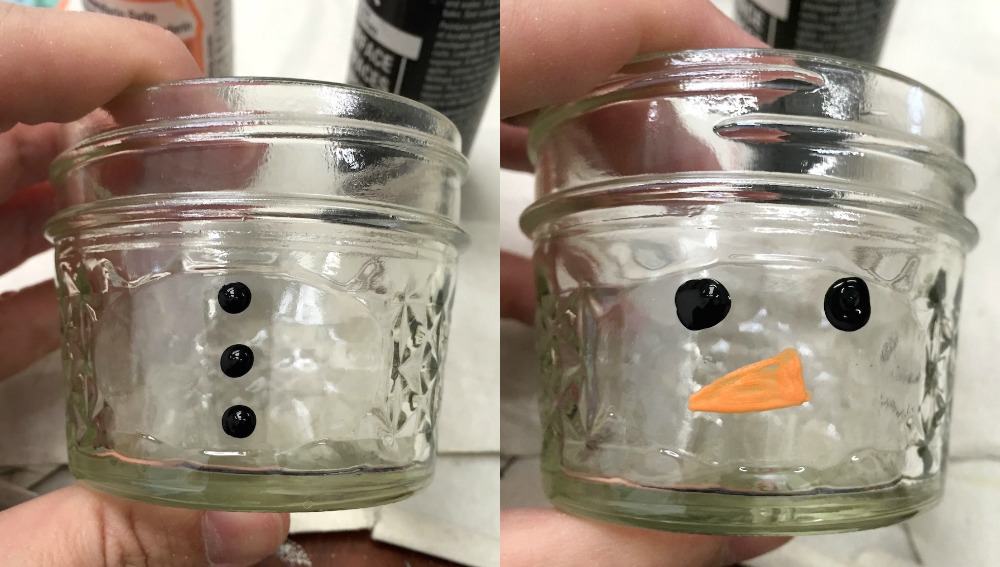
- Use orange acrylic paint and your liner brush to add noses to two of the jars. Let dry. Use black acrylic paint and the end of a paintbrush to make dots for the eyes. Let dry. On two other jars, paint three buttons in the same way. Let dry.
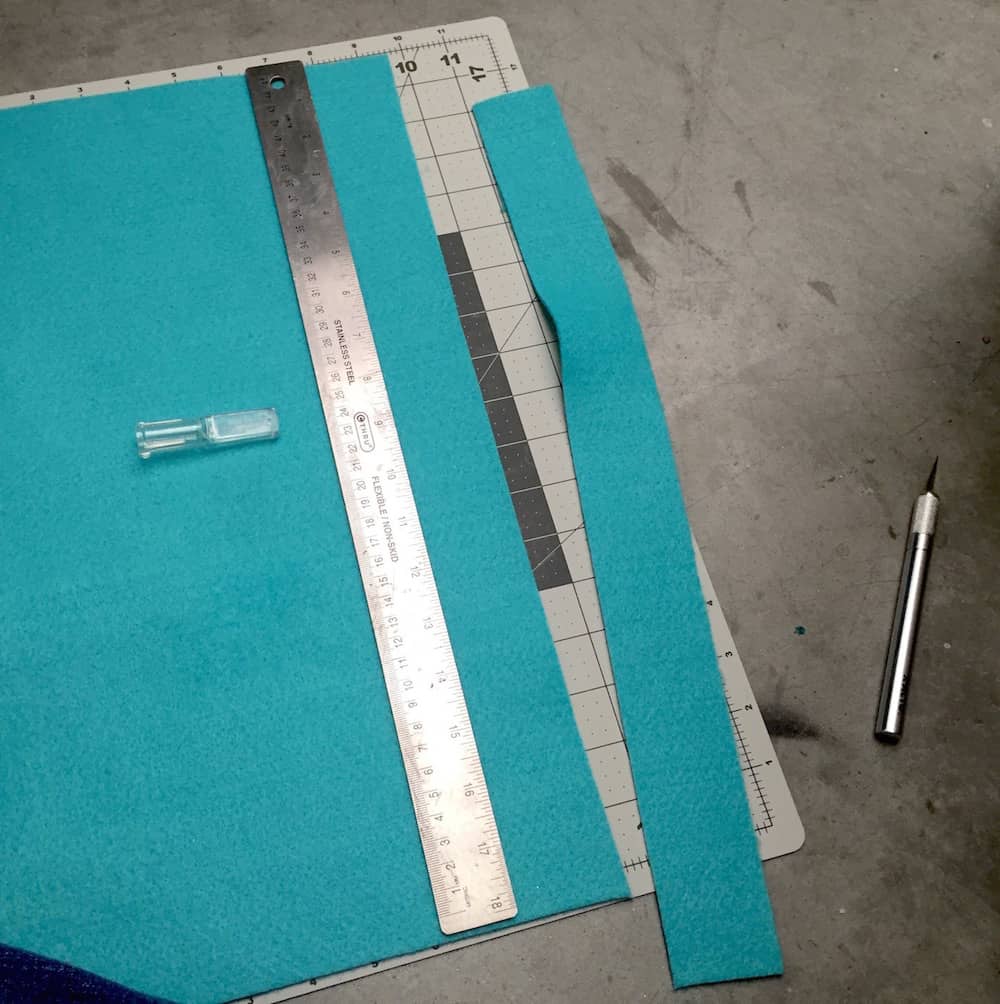
- For the scarf, cut a strip of aqua felt about 1" wide. It’s easiest to use your ruler, craft knife, and mat for this. Fringe the ends with scissors.
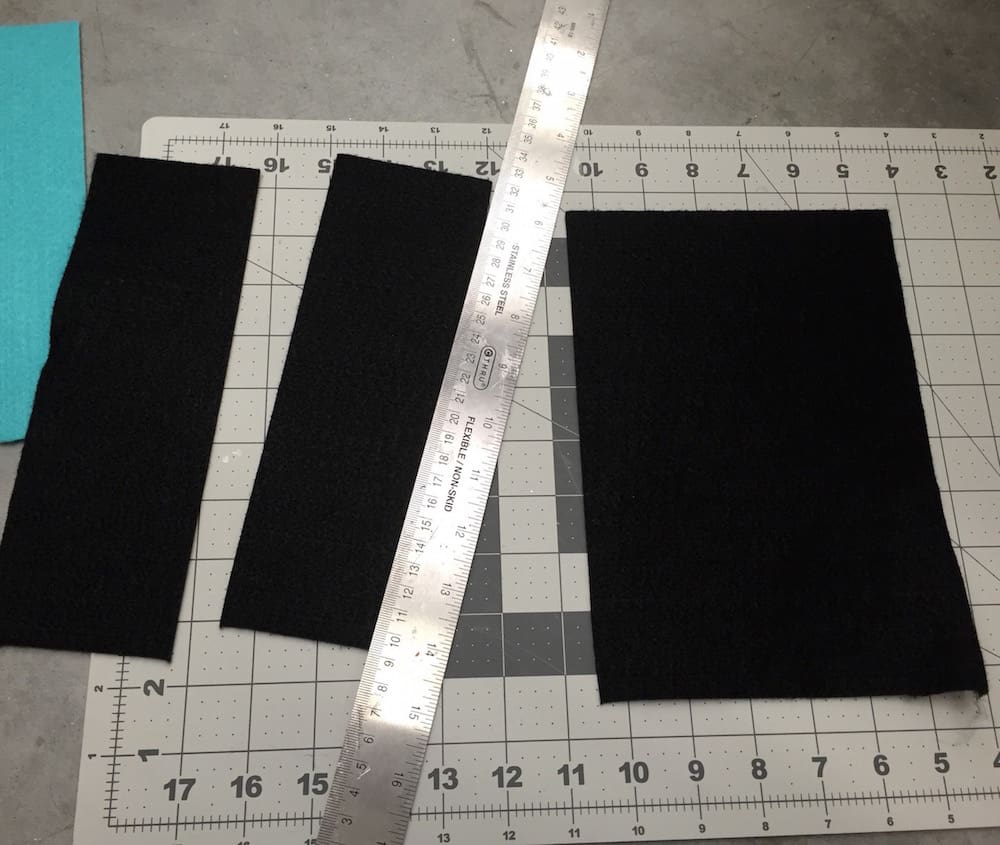
- Grab the black felt. Cut a long piece the same you did for the scarf. Unscrew the mason jar ring and make sure that it fits around correctly with a slight bit of overlap. Trim to fit.
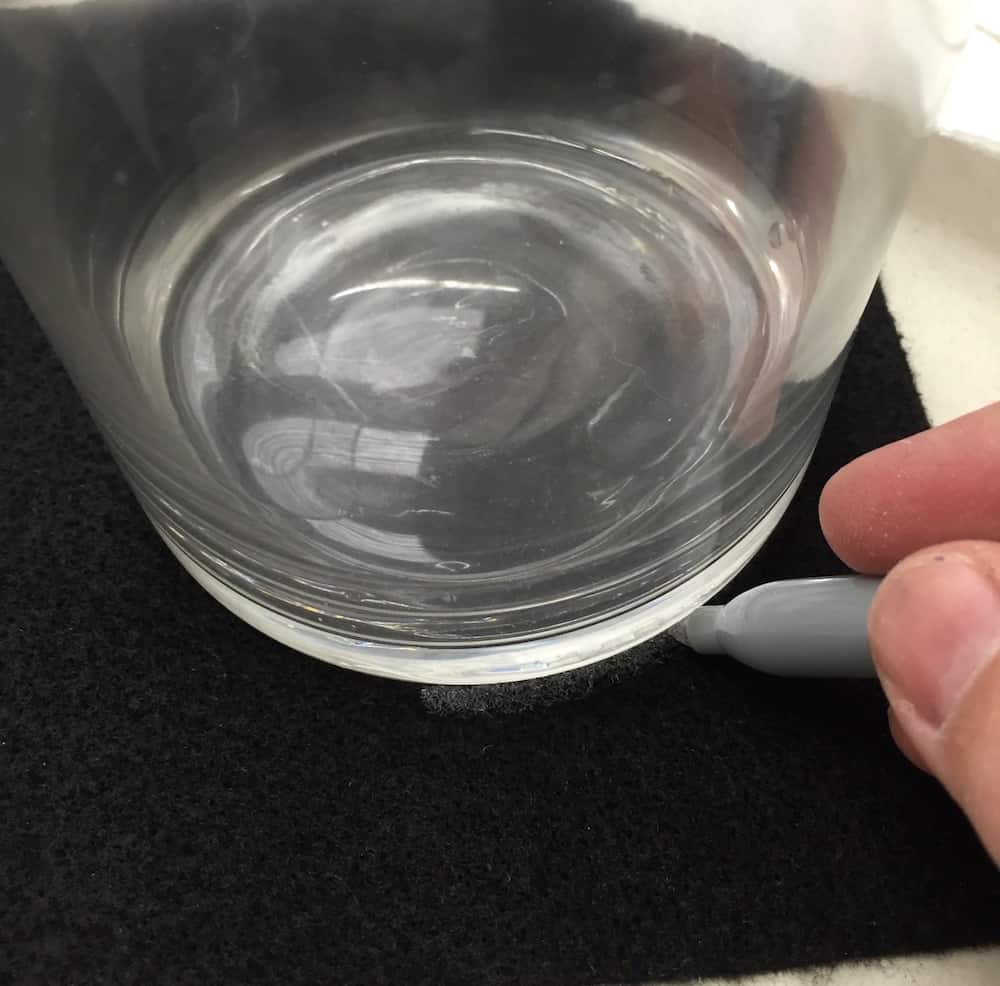
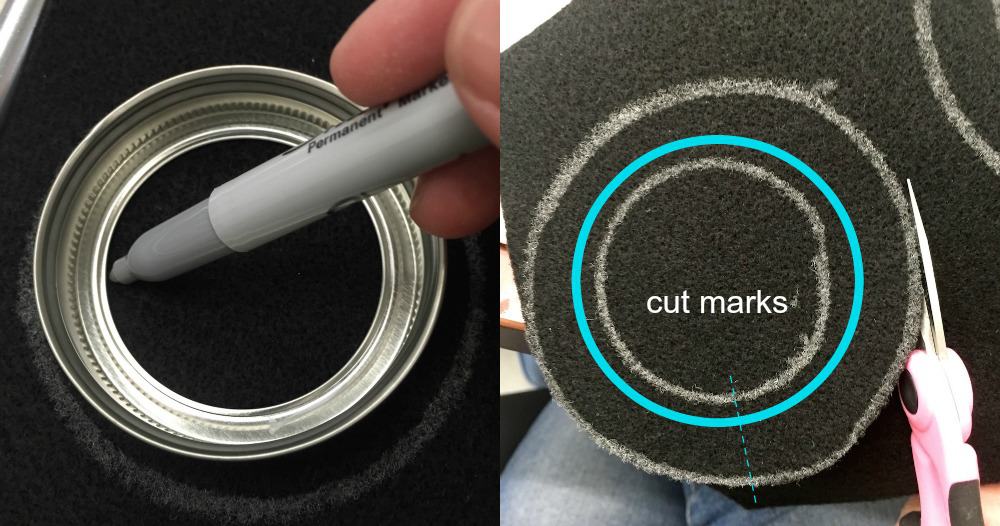
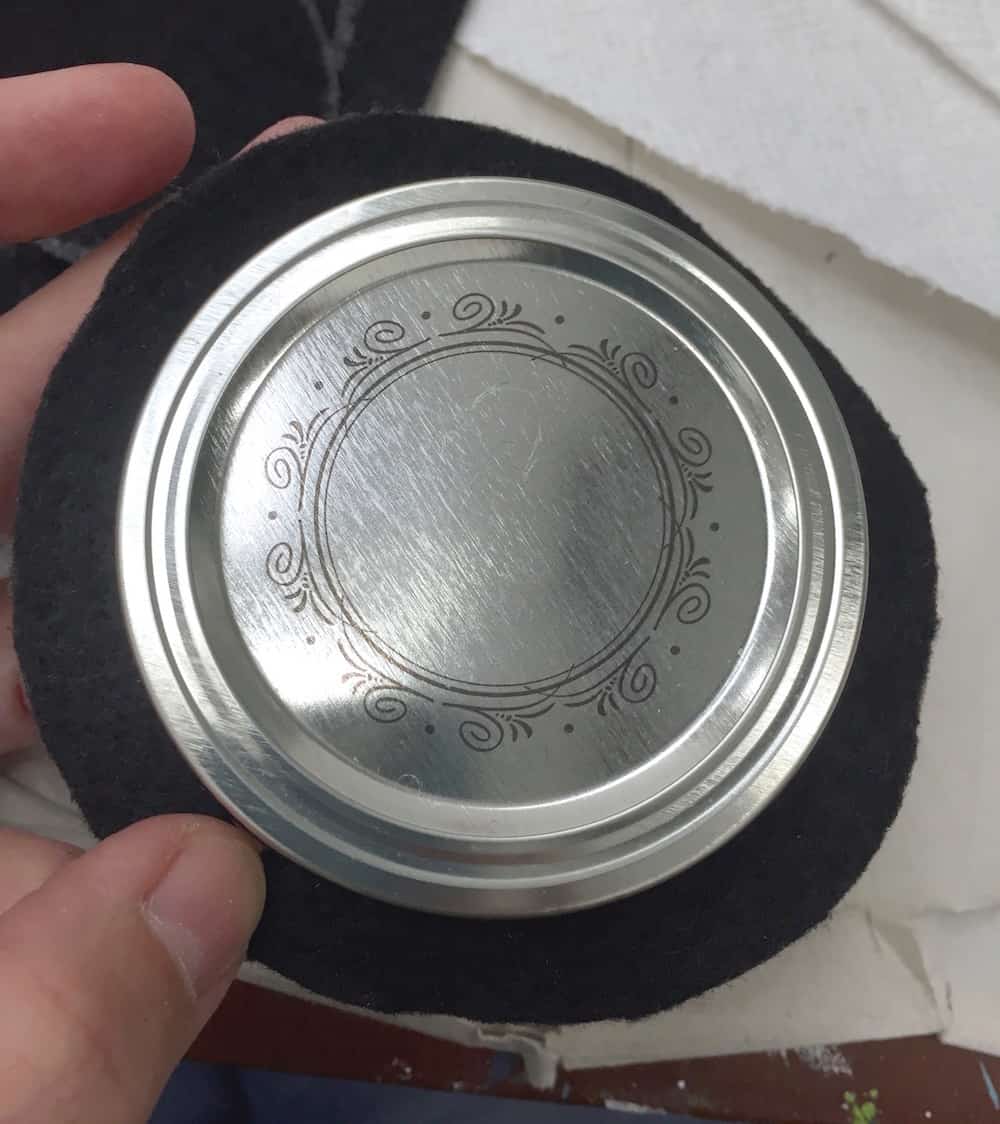
- Make the brim of the hat by tracing an item that is slightly larger than the mason jar lid (use the Silver Sharpie to trace). Place the mason jar ring inside the circle and trace the inside of the ring onto the felt.
- Make three cuts. Cut the outside of the brim, into the middle of the circle, and then cut out the inner circle. I found that cutting the felt this way made for the tightest fit.
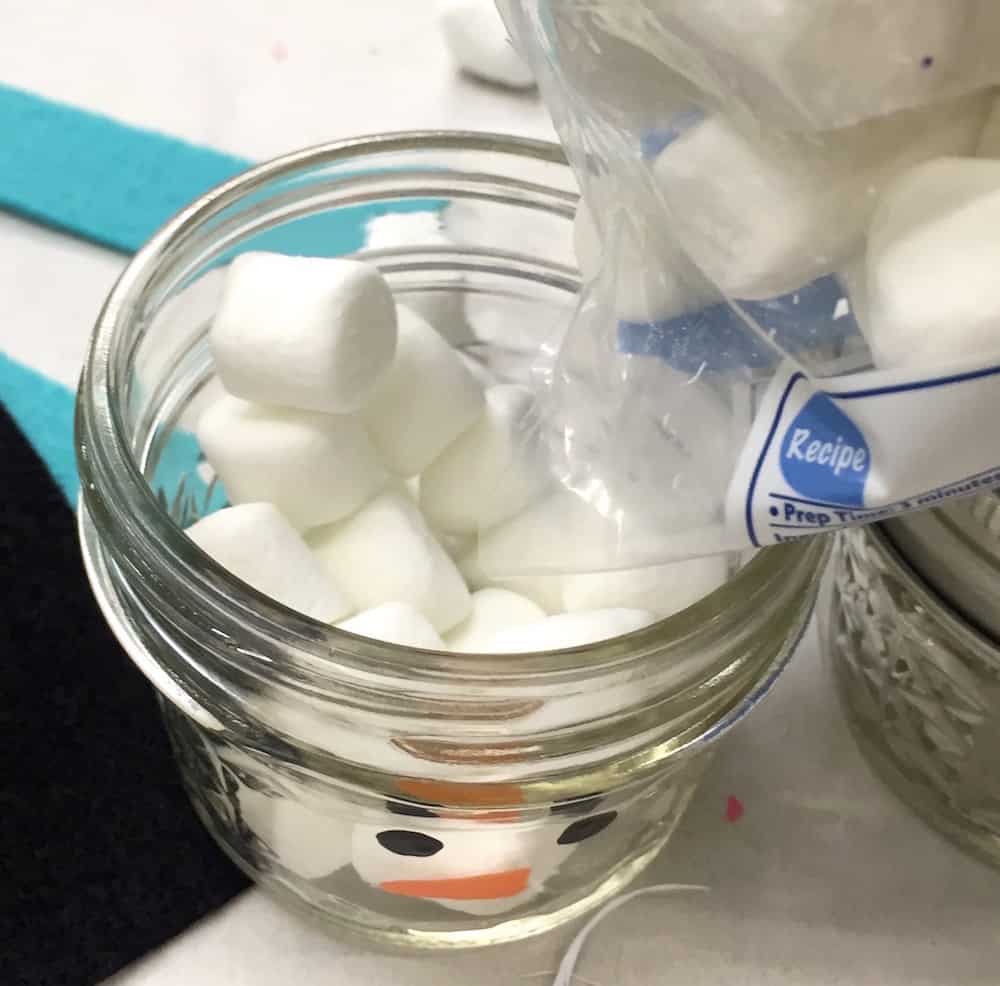
- Before you glue any of your items together, fill the jars with the appropriate goodies. This will make it easier for you later – you won't have to unscrew the jars again.
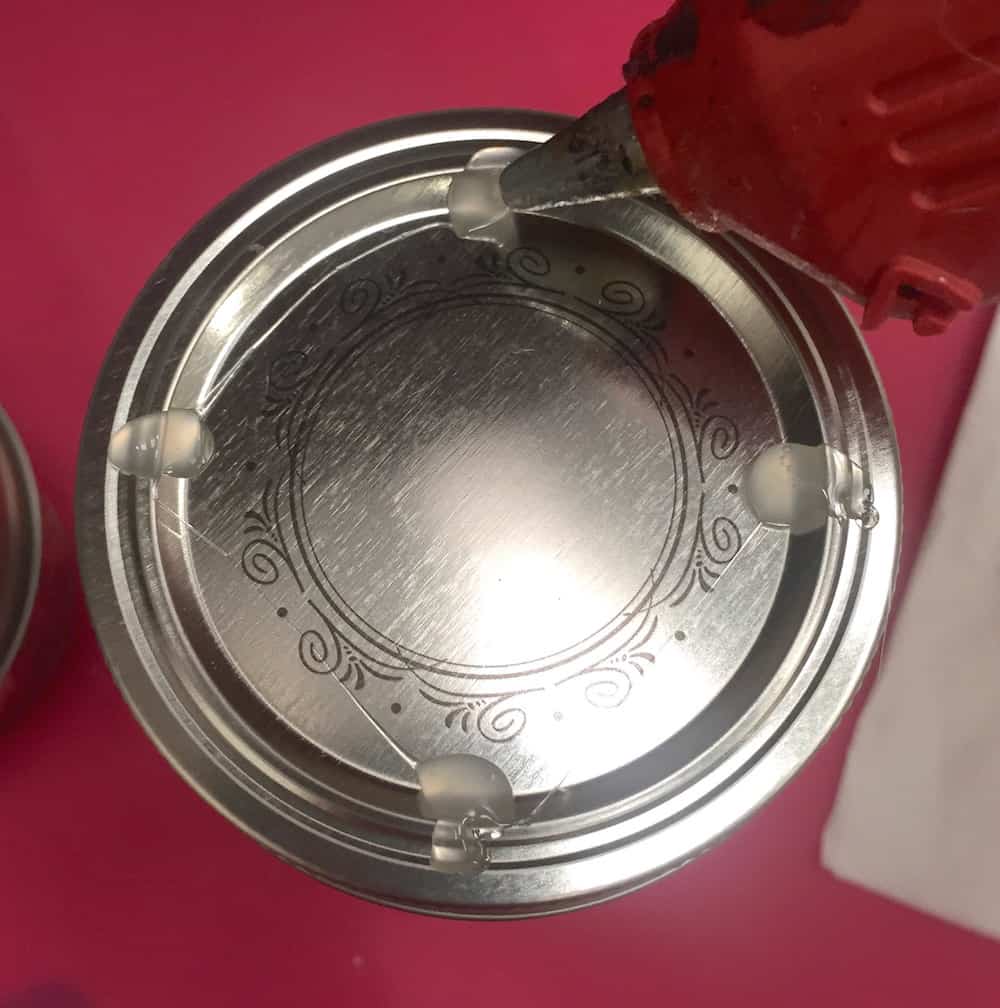
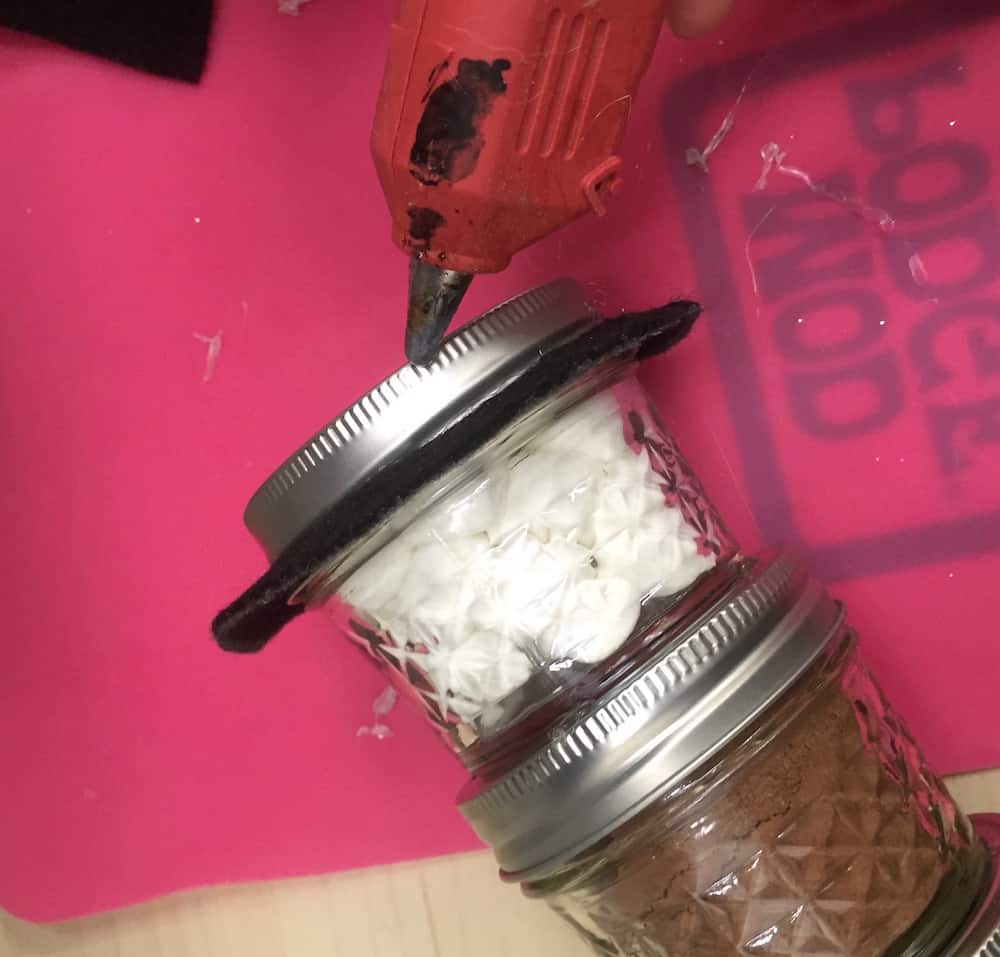
- Glue the jars together bottom to top, using the hot glue gun. Place about 4- 5 big drops of hot glue down on the mason jar lid and set the other jar on top.
- Secure the brim around the lid using a few dots of hot glue. Make sure the seam is in the back. The good news about felt is that it has some stretch. If you find it doesn't quite fit . . . stretch it gently.
- Glue the top portion of the hat with hot glue – wrapping around to the back of the jar.
- To finish your cocoa jars, place the scarf around jars and secure with dabs of hot glue. Let cool before gifting.
Notes
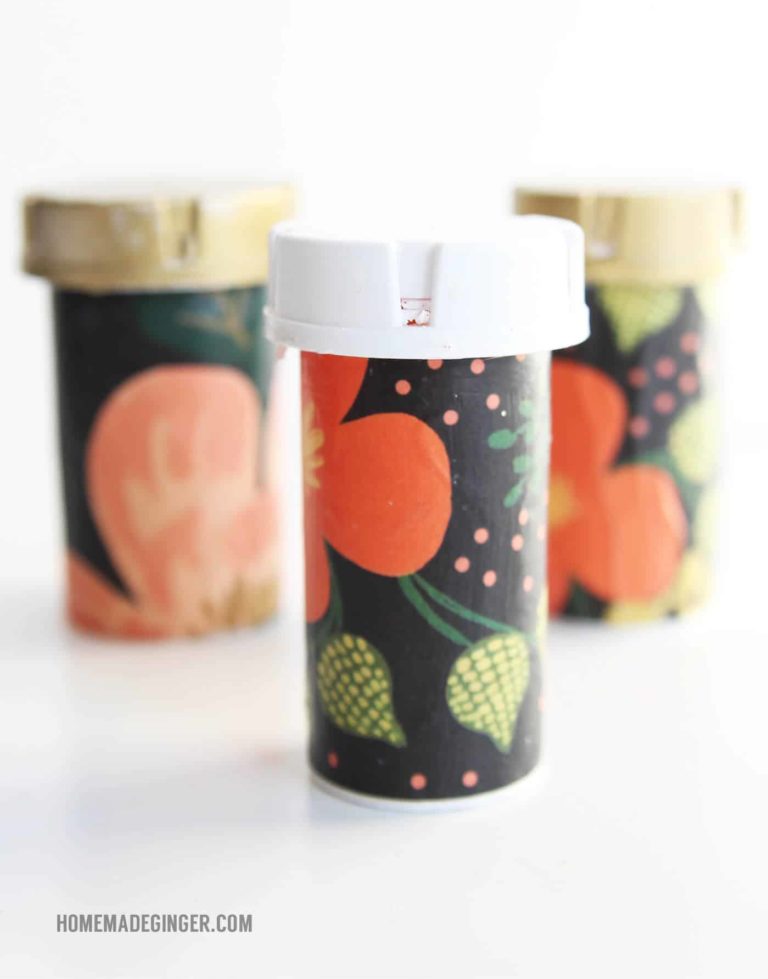
For other Christmas ideas, check out our Santa mason jar, my snowman mason jar, or our mason jar luminaries.
Let me know what you think in the comments!


I am afraid I would have to keep one for me. So adorable.
These snowmen are so cute!
Paige
https://www.thehappyflammily.com/