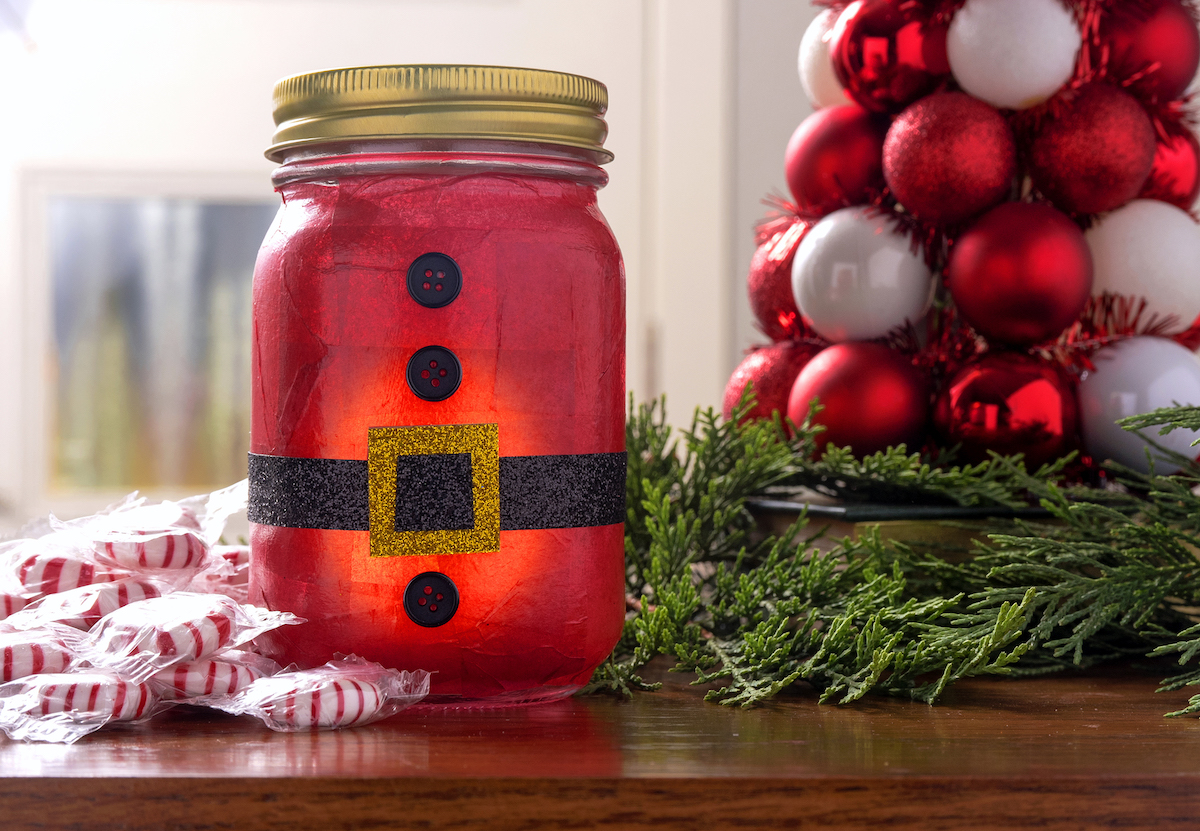
A Santa mason jar makes a perfect Christmas gift or holiday decor! Learn how to do this easy project with basic supplies from the craft store.
Skills Required: Beginner. It helps to have some experience with Mod Podge so you don’t get frustrated with the tissue paper. A newbie should be able to do this though; just follow my tips!
If you know me, you know that I love crafting with mason jars! There are so many things I love about them. They’re a small surface, so usually fantastic as a Christmas craft for beginners.
In less than an afternoon, you can have a finished project that you can give as a gift or use for a homemade decoration (or organizing, or other purposes).
It’s really fantastic, and that’s why I never get tired of crafting with mason jars.
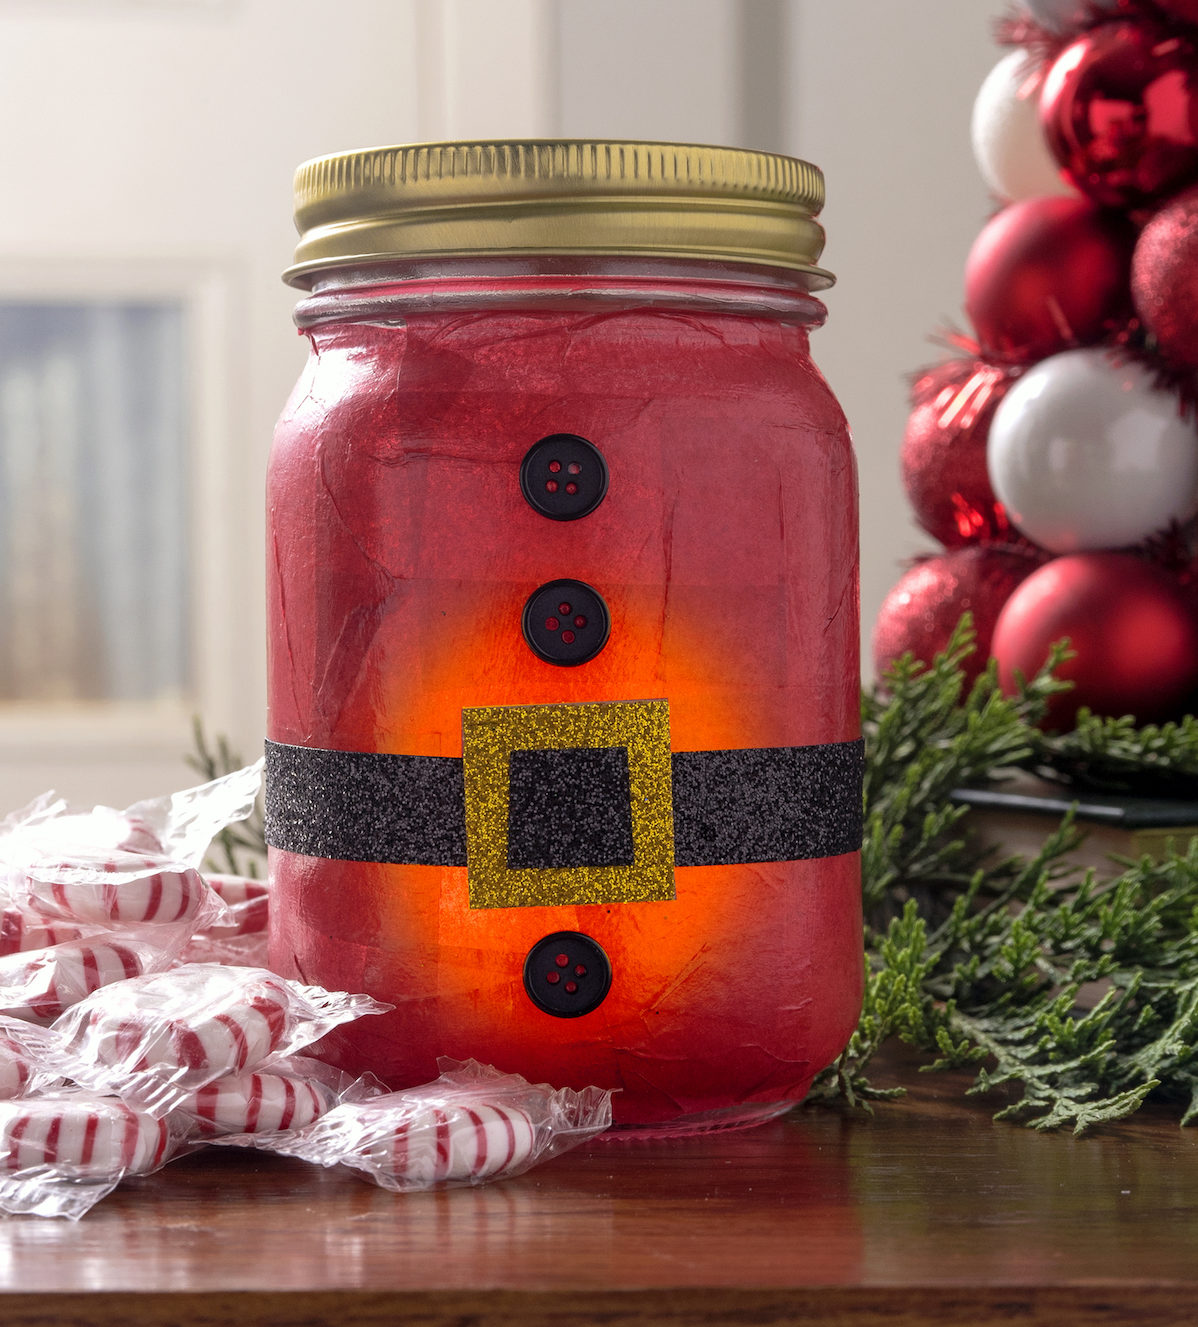
SO, my latest foray into the world of glass jars is actually a Christmas mason jar craft – a Santa mason jar!
I made this project using simple supplies from the craft store. It’s a perfect holiday craft for adults or Christmas craft for kids.
This guy makes me really happy, and is perfect for placing on the mantel with a little LED light inside that glows during dark winter evenings (you’ll want to see my mason jar snowman too if you like lanterns).
But you can also fill with any type of candy and give as a Christmas gift. This Santa holds a lot less than the real Santa, but you’d be surprised at how much candy it does hold!
It’s quite a lot. If someone handed me this jar filled with sweet treats, let’s just say I wouldn’t turn it away.
You’re going to complete this project in four simple steps: clean the jar, cut the tissue paper, apply it to the jar with Mod Podge, and then add embellishments with glue.
Before you jump into the craft, I want to mention something about Mod Podge and tissue paper. It’s very difficult to use decoupage medium and tissue paper without wrinkles, which is why you’ll cut the tissue into squares.
While this doesn’t completely eliminate wrinkles, it helps diminish them significantly. And if you do get wrinkles in your project? Embrace them. It doesn’t take away from the finished project – trust me.
Gather These Supplies
- Mason jar
- Red tissue paper
- Mod Podge Satin – you can use any formula
- Black glitter ribbon
- Gold glitter foam (or paper, or ribbon)
- Black buttons – 3
- Craft glue
- Scissors
- Craft knife
Tips and Thoughts for This Project
Before you begin, you’re going to want to clean the mason jar. You are removing oils from fingers – oils that repel Mod Podge. Read my guide for Mod Podging on glass. I also have a guide on sticker removal.
I used the Satin formula on this project because I happen to have a big bottle of it, but you can use any formula. Gloss or Matte work fine too. If you’re feeling extra sassy, you could use Sparkle!
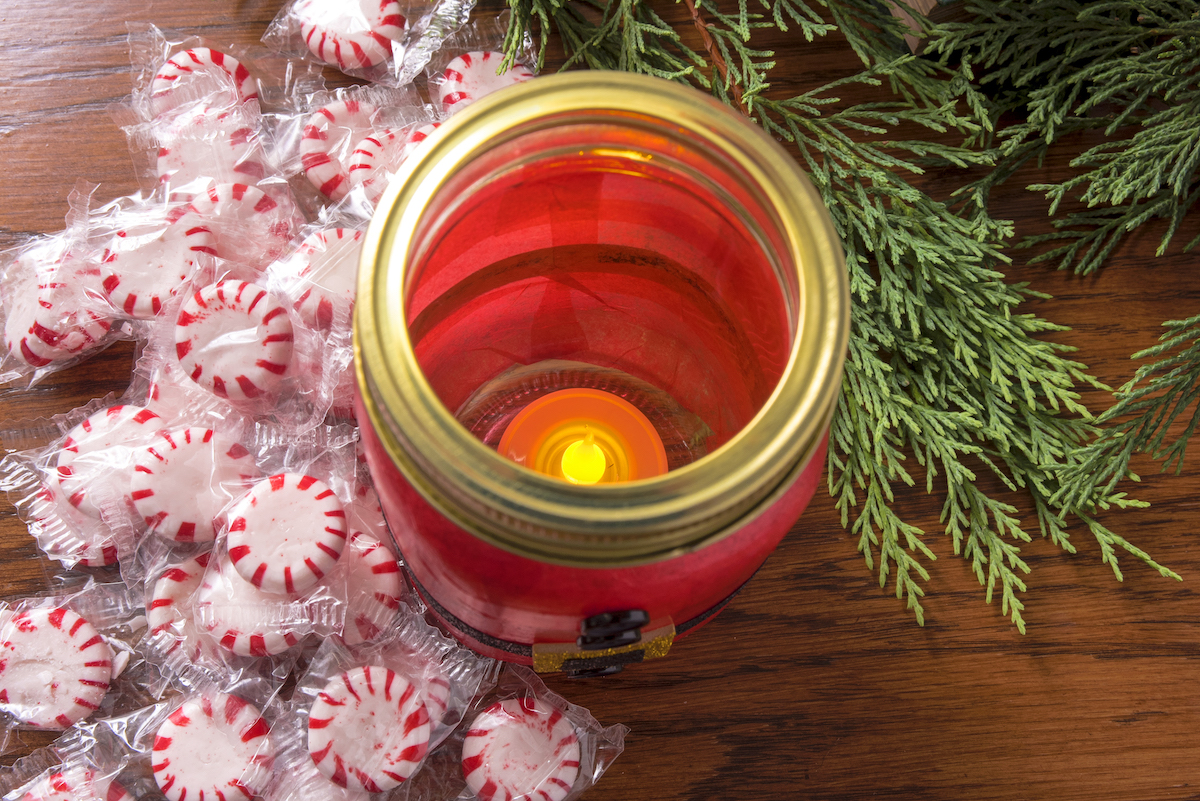
When the Santa mason jar is done, you can use an LED candle to light it up! Or obviously, add candy. If you use a real tealight, don’t put the circle in the middle of the ring when you screw it on.
Yes, you can use a real tealight. Mod Podge is non-flammable, and also it is on the outside of the jar.
Note: please never leave real candles unattended due to fire danger. Safety first!
This is one of my favorite Christmas mason jars of all time – so easy to make, and so festive!
Get the printable how to below.

Santa Mason Jar
Equipment
Materials
- 1 Mason jar(s)
- 1 piece Tissue paper red
- Mod Podge Satin
- Ribbon black glitter
- Craft foam gold glitter
- 3 Black buttons
- Craft glue
Video
Instructions
- Clean the mason jar with rubbing alcohol or mild soap and water. Let dry.

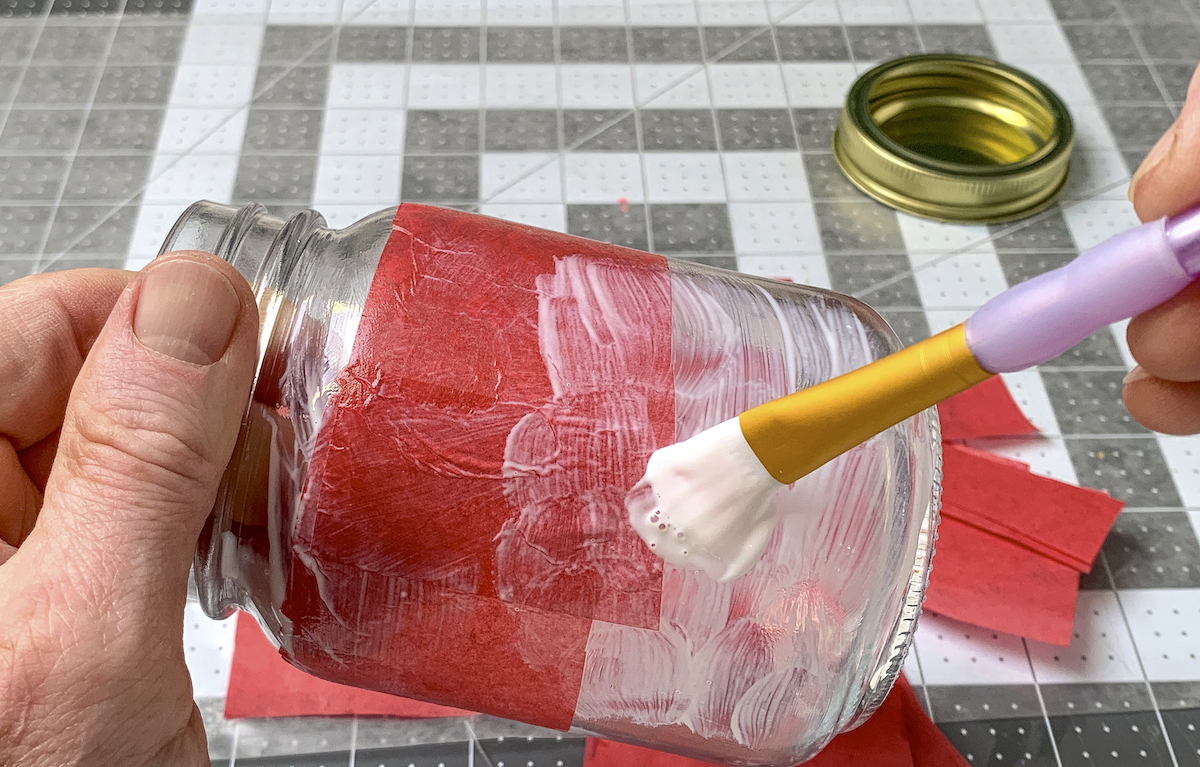
- Cut the red tissue paper into several squares to cover the jar. This makes it easier to apply.

- Apply a medium layer of Mod Podge to the glass, in just one area of the mason jar. Place the tissue paper down into the Mod Podge, and smooth. Not too rough, or you'll tear the paper. Use the brush to lightly smooth out the tissue paper. Then repeat with additional pieces. Work one portion of the jar at a time.
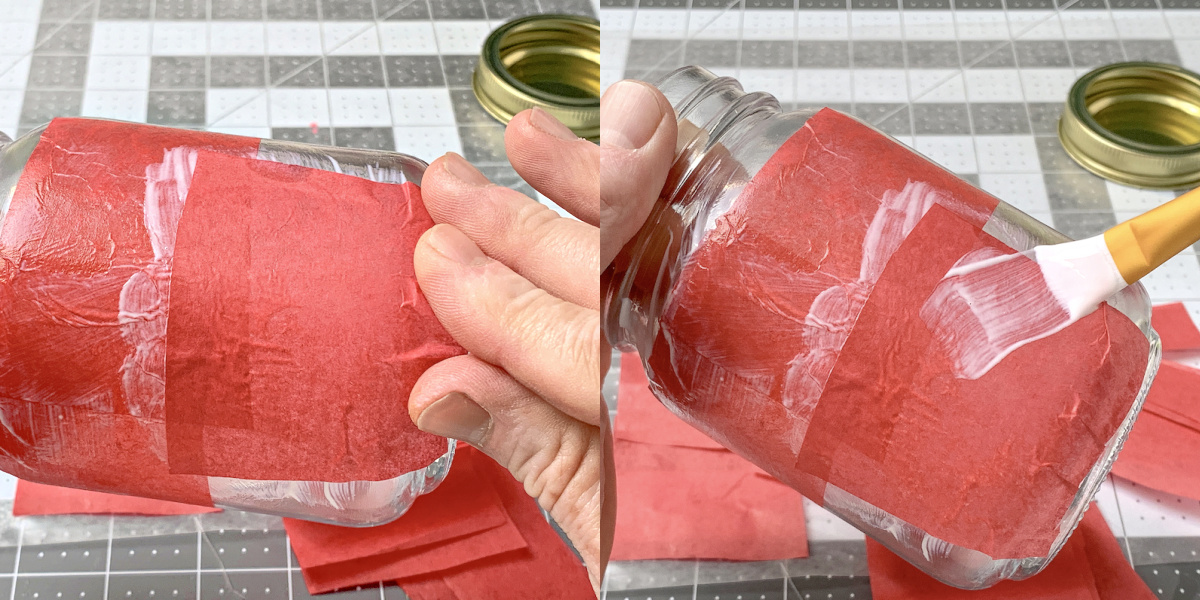
- Continue to apply tissue paper, overlapping, and smooth down with the brush and additional Mod Podge. Keep in mind that it's going to wrinkle a bit at the bottom of the mason jar, where the glass tapers.
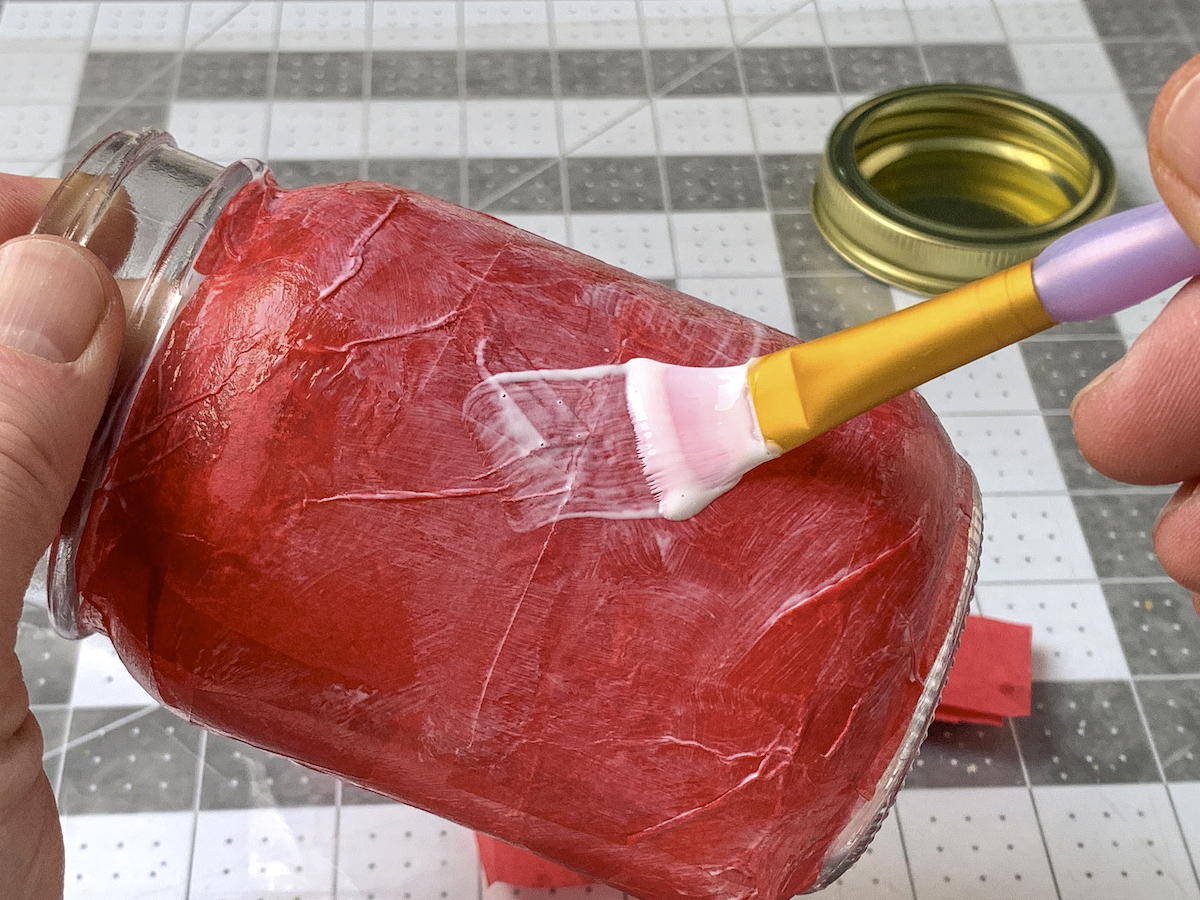
- Once you're done, apply a layer of Mod Podge over the tissue paper and let dry. If you see some red from the tissue paper come off into the brush, it's okay. A little bit of the dye might come out, so don't overbrush and you'll be fine (and you'll avoid tearing the paper).
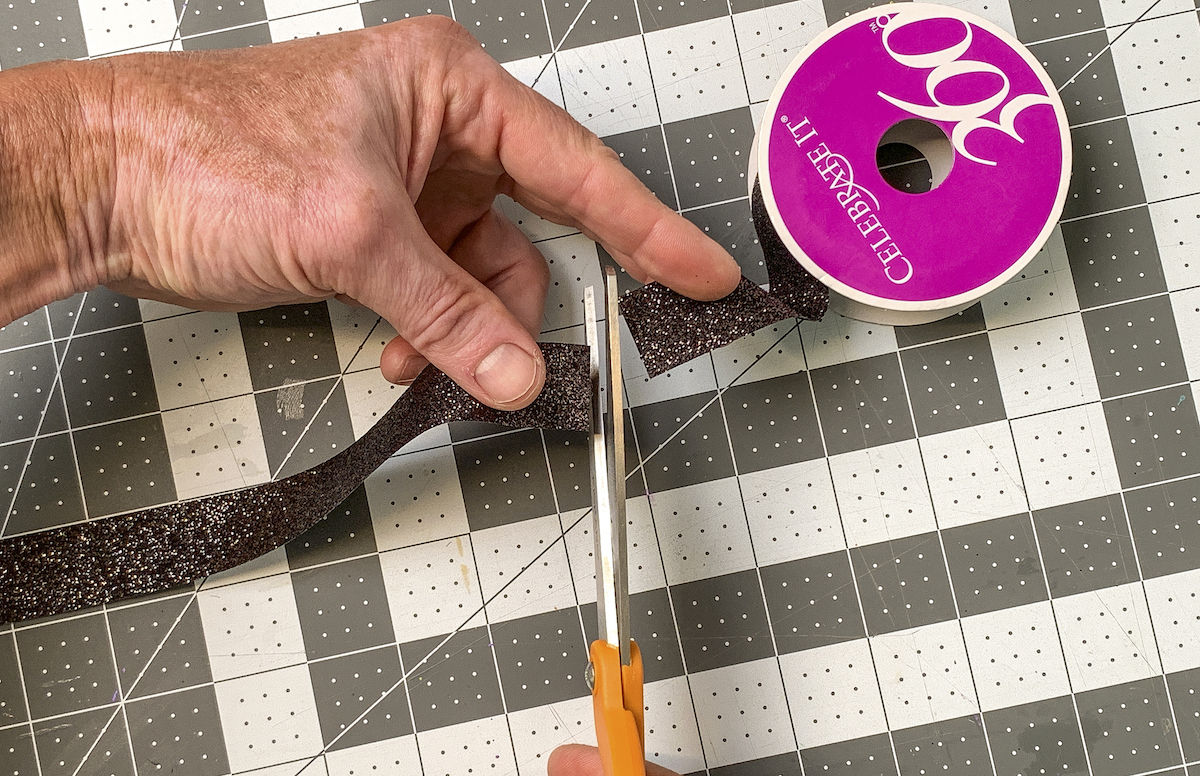
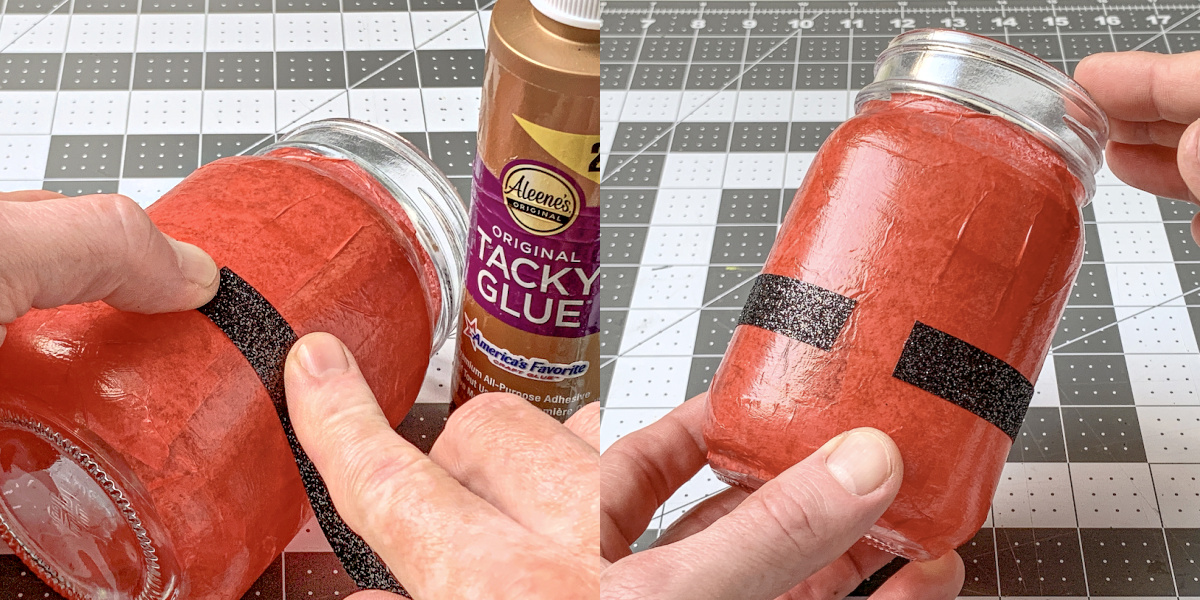
- Cut a piece of black ribbon into a Santa belt. Trim with a craft knife if necessary.
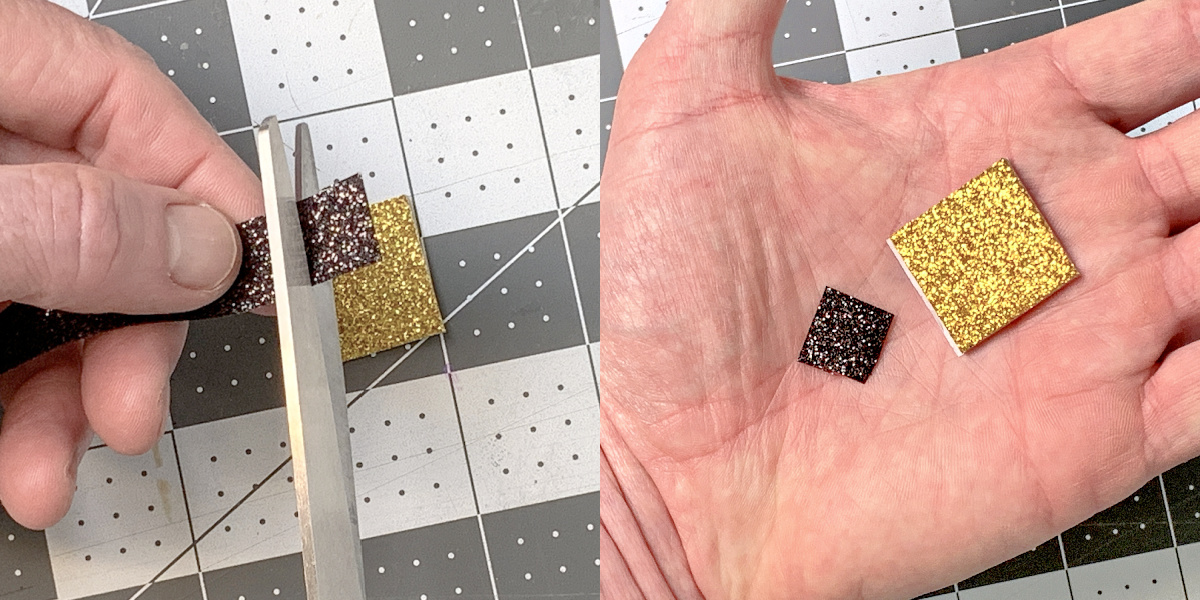
- Cut a piece of gold glitter foam (or similar) as well as a small square of black ribbon to fit in the center, to mimic a buckle.
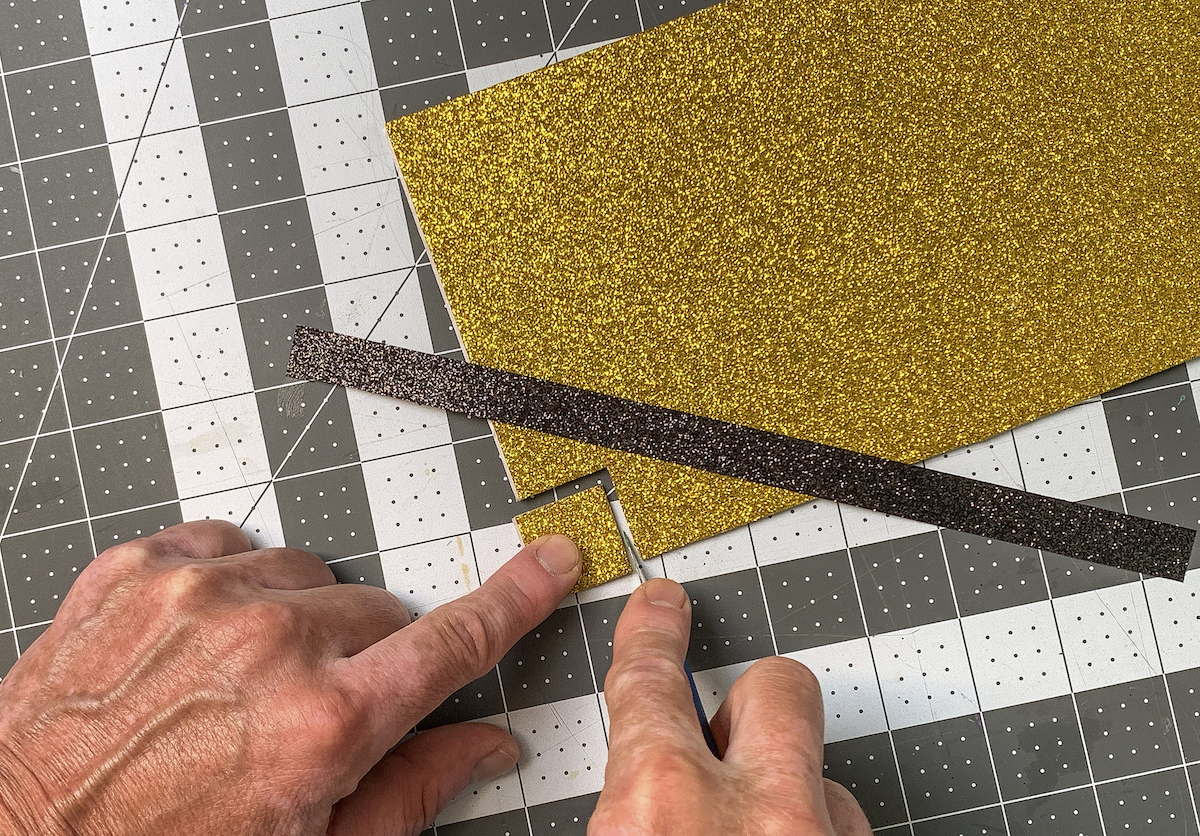
- Cut a small piece of black ribbon to fit in the middle of the buckle, so that it looks like it's woven through.
- Use the craft glue to adhere the ribbon to the Santa mason jar, about 2/3 of the way down the jar or so. You can leave an open space at the front because that's where the buckle will be. Let dry.
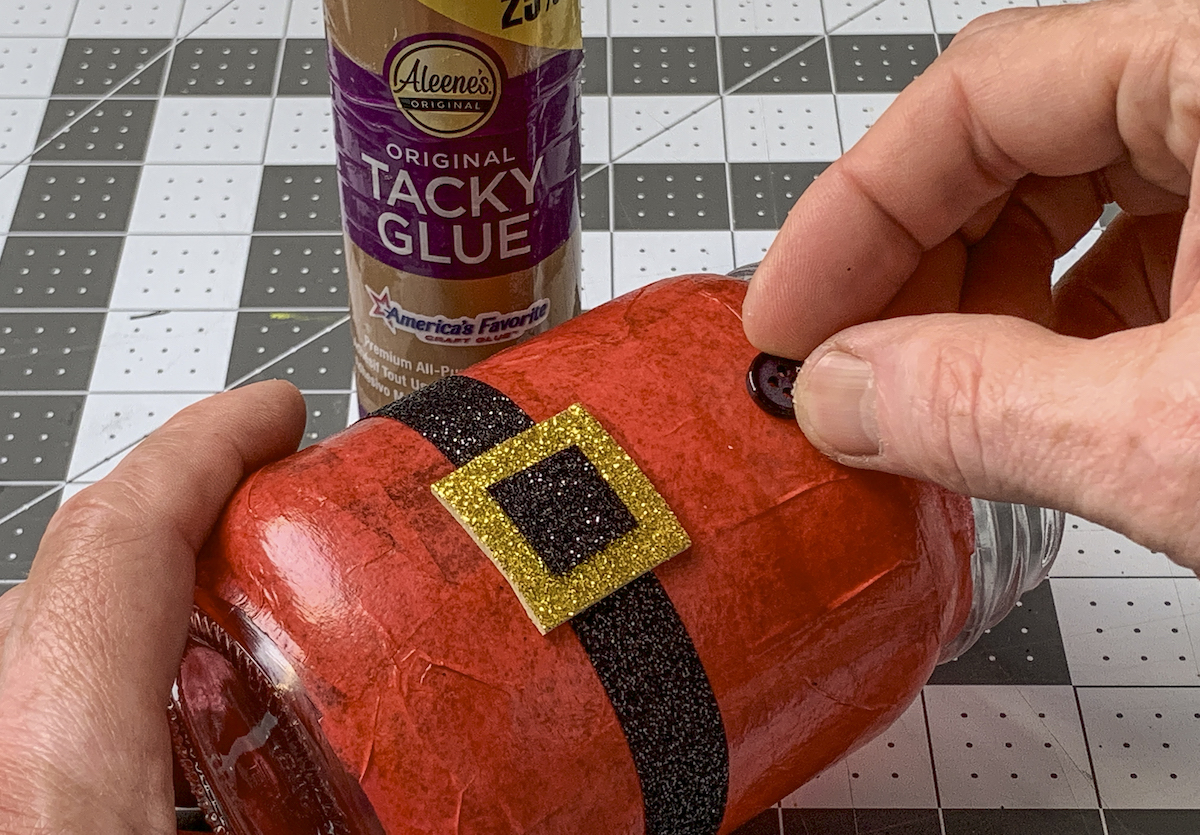
- Glue the craft foam down. Then glue the black ribbon on top. Let dry.
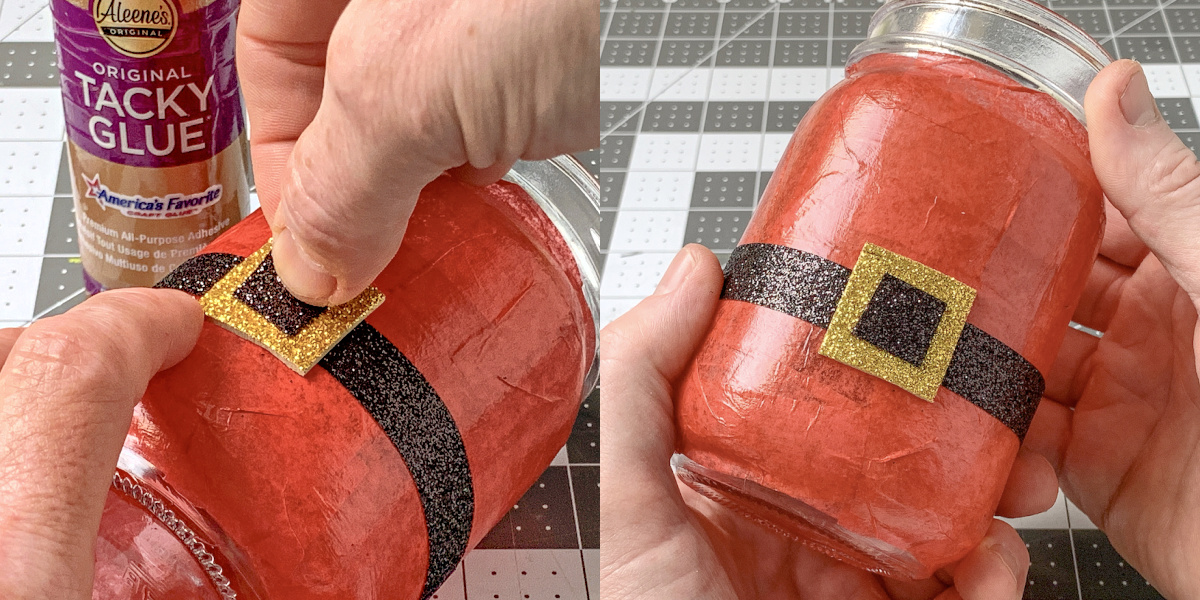
- Glue three black buttons down to the front. Glue two above the belt and one below. Let dry.
Notes
I’d love to know if you make this project. Let me know in the comments and happy holidays! Before you go, take a peek at these other related craft ideas!
- Christmas Card Decor: 25+ Festive Things to Make
- DIY Christmas Ornaments: 100+ Ideas For Your Tree!
- Dollar Tree Christmas Crafts for Gifts or Decor
- Easy DIY Handprint Ornament: A Precious Keepsake Guide
- Christmas Wall Decor: 50 Festive DIY Projects!
- DIY Christmas Candle Holders for Your Holiday Home