
Santa Mason Jar
Make a Christmas gift or unique decor with this cute Santa mason jar! It's really easy, even for beginning crafters.
Yield: 1 jar
Cost: $2
Equipment
Materials
- 1 Mason jar(s)
- 1 piece Tissue paper red
- Mod Podge Satin
- Ribbon black glitter
- Craft foam gold glitter
- 3 Black buttons
- Craft glue
Video
Instructions
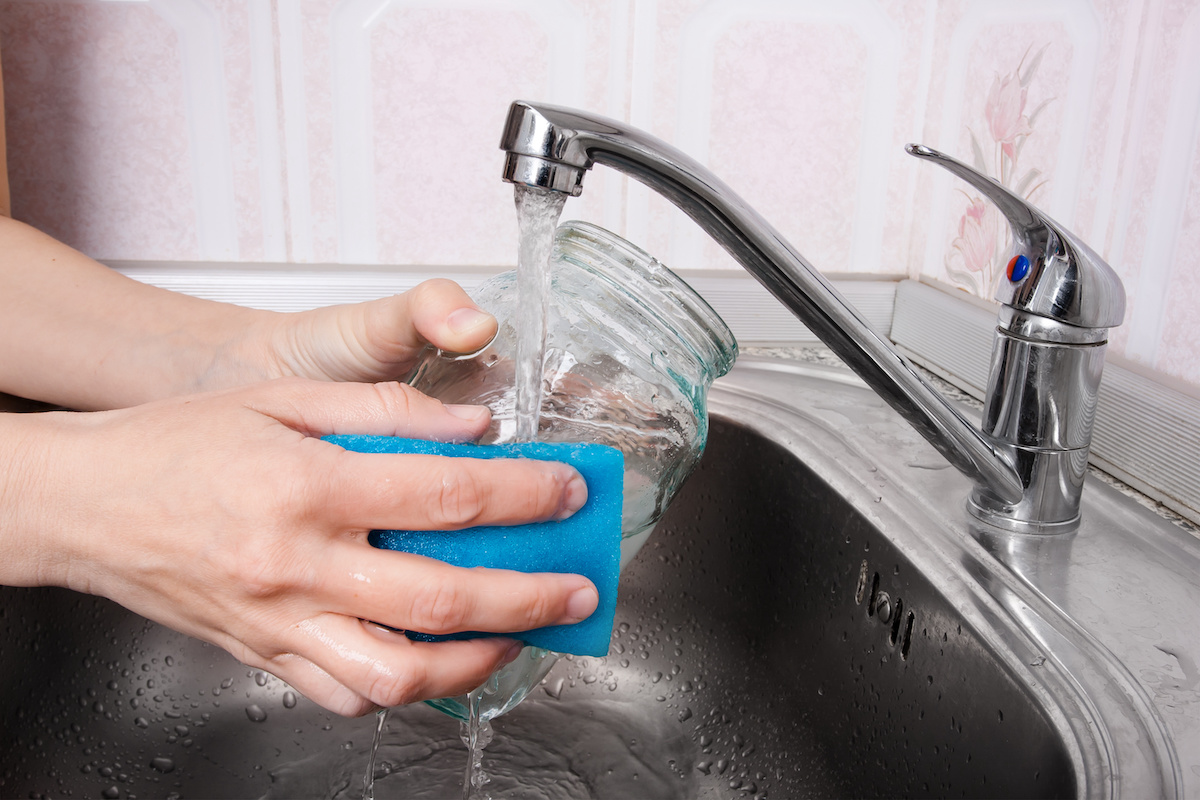
- Clean the mason jar with rubbing alcohol or mild soap and water. Let dry.
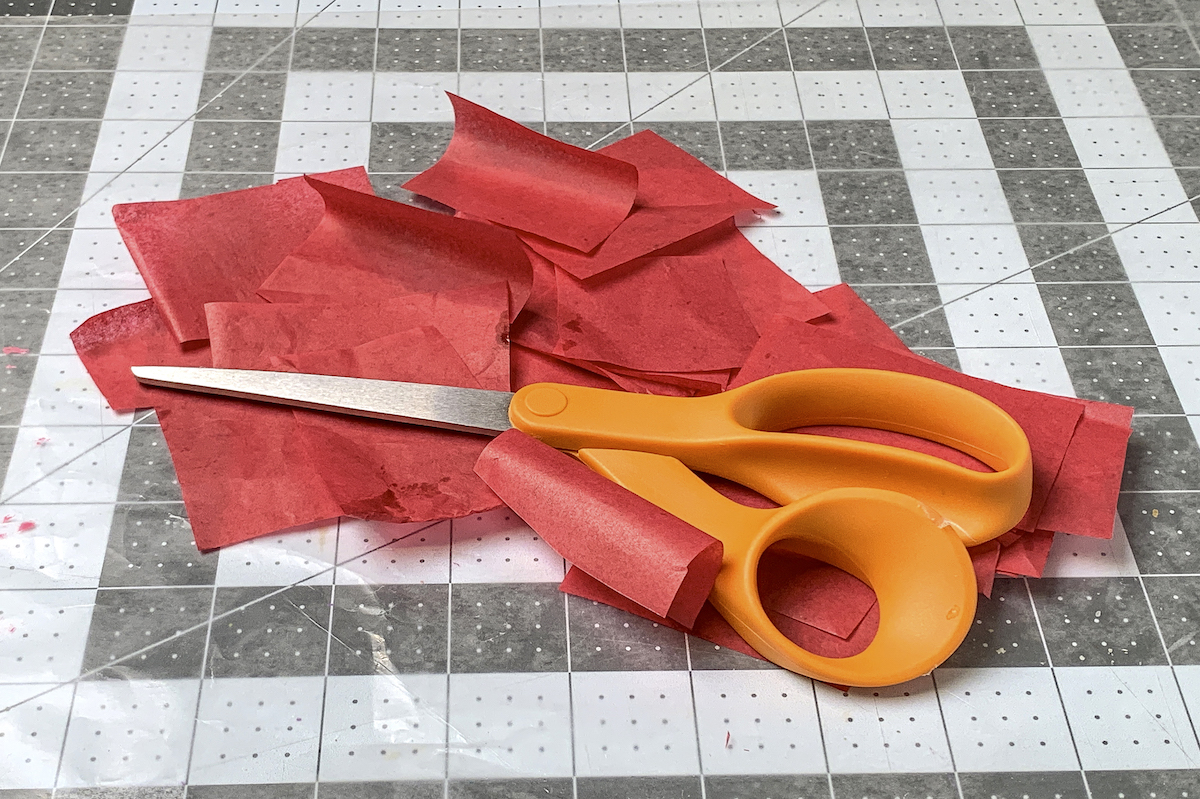
- Cut the red tissue paper into several squares to cover the jar. This makes it easier to apply.
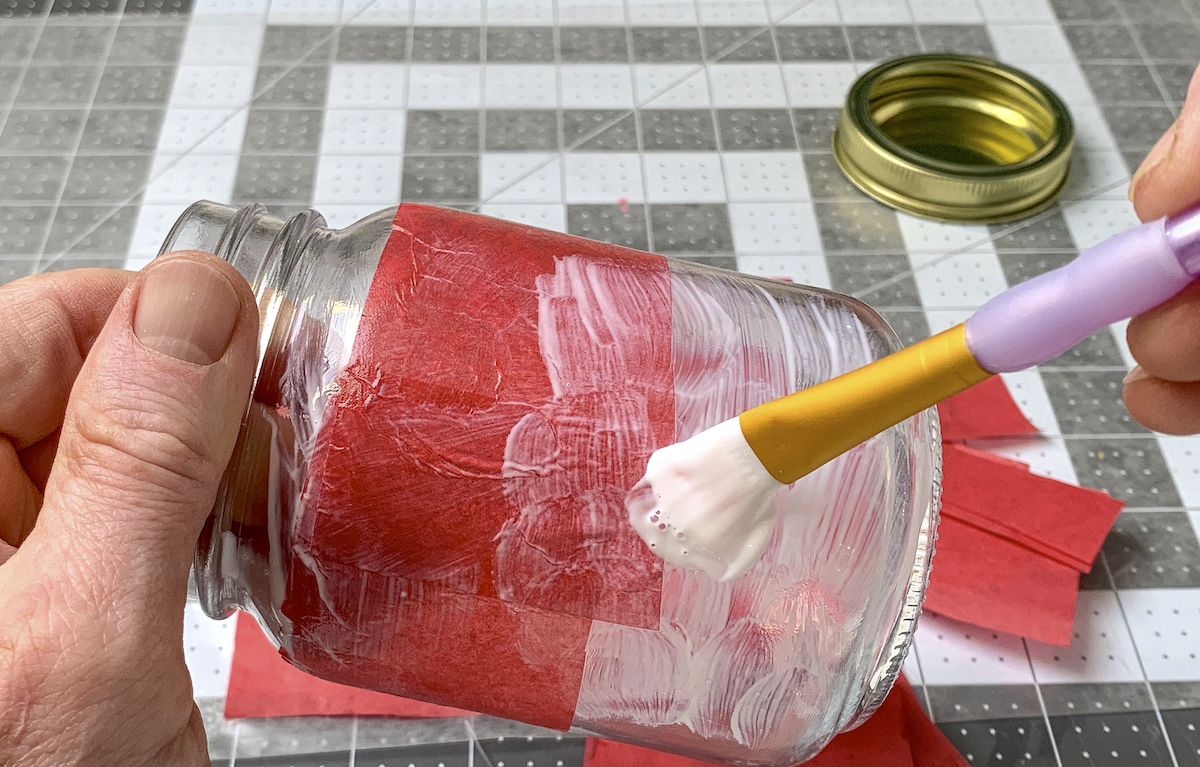
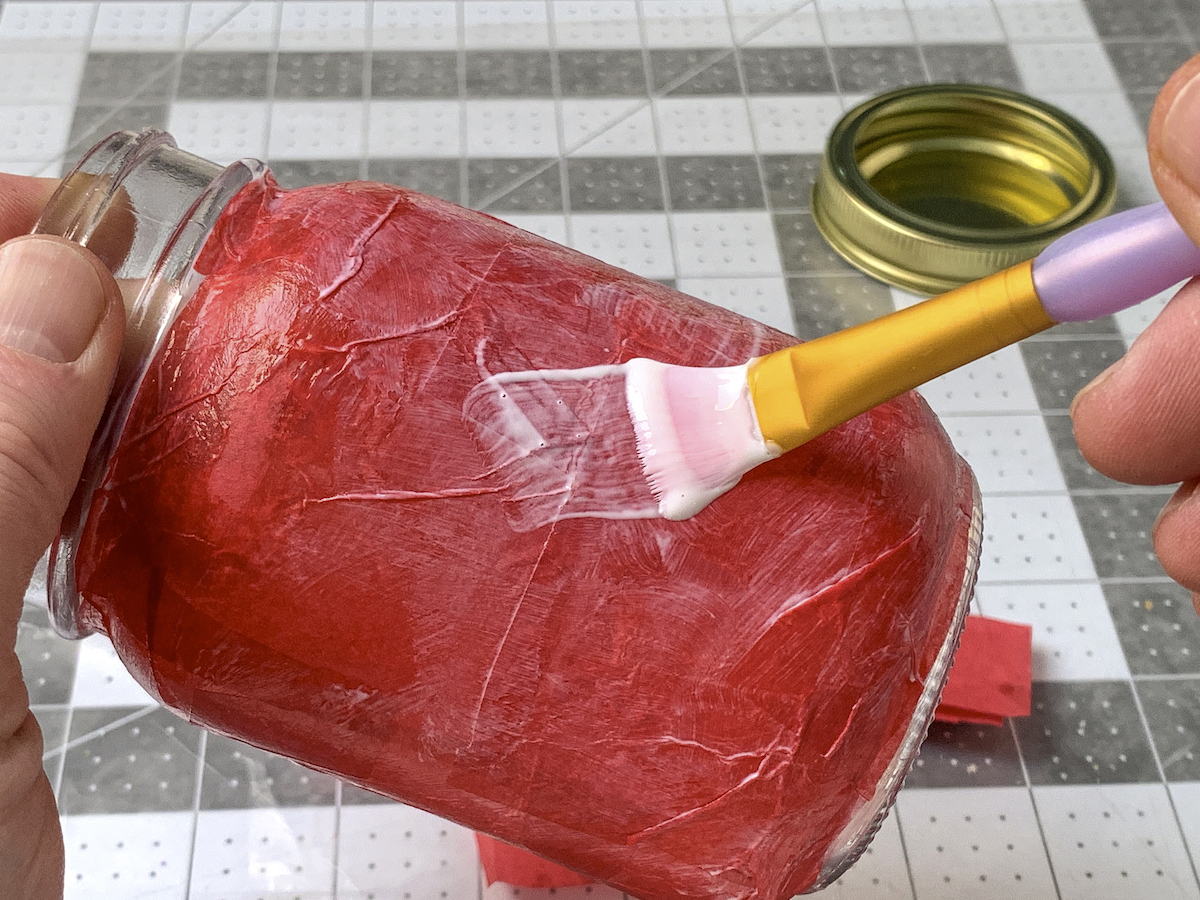
- Apply a medium layer of Mod Podge to the glass, in just one area of the mason jar. Place the tissue paper down into the Mod Podge, and smooth. Not too rough, or you'll tear the paper. Use the brush to lightly smooth out the tissue paper. Then repeat with additional pieces. Work one portion of the jar at a time.
- Continue to apply tissue paper, overlapping, and smooth down with the brush and additional Mod Podge. Keep in mind that it's going to wrinkle a bit at the bottom of the mason jar, where the glass tapers.
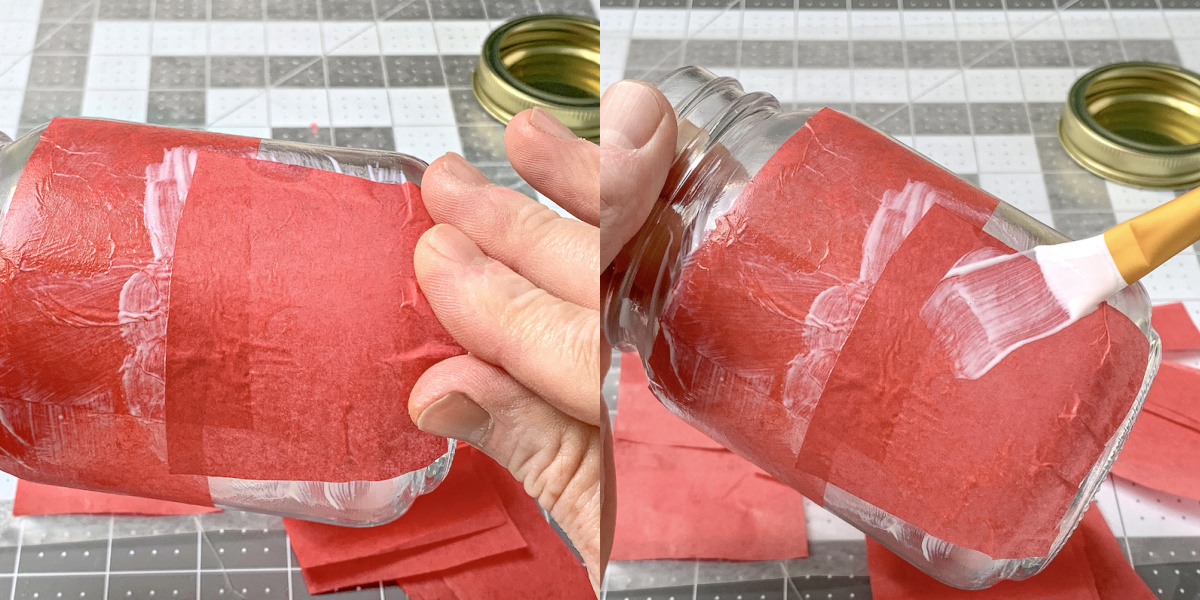
- Once you're done, apply a layer of Mod Podge over the tissue paper and let dry. If you see some red from the tissue paper come off into the brush, it's okay. A little bit of the dye might come out, so don't overbrush and you'll be fine (and you'll avoid tearing the paper).
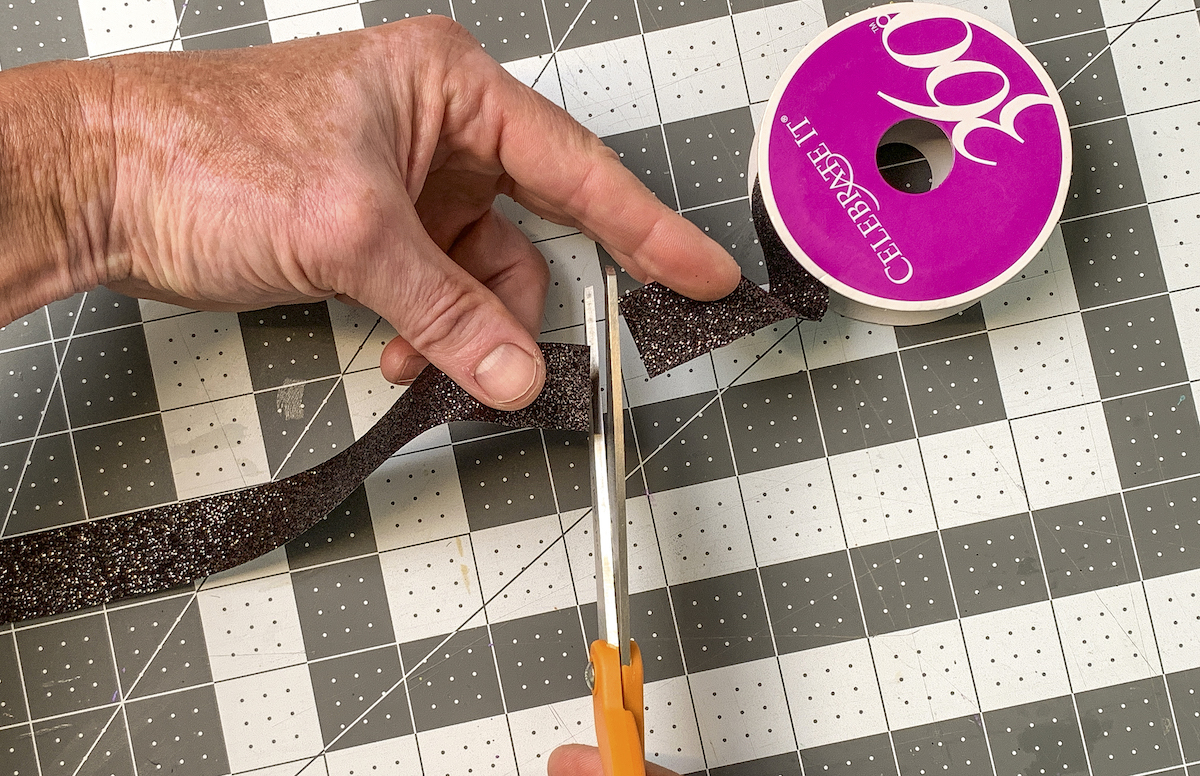
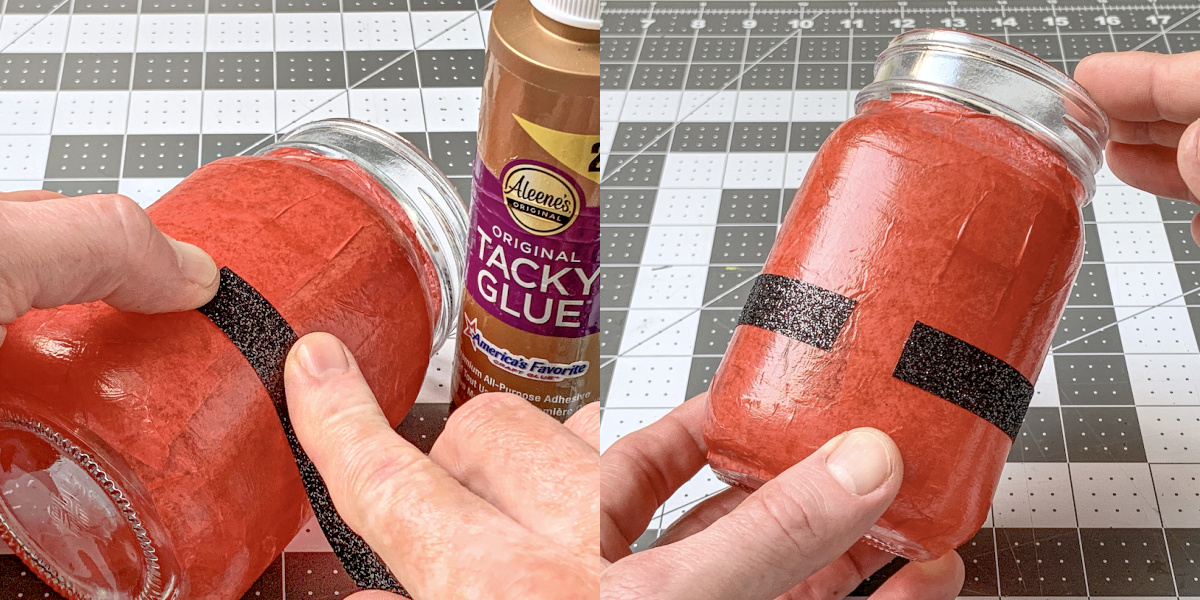
- Cut a piece of black ribbon into a Santa belt. Trim with a craft knife if necessary.
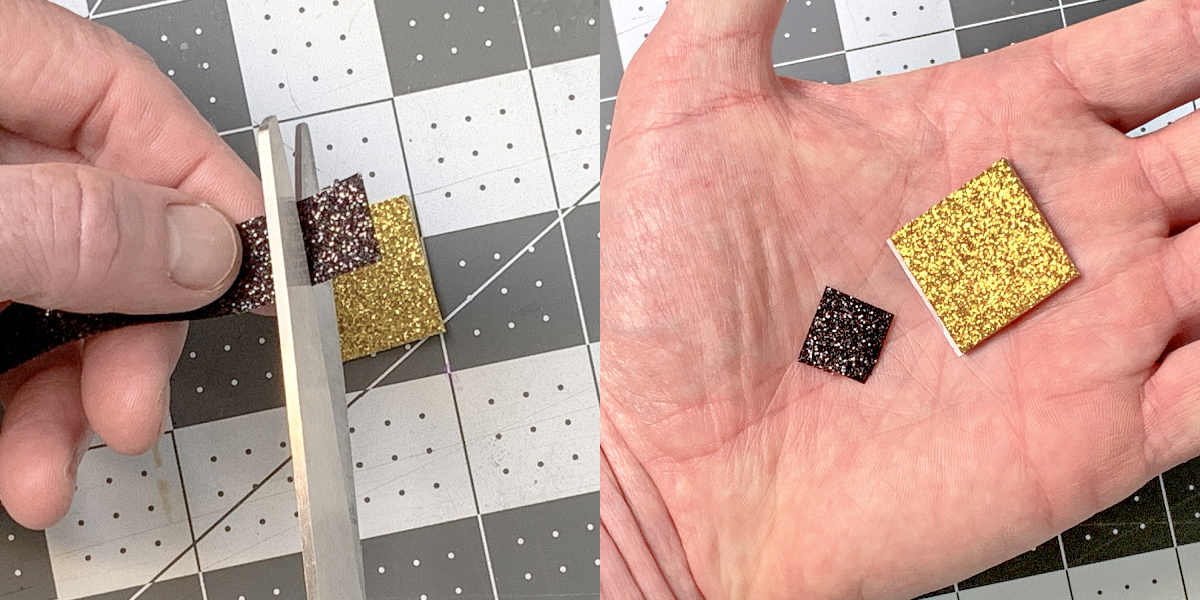
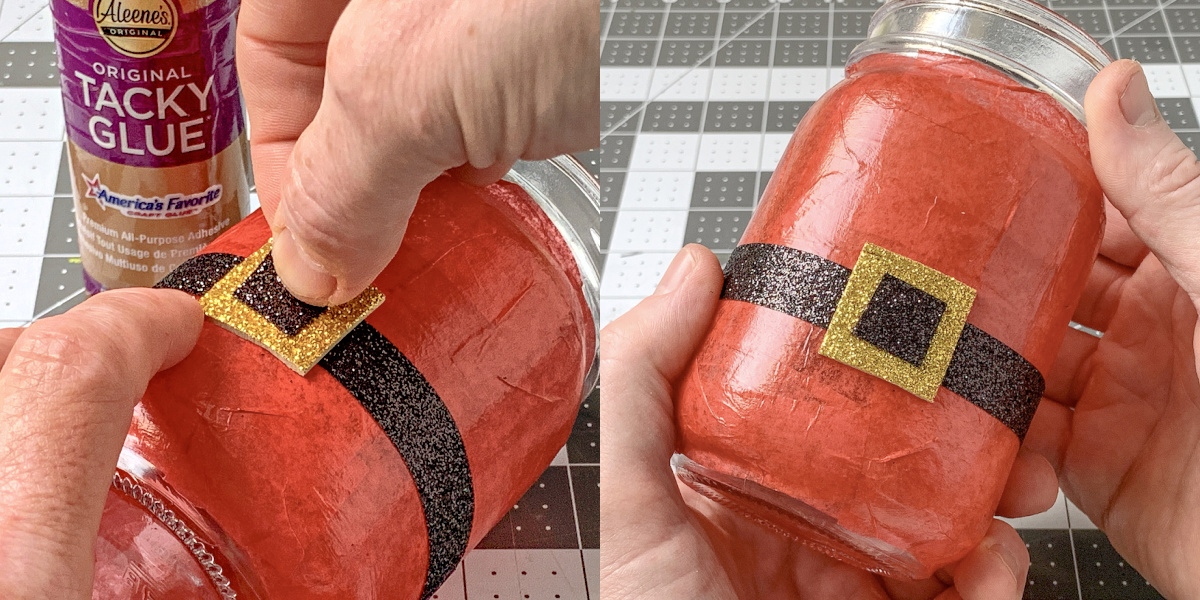
- Cut a piece of gold glitter foam (or similar) as well as a small square of black ribbon to fit in the center, to mimic a buckle.
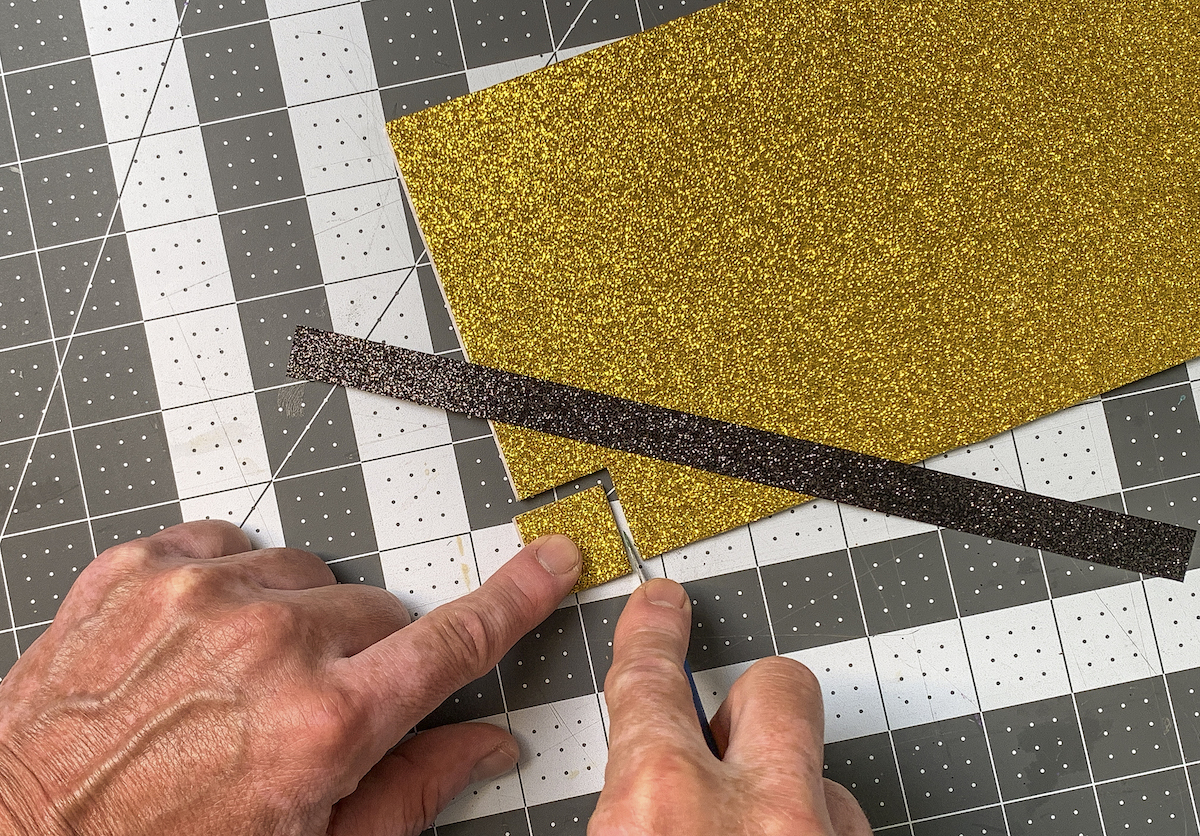
- Cut a small piece of black ribbon to fit in the middle of the buckle, so that it looks like it's woven through.
- Use the craft glue to adhere the ribbon to the Santa mason jar, about 2/3 of the way down the jar or so. You can leave an open space at the front because that's where the buckle will be. Let dry.
- Glue the craft foam down. Then glue the black ribbon on top. Let dry.
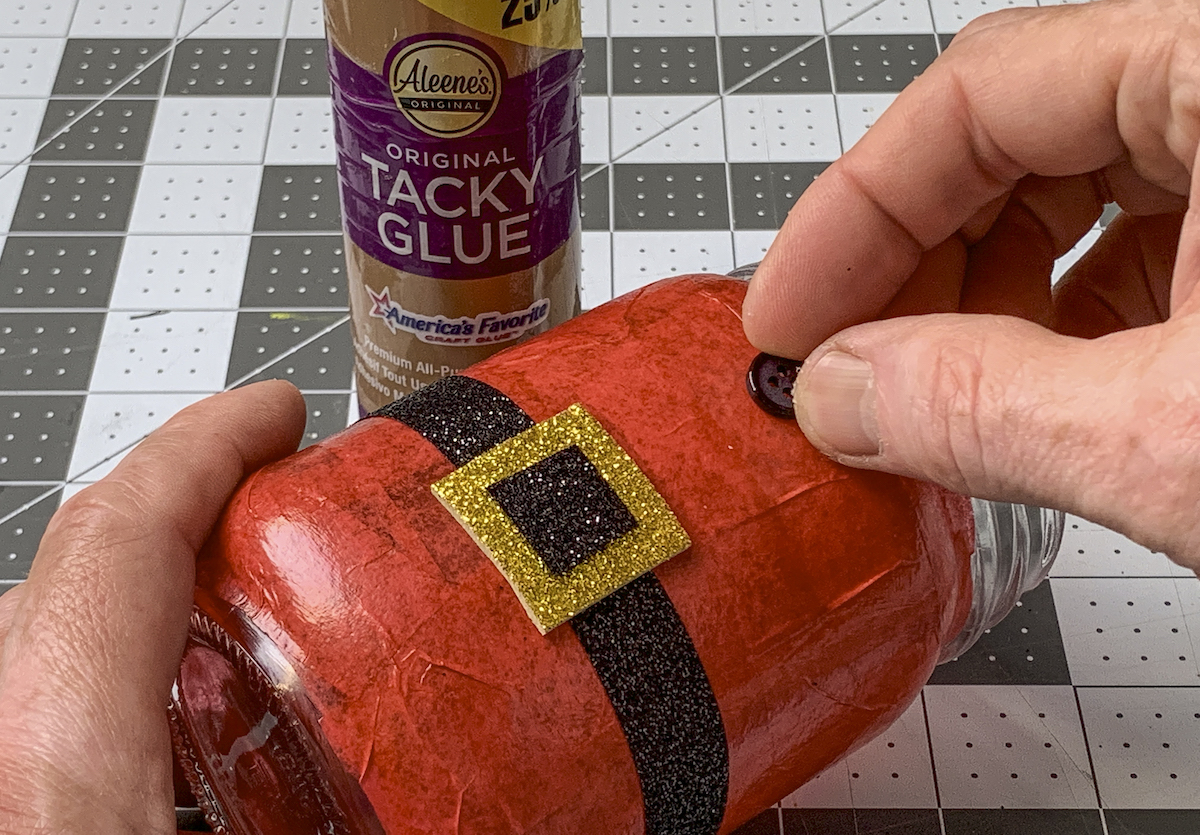
- Glue three black buttons down to the front. Glue two above the belt and one below. Let dry.
Notes
Start with a half sheet of tissue paper and go from there. You can always cut more!
My ribbon was a little bit wide, so I used a craft knife and ruler to cut it down to 1/2" so that it fit a bit better.