
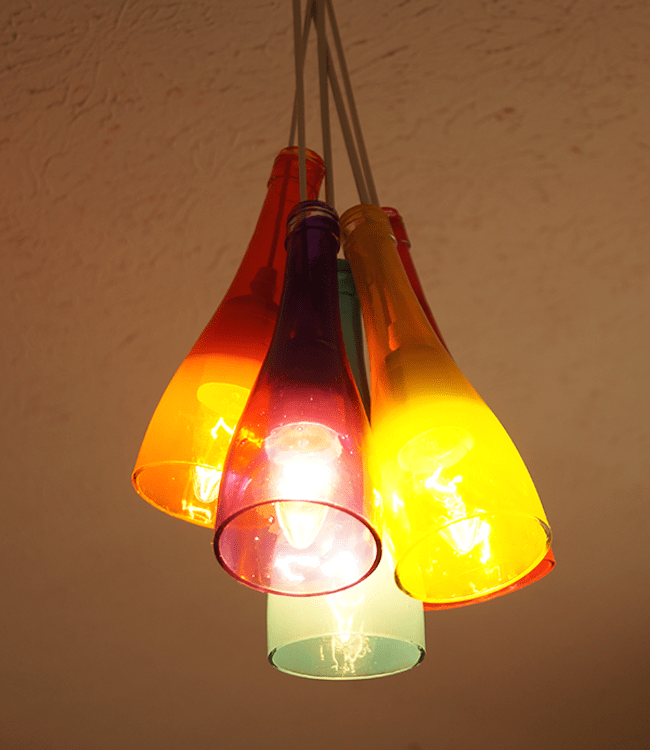
Use cut wine bottles and Mod Podge Sheer Colors to make this beautiful and unique wine bottle chandelier. Customize with your own colors!
Skills Required: Intermediate. You’re going to be doing some bottle cutting and electrical wiring, so it helps to have experience with tools for this project.
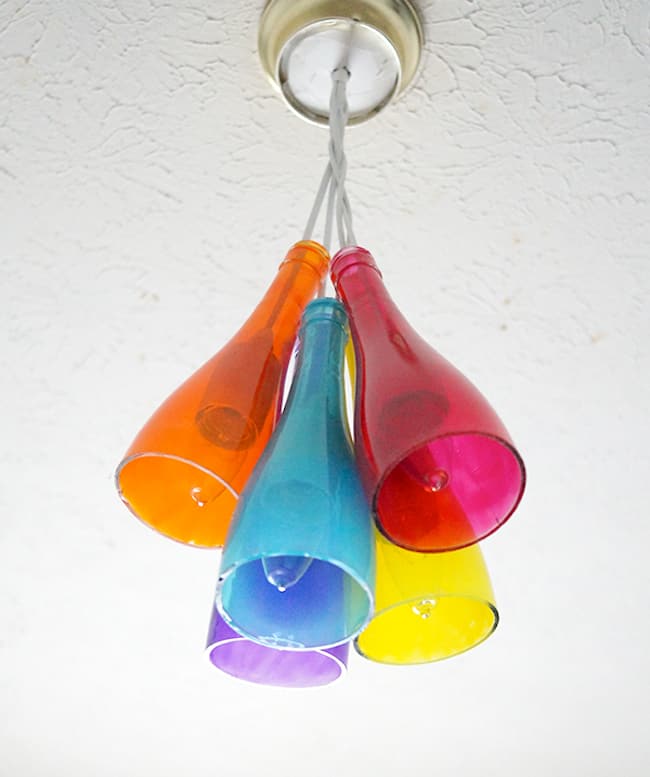
Hi Mod Podge Rocks readers! It’s Johnnie here, from Saved By Love Creations with a colorful recycled bottle idea! I asked Amy if I could crash the party to share how to upcycle wine bottles into a rainbow-themed wine bottle chandelier, so here we are!
You can make this DIY chandelier to match your home decor using your favorite Mod Podge Sheer color, or use as many as you can get your hands on, like I did. This is such a perfect recycled craft idea.
The project involves cutting wine bottles, which is easier than you may think, so let’s get started!
Get the printable how to below:

Wine Bottle Chandelier
Equipment
- Wax paper or a silicone mat
Materials
- 5 Wine bottles cut to size
- Mod Podge Gloss
- Food coloring
- 5 Pendant light kits one for each wine bottle
Video
Instructions
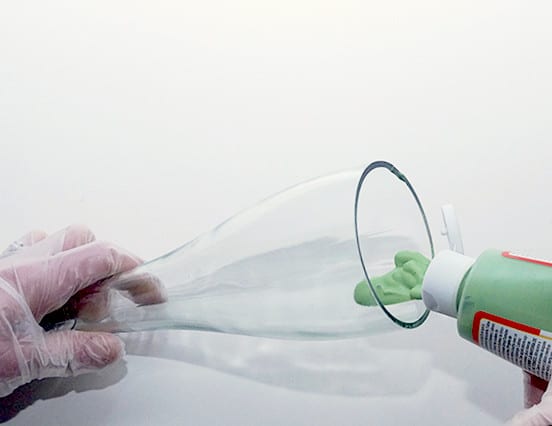
- Start by mixing Mod Podge with food coloring until you have the color palette of your choice.
- Squeeze a generous amount of the Mod Podge mixture into the cut end of your bottle.
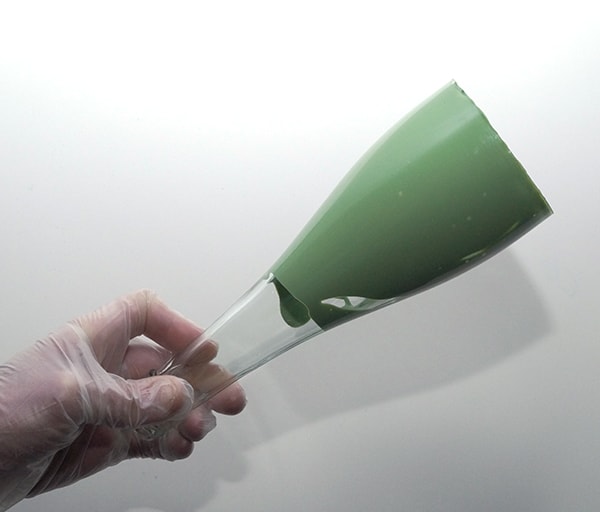
- Twirl bottle to disperse color all over the inside of the bottle. Repeat with the remaining bottles and place so the excess can drip out. Let them dry overnight.
- Wire each bottle with a lighting kit according to package instructions. The one I used had an in-line switch between the plug and the socket base. I didn’t have a need for the switch or the plug since I was going to be direct wiring it to an existing switched circuit.
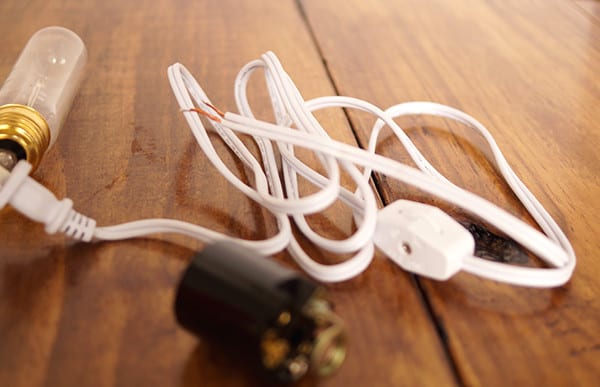
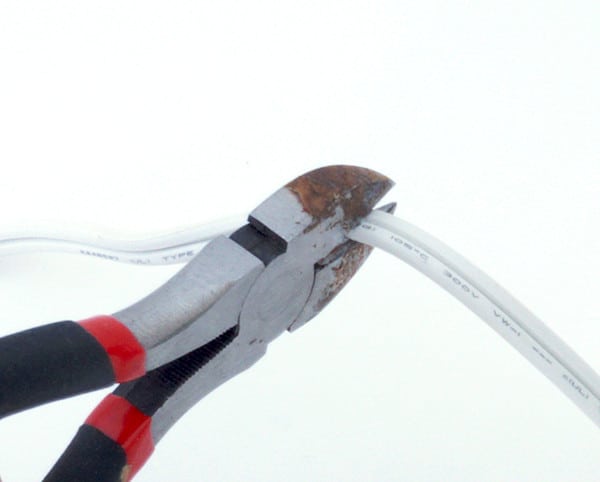
- I cut the wire using wire cutters at the socket side of the switch. I left about two feet of wire to the socket base, but you should test and see what distance looks best in your application.
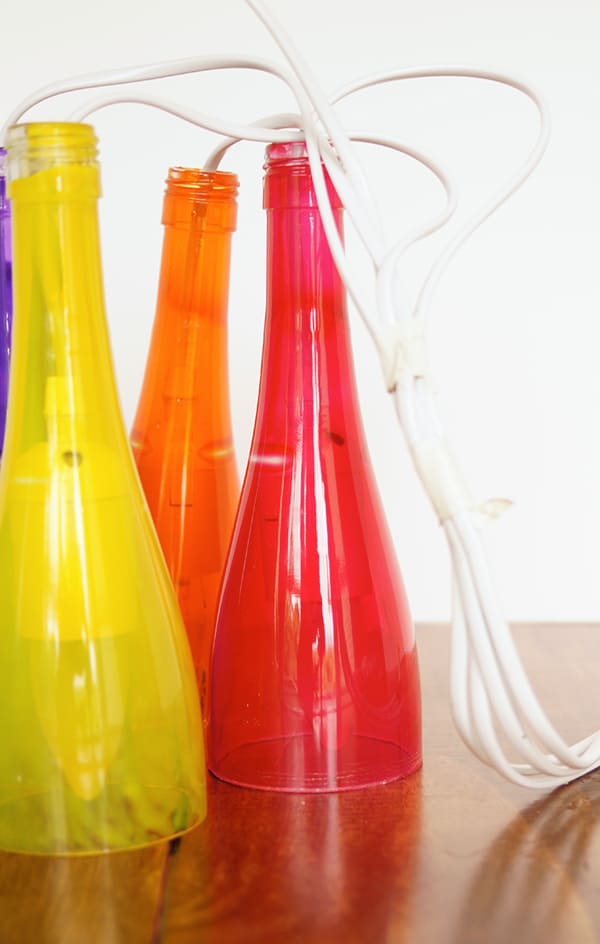
- Run the cut end up through bottle and out the neck of each of the six colored bottle shades. The sockets will fit snuggly up in the taper of the neck of the shade.
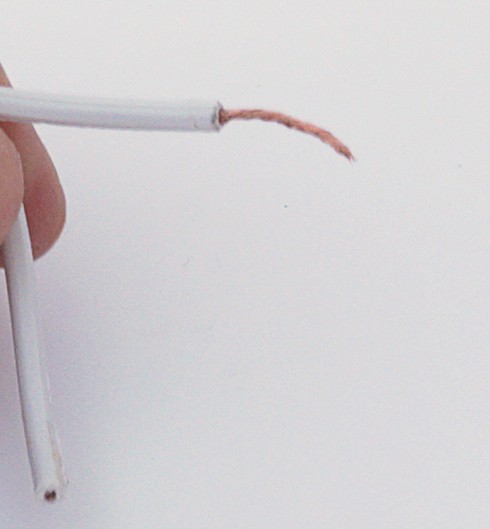
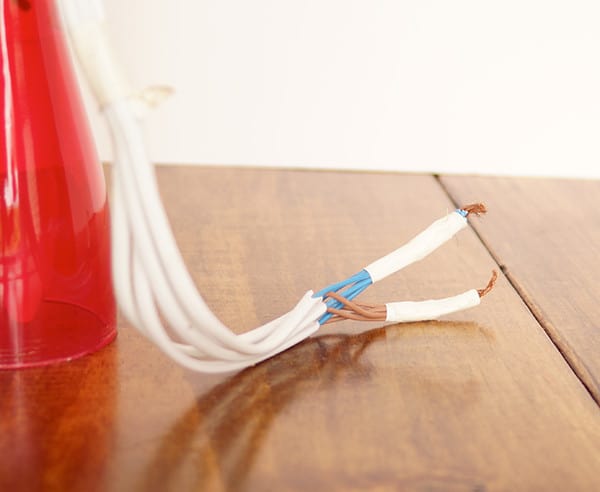
- Bare the ends of each of the wires using your wire cutters to peel away the plastic coating (there will be 12 wires, hot and a neutral for each lamp or 18 if the kit is wired for a ground).
- With the wall switch OFF (throw the service breaker for extra safety) take down the old ceiling light and find the white (neutral), black (hot), and green (ground) wires.Pull them down out of the box and make sure you have enough room to go back with the new wire bundle you're going to create.
- Combine all the neutral wires from the lamp kits together into one pigtail. DO the same for the hot and the ground if present. Use some electrical tape to help hold them all together while you get ready to connect them to the junction box.
- Using an appropriately sized wire nut, connect the white pigtail of the lamp kit to the white (neutral) wire from the ceiling. DO the same with the Black (hot) and ground (green, if present).
- Carefully push the wires up into the junction box and allow the weight of the lamps to be carried by the bundled lamp cords over the junction box support bar.
- Slide the fixture cover you used from the old light up into place to cover everything. Flip the breaker and the switch on. Put bulbs in the lamps.
Notes
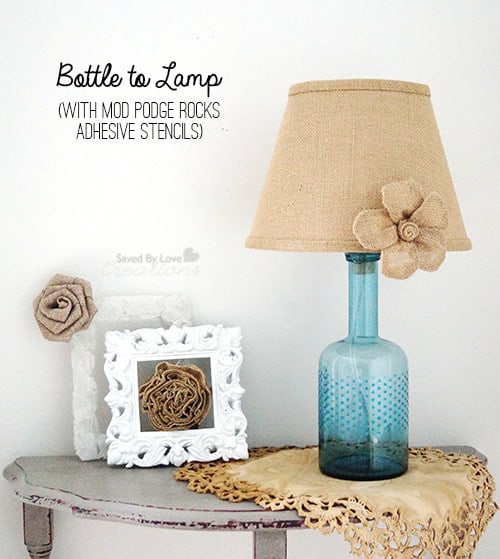
Bonus Tip: Use stencils and glitter to add your favorite pattern to the glass, like I did with this Upcycled Bottle Lamp:
Not up for electrical wiring? Use your colored bottles to create Upcycled Rainbow Lanterns!
Thanks for having me here. I hope you are inspired! xoxo


What a great post! Had no idea that ModPodge came in colors! Happy Birthday Johnnie!
How are you Amy? I am headed your way in September in my camper. Want to meet up?
Hi Eileen! Doing well! I’d love to meet with you for sure – please contact me when you get here!! We can work together in my studio!! xo
Oh my goodness, what fun ideas! Wine bottles are not in short supply at my house! 😉
I absolutely l.o.v.e. the wine bottle chandelier! Great tutorial and thanks for sharing it! I wasn’t aware of the different colors of Mod Podge. 🙂