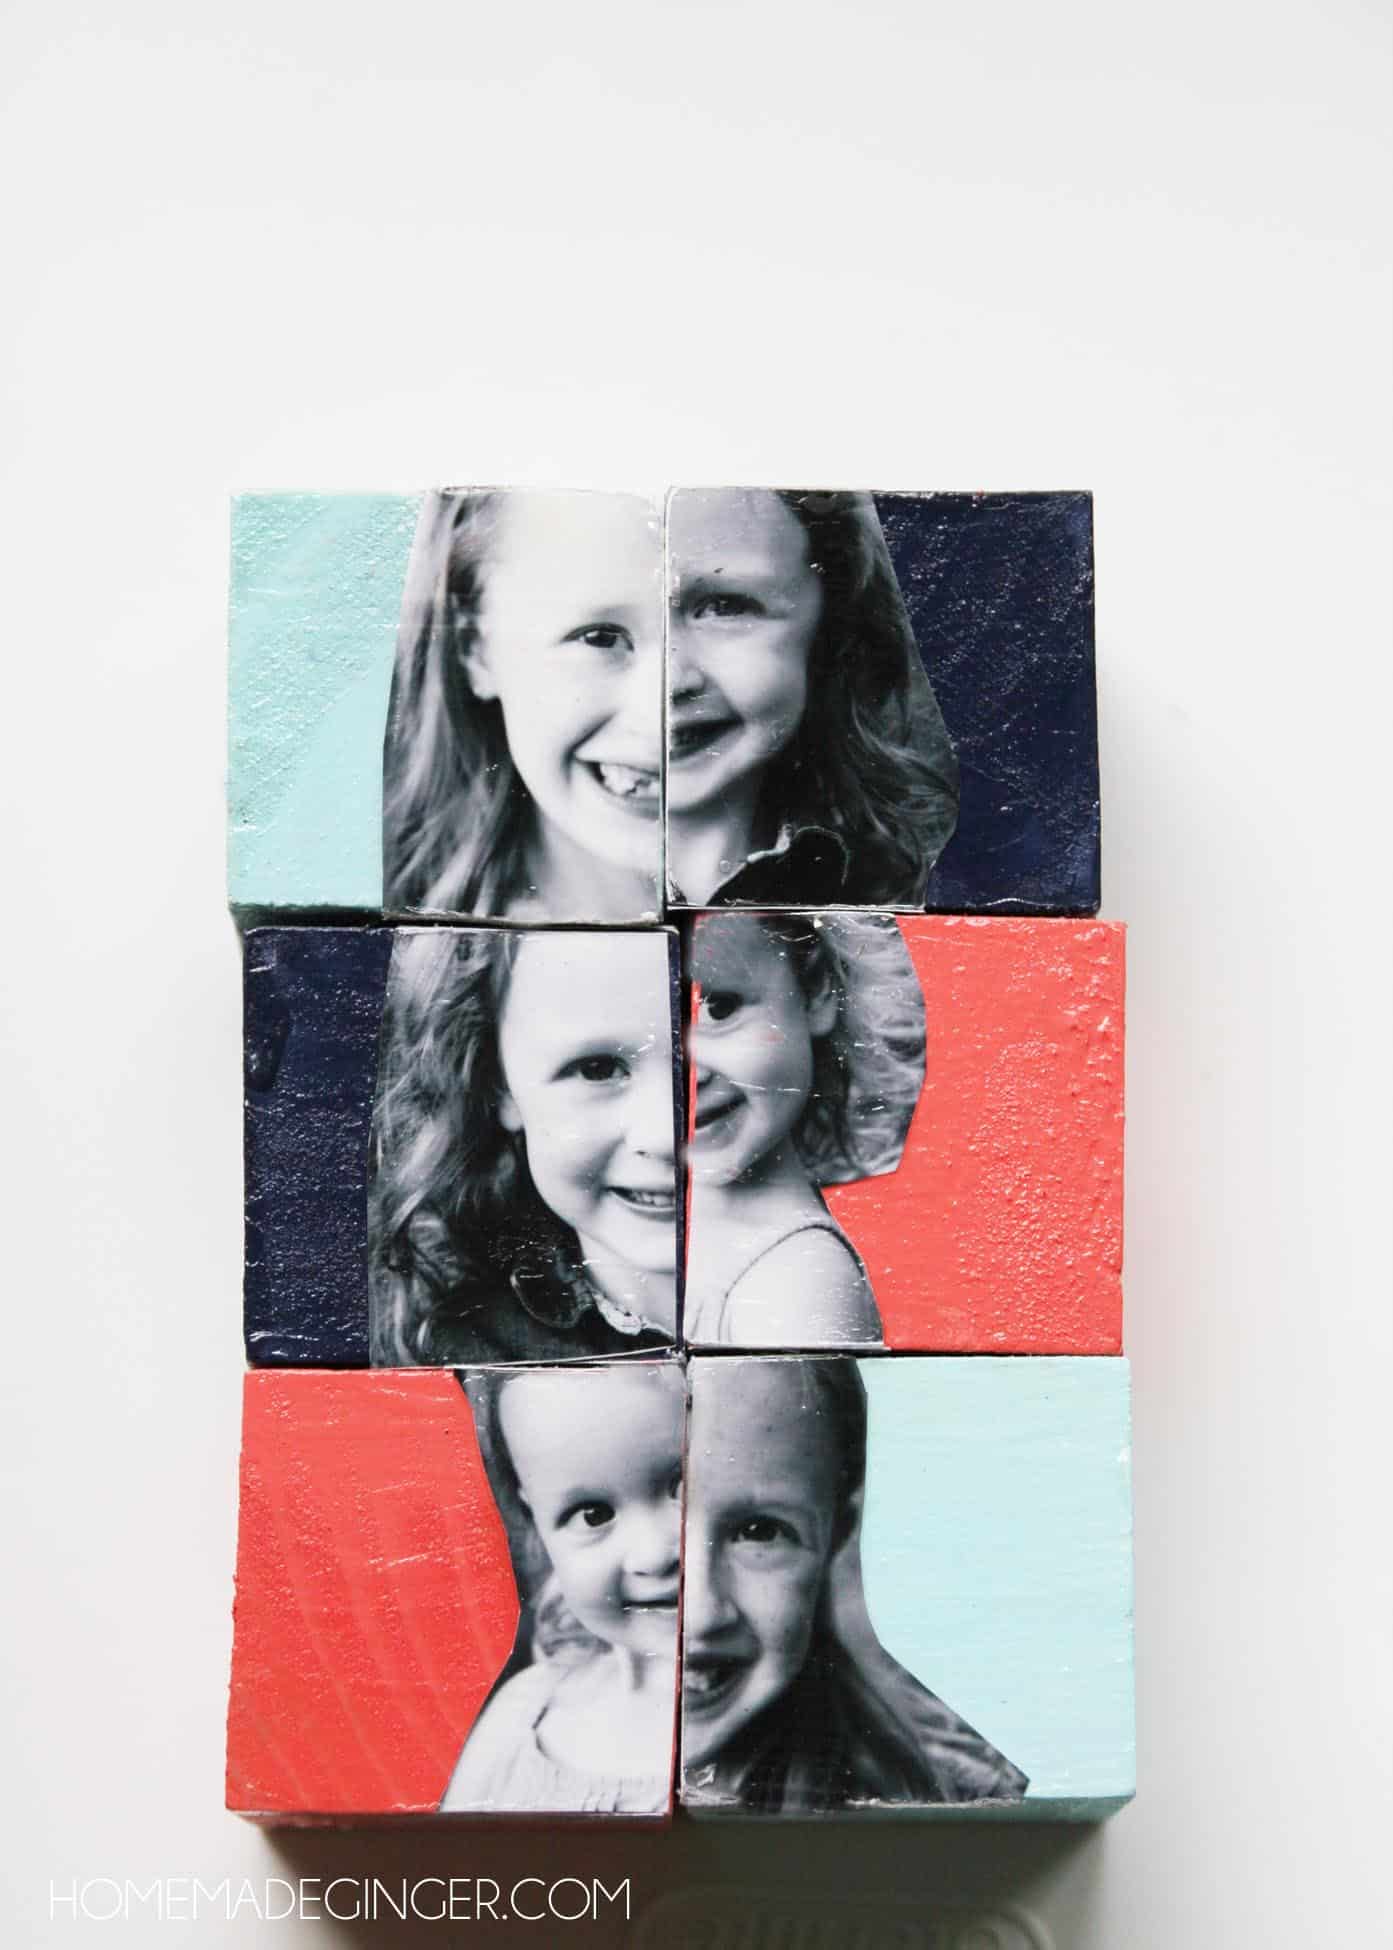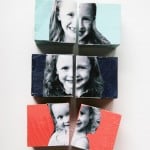
How to Make Photo Blocks
Learn how to make picture blocks use craft paint, photos, and Mod Podge. This is really easy!
Yield: 6 blocks
Cost: $10
Equipment
Materials
- Black and white photos
- 6 Wood block(s)
- Acrylic paint
- Mod Podge Matte or formula of your choice
Instructions
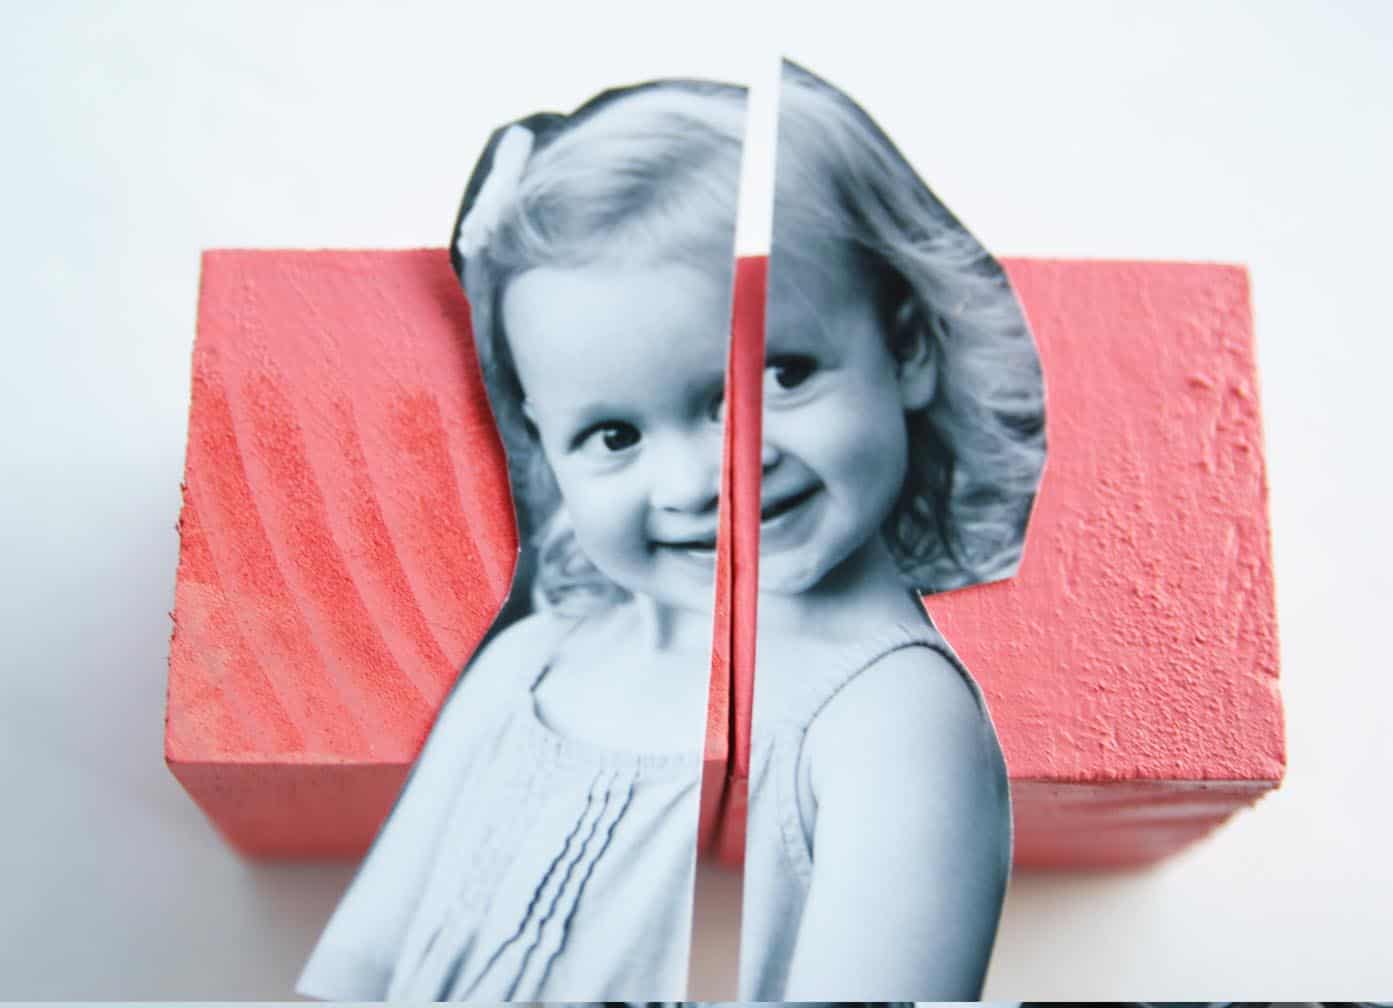
- Paint the wood blocks and let dry. Add enough coats to cover the blocks and let dry for several hours.
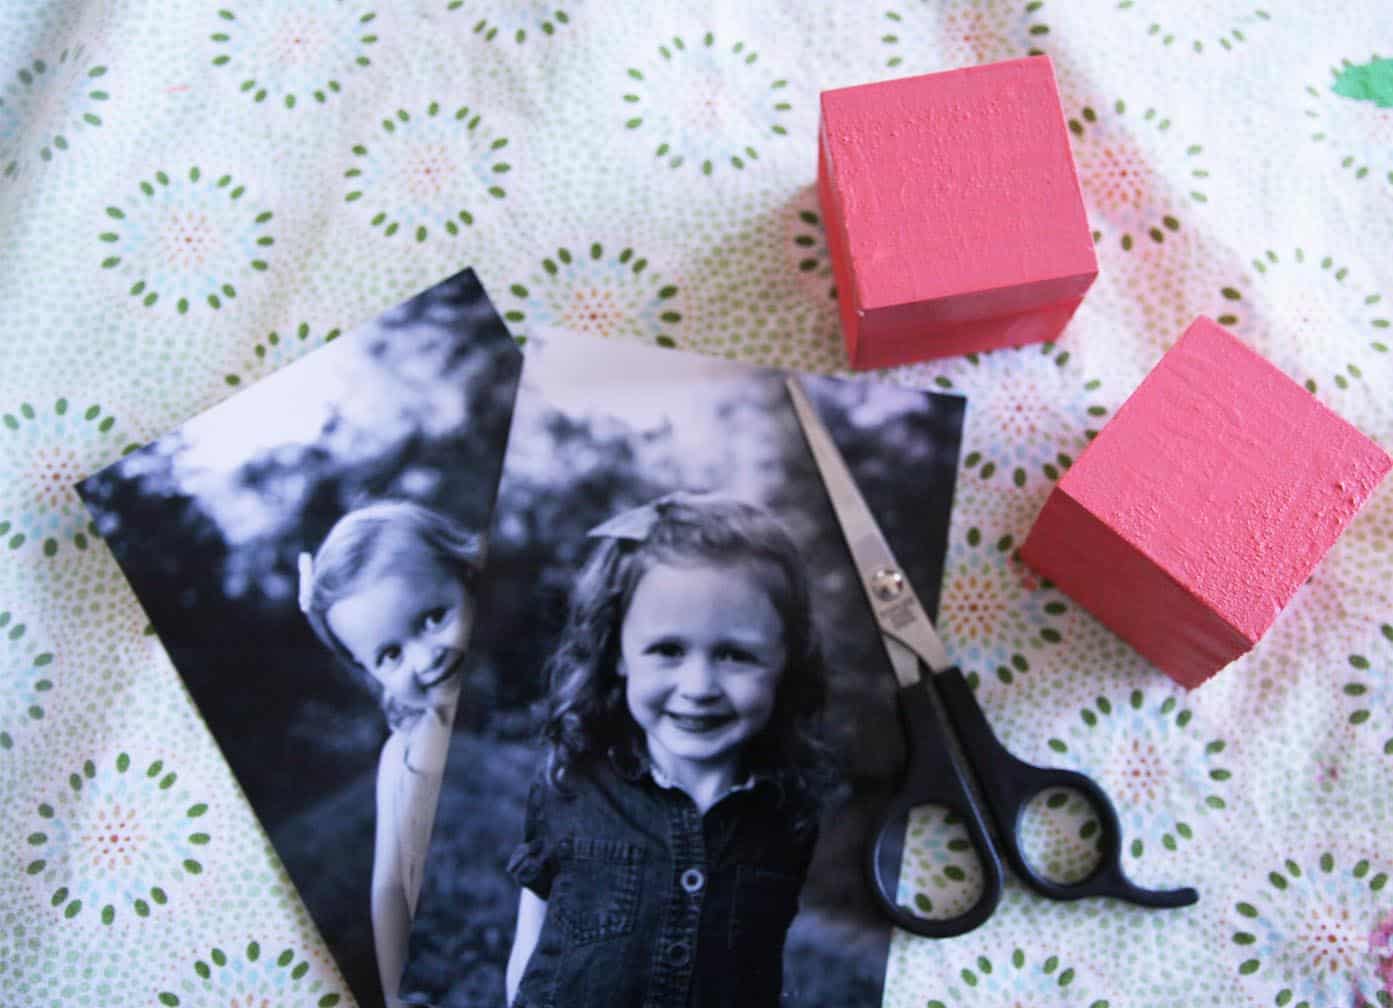
- Cut out the black and white photos with the scissors.
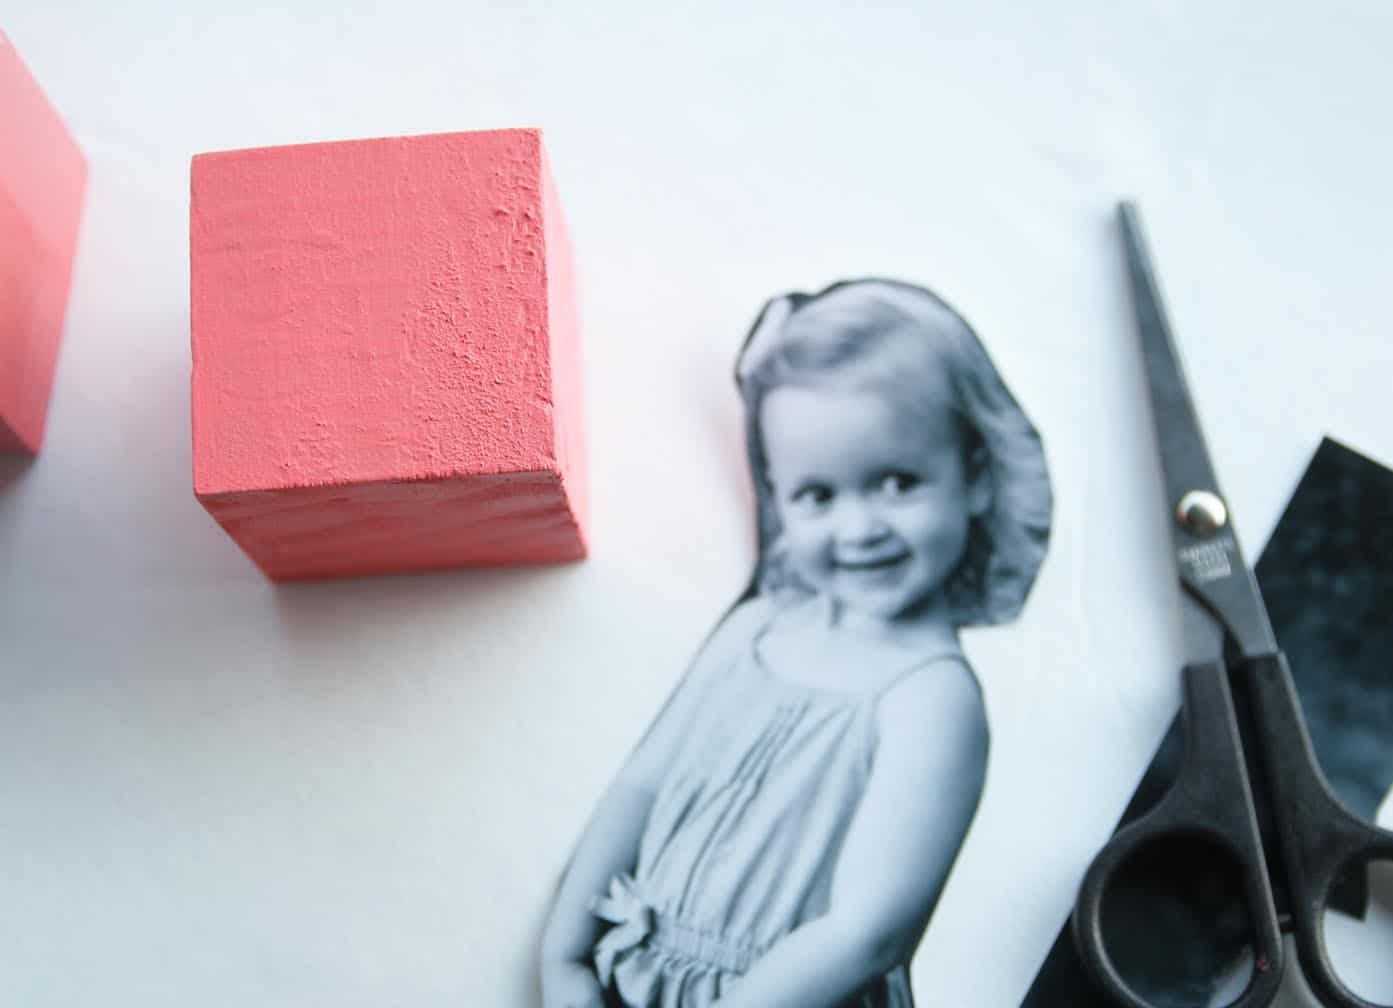
- Cut down the middle of each photo so that one half will fit onto each of two blocks.
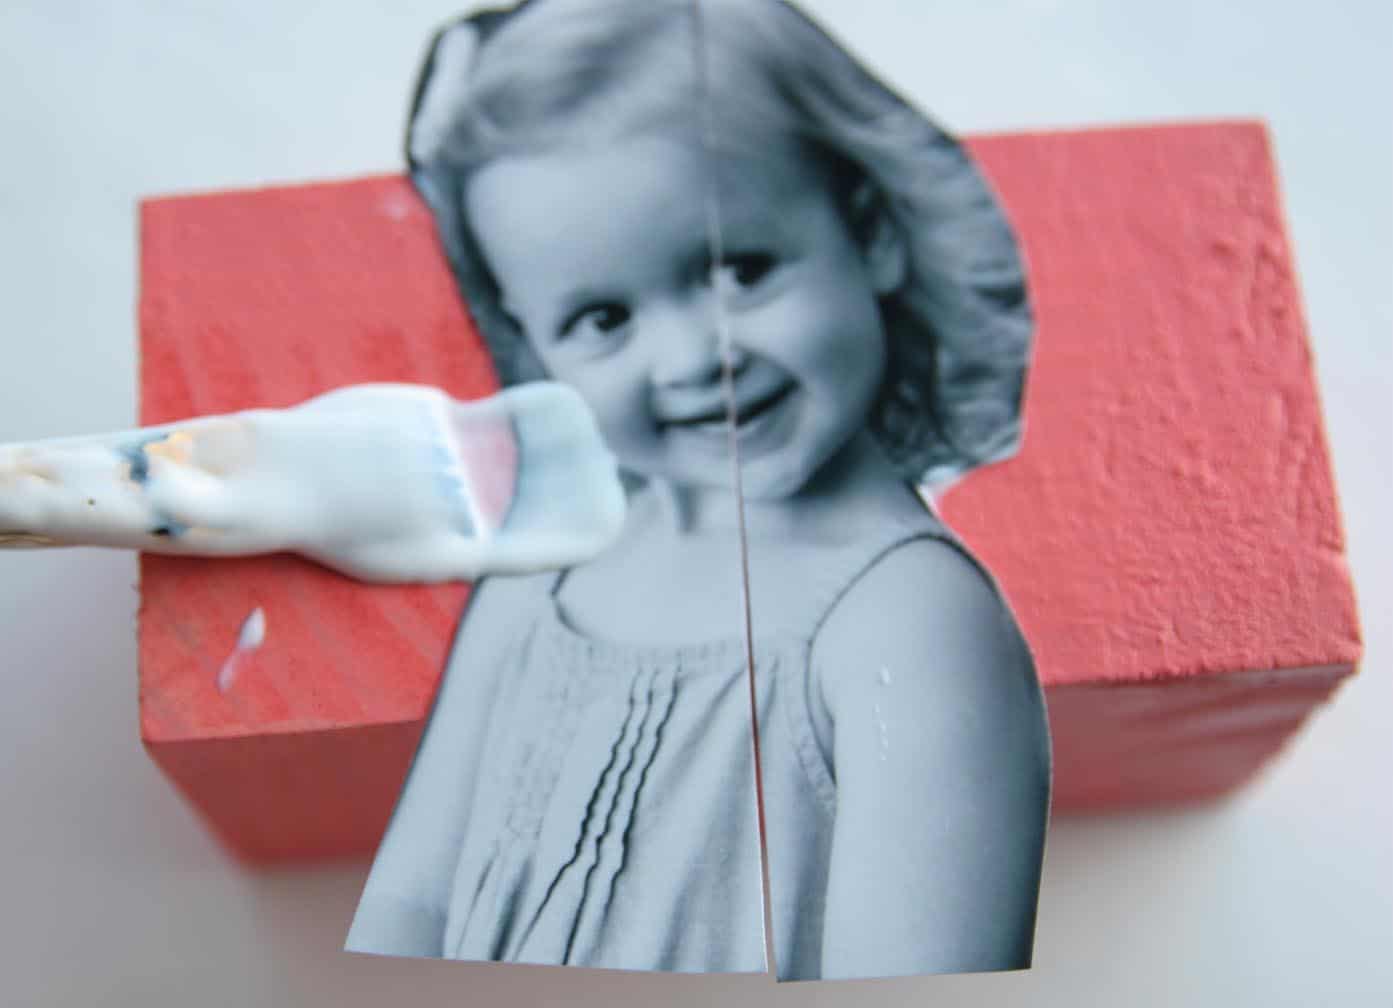
- Apply Mod Podge to the back of the photo and then onto the top of the block. Smooth the photo down onto the block. Repeat with the remaining blocks. Let dry and then trim off the excess.You can also cut and add the top and bottom pieces to the other sides of the blocks so that the photo looks like it wraps around the block.
- Add a few coats of Mod Podge to the entire block(s) and let dry before displaying.