
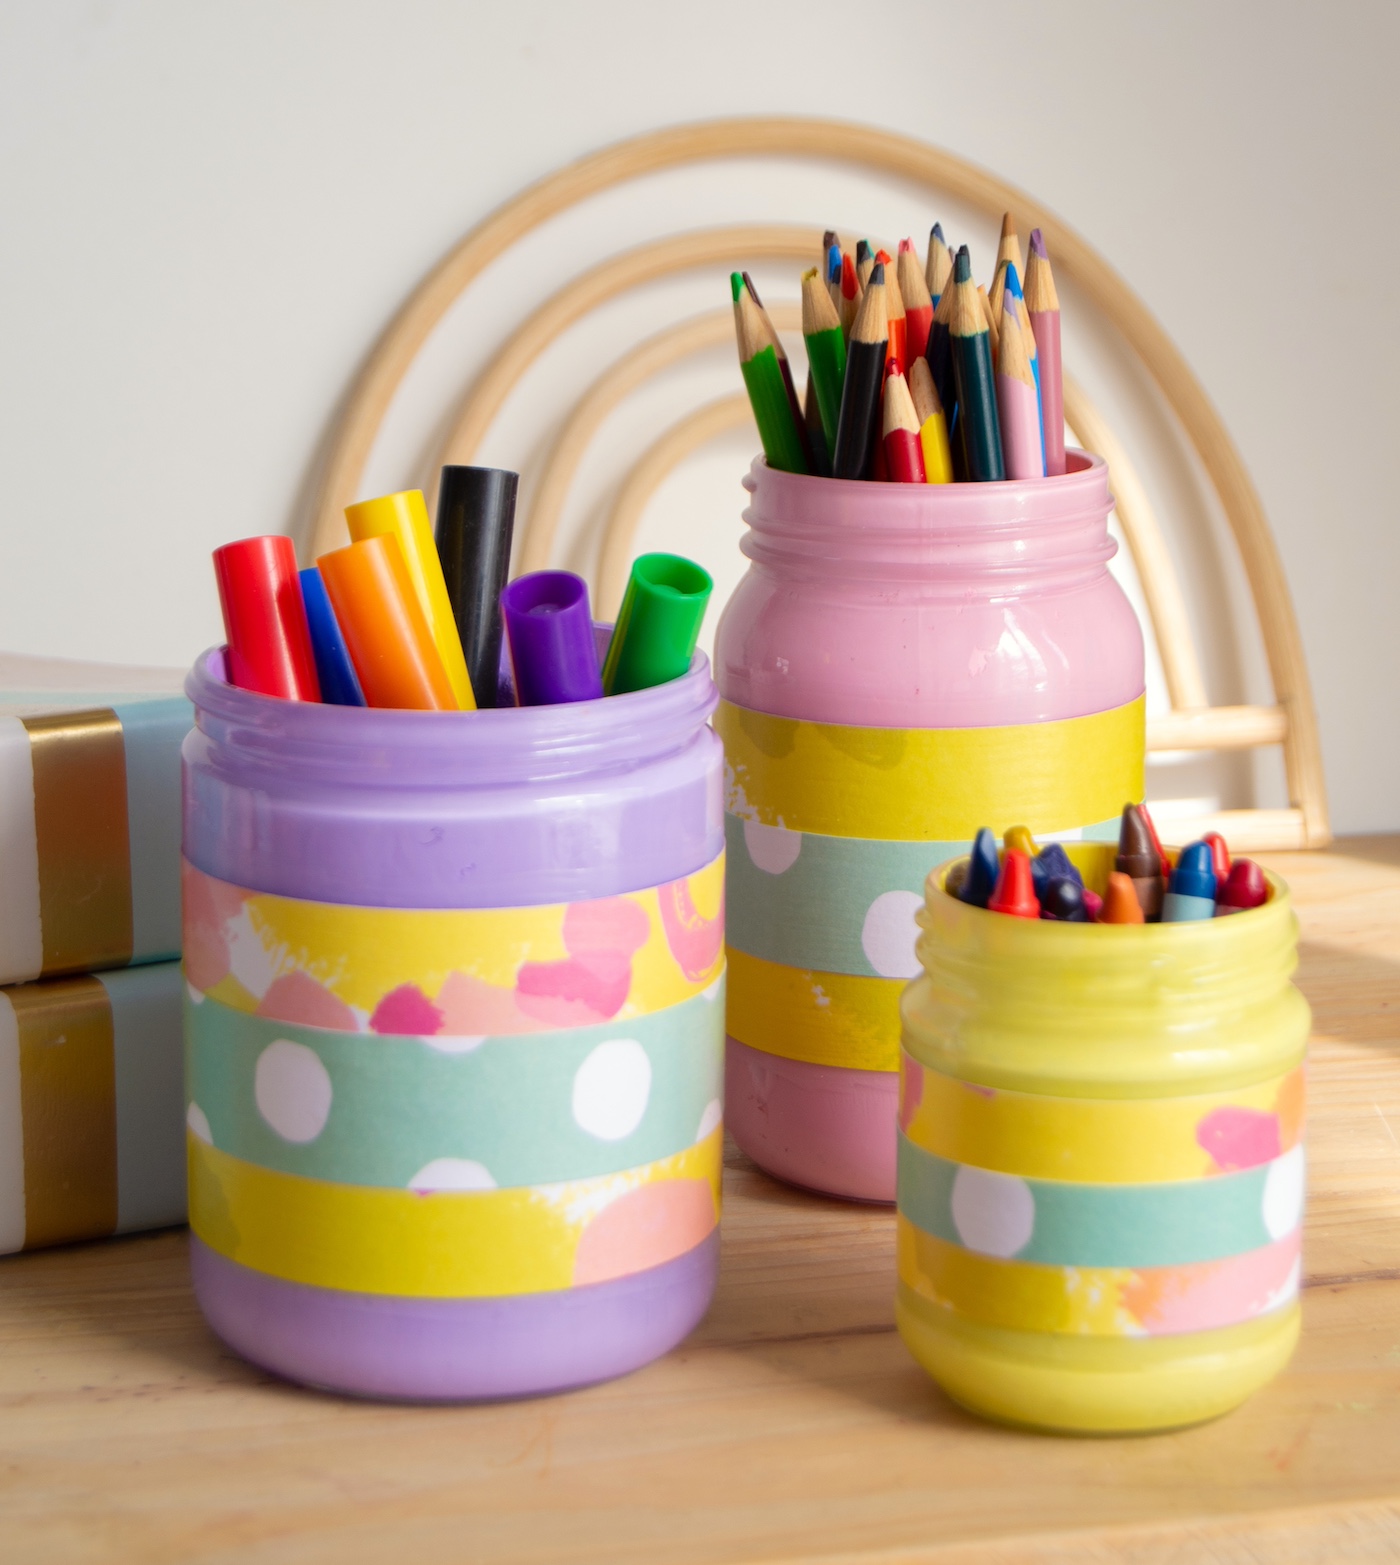
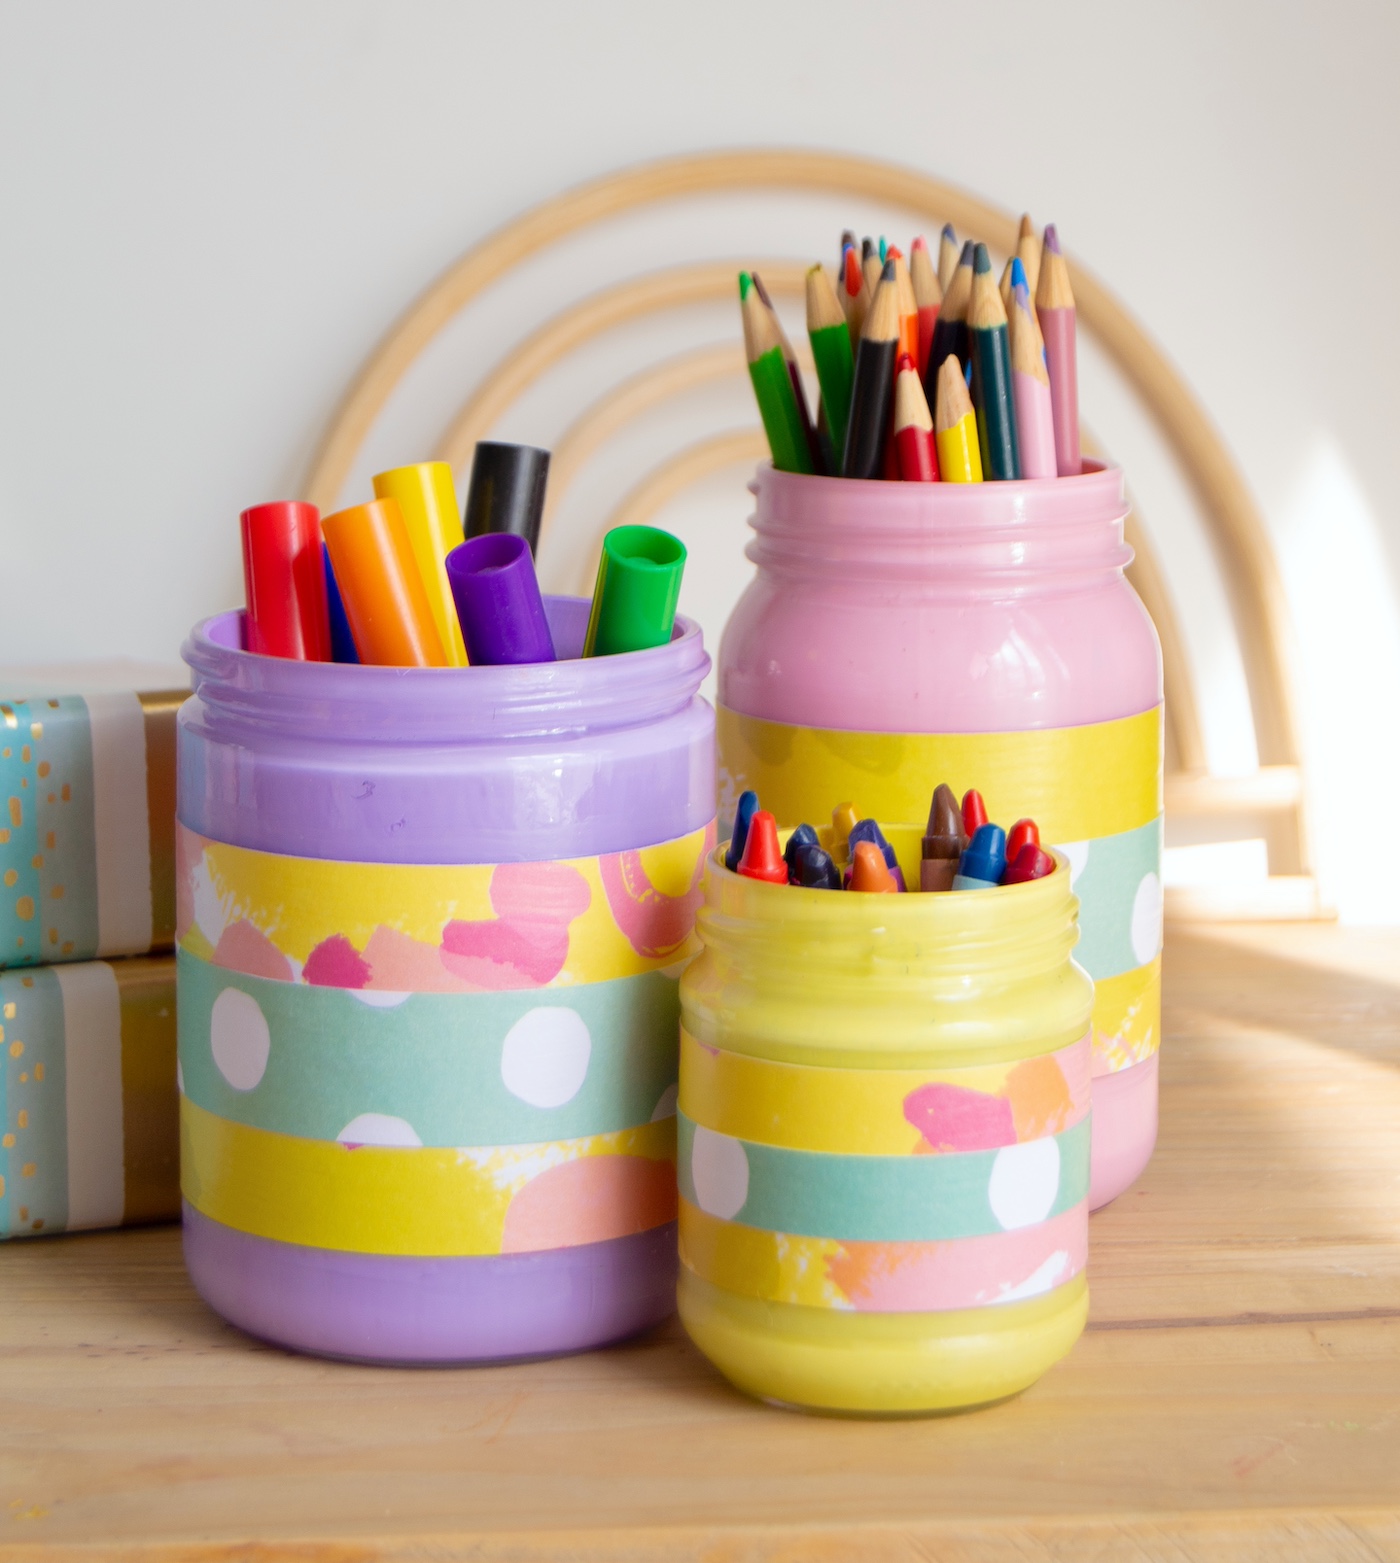
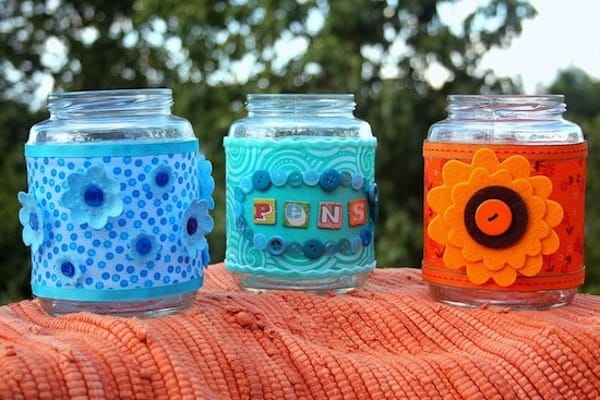
Transform an empty jar into a stylish DIY pencil holder with paint, paper, and Mod Podge. This pencil cup is perfect for desks, craft rooms, or gifts and you probably have all the supplies on hand.
Skills Required: Beginner. You’ll be using paint on glass and then Mod Podging scrapbook paper onto it. Anyone can do this project, including children.

Ever glanced at an empty glass jar and thought, “Surely, this can be more than just recycling bin fodder”? If so, you’re in luck . . . because today’s project turns a basic jar into a nifty DIY pencil holder, proving once again that one person’s trash can indeed become their treasure.
This project is a gem for anyone looking to spruce up their desk with a bit of personality or searching for that perfect, thoughtful back-to-school or teacher gift that won’t break the bank.
Here’s the scoop: we’re about to take an ordinary salsa jar (yes, the inspiration hit post-chips and dip session) and give it a new lease on life with some paint, scrapbook paper, and our trusty friend, Mod Podge.
It’s a fun, simple way to create something both functional and stylish, not to mention it’s a great excuse to finally use those paper scraps and other stuff from your stash you’ve been collecting.
And let’s not box ourselves in with this idea – it’s not just for pencils. Pens, paintbrushes, or any other desk clutter can find a home in this upcycled jar.
Ready to tackle this project? Whether it’s for decking out your workspace, adding a touch of handmade charm to your home, or crafting a personalized gift, this pencil holder DIY is a straightforward, enjoyable way to transform a simple jar into something special.
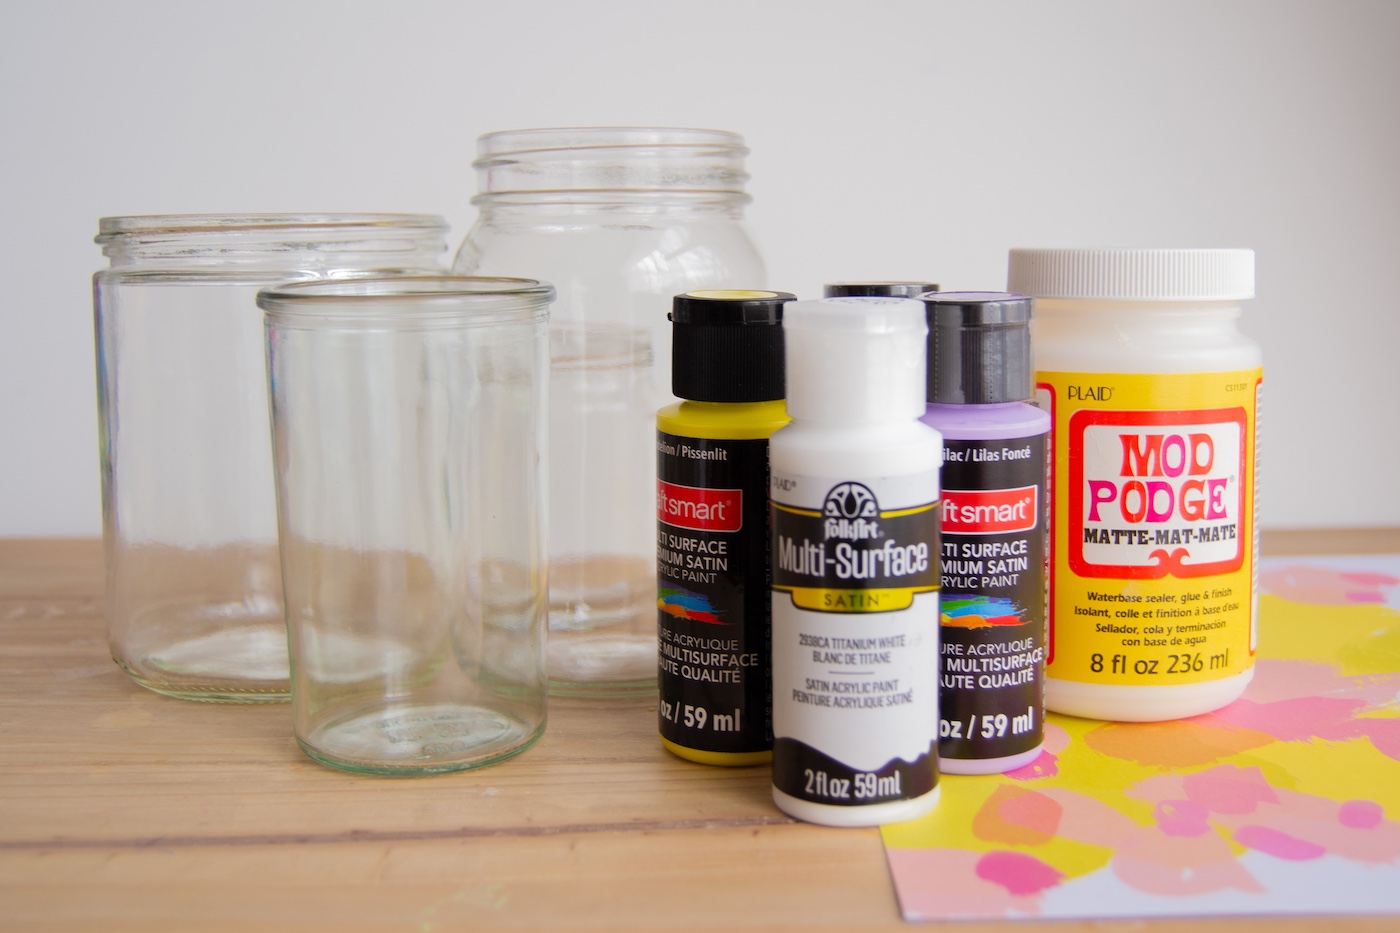
Are you ready to get started? Here’s what you’re going to need:
- Glass jar to fit your pencils
- Mod Podge Gloss or Matte
- Enamel/glass paint
- Isopropyl alcohol
- Brushes
- Scrapbook paper, 2 patterns
- Sealant spray
- Craft knife and mat
If you want to make these Dishwasher Safe – you’ll need to use a dishwasher safe decoupage medium. Otherwise you can lightly clean them with a damp cloth.
Get the printable how to card for this project below:

DIY Pencil Holder
Equipment
Materials
- 3 Glass jars to fit your pencils
- Mod Podge Gloss or Matte
- Enamel/glass paint
- Isopropyl alcohol
- Scrapbook paper 2 patterns
- Clear acrylic spray sealer optional
Instructions
- Remove any labels and clean your jar thoroughly. Using a rag, wipe the inside of the glass with alcohol and air dry.
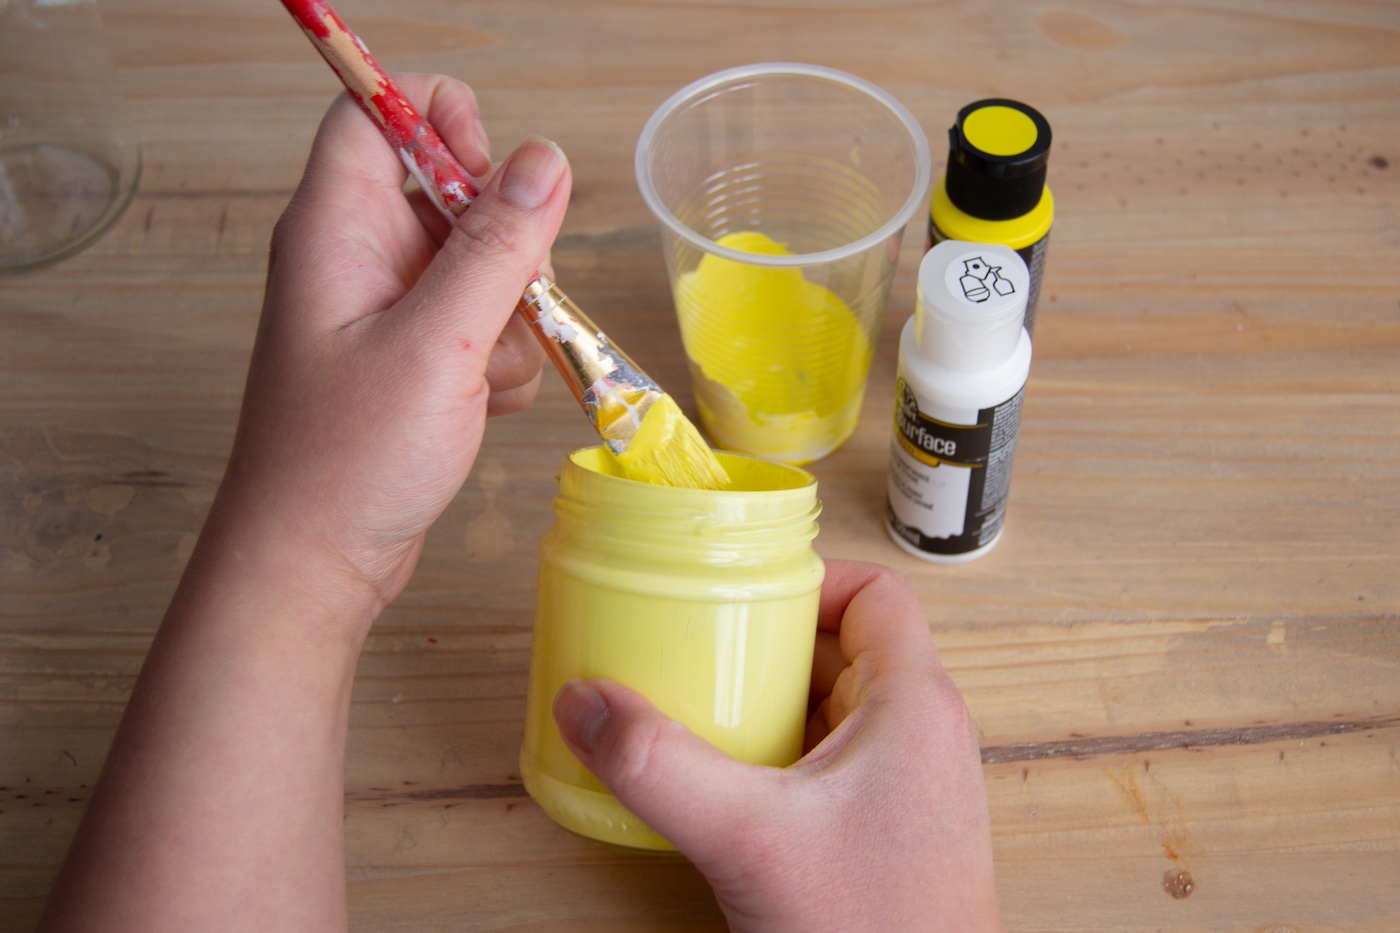
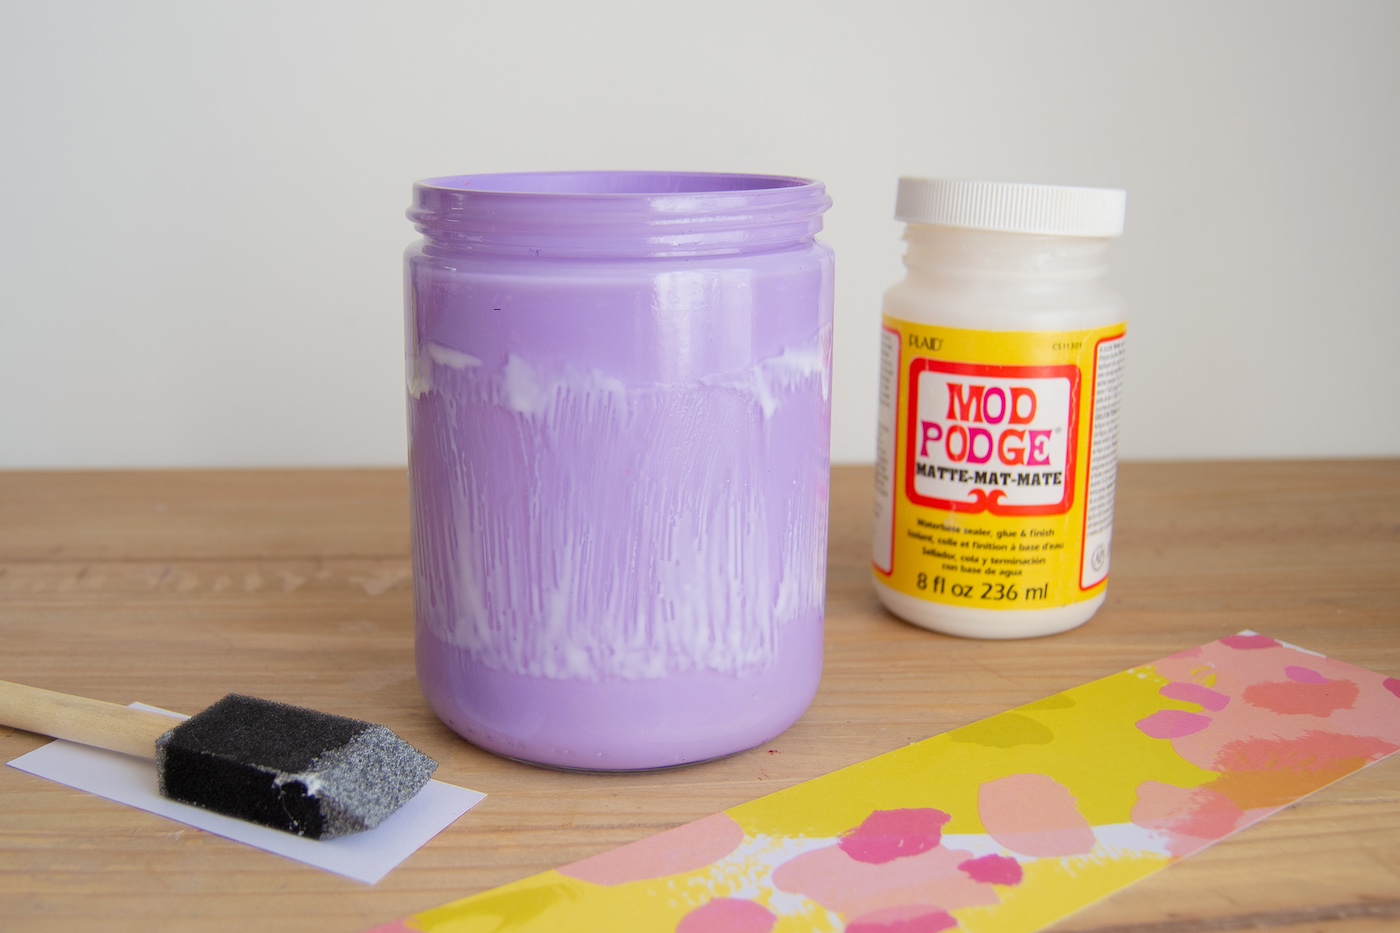
- Pour paint into the jar and then use a paint brush to spread a thin coat of paint to the inside of the glass. Turn the jar upside down and let excess drain onto a paper towel. Allow that coat to dry and apply another layer as needed. Dry and cure the paint according to the manufacturer’s instructions.
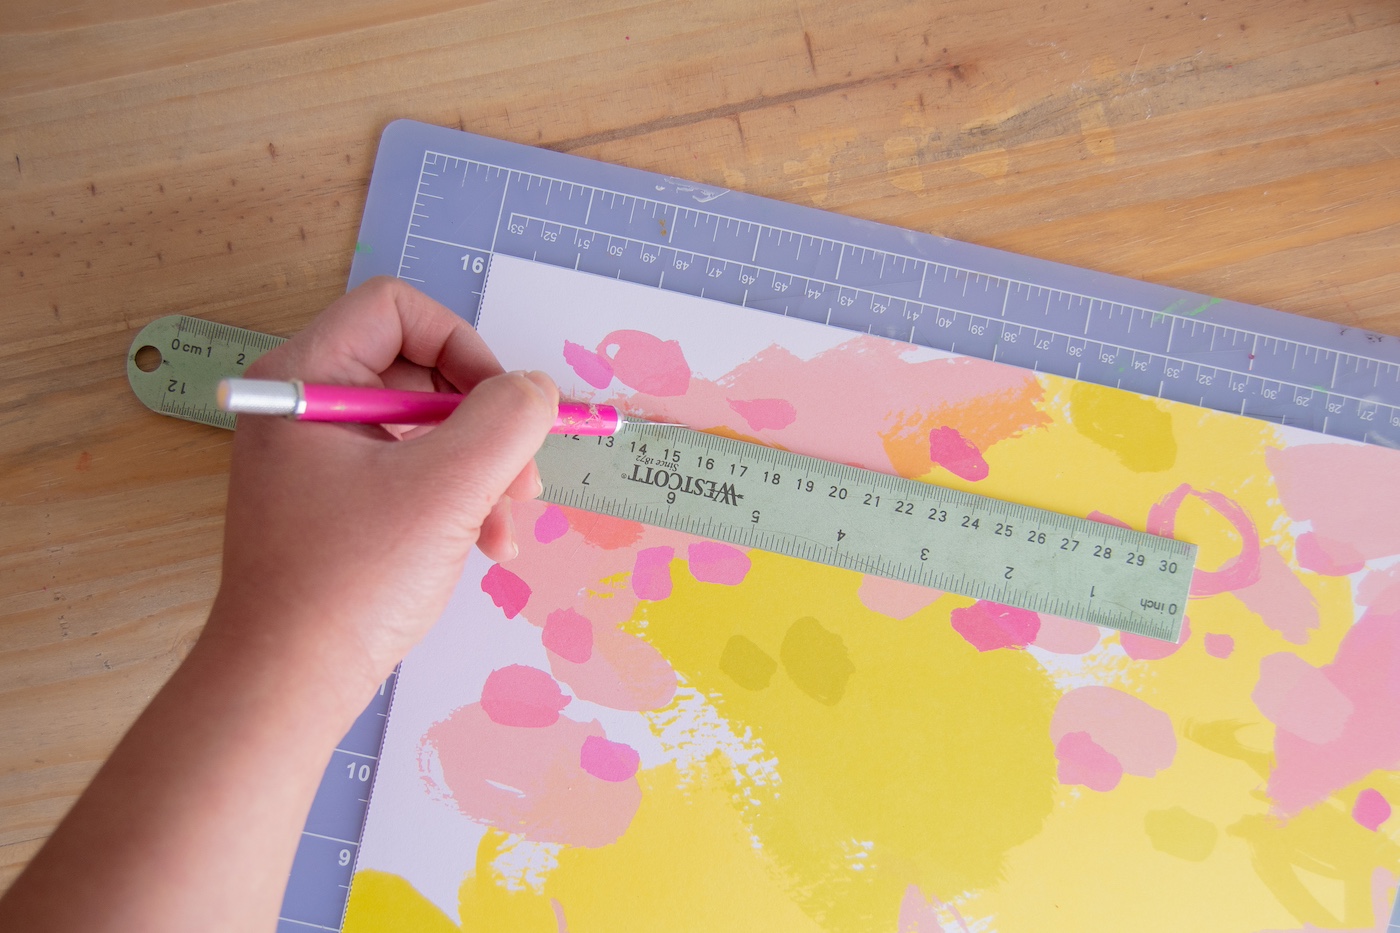
- Cut a panel of your favorite paper to fit around the center of the jar. Cut a narrower piece of paper for another accent, if desired.
- Apply a layer of Mod Podge to the outside of the jar and wrap and press the paper panel on top of it. Smooth out any bubbles as the glue dries.
- Apply a coat of decoupage over that paper and lay the second, smaller piece of paper on top.
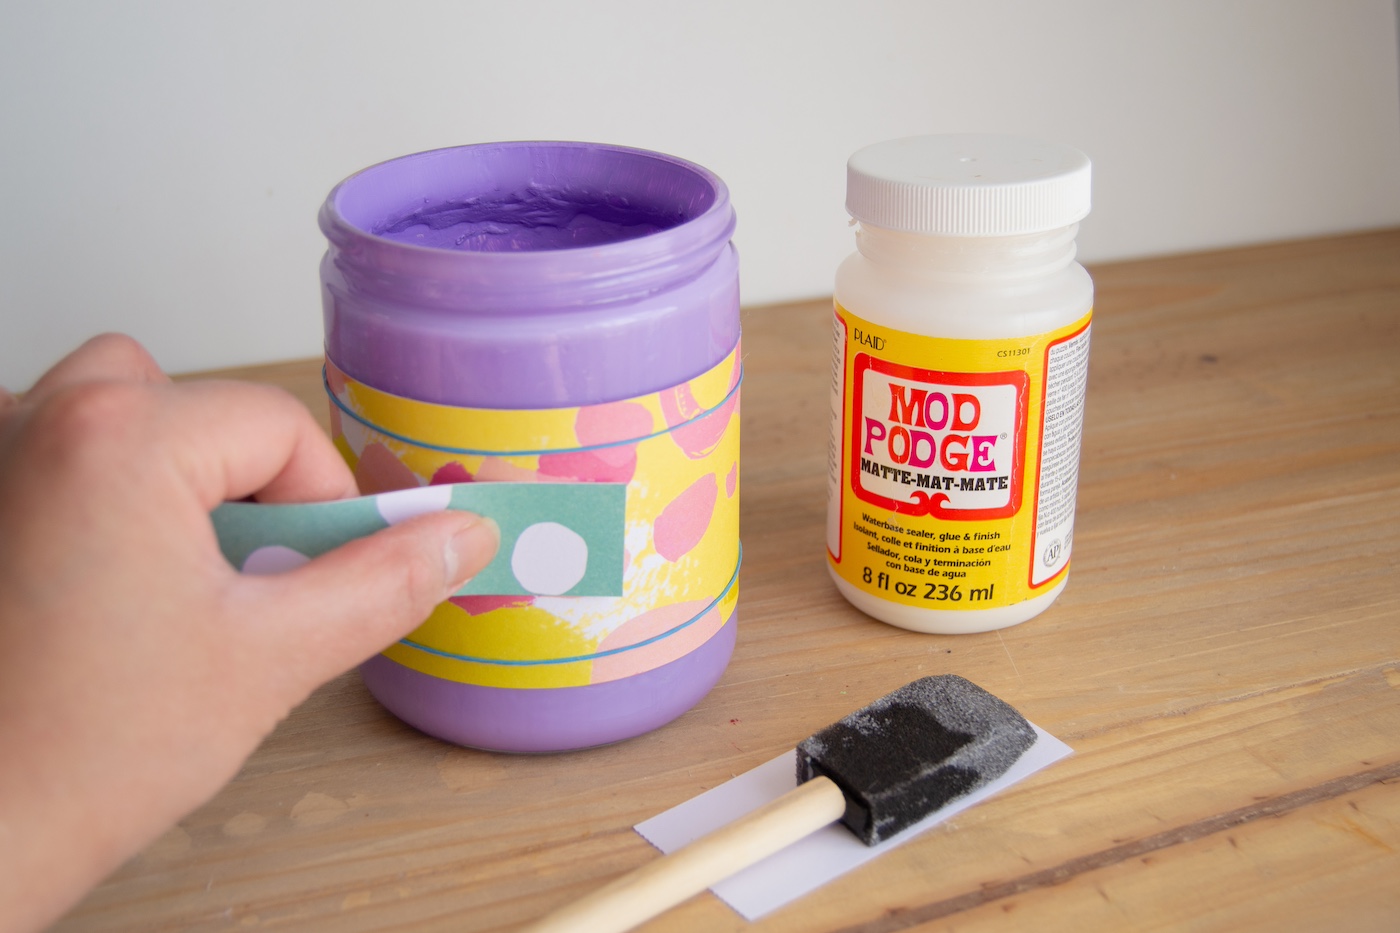
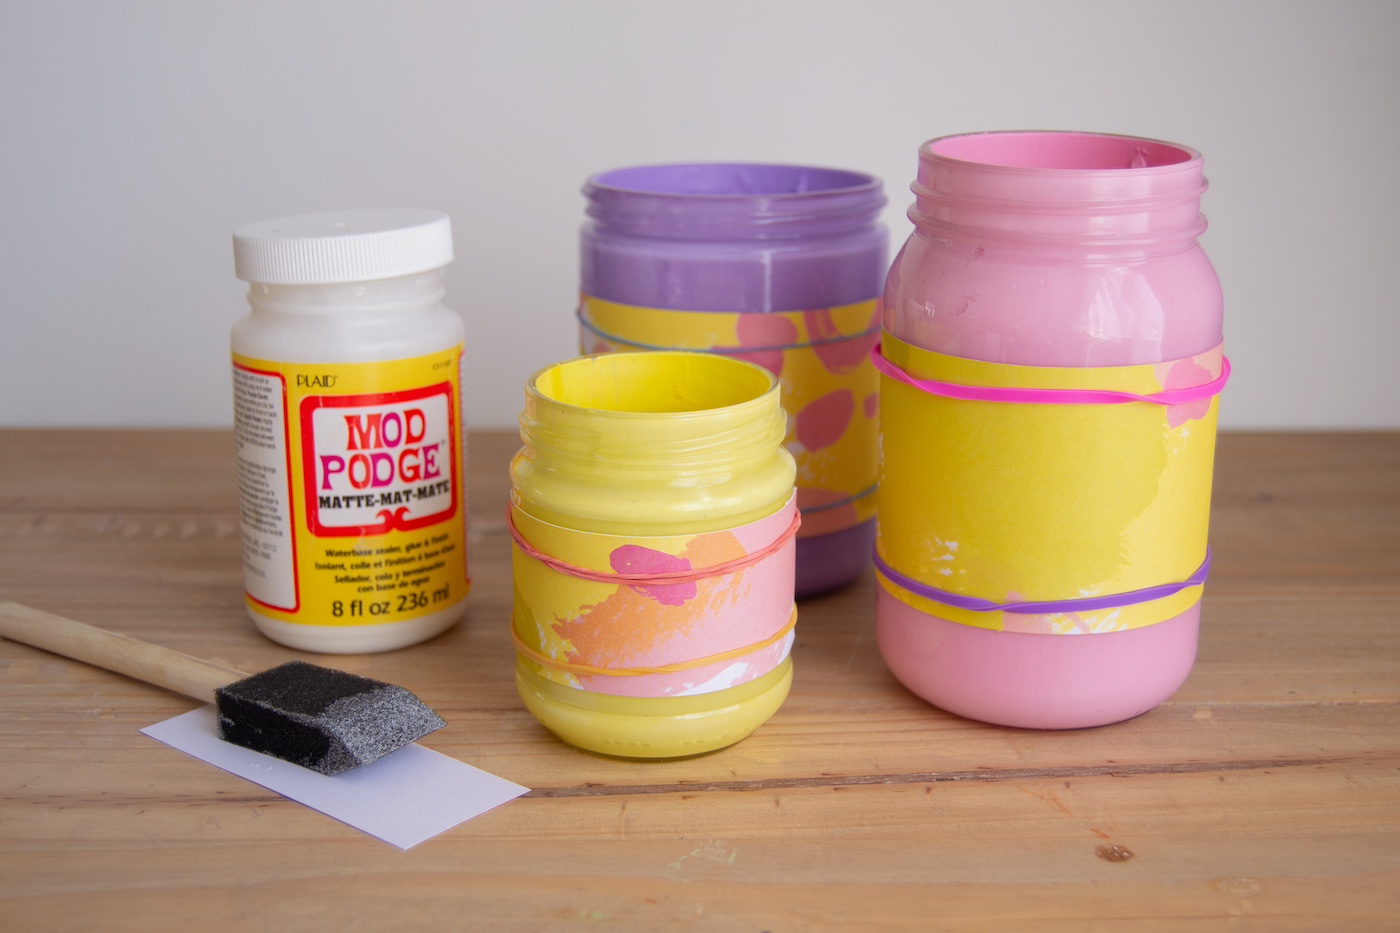
- Smooth out any bubbles and allow both panels of paper to dry. Brush on one to two more coats of decoupage over the paper to seal it.
Notes
If you like recycled crafts like this DIY pen holder, there’s plenty more where that came from! Break out your bottle of decoupage medium and get started on these crafts you can make at home:


Shannon’s done her magic again. Love this.
So cute! I need some modge podge! 🙂
This is awesome! I love anything recycled.
Pinning!