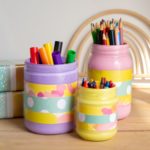
DIY Pencil Holder
Learn how to make a pencil holder with a glass jar and Mod Podge - it's the easiest craft ever!
Yield: 1 cup
Cost: $1
Equipment
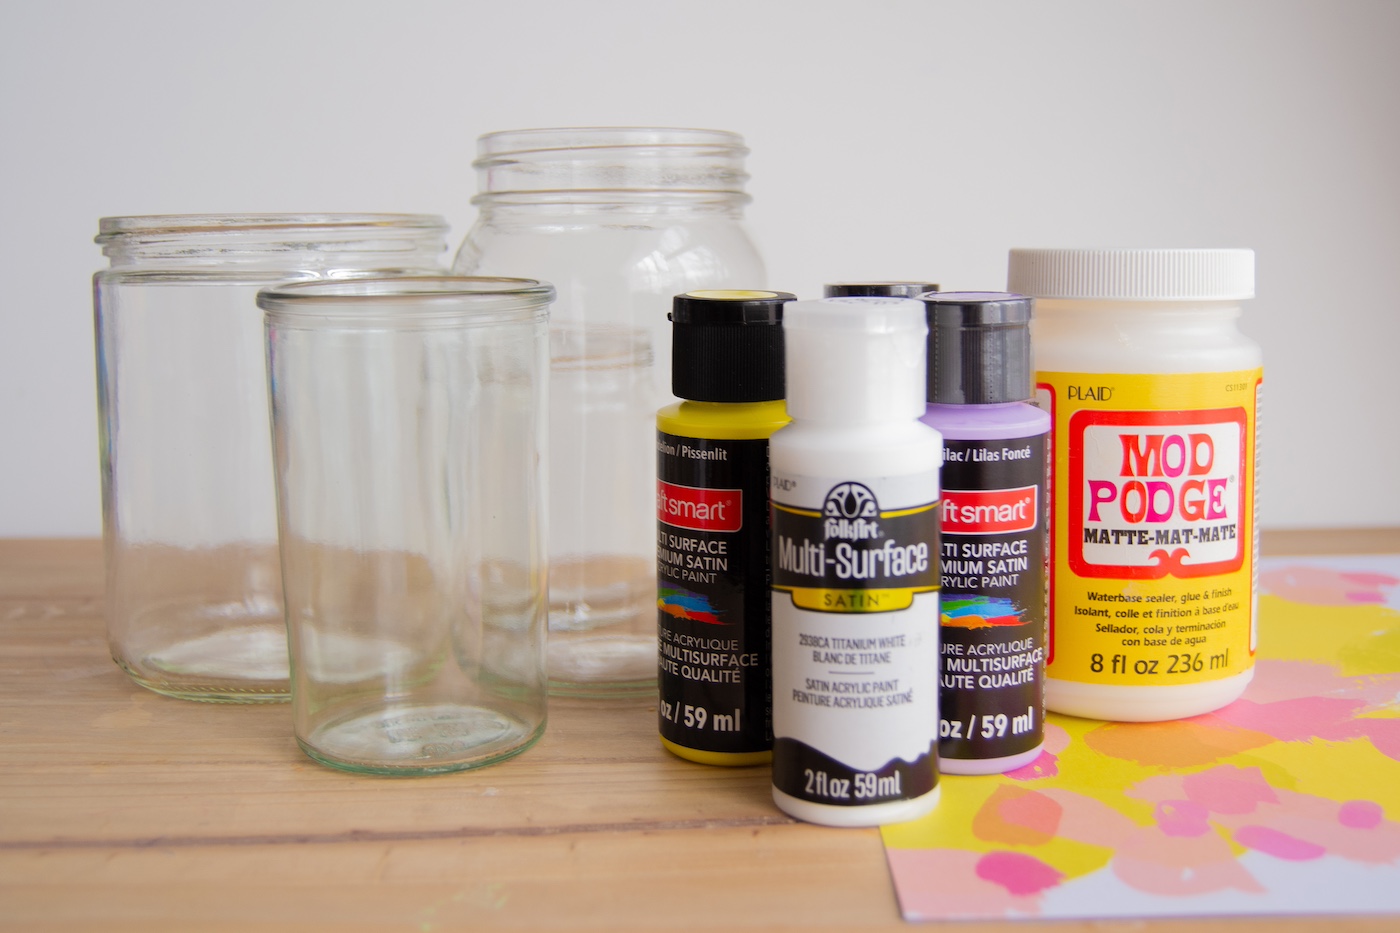
Materials
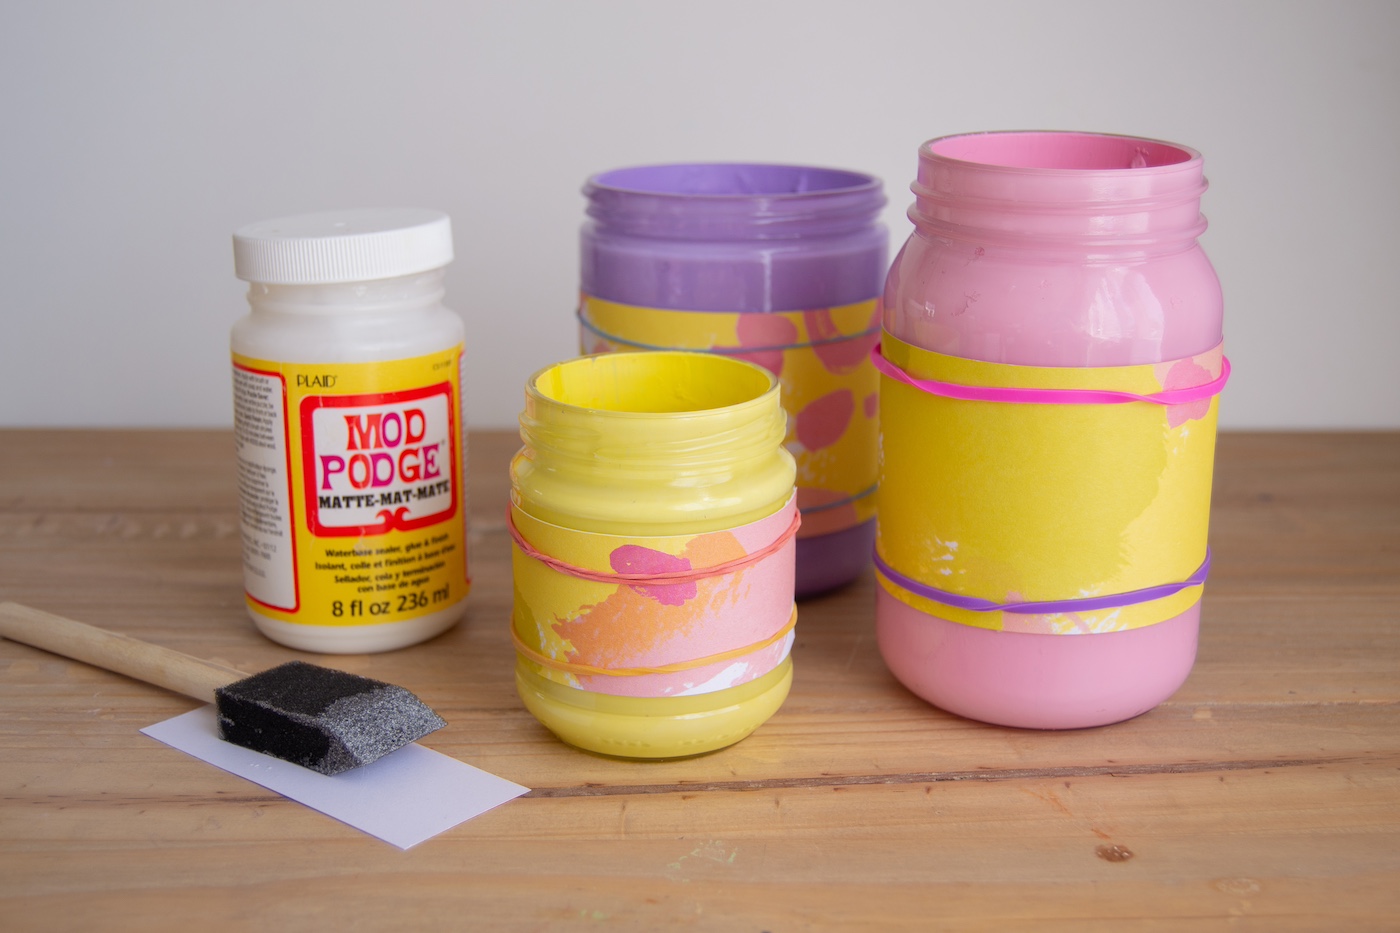
- 3 Glass jars to fit your pencils
- Mod Podge Gloss or Matte
- Enamel/glass paint
- Isopropyl alcohol
- Scrapbook paper 2 patterns
- Clear acrylic spray sealer optional
Instructions
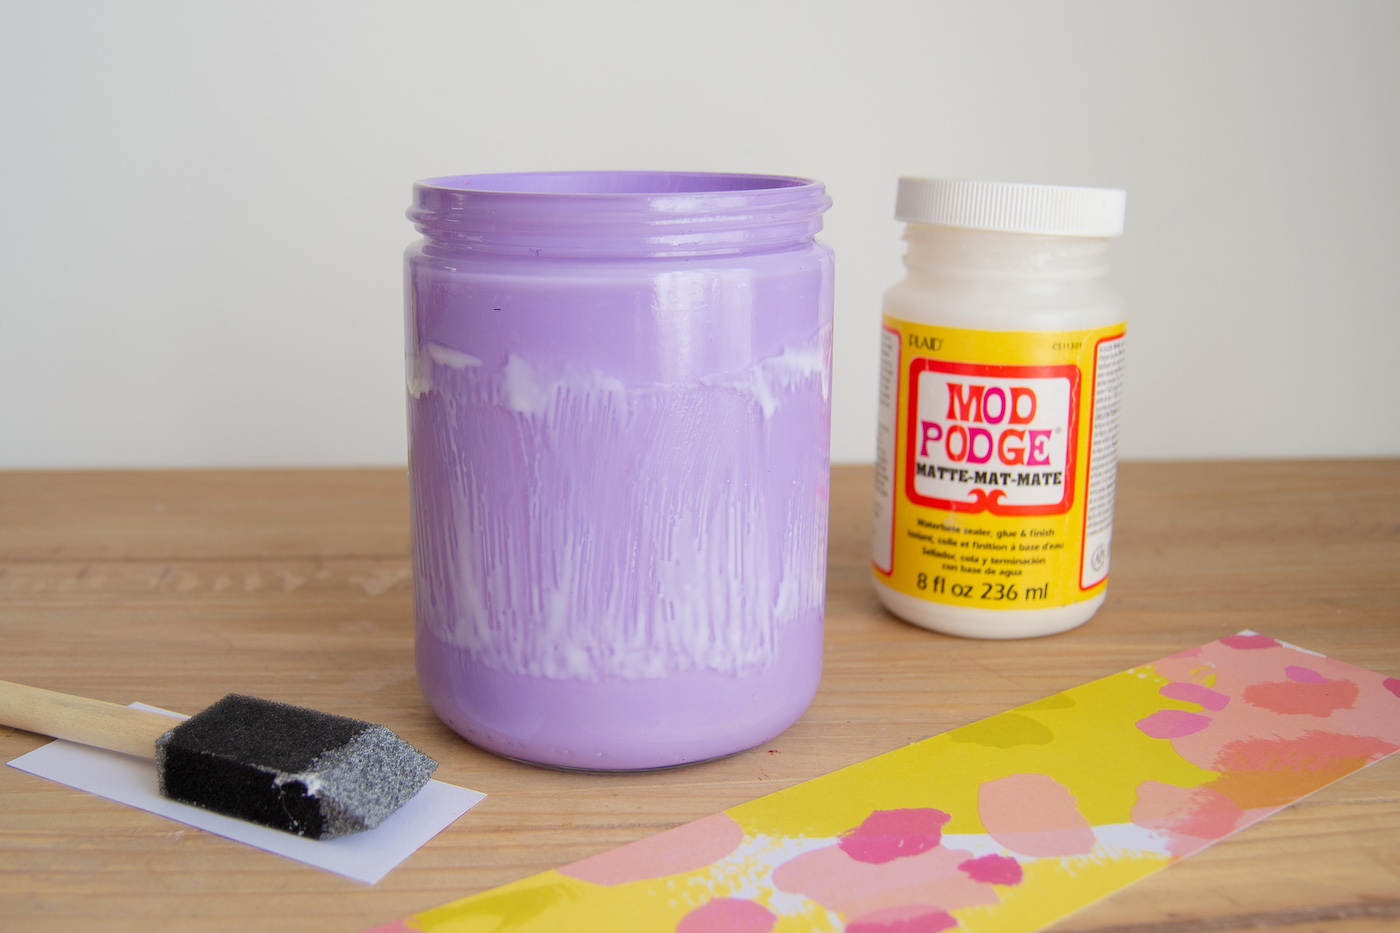
- Remove any labels and clean your jar thoroughly. Using a rag, wipe the inside of the glass with alcohol and air dry.
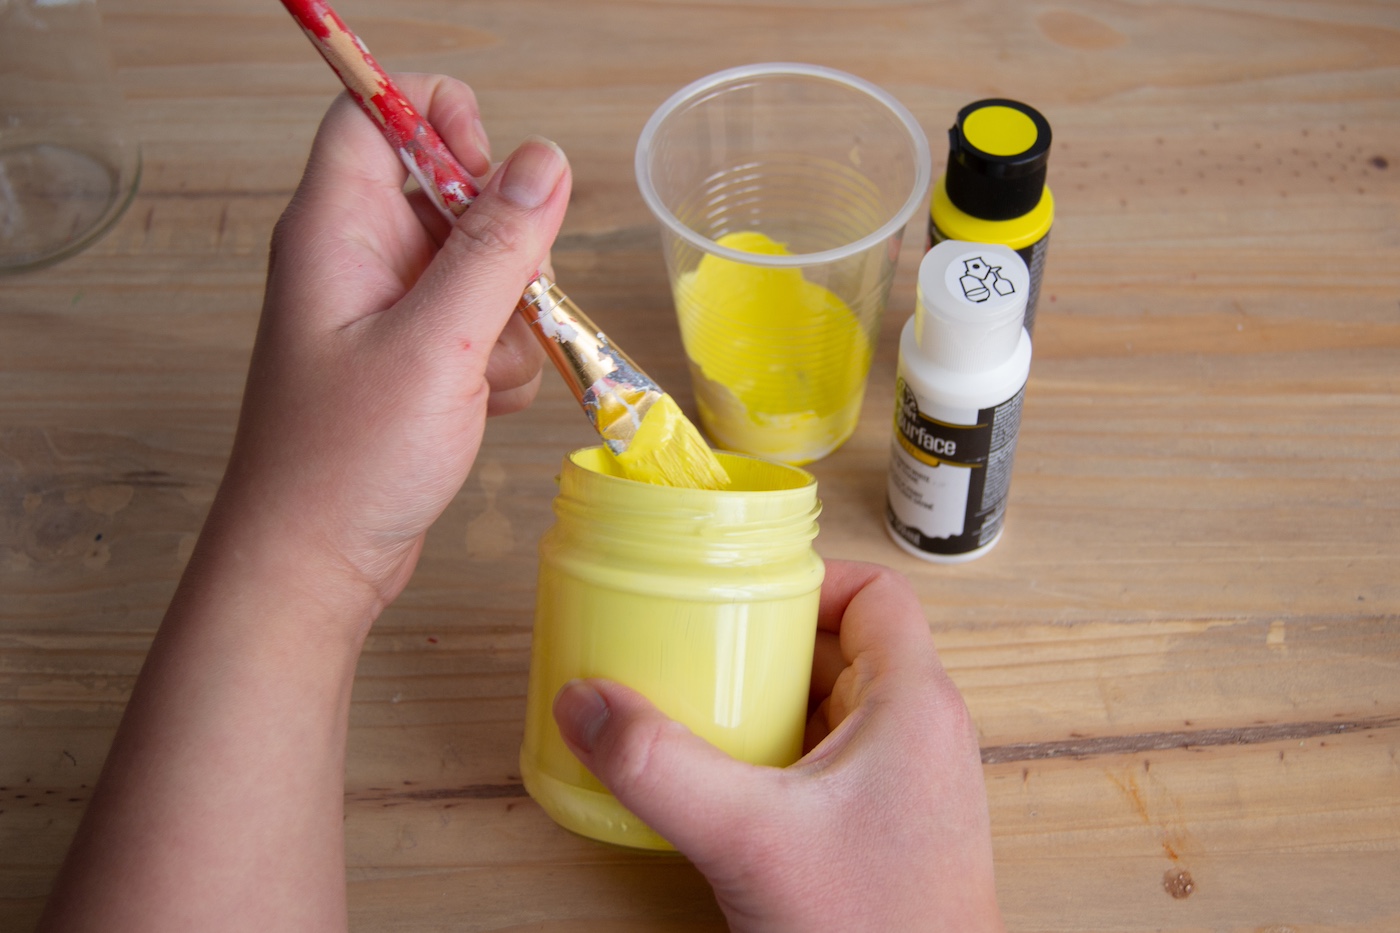
- Pour paint into the jar and then use a paint brush to spread a thin coat of paint to the inside of the glass. Turn the jar upside down and let excess drain onto a paper towel. Allow that coat to dry and apply another layer as needed. Dry and cure the paint according to the manufacturer’s instructions.
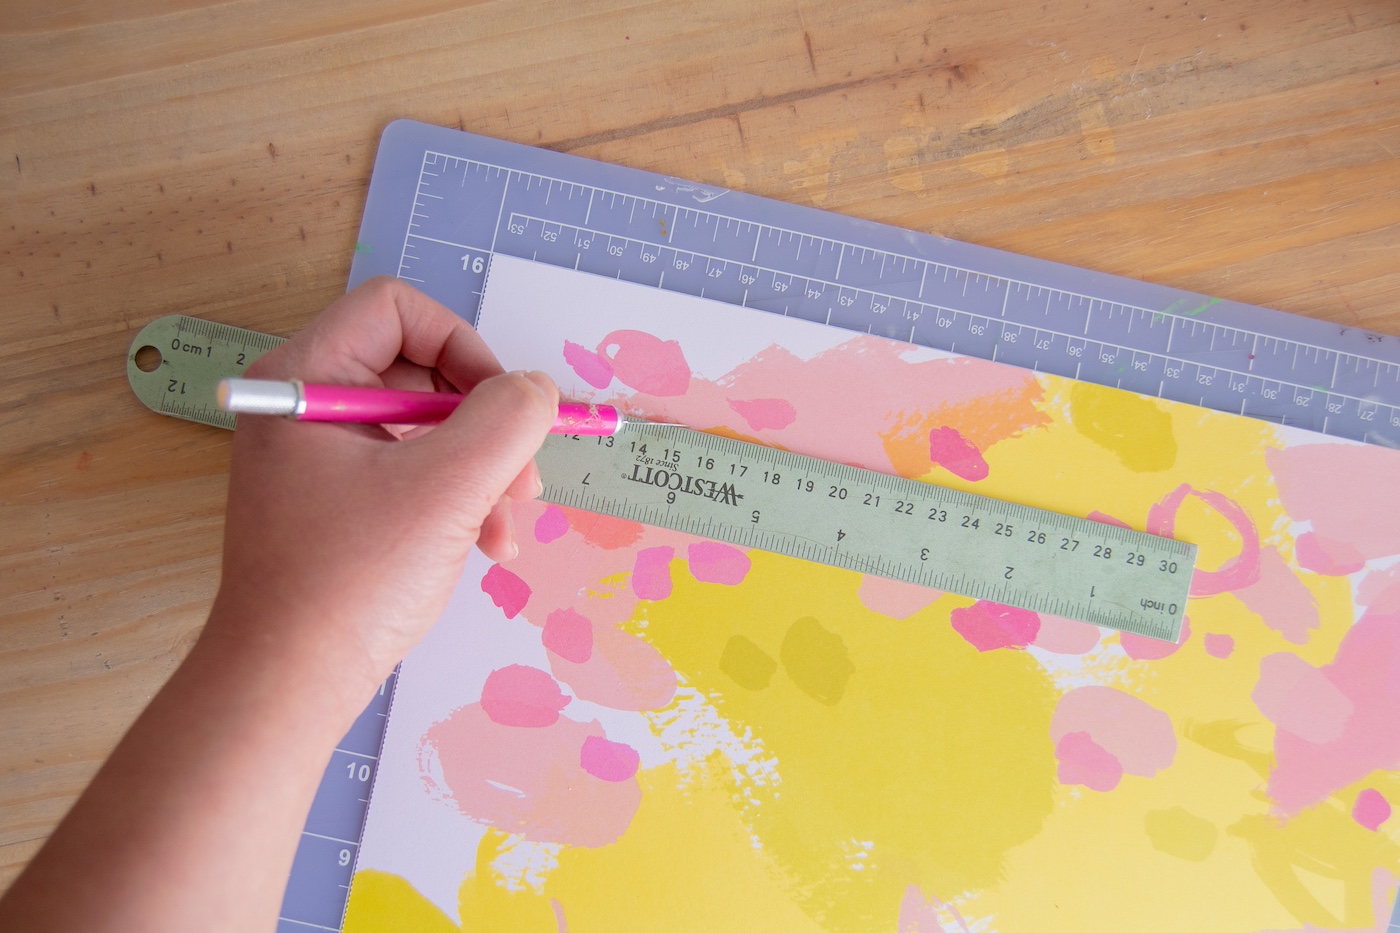
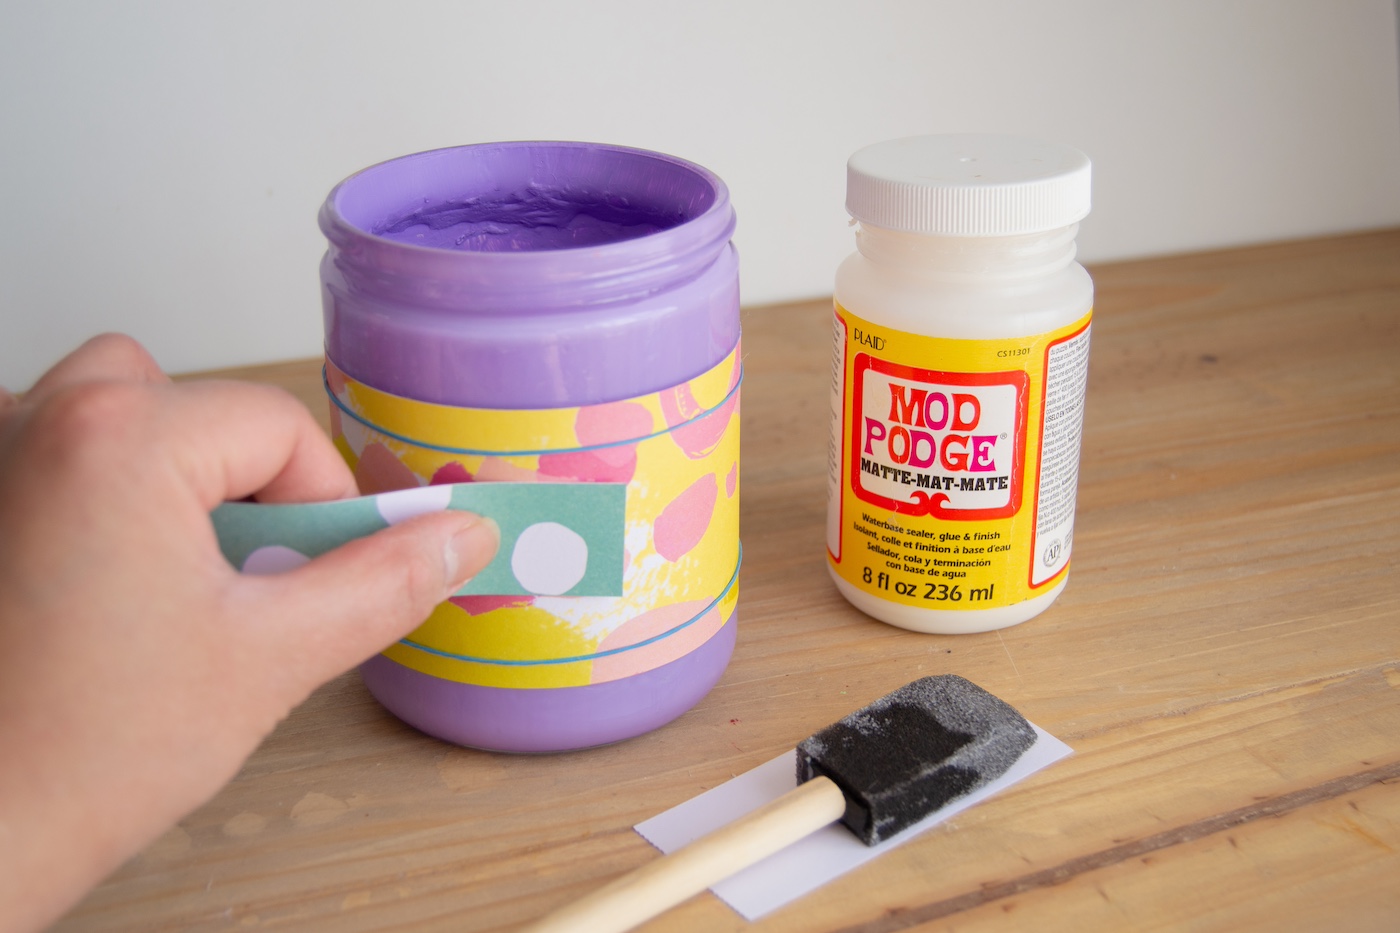
- Cut a panel of your favorite paper to fit around the center of the jar. Cut a narrower piece of paper for another accent, if desired.
- Apply a layer of Mod Podge to the outside of the jar and wrap and press the paper panel on top of it. Smooth out any bubbles as the glue dries.
- Apply a coat of decoupage over that paper and lay the second, smaller piece of paper on top.
- Smooth out any bubbles and allow both panels of paper to dry. Brush on one to two more coats of decoupage over the paper to seal it.
Notes
Costs vary for this project - I used a recycled glass jar and other supplies I had on hand, making it free.
Read our guide to Mod Podging on glass if you like before gluing the paper down. If you find your paper keeps popping up, you might want to use a few rubber bands to keep it in place.
Once dry, you can protect the decoupage by flipping the jar upside down and sealing it with a clear enamel spray. Let dry completely before using.