
Looking for the perfect Christmas kids’ craft that uses Mod Podge? Learn how to make a Christmas wreath with just a few supplies!
Skills Required: None. Even if you’ve never used Mod Podge before, you’ll be able to do this project. It’s quite simple, great for kids and adults of all ages.

If you are wondering how to get children in on the Mod Podge holiday action, I have the perfect Christmas kids’ craft for you – learn how to make a Christmas wreath the EASIEST way possible. It’s really so simple and so sparkly (which kids love)!
It uses a beloved formula that doesn’t get quite enough attention around here: Sparkle Mod Podge.
The little ones may need some assistance with the cutting and gluing, but the Mod Podging is for every level (it’s kid safe!). You aren’t going to believe how easy this is.
(check out our kids decoupage ornaments for another fun idea)
Gather These Supplies
- Sparkle Mod Podge
- Gloss Mod Podge (optional)
- Foam wreath form – circle
- Fabrics of your choice – you can use any kind: Christmas, old scraps, etc.
- Felt in shades of green
- Buttons – red
- Scissors
- Paintbrush
- Glue
- Ribbon to hang
Here’s a little tip. I use Gloss Mod Podge to glue things down and put Sparkle on the top. You don’t have to do this; the Sparkle formula glues things down too – but I like to preserve my Sparkle MP!
Get the printable how to card below:

Kids Christmas Wreath
Equipment
Materials
- Mod Podge Sparkle
- Mod Podge Gloss
- 1 Foam wreath form circle
- Fabrics you can use any kind: Christmas, old scraps, etc.
- Felt in shades of green
- 6 Buttons red
- Craft glue
- Ribbon enough to hang
Video
Instructions
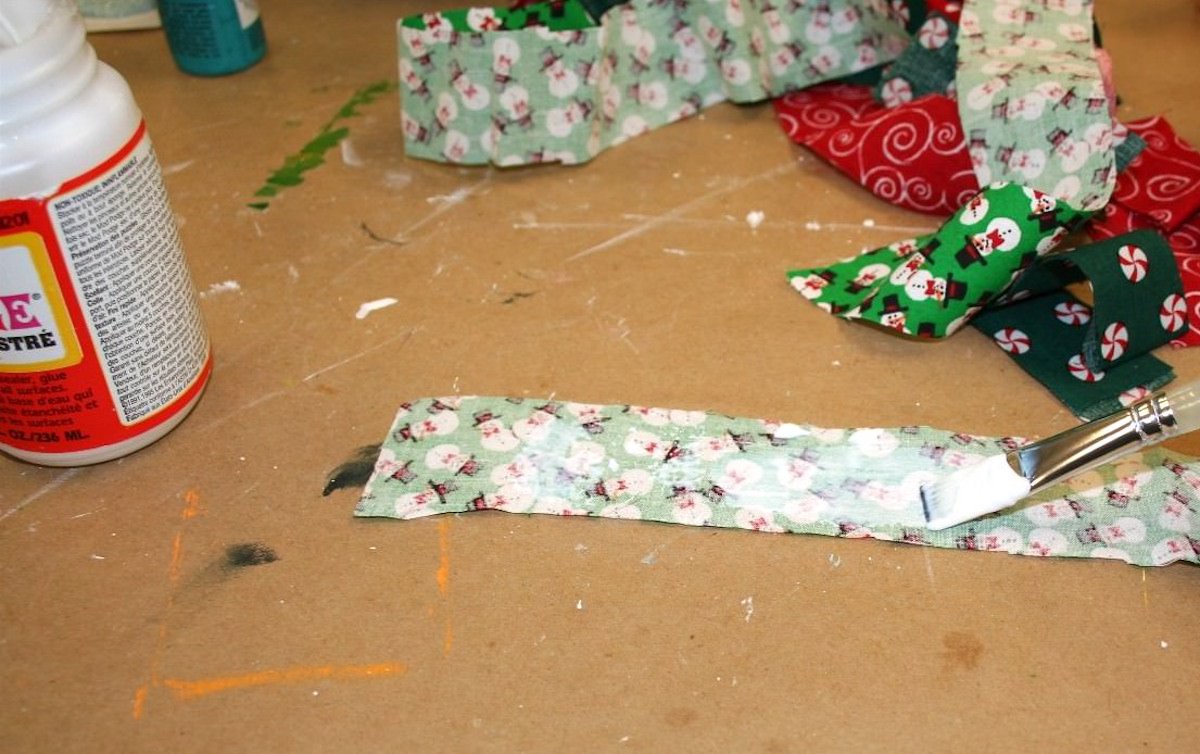
- Start by cutting or ripping the fabric into long strips at least 12". Paint a few of the backs with a medium layer of Gloss Mod Podge.
- Wrap the wreath with the strips. You will likely find out you need more Mod Podge, so add it. Especially at the beginning and ends of the strips.
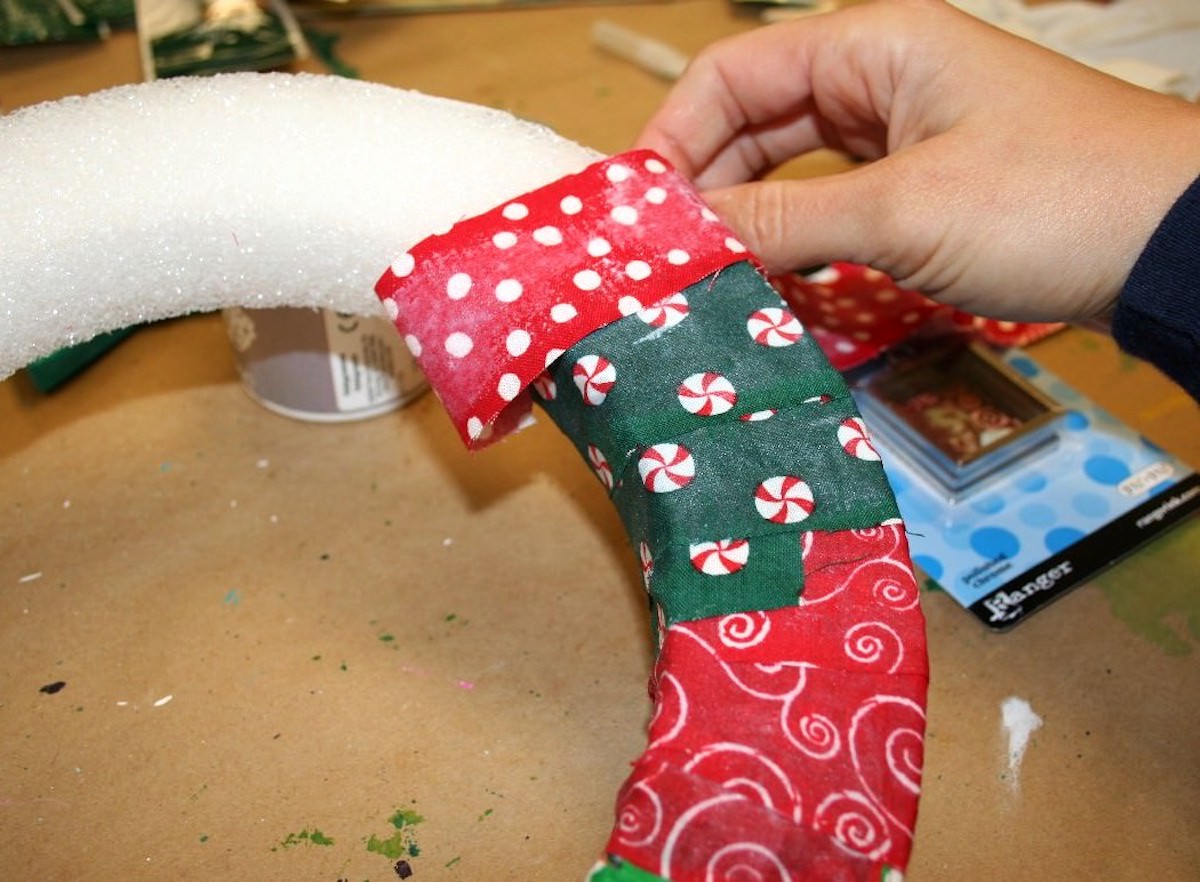
- Continue adding Mod Podge to fabric strips and then wrapping them. Once the strips have covered the wreath form, let dry.
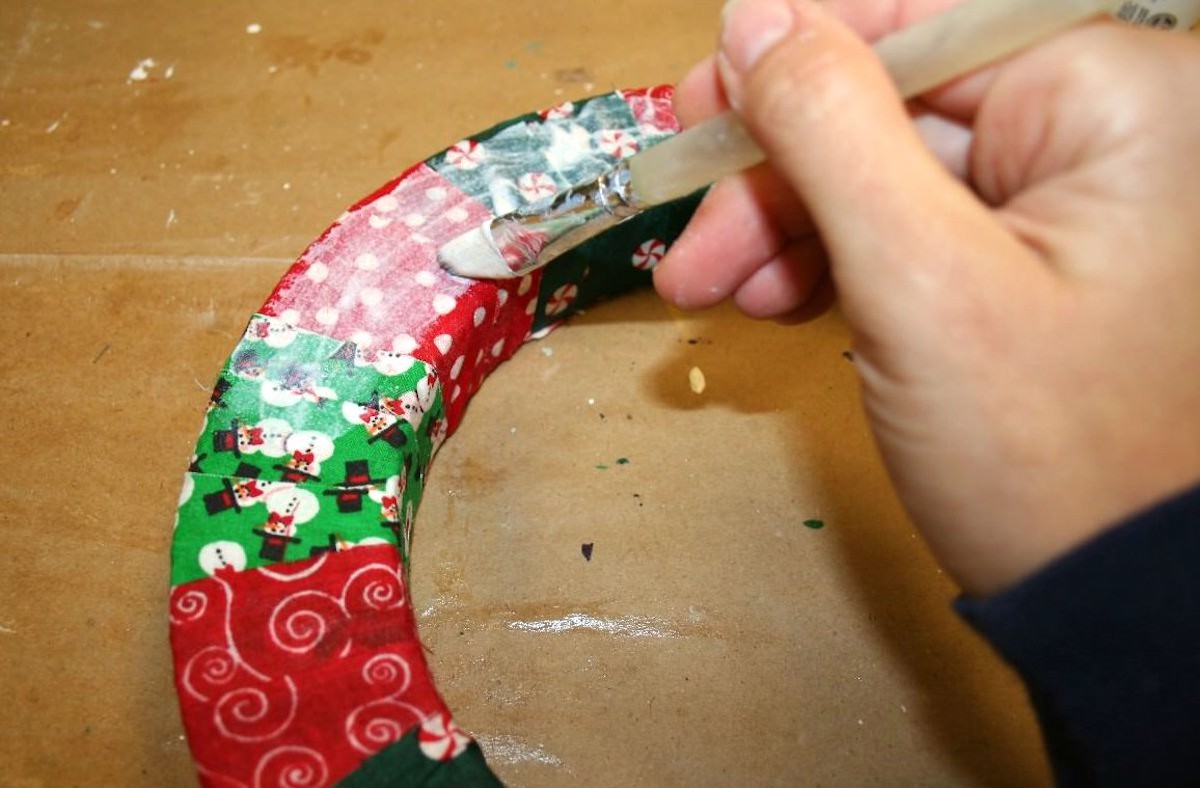
- Paint a finishing coat of Sparkle Mod Podge over the top and let dry.
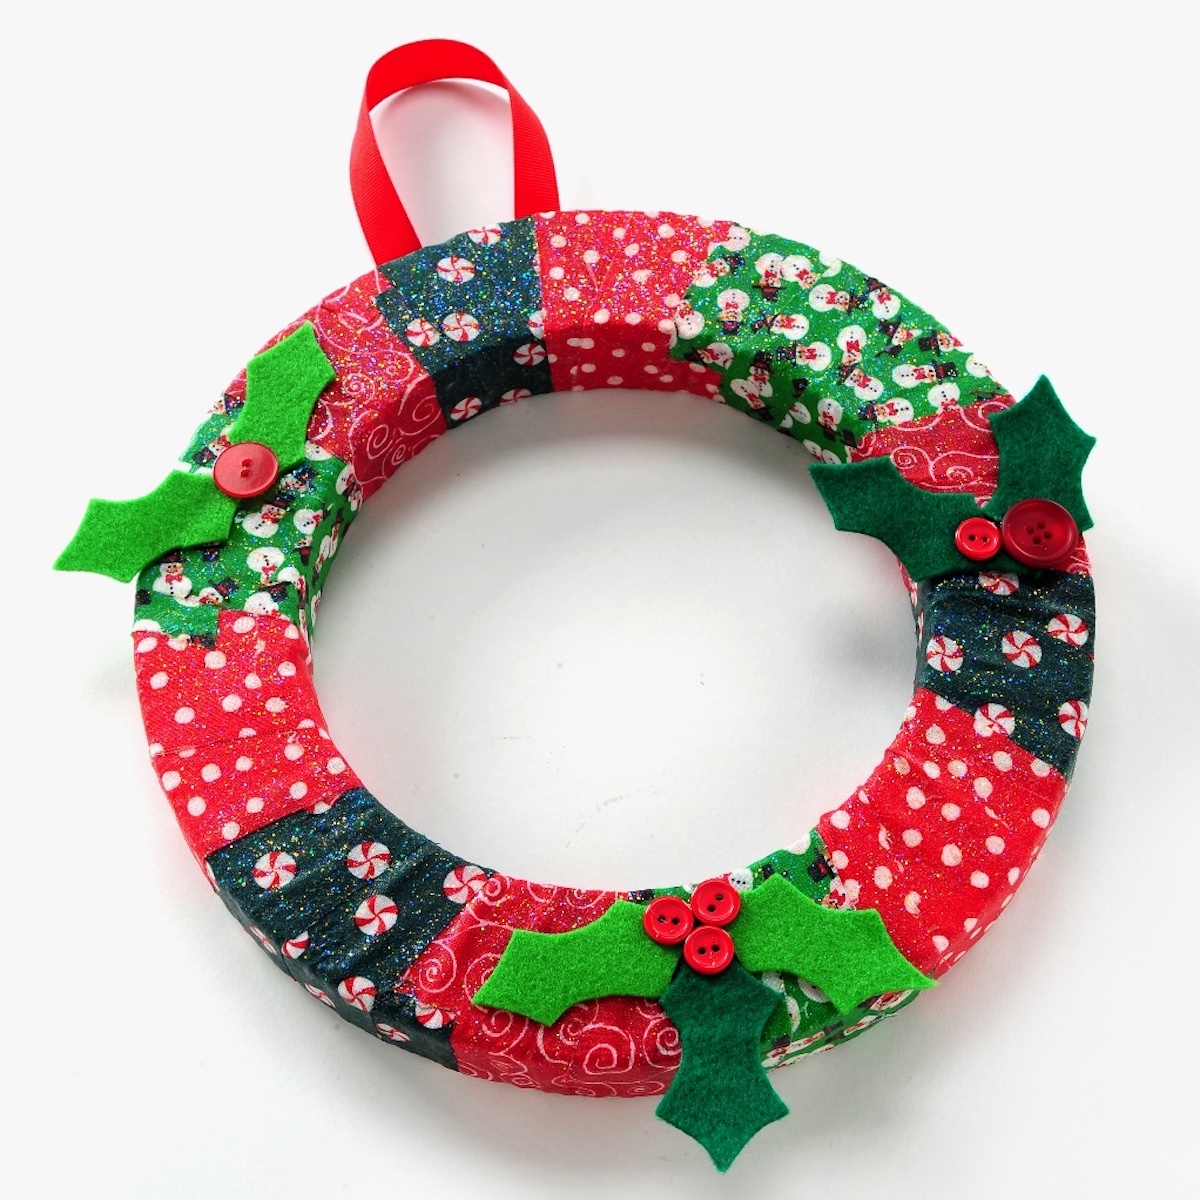
- Cut holly leaves out of felt using scissors. Cut a ribbon to hang.
- Use the hot glue gun to add the leaves and buttons to form the holly. Use the hot glue to also add the ribbon to the back of the wreath. Let cool completely before hanging.
My next venture is to tackle it in winter form – blues, silvers. Your kids are going to have a blast (and you might even have a little fun yourself). Let me know what you think in the comments!
Looking for other Christmas kids’ crafts? Here are a few you have to see:


I’m always looking for crafts for kids, and really like this idea!
Super cute, and what a great way to use up fabric scraps. Shared this one on the StyroCrafts’ Facebook page. Thanks, Amy!