
This Mod Podge formula guide explains all of the different formulas and how to use them. Updated with all of the new formulas for this year! There’s also a video. Scroll down to see it!
“WHAT IS THE DIFFERENCE BETWEEN THE MOD PODGE FORMULAS?”
You’ve asked it in a few different ways, but the basic question is the same. I’m ready to explain to you with my Mod Podge formula guide – so let’s do this thing. And in case you are wondering if you should make your own Mod Podge, the answer is no. Here’s why.
#1 thing to remember: All Mod Podge formulas are essentially the same in that they can all do three things. They are all good for gluing, sealing, and finishing.
The finish or use may be different, but they are all capable of those three things. Don’t forget that. Now read on to get the Mod Podge formula guide – but before you do that, check out this Mod Podge formula guide video!
Mod Podge Formula Guide
Are you ready to check out the Mod Podge formulas? Click on the name of the formula to go to a specific post about it and get sample projects. Let’s dive in!
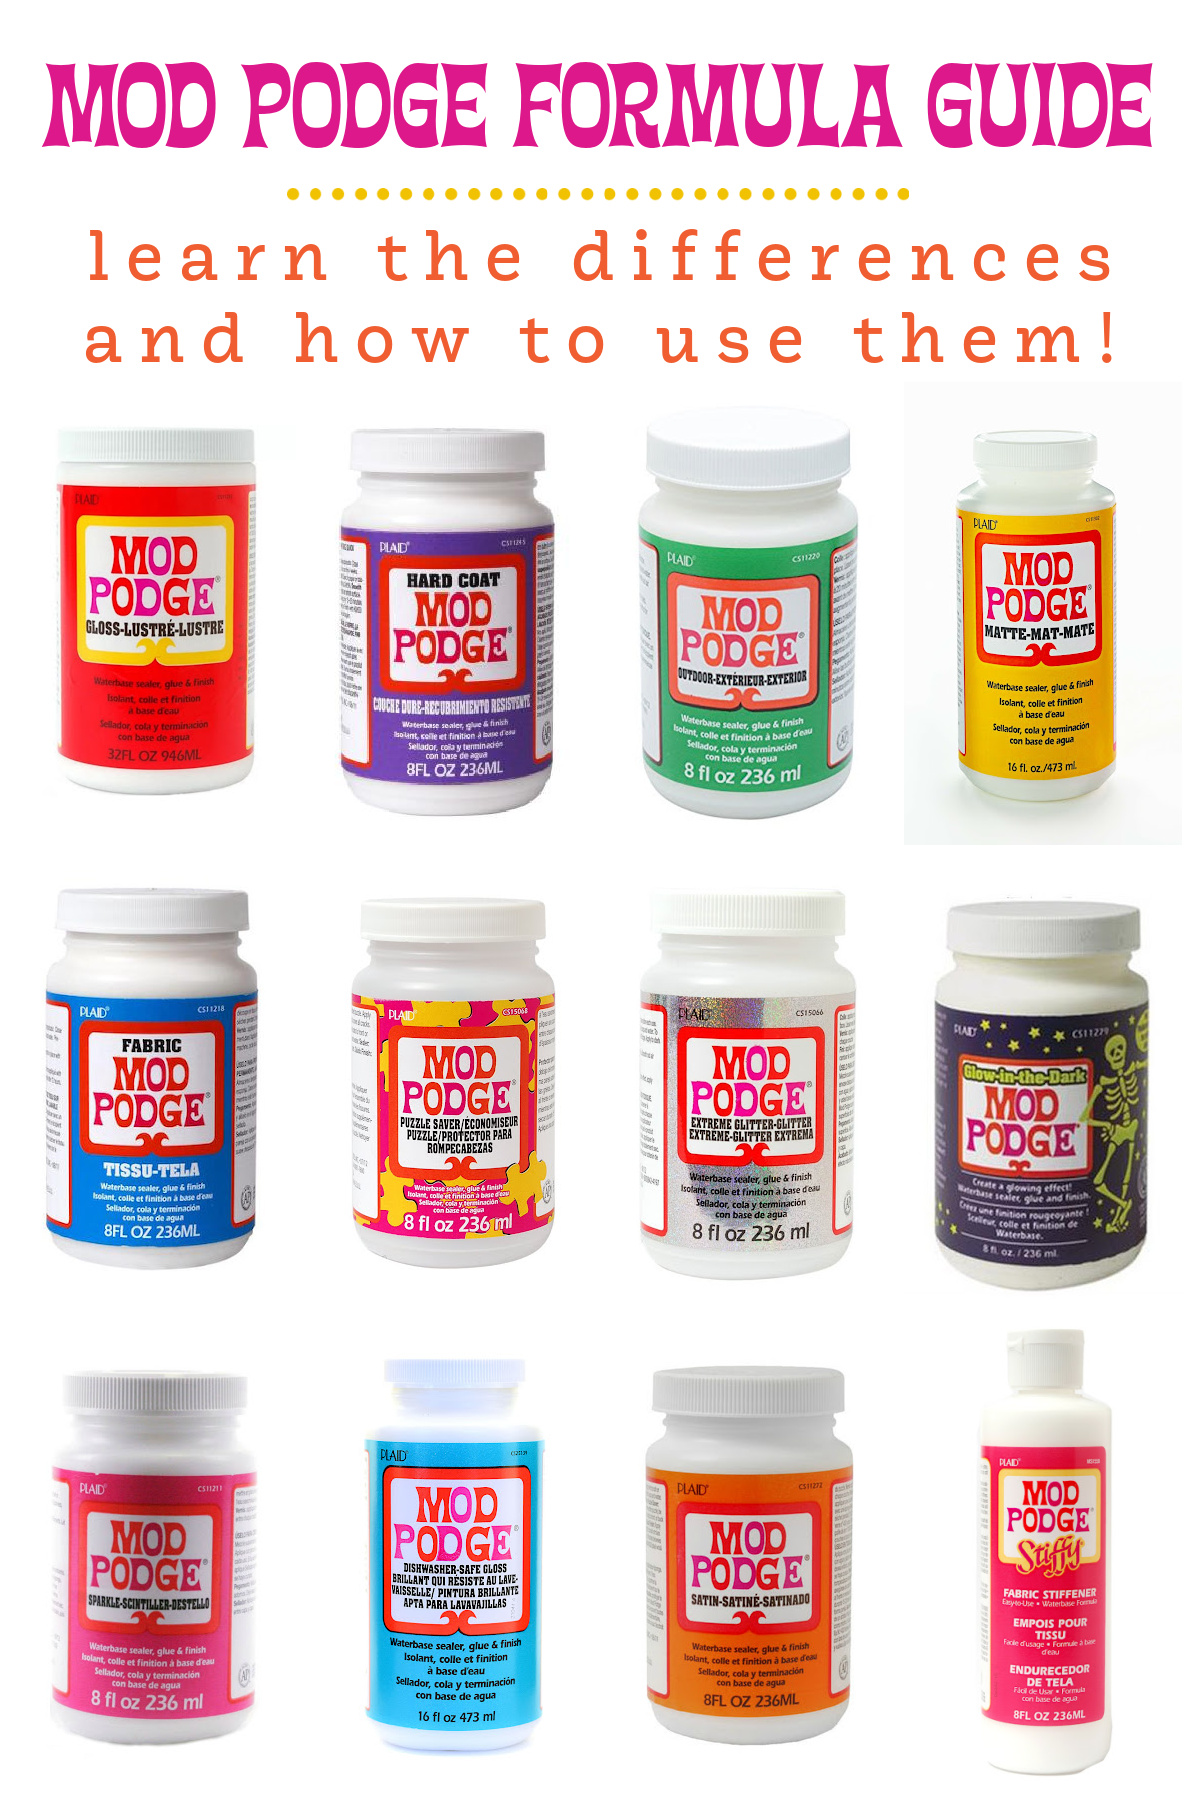
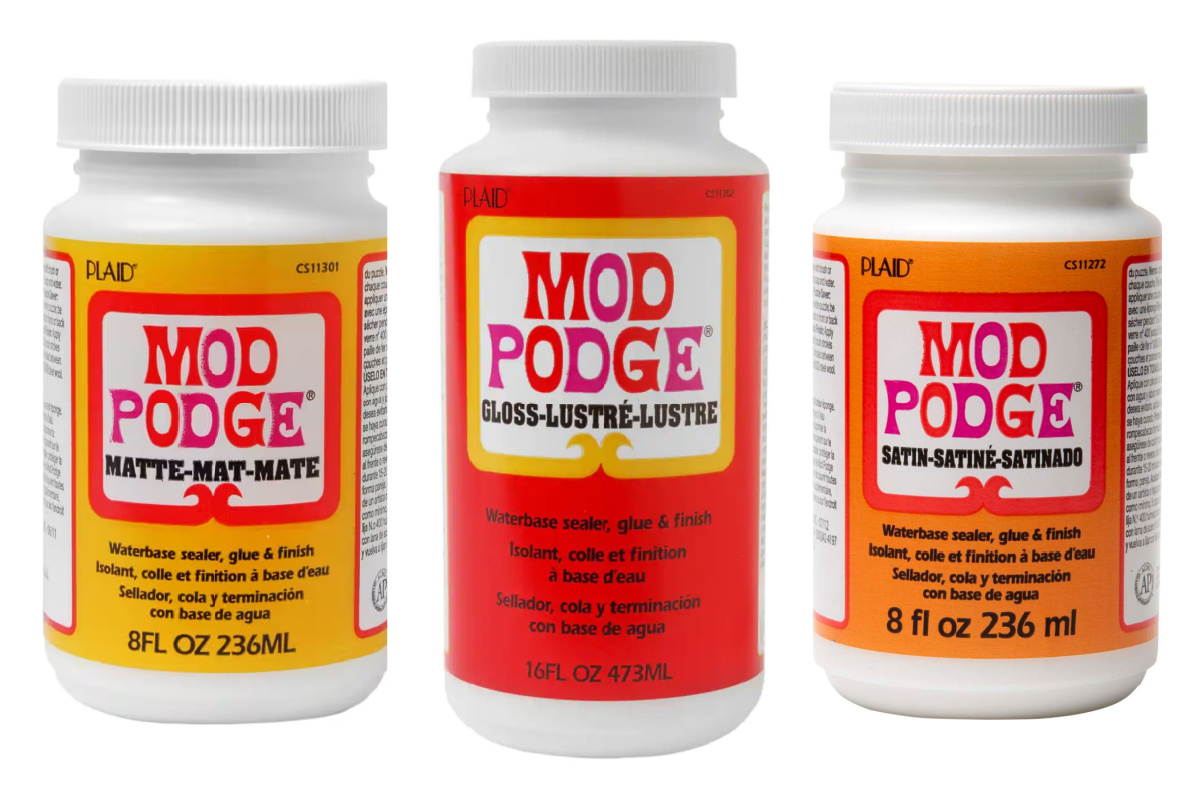
Classic Mod Podge: Gloss, Matte, Satin
There are THREE formulas that fall under this umbrella: Gloss, Matte, and Satin. When the best decoupage medium in the world was developed over 50 years ago by Jan Wetstone, it started with Gloss and Matte . . . . at a later date, the Satin formula came along. They’re exactly the same minus the finish:
- Gloss – Shiny finish.
- Matte – Non-shiny (flat) finish.
- Satin – slightly shiny finish in between the above two.
With the Gloss formula, I typically receive the feedback that “after it’s dry, it’s sticky.” Sometimes I hear that about Matte too.
It really depends on the climate you live in, but there’s a very simple solution: spray with several coats of a clear acrylic sealer and you’ll be fine. Stickiness be gone! Extra protection too.
Result: great for all types of projects and most surfaces. These are your all-around Mod Podge.
Okay. Now after the three classics were born, the people at Plaid thought, “What if we developed Mod Podge in different formulas – for specific needs?” So they did. Which is why we have a Mod Podge formula guide!
The makers of Podge kept the two classics around, so if you notice that some of these properties overlap with those three classic formulas, you are correct. But think about it – can you really get rid of the original formulas? No way.
Brushstroke Mod Podge
Are you looking to get the look of a hand painted image without the hefty price tag? Simply paint Brushstroke Mod Podge over the top for a highly textured finish for an artistic look. Comes in Gloss or Matte.
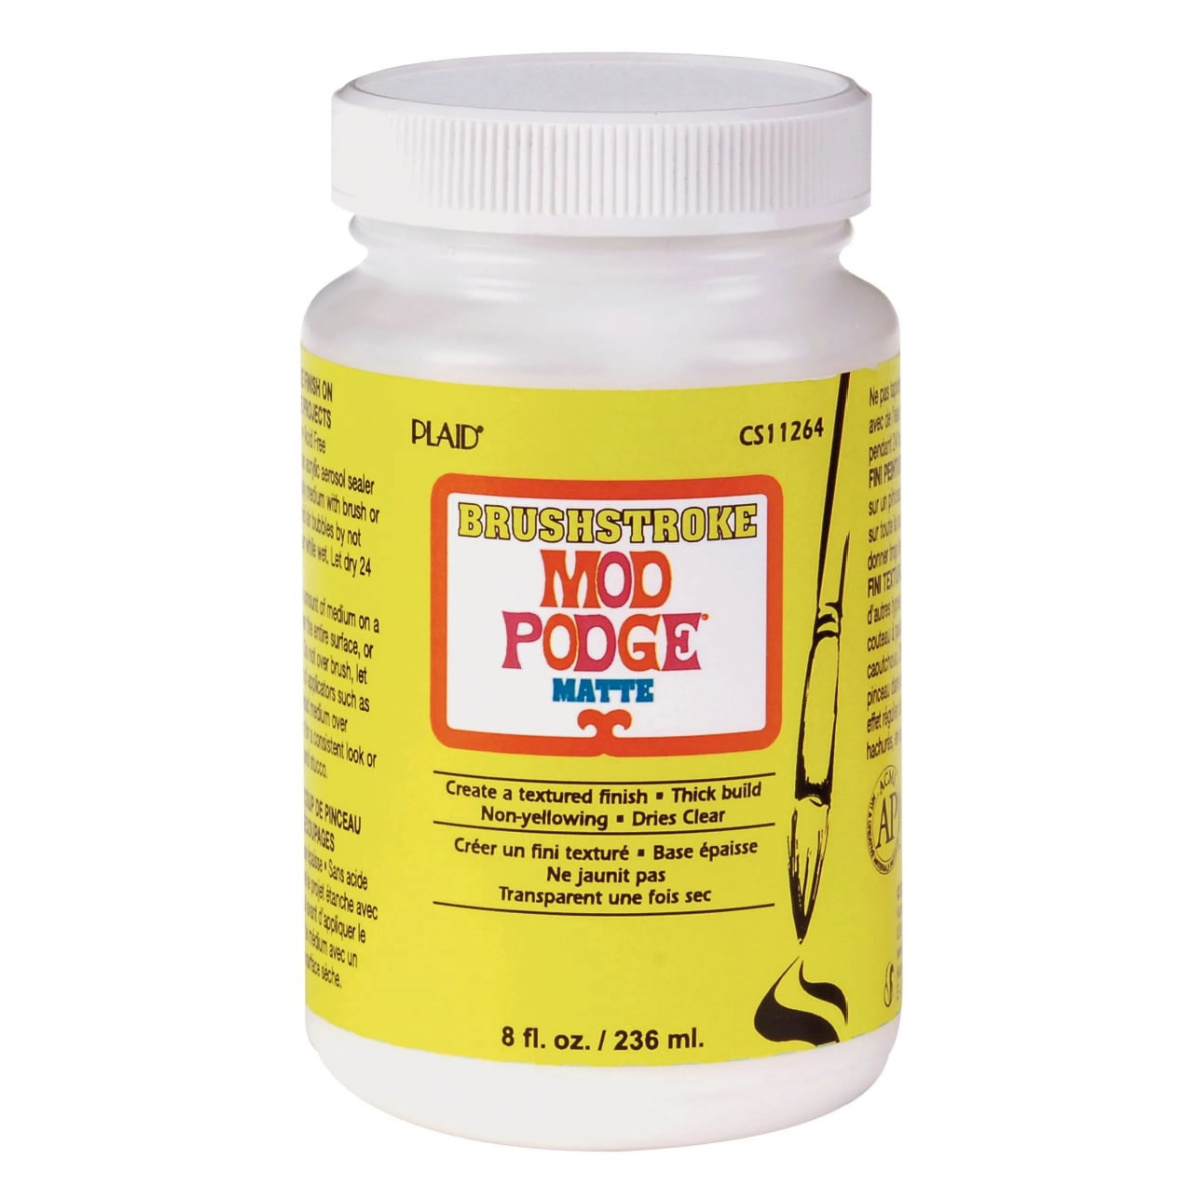
Result: Very textured and dimensional (yet clear) and gives you the look of hand painting.
Dishwasher Safe Mod Podge
You asked for it, and now you finally have it! This dishwasher friendly formula was released in January 2014. It does the gluing, sealing and finishing of regular decoupage medium – but now you can put those items in the top rack of the dishwasher!

You should still keep this formula away from food and your mouth (3/4″ from the top of a glass), but now you can add items to cups, plates, and more . . . and wash them! Gloss finish. It MUST cure 28 days before washing.
Result: Use to add paper or fabric to something you want to wash (top rack dishwasher or hand wash only).
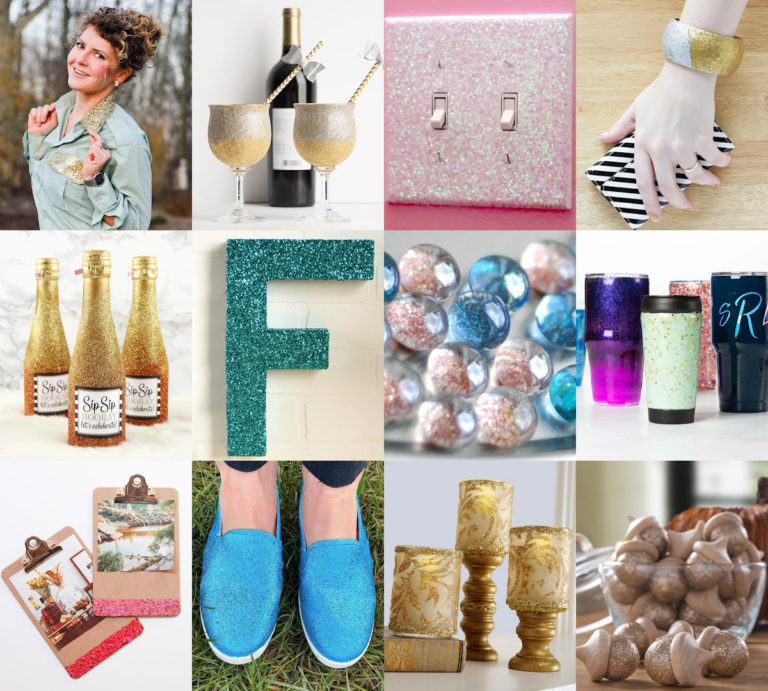
Extreme Glitter Mod Podge
Do you want Sparkle Mod Podge on steroids? Because that’s what this is! This formula contains ultra fine glitter and LOTS of it . . . so you wouldn’t want to put it over a paper or fabric where you want to see fine detail.
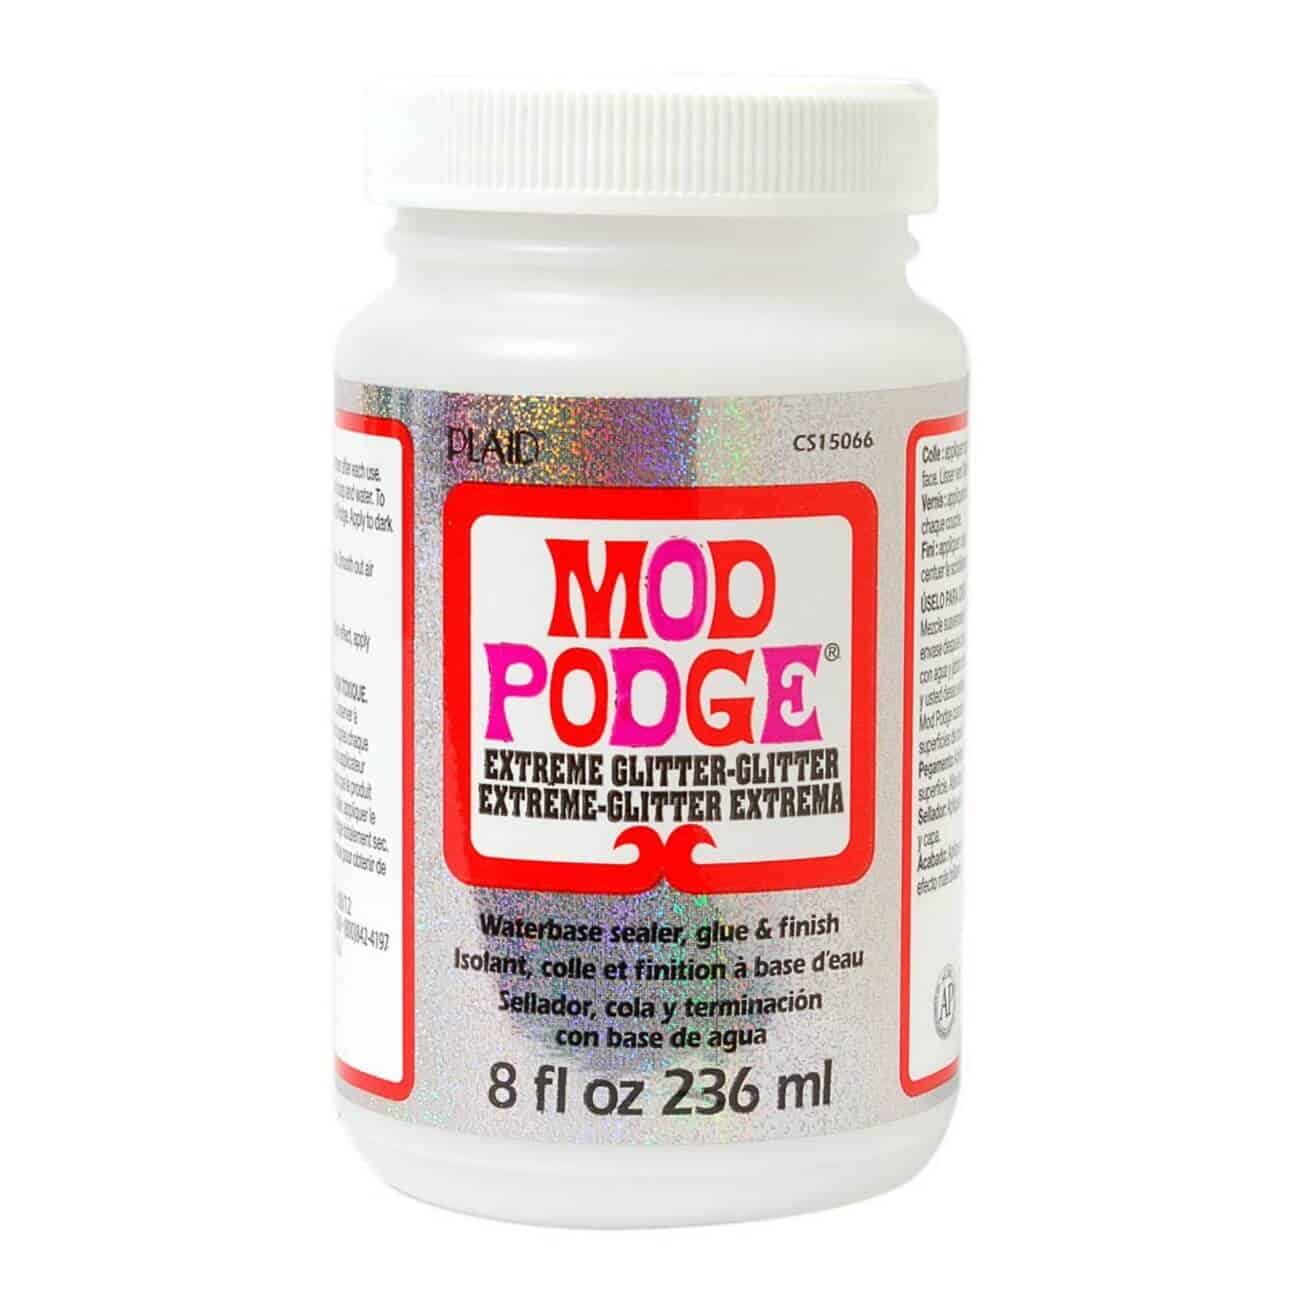
It looks great on all colors of surfaces but best on anything dark because the glitter really pops. I also love it on glass.
Result: Amazingly glittery finished surface that looks best on dark surfaces. Think “galaxy themed!”
Fabric Mod Podge
It’s not just wood or paper that people like to decoupage – it’s fabric too! Not only that, you know I love to decoupage fabric TO other surfaces. This formula does both.
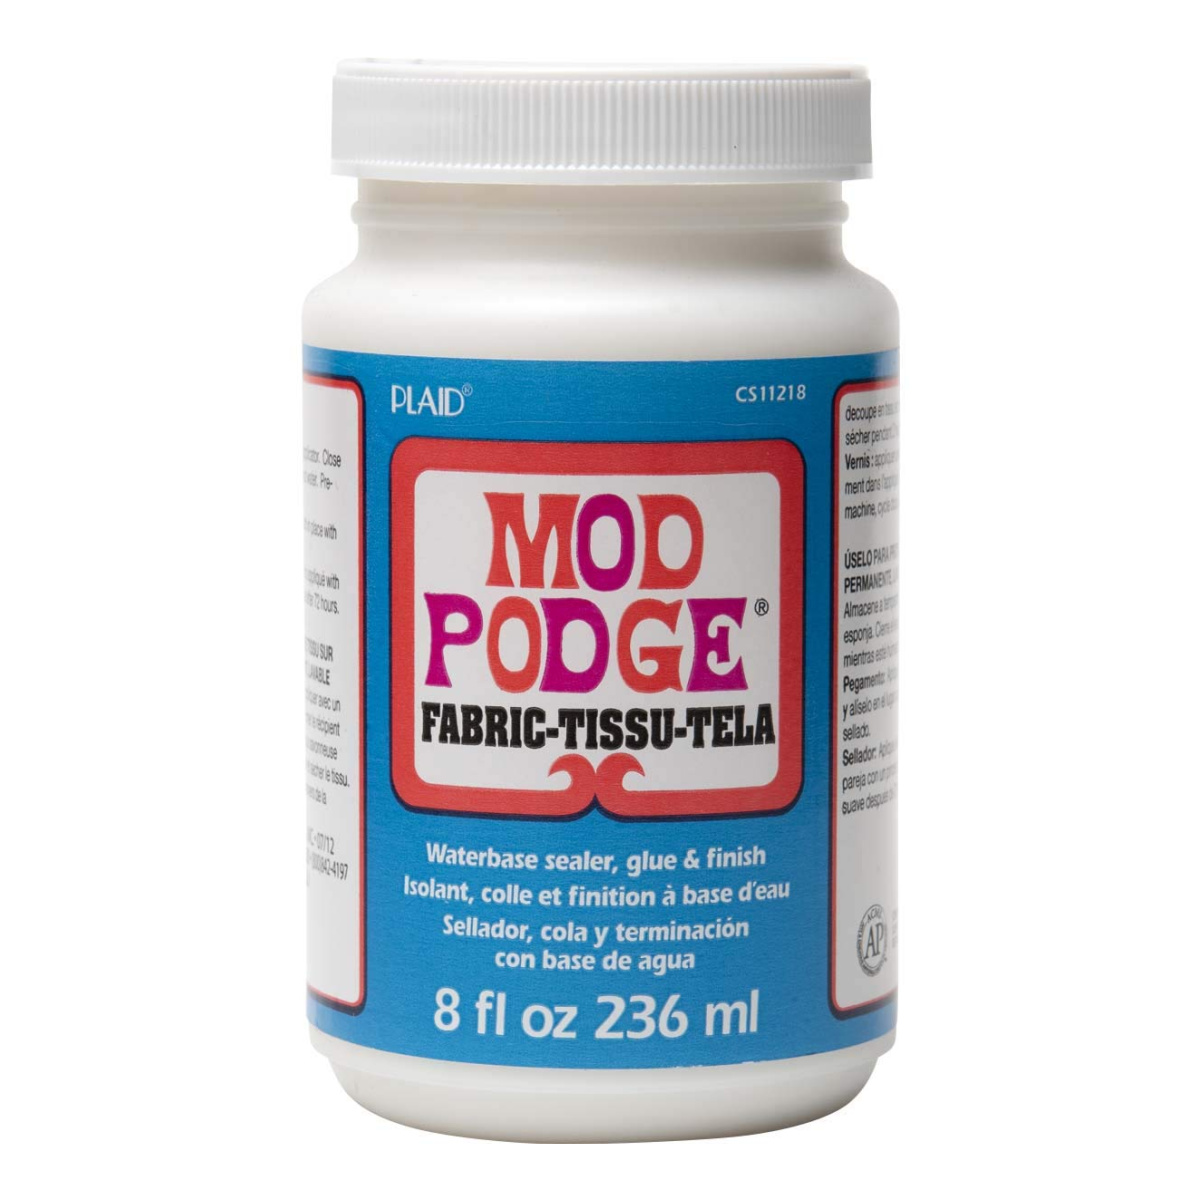
You can decoupage things to fabric with it, and you can prepare fabric for decoupaging to surfaces by lightly brushing on and allowing to dry before cutting. It eliminates fraying. Here are 20 things you can do with Fabric Mod Podge.
Result: It’s main use is to adhere fabric to fabric so that it remains washable. Use to prepare fabric for decoupaging to surfaces and for decoupaging things onto fabric.
Furniture Mod Podge
This formula is similar to Hard Coat, but developed just for furniture pieces – also just comes in 16 oz. . . because you’re probably going to need more than the standard 8 oz bottle!
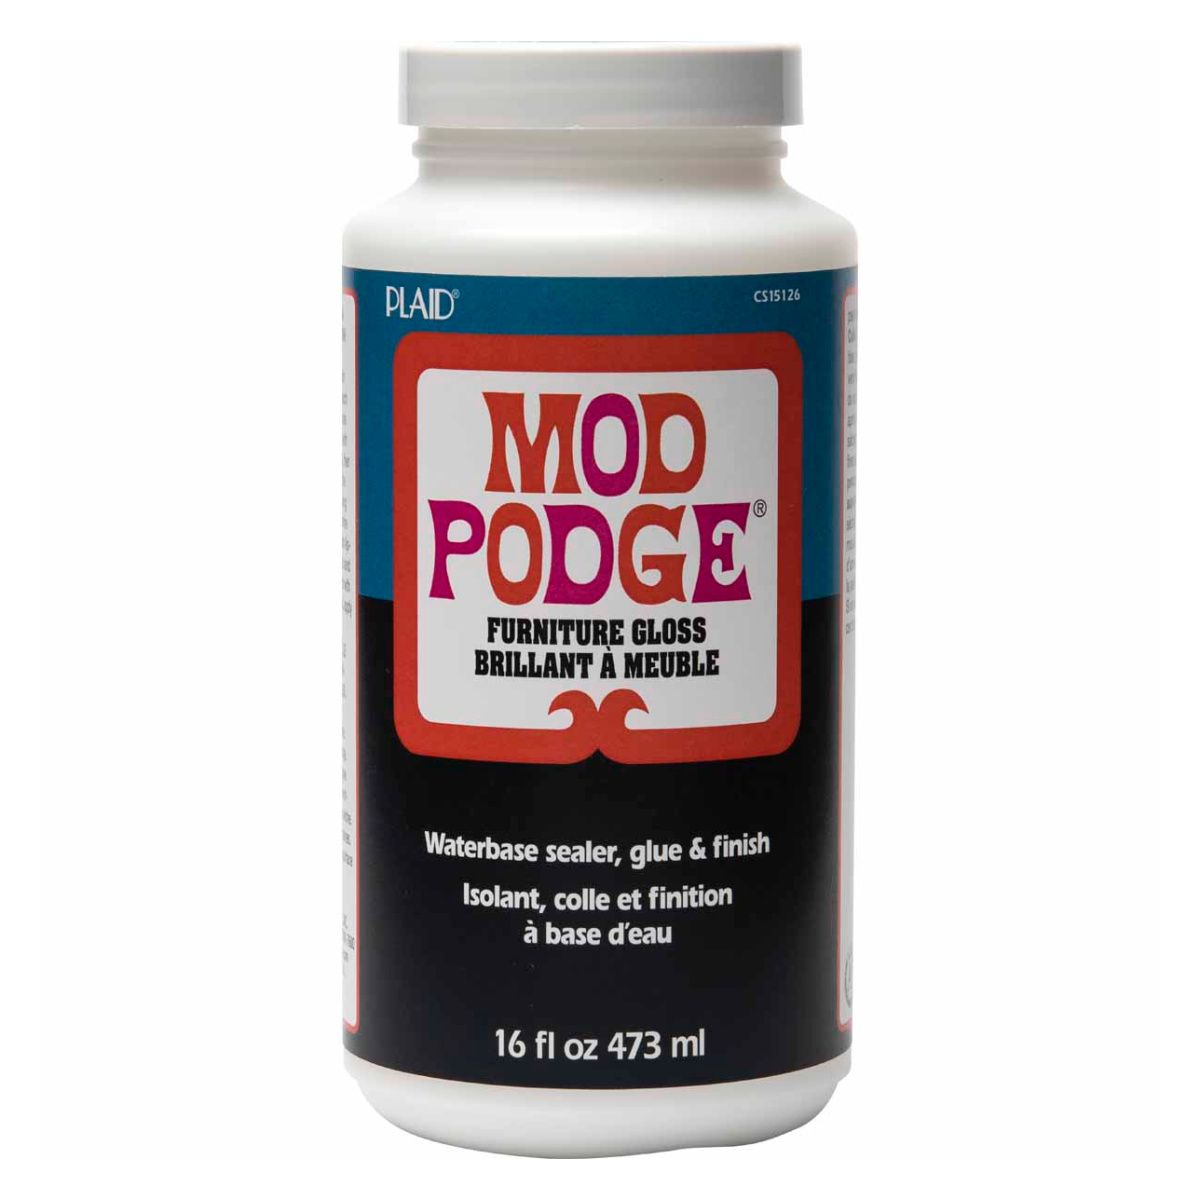
Result: Use for any furniture re-dos that you take on . . . like one of these decoupage furniture projects.
Mod Podge Glow in the Dark
Exactly what it sounds like. It’s the gloss Mod Podge with crushed fireflies! Kidding. Anyway, you’ll need to apply several coats for the best glowing effect. I love this stuff for kids’ project and my favorite-est holiday in the world, Halloween.
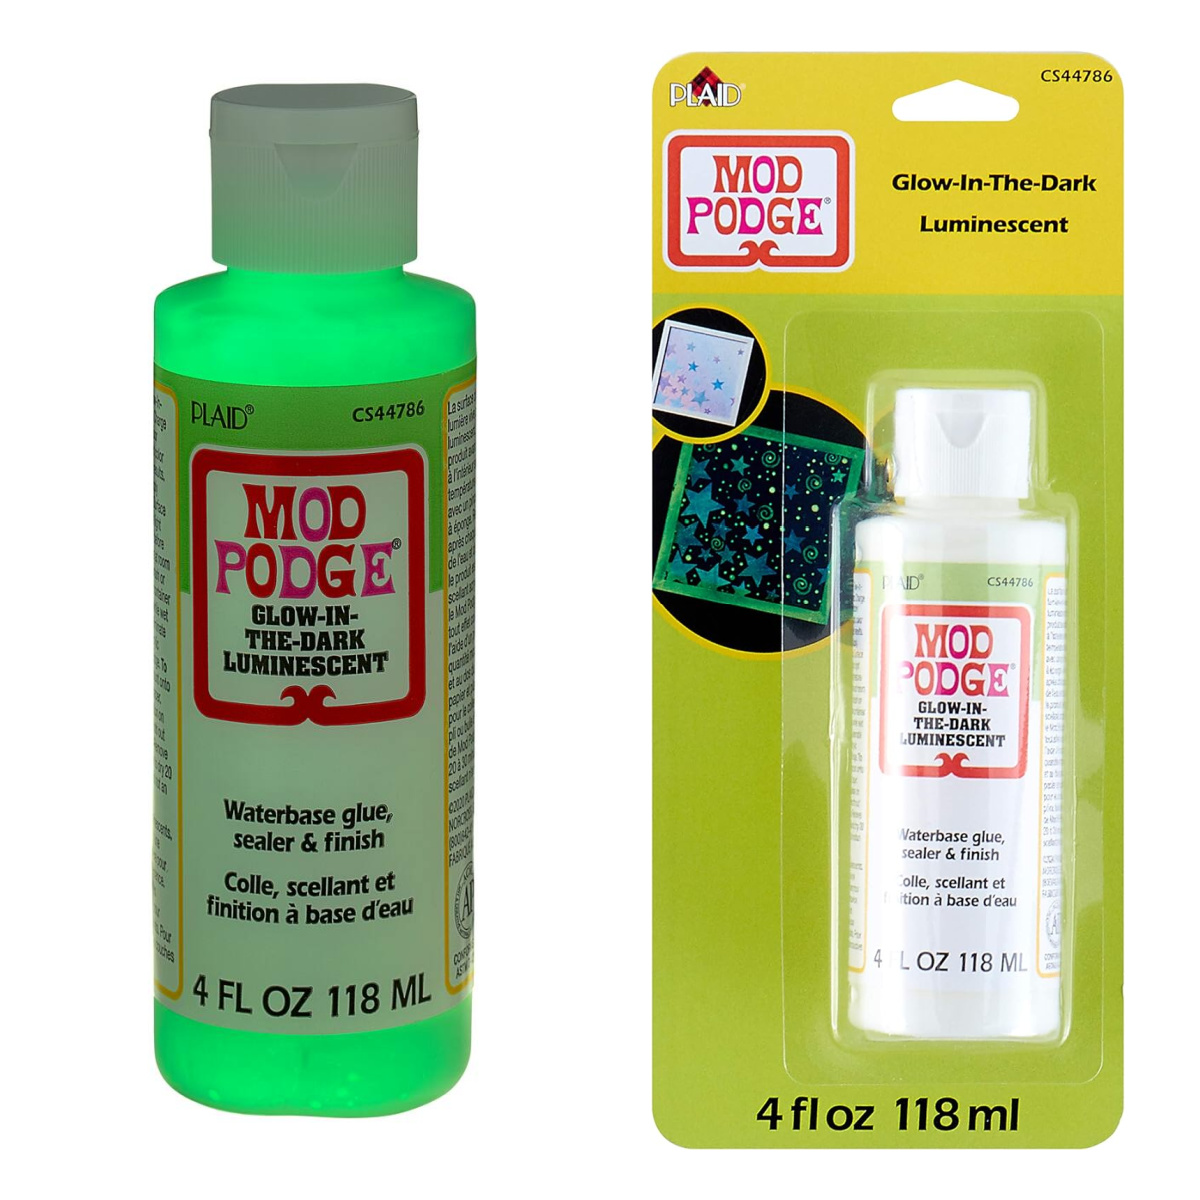
Result: You can’t really see the finish when the lights are on, but it glows-in-the-dark! Expose to light to recharge.
Hard Coat Mod Podge
This formula was specially developed to be super tough! Provides extra protection for projects that are frequently used and handled. It has a satin finish, which is somewhere between matte and gloss. It doesn’t show the scratches like the matte or gloss!
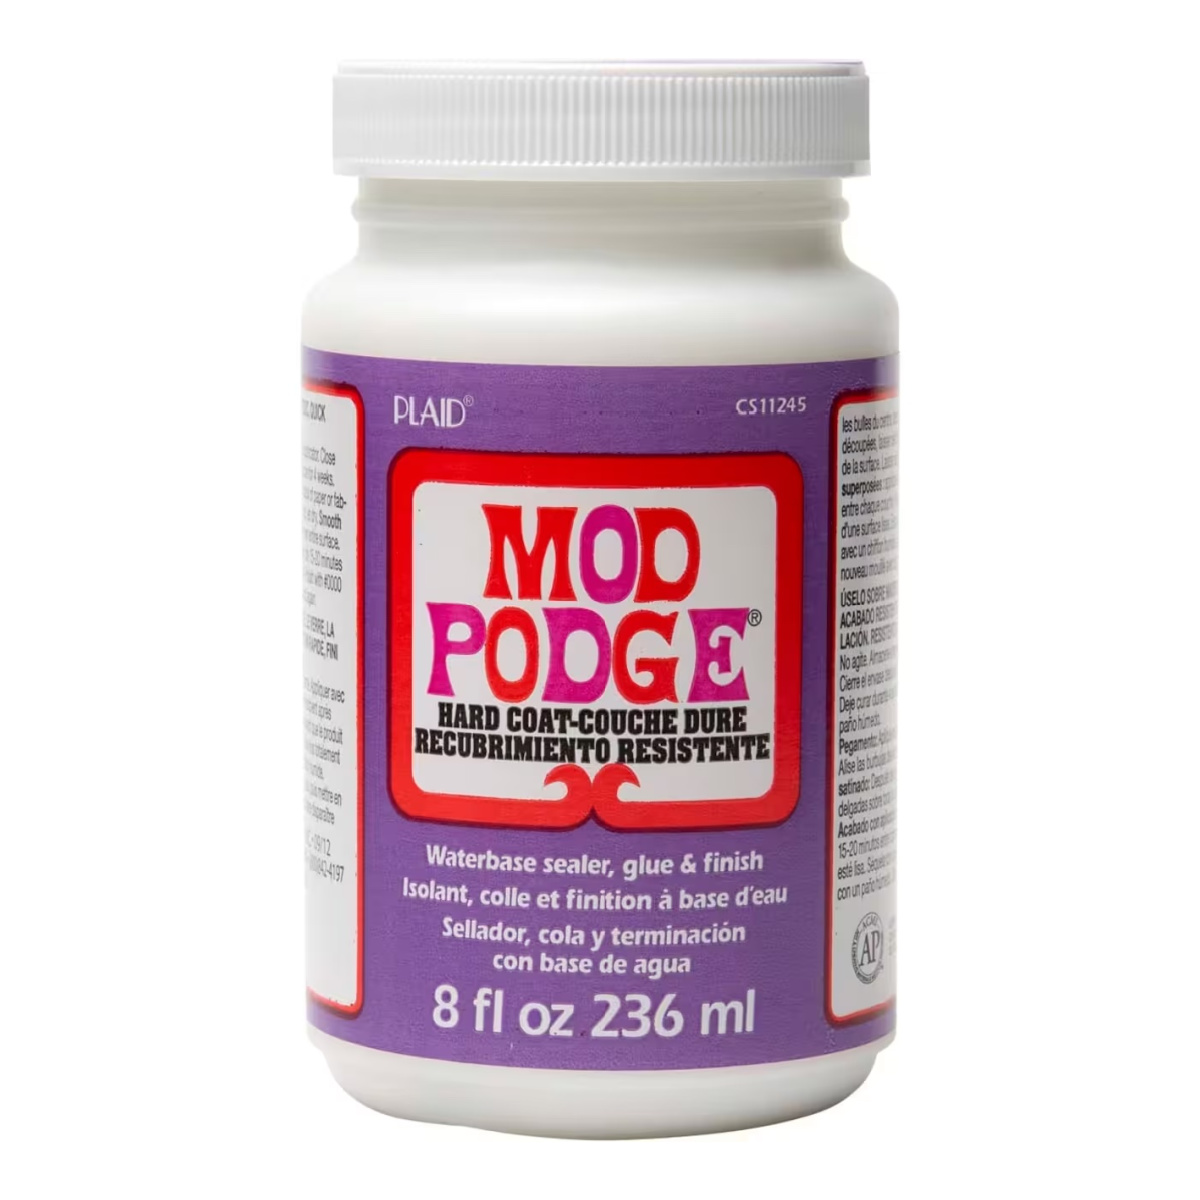
Result: perfect for furniture like tables and dressers. It’s the ultimate durable Mod Podge finish.
Outdoor Mod Podge
Decoupage + stuff that goes outdoors. . . . = Outdoor Mod Podge? Yes! Protects your decoupage project from moisture and the elements. Great for clay pots.
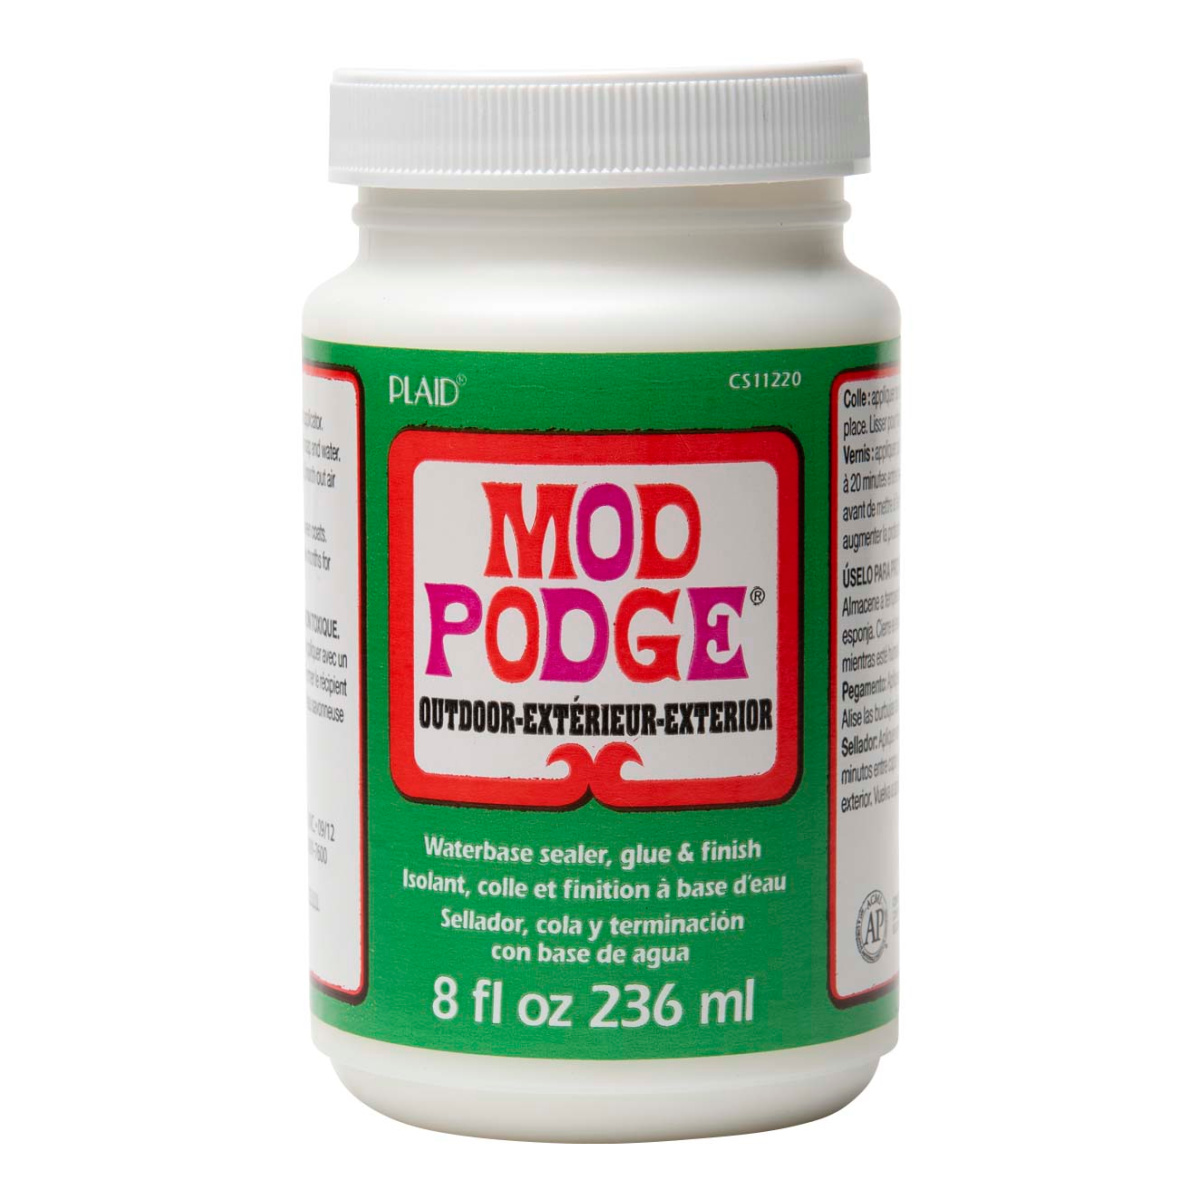
Result: Pretty simple: anything you decoupage that you want to sit outside. While you don’t *have* to, I recommend also sealing with an outdoor sealer for added durability.
Paper Mod Podge
A lot of people are confused by this one – can’t regular Mod Podge be used for paper. YES!
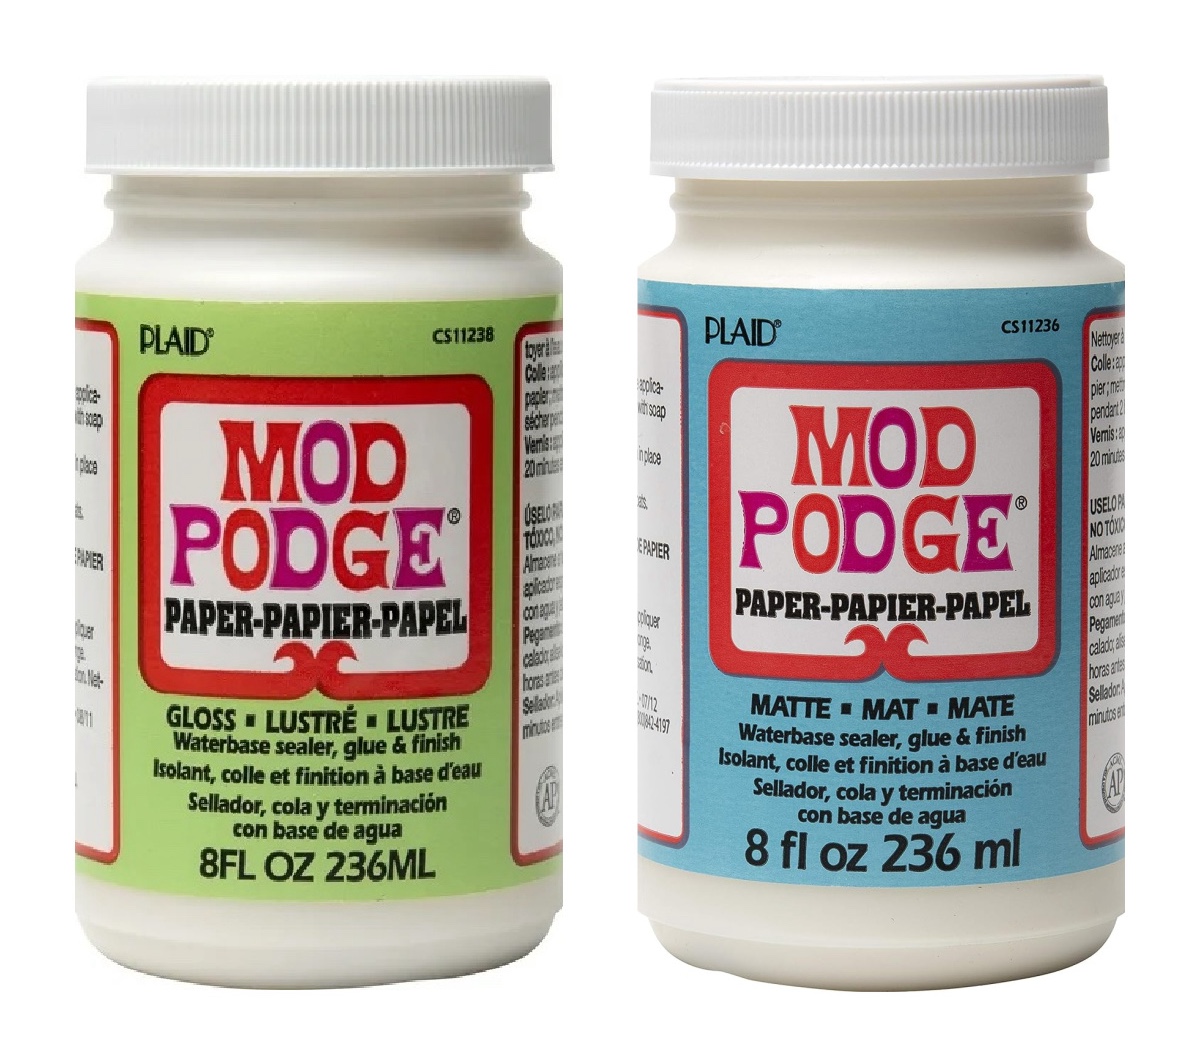
Here’s the thing though: the Mod Podge gurus realized that there is a group out there that do more advanced paper projects; scrapbooking to be specific. These people like their projects to be archival, and that means they want their glues to be as well.
Result: Paper Mod Podge is archival quality, keeps photos and papers from yellowing, and extends the life of scrapbooking projects. Comes in a gloss and matte finish.
Puzzle Saver Mod Podge
You’re probably not going to need an entire 8 oz. bottle of decoupage medium to seal a puzzle – and it might be nice to have a brush included, especially if you aren’t a regular crafter. Great idea, right?

Well, the makers of Mod Podge thought so too, so they put together a little 2 oz. bottle of Mod Podge with a brush on a card. It still comes in an 8 oz. bottle for serious puzzlers.
You can use the Classic formulas to seal puzzles too; this was created for folks who aren’t regular decoupagers but still have a need for the good stuff (it’s easy to identify!).
Result: Basic formula with simple Gloss finish.
Sparkle Mod Podge
Did you know there is a decoupage medium with glitter already inside? Yes. Sparkle Mod Podge contains hologram glitter pieces (rainbow effect) in a gloss base. Use several coats for more sparkle and shine.
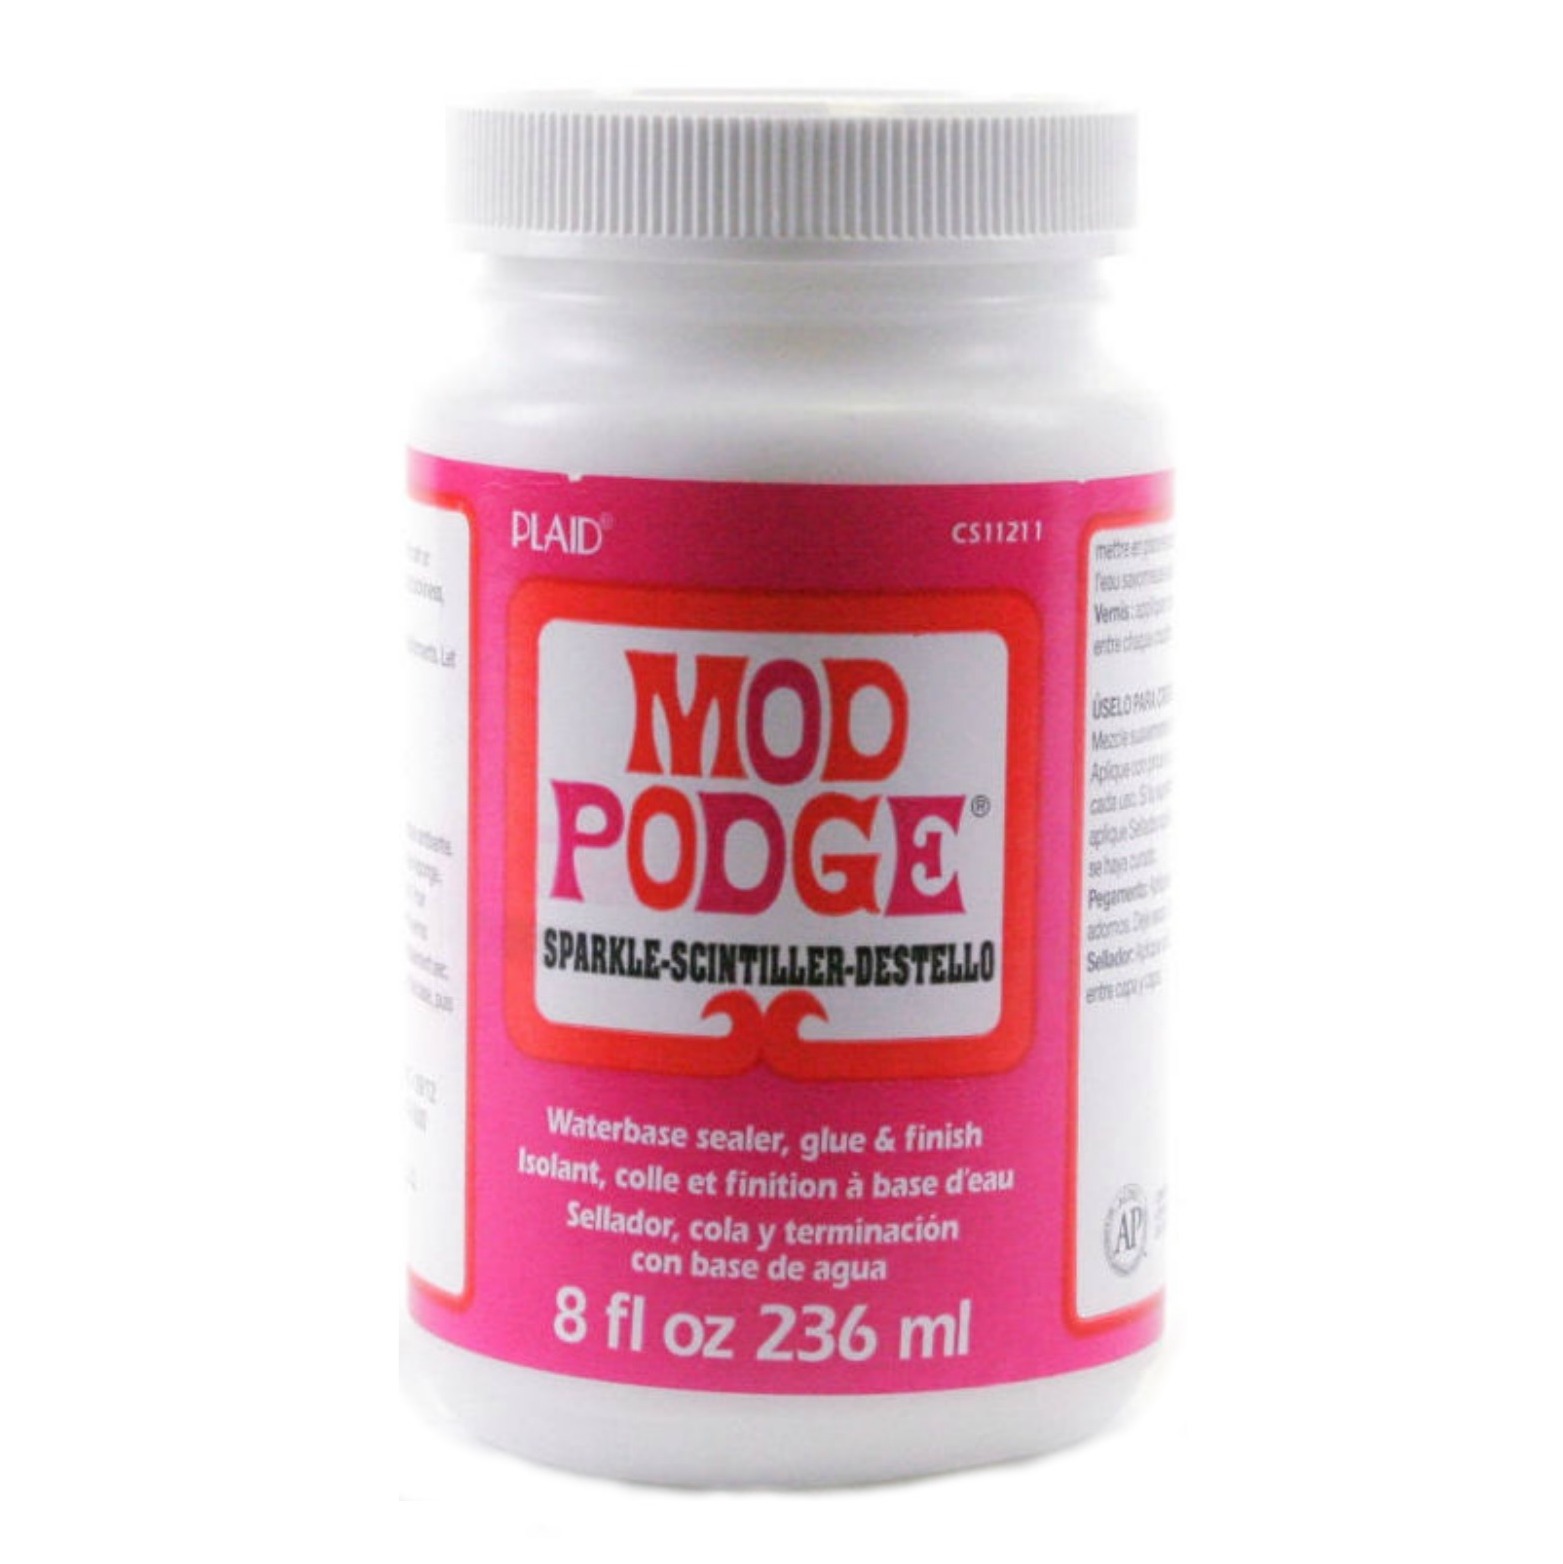
Result: Adds glitz to your project in a minimum of one coat. Note that this shows up great on dark surfaces.
Super Matte Mod Podge
You know that chalk paint and finishes are all the rage right now. You can get that smooth, luxurious feel of a finish with this formula.
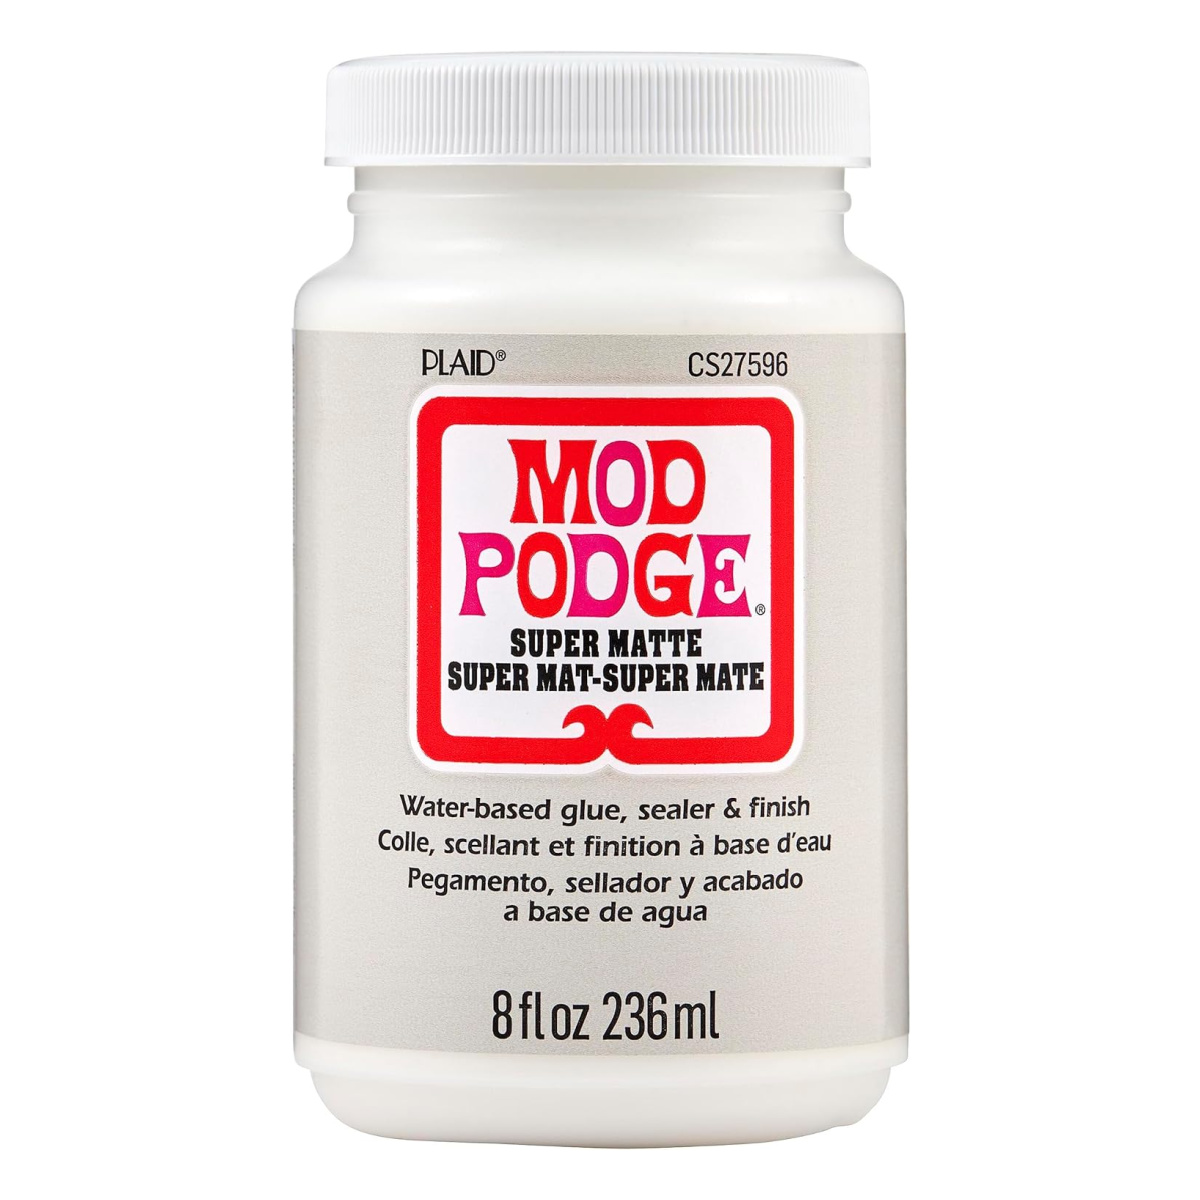
It’s hard to explain this formula is until you see it with your own eyes, and run your hand along it. I think it’s an amazing finish for furniture, especially a vintage item that you want to protect.
Result: VERY flat (no shine) and soft to the touch. No brushstrokes.
Mod Podge Ultra
This formula takes your standard decoupage medium to a whole new level! As you can see, it’s in a spray bottle, which I know y’all have been asking about for years. Here are the amazing features.
- NON-tacky
- Spray application
- Multi-surface – wood, fabric, terra cotta, and more
- Indoor or Outdoor (water resistant and UV resistant)
- Self leveling, no brush strokes
- Highly durable!
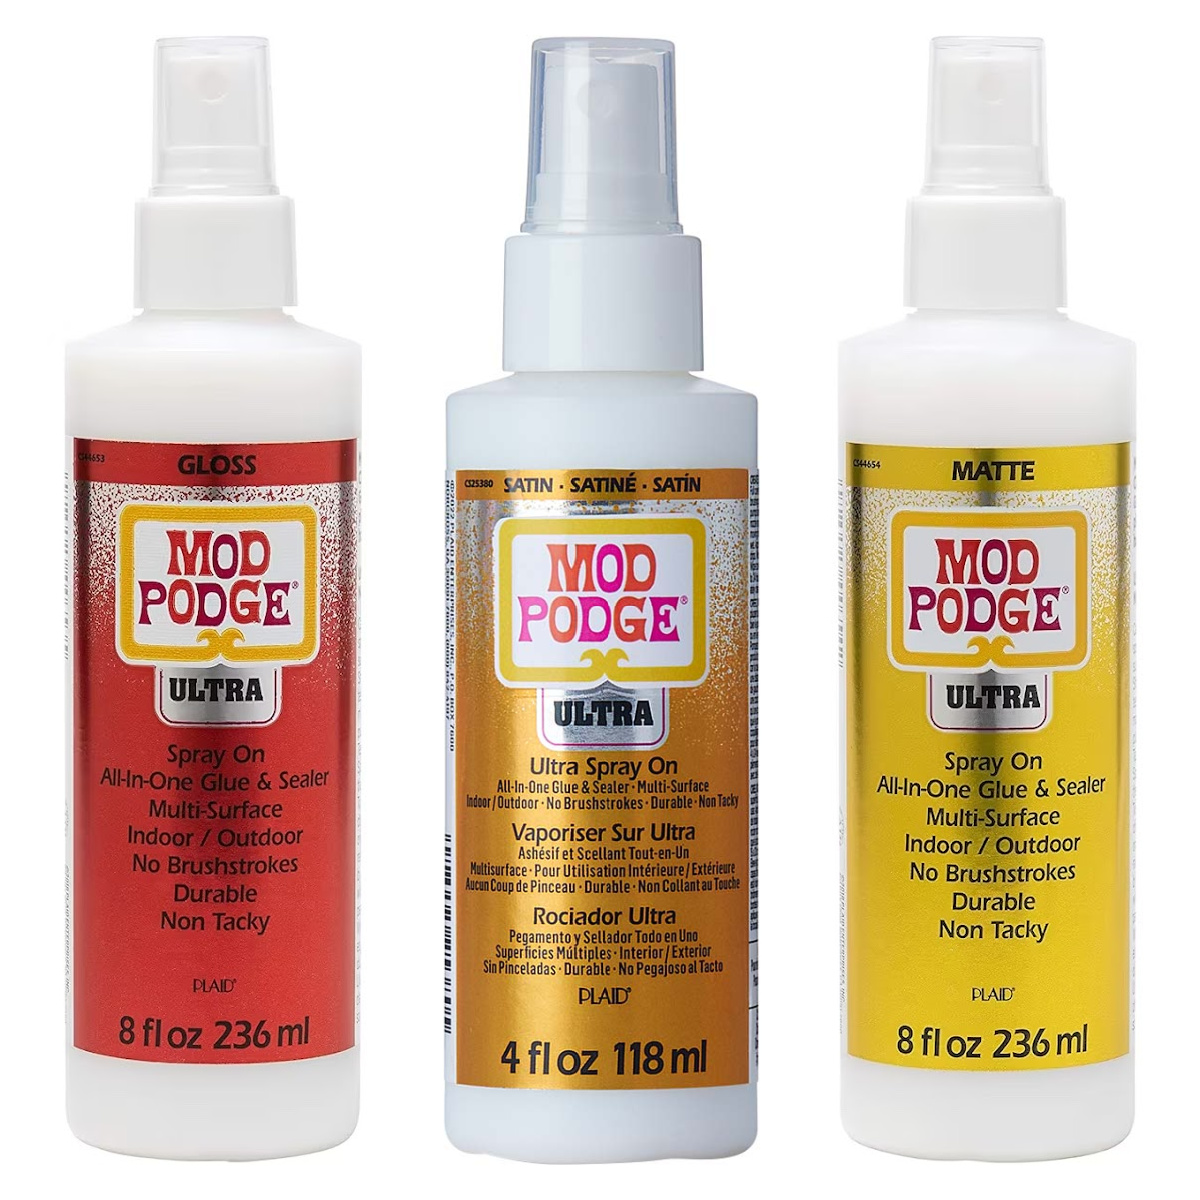
Result: yes, it basically does everything in a spray. You can brush it on too! Comes in a Gloss or Matte finish.
Special Formulas
There are a few special Mod Podge formulas that don’t do the gluing, but they act as special finishes and are complimentary to all of the decoupage products above. Here they are.
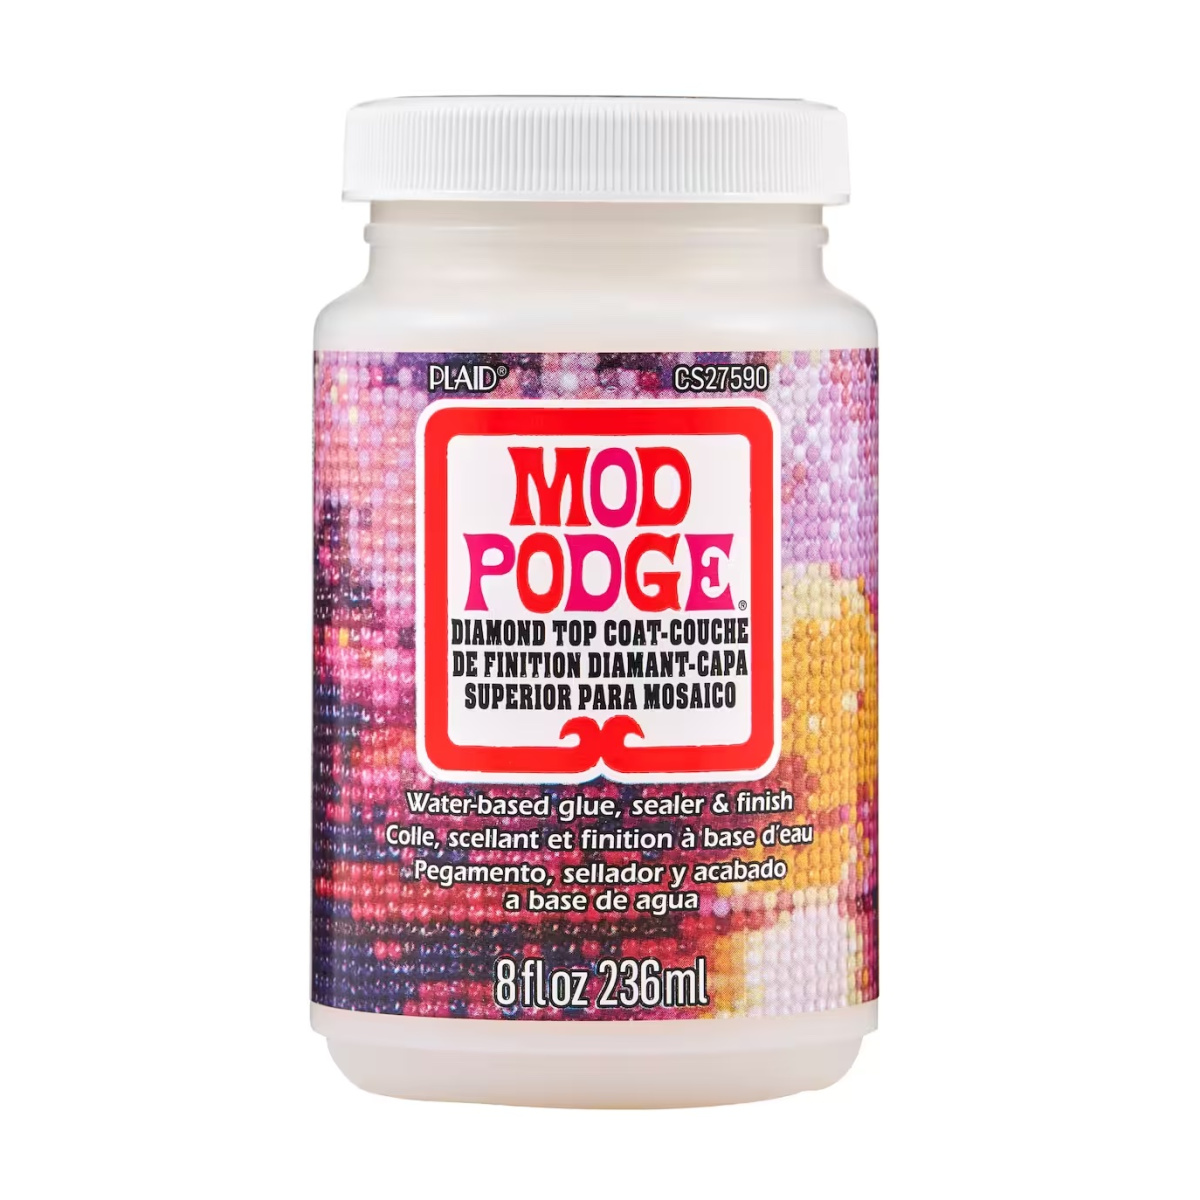
Diamond Top Coat
Preserve the beauty of your diamond puzzle projects and more with this Diamond Top Coat. This finish is a great way to make sure your diamond paintings stay together in order to display.
Result: A shiny, clear finish that doesn’t dull sparkle!
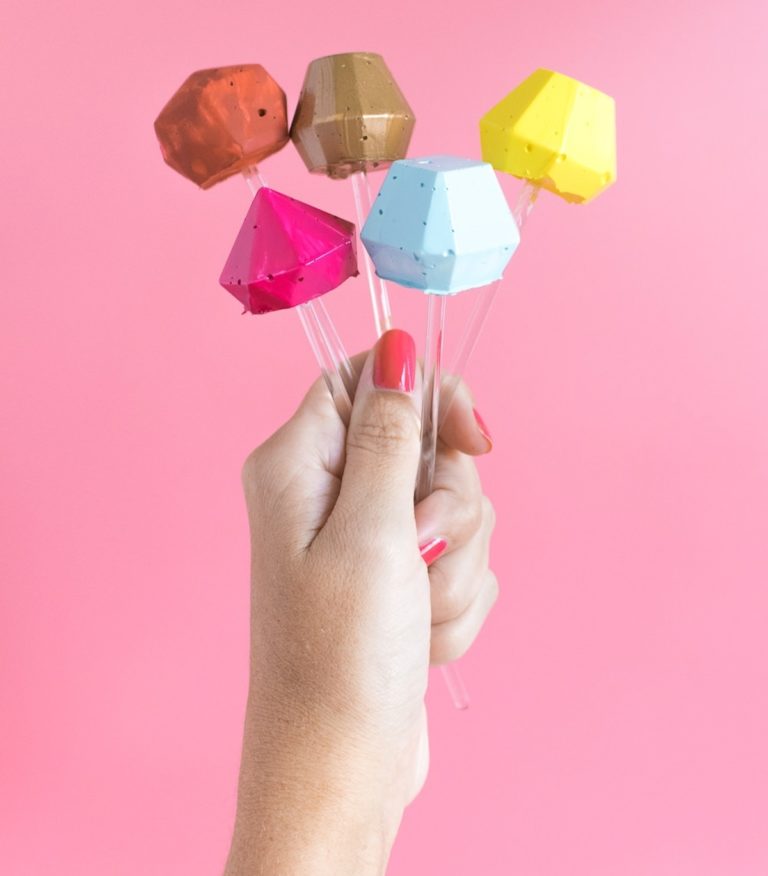
Mod Podge Dimensional Magic
Traditional resins give you a hard, varnish finish but are toxic and require mixing – not Dimensional Magic!
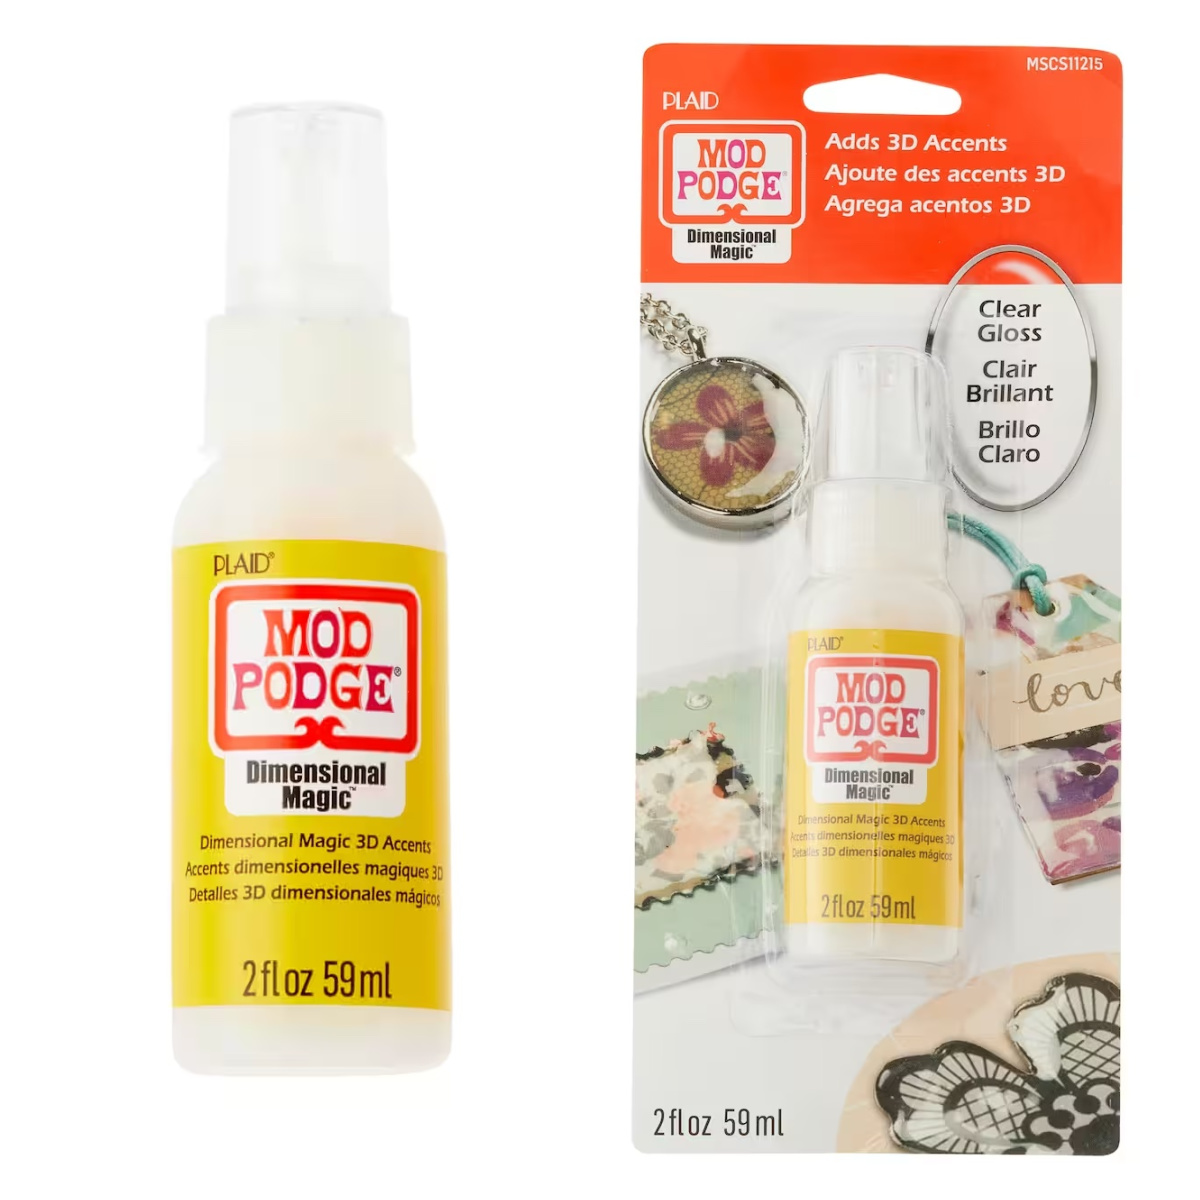
This product adds an epoxy-like finish to jewelry and paper crafts and dries clear. You can layer Dimensional Magic on top of itself (let it dry between layers). This formula comes in Clear and Glitter (if you can find it).
Result: Get the look of resin or epoxy without the toxicity and mixing. Dries clear and dimensional. Learn about Dimensional Magic vs. Resin.
Mod Podge Photo Transfer Medium
You can use this formula to create decals or appliques from any original photo. You can also transfer images to fabric or wood. Keep in mind this isn’t clear – so anything you transfer will have a white background.
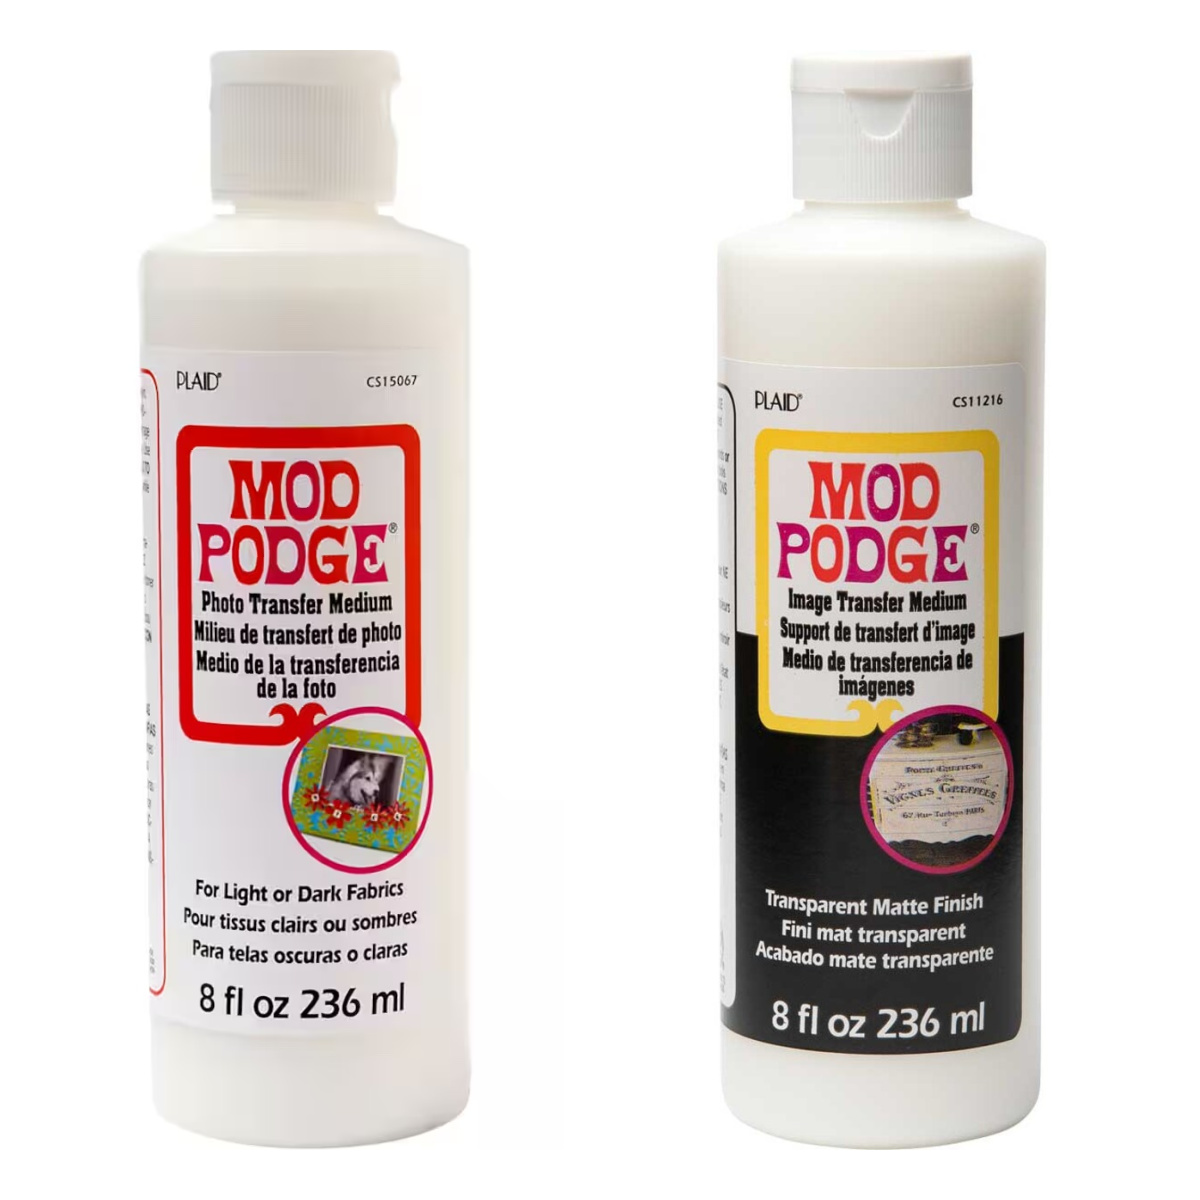
It takes some practice to use this formula, but once you get the hang of it, there are no limits to what you can transfer! See 30 Mod Podge photo transfer crafts here (most of them use this medium).
Result: A opaque photo transfer with a slick feel to the surface (you can decoupage over the top).
Mod Podge Resin
This epoxy resin product was released in 2021! It’s not a decoupage medium – it’s a casting resin used to accentuate your decoupage projects or make separate projects such as DIY resin coasters and geode coasters.
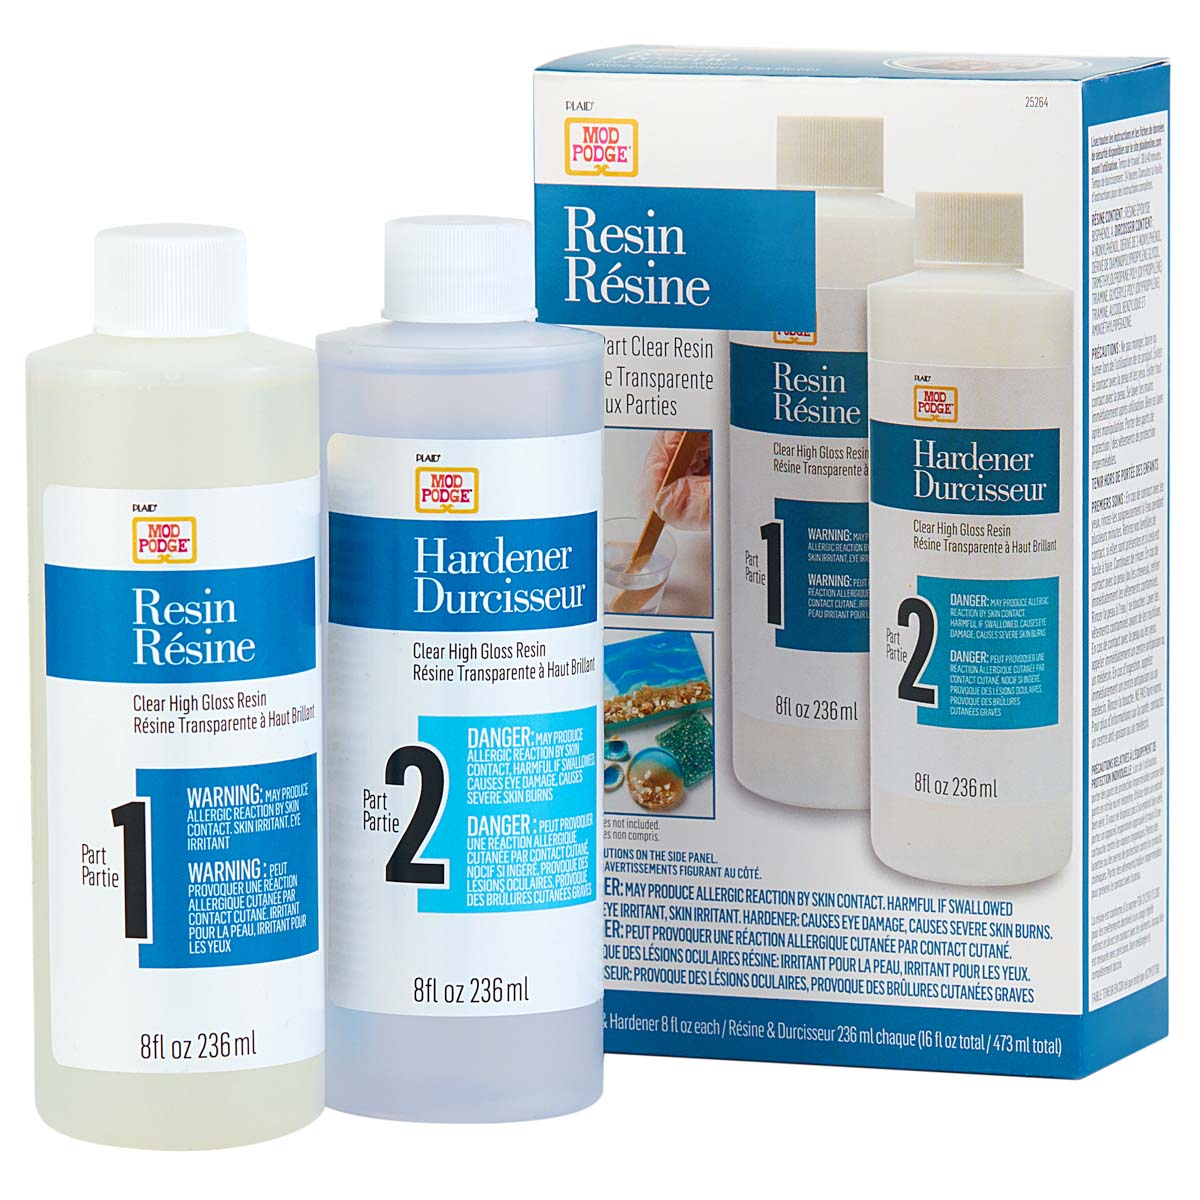
Result: Thick, glossy, hard finish that you can use on top of your Mod Podge projects.
Super Thick Gloss
You can’t glue with the Super Gloss; the goal here is to get a smooth, epoxy-like finish over a large area. To use, Mod Podge your pieces down with another formula.
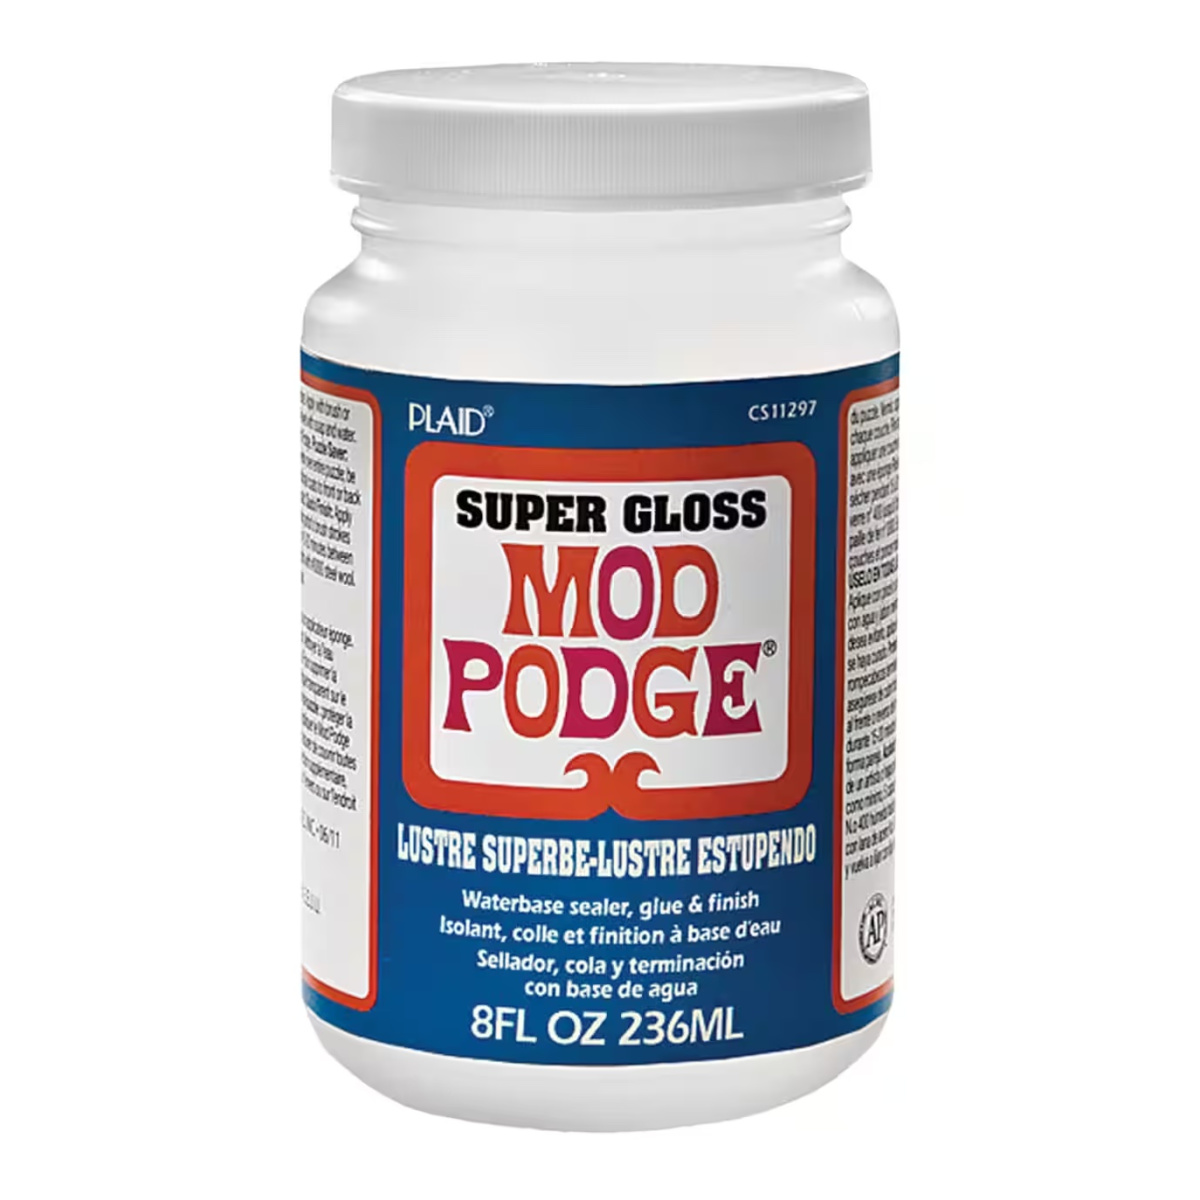
Then use the Super Gloss over the top. It’s self-leveling and thicker than regular Mod Podge. So it gives you a very shiny, clear finish that looks like epoxy but isn’t (it’s not as thick as Dimensional Magic for those who are wondering).
Result: A super shiny, clear finish that is a little bit more thick than regular Mod Podge.
Mod Podge Stiffy
I get a lot of laughs about the name of this product, but stiffening fabric is EXACTLY what it does! And I tell you, I love Stiffy. It’s not used for decoupaging or gluing anything down – not a top coat either.
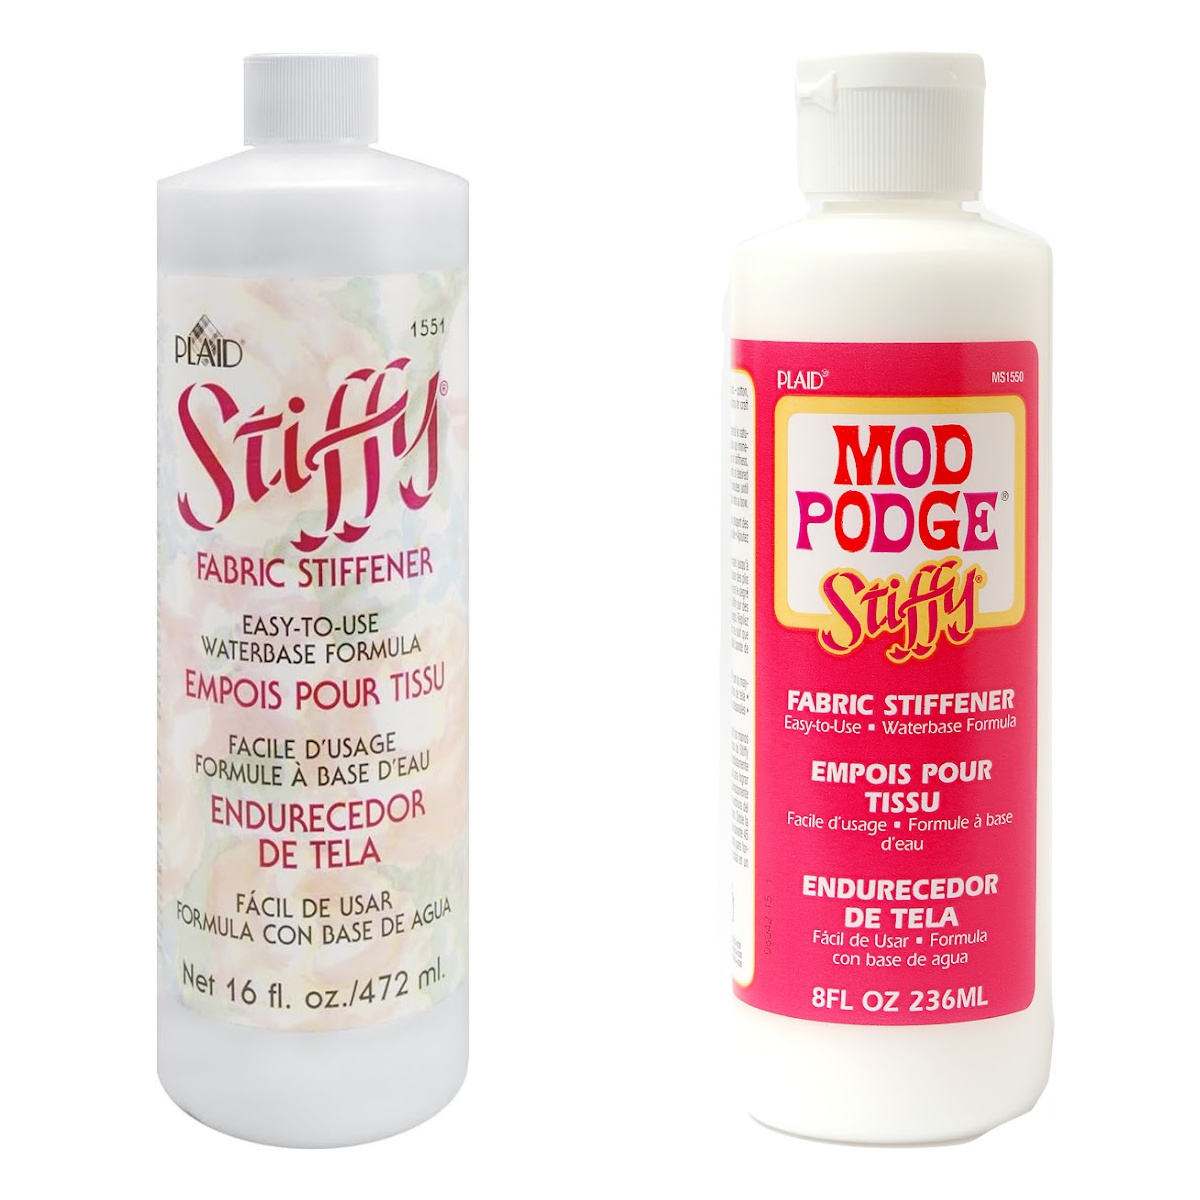
Instead, you simply dip items into Stiffy and it . . . stiffens them. Before you ask why you’d want to do that, check out my doily bowls. I have a lot of projects planned with Stiffy that I can’t wait to try.
Result: Not used for decoupage; instead, used to stiffen (primarily) fabrics into 3D shapes.
Other Mod Podge Products
The Mod Podge brand encompasses more than just decoupage mediums and special formulas! Here are some additional products that you can find at the craft stores.
Acrylic Sealers: If you need a strong sealer to spray on top of your finished project, these come in Gloss, Matte, Pearlized (which has a bit of shimmer), and Super Gloss.
Mod Podge Tools and Brushes: There are several branded tools and brushes that are specifically designed for decoupage projects: a large and small brush applicator, finger caps, professional tool set and more.
That should cover it for the Mod Podge formula guide! I want to let you know, as a final word, that ALL Mod Podge is self-sealing. You don’t have to hit with acrylic sealer.
I sometimes recommend it, but that is only for added durability beyond what you already get with the formulas above.
If something is going to get used frequently and beat up, then you should also spray or brush on seal with something additional.


umm, i just got hard coat, and it say is has to “cure” for four weeks! what does that mean? do i have to do that?
Hi there! You are fine to use the item before then, but that is how long it takes before it’s fully dry, all the way through. A lot of glues are like that. They just don’t say it on the package. Even *really* dry to the touch isn’t necessarily fully cured. But, you are fine to use it before 4 weeks.
I have been making glitter sneakers for my family in Texas using mod podge gloss and umm glitter lol. Anyway I live in Washington where it is considerably wetter, I was wondering if the fabric formula is washable or has any protection against moisture, or if the outdoor formula might be a better option?
Hi Anonymous! You can use either one! I would go with the Fabric formula though. It’s not as thick.
Helpul…I am having some difficulty..My coasters did not handle a hot cup of coffee, leaving a slight ring. I printed a zombie print I made on card stock, used good amount of the MP to stick it to the ceramic, brushed 3 coats (waiting in between for each to dry), and then sprayed polyurethane protectant and let dry a few days to be safe. It looked great, smooth, glossy..but I got the ring after the cup, and also I heard the paper crackle a little as if the MP underneath was not taking the heat. Any ideas? Perhaps a different substance adhesive and maybe a different finish? Maybe new materials entirely?
Hi Jeremy! You did everything right, but even with that, acrylic products aren’t going to be able to handle extreme temps. Really warm – yes. But hot like a coffee mug or hot pan? No. For something like that, I would go with EnviroTex Lite. It’s not acrylic (you’ll have to mix wearing gloves), but you’ll get the clear, thick finish that you want. I would check on what temps it’s resistant to as well. Probably the hot mug would be okay (I’m thinking the mug but not as hot as a stovepan). Good luck!
Thanks, Amy. I asked some burly maintenance guy I worked with and he said the same thing. So off to True Value I go.
Thank you. I have yet to try Michaels. I was just thinking of going there this weekend. The closest one is an hour away.
I recently found your blog and now I’m addicted to Mod Podge projects; have never done anything like it before. I read the list of all the different kinds of Mod Podge, but I can’t find them anywhere. I’ve looked at Hobby Lobby, Walmart, and Kmart, but they just have the classic kinds. Where can I get all the other newer kinds? Thanks a lot, and continue inspiring me to Rock the Podge!
Hi Lee Ann! Michaels now has a big section of Mod Podge with all the new kinds. Check it out!
Great blog! I’m wondering about the Glow in the Dark Mod Podge. I would like to use it on an outdoor project. If I use several coats of the Glow in the dark and then spray it with a outdoor sealer, will the glow in the dark still work the same?
Thanks so much
Hi Anonymous! I’m not 100% sure but I BELIEVE so. It might take a little longer for it to charge, but it should be okay.
Amy, thanks for all the info. I hope you can help me as I am in the middle of a major project and I’m really in trouble. I tried mod podge but I found that it remained tacky forever. I read through your articles and decided to go with the hard coat mod podge turned out to be less tacky but still not dry. I then covered it with Minwax water based Polycryliic (acrylic sealer). This has made it less tacky but still not right. I am working with wood blocks and they need to be handled. At this point if I leave them sitting atop one another overnight they slightly stick together (without the minwax acrylic sealer it was awful, just the hard coat, the blocks were hard to pull apart). I live in NJ and it can be very humid here, but there has been relatively low humidity the last couple of weeks. I really need to solve this problem and hope you can offer some experience/wisdom. thank you in advance. Jean
Hi Jean! How long did you let the Mod Podge dry before applying the polycrylic? Also, Mod Podge can take 4 – 6 weeks to completely cure in humid environments. So sometimes you have to leave projects for awhile before applying the sealer.
great post. im a mod podge virgin about to take the plunge. I have a backlog of projects in my brain and have kind of been a bit scared just because I havent been exactly sure how to use what for what. This post clears it all up. thanks.
Hey Hun, thanks so much for the informative article I’ve been doing some research for a doll house for my daughter, and I found one I’m curious about but didn’t see any facts here (or anywhere else.) I’m wondering if you’ve had a chance to use the Mod Podge Dimensional Magic?
I’m wondering if I can change its color easy or not. 🙂
Hi Letia! I have used it for sure – visit here:https://modpodgerocksblog.com/tag/mod-podge-dimensional-magic/In terms of changing color, you probably can, but I’d do a test. I’ve never done that. Stir carefully, as you are not supposed to shake it (because of bubbles). Good luck!
I’m wanting to mod podge the cover of a book with either paper or fabric. Is there a formula that is flexible so that the book will still open and close after mod podging?
Thanks for this resource. I’m bookmarking it. Soooooooo helpful! Here’s to happy Mod Podging 🙂
Hi Eric! I would use the original Gloss or Matte – I recently had a guest post where someone did it:
https://modpodgerocksblog.com/mod-podge-fabric-covered-books/
Don’t put too many layers on and you’ll be good to go 😀