Step into summer with this easy DIY door hanger tutorial! Brighten your entrance with fun pom poms, Mod Podge, and adhesive letters. Perfect for all craft levels.
Skills Required: Intermediate. To make this craft, it helps to have experience with paint and Mod Podge. You’ll be applying both, ironing the napkin down, then adding embellishments.
Summer’s in full swing, and what better way to welcome the sunny season than by adding a touch of creative flair in your home?
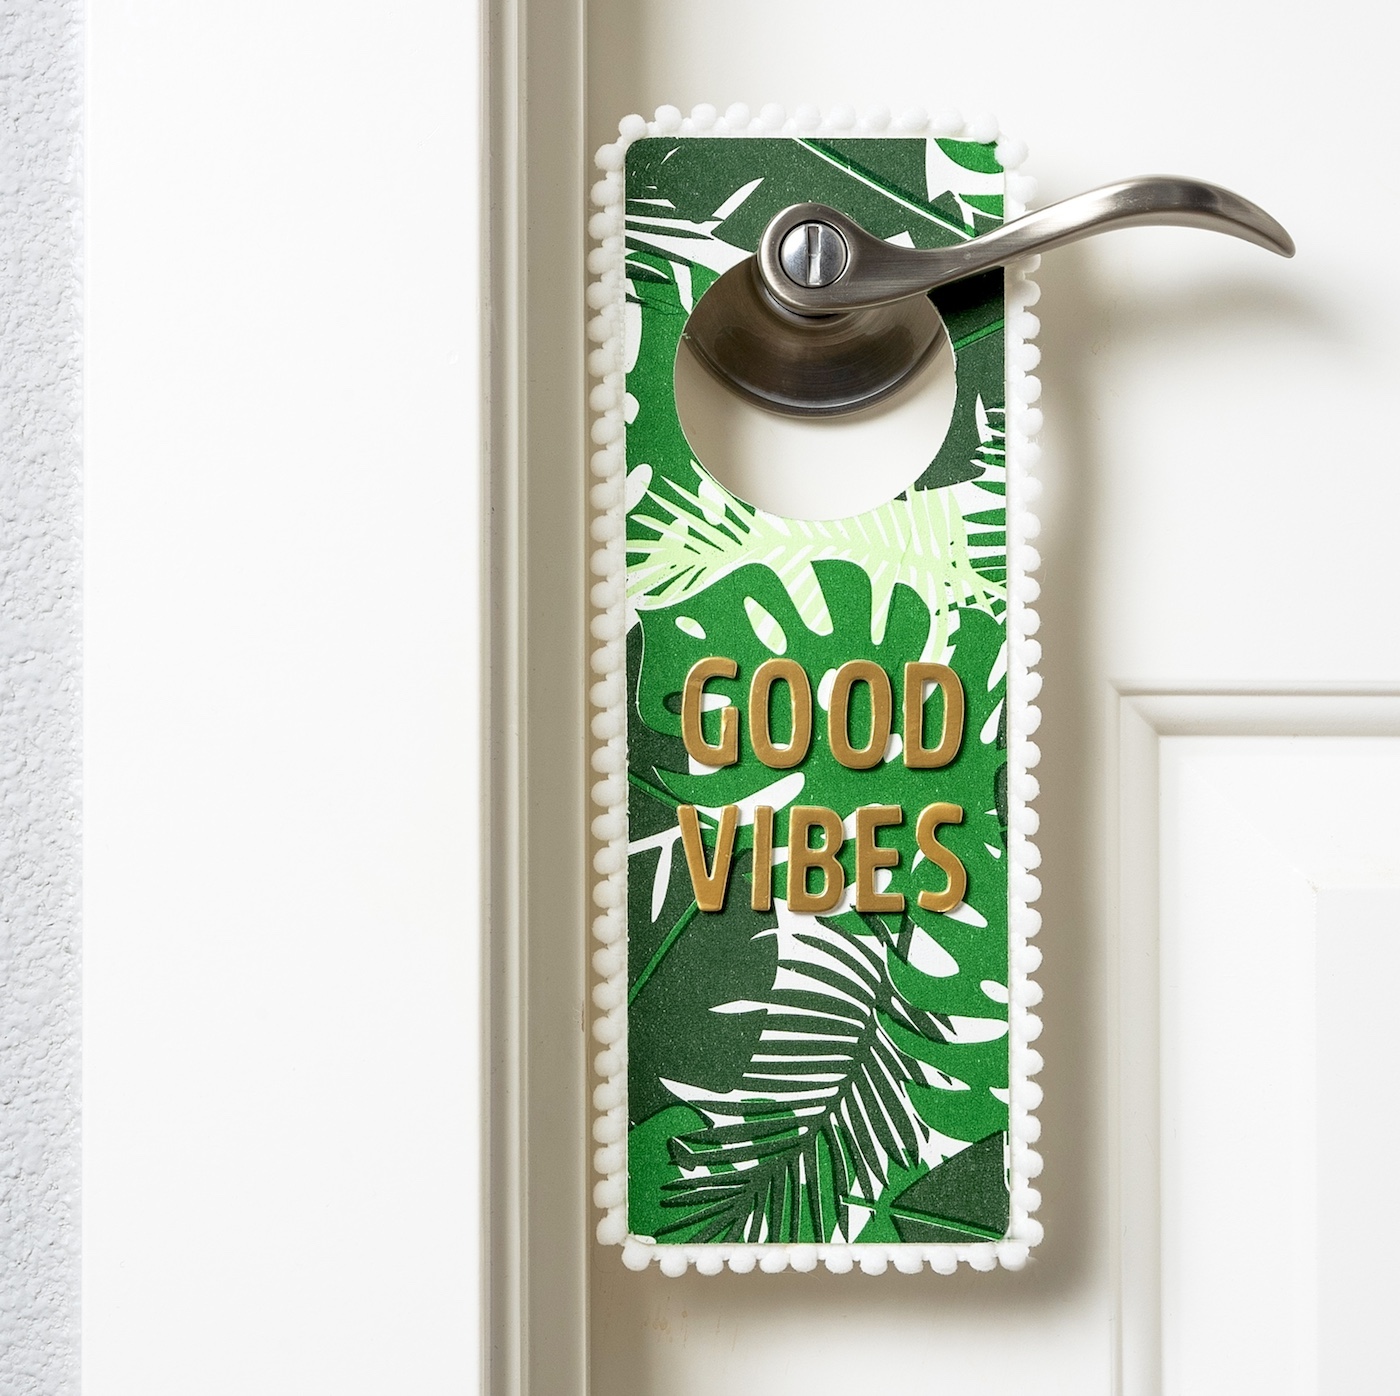
Today I’m going to show you how to make a very easy project – a DIY summer door hanger that’s as unique as your favorite worn in flip-flops.
Let’s face it, we all want our homes to exude that laid-back, summer vibe. But sometimes, finding DIY decorations that aren’t just another fish in the sea can be as challenging as building a sandcastle with one hand tied behind your back.
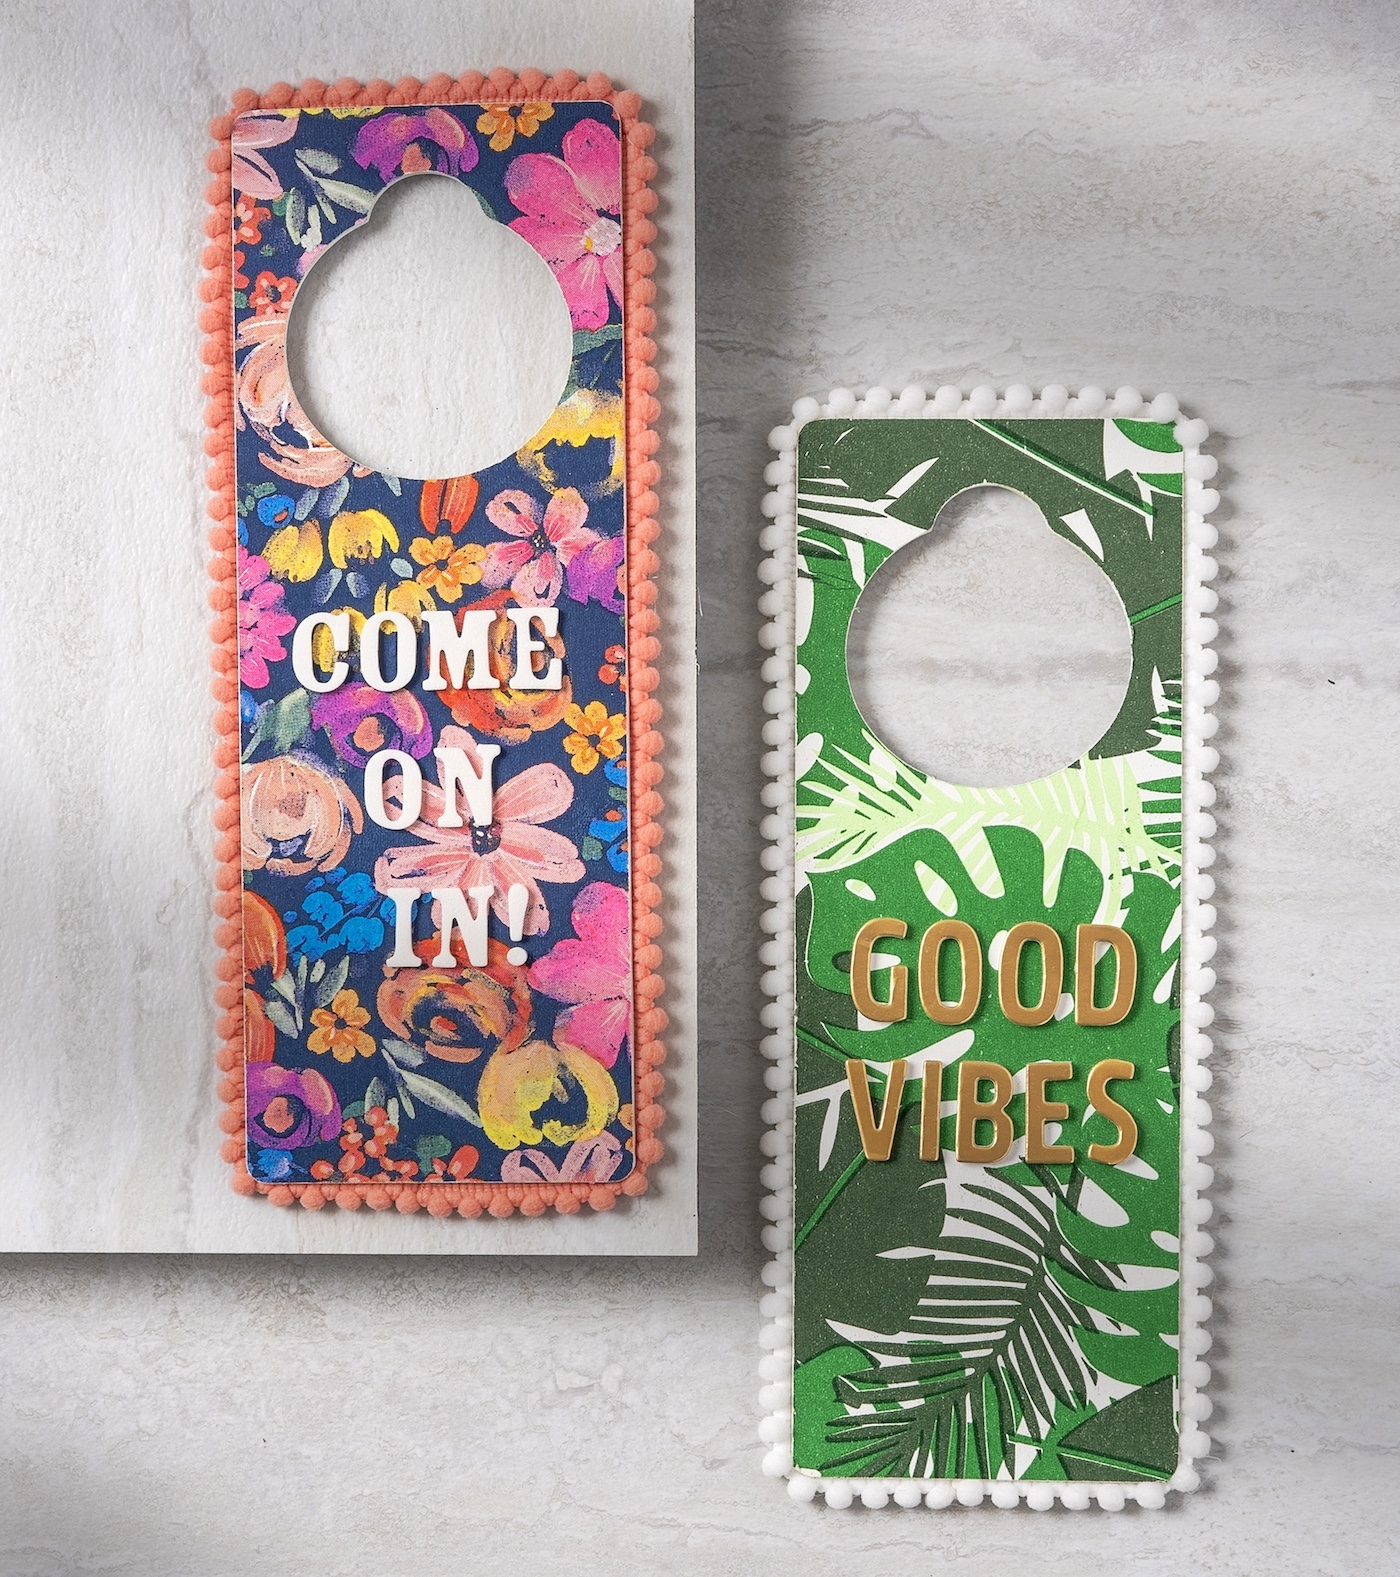
But I’m about to let you in on a little secret: crafting a DIY summer door hanger is a really easy way to make personalized decor for the season using vibrant napkins and Mod Podge.
Plus there’s a twist in our tropical tale – we’re upping our game with adhesive letters. Because everyone has some left over from another project, right?
Whether you’re a crafting guru or someone who still has flashbacks of that glitter disaster of 2018, this project is your ticket to summer crafting glory.
So, grab your glue, gather your trims, and let’s get to it. Scroll down for the full tutorial on how to create your very own DIY summer door hanger.

Ready to get started? The tutorial is below. Remember, the only thing we’re serious about here is having fun! First, here’s what you’re going to need.
Gather These Supplies
- Unfinished wood door knob hangers – 9.5 x 3.25 x 0.1-Inch were the size I used
- Summer napkins – I got mine at and Joanns (tissue paper works also)
- Mod Podge – any formula
- White craft paint
- Pom pom trim – at least 26″ per hanger
- Small wood letters or adhesive letters – sayings of your choice
- Craft glue
- Hot glue gun
- Emery board
- Paintbrushes
- Small iron
- Parchment paper
- Ruler
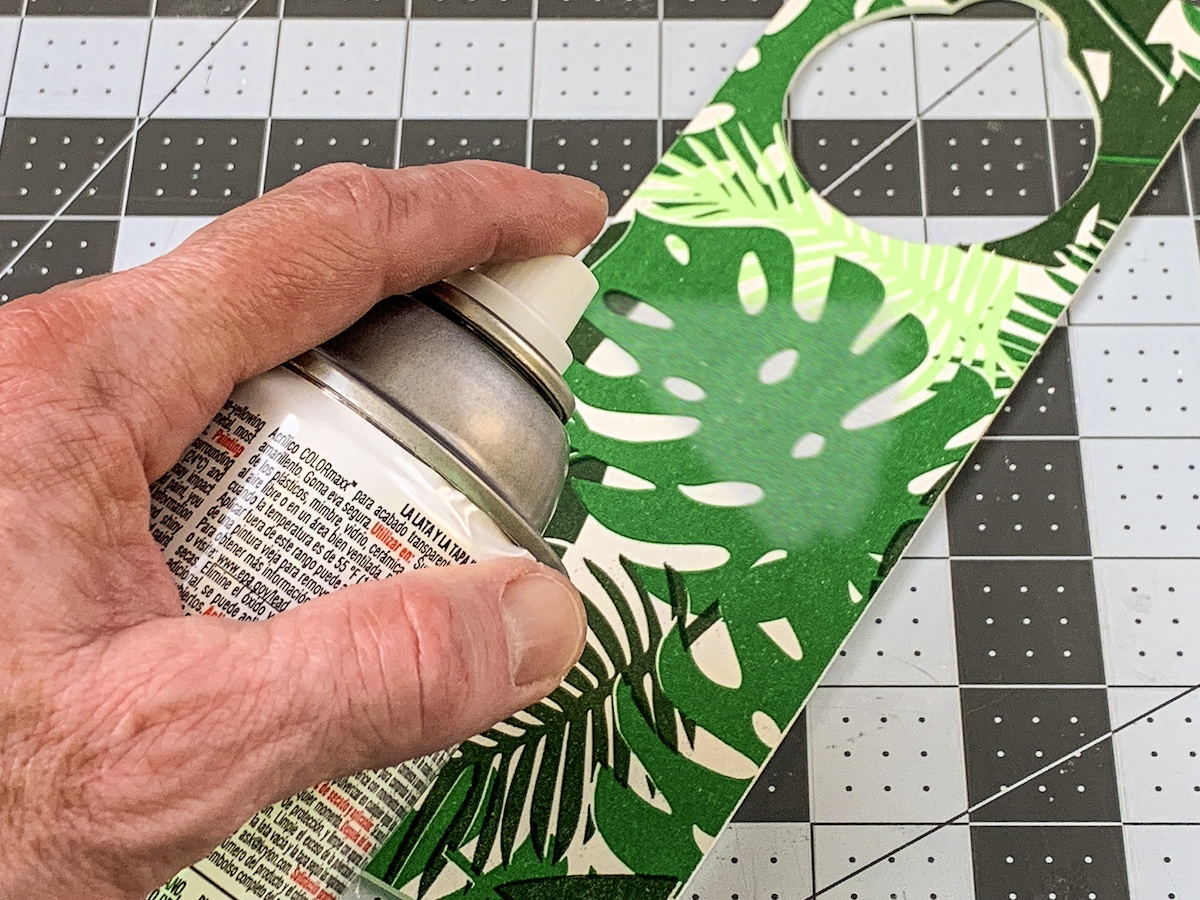
- Clear acrylic spray sealer (optional)
Tips and Thoughts for This Project
Yes, you can make your own door hangers with wood scraps. If you don’t know how to use a hole saw bit, see this video. Drill through the plywood where you want the hole. Sand away any rough edges.
You don’t *have* to paint the door hanger white, however, it makes the colors of the napkin pop. It’s also easy to do, so I always do it. You can use spray paint, but craft paint is cheaper and just as fast with a roller.
I didn’t seal the top of the napkins with Mod Podge – it tends to make them wrinkle. If you do seal with Mod Podge and the napkins wrinkle, you can place parchment down and iron over the top again.
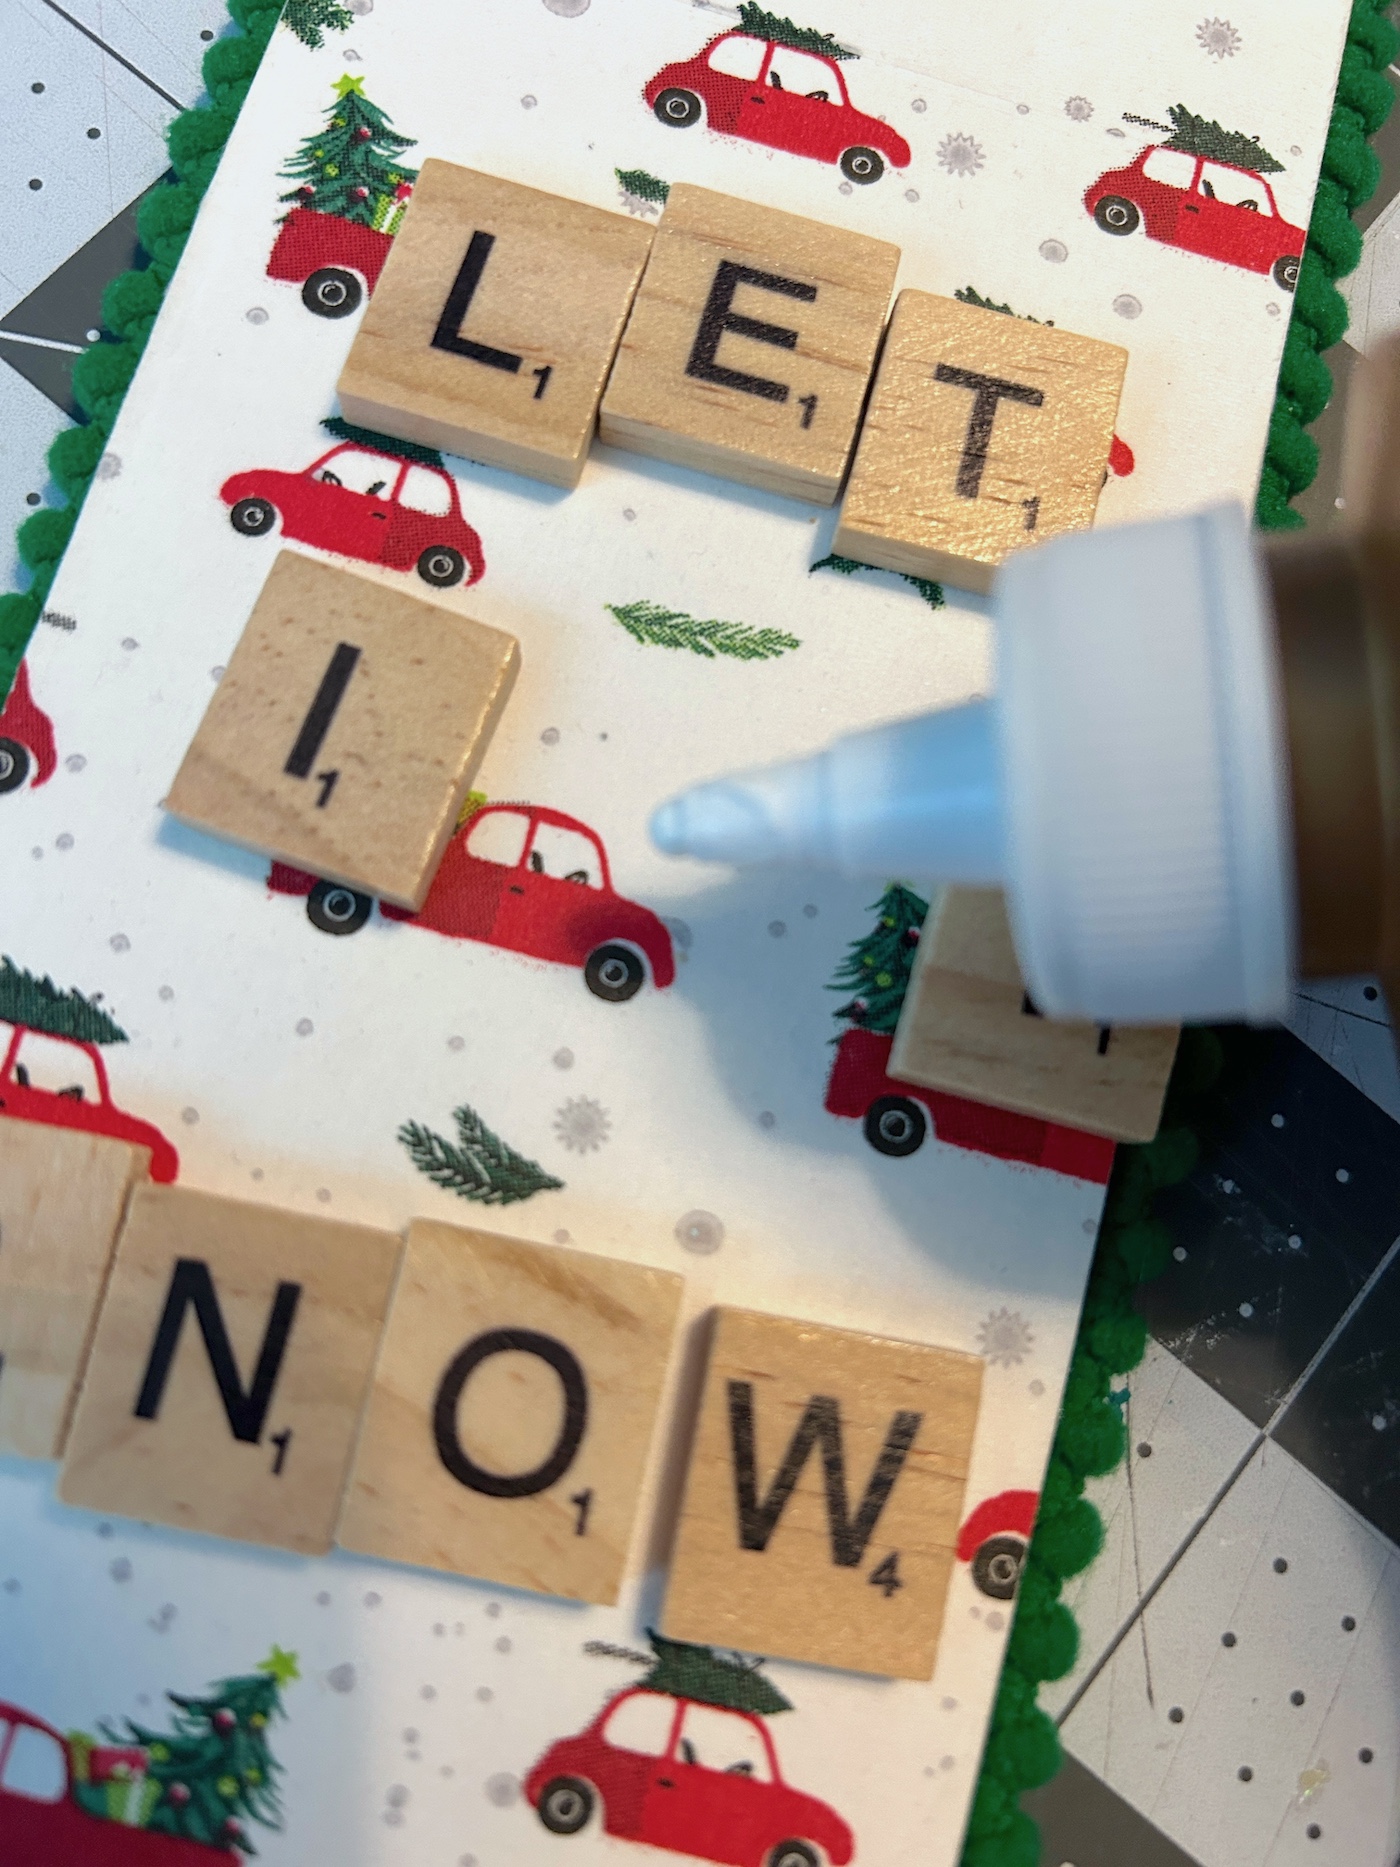
The reason I use craft glue and not hot glue with wood letters is because the craft glue doesn’t dry right away. You can move the letters around slightly after placing to make sure you’re happy before they dry.
Get the printable how to card for this project below:

Summer Door Hanger
Equipment
- Paintbrushes and/or a roller
Materials
- Unfinished wood door knob hangers
- Summer napkins
- Mod Podge Gloss
- Craft paint white
- Pom pom trim at least 26" per hanger
- Wood or adhesive letters sayings of your choice
- Craft glue
- Parchment paper
- Clear acrylic spray sealer optional
Instructions
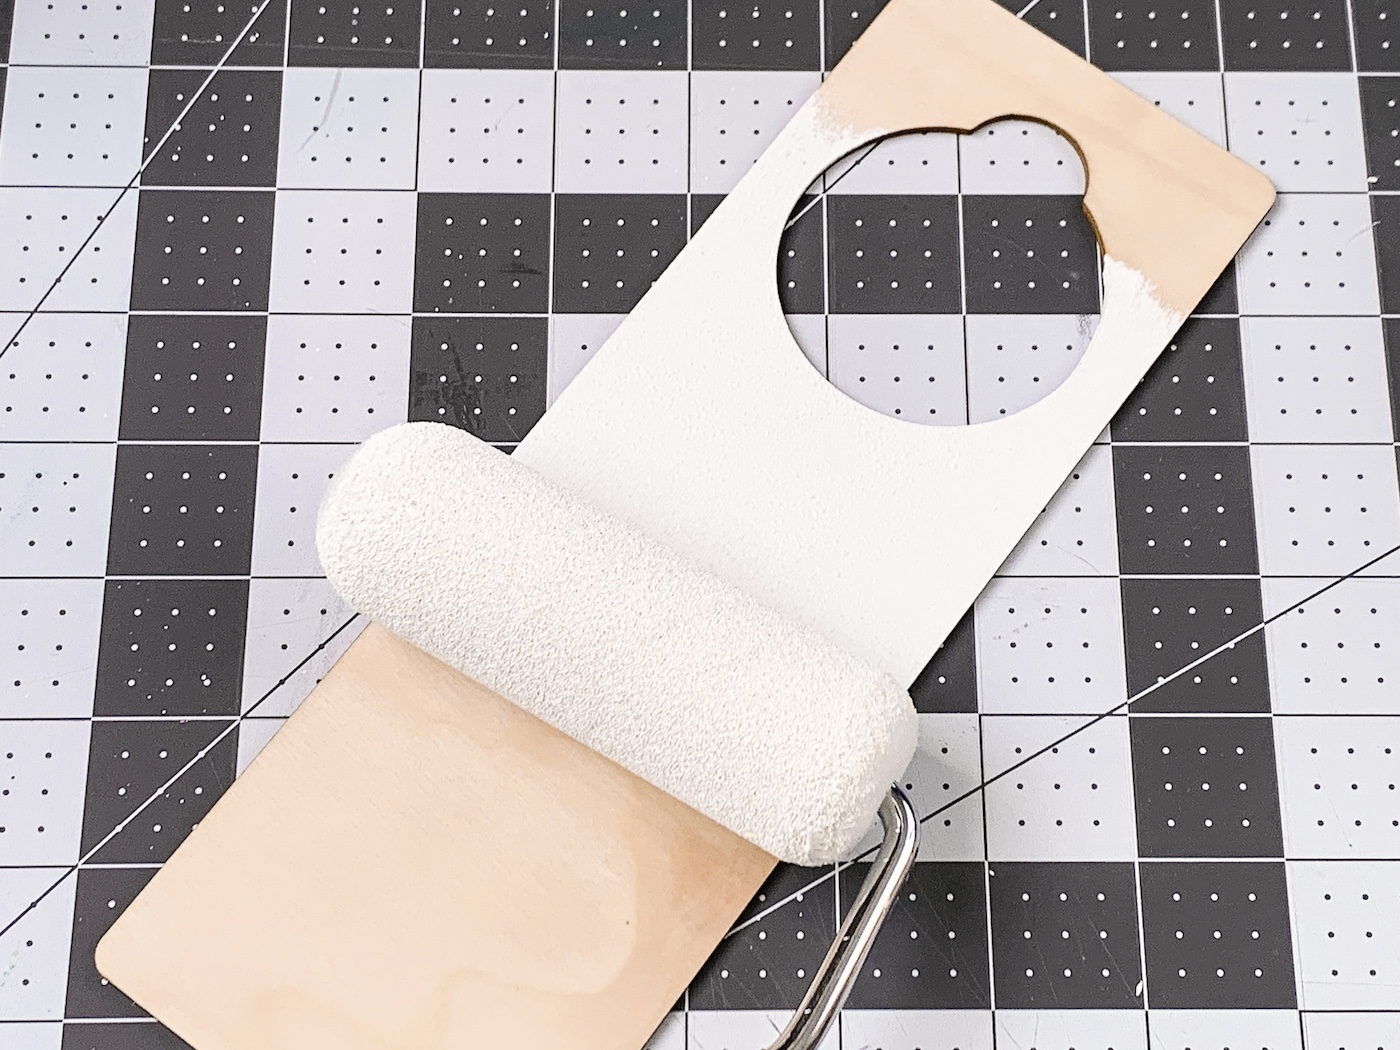
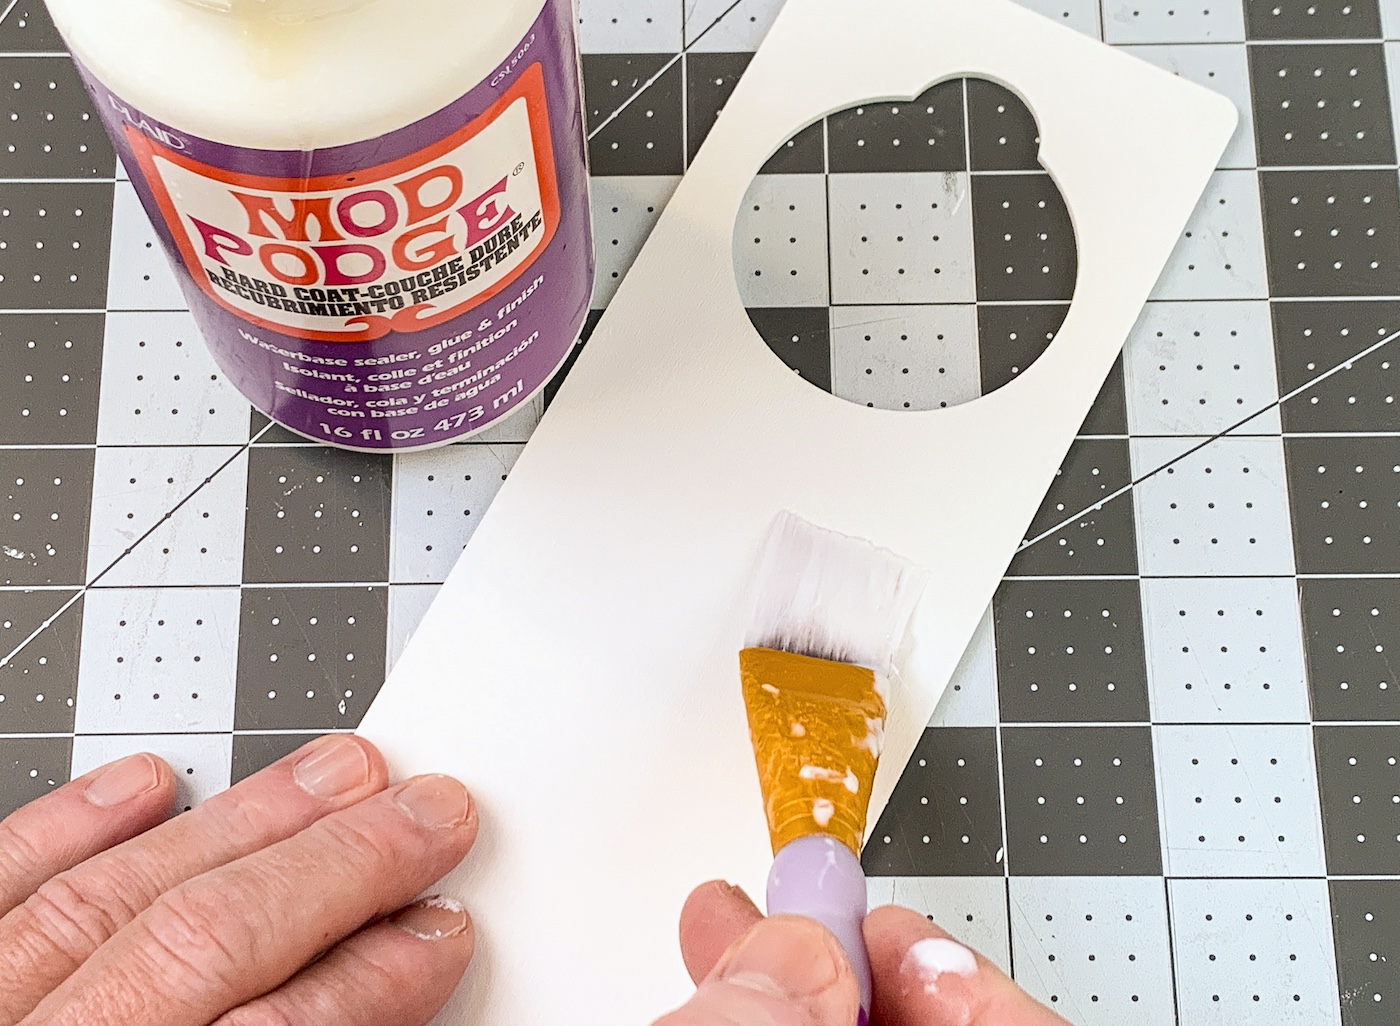
- Paint the door hanger using white craft paint. Roll on one side, let dry, and flip over. Paint other side and let dry.
- Apply a coat of Mod Podge to the wood; don't do the edges. Let dry 15-20 minutes and repeat.
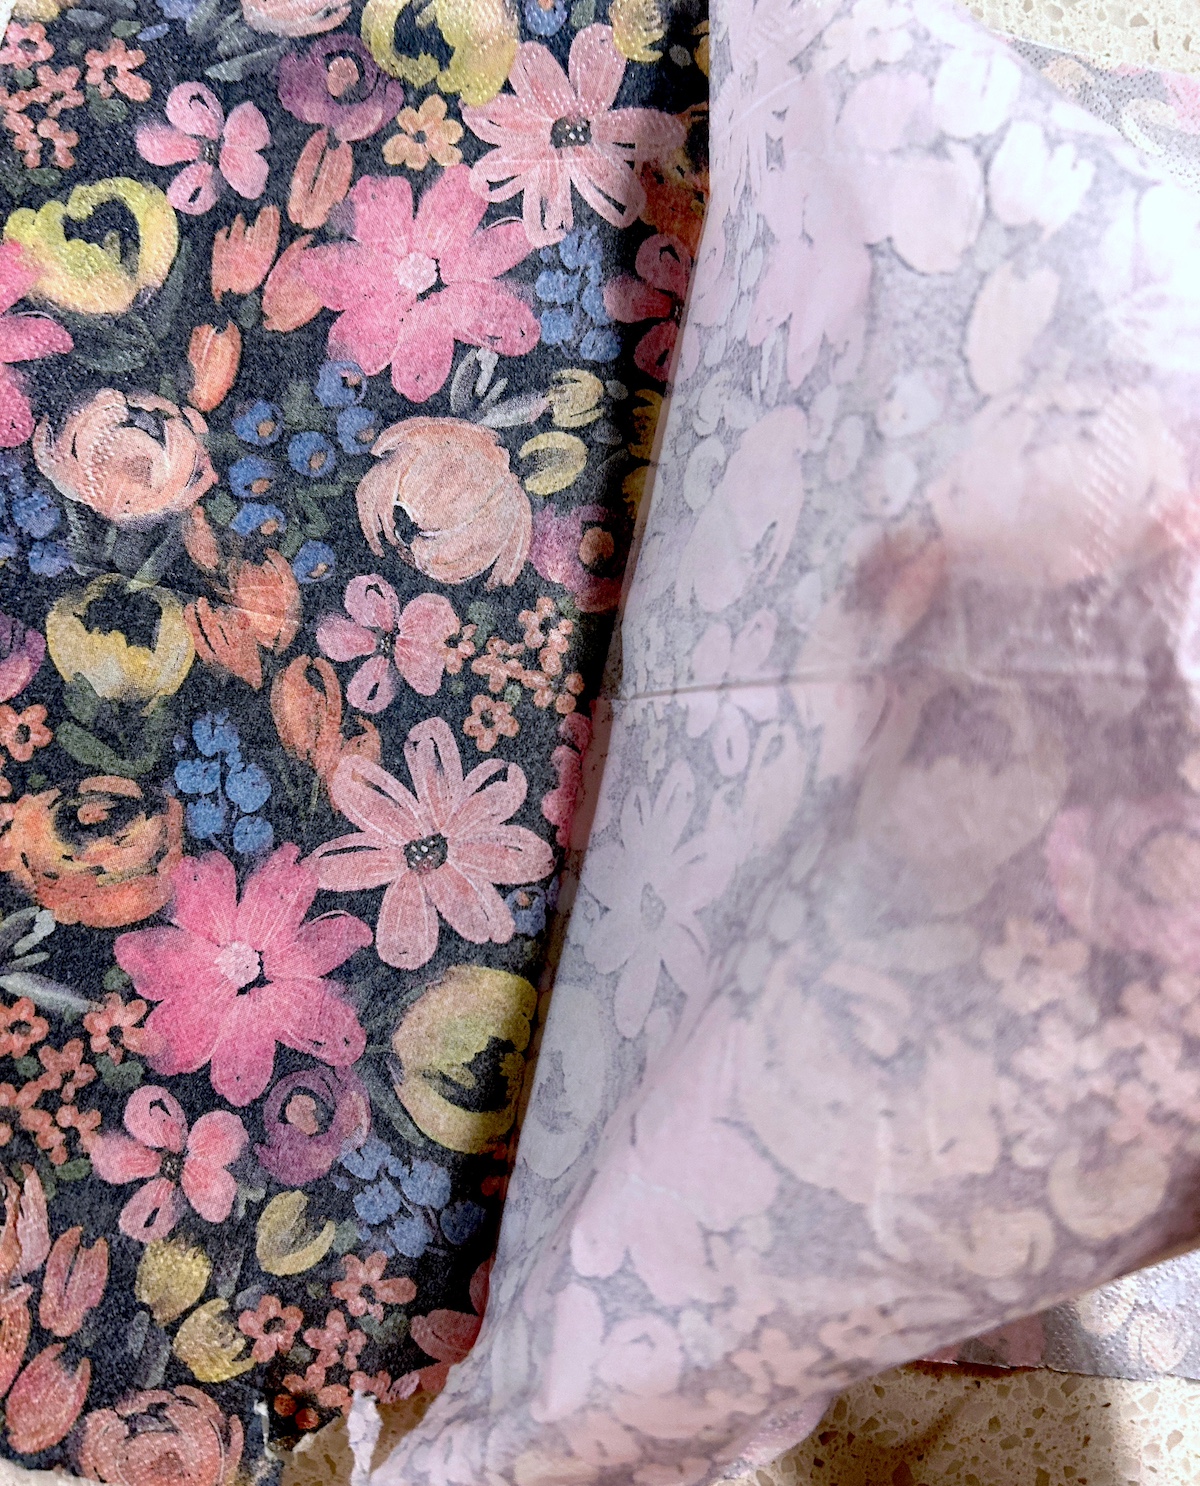
- While the Mod Podge is drying, separate the napkin from the bottom layers. You can use tape to help. You just want the top layer with the design.
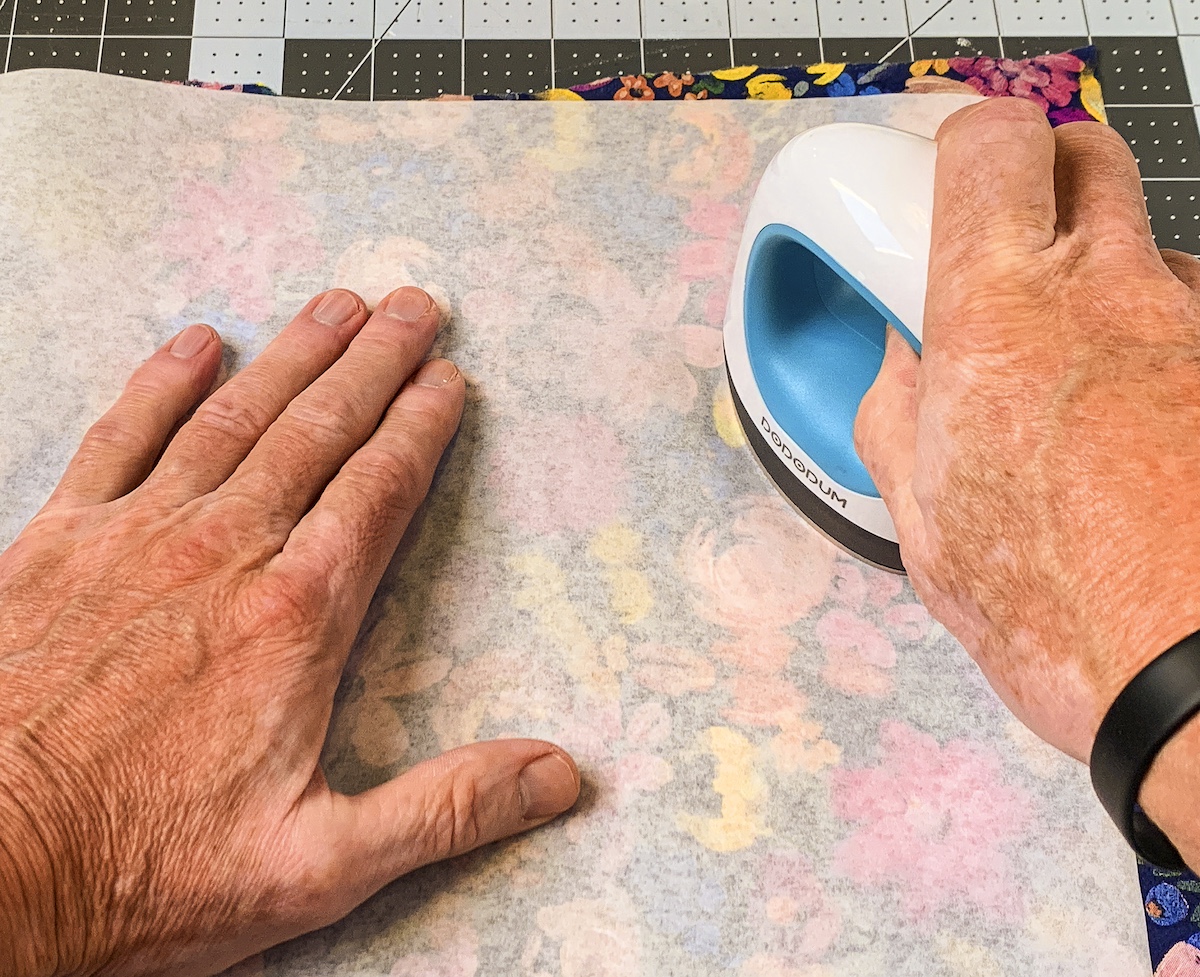
- Place the napkin down onto the door hanger. Place a piece of parchment paper on top of the napkin, and run the craft iron across the top several times. While you are doing this, the Mod Podge is melting below the napkin, and the napkin is adhering. Keep going until the napkin is fully adhered, including the edges.
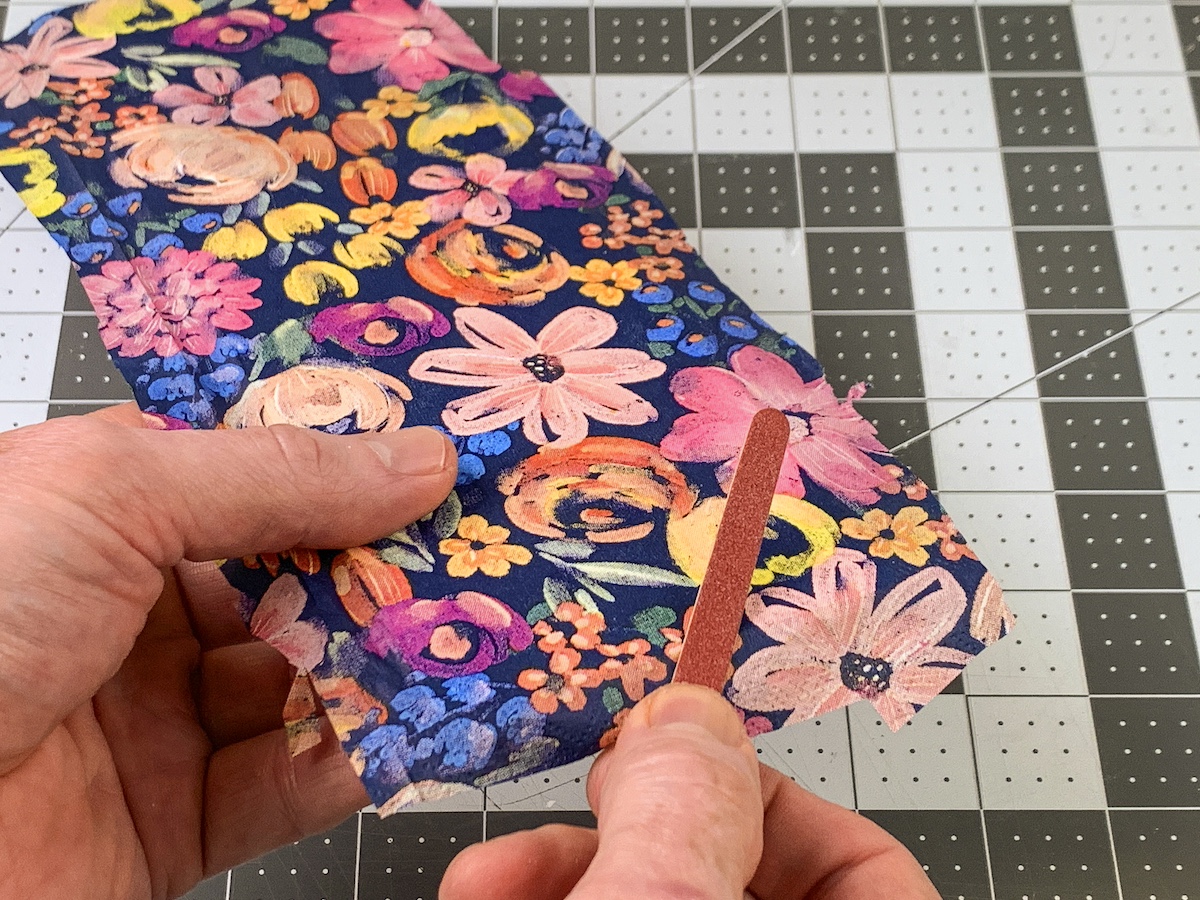
- Let the hanger cool after ironing. Use an emery board to gently sand away the excess napkin. Sanding at an angle works very well. Continue until all the extra napkin is removed.
- At this time you can spray seal the top of the napkin with clear acrylic sealer, if desired.
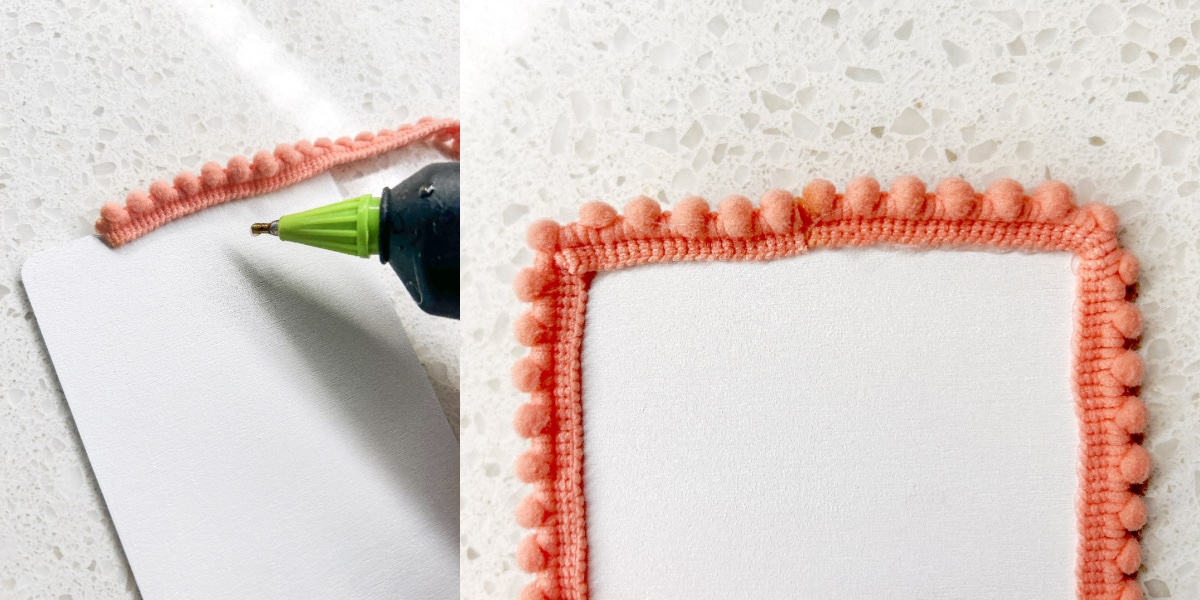
- Using the hot glue gun, glue the trim on the back of the hanger around the edges. I like to start at the bottom. Glue a few inches at a time. Let cool and trim the final length with scissors.
- Glue down the tiles onto the front of the project with craft glue. Adjust the letters until they are in the right place, and let dry completely before hanging.
If you enjoyed this summer door hanger DIY, I’d love for you to let me know in the comments. You can also check out these other projects: