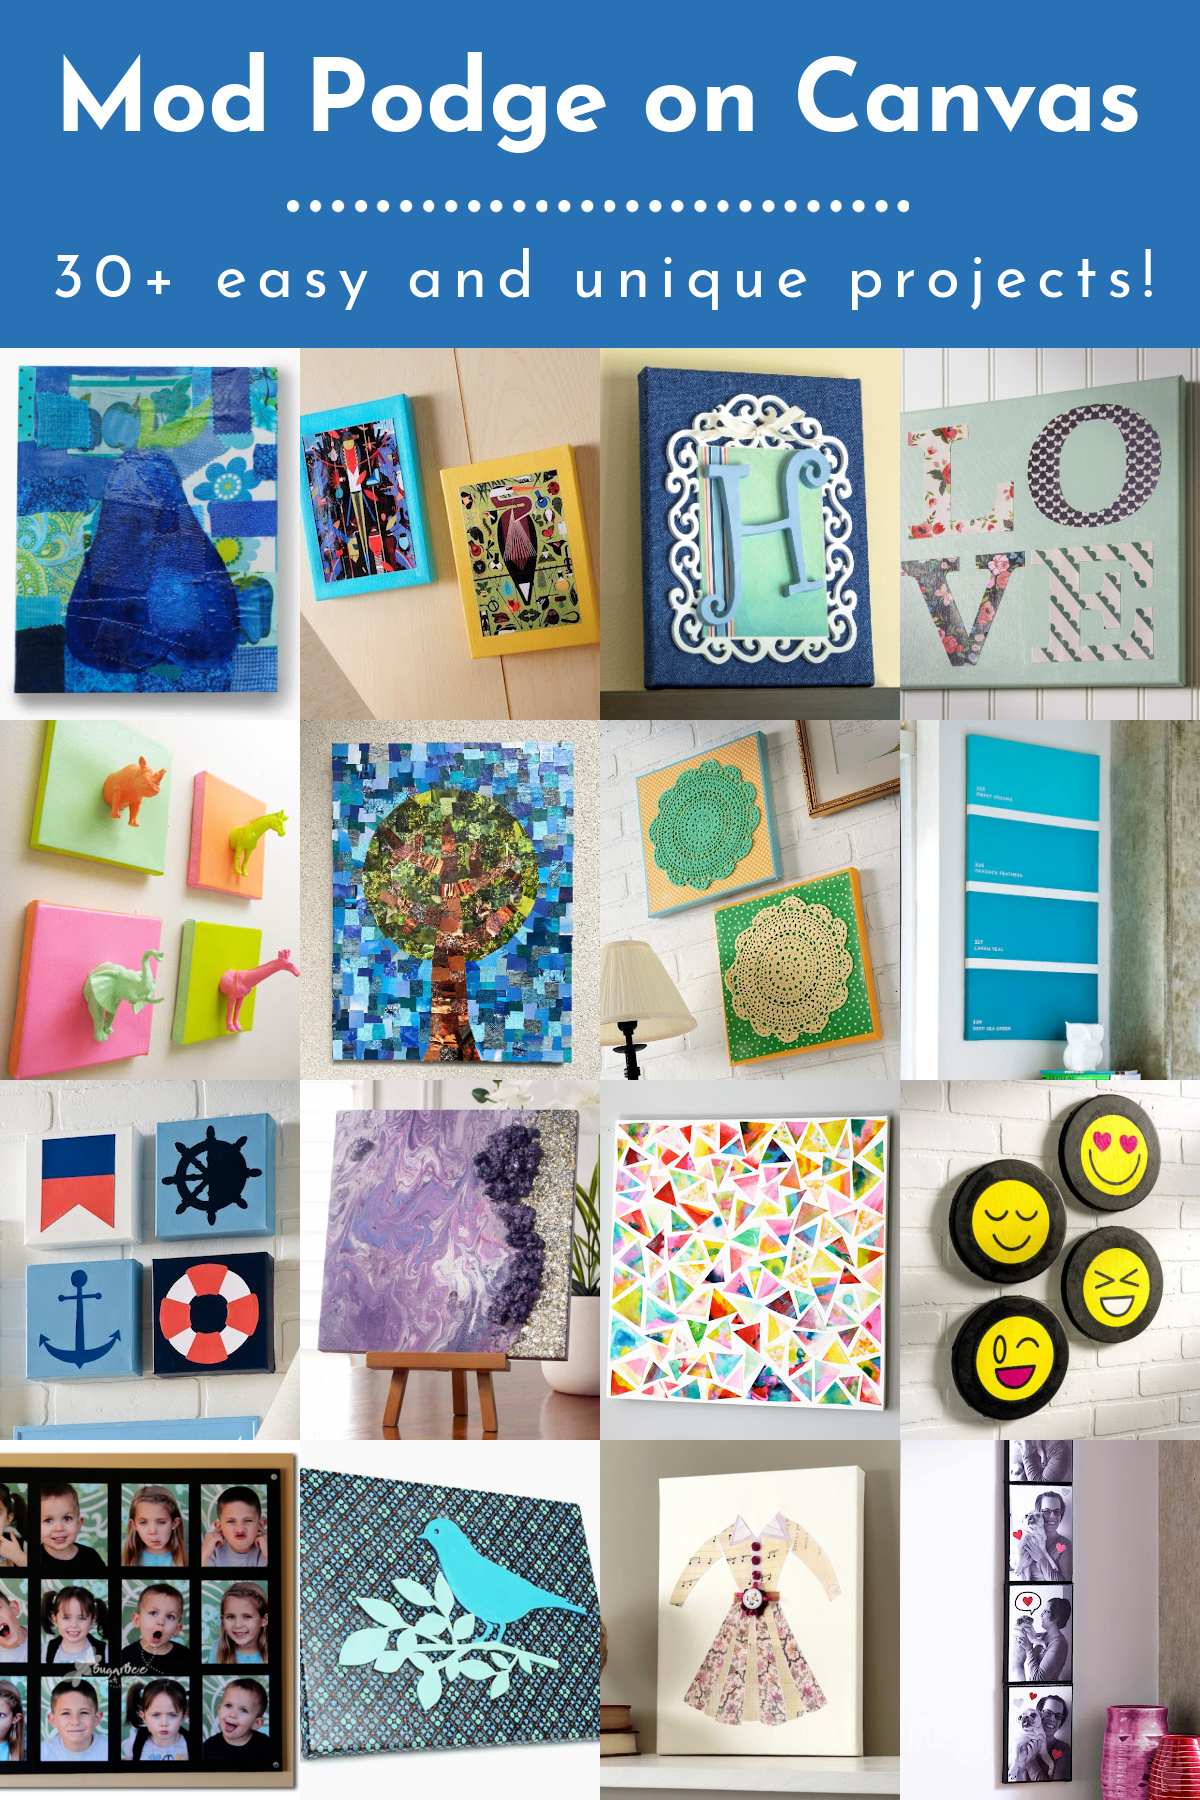
Get inspired with over 30 ideas for Mod Podge on canvas! Ranging from very easy to intermediate, you’ll love this variety of DIY wall art.
Watch the video in this post to get some affordable ideas for decoupage on canvas. Such great inspiration!
Ever find yourself staring at a blank canvas, feeling a mix of excitement and intimidation? You’re not alone. Many of us dream of creating our own wall art but quickly realize we’re no Van Gogh with a paintbrush.
And now you can. With decoupage.
Fear not, because I’ve discovered a foolproof way to unleash our inner artist without needing to master the art of painting: Mod Podge on canvas. It’s fun, surprisingly simple, and the possibilities are endless.
I’m thrilled to share over 30 adorable and easy Mod Podge canvas ideas that will turn that daunting blank canvas into a masterpiece of your own making.
Whether you’re looking to add a personal touch to your living space or searching for a handmade gift idea, these projects are perfect for crafters of any skill level.
And for those who love the idea of decoupage art on canvas, you’re in for a treat. You’ll see how easy it is to transform ordinary canvases into extraordinary pieces of art.
Before we leap into the creative abyss, let’s tackle some common questions. From selecting paints and understanding what else you can slap onto your canvas with Mod Podge (spoiler: almost anything!), I’ve got you covered.
I’ll even touch on whether you need to prime your canvas (usually not) and if you should bother painting the sides (definitely yes).
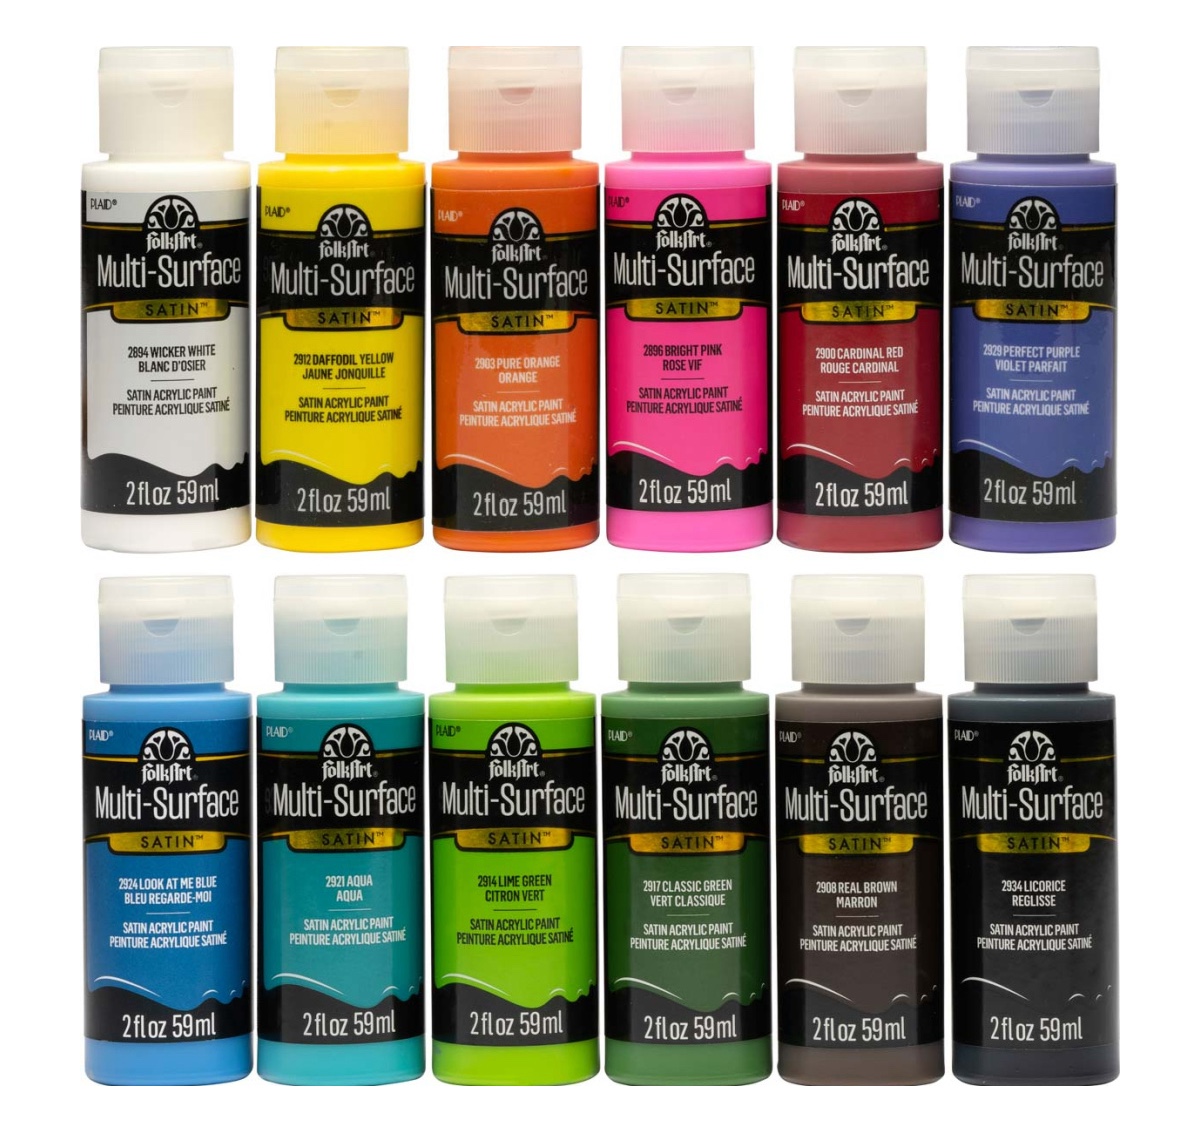
What paints to use on canvas?
I recommend, since you aren’t painting masterpieces, just using an acrylic paint from the craft store for these canvas art projects. My favorite acrylic paint is FolkArt. The color palettes for both of these lines are awesome, and the paints flow really well on canvas. They also cover really well.
What can you use on canvas besides paint?
Just about anything, if you have a bottle of Mod Podge! I’ve used felt, cardboard, scrapbook paper, fabric, jewelry, stamps, Sharpie, coloring pages, and more. Learn what you can use with Mod Podge that won’t bleed.
Do you need to prime canvas for acrylic paint?
Generally speaking, you don’t. Most of the canvas I buy at the craft store is pre-primed, so I don’t have to worry. Even if you buy canvas and it’s not primed, you’ll be fine just to start painting.
Having said that, you might have to add a few more coats of acrylic paint just because it will soak in. The paint also won’t flow quite as well across the top of the canvas.
What you can do if you want to prime your canvas is paint it white, or add a coat of Mod Podge over the canvas. Then you can paint on top with ease.
Should you paint the sides of a canvas?
Yes, I always do, especially with the gallery wrapped canvases. This is because I typically don’t hang canvas items with a frame, so you can see the edges and tell that they are unfinished.
Sometimes I wrap the fabric or paper around the sides too. The only time I would leave an unfinished edge is if I were going to frame.
If you use paper or fabric to cover the canvas, flip over and smooth from the back, inside the frame. Make sure you use a craft mat to cover your table for this reason.
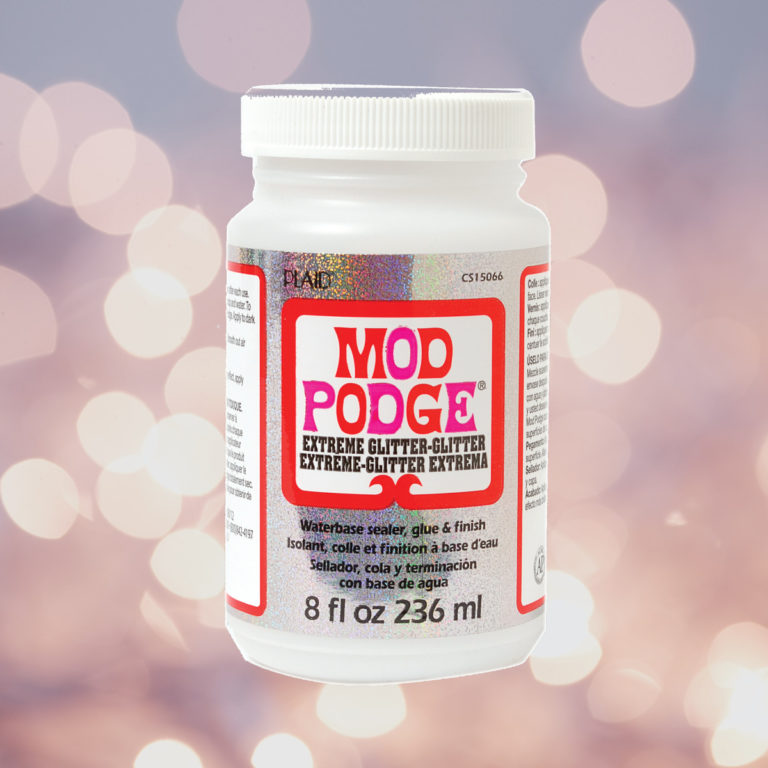
Which Mod Podge should I use on canvas?
Use any Mod Podge formula you like. Our formula guide will help. I typically use Gloss, Matte, or Satin depending on the finish I’m looking for. You can see a visual of the finishes here.
If you’re ready, grab your Mod Podge, pick out your canvas, and let’s get ready to transform it into your new favorite piece of home decor. And remember, the only rule here is to have fun and let your creativity flow. Let me know what you think in the comments!
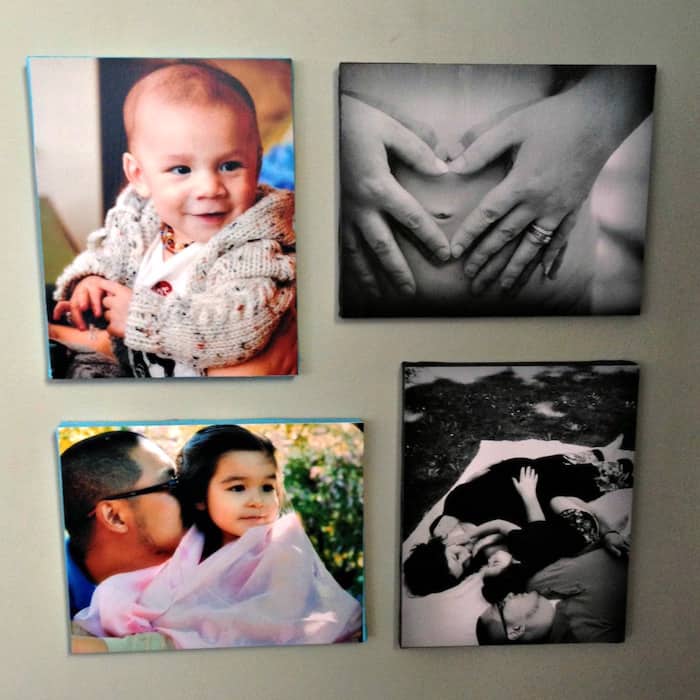
Glue Pictures on Canvas
Learn how to glue pictures on canvas with Mod Podge! This is a great project for instant decor.
Get the Tutorial
Magazine Collage
Learn how to make a collage with Mod Podge! This magazine collage is easy enough for anyone to make, and it can be personalized.
Get the Tutorial
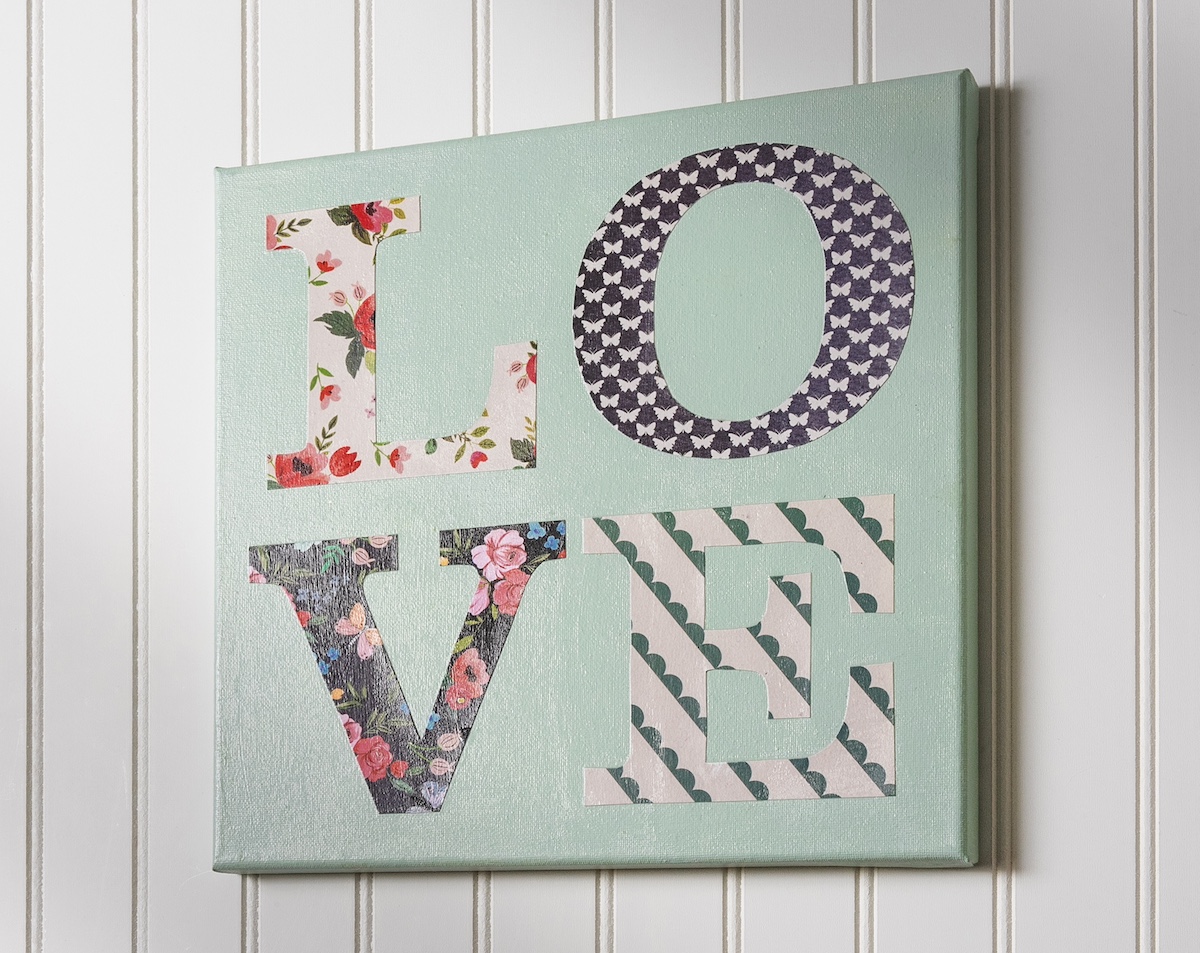
DIY Love Canvas
Create your own canvas with the word "LOVE" on it in scrapbook paper! It's a charming addition to any room in your home.
Get the Tutorial
American Flag Canvas with Fabric and Mod Podge
Make unique and EASY American flag canvas art with fabric and Mod Podge! Perfect for the 4th or for just showing off your USA pride.
Get the Tutorial
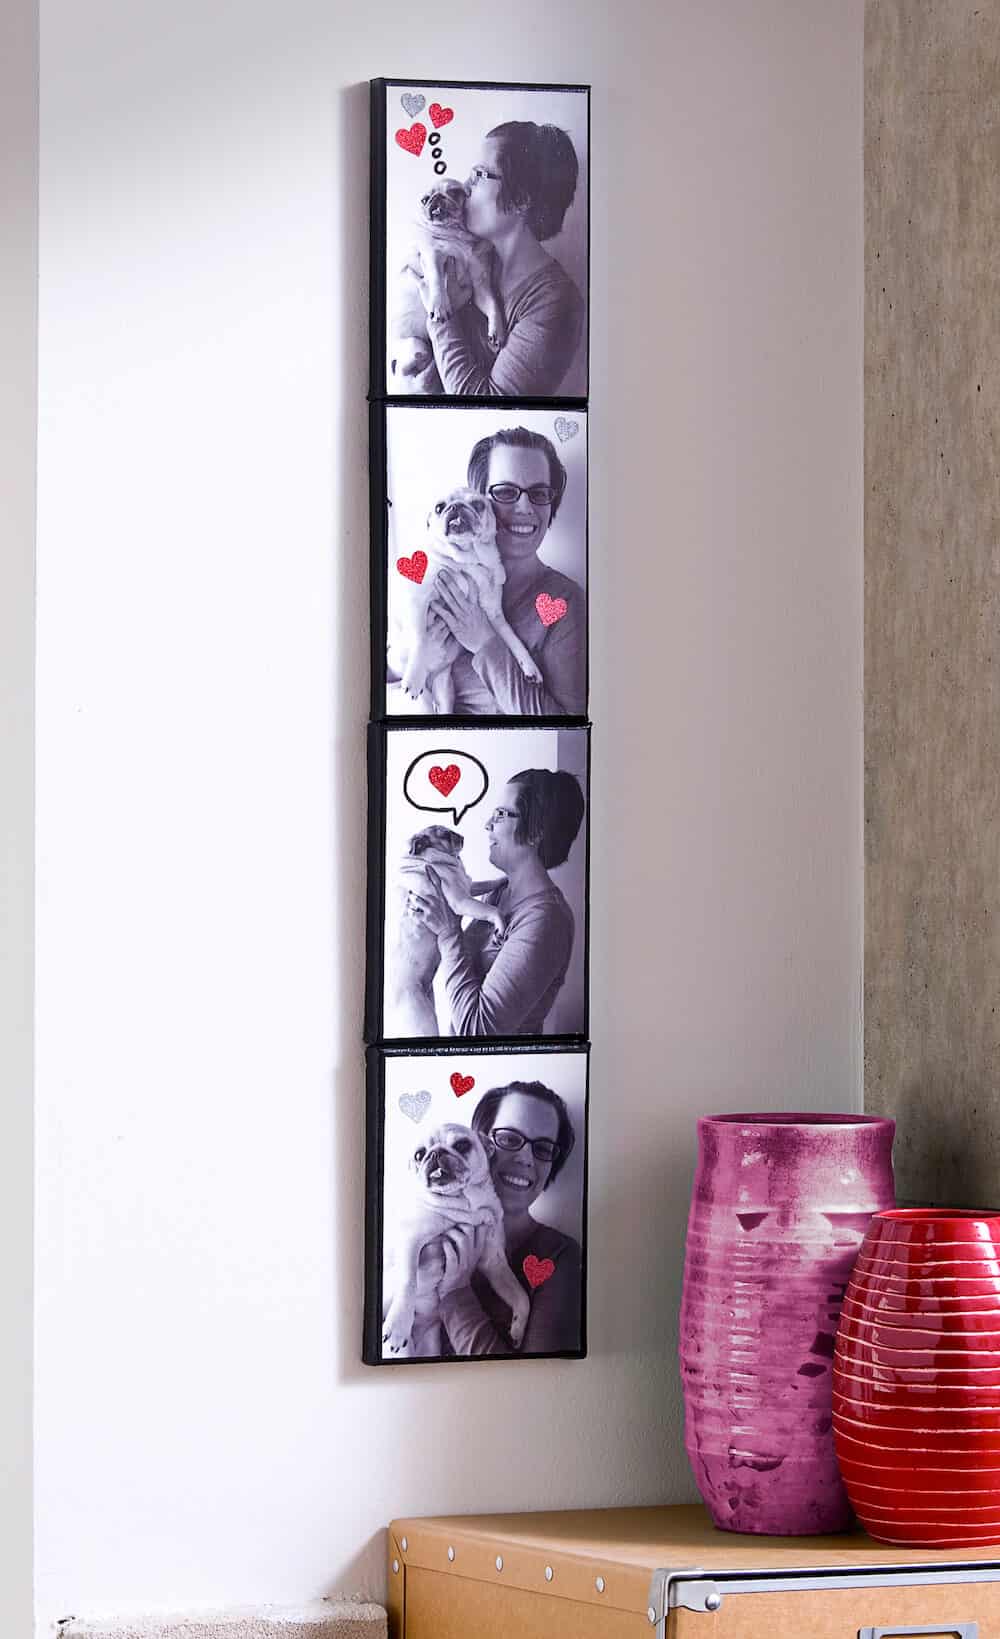
Photo Booth Simple Canvas Art
This photo strip canvas makes a great gift, and you can customize it with portraits of your pets, friends, or family members!
Get the Tutorial
Poster on Canvas
Learn how to put a poster on canvas with Mod Podge!
Get the Tutorial
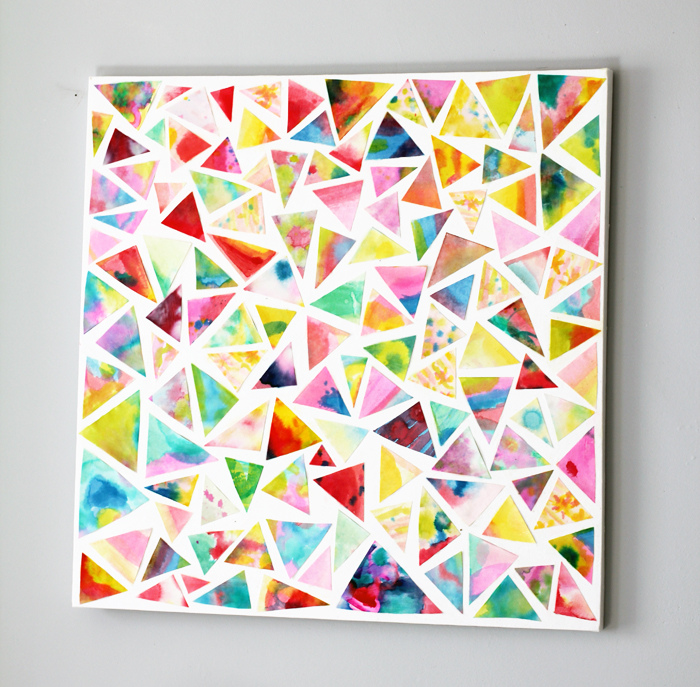
Beautiful (and Easy) Watercolor Collage
Make this simple watercolor collage by cutting up watercolor paintings and decoupaging them to canvas. This wall art project is SO easy!
Get the Tutorial
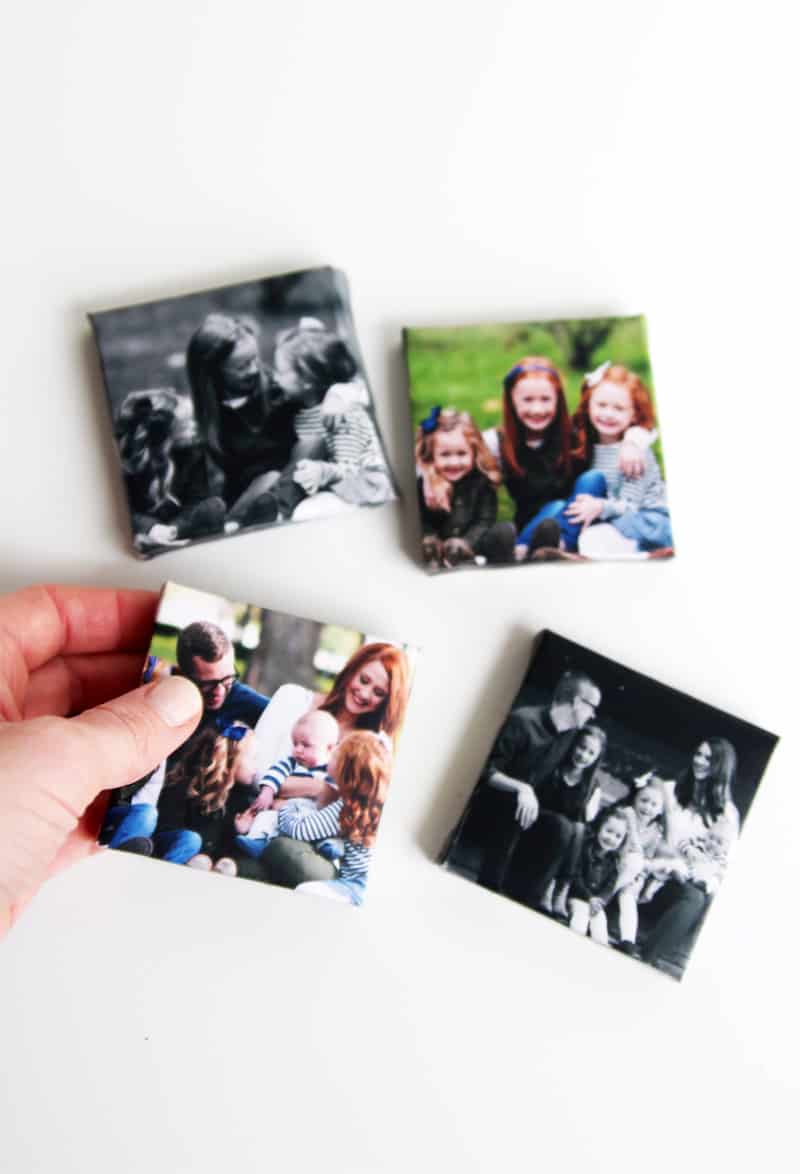
Instagram Mini Canvases in a Few Steps
Here’s an EASY tutorial for making Instagram mini canvases using Mod Podge. Mini canvas craft ideas fun and simple – and these make great gifts.
Get the Tutorial
Easy Fabric Canvas Art with Mod Podge
This fabric canvas art uses fun, patterned fabric for the background. Just add a painted wood cut out to the front for instant wall decor.
Get the Tutorial
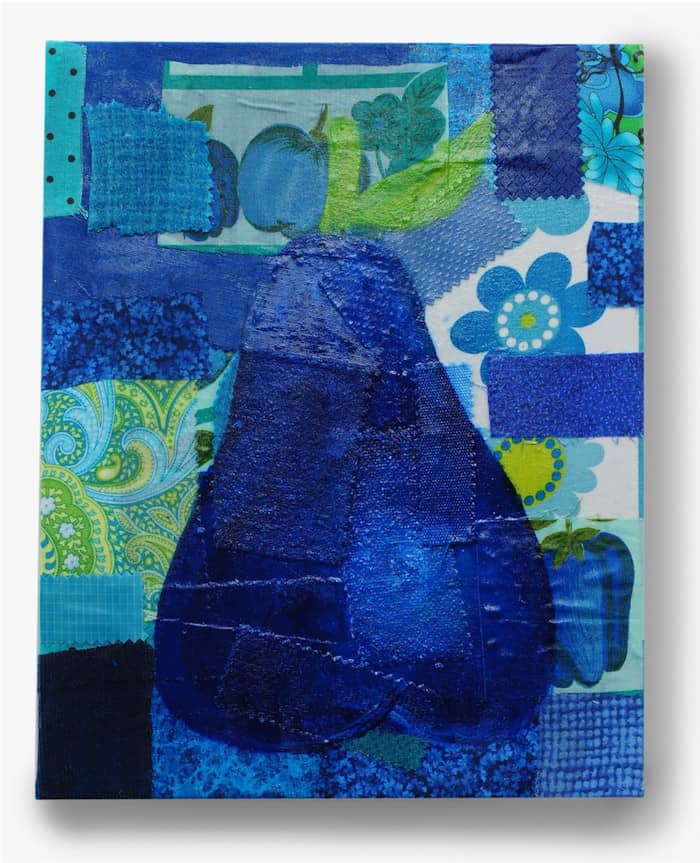
Painted Pear Canvas
I made this Mod Podge canvas art by adding a ton of patchwork fabric shapes to canvas with Mod Podge, then painting a fruit right on top.
Get the Tutorial
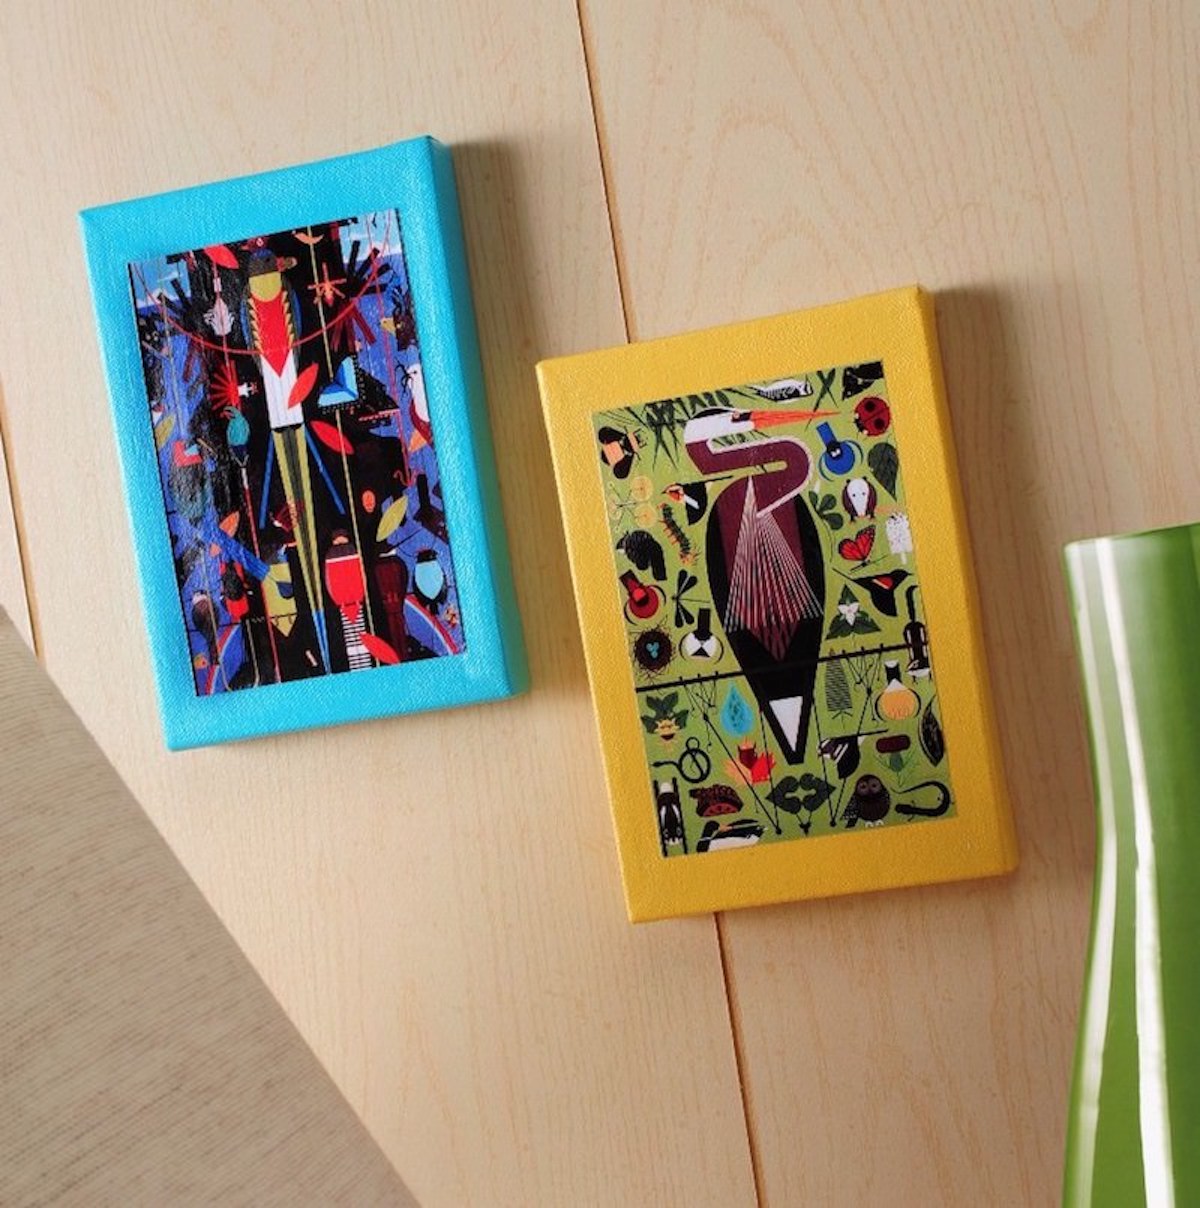
Budget Friendly DIY Canvas Art
Learn how to transfer an image to canvas with Mod Podge. I did this with a few of my favorite prints – you can do it with your favorites too!
Get the Tutorial
French Fruit Wall Art
This Mod Podge canvas art was inspired by a popular online store – it looks great and costs a fraction of the price.
Get the Tutorial
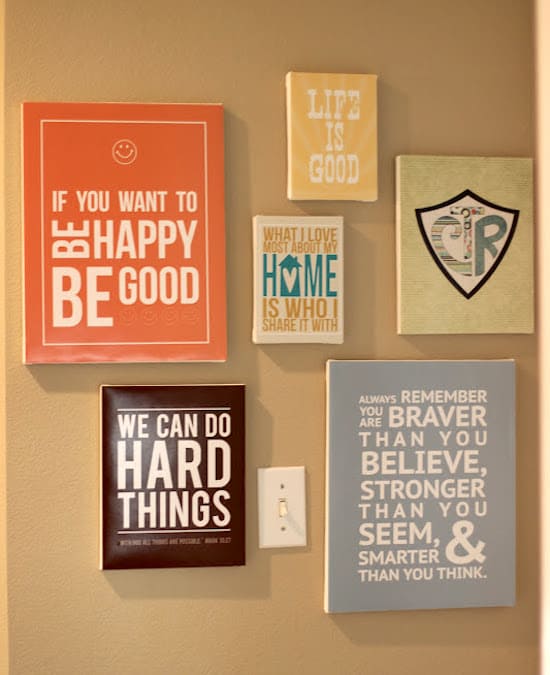
Quotes on Canvas
Learn how to apply quotes to canvases with Mod Podge! It's a lot easier than you think.
Get the Tutorial
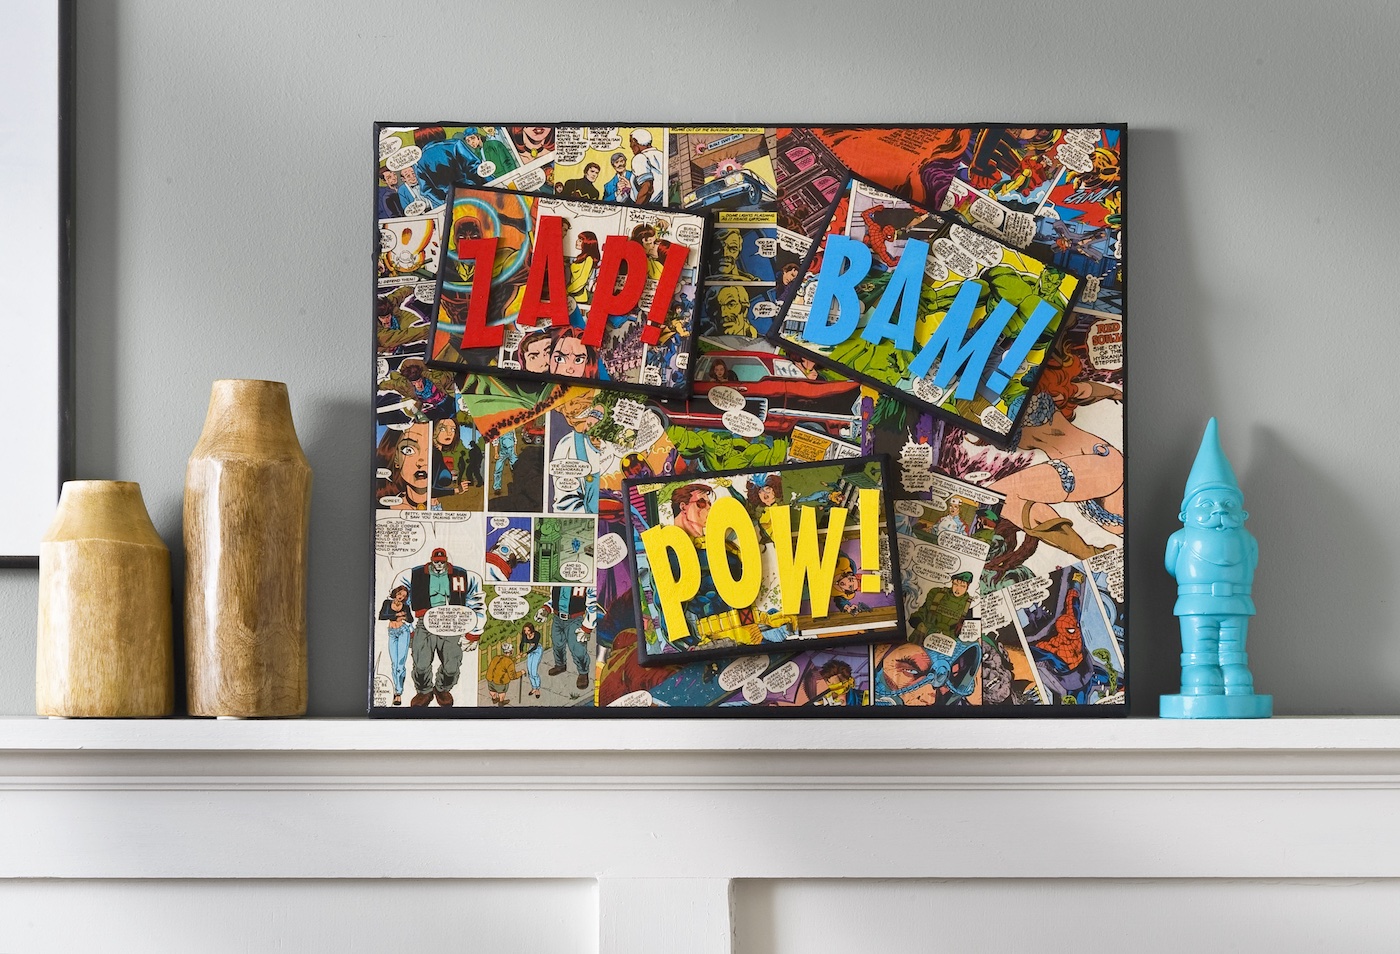
Busted Canvas Art
Learn how to make 3D canvas art that looks busted through – with Mod Podge!
Get the Tutorial
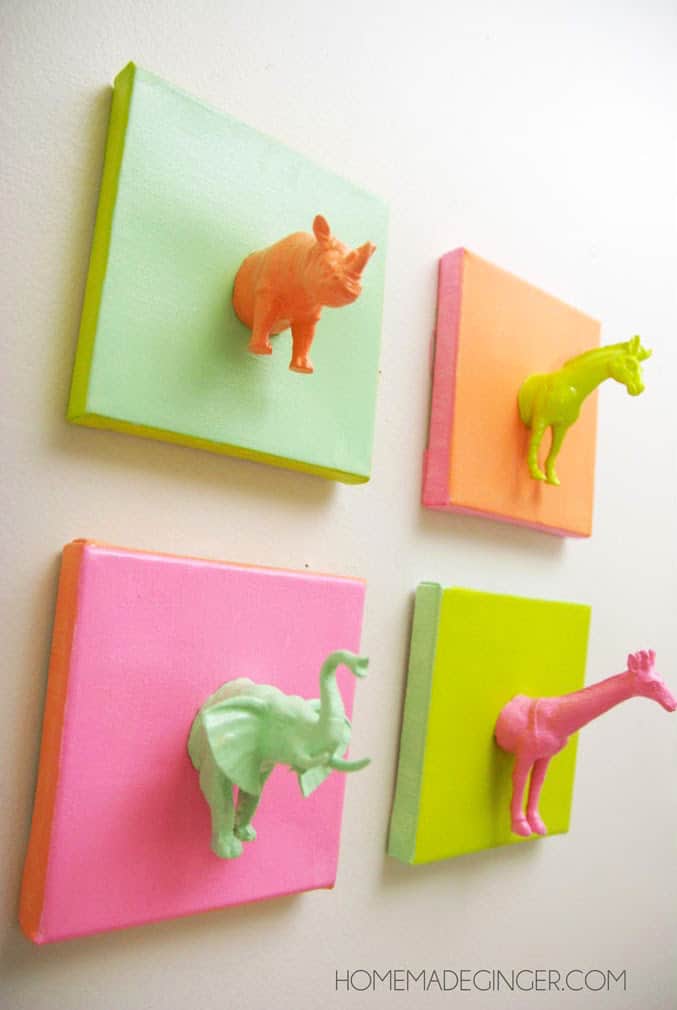
EASY DIY Canvas Art with Plastic Animals
This cute DIY canvas art made with plastic animals is such a fun and easy idea! Mini canvas art like this is perfect for a nursery, kids’ room, or craft studio. You can complete this project in five simple steps.
Get the Tutorial
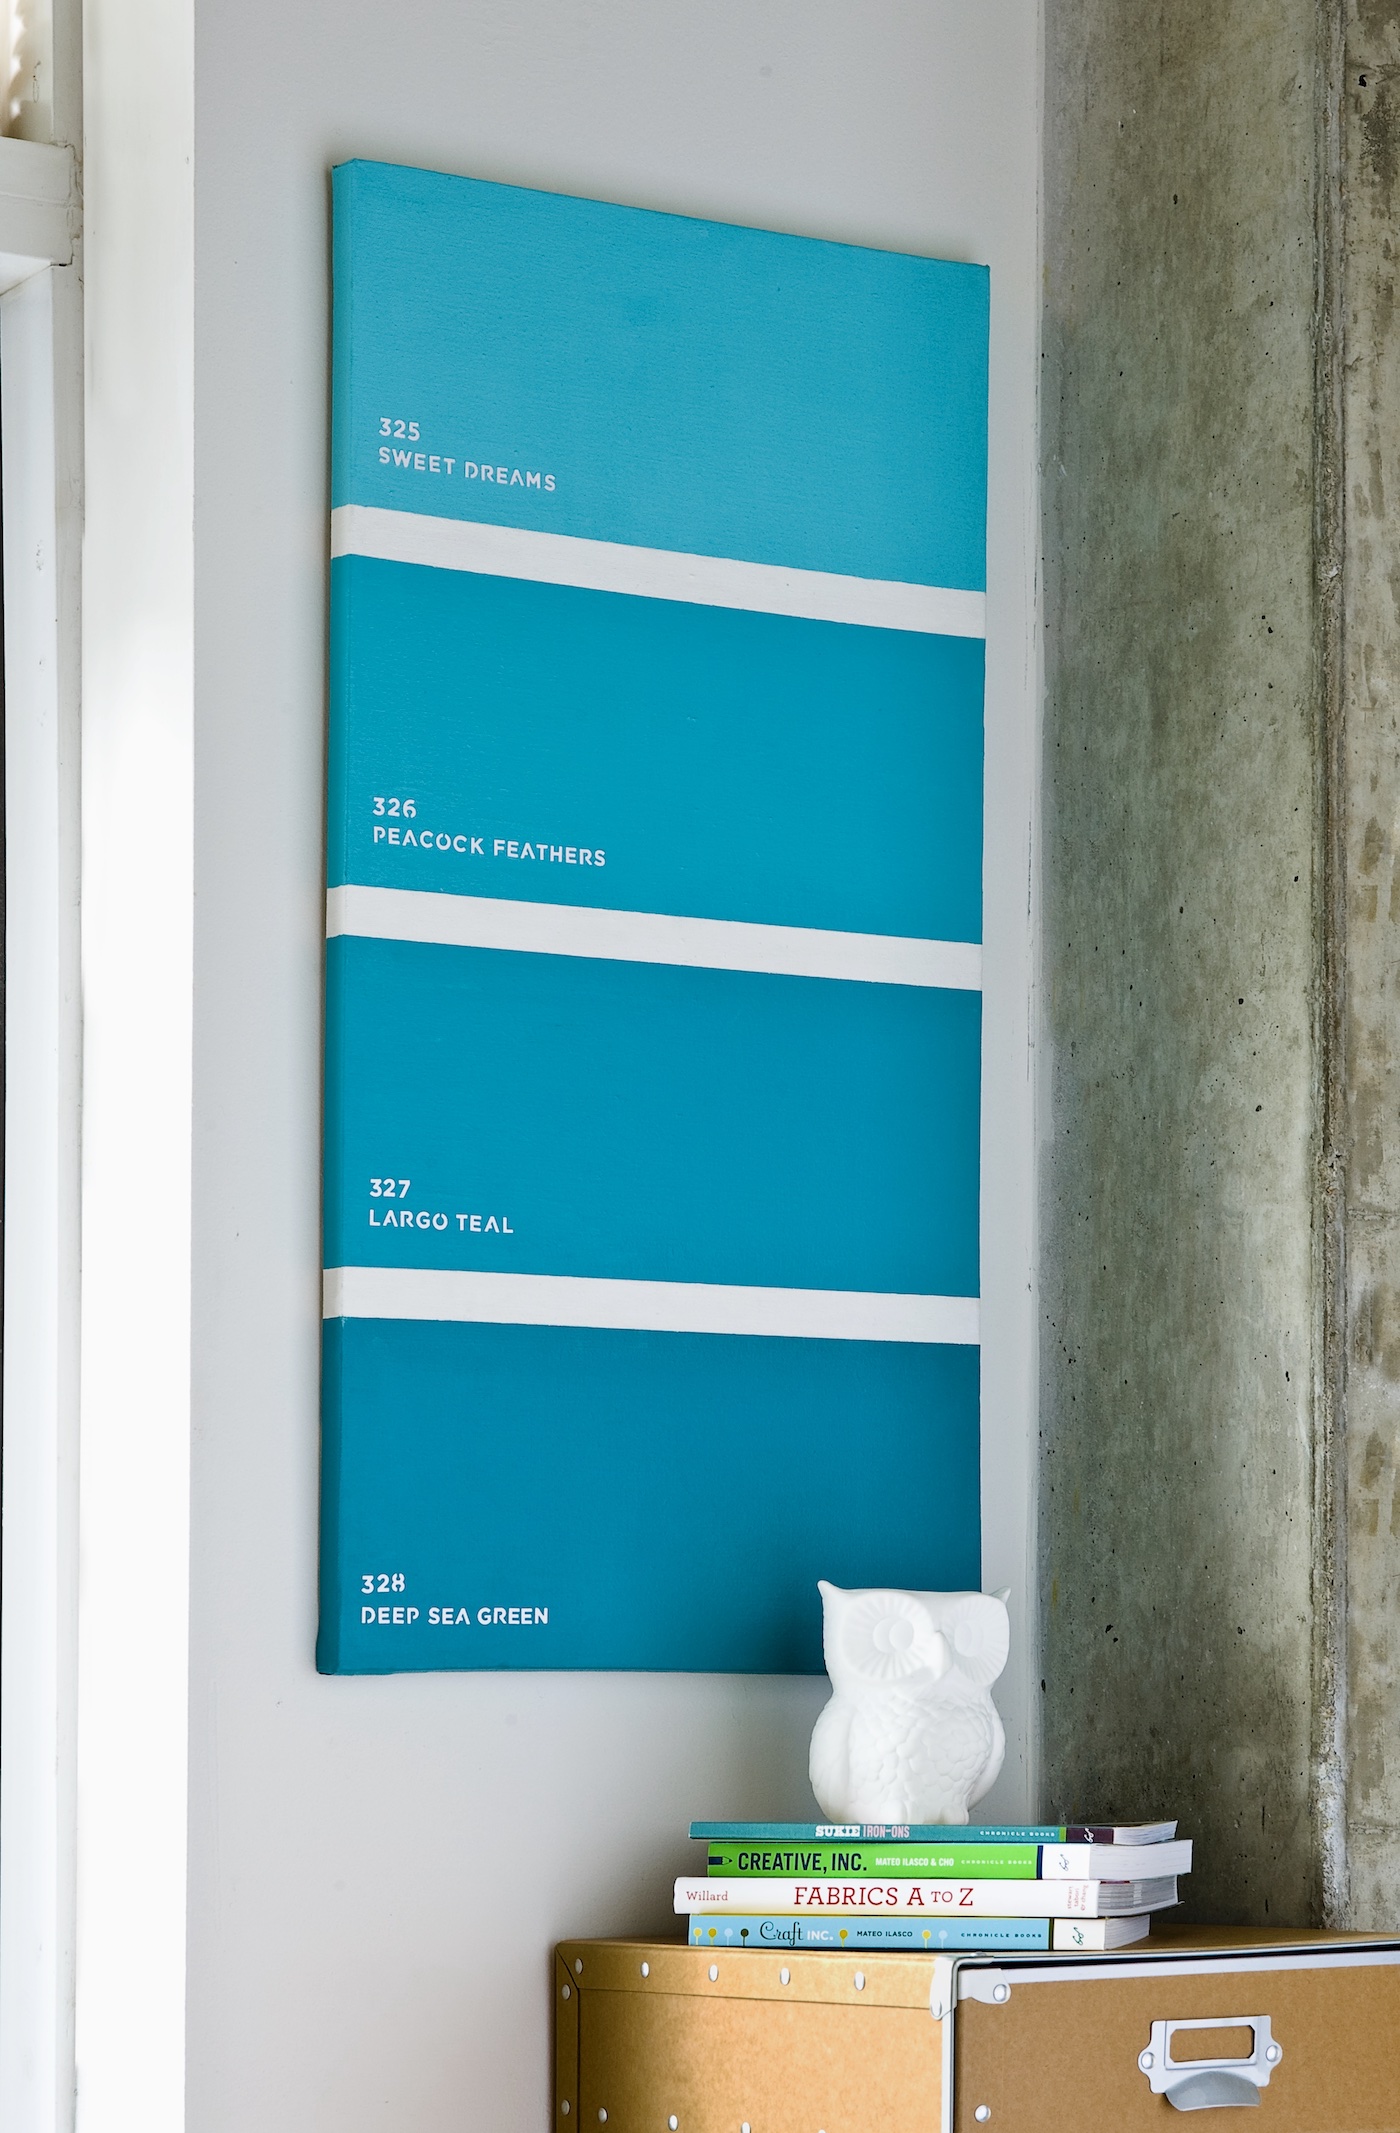
Make Paint Chip Art from a Rectangular Canvas
If you want to make sure you have a unique canvas project as part of your decor, check out this easy paint chip art made with Mod Podge.
Get the Tutorial
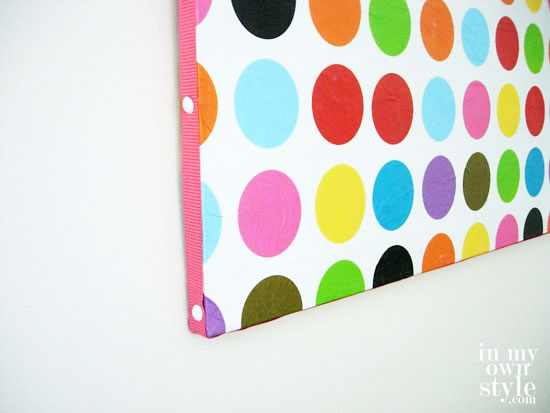
How To Make Tissue Paper Canvas Art
If you have leftover tissue paper you won't be using for presents, turn it into wall art with Mod Podge.
Get the Tutorial
Easy Geode Canvas
Learn how to make a DIY geode canvas in three steps! This home decor project is a great way to add beautiful art to your wall, on a budget.
Get the Tutorial
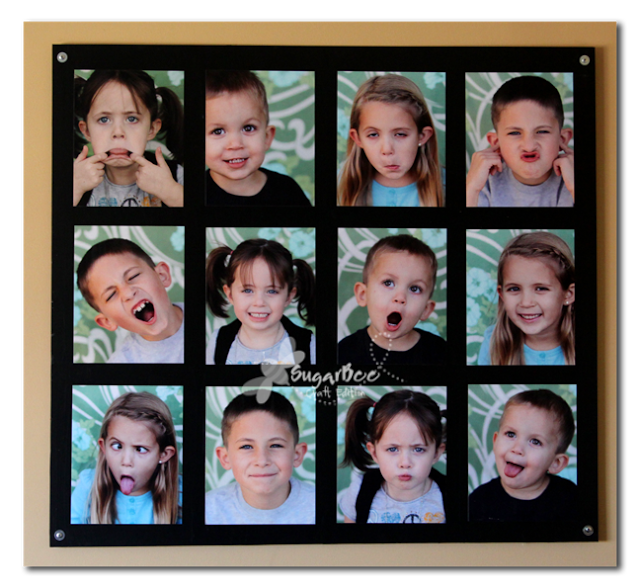
Photo Wall Art
Use 12 (or more) of your favorite images to create personalized Mod Podge canvas art to hang in your family room.
Get the Tutorial
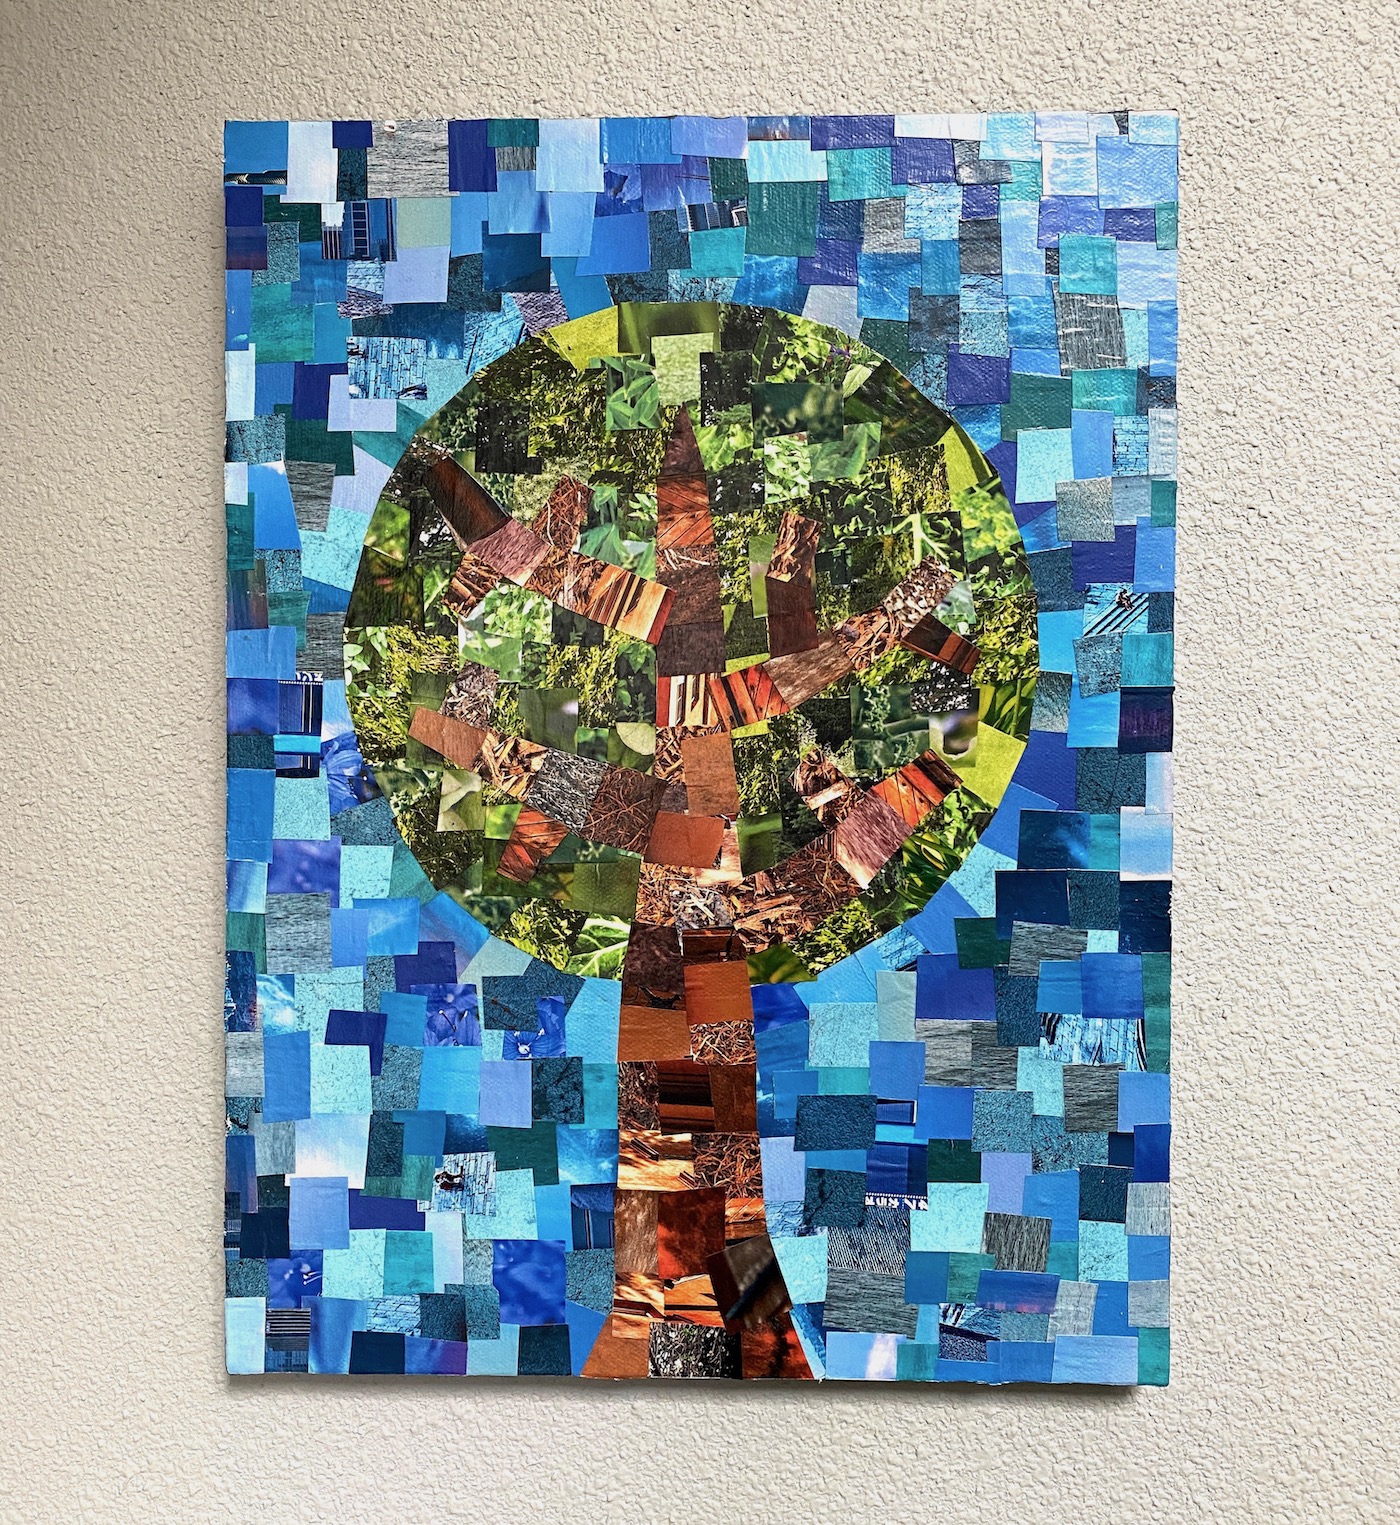
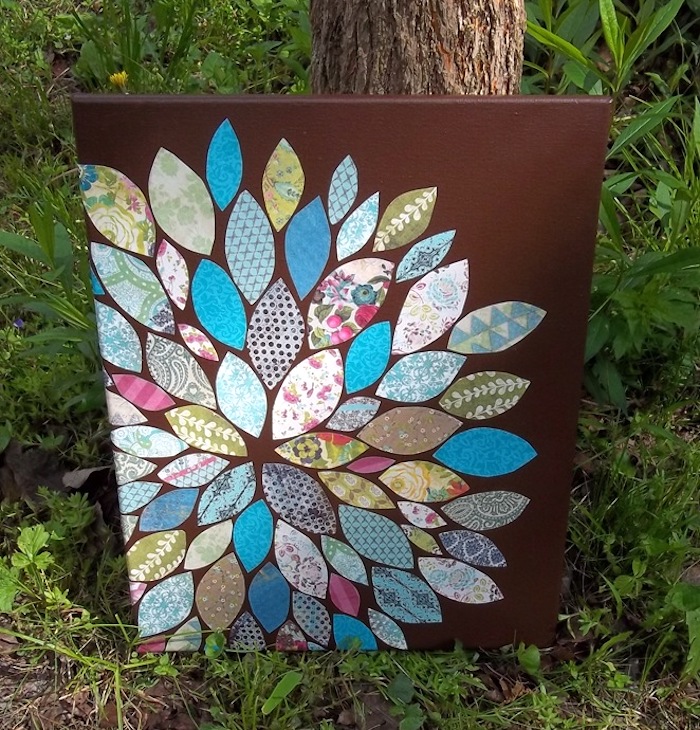
Flower Wall Art
Create a unique floral collage on canvas using your favorite paper or fabric scraps.
Get the Tutorial
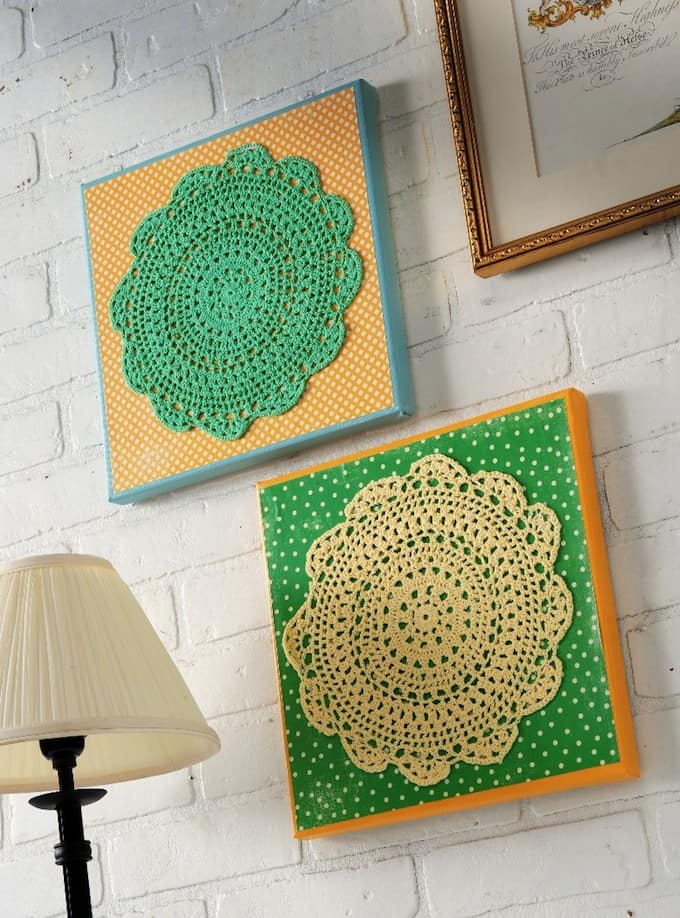
Make your Own Doily Wall Art the Easy Way
I created wall art using scrapbook paper doilies from the dollar bins at the craft store.
Get the Tutorial
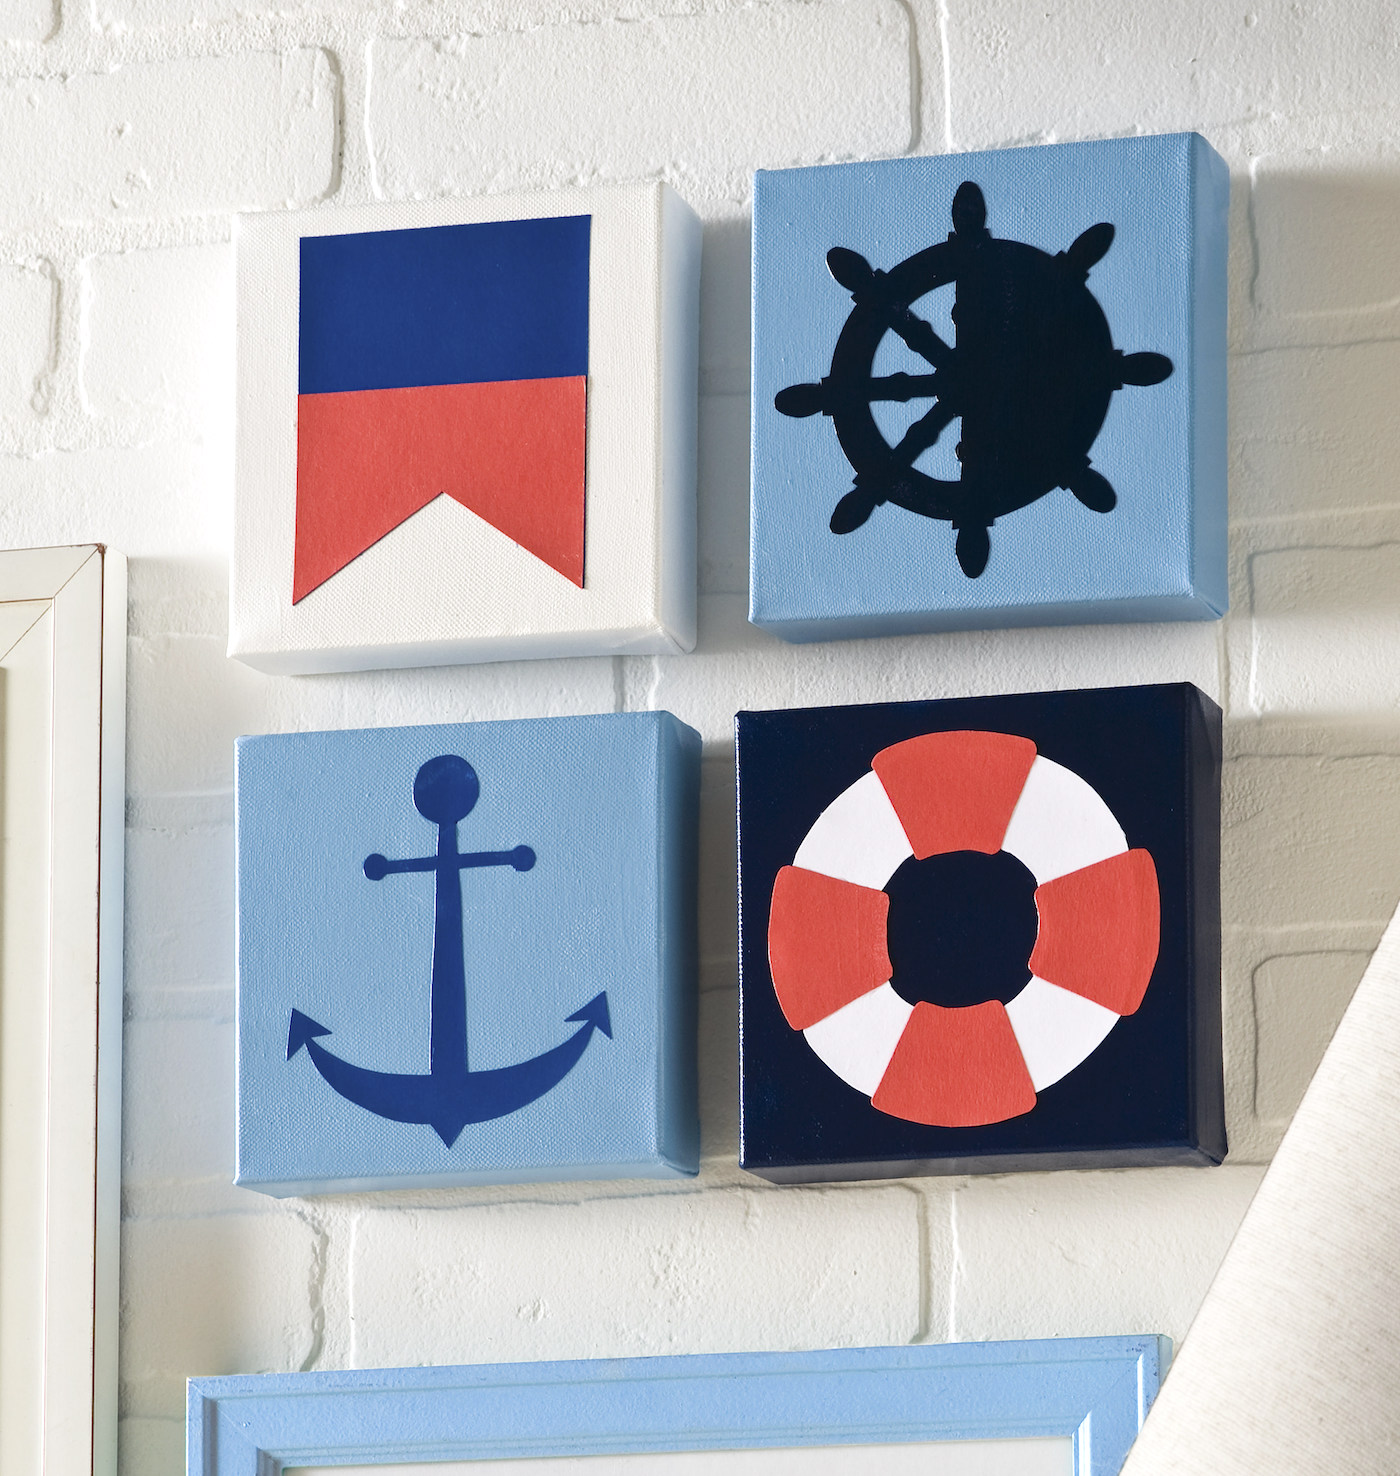
Make Nautical Wall Art in Three Easy Steps
Are you inspired by seaworthy decor? This nautical wall art is easy to make with Mod Podge – and uses a fun color palette.
Get the Tutorial
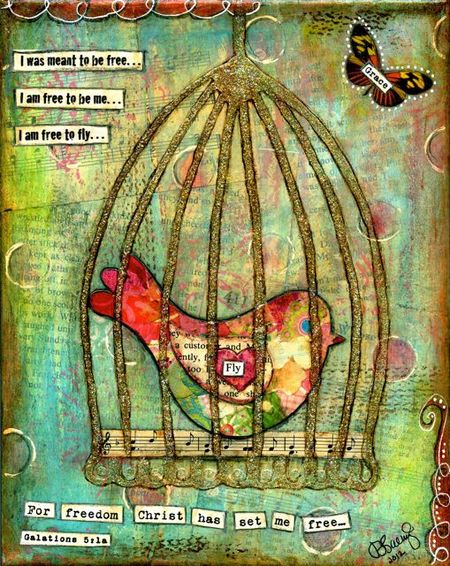
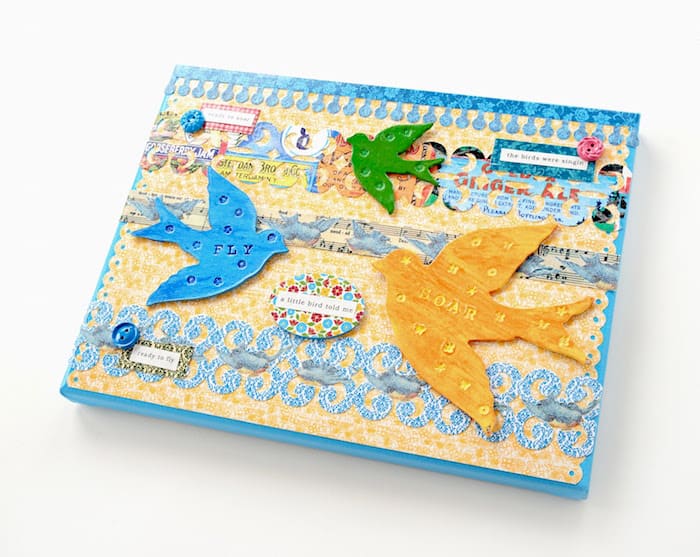
Art by Debbie Saenz
Debbie will show you the easy way to get a mixed media effect – and the result is this beautiful bird canvas.
Get the Tutorial
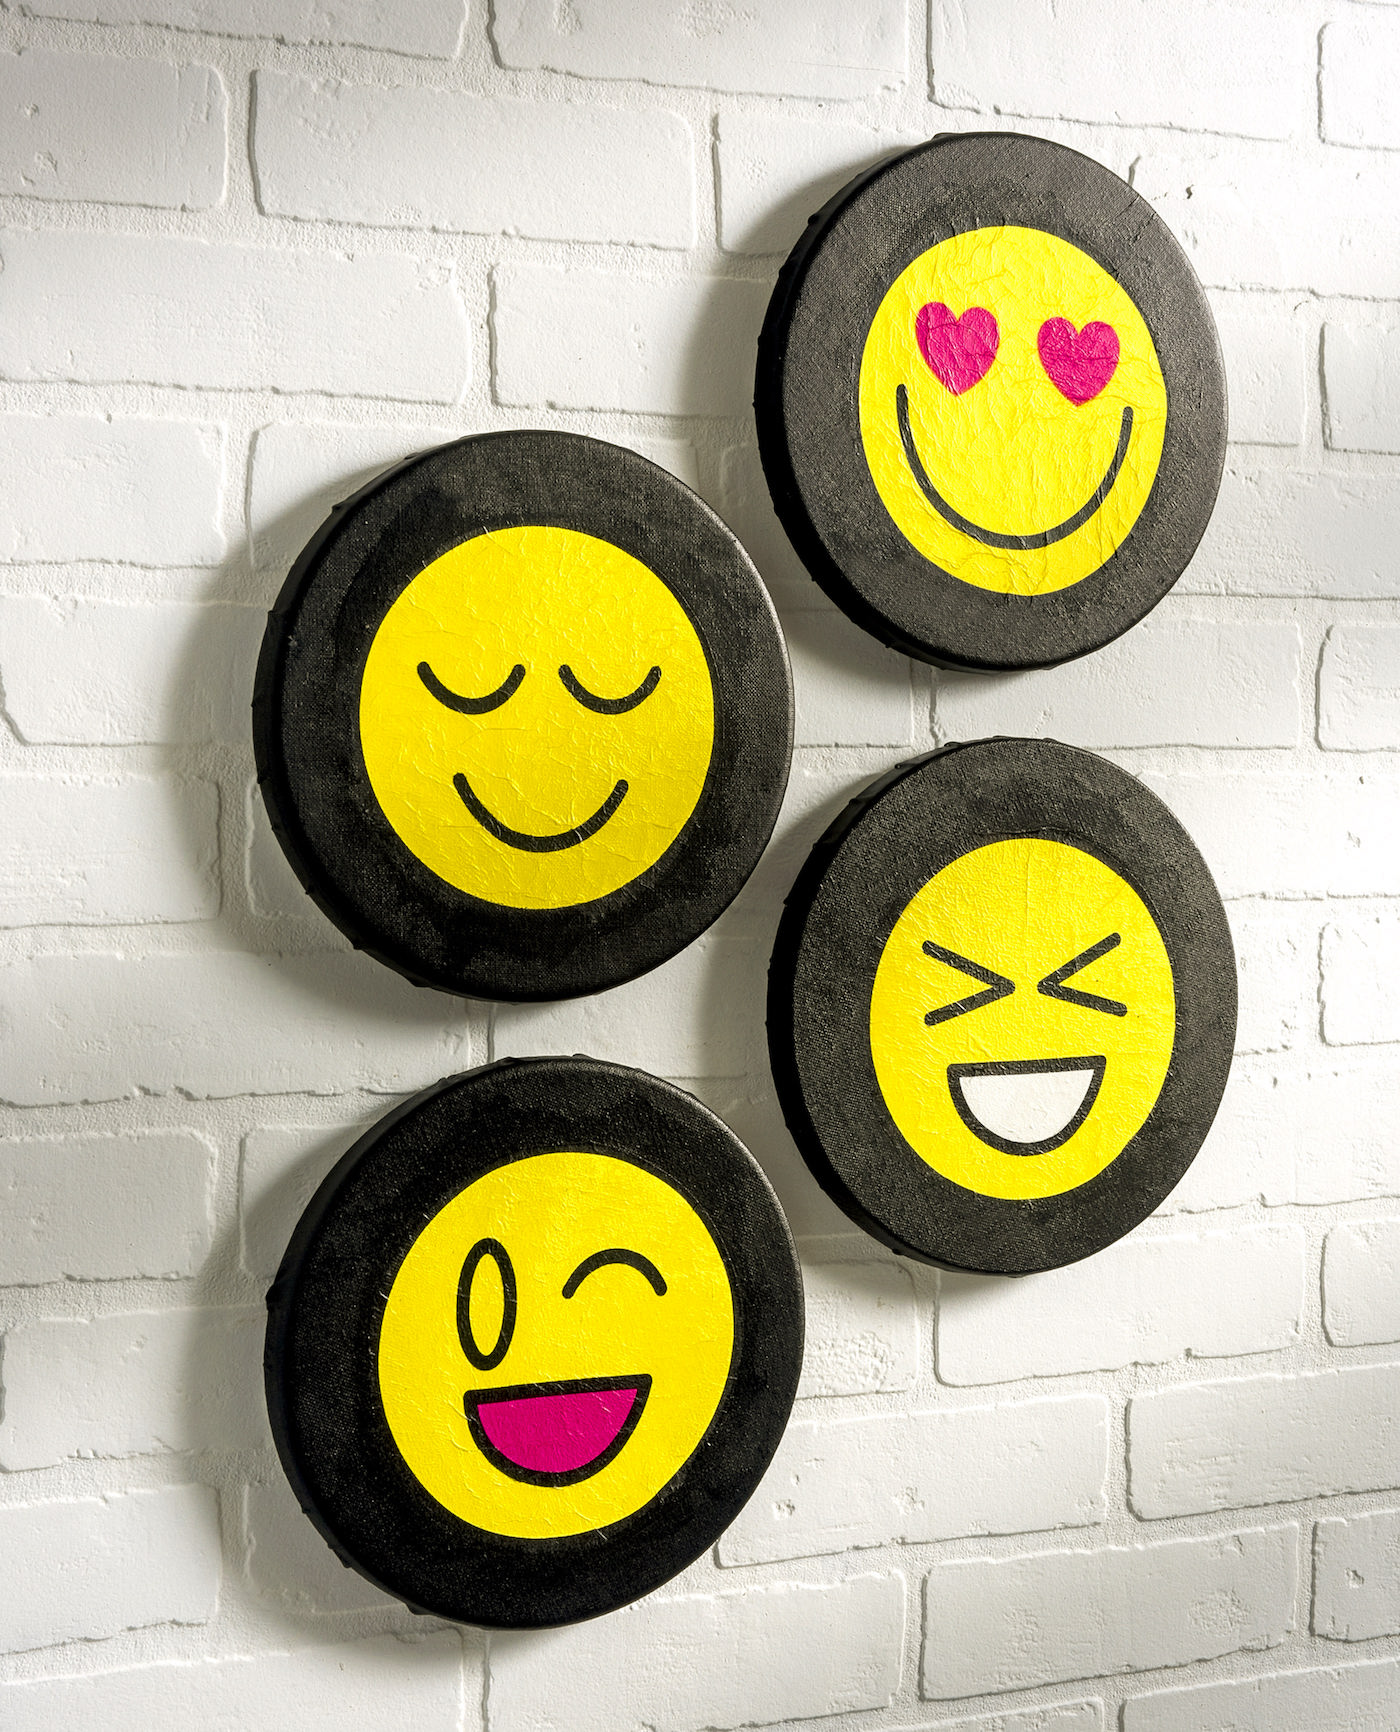
How to Decoupage Napkins on Canvas
Are you wondering how to decoupage napkins on canvas? Learn how to do it with this emoji canvas project. Such a fun idea and very easy!
Get the Tutorial
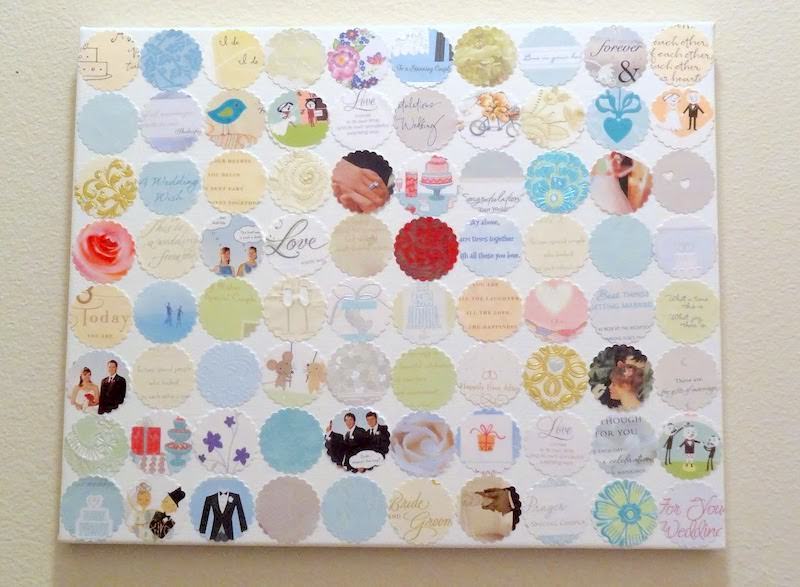
Wedding Card Collage You’ll Want to Display
This wedding card collage is so easy to make. Don’t keep those beautiful cards in a box – make a unique piece of wall art that you can display!
Get the Tutorial
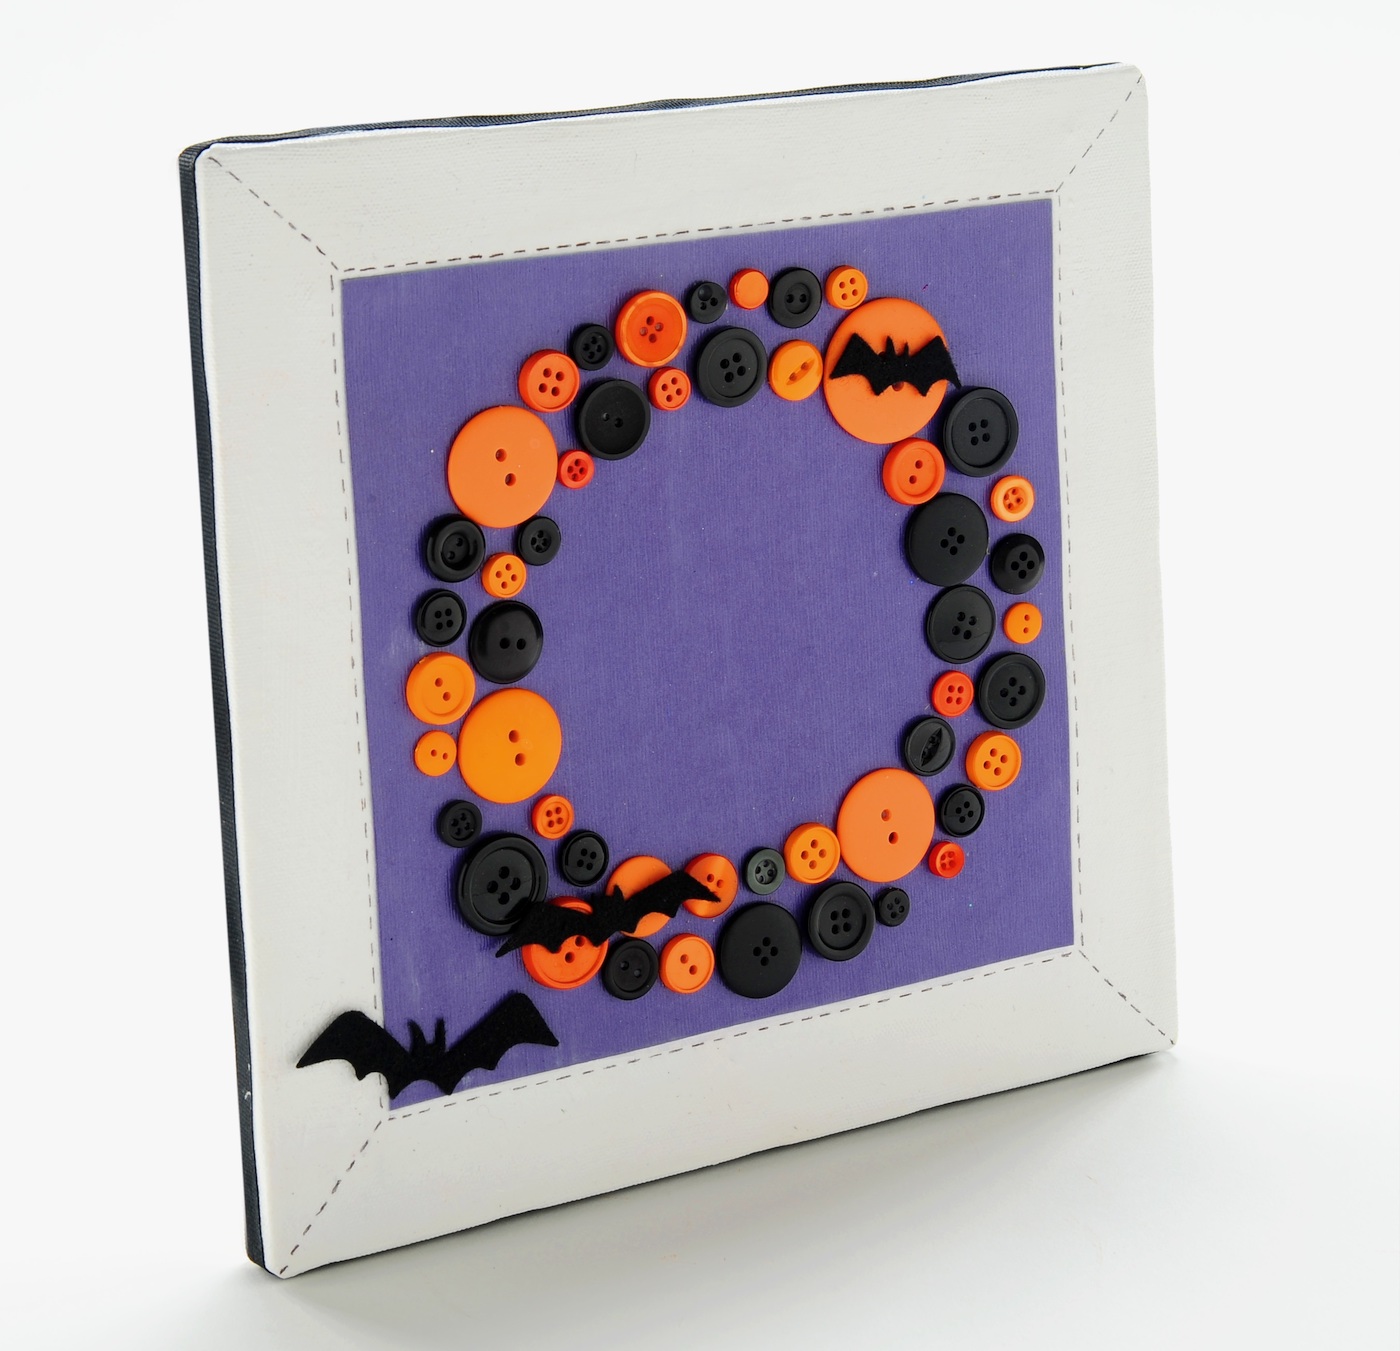
DIY Halloween Wall Art Made with Buttons
Make EASY wall art using buttons! This canvas art project is so easy, even a kid could make it. Perfect Halloween decor!
Get the Tutorial
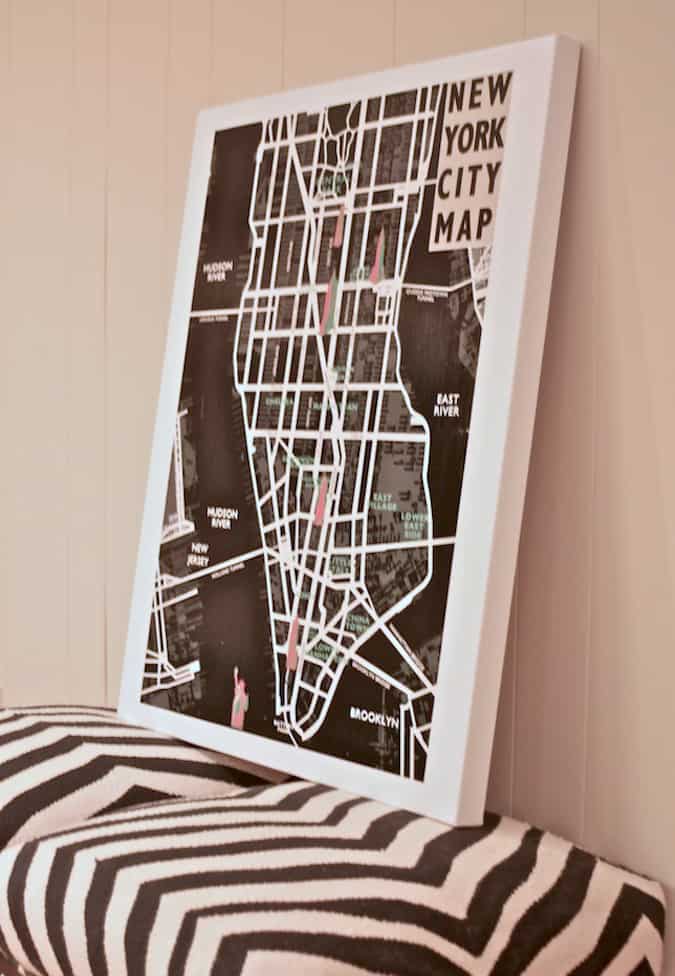
Map Canvas Art is Easy to Make
This unique hand lettered map canvas art is an easy and budget friendly way to decor a wall – plus you can customize with any words you like!
Get the Tutorial
Mixed Media Canvas
Learn how to make a mixed media canvas with scrapbook paper and Mod Podge! This was a fun experiment with cute chipboard accents. So easy.
Get the Tutorial
Grab a canvas here and get started with one of these 20 ideas!


Loved this! It makes turning a blank canvas into something personal and decorative feel easy. I’m excited to try a few of these.
Ideas are a Bit childish. Not really for adults. Not impressed
Hi! I recommend you join the Mod Podge group on Facebook: https://www.facebook.com/groups/craftywithmodpodge
There are definitely more artists in that community. You can share your projects and show everyone what decoupage wall art for adults should look like. Enjoy!