If you’ve ever wanted to decoupage a poster to a canvas, it can be done! Christy has a tutorial that will show you how with Mod Podge.
Skills Required: Intermediate. Your biggest concern is going to be wrinkles with such a large piece of what is essentially thin paper. You’ll want to have some experience to avoid wrinkles.
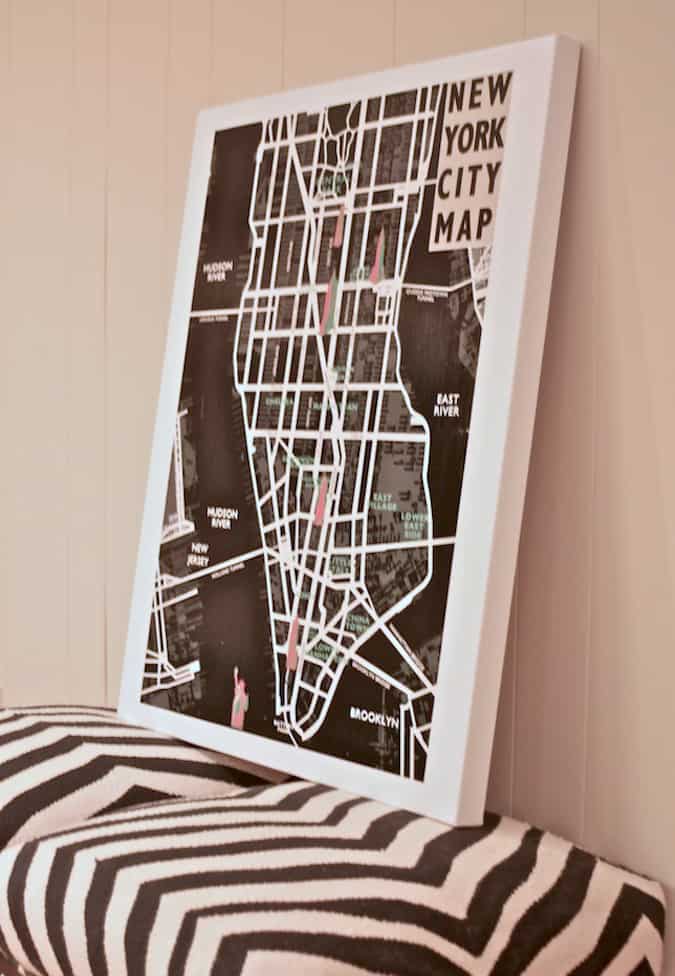
I get readers wondering all the time if a poster can be Mod Podged to a canvas. First of all, there are a few reasons why you might want to do it (in case you are wondering). It is cheaper than buying a frame, it’s definitely cheaper than having it framed professionally, and sometimes people just like the look.
Especially for a poster that feels a bit more urban and artsy, a frame might be too hoity-toity.
Decoupage a Poster to Canvas
Christy has a great tutorial for how to decoupage a poster to a canvas. And I’m going to be honest, this isn’t for first time Mod Podgers. If you’ve never Mod Podged before, this can be difficult simply because the size of the poster.
So my point is, if you’re an absolute beginner, practice using a piece of scrapbook paper. Grab a $1 wood frame and see if you can get the paper smooth with Mod Podge – no wrinkles.
You need to use water just the way she suggests to avoid wrinkles for the poster on canvas. If you are experienced and do it the way she says, you’ll be fine. Read her great tutorial for this canvas idea at the link below.
Poster on Canvas
Equipment
Materials
- Canvas(es) to fit the poster
- Poster
- Mod Podge
Instructions
- Gather your supplies and remove the plastic from the canvas.
- Cut your poster to size. I cut mine within the canvas size so there would be a border.
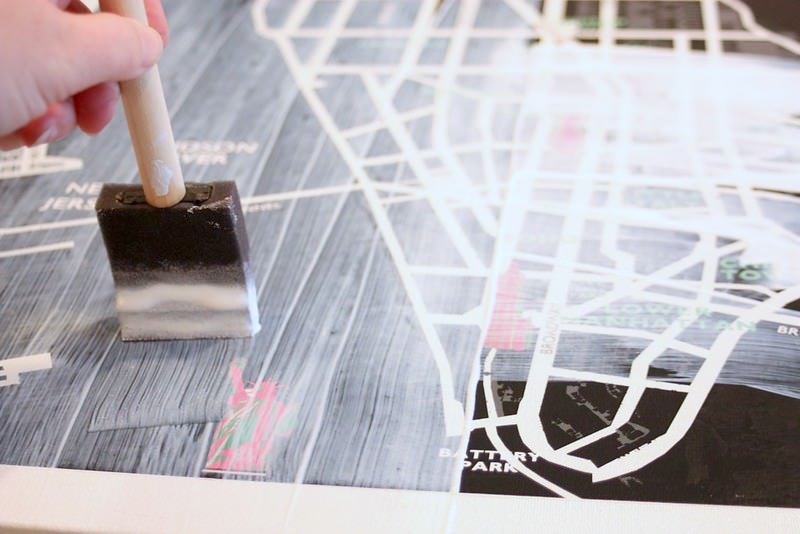
- Spread a medium layer of Mod Podge on the canvas with the foam brush. You’ll want to work quickly for the next step so the Mod Podge doesn’t dry.
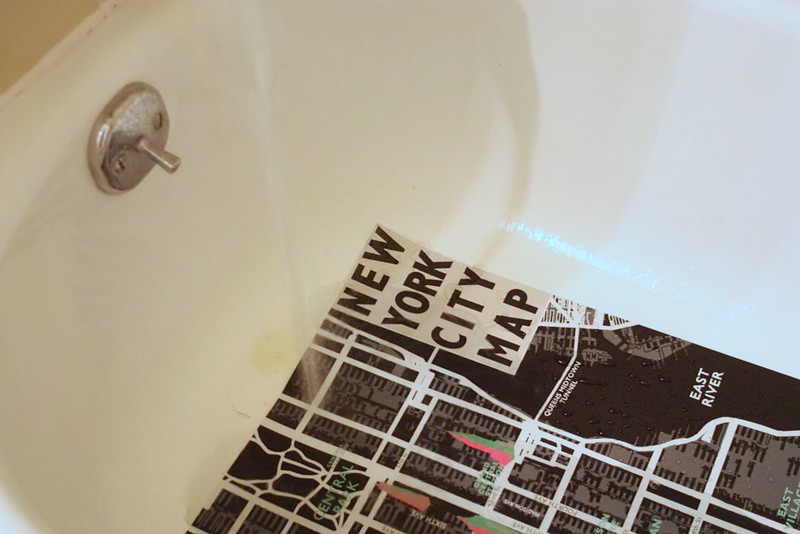
- Wet the poster in your sink or bathtub in order to make it easier to work with. Soak the poster for about 10 seconds.
- Place the wet poster on top of the glued canvas. Adjust quickly and start smoothing out the air bubbles. Wet fingers to keep from tearing the poster.
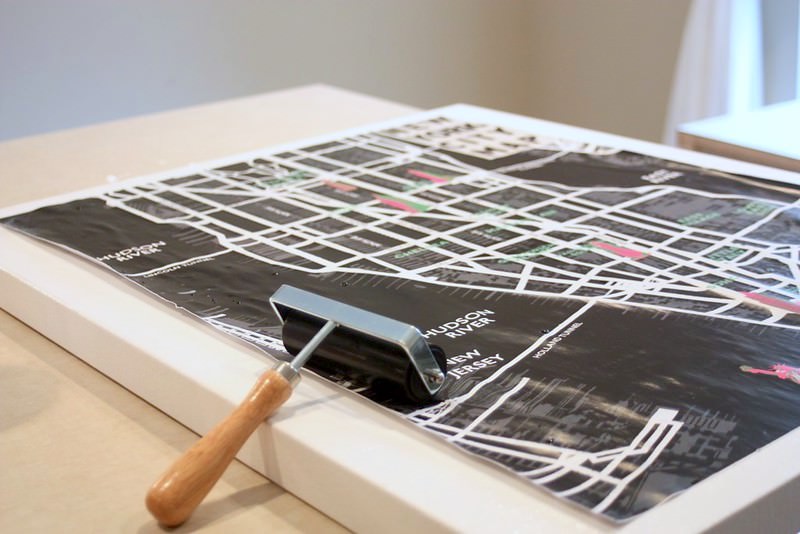
- Gently roll the brayer on top of the poster, being careful not to tear it. As the poster dries the air bubbles will go away, but you want to get rid of them as much as possible. Let dry.
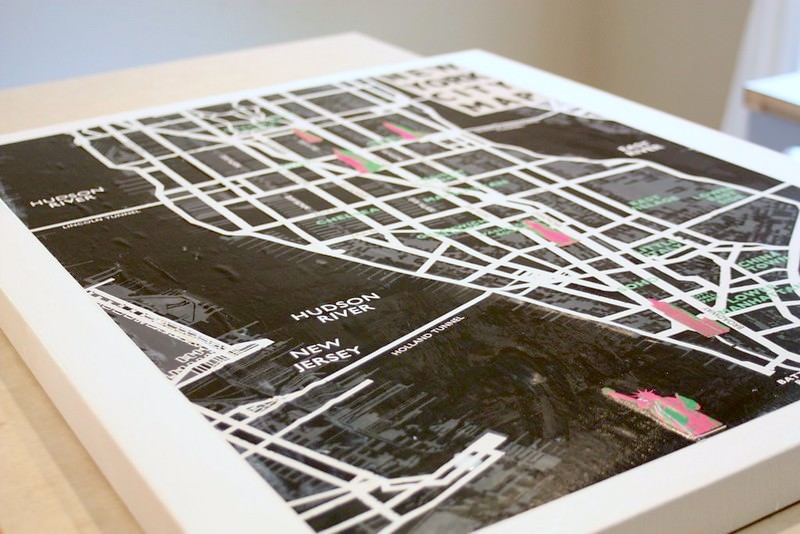
- After it dries for a few hours, add a few coats of Mod Podge on top, letting dry before coats.
- Let dry for 24 hours before hanging.
Notes
Find the tutorial at Beach Brights
If you loved decoupage wall art, you won’t want to miss my ways to Mod Podge a canvas post. I’d also love for you to check out this other wall art:


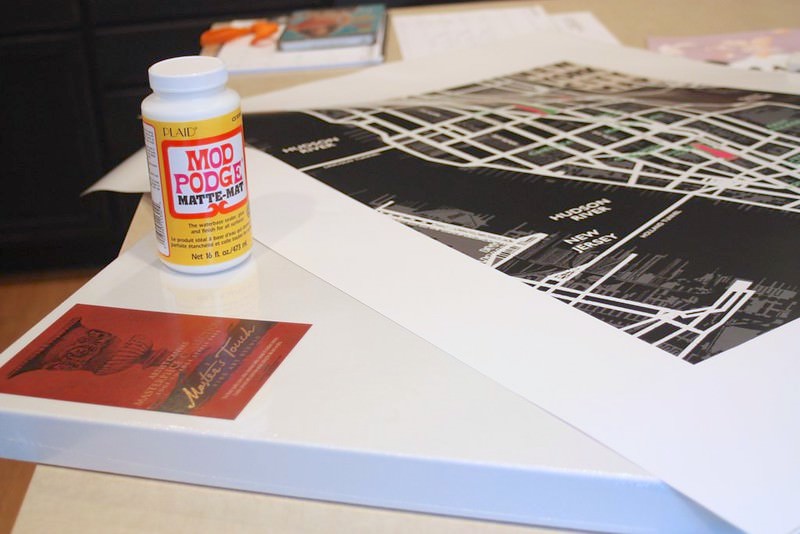
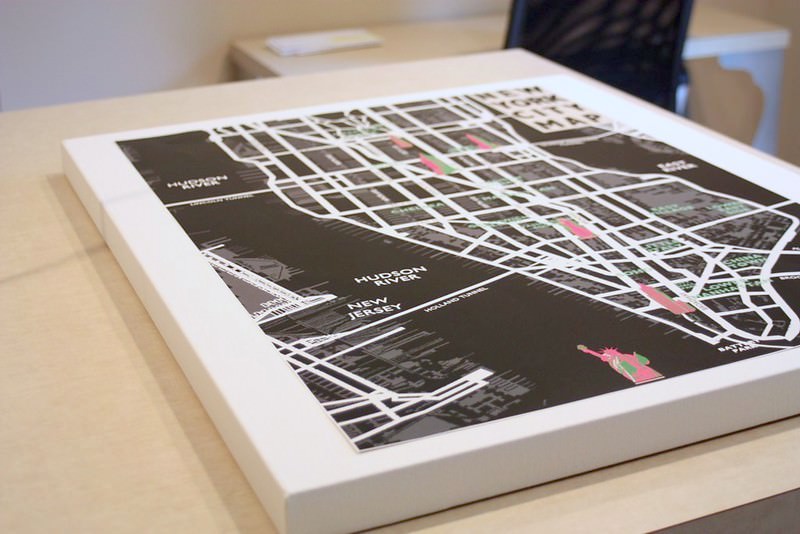
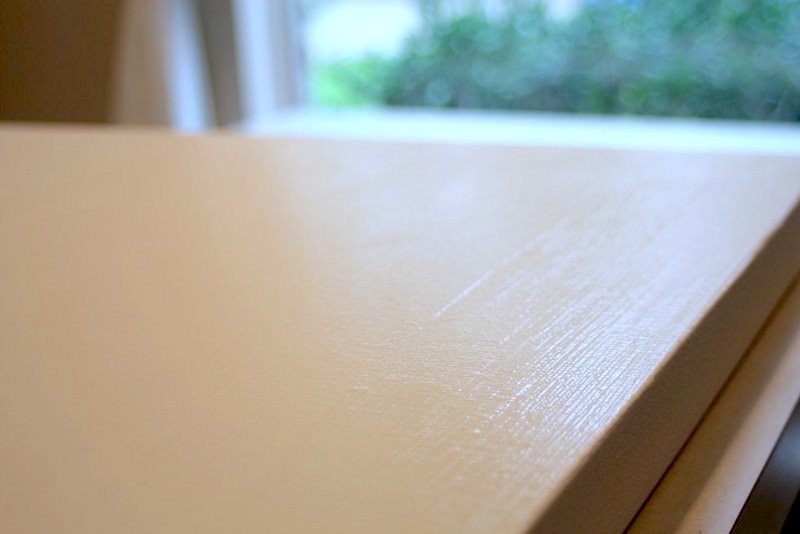



How do you get the mod podge top coat to look smooth on top of pictures and other surfaces so the brush strokes from a paint brush or paint sponge are not visible?
This is from my learn how post: “Use a soft bristled brush and then sand between coats. To do this, apply the Mod Podge and let it dry an hour. Then use #0000 steel wool and lightly sand the entire surface. Do this between every coat. After the final coat, sand and then spray a clear acrylic sealer to finish.”
I would love to have this done to one of my posters. I am afraid I would ruin it. Do you know of anyone I could hire to do this for me ?!
Christine I’d take it to a frame shop or craft store, honestly – and get it applied to canvas professionally. Or to foam core!