
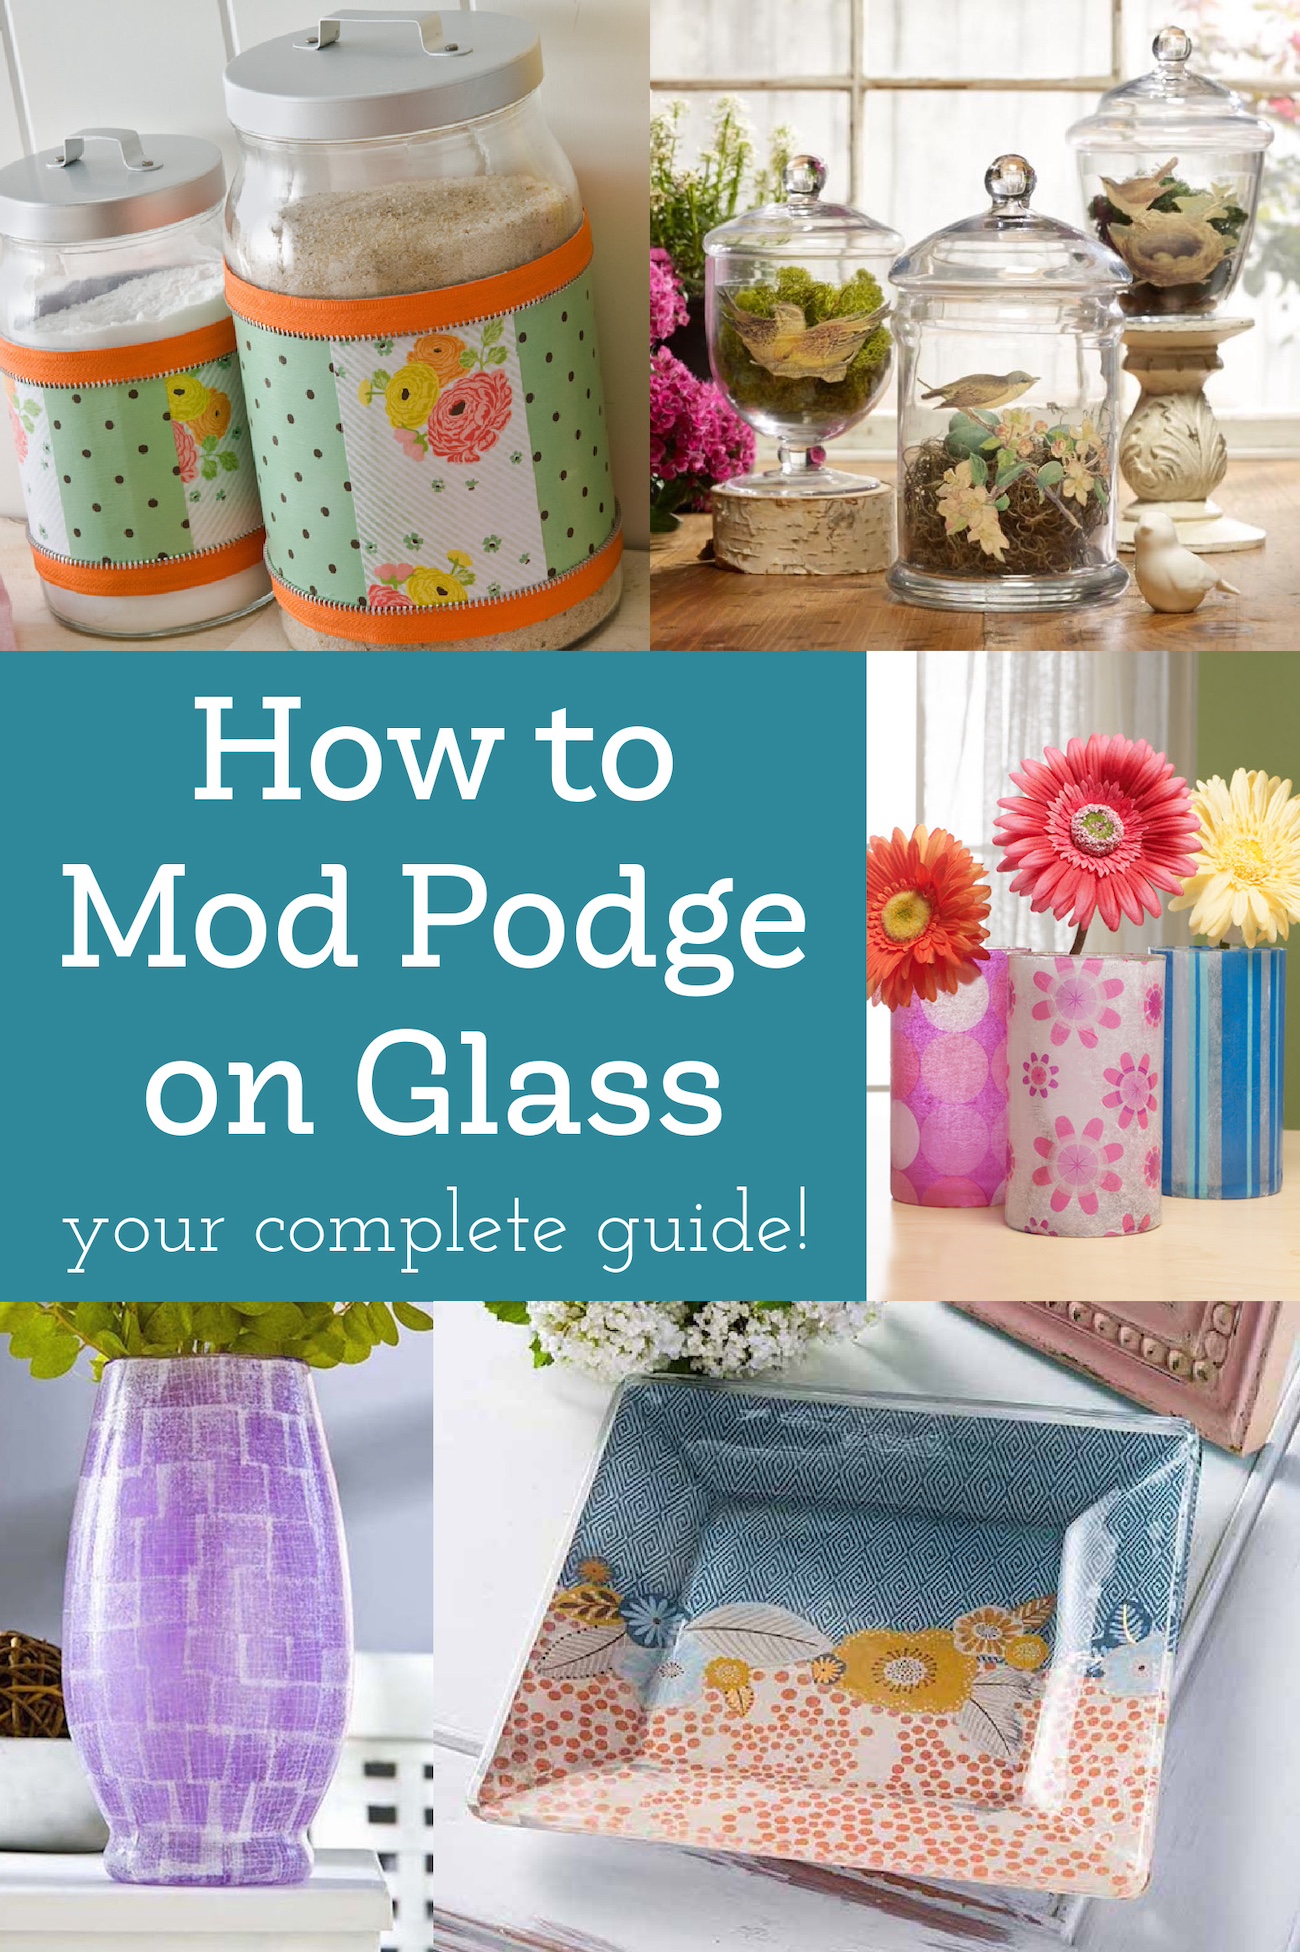
Can you use Mod Podge on glass? Absolutely! Here are my best tips, including how to paint and prep your glass for the perfect results.
If you’ve always wanted to learn to Mod Podge, there’s no time like the present. You may know you can use Mod Podge to decoupage on wood or canvas (check out my 7 steps to perfect Mod Podging).
AND – just as the title of this post indicates – you can also Mod Podge on glass. It’s not as hard as you think.
However, I will say that glass is the surface I get the most questions about when it comes to Mod Podge. That’s why I’m excited to share all my knowledge with you today.
I want to make sure you come away with a thorough knowledge of how to be successful with your project. There are definitely some secrets to success.
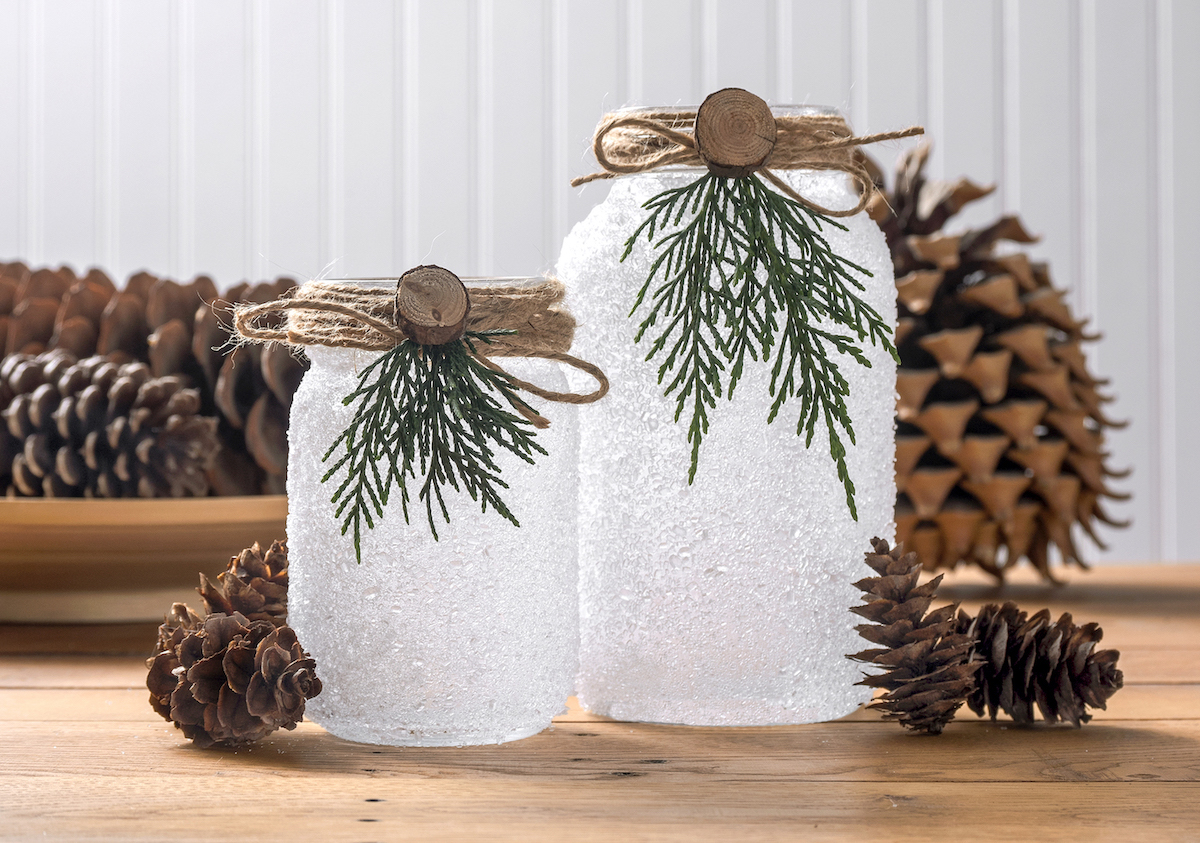
Maybe you want to make mason jars, or decorate vases, or simply glitter glasses. Regardless of what you want to do, you’ll need these tips. Keep reading and let me know if you have any questions in the comments!
Decoupage on Glass
As you can probably guess: YES, you can decoupage on glass. You can Mod Podge directly onto glass with paper, fabric, tissue paper, napkins, photos (copied), and a variety of other materials. Here are the five steps you’ll go through to achieve project success:
- Prep the Glass
- Paint (optional)
- Choose Your Material
- Mod Podge to Glass
- Seal
So where do you get started? Before you do anything – you’ll need to prepare the glass.
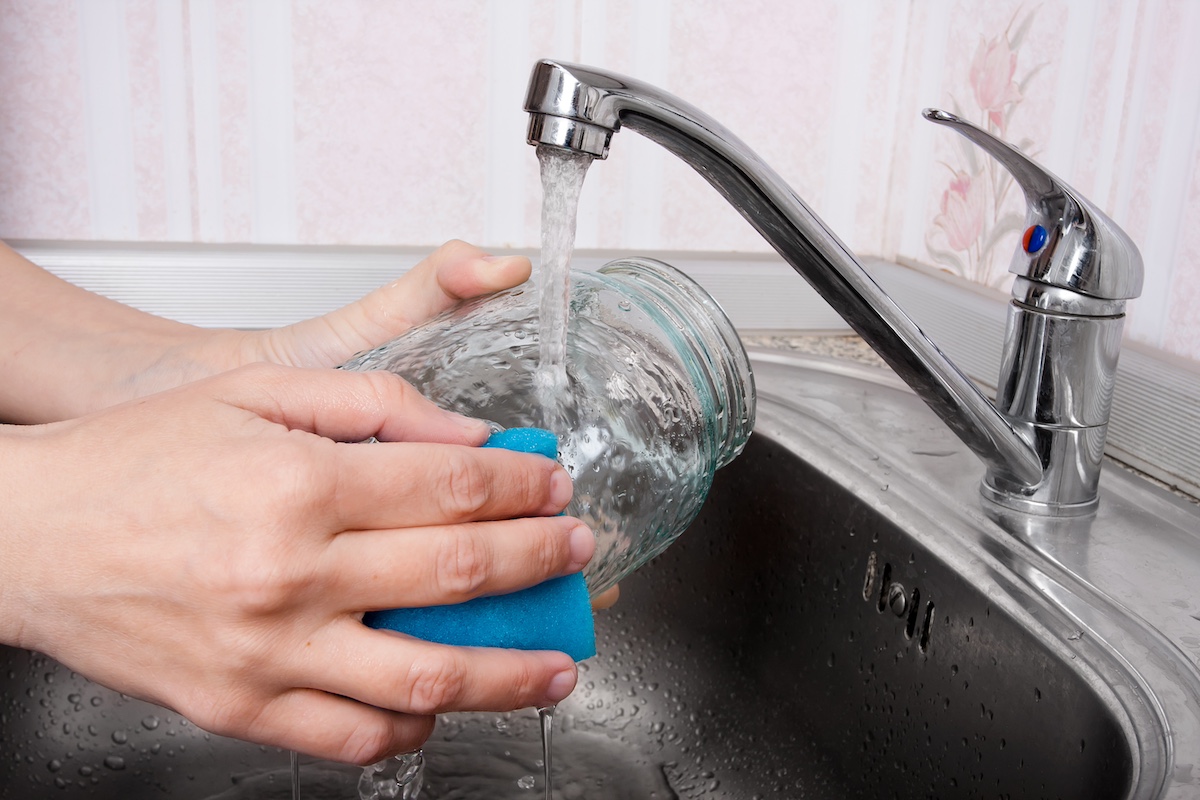
How to Prep the Glass
Before you begin your project, no matter what you’re going to do, you will need to prep the glass. You have two options:
- Clean the glass with mild soap and warm water and let dry
- Clean the glass with rubbing alcohol and cotton balls (or similar) and let dry
The reason for the prep is because oils and dirt can get onto glass and stay there, and they can cause problems if you try to paint or Mod Podge the glass. By “problems,” I mean they won’t stick. So please clean the glass regardless of your next steps, and let dry completely before moving on.
TIP: some crafters sand the glass before painting or Mod Podging. I don’t personally, but if you’re having problem with paint sticking, roughing up the surface might work.
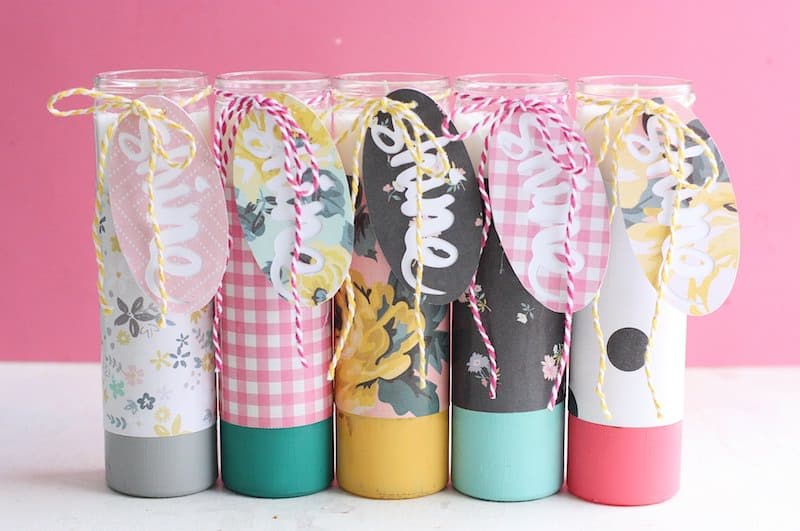
Painting on Glass
After cleaning, the next step is deciding whether or not you would like to paint your vessel. You can paint it on the interior or exterior depending on what you’re going to do with it. You can put Mod Podge directly on painted glass.
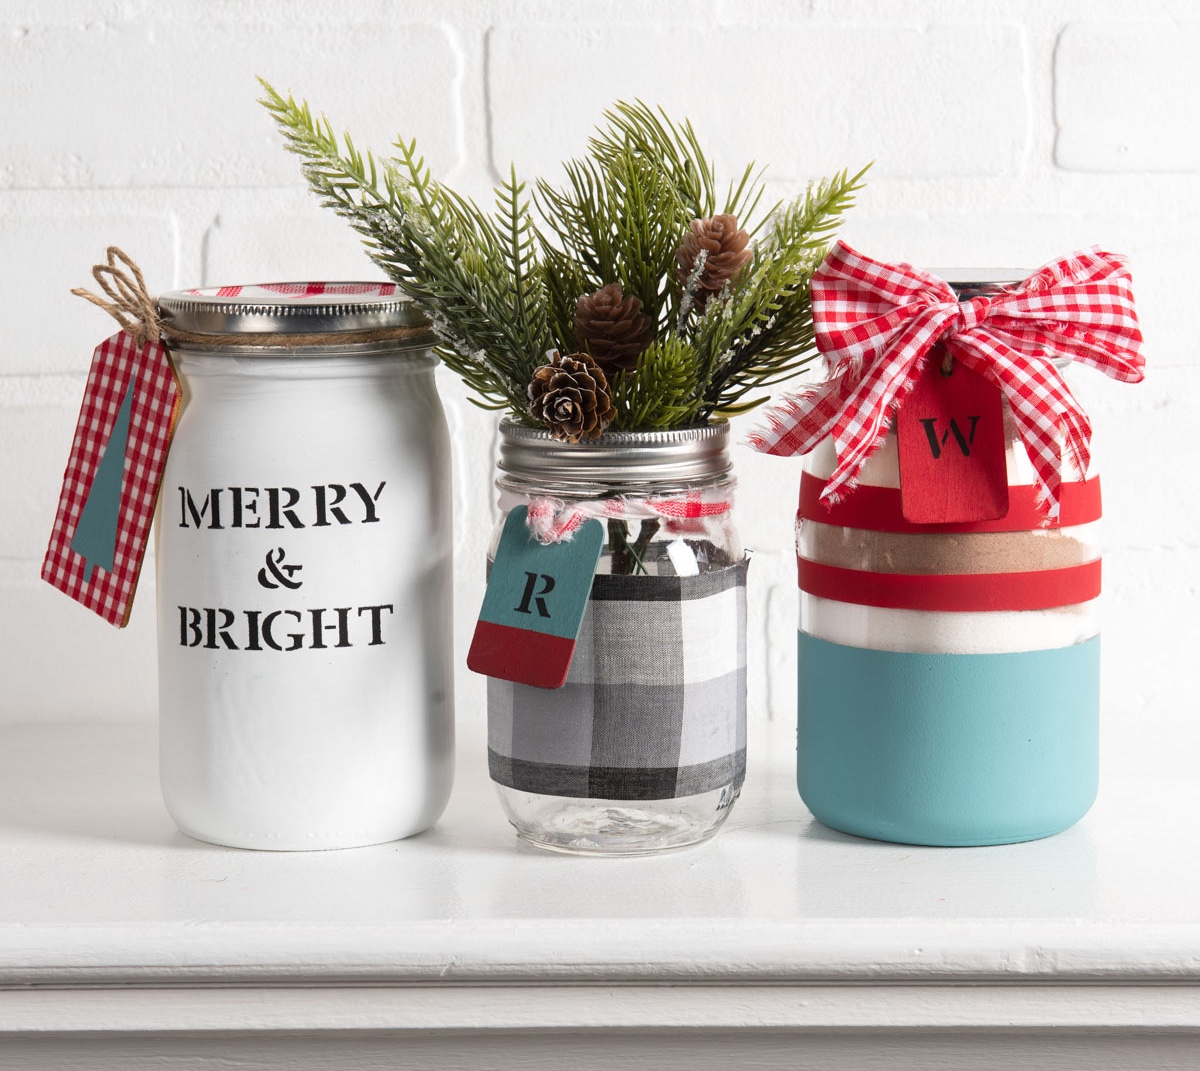
Do I Need to Paint?
You do not have to paint. This is a choice that you have to make based on the look you are going for. I’d say about 80 – 90% of the time, I paint the glass. However, I have Mod Podged paper to glass directly many times (see this project for an example).
IF you decide you would like to paint your glass, there are four methods I see regularly: spray paint, glass paint, chalk paint, and colored Mod Podge. I get into each method below.
Important Tip on Application: you might find more success painting on glass if you use a spouncer tool or artist’s sponge rather than brushing. I consistently get feedback that people prefer sponges and spouncers rather than brushes for paint, so it’s important to mention.
Spray Paint
You can spray paint and then Mod Podge on glass and it works very well. I only have a few tips. First, make sure the spray paint lists glass as a surface you can paint.
Secondly, apply several thin coats and let dry rather than trying to thickly apply spray paint. You’ll get globs. Take your time.
Glass Paint
If you decide to use acrylic paint, you’ll need to be sure to use a multi-surface or enamel paint specifically for glass.
My favorites are FolkArt Multisurface, FolkArt Enamel, and Delta Multisurface. There are plenty of other glass paint brands as well (Pebeo, Jacquard). Just make sure to read the bottle.
Chalk Paint
You can also use chalk paint on glass, and it sticks very well. Chalk paint is very popular to use when decoupaging napkins on glass. My favorite brand of chalk paint to use is FolkArt Home Decor Chalk Paint.
Colored Mod Podge
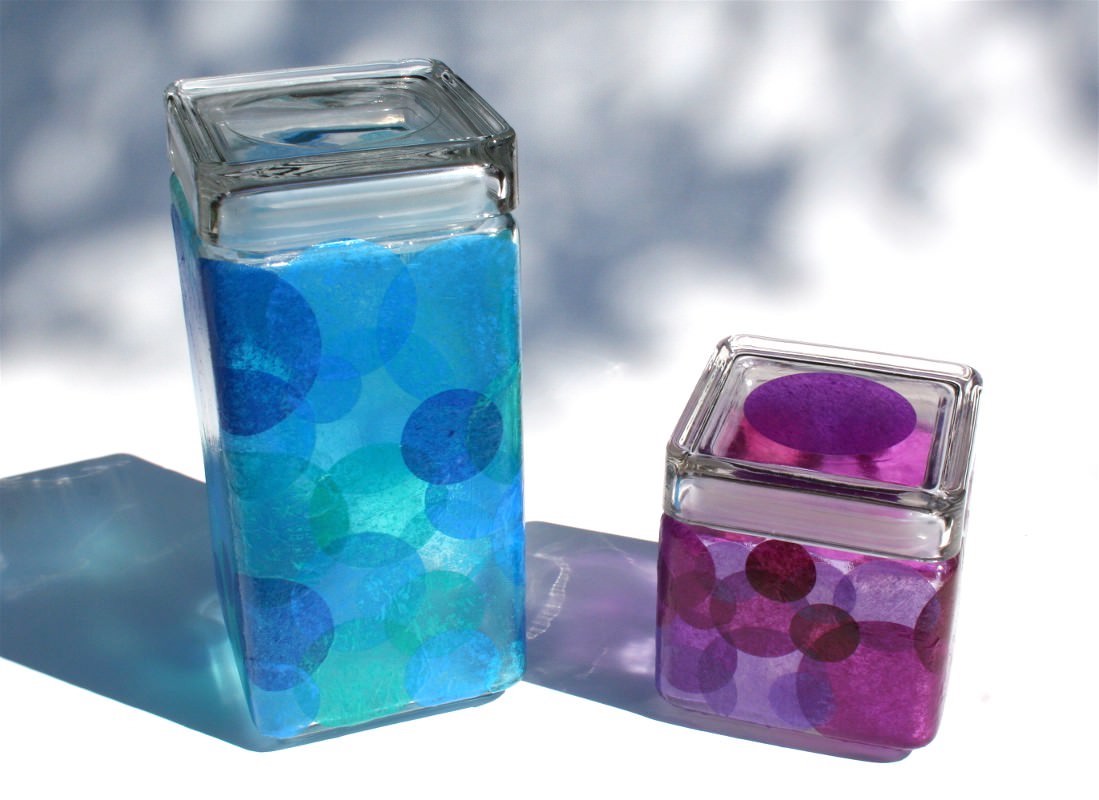
A final method I see regularly is using Mod Podge on glass – with the addition of food coloring to dye it!
As you might imagine, this makes the glass somewhat transparent, but with color. A stained glass is the best way to describe it. You can learn how to do it and see the results here.
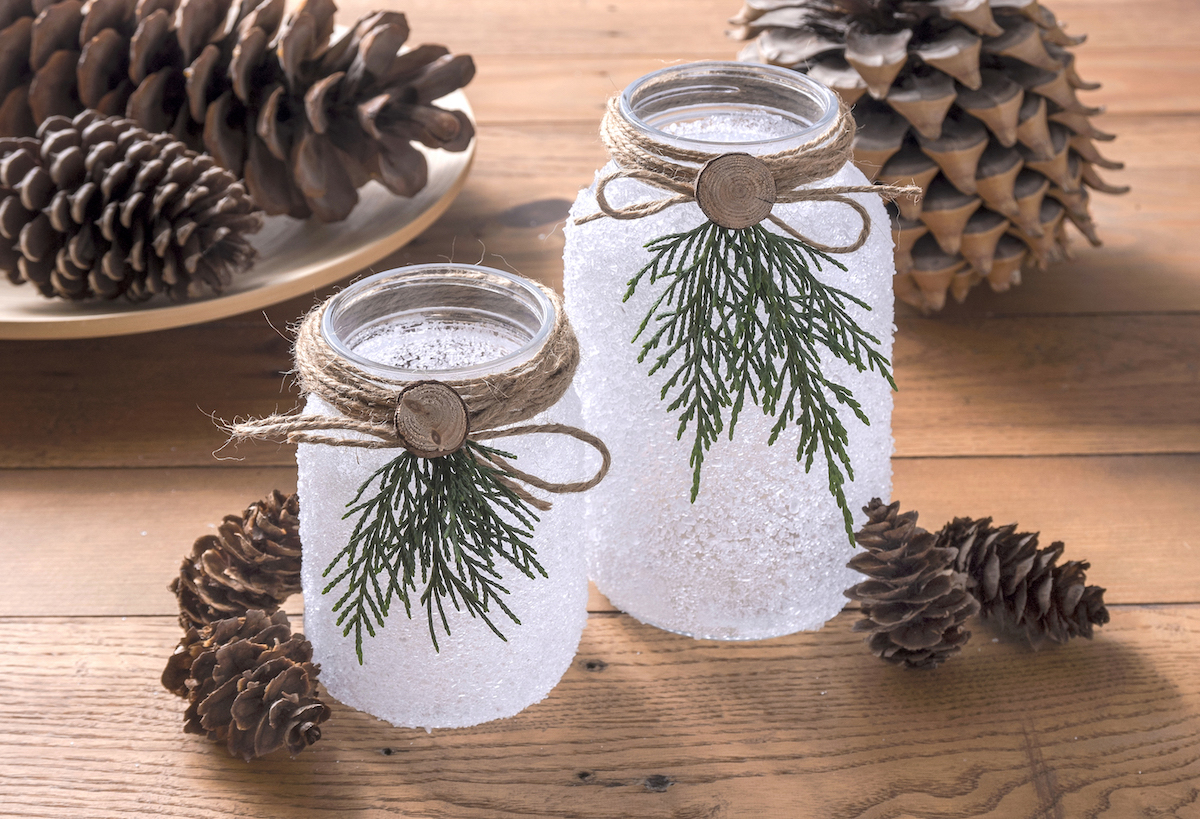
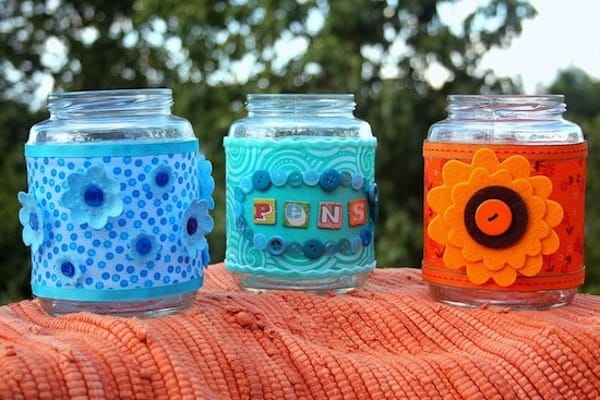
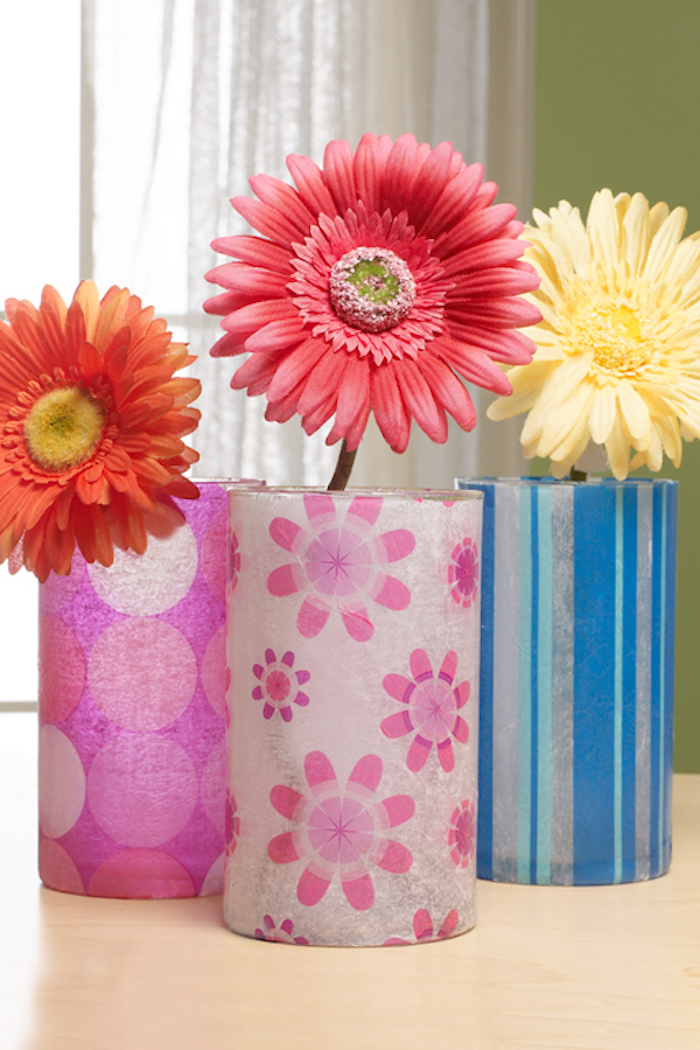
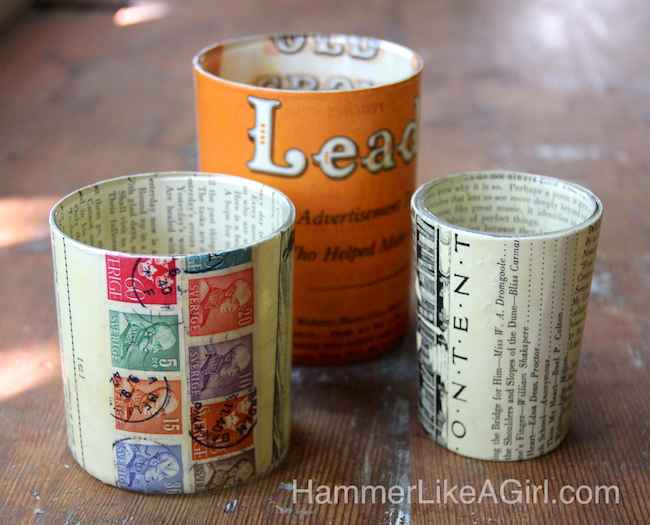
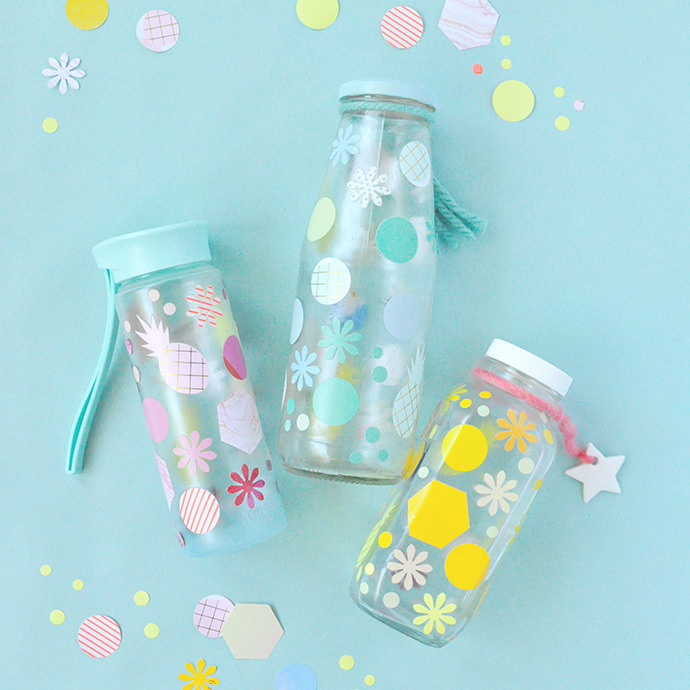
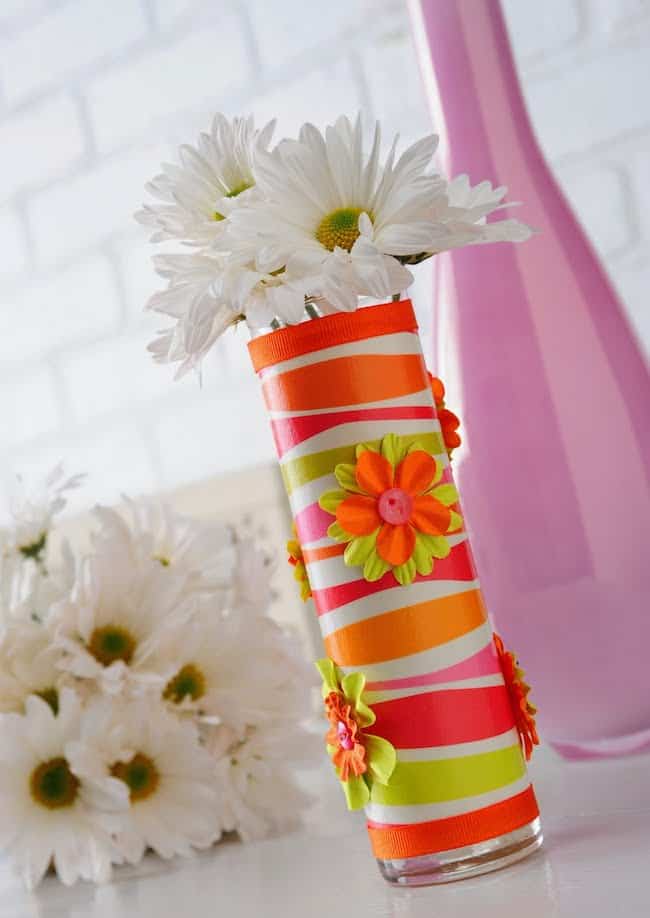
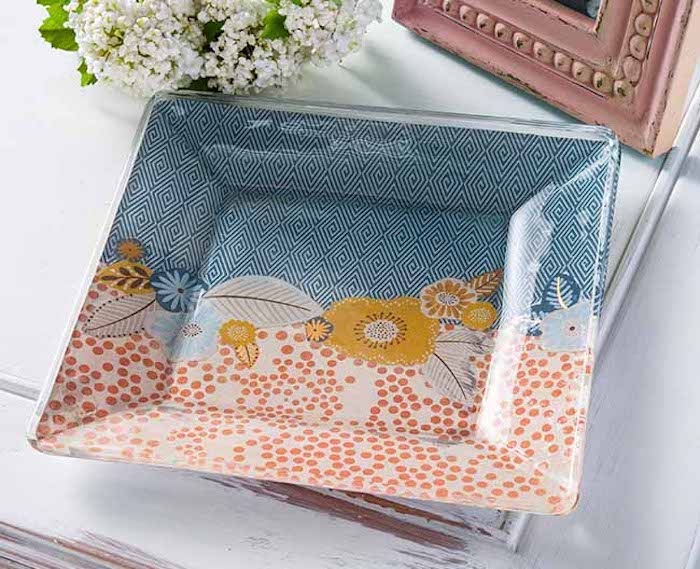
Materials to Use on Glass
You can use just about anything with Mod Podge on glass. Okay, not “anything,” but here are the most common items:
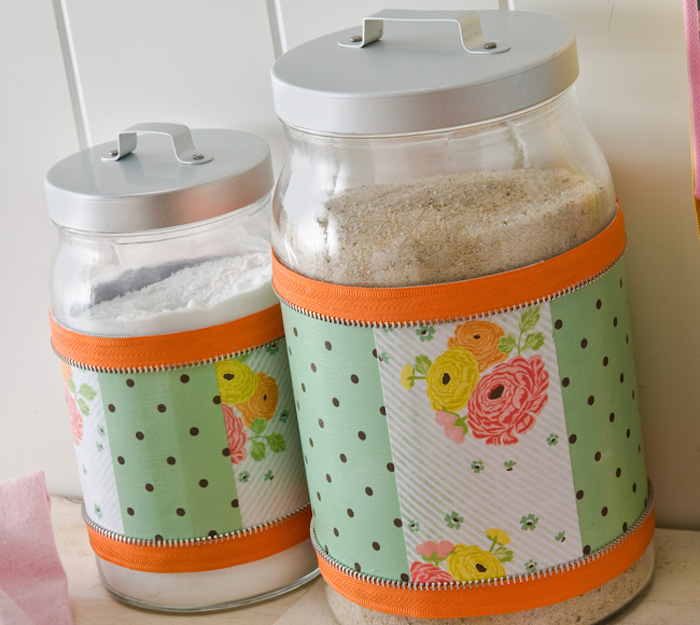
- Ribbon
- Scrapbook paper
- Stickers
- Tissue paper
- Washi tape
- Wrapping paper
Once you select your material, you’ll trim it to the size you need with scissors, apply Mod Podge to the item, and then smooth onto the glass (or painted glass). It’s the same process as Mod Podging to other substrates, allowing time to dry in between layers of Mod Podge.
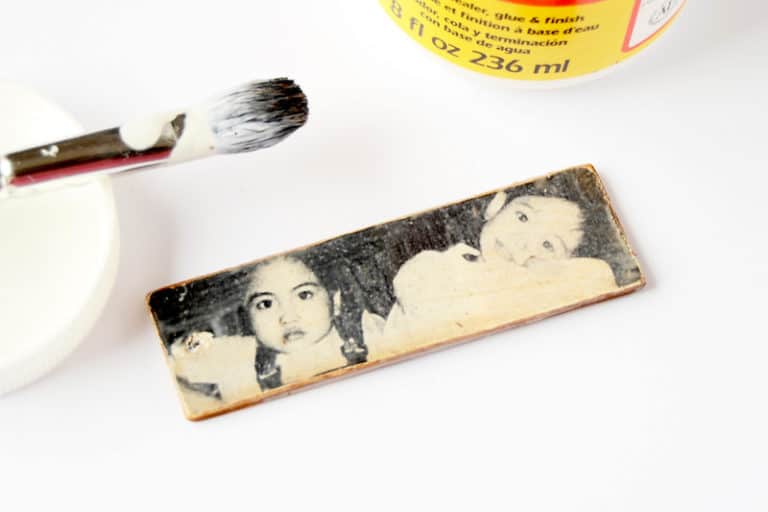
Mod Podge on Glass with Photos
If you want to use photos on glass, don’t use real photos OR photos printed on photo paper. Print photos on laserjet preferably, or spray seal both sides of an inkjet printed image.
Ideally you’ll print your photo on 20 lb. (or less) weight paper (which is “regular” printer paper). You can print photos on thinner material too. I’ve seen printing on tissue paper, napkins, and other thin items – even fabric!
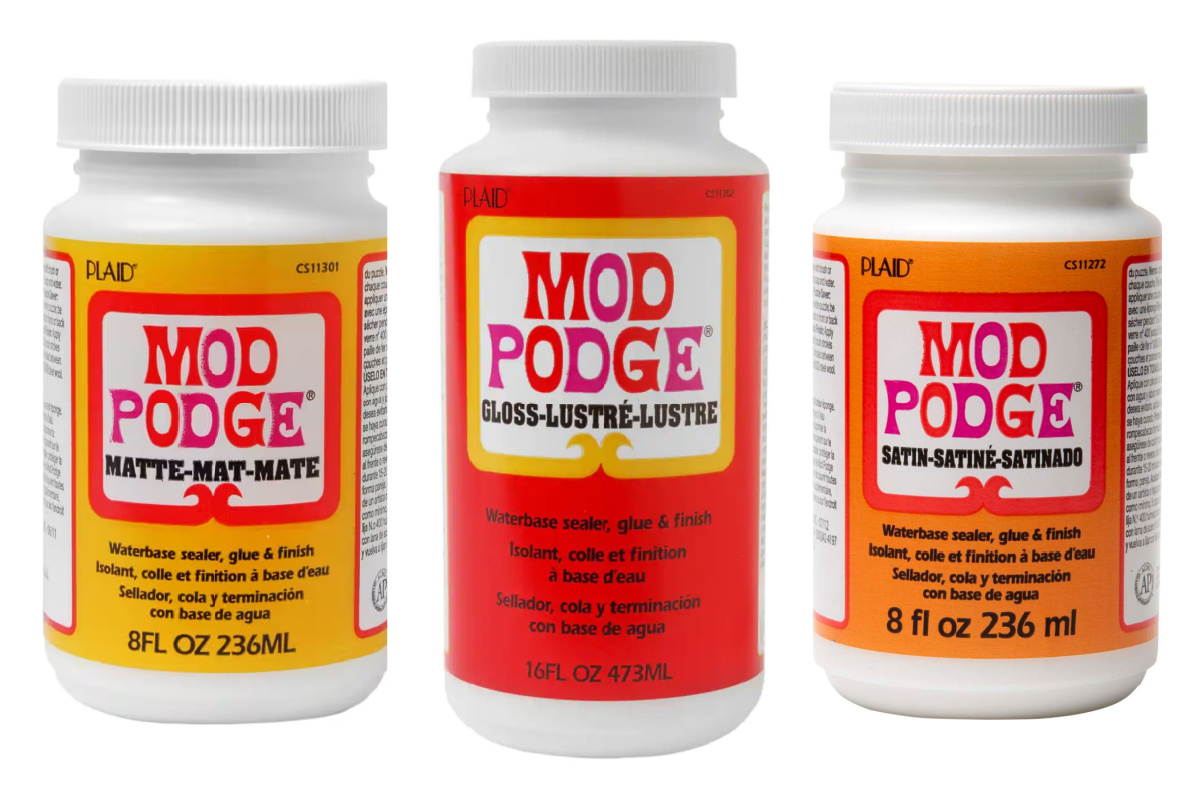
Mod Podge Formula to Use
I have a formula guide, but I realize it isn’t necessarily clear which Mod Podge to pick for glass. The short answer: any formula will work. The longer answer: If the item is for decorative purposes,
I’d stick with Gloss, Matte, or Satin depending on the finish you like. Gloss is shiny, Matte is flat, and Satin is in between. I find I like to use Gloss most often because it’s shiny like glass.
If you want the item washable – like a glitter glass or plate – you’ll use Dishwasher Safe Mod Podge. It requires 28 days for curing.
If you want the item to stay outdoors – like windchimes or gazing orbs – you’ll use Outdoor Mod Podge.
You can also use Mod Podge Ultra on glass. It’s an indoor/outdoor spray formula. You may find it applies spotty on glass, so you can also pour it out and dab it on with a spouncer if you like.
Sealing Mod Podge on Glass
After you’ve applied your item to the glass with the correct Mod Podge formula, you’re going to let it dry 15 – 20 minutes. Then you’ll apply a top coat.
Do you need to coat the entire glass item?
You’re going to notice if you go “out of bounds” with the Mod Podge past your design, whether you painted or not, you’ll likely see the outline. Therefore, I always coat all of the glass with Mod Podge.
If you have a lot of exposed, non-painted glass, you’ll see brushstrokes. You can choose to use a spouncer for a more textured look if you choose. It’s very difficult to avoid brushstrokes on clear glass with an acrylic product.
Are you ready to get started with Mod Podge on glass? Check out the 25 projects below!


I am new at this. I have a big glass
Jar and would like to put a doilie on the outside. I understand the first step but after I get it on then what do I do?
Thank you in advance
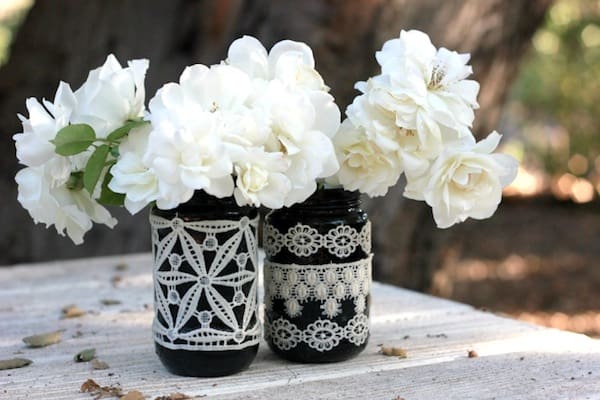
Hi Barbara! You’ll do it similarly to these lace jars: https://modpodgerocksblog.com/mod-podge-lace-mason-jars/
I’m assuming it’s a paper doily and it’s flat. If it’s a crocheted doily, I wouldn’t use Mod Podge. I’d use E-6000 or a similar adhesive to attach the doily directly to the glass.
Is it possible to mod dodge fresh or dried herbs to a glass jar?
Hmmm – that one is going to be a little tough because herbs get dry, and then they get brittle and flat especially on a round(ed) glass jar. I think if they are small and perhaps attached to paper that could help it stay a little bit. Like maybe you Mod Podge the herbs onto paper that is Mod Podged onto a jar. Or the jar is painted. I know I’m being wishy-washy but I feel like it would require a test!
Thanks so much for a well explained tutorial, new to Mod Podge so some things are a hit and some well put to one side 😃
Learnt lots from your tips 👍
Thanks
Thank you so much!
Can’t wait to start with the crafts.
So many great ideas. Thank you for sharing.
Thank you for reading!
These are great ideas! I want to print sheet music on a semitransparent paper and glue it to glass candle holders. I’ve done it before a few years ago with vellum and mod podge, but I can’t get it to work this time around without completely rippling the vellum. Do you have any ideas? Maybe I’m using too much mod podge. Is there another kind of paper that you think might work better?
Hi Brooke! Vellum should work fine! That’s what I’d try is a little less Mod Podge, or a little thicker vellum.
I used the gloss mod podge with fabric on the underside of a glass table top. I cleaned it with alcohol first. It is not sticking very well around the edges. Any suggestions?
Hi Shelly! I’d use something to hold it down on the edges – binder clips, etc. – while it’s drying. See if that helps. Some glass is really slick and it’s hard for Mod Podge to stick. But it can work.
Some great ideas there Amy! I have used napkins on glass jars before, but just kinda slapped it on to see what it looked like. They actually looked okay, apart from the paper being crinkled because I was in too much of a rush to smooth it out properly! I love the black jars with lace – will definitely add that to my To Do list as I have boxes of lace trimming looking for somewhere to go 🙂
I always look foreword to your posts. Thank you.
@Rebecca Payne, 🤔🧐 sissy is that you
May I ask if you have a tutorial to make iridescent wire framed dragonfly wings?
I do not, I’m sorry Karen. I would do a search online, it looks like there are some good options. Or join our Facebook group “Getting Crafty with Mod Podge”