Clay pot painting is perfect for beginner crafters! Learn how to decorate terra cotta using these tutorials great for both kids and adults.
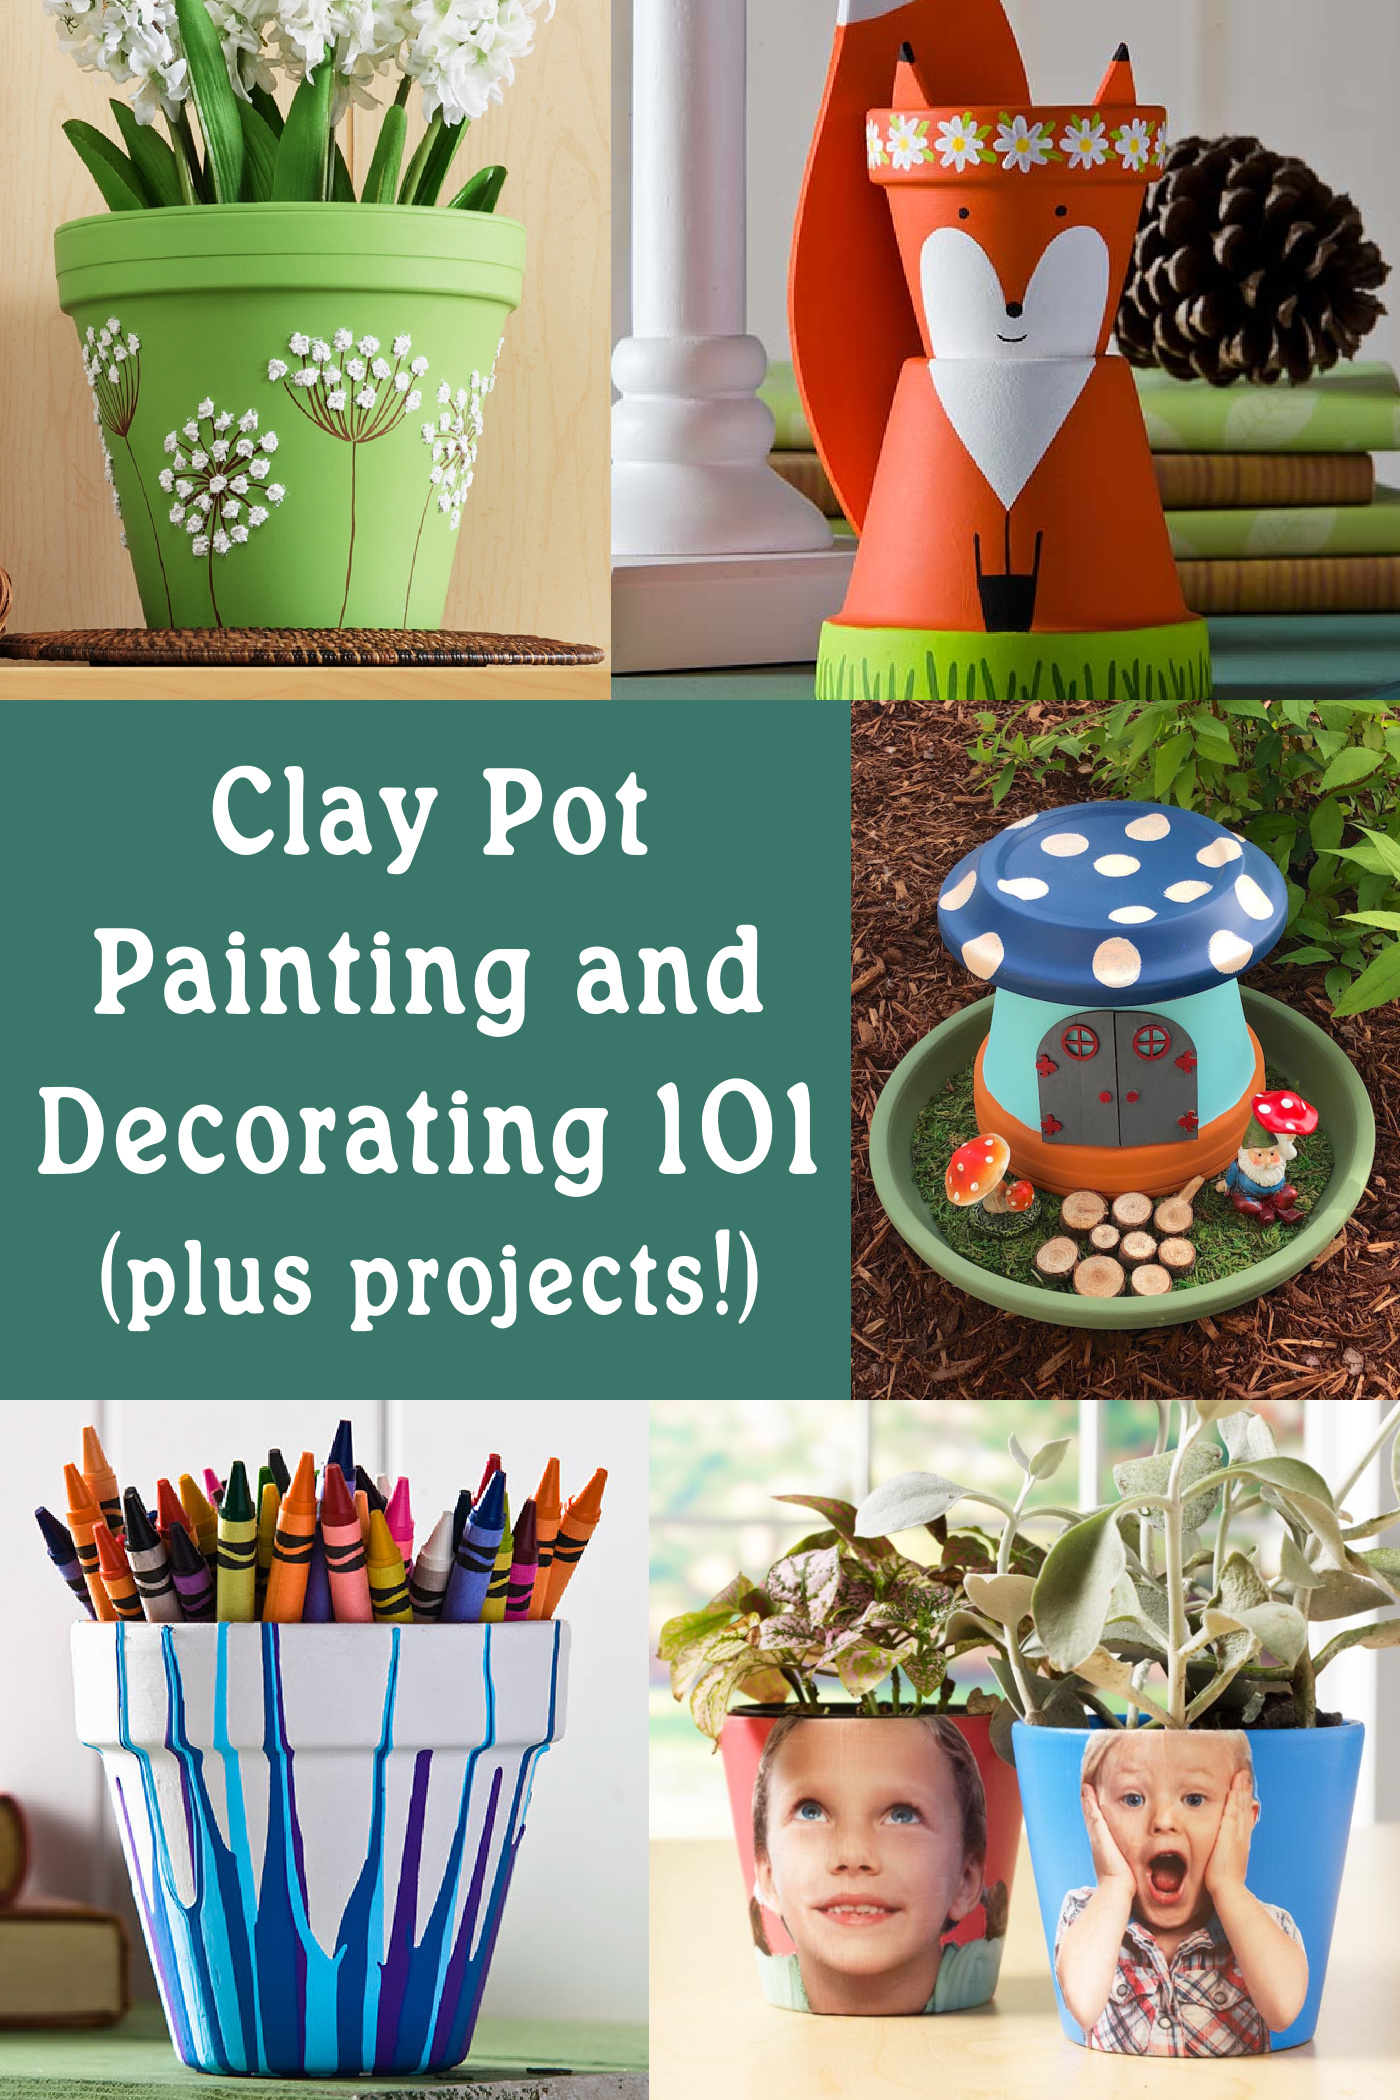
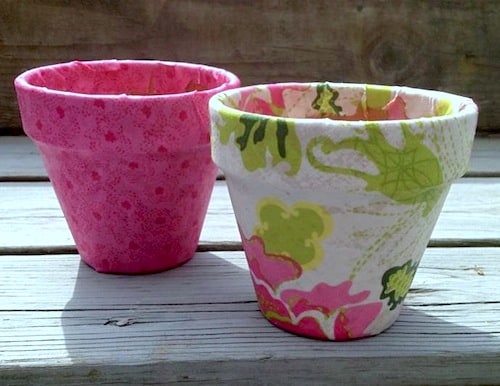
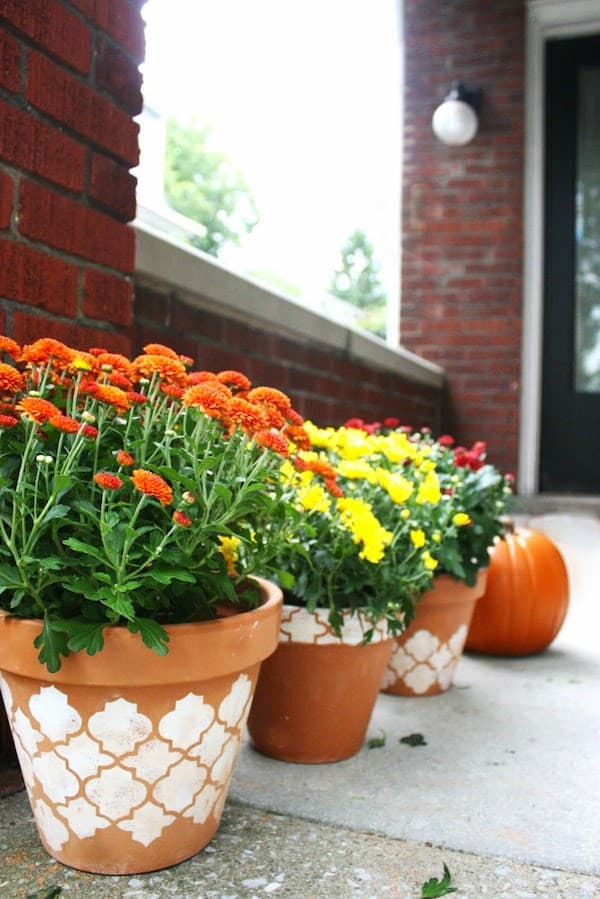
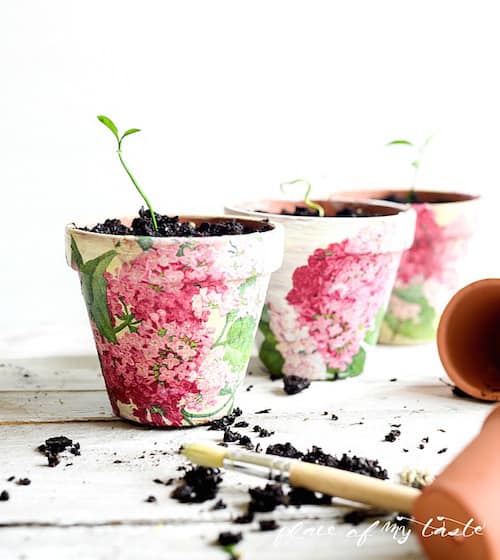
Terra cotta pots are fabulous surfaces for a variety of art forms, such as decorative painting, stenciling, decoupage, and mixed media. The clay is smooth, offering the perfect crafting surface for all ages!
When I think of clay pots, I typically think about spring and summer. I picture getting ready for warm weather and bright flowers.
But what I’ve learned over the course of time is that decorating clay pots isn’t just a hobby for warmer weather. Plenty of creative people like yourself are looking for ideas all year ’round!
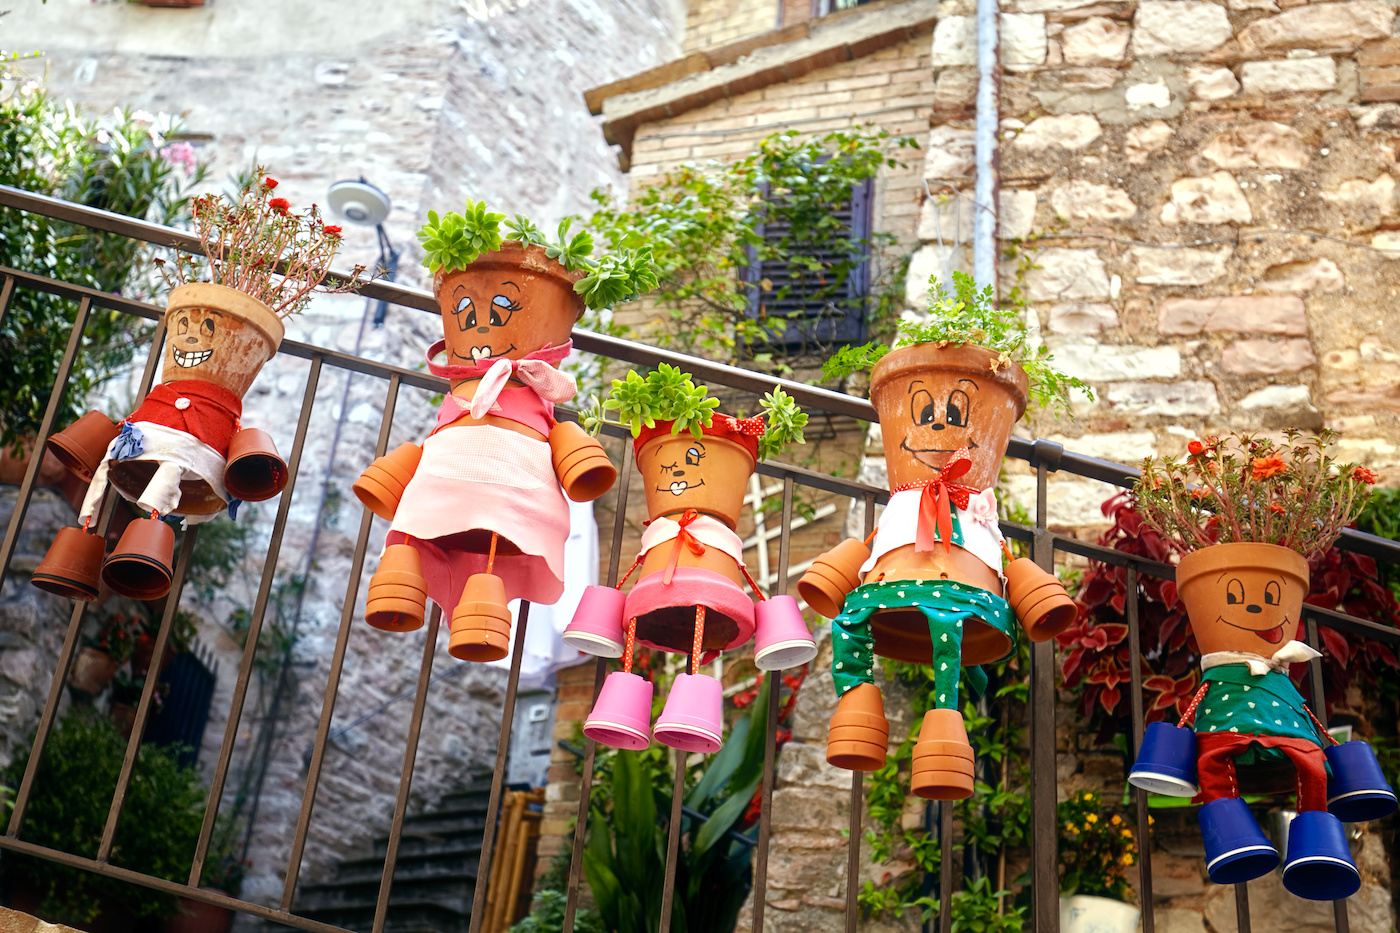
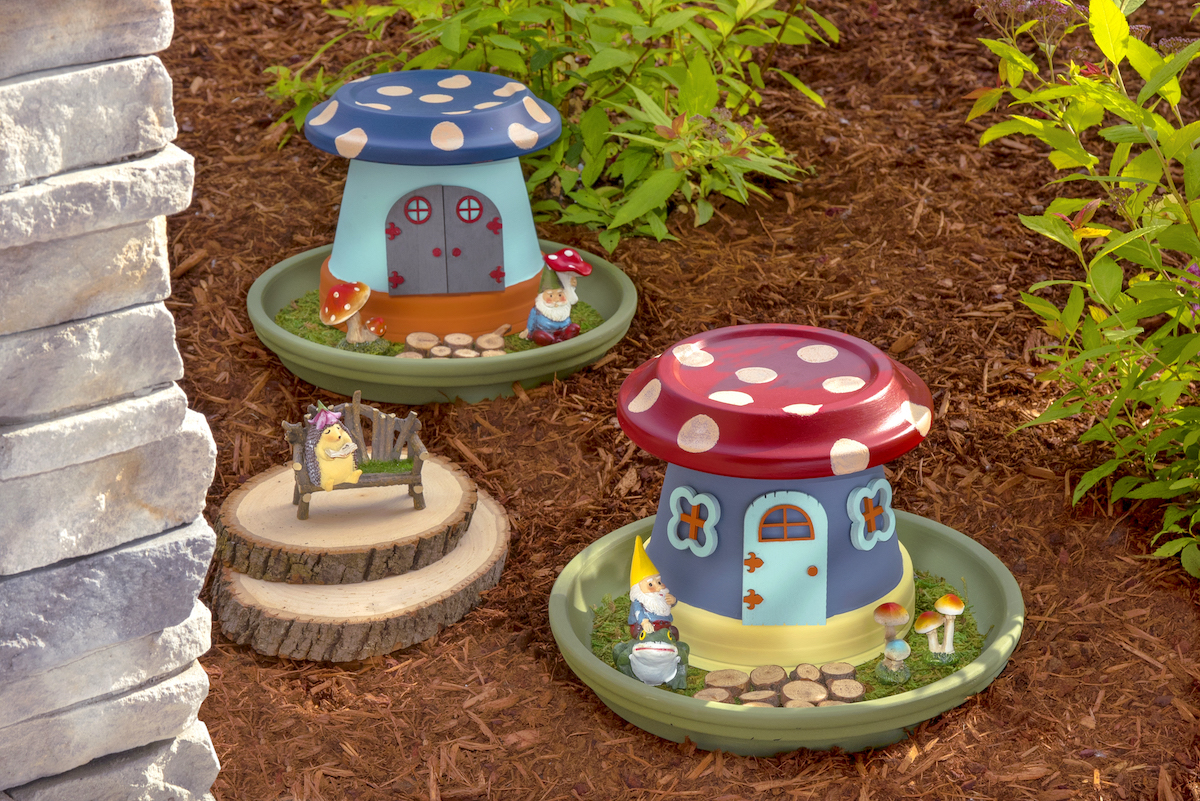
Ideas not limited to but including gift containers, home decor, and crafts (like clay pot animals!).
Tips for Painting Clay Pots
Terra cotta is such a unique surface, and you can use almost any craft supplies with it – paint, Mod Podge, glitter, ribbon, tape, and more.
Every time I see them in the craft or home improvement store I try to think of different projects that I can make. I pulled together a list of brilliant ways to decorate clay pots and thought you might be interested in these ideas as well.
If you’ve never painted pots before, check out these tips because they will be invaluable to making a lasting design.
Is it ok to paint the pots if I’m planting anything?
Yes it is! You’ll need to seal them first – instructions below – but yes, you can paint on them, and it won’t hurt the plants at all. I do recommend using acrylic, waterbased paint for this purpose.
Which paint should I use?
If your terra cotta will be used outdoors, I recommend using either FolkArt Outdoor or FolkArt Multi-Surface paints. Both paint formulas deliver rich color and coverage in a very creamy consistency, making it easy to brush on.
Both formulas were also created to be weather resistant, tested for UV protection, dry to a satin finish and cure to the surface within 48 hours.
If you live in extreme conditions or the item will be in direct sun or rain, I recommend adding an additional acrylic sealer over the design (multiple coats). You can use brush on or spray on. Both will work with paint.
How do you prepare terra cotta pots for painting?
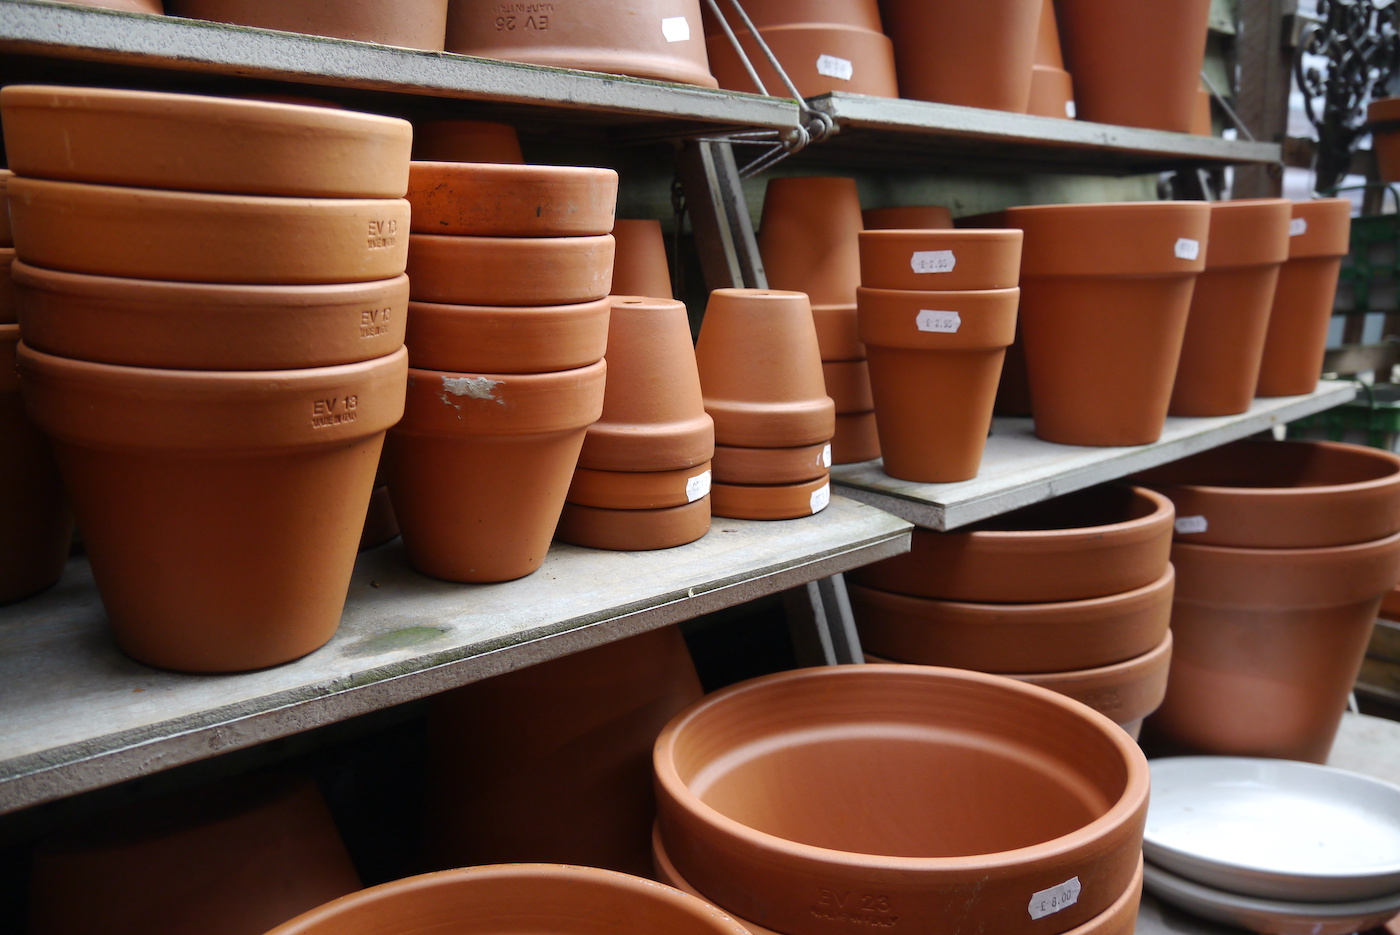
Let’s talk about “new” first, then used. Clay pots found in craft stores, garden shops, and DIY home improvement stores are unglazed and porous. This means they are not waterproof.
Unglazed or unsealed terracotta will draw moisture from the plant and soil, keeping the pot itself moist. Extra moisture may affect the external decoration by causing paint to blister.
In a nutshell? YOU NEED TO SEAL THE INSIDE OF THE POT.
You’re going to carefully seal the INSIDE with a water based acrylic sealer. I can recommend two different sealing techniques:
1. Spray seal the inside of the pot with a couple coats of Clay Pot Sealer. Allow each application to dry before applying the next.
2. Brush on FolkArt Outdoor Sealer over the entire inside. Same idea as option number one, but it’s a brush on versus a spray on.
Once the sealed pot is dry, it is ready for paint. For pots that will be used outdoors, use either an outdoor or multi-surface paint with UV protection. Polyvine Varnish is recommended.
For painted flower pots that will be used inside, use any of the following premium-quality acrylic paints: FolkArt Acrylics, Delta Ceramcoat, or Apple Barrel Acrylic Paint.
Where can I buy clay pots?
They are available at craft stores, home improvement stores, the dollar store, Target, and Walmart (seasonally), and even at the Goodwill.
But what if you want to use old pots? Well – you’ll need to clean them first!
How to clean a used clay pot:
- Be sure to thoroughly clean it first before sealing and decorating.
- Thoroughly remove dirt and salt residue; if needed, scrub the surface with a wire brush.
- Once clean of dirt and debris, soak the flower pot in a solution of 9 parts water to 1 part bleach for 24 hours in order to kill any lingering bacteria (this is optional, but handy if you have really grimy pots with moss and stains!).
- After soaking, thoroughly rinse the pot with clean water and allow it to dry completely. Follow by sealing the inside before decorating.
Are you ready to get the ideas (from paint to decoupage)? Scroll down to learn more and let me know your favorites in the comments!
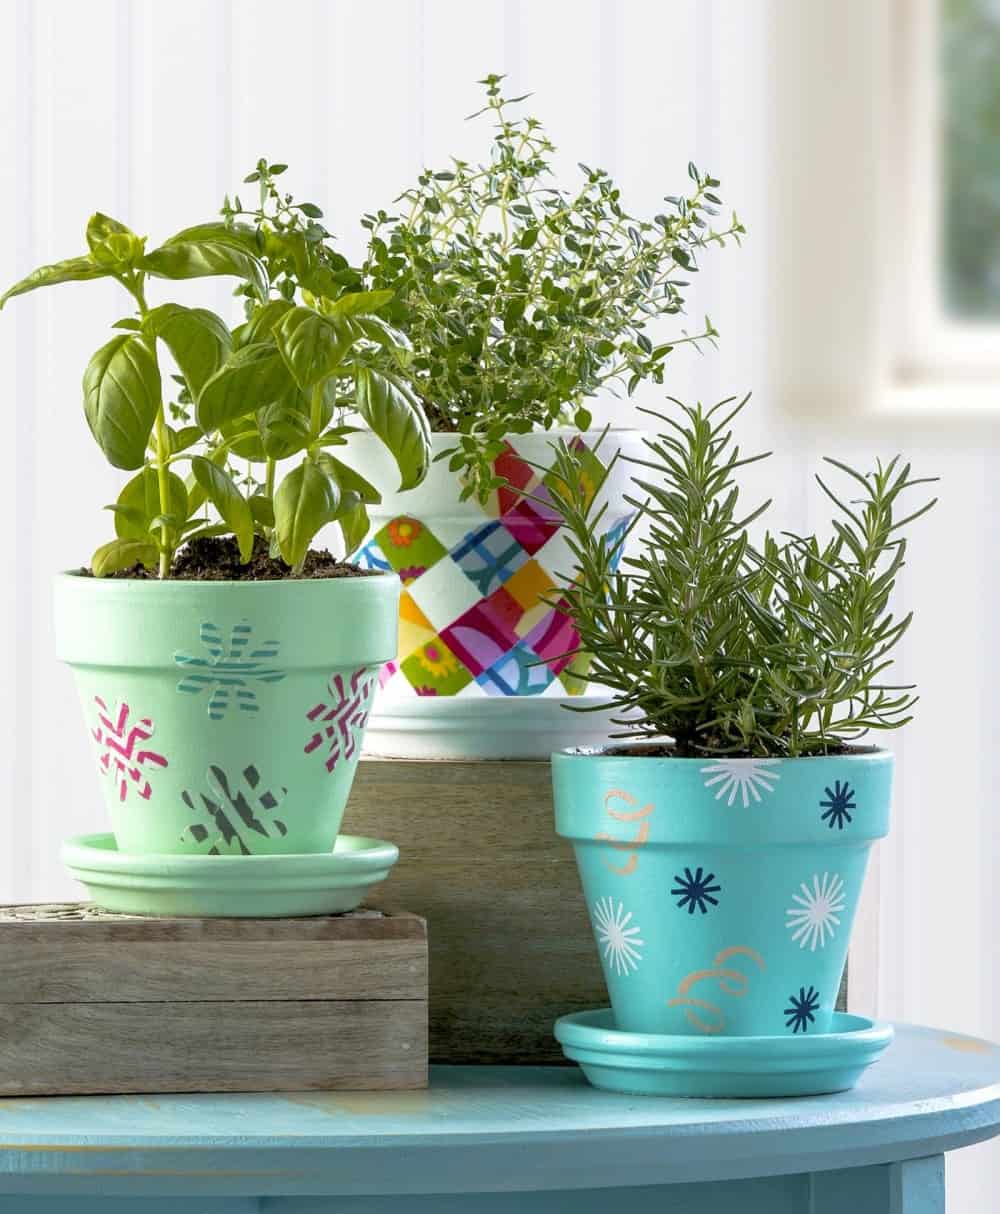


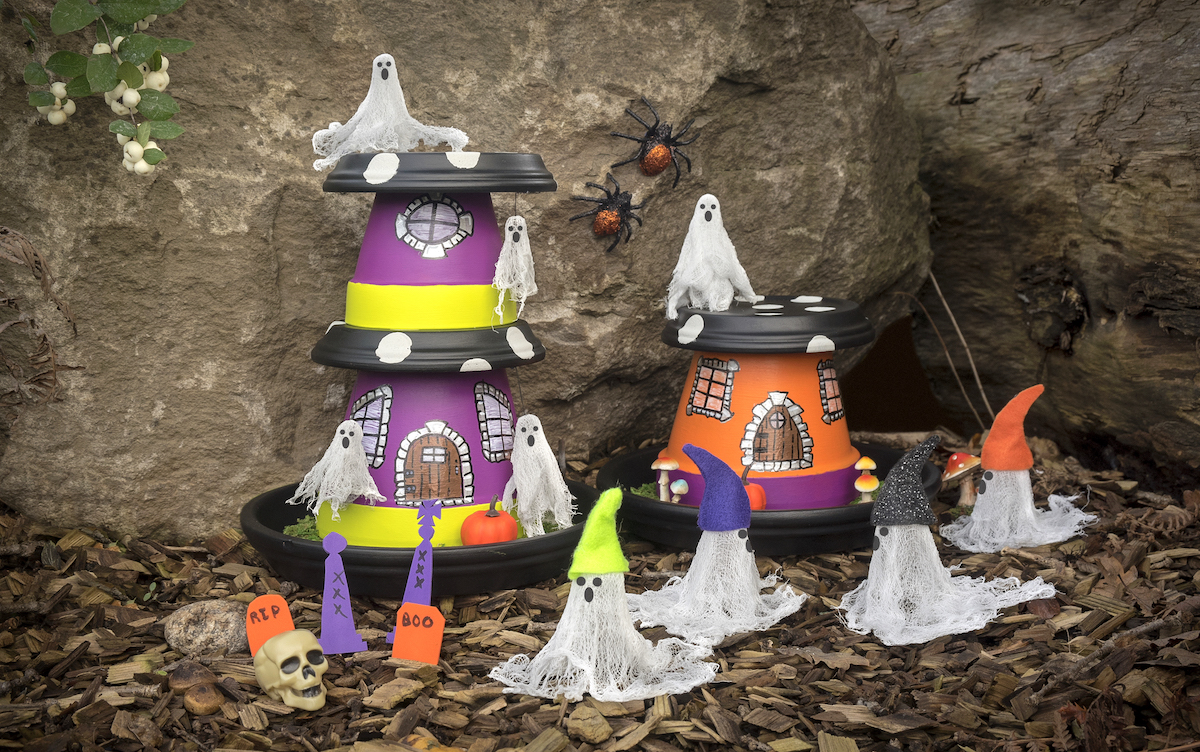
If you enjoyed these ideas, let me know in the comments! I’d also love for you to check out these other posts:
Dried Flower Crafts • End of Summer Crafts • Mason Jar Crafts • Painted Birdhouses • Painted Mason Jars • Paper Lantern Crafts • Pot Decoration



I am going to keep this from you,we could make some for our stall everybody likes the idea for garden.
Love
Thank you!