
Learn all about the Mod Podge Hard Coat formula! Find out what it is, how to use it, and see some unique projects you can make.
I’m really excited to write this article about the Mod Podge Hard Coat formula! Since I first started my decoupage journey eight years ago, this has been one of my favorite Mod Podge formulas.
I know . . . I say that about all the formulas. But seriously, this one is perfect when you need a DURABLE finish for any sort of project that might get a little more wear and tear than average.
So what exactly does that mean?
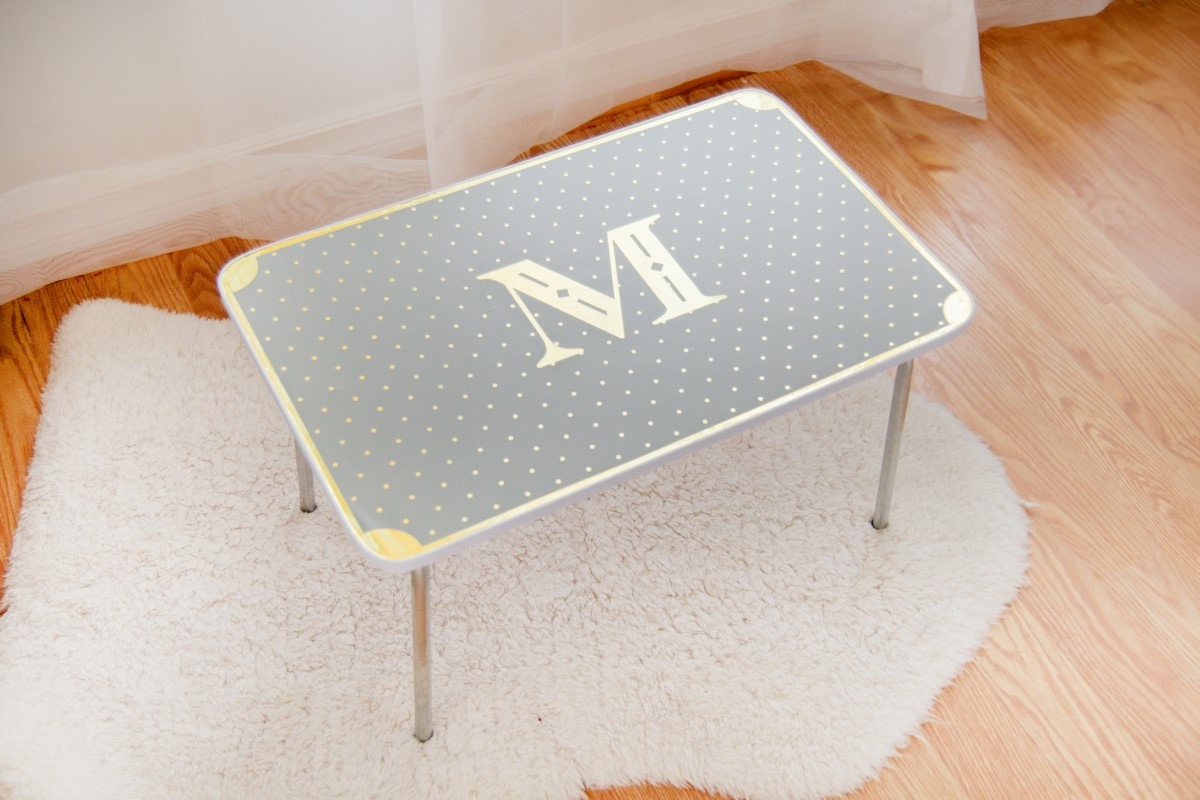
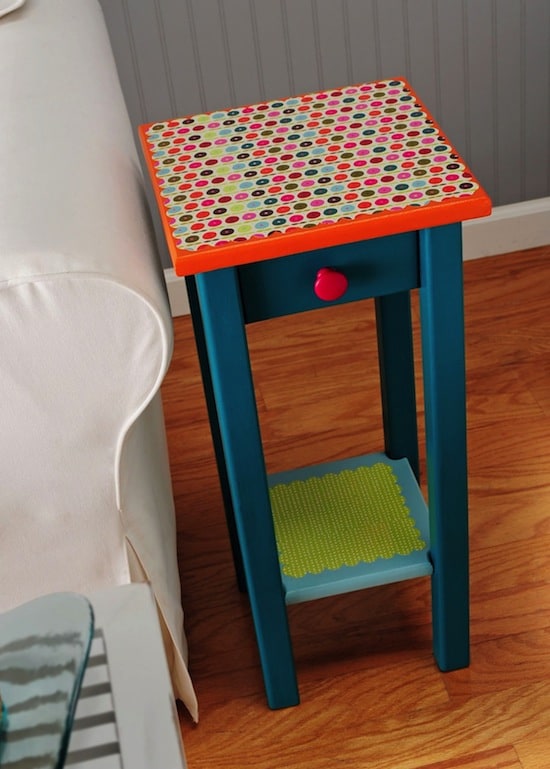
Well, let’s say you make a piece of decoupage wall art. You hang it on the wall and it doesn’t get handled much. Or maybe you decorate bookends and they’ll just be sitting on shelves. In either of those cases and for similar projects, you’d just need Gloss, Matte, or Satin (depending on the finish you prefer).
But sometimes you need something tougher.
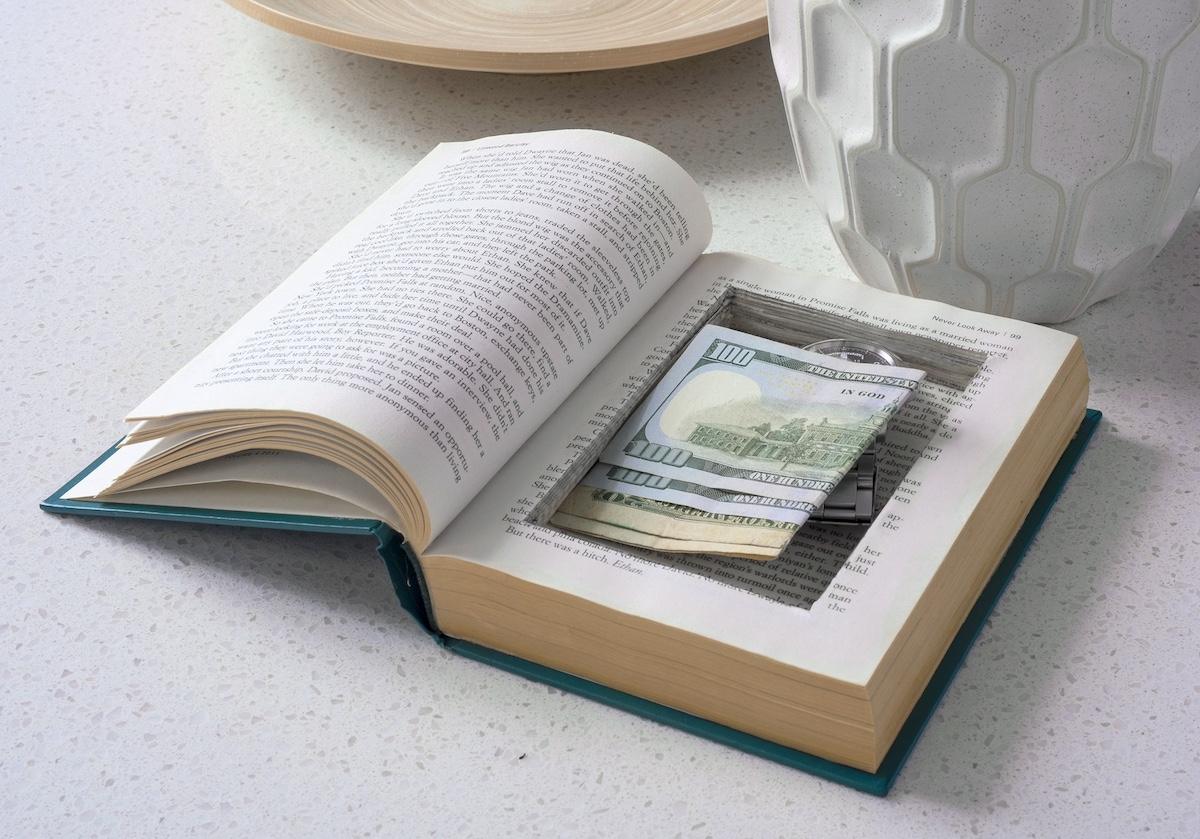
Maybe you’re covered wood blocks with fabric and they’ll be handled by your children. Or you’re Mod Podging a glasses case that you will open and shut every single day.
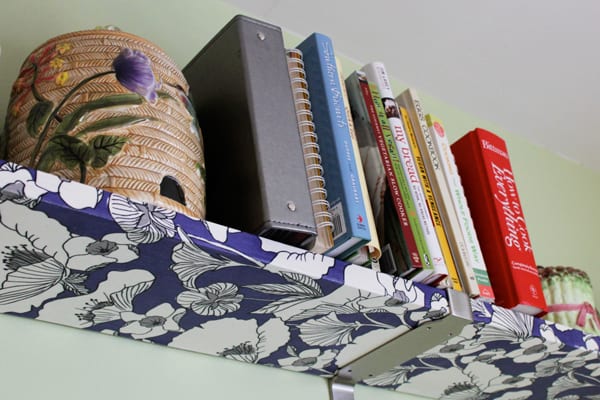
Or you want to put fabric on a bookcase in your kid’s playroom and you know it needs to withstand some wear and tear. That’s when you would use Hard Coat! It is a step above basic Mod Podge . . . it’s tougher.
Mod Podge Hard Coat is a Satin finish (so in between Gloss and Matte). Gloss is shiny – very reflective of light. Matte is flat. The way that these Mod Podge formulas work is nearly the same as wall paint in terms of the sheen and how it is described.
So what THAT means is that Satin is in between Gloss and Matte. It’s not quite shiny . . . but it’s not flat either.
I think the best way to describe it is with a visual. Let me show you:
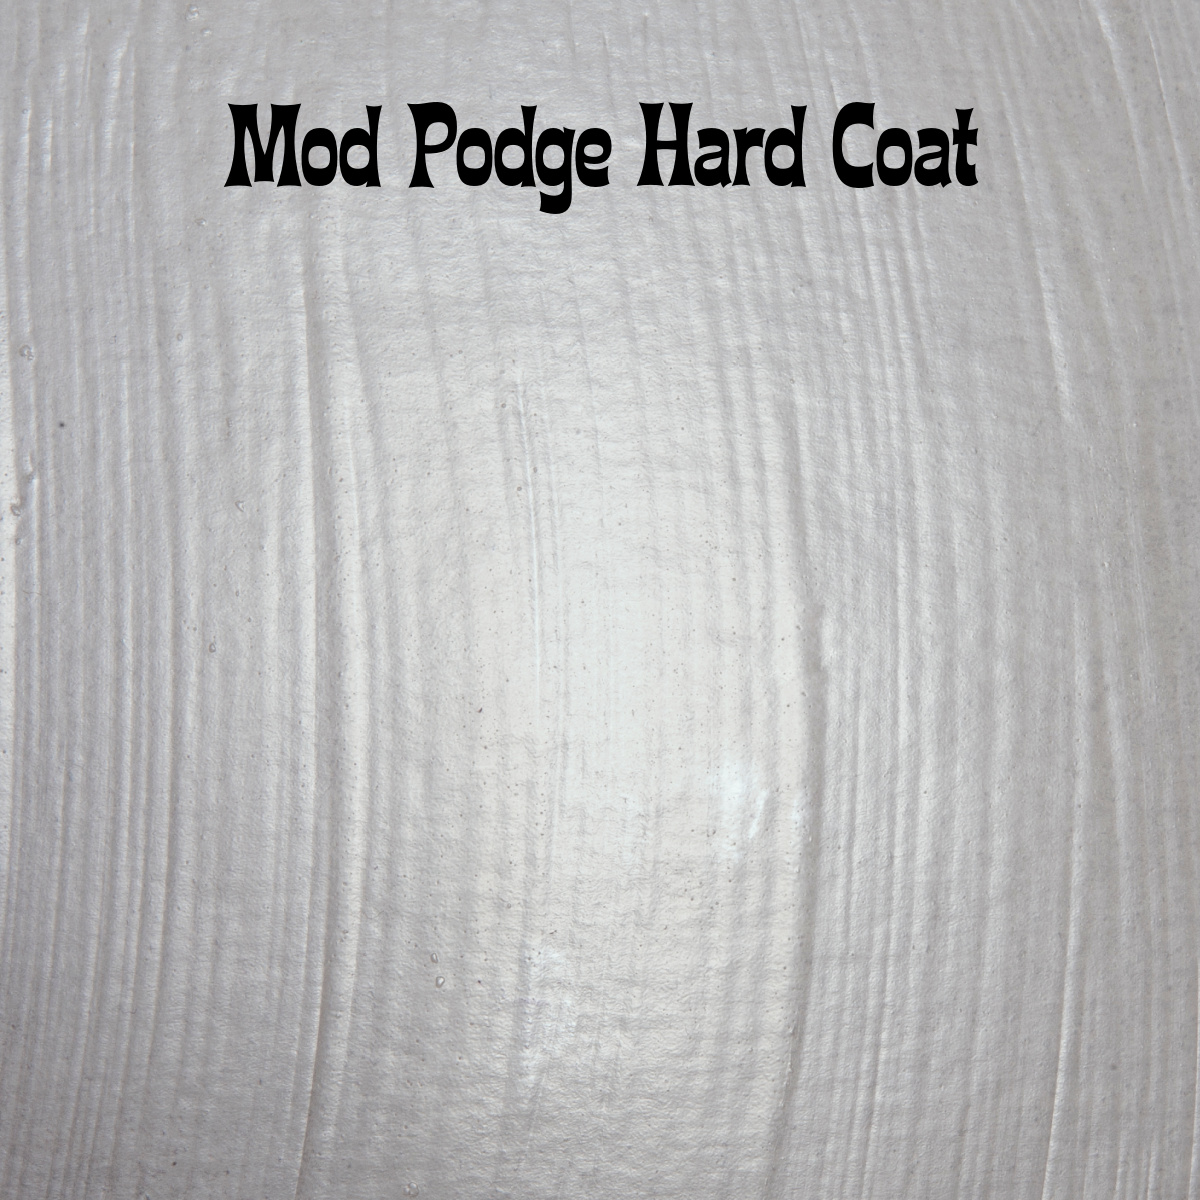
Not only does this formula have a slight sheen – but it feels “soft” and smooth to the touch too. That doesn’t mean it doesn’t dry or that it is soft like a blanket . . . you just have to try it and touch it to know what I’m talking about. This formula is VERY durable.
Are you ready to jump in? Let’s go over everything in the FAQ!
Questions About Mod Podge Hard Coat
1. What is the difference between Mod Podge Hard Coat and other formulas? In the world of decoupage, Gloss, Matte, and Satin are the basic formulas, with the only difference being the finish when dry.
Hard Coat does the same as these formulas BUT it’s tougher. It’s got a Satin finish, so you can consider it to be a VERY tough version of Mod Podge Satin.
2. How do I know WHEN I should use Hard Coat? Well, there’s no hard and fast rule. But I would say if you imagine that the piece will get handled frequently, you should upgrade to this formula from the basic formulas.
Of course, you can use this formula on wall art too. Just because you aren’t going to handle it all the time doesn’t mean you CAN’T use it. I personally use it for anything that’s going to get regular usage.
3. How is it different from Furniture Mod Podge? It isn’t. But here’s the thing – Furniture Mod Podge comes in three different finishes, which Hard Coat doesn’t . . . and the Furniture formula comes in larger bottles, because you’re probably going to need a larger bottle for a lot of furniture pieces.
This formula was developed first, then Mod Podge realized people didn’t understand that “Hard Coat” meant it could be used on furniture too, so they expanded to Furniture Mod Podge.
4. What surfaces can I use this formula on? Wood, canvas, tin, metal, terra cotta, and more. If fabric is your base, use Fabric Mod Podge.
5. How do I create an ultra smooth finish with Hard Coat? For an ultra smooth surface, apply 4 to 5 coats of Mod Podge Hard Coat. When applying the coats, brush in one direction then the other and let dry between coats.
Wet sand with #400 sandpaper and water. Sand finish lightly until ridges are flat and smooth. Wipe dry. If desired add an additional coat of Hard Coat Mod Podge.
6. My Mod Podge surface is sticky after it dries. What do I do? Hard Coat Mod Podge dries clear with a non-tacky surface. Apply a clear acrylic sealer (either brush on or spray) to the surface after it has cured 4 weeks.
7. Do I really have to wait 4 weeks to use my project?? “Dry” is different than “cured.” The bottle instructs that you wait quite awhile for curing. But your project will dry to the touch in hours.
Curing is when the coat reaches its proper hardness, which takes four weeks. It will feel dry the whole time. So as a result, I wouldn’t manhandle your projects completely for four weeks until it’s full cured.
8. Where can I buy Mod Podge Hard Coat? This is a commonly sold formula, but not as widely distributed as the basic formulas. You’ll find it here: Amazon, Walmart, Michaels, Jo-Ann, and Hobby Lobby.
If your local store is small or typically has a limited selection, make sure you call before making a special trip! You’ll probably want to read my guide “where to buy Mod Podge” too.
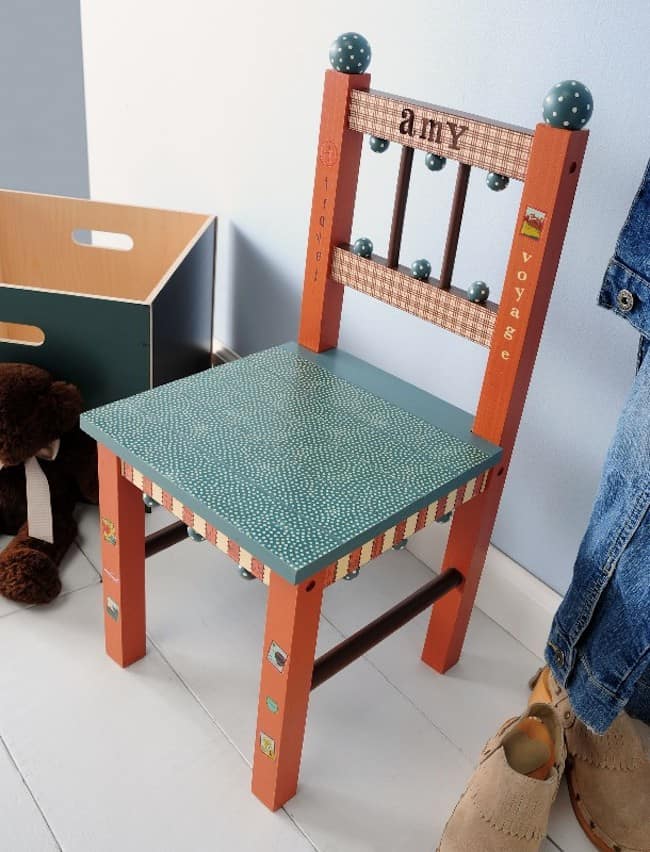
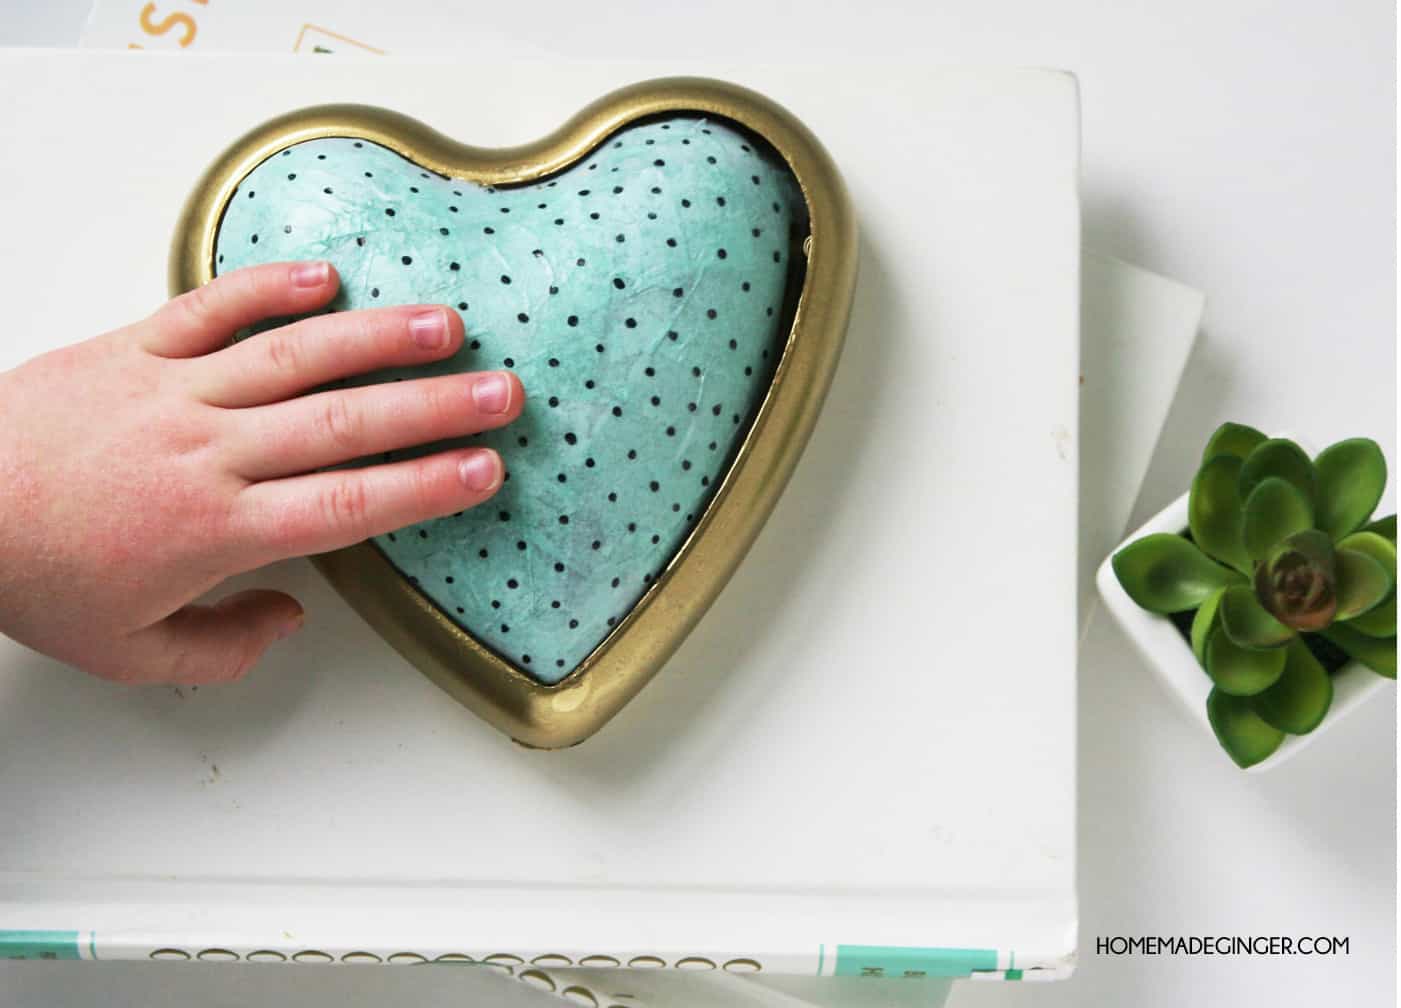
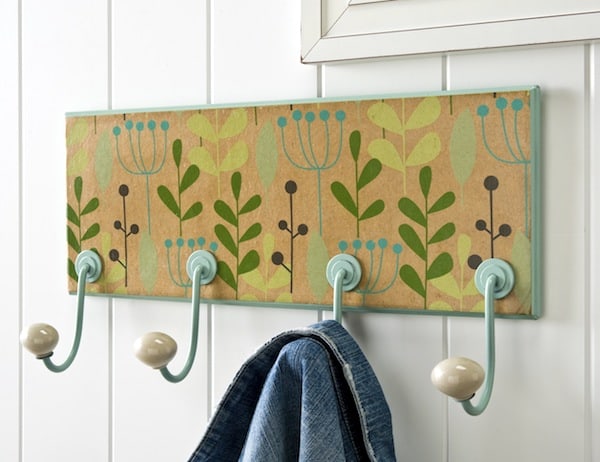
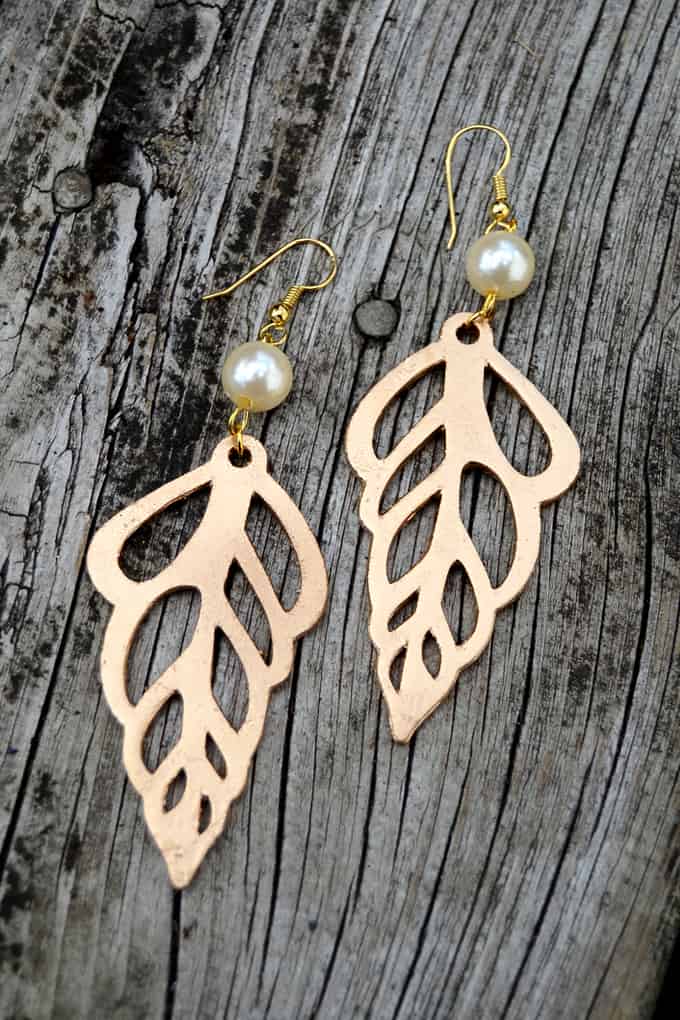
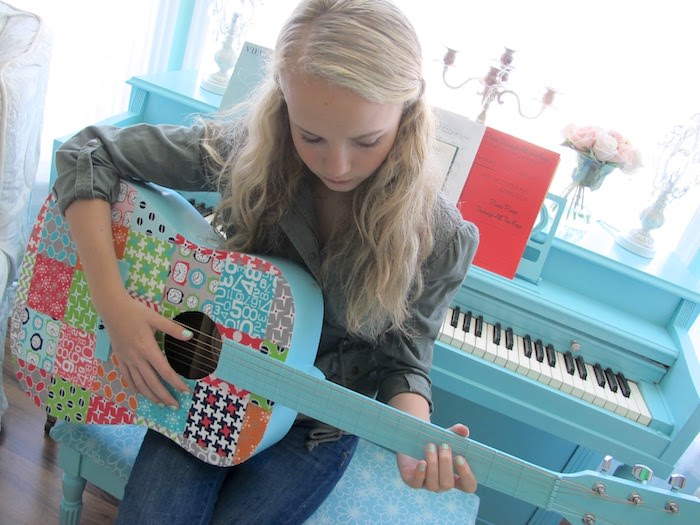
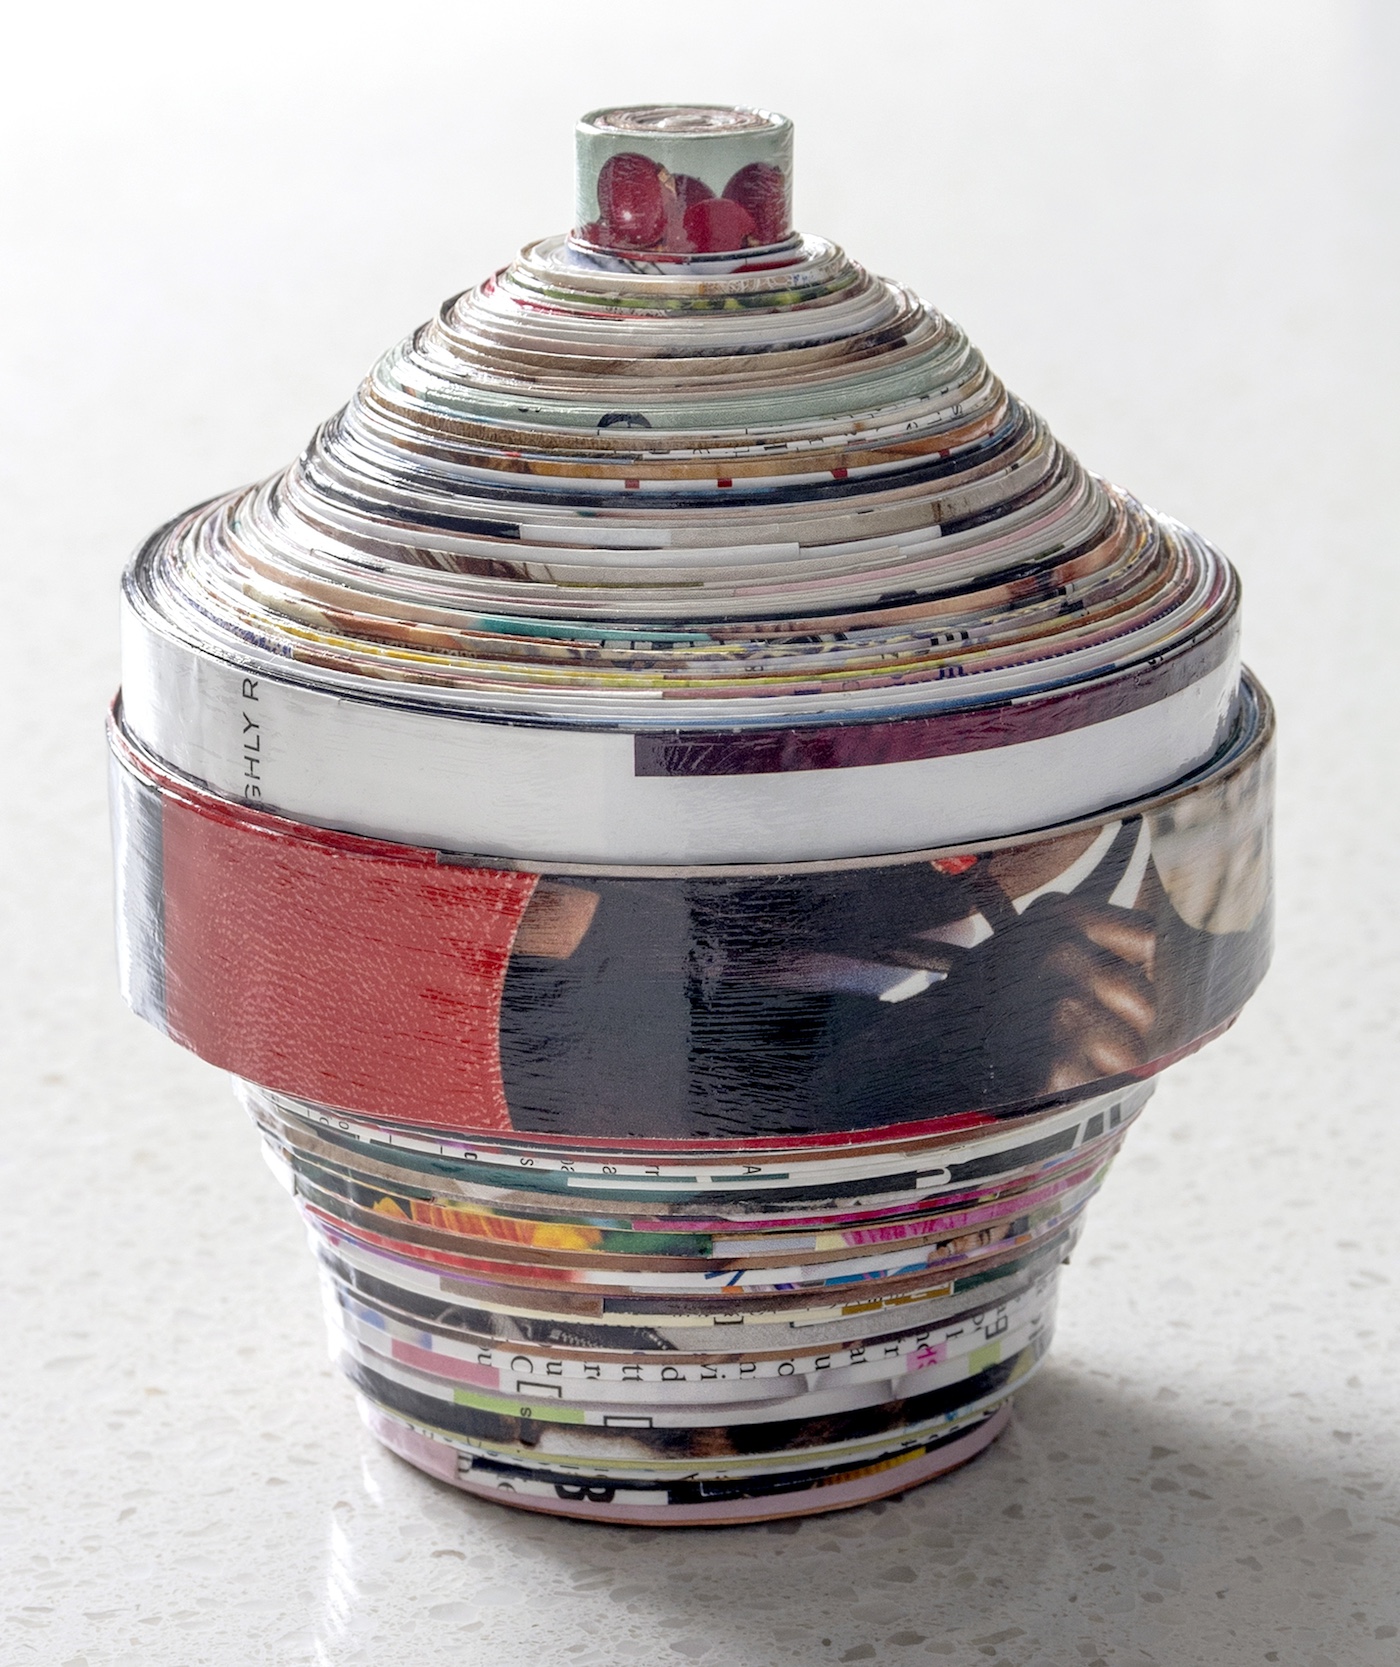
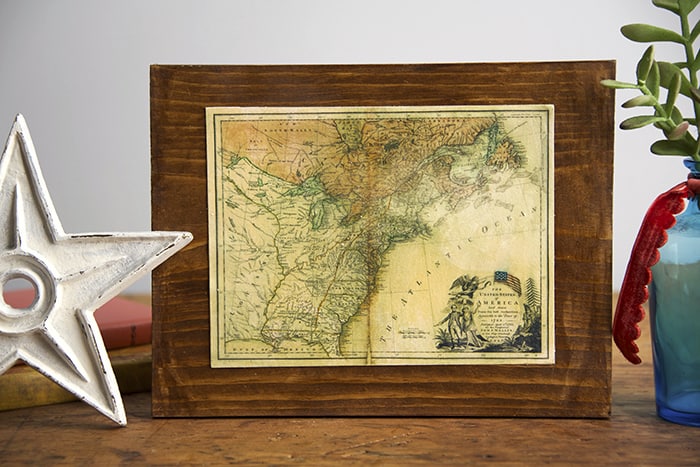
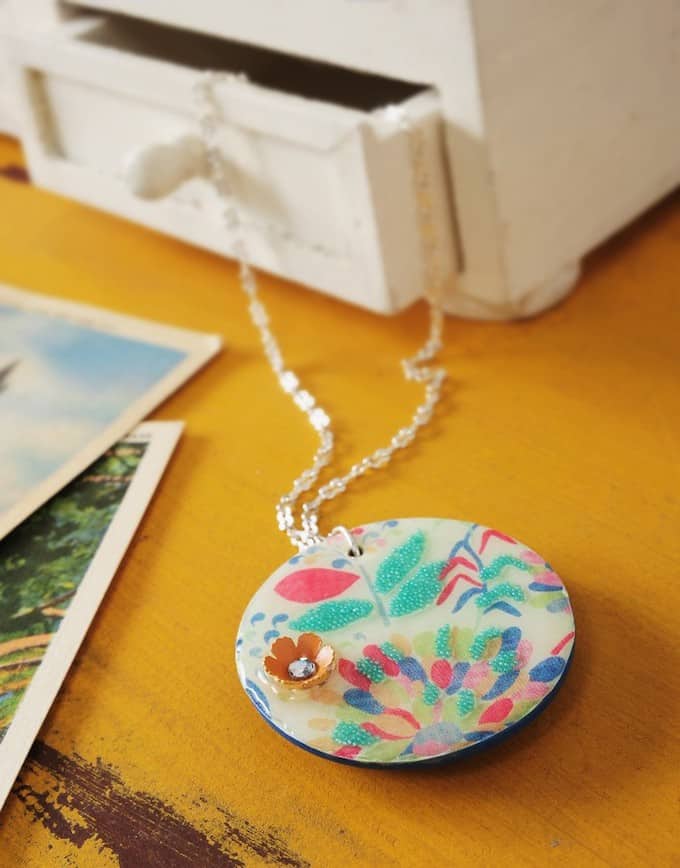
Are you ready for some project ideas using Mod Podge Hard Coat? Check these out!


Let me know what you think in the comments! I’d also love for you to check out these other formula guides:
Brushstroke • Dishwasher Safe • Extreme Glitter • Glow in the Dark • Outdoor • Sparkle • Super Matte • Dimensional Magic • Photo Transfer Medium • Puzzle Saver • Stiffy • Ultra


Hi! Hope you are well. Thank you for this article.
Would this be suitable for coatng jewellery wire?
I am looking for a sealant for wire pendants and necklaces, that is safe against skin.
Thank you.
Hi Keri! My pleasure. Mod Podge is a sealer but more for decoupage items. I would get something specific to metal: https://www.amazon.com/ProtectaClear-Clear-Protective-Coating-Metal/dp/B01DCU12PG/
Can the mod podge hard coat be used on decorated drinking tumblers?
Hi Angela! You’ll want to use resin for tumblers: https://plaidonline.com/projects/resin-tumblers
Mod Podge Dishwasher Safe is another option but tumblers are tricky. They are typically plastic which would require the resin.
Would the hard coat be good for covering plexiglass clipboards?
Also, can it be used as a sealant for acrylic paint on a faux leather planner?
Hi Miss Lee! I would just use a spray sealer for these uses, since you aren’t really decoupaging. Yes, Mod Podge is a sealer, but for decoupage . . . you can just spray if you’re not doing that 🙂
THANKS for all the new ideas.
Right now my question is will hard coat work for a crackle finish on a wood box ?
Hi Kathy! Yes it would. I usually use a crackle medium as opposed to Mod Podge to make crackle. But Hard Coat works like the basic Mod Podges!
I used this to cover wooden platforms and hideouts for my hamster, so that if he pees on in it will not stain the wood. I’m not sure however, whether I should wait the full four weeks or if it is okay to put it in his enclosure. Hope anyone can help me.
It’s okay to go ahead and put in his enclosure. Fully cured is different than dried. It’s just four weeks until the polymers are fully bonded. You’re good!
@Noor, What a good idea!
I need to do this for my guinea pigs.
I painted coasters with acrylic paint. Look great, but when I use them for cold drinks, the glass/can/bottle sticks to the coaster. Will this solve that problem?
Hi Susan! Since you aren’t decoupaging, I’d just use something like this that will protect from hot and cold: https://www.vhtpaint.com/high-heat/vht-engine-enamel
You can get it at an auto parts store or something similar (high heat rustoleum for example) from the hardware store.
I need something that drys hard like glass. I am making easter eggs with wool over a balloon and need it to dry hard?? Suggestions?
Hi Annie! Stiffy is going to be your best product for this purpose. You can see how I made doily bowls with it here: https://modpodgerocksblog.com/mod-podge-stiffy-doily-bowl/
ModPodge is my go to for everything I make. But now I’m stumped with a project.
I am making tissue paper bowls. I use the matte finish ModPodge for glueing all the tissue paper together in a mold. When I pull it, off the shape holds but it’s not firm. It’s very flexible. Do you think that the Hard Coat would make it hard? I want the bowls to hold their shape and be hard.
Thank you for ModPodge!!!!!
Hi Marilyn! No, the Hard Coat won’t make tissue hard. What I think will work better is Stiffy: https://modpodgerocksblog.com/mod-podge-stiffy-doily-bowl/
It makes my doilies pretty hard. Disclaimer that I have never used it with tissue paper so I’d be slightly worried about bleeding. But that is a project that makes things stiffer than Mod Podge!
Is it heat resistant for coasters
It is not. You’ll need to use a clear engine enamel! I mean it can resist a little bit of heat, but a boiling hot mug or pan will stick.
@Amy, Hi Amy, I have built a trunk that I am fixing photos to the lid.
Prepped ink jet pics (40lb paper) w several coats MP acrylic spray front & back. Let them dry for a couple days. They are quite stiff
Just attached them to lid with MP Furniture Gloss. (There will be a few items laid on top of this finished trunk.) I have yet to add the initial top coat. I have a 2nd btl of Furniture, should I exchange that Furniture for Hard Coat? Or can I continue to apply multiple coats of Furniture?
Also I will finish in a water soluble top coat.
I would like to be able to lay lightweight items on top w/in 3 weeks.
Than you.
Hi Pam! I have an article on Furniture – it’s the same as Hard Coat, so you’re fine. 🙂 You can continue to apply Furniture, and yes, you can lay lightweight items on top in three weeks. Thank you for the great questions!
I am a little confused on which modge podge product or products to use on different things. When I cover a piece of furniture in fabric do I need fabric modge podge, hard coat modge podge? I watched your video on covering the bookshelves with fabric and you didn’t say anything about fabric modge podge but you did say to cover the shelves in matte modge podge. I am also confused about when do you cover both sides before you stick them together? If you need satin modge podge but only have matte and gloss if you mix them together will it make satin?
Hi Laura! Let me try to help answer your questions! First, I did a table here with fabric: https://modpodgerocksblog.com/decoupage-a-table/
The only time you really need to use Fabric Mod Podge is when adhering fabric to fabric.
I had Fabric Mod Podge, so I prepped the fabric with that formula for my table. If you don’t have it, just use the Hard Coat to prep the fabric as well as to adhere it.
Technically, you can use Matte or Gloss Mod Podge too – but I recommend an additional sealer for those to make it tougher. Hard Coat, you can use alone.
I’ve tried to mix Matte and Gloss and it just comes out more Matte in areas and Gloss in areas. You have to mix REALLY good.