
Learn all about the Mod Podge Hard Coat formula! Find out what it is, how to use it, and see some unique projects you can make.
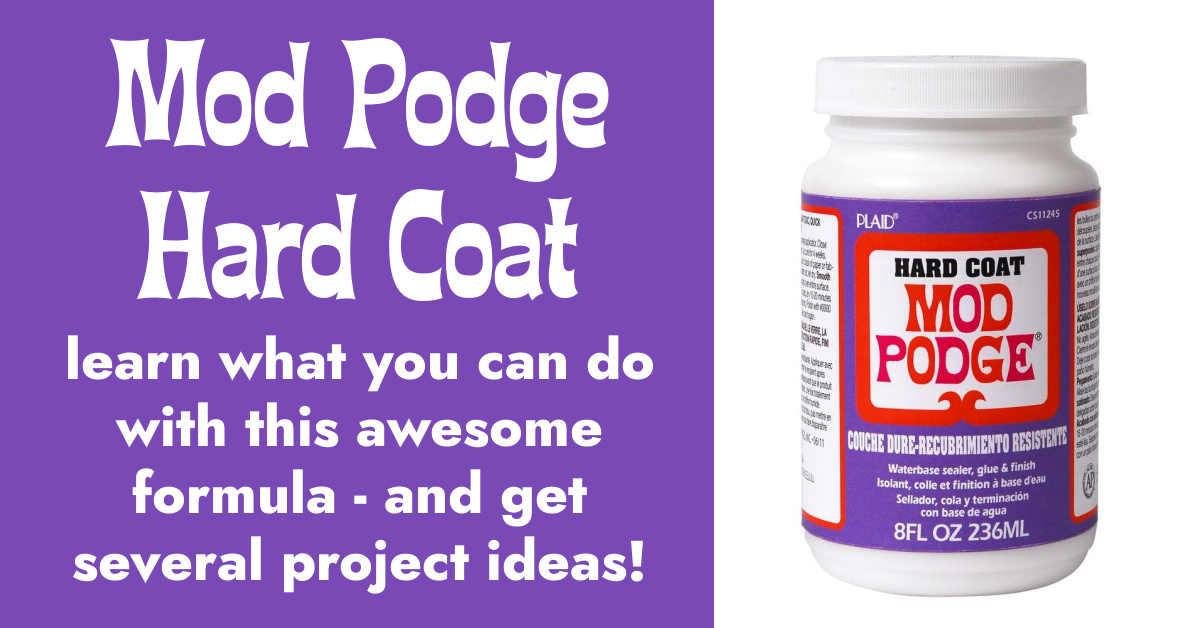
I’m really excited to write this article about the Mod Podge Hard Coat formula! Since I first started my decoupage journey eight years ago, this has been one of my favorite Mod Podge formulas.
I know . . . I say that about all the formulas. But seriously, this one is perfect when you need a DURABLE finish for any sort of project that might get a little more wear and tear than average.
So what exactly does that mean?
Well, let’s say you make a piece of decoupage wall art. You hang it on the wall and it doesn’t get handled much. Or maybe you decorate bookends and they’ll just be sitting on shelves. In either of those cases and for similar projects, you’d just need Gloss, Matte, or Satin (depending on the finish you prefer).
But sometimes you need something tougher.
Maybe you’re covered wood blocks with fabric and they’ll be handled by your children. Or you’re Mod Podging a glasses case that you will open and shut every single day.
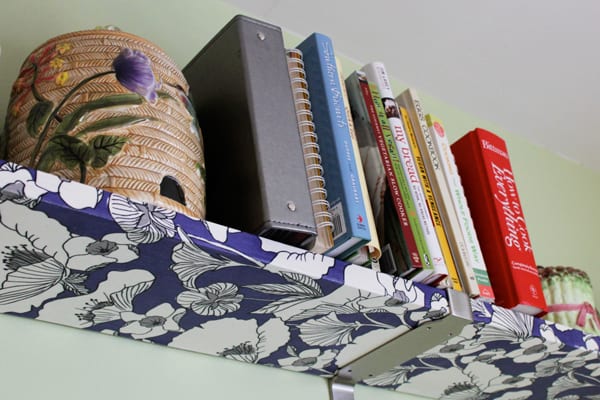
Or you want to put fabric on a bookcase in your kid’s playroom and you know it needs to withstand some wear and tear. That’s when you would use Hard Coat! It is a step above basic Mod Podge . . . it’s tougher.
Mod Podge Hard Coat is a Satin finish (so in between Gloss and Matte). Gloss is shiny – very reflective of light. Matte is flat. The way that these Mod Podge formulas work is nearly the same as wall paint in terms of the sheen and how it is described.
So what THAT means is that Satin is in between Gloss and Matte. It’s not quite shiny . . . but it’s not flat either.
I think the best way to describe it is with a visual. Let me show you:
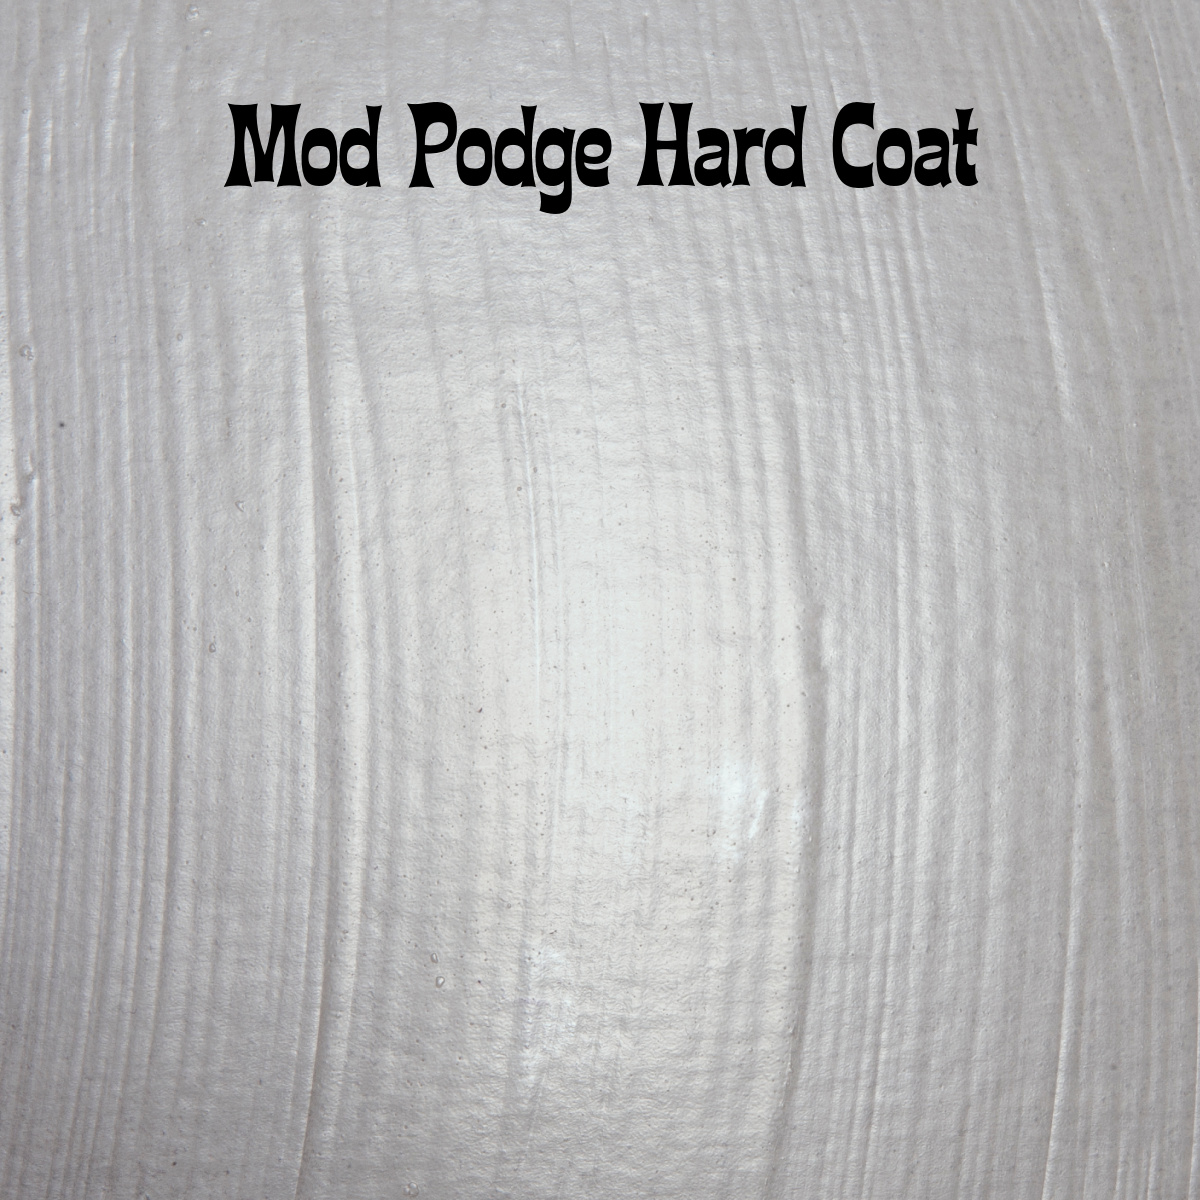
Not only does this formula have a slight sheen – but it feels “soft” and smooth to the touch too. That doesn’t mean it doesn’t dry or that it is soft like a blanket . . . you just have to try it and touch it to know what I’m talking about. This formula is VERY durable.
Are you ready to jump in? Let’s go over everything in the FAQ!
Questions About Mod Podge Hard Coat
1. What is the difference between Mod Podge Hard Coat and other formulas? In the world of decoupage, Gloss, Matte, and Satin are the basic formulas, with the only difference being the finish when dry.
Hard Coat does the same as these formulas BUT it’s tougher. It’s got a Satin finish, so you can consider it to be a VERY tough version of Mod Podge Satin.
2. How do I know WHEN I should use Hard Coat? Well, there’s no hard and fast rule. But I would say if you imagine that the piece will get handled frequently, you should upgrade to this formula from the basic formulas.
Of course, you can use this formula on wall art too. Just because you aren’t going to handle it all the time doesn’t mean you CAN’T use it. I personally use it for anything that’s going to get regular usage.
3. How is it different from Furniture Mod Podge? It isn’t. But here’s the thing – Furniture Mod Podge comes in three different finishes, which Hard Coat doesn’t . . . and the Furniture formula comes in larger bottles, because you’re probably going to need a larger bottle for a lot of furniture pieces.
This formula was developed first, then Mod Podge realized people didn’t understand that “Hard Coat” meant it could be used on furniture too, so they expanded to Furniture Mod Podge.
4. What surfaces can I use this formula on? Wood, canvas, tin, metal, terra cotta, and more. If fabric is your base, use Fabric Mod Podge.
5. How do I create an ultra smooth finish with Hard Coat? For an ultra smooth surface, apply 4 to 5 coats of Mod Podge Hard Coat. When applying the coats, brush in one direction then the other and let dry between coats.
Wet sand with #400 sandpaper and water. Sand finish lightly until ridges are flat and smooth. Wipe dry. If desired add an additional coat of Hard Coat Mod Podge.
6. My Mod Podge surface is sticky after it dries. What do I do? Hard Coat Mod Podge dries clear with a non-tacky surface. Apply a clear acrylic sealer (either brush on or spray) to the surface after it has cured 4 weeks.
7. Do I really have to wait 4 weeks to use my project?? “Dry” is different than “cured.” The bottle instructs that you wait quite awhile for curing. But your project will dry to the touch in hours.
Curing is when the coat reaches its proper hardness, which takes four weeks. It will feel dry the whole time. So as a result, I wouldn’t manhandle your projects completely for four weeks until it’s full cured.
8. Where can I buy Mod Podge Hard Coat? This is a commonly sold formula, but not as widely distributed as the basic formulas. You’ll find it here: Amazon, Walmart, Michaels, Jo-Ann, and Hobby Lobby.
If your local store is small or typically has a limited selection, make sure you call before making a special trip! You’ll probably want to read my guide “where to buy Mod Podge” too.
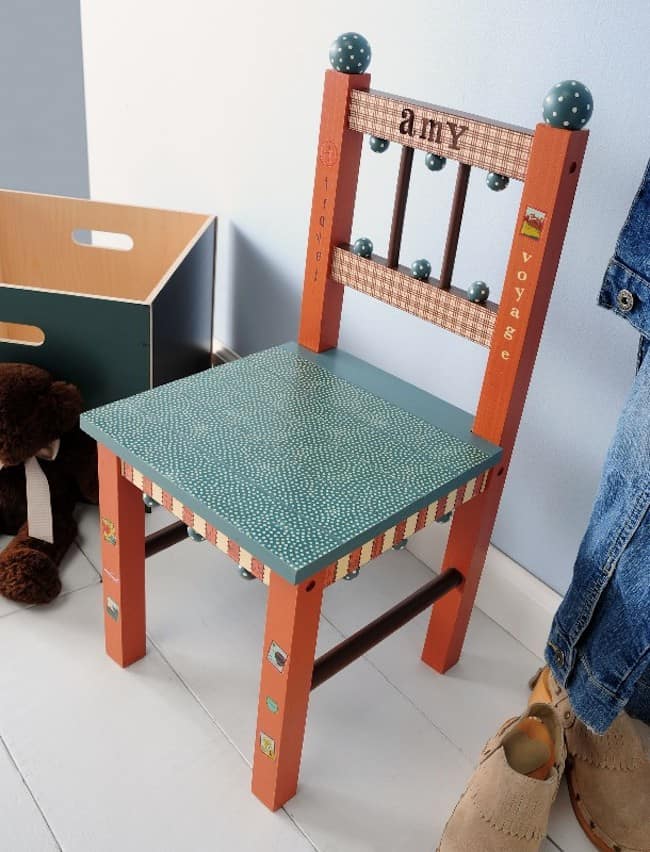
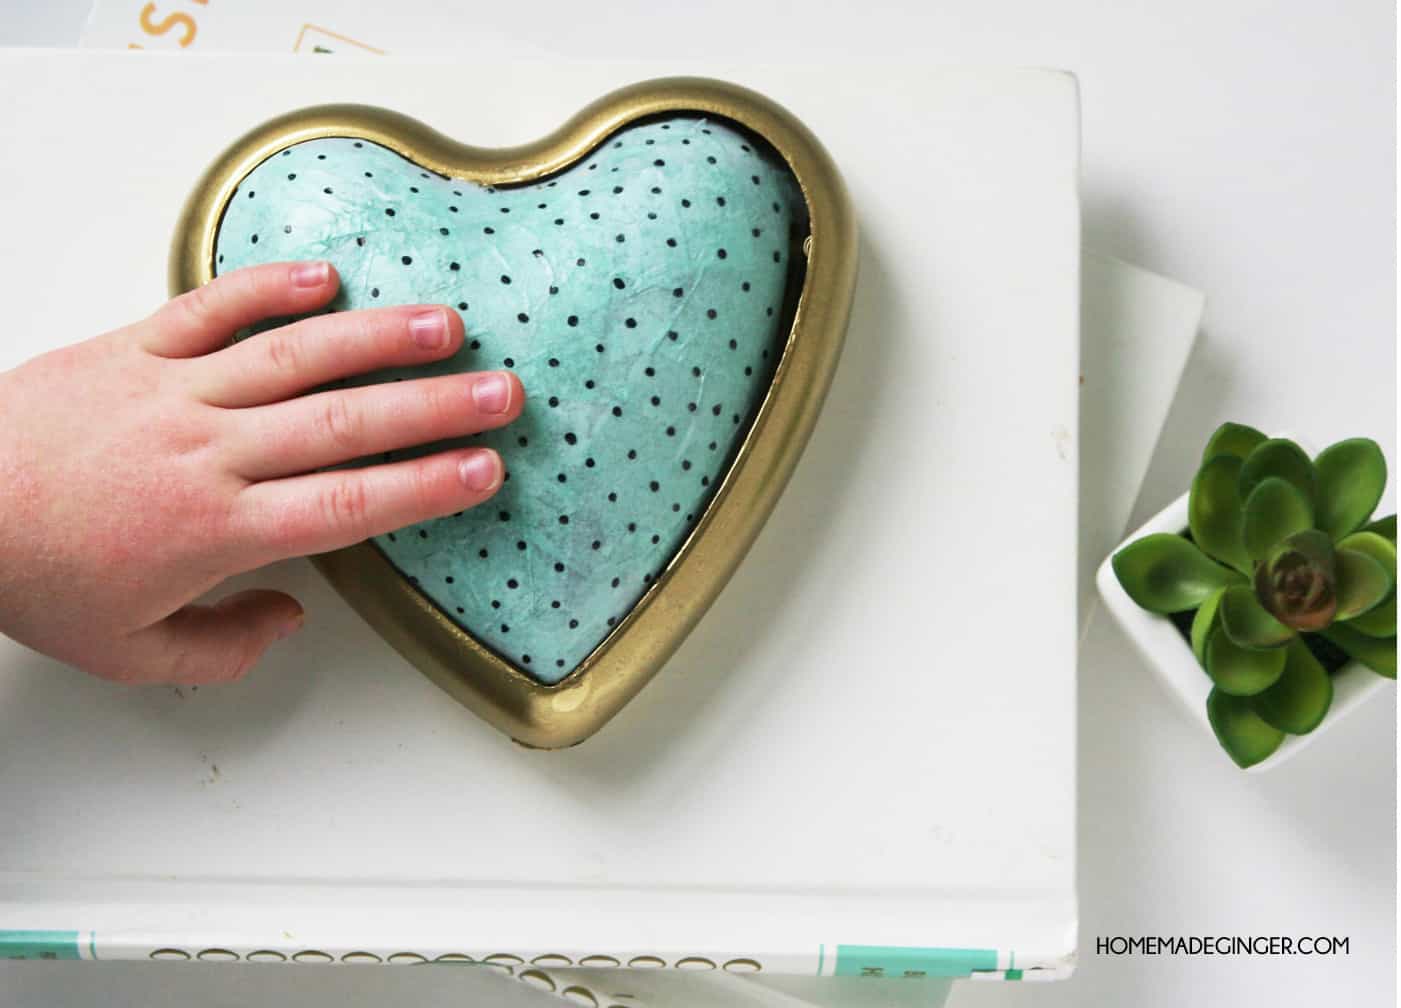
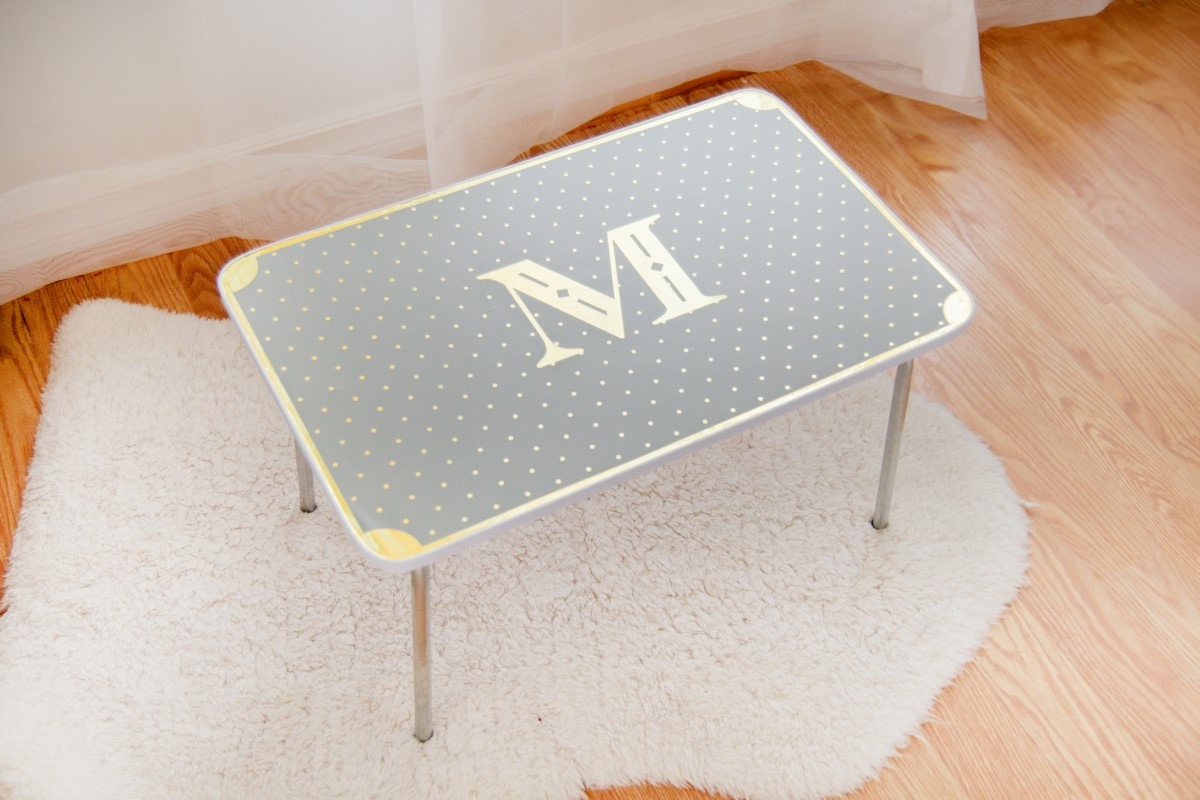
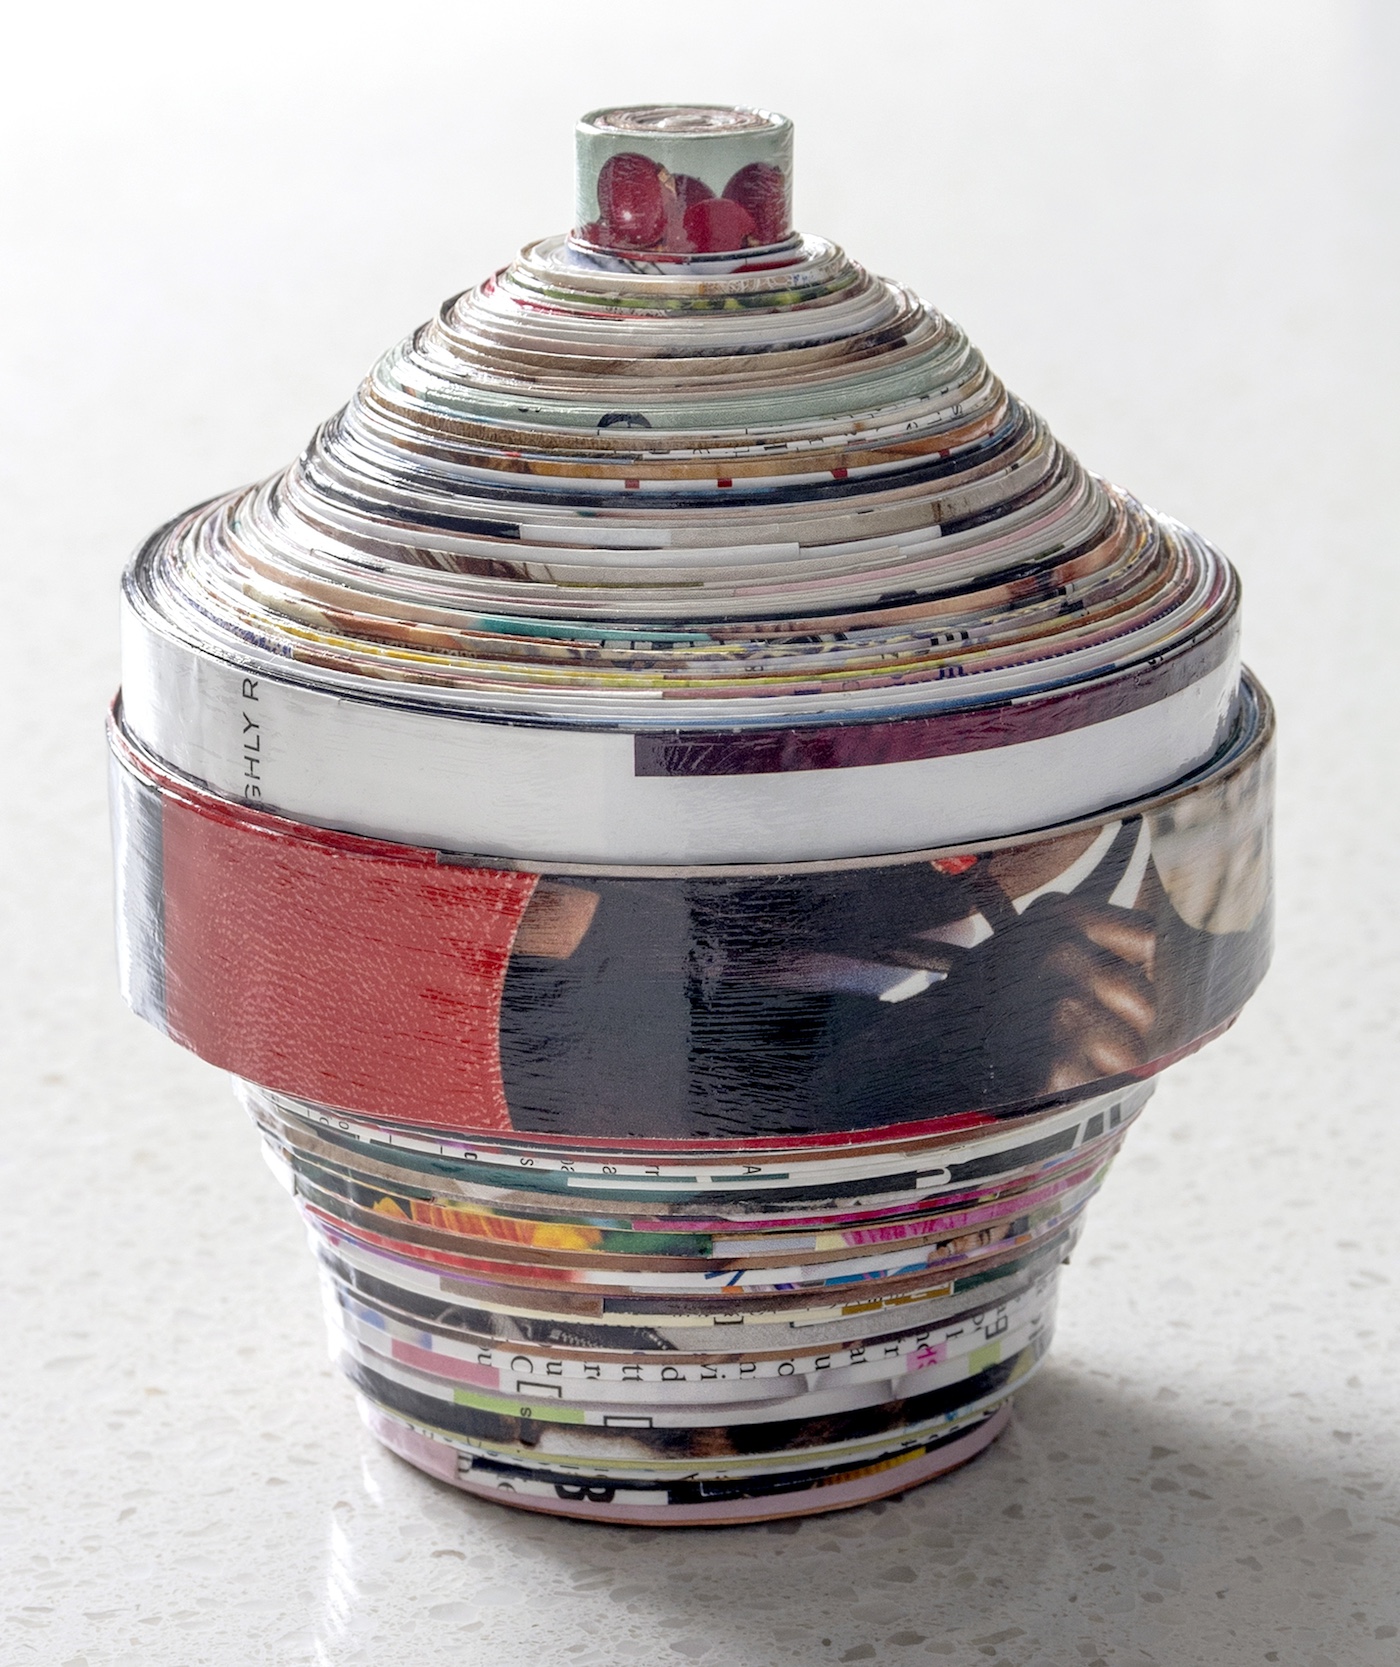
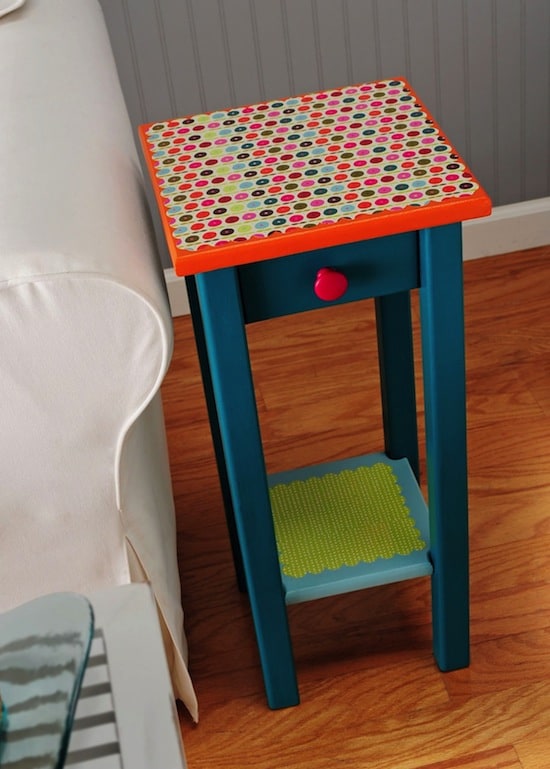
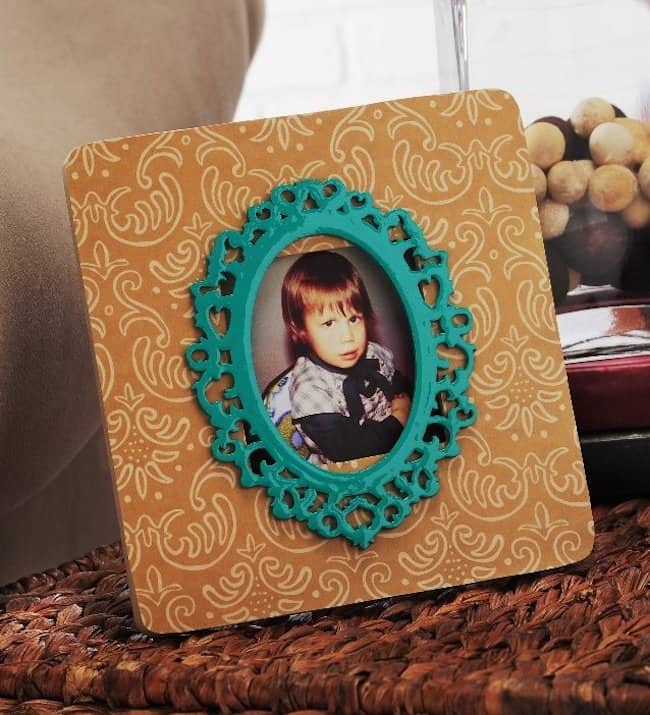
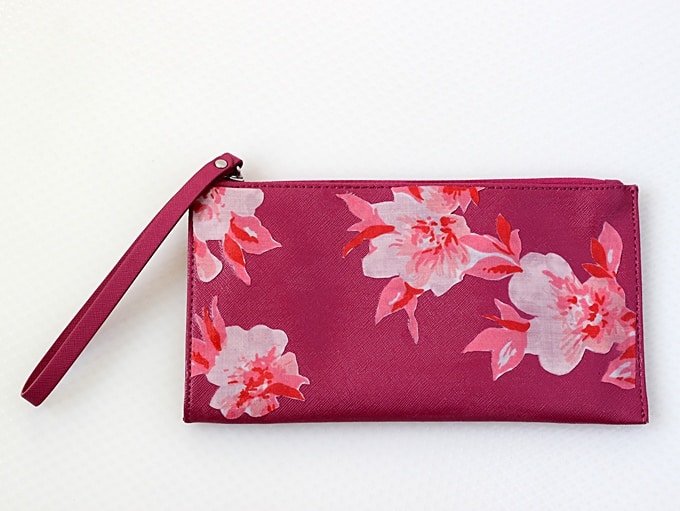
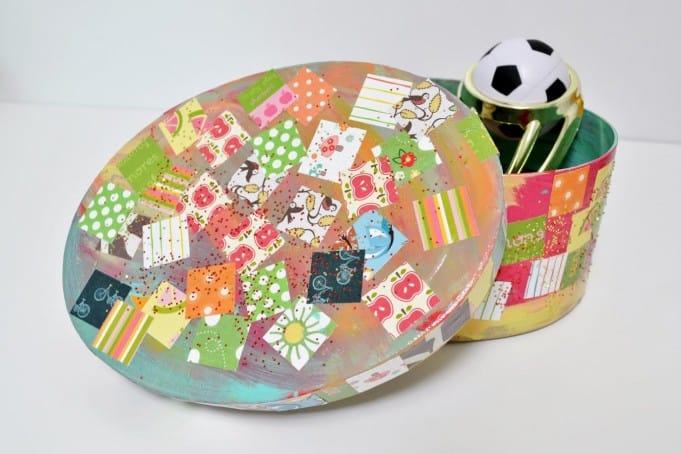
Are you ready for some project ideas using Mod Podge Hard Coat? Check these out!


Let me know what you think in the comments! I’d also love for you to check out these other formula guides:
Brushstroke • Dishwasher Safe • Extreme Glitter • Glow in the Dark • Outdoor • Sparkle • Super Matte • Dimensional Magic • Photo Transfer Medium • Puzzle Saver • Stiffy • Ultra


I am wanting to decoupage my vertical blinds. I want to be able to dust them and wipe them clean when needed. Is the hard coat the best way to go. I used the fabric modge podge on some and when I ran out I just used Elmer’s glue stick to hold the fabric in place until I buy more modge podge. I am thinking the hard coat would be a better option but not sure if it’s ok to use over the ones I’ve already got done.
Thank you
Hi Annie! Yes it is okay to use over the ones you already have done. It’s going to be better than the fabric actually, which is only meant to be used for fabric to fabric items that will be washed.
Hello! I am painting some wood boxes and decorating with glitter and vinyl stickers. My plan was to use gesso, acrylic paint, then mix the glitter with hard coat MP and apply in thin coats, and finally add the vinyl stickers on top (and possibly one more coat of HC MP to seal). I’m wondering if HC MP is a sealer itself, why do you recommend a spray acrylic sealer in question number 6 in the post? I’m trying to avoid sprays if possible because I live in an apartment and have no outdoor space where I can safely spray without risking damage to rental property. Will the HC MP alone be adequate for sealing? Thanks so much for your advice!
Hi Rachel! The reason is because some people want some extra durability . . . and sometimes the Mod Podge can remain a little bit tacky in certain climates for awhile, so people like to speed that up. You don’t *have* to use it. So you’ll be fine with just the Hard Coat!
I made a trivet that I’d like to use for hot dishes. Is there a mod podge I could use to withstand the heat? The dishwasher safe one or the hard coat?
No Mod Podges are high heat resistant. A lot of people use resin or Engine Enamel (found at auto supply stores) on top of their trivet creations. But even those only go so high in their heat resistance. You can either let stuff cool right when it comes out of the oven and then put it on the trivet (it can still be hot, just not blazing hot). There are also high heat resins: https://acrylgiessen.com/en/high-temperature-epoxy/
My daughter decoupaged a TV tray using a Tshirt. 2 coats of regular ModPodge, then one hard coat. It turned out great! We did the next one together for the 2 coats, then she had to leave. So I did the hard coat alone, the next day, and I think I put it on too thick. (The hard coat is also old, but worked fine on the one she did) It’s been drying 2 days now and has a white haze over it. Is there a way to fix this? I really hope I can save this important Tshirt. Thanks!
Hi Deborah! Hmmm – I’d like to see pictures. If it was applied too thick and didn’t dry clear, you can sand in those areas with #0000 steel wool. Having said that, can you join the Facebook group and post pictures? https://www.facebook.com/groups/craftywithmodpodge/
Can Modge Podge be used to cover and seal a decal on wooden Cornhole board?
Hi Ken! Absolutely!
What is the best 1 to put on pictures
It just depends on the finish you want! I use either Gloss, Matte, or Satin for photos.
Hello!
I am looking at making some coasters as a gift. They are wood and I am putting pictures on them with tattoo paper. What mod podge do you suggest for water protection?
Hi Heather! I could type it all here but I want to share this post with you because I think it will have all the info you need! https://modpodgerocksblog.com/is-mod-podge-waterproof/
Hi, I’m looking for a varnish to coat food to preserve the pieces for artwork such as cookies and tortillas. The last toxic the varnish the better for me so I thought Mod Podge could be a good choice. Is there a particular formula you would recommend from this line for the food preservation similar to using resin but of course I’m not interested in using resin since it seems more complicated and messy.
Hi Isans! Unfortunately none of the products except for Mod Podge Resin will work. To preserve food I would use resin. It seems more complicated but it’s not that bad once you get the hang of it! I promise.
I just purchased and opened a bottle of Hard Coat and it appears to have separated. I know the directions state not to shake the bottle, but should I stir the Mod Lodge to reincorporate the oily- looking stuff, or do I use it as is?
Hi Amy! I’m not sure why the bottle says don’t shake – I shake and stir all my Mod Podge and just let the bubbles dissipate. The only one I don’t shake is Dimensional Magic! 😮
I search a lot of topics online and often resort to blogs for “real” answers outside of the manufacturer’s advertising. So many blogs tend to bury the answers in the bottom of the page, making you read a bunch of information that isn’t really of interest. You get right to the point and deliver. So refreshing! And, because I get the information I was looking for I end up continuing to read the rest of your page. And l learn a lot more than expected. I am just beginning my journey into Mod Podge. And now I know my go to source for clear, direct, and helpful answers. Thank you for sharing your passion and knowledge.
Thank you so much Carol! I appreciate the kind words! 😀