Learn how to make Dollar Tree wood butterfly decor using Mod Podge and napkins! This is such an easy spring decorating project on a budget.
Skills Required: Intermediate. It’s easy to paint the wood and apply decoupage medium. The only challenging part is ironing the napkins into the Mod Podge, since napkins are fragile. It might take some practice, so work on a sample first.
SPRING is on the way my friends! The midpoint of winter was February 3rd, so spring is closer than it is further away.
Do you like my logic? Of course you do! Because you’re excited about spring too. And spring crafting!
If you’ve seen some of my other posts, you know that when a season is almost here, I hit the Dollar Tree. Of course I always go to other craft stores as well, but I have to get to the local dollar store early.
Because if I don’t, the supplies can go quickly. Especially the wooden surfaces. They’re quite popular in my neck of the woods!
This year I decided to head in and see what they have, and I was excited to see some spring and Easter goodies already set out! I decided to grab a wood butterfly surface and some napkins, along with Mod Podge.
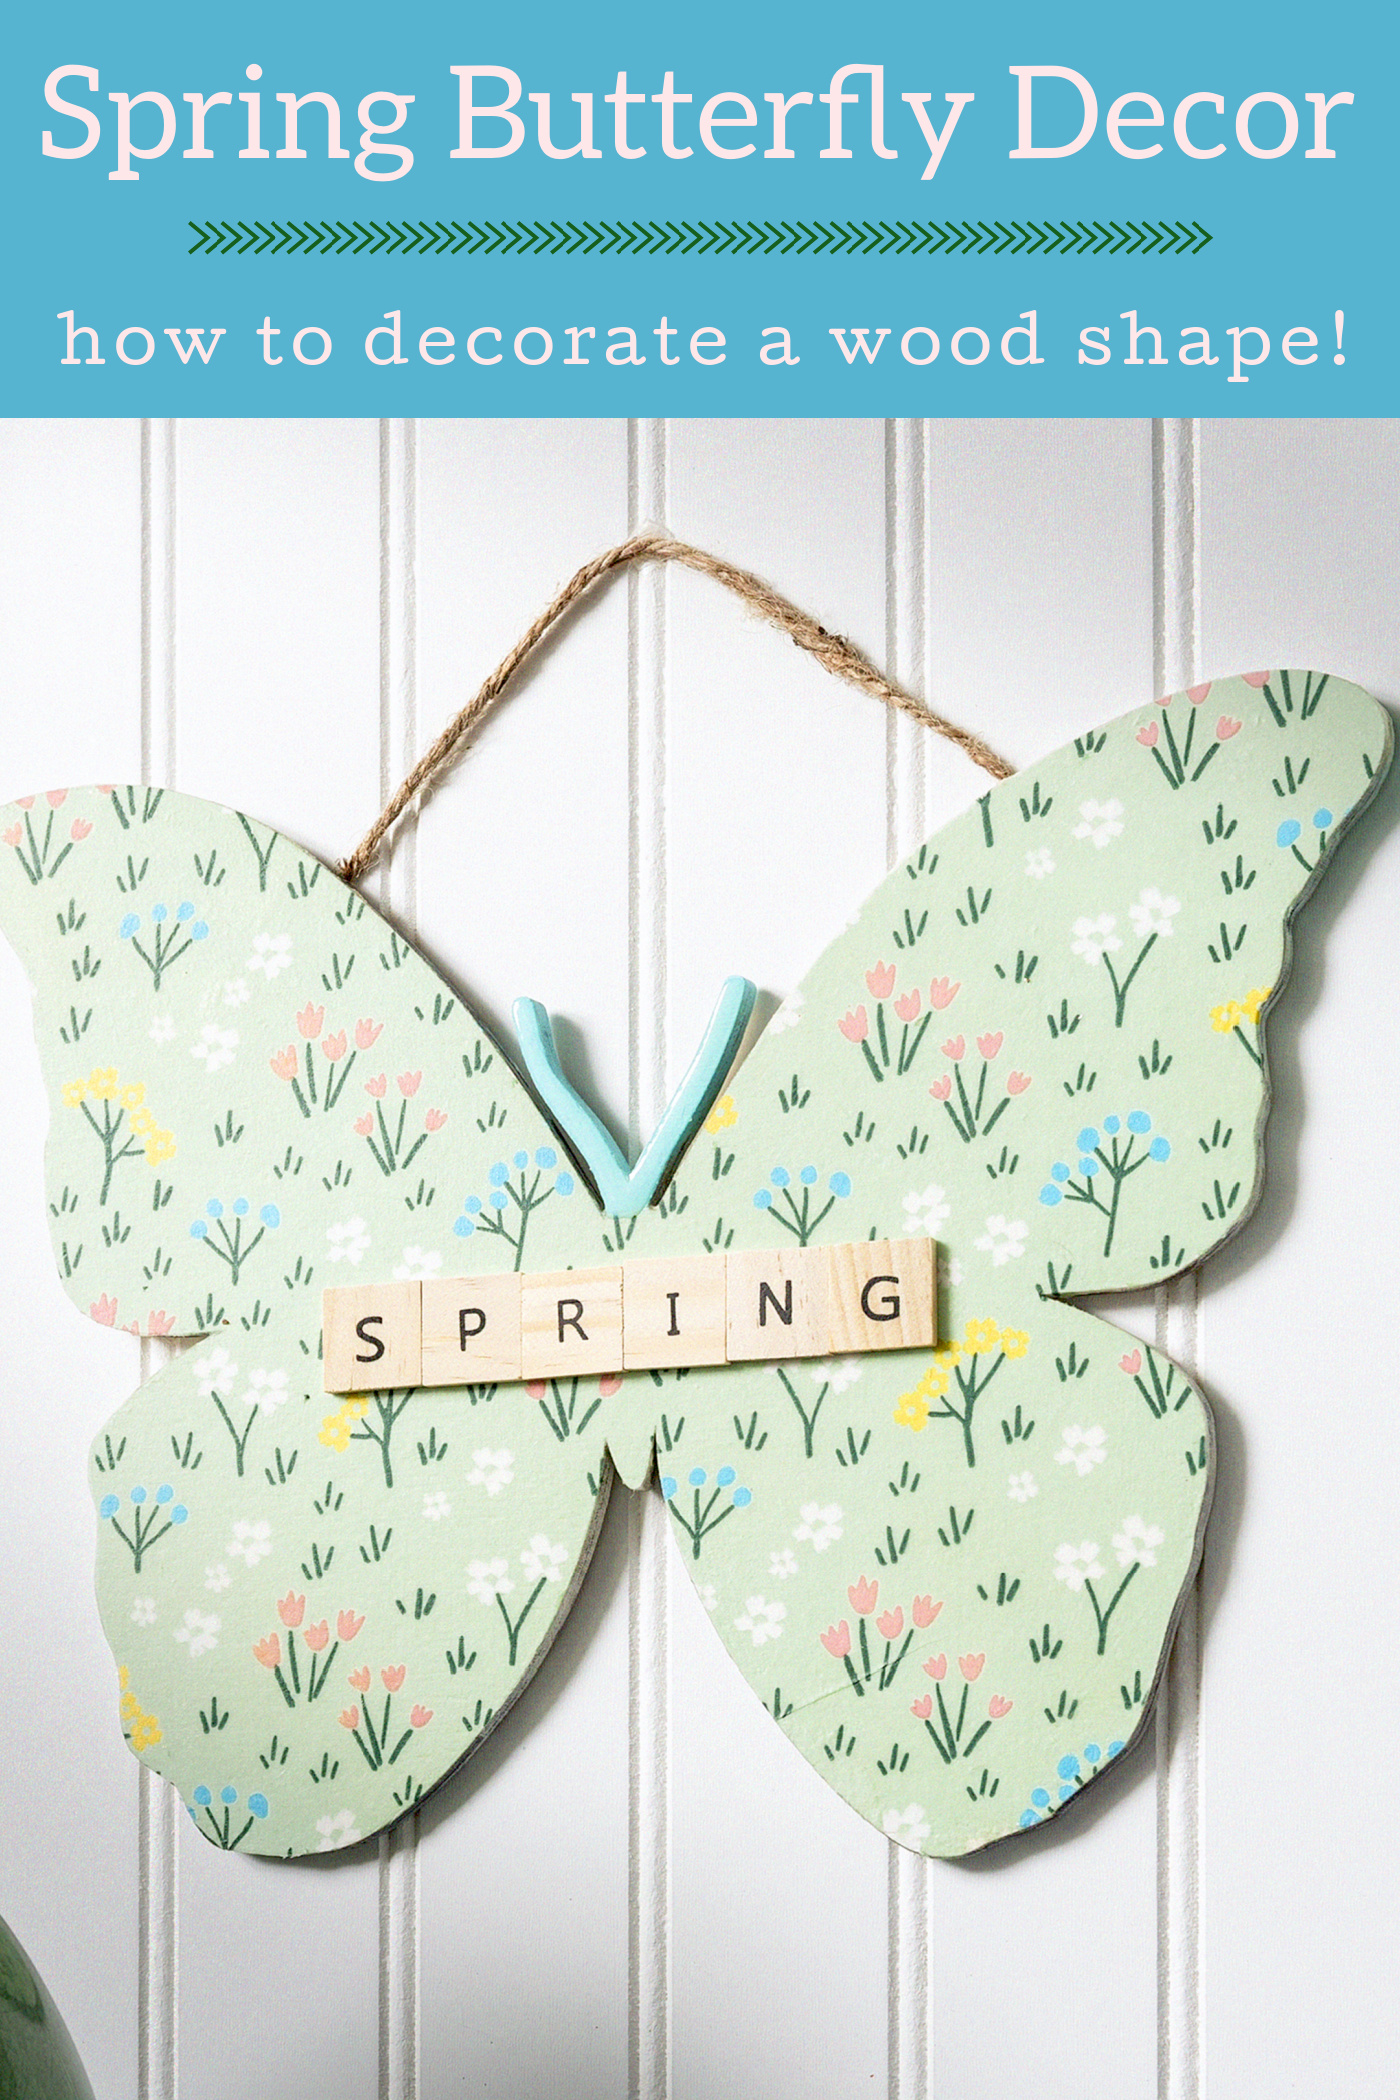
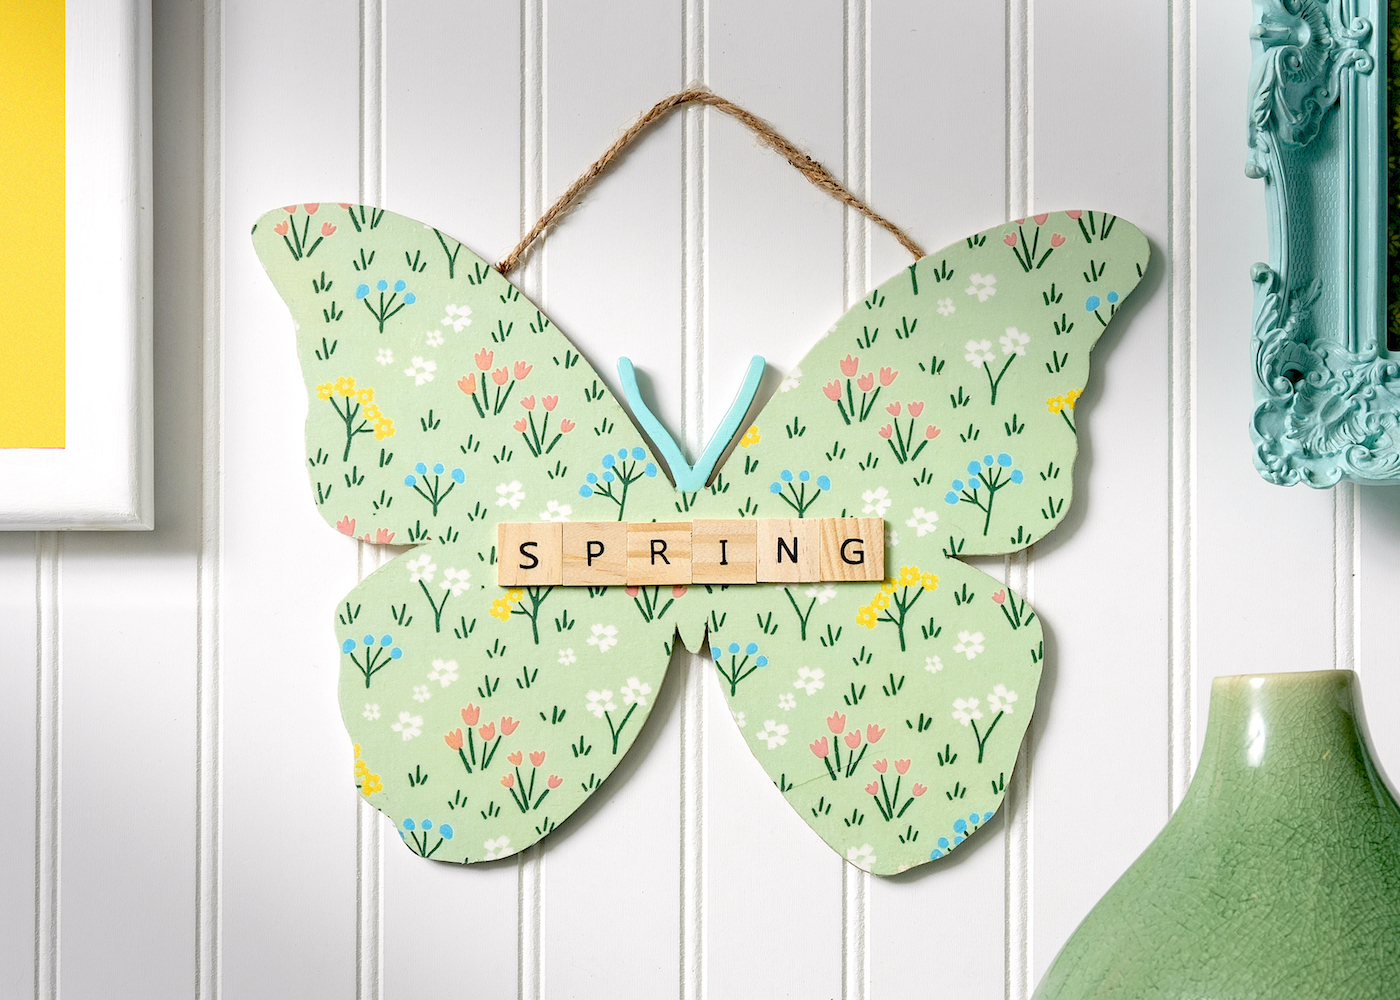
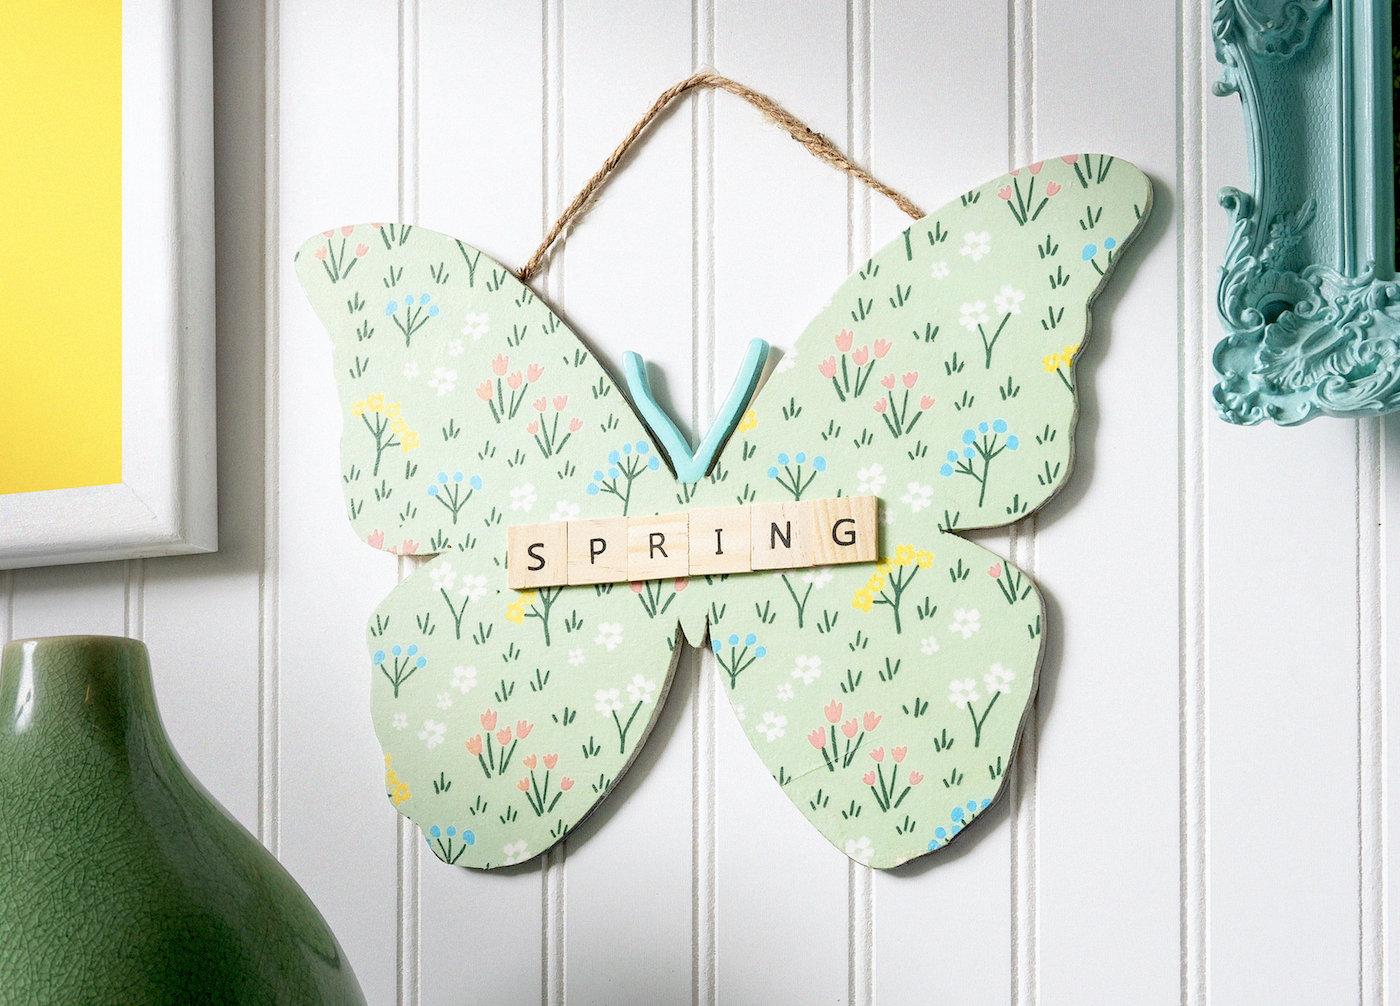
This wood butterfly decor is what resulted!
I just needed a little floral pick me up, you know? This simple sign is very easy to make and perfect for hanging anywhere in your home. I’m going to show you how to make it using the iron-on method of Mod Podging.
It’s VERY easy!
Learn how to make this project using the tutorial below.
Wood Butterfly Wall Decor
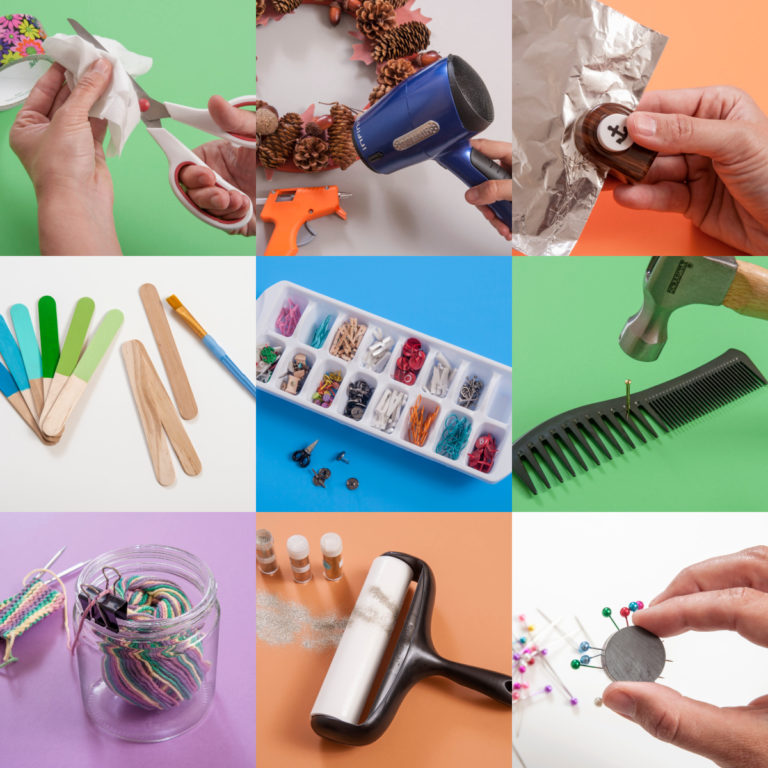
Gather These Supplies
- Wood butterfly
- Spring napkin
- Mod Podge Gloss
- Mod Podge Dimensional Magic
- Craft paint – white and blue
- Scrabble tiles spelling “Spring”
- Paintbrush
- Craft glue
- Scissors
- Mini iron
- Parchment paper
- Sandpaper
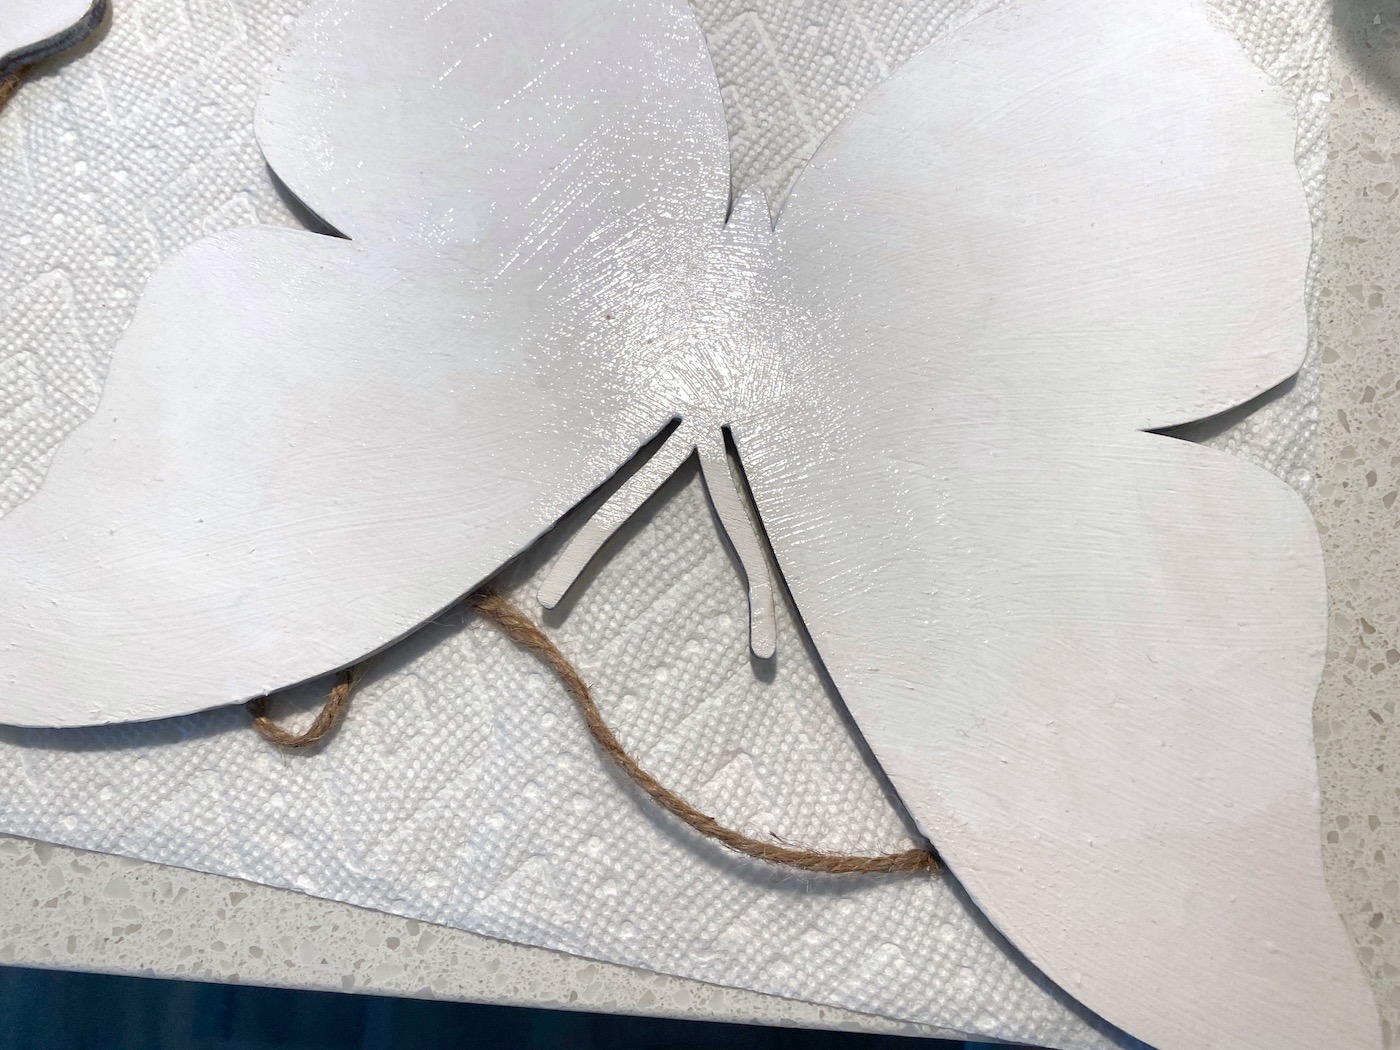
Paint the Wood
Before you place the napkin down, you’re going to paint the wood. Why should you paint? First is because that’s where the napkin is going, and you want the design to pop off.
The second reason is because I’m noticing that sometimes with wood surfaces these days, sometimes the wood color ends up coming through the napkin (maybe due to how the wood is produced?). I like to prime the wood with white paint so my project looks its best.
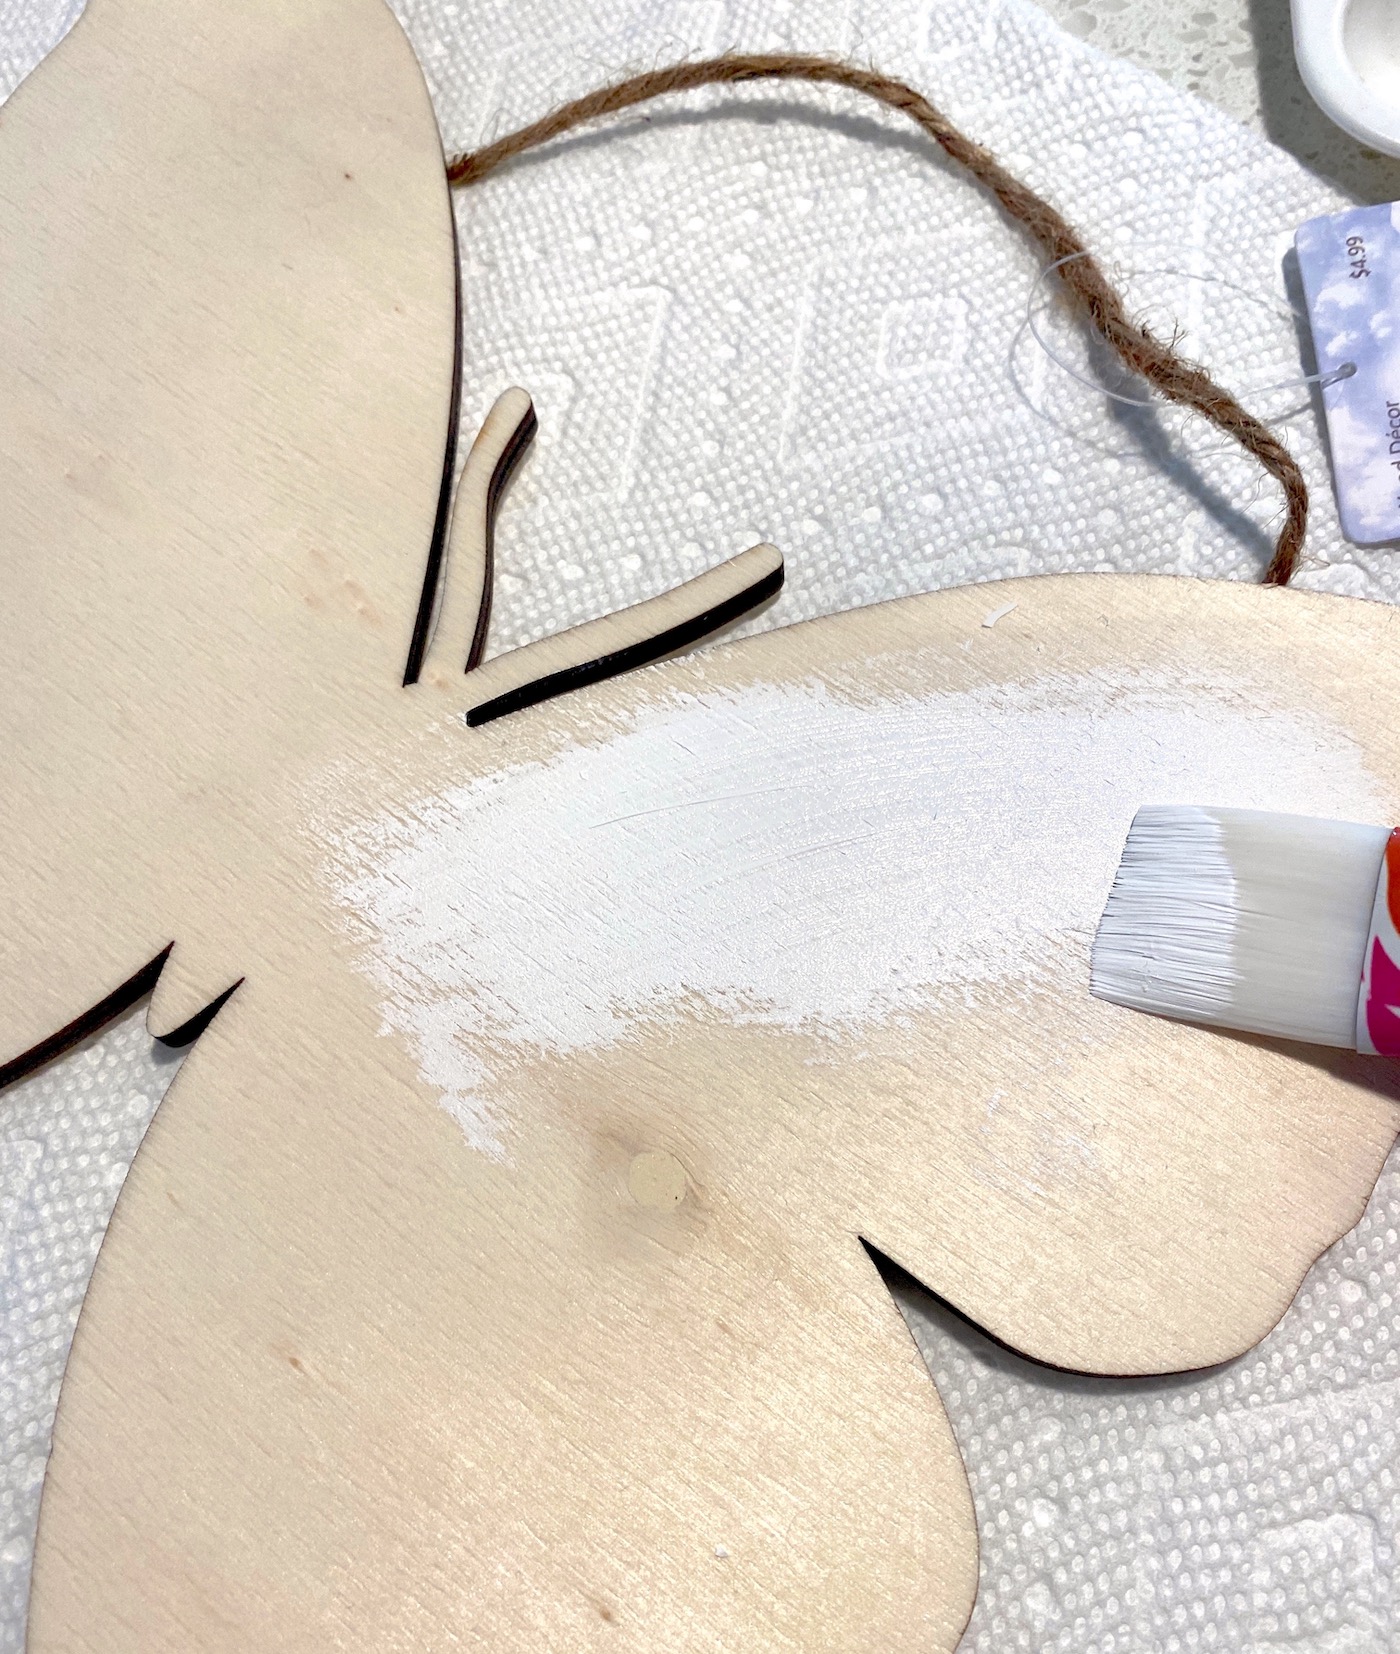
Let the paint dry completely. You can paint the edges as well.
Add the Mod Podge
Once the paint has dried, paint two coats of Mod Podge over the front of the wood piece. You will paint a coat, making sure to get all the way to edges, and let dry. Then you’ll paint a second coat and let dry.
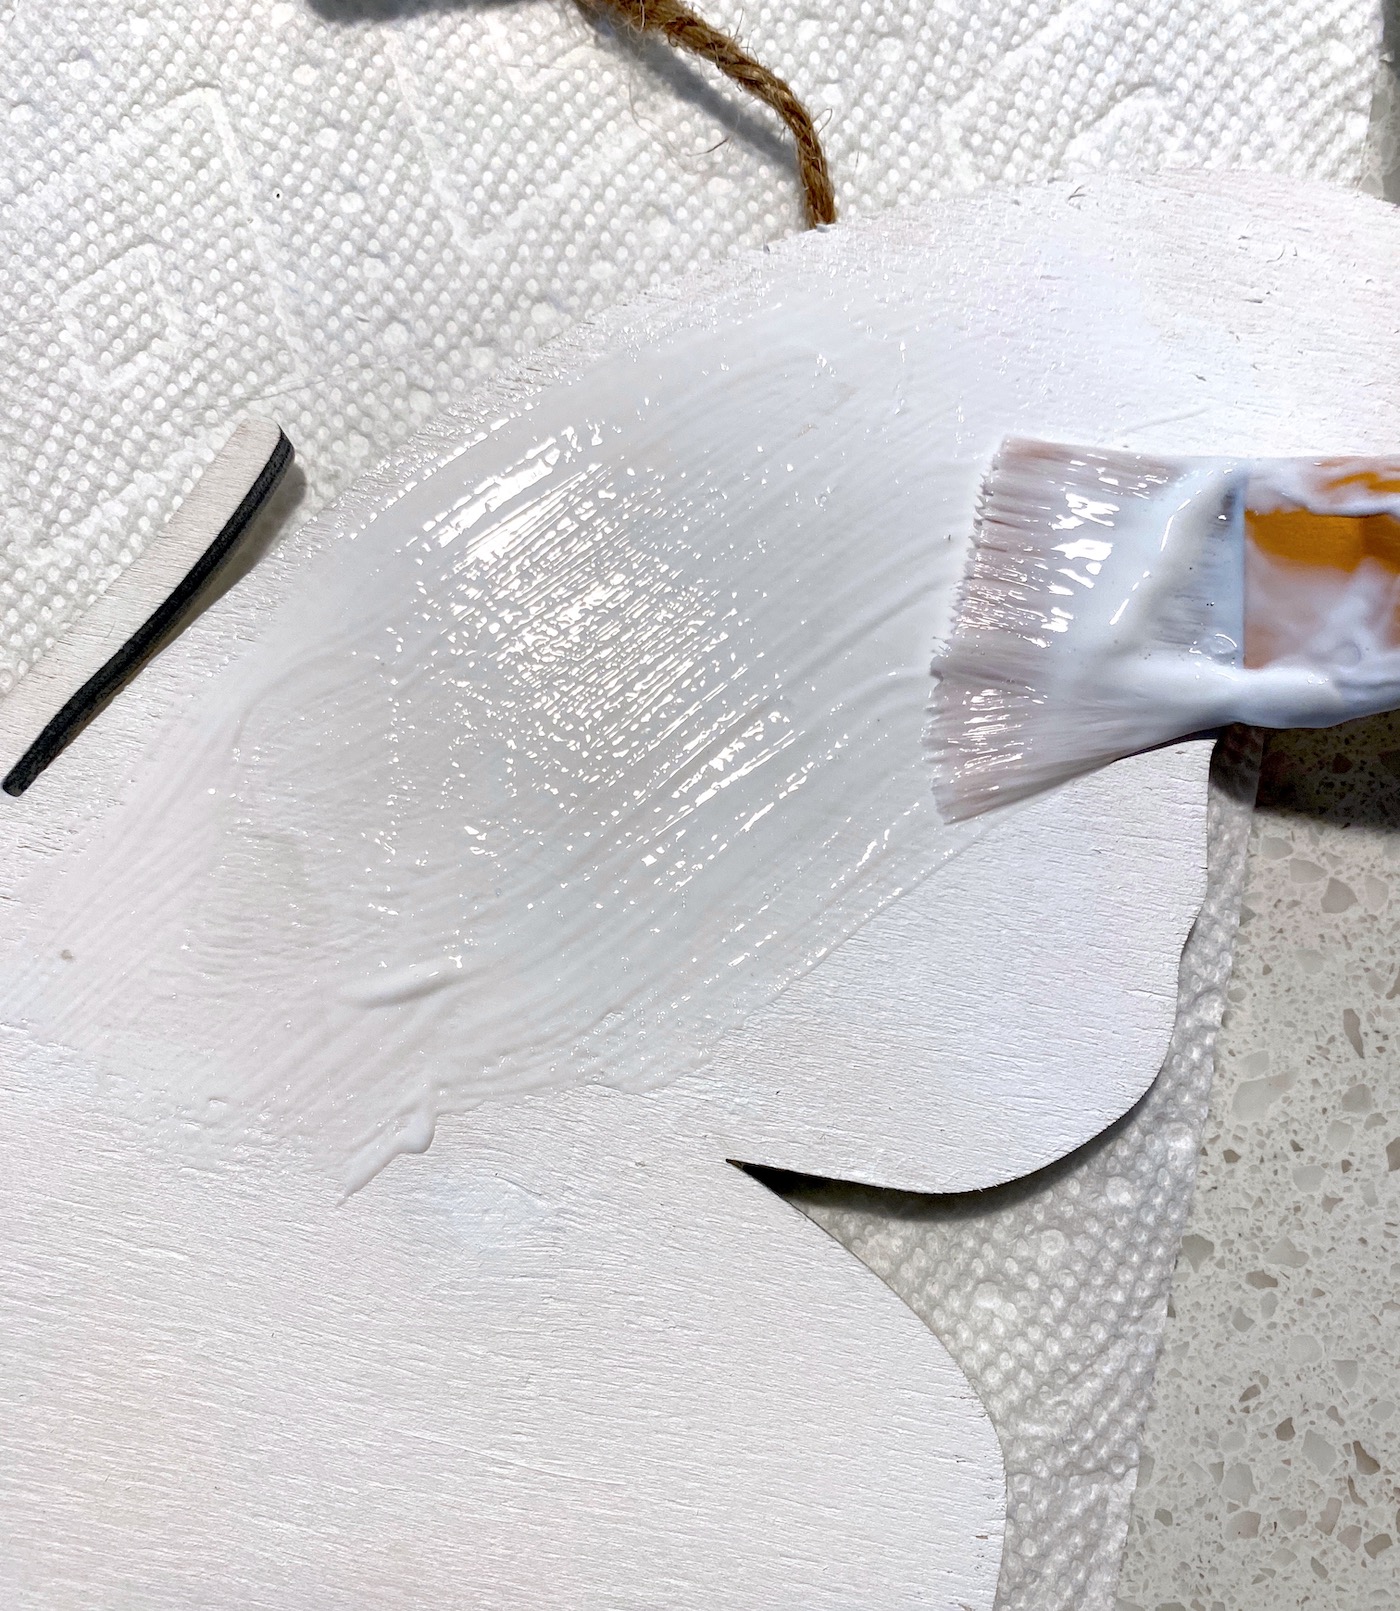
The Mod Podge will have a glossy sheen and maybe some brushstrokes in it. This is fine!
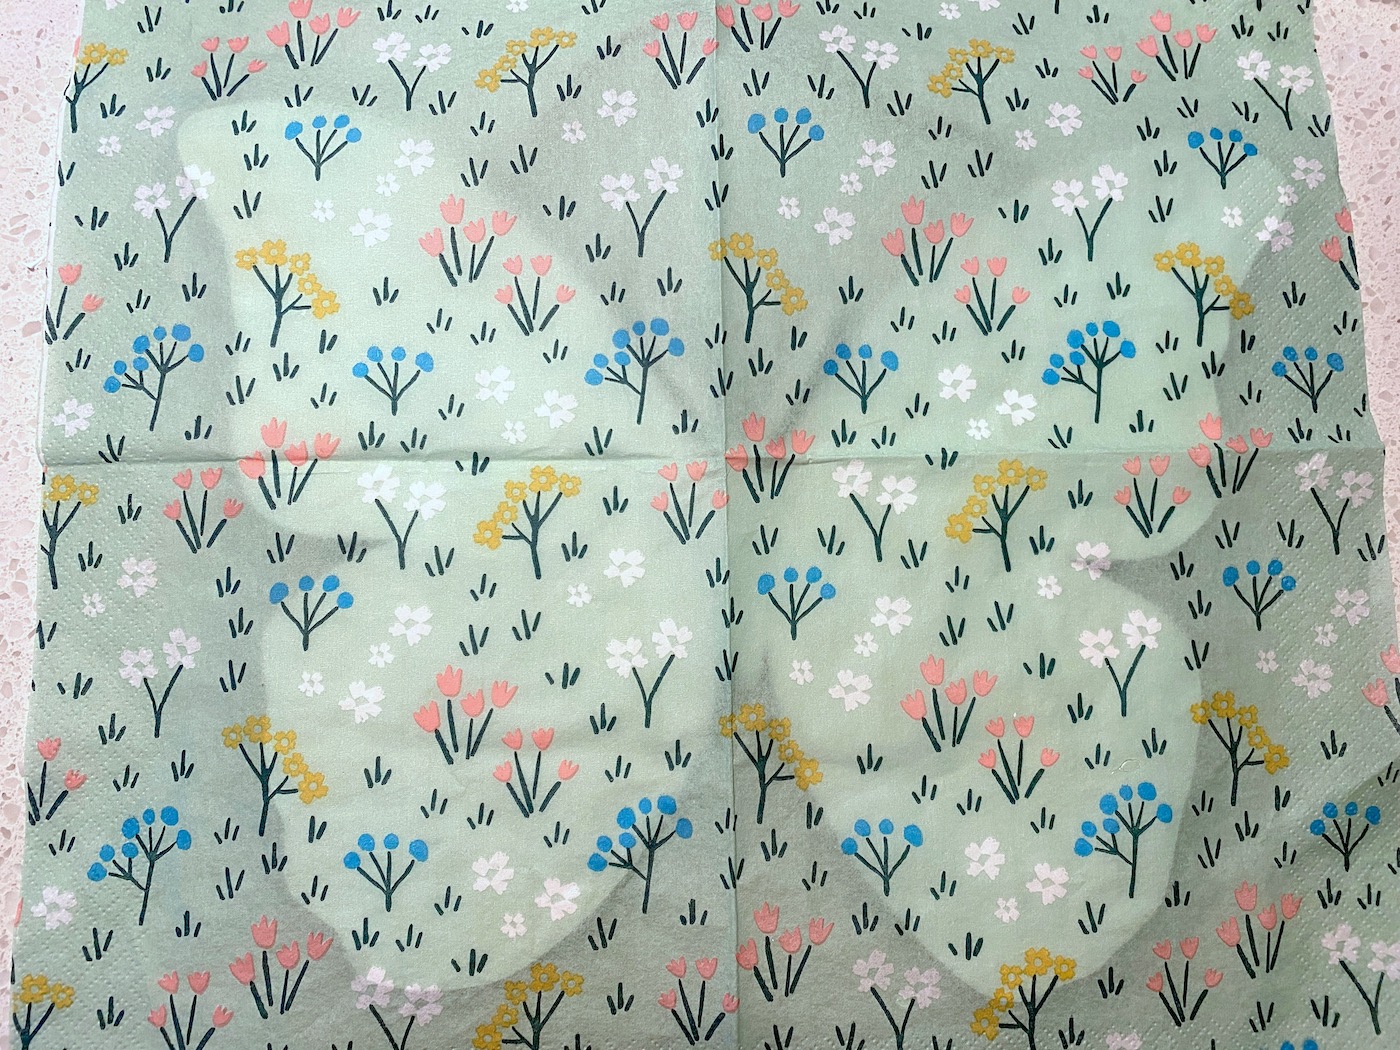
Apply the Napkins
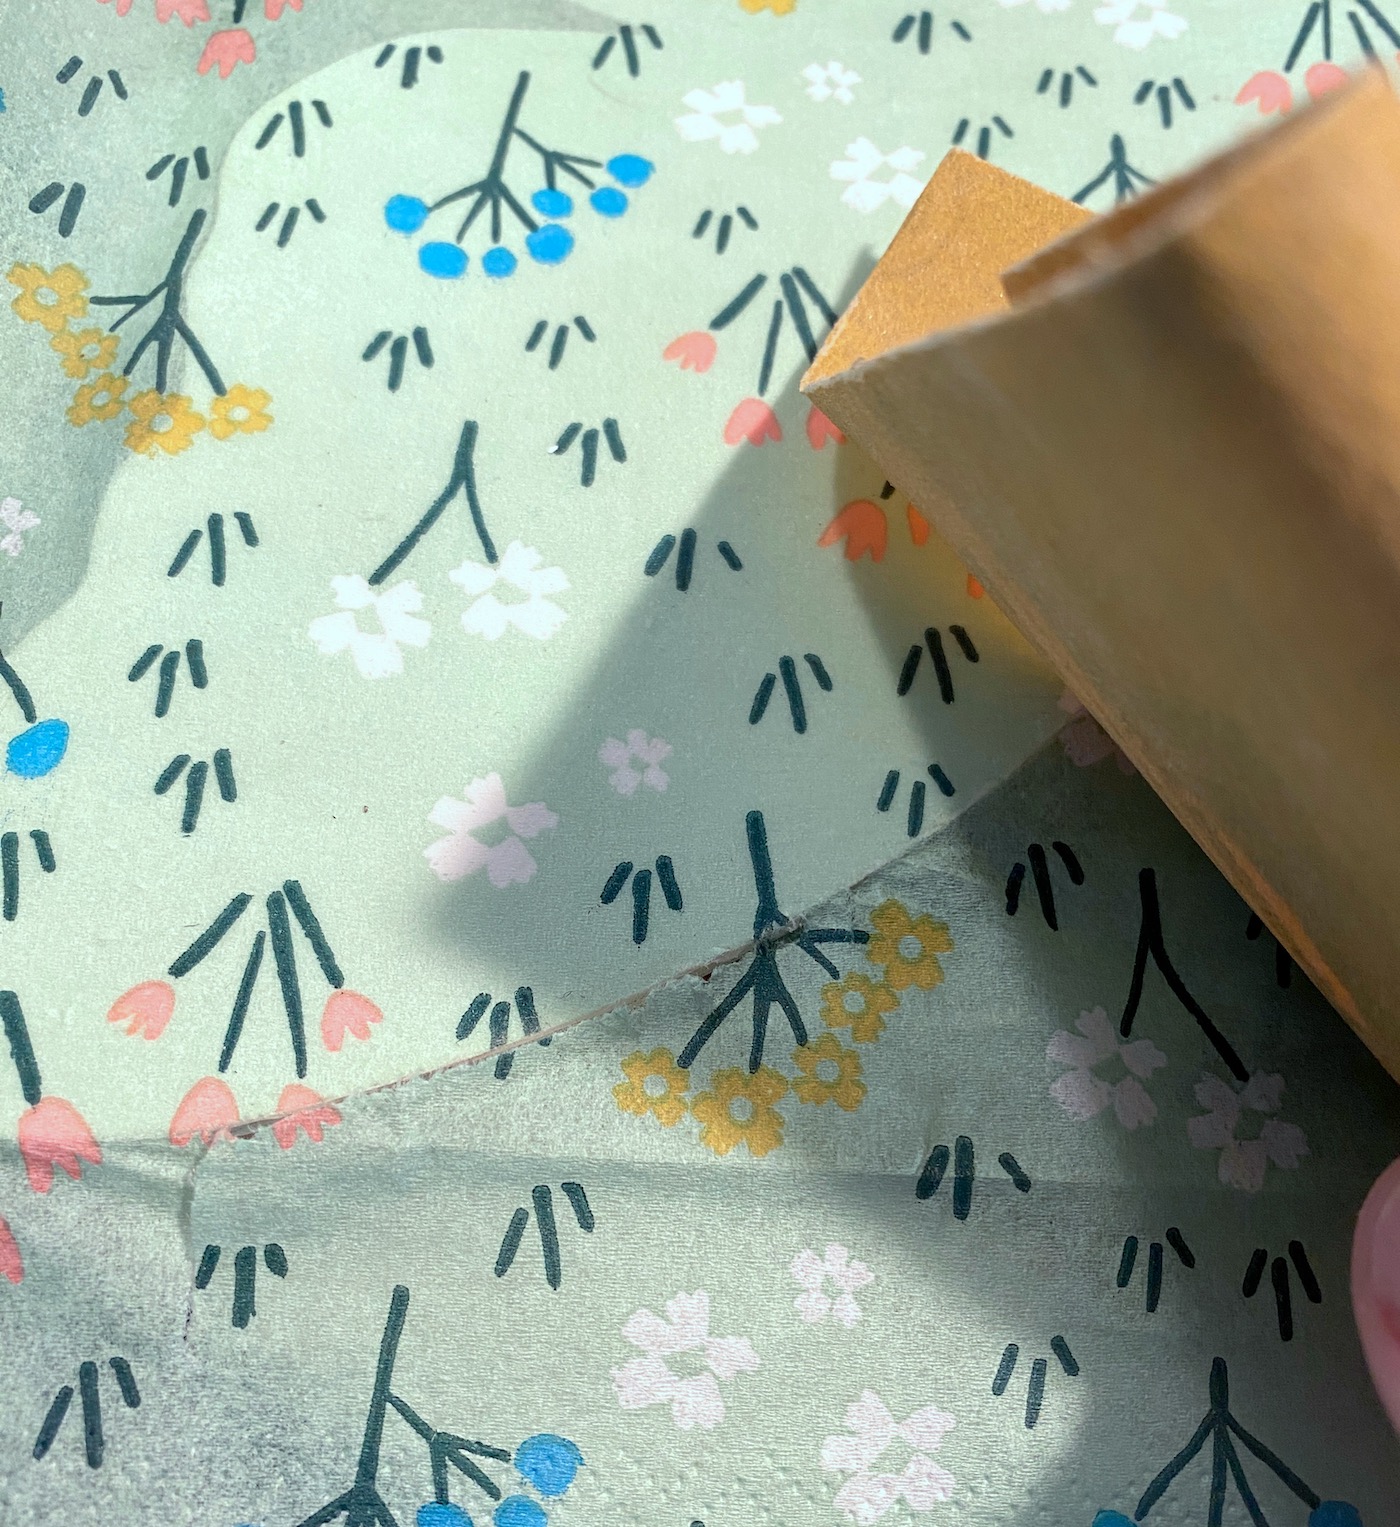
While the Mod Podge is drying, separate the napkin layers. The reason you’re going to do this is because napkins are made of 2-3 layers typically, and you just want the top layer with the design. If you use the napkin without separating it, it will wrinkle because the layers will operate independently of each other.
Cut the napkin slightly larger than the wood shape, and gently rub the layers together to separate. You can also use a piece of Scotch tape in one corner on the white portion and pull.
The wood piece should be on your work surface with the Mod Podge side up. Place the napkin down on the butterfly and situate it the way you like. Turn your mini craft iron up to the top level (level three). If you use a real iron, go to medium heat with no steam.
I like to have an iron just for crafts.
Place a piece of parchment paper on top of the wood, and run the craft iron across the top several times. While you are doing this, the Mod Podge is melting below the napkin, and the napkin is adhering.
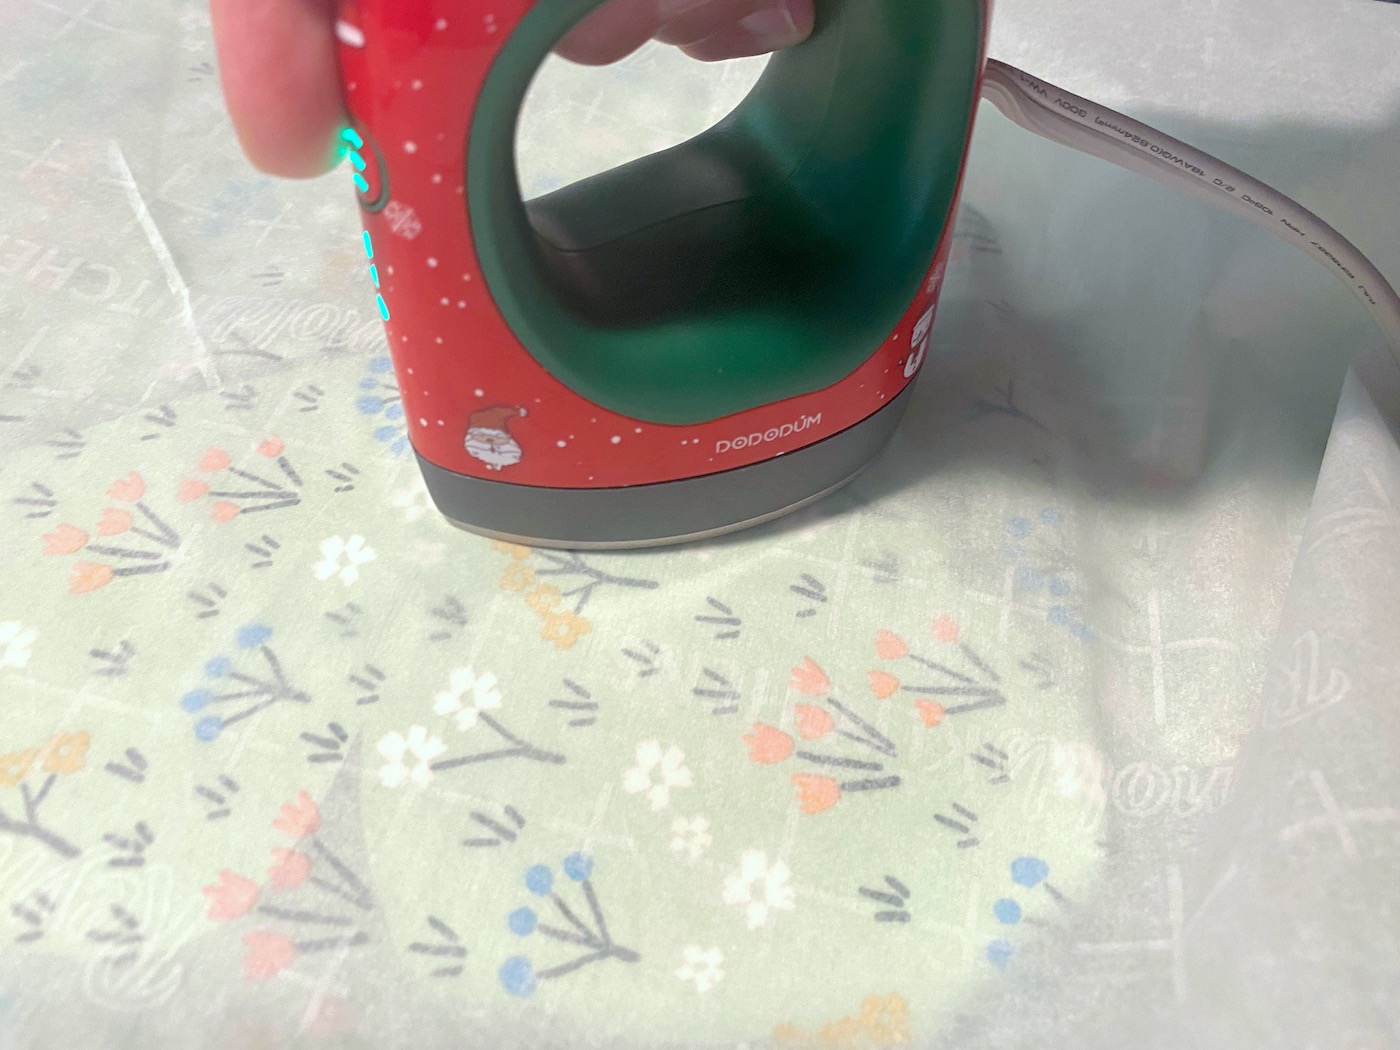
Keep going until the napkin is fully adhered. It should just take a minute or two on a surface this small. Lift up and check under the parchment paper to see if you missed anywhere, especially around the edges
Once you’re done, remove the parchment paper and let cool. It should be pretty smooth.
Trim and Seal
Use a fine grit sandpaper or a nail file to remove the excess napkin around the edges. It comes right off if you sand gently.
If you notice some napkin coming up, be sure to iron again (don’t forget the parchment paper).
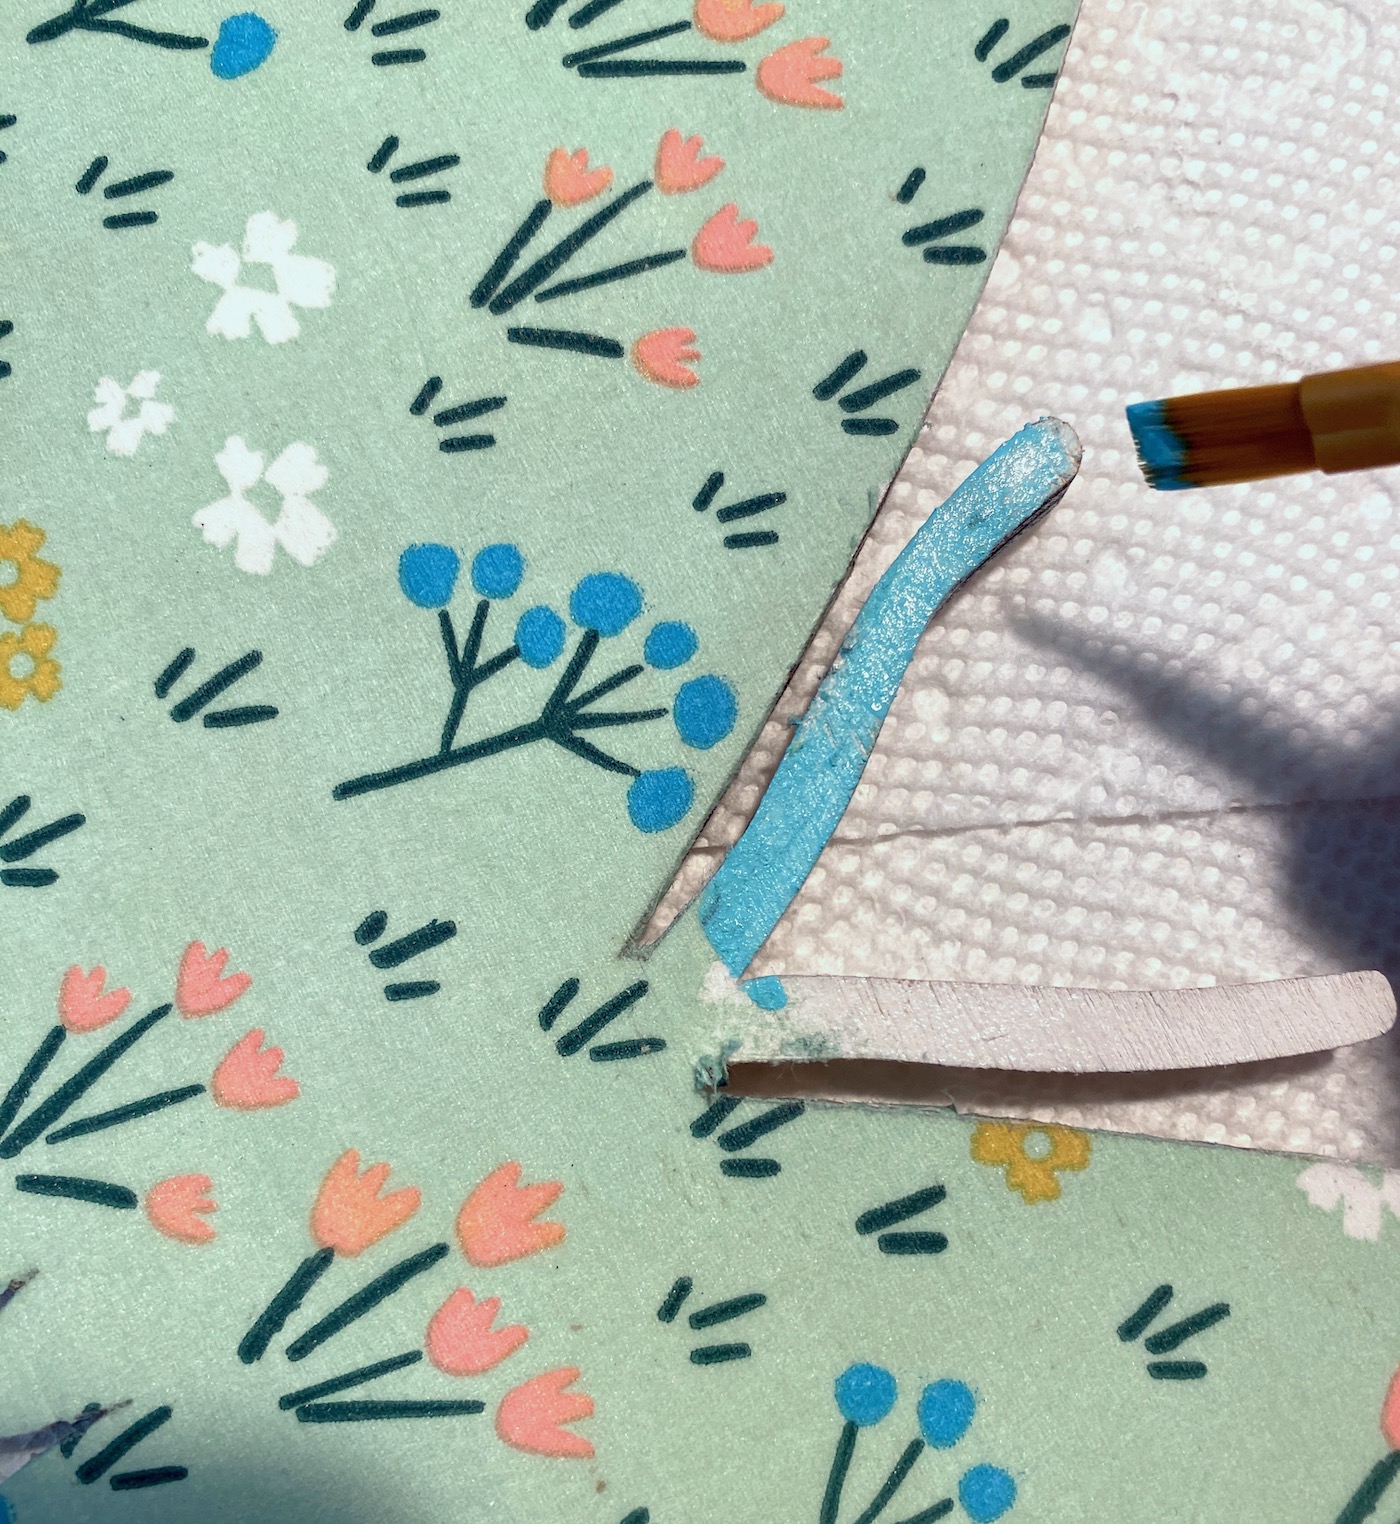
I was going to put napkin on the antennae, but at the last minute I decided to put some blue paint on them! Then after that was dry, I applied Dimensional Magic.
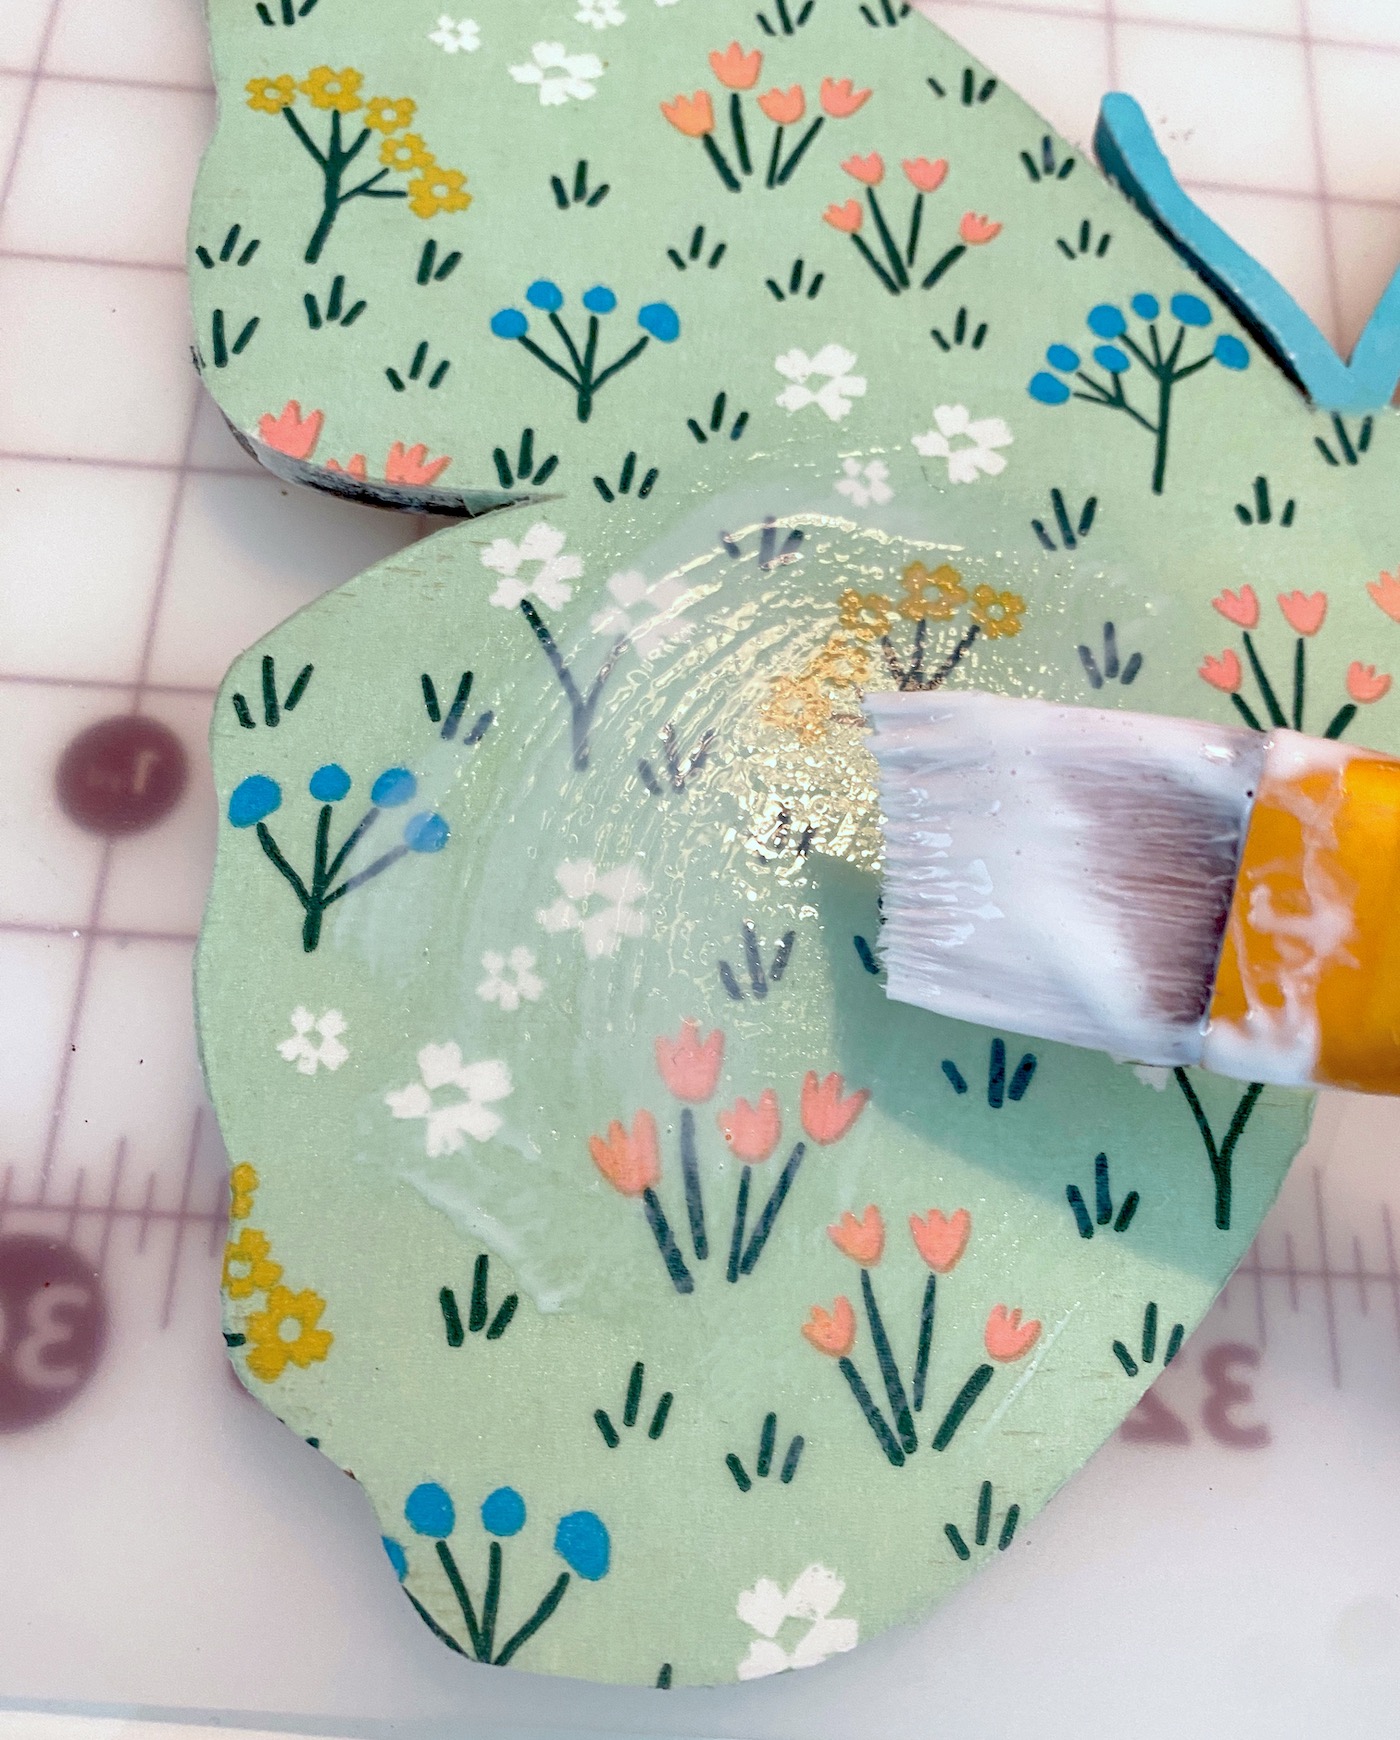
Now seal the napkins onto the front of the wood butterfly decor! Apply a layer of Mod Podge and let dry.
You might get a few bubbles or wrinkles popping up in the napkins. It doesn’t bother me. And it protects the front of the project, which is just napkin at this point (and can be stained or torn).
Glue Down Letters and Embellish
I added some wood Scrabble letters on the front that spell “SPRING.” They aren’t from a Scrabble game . . . you can buy them at Michaels or online.
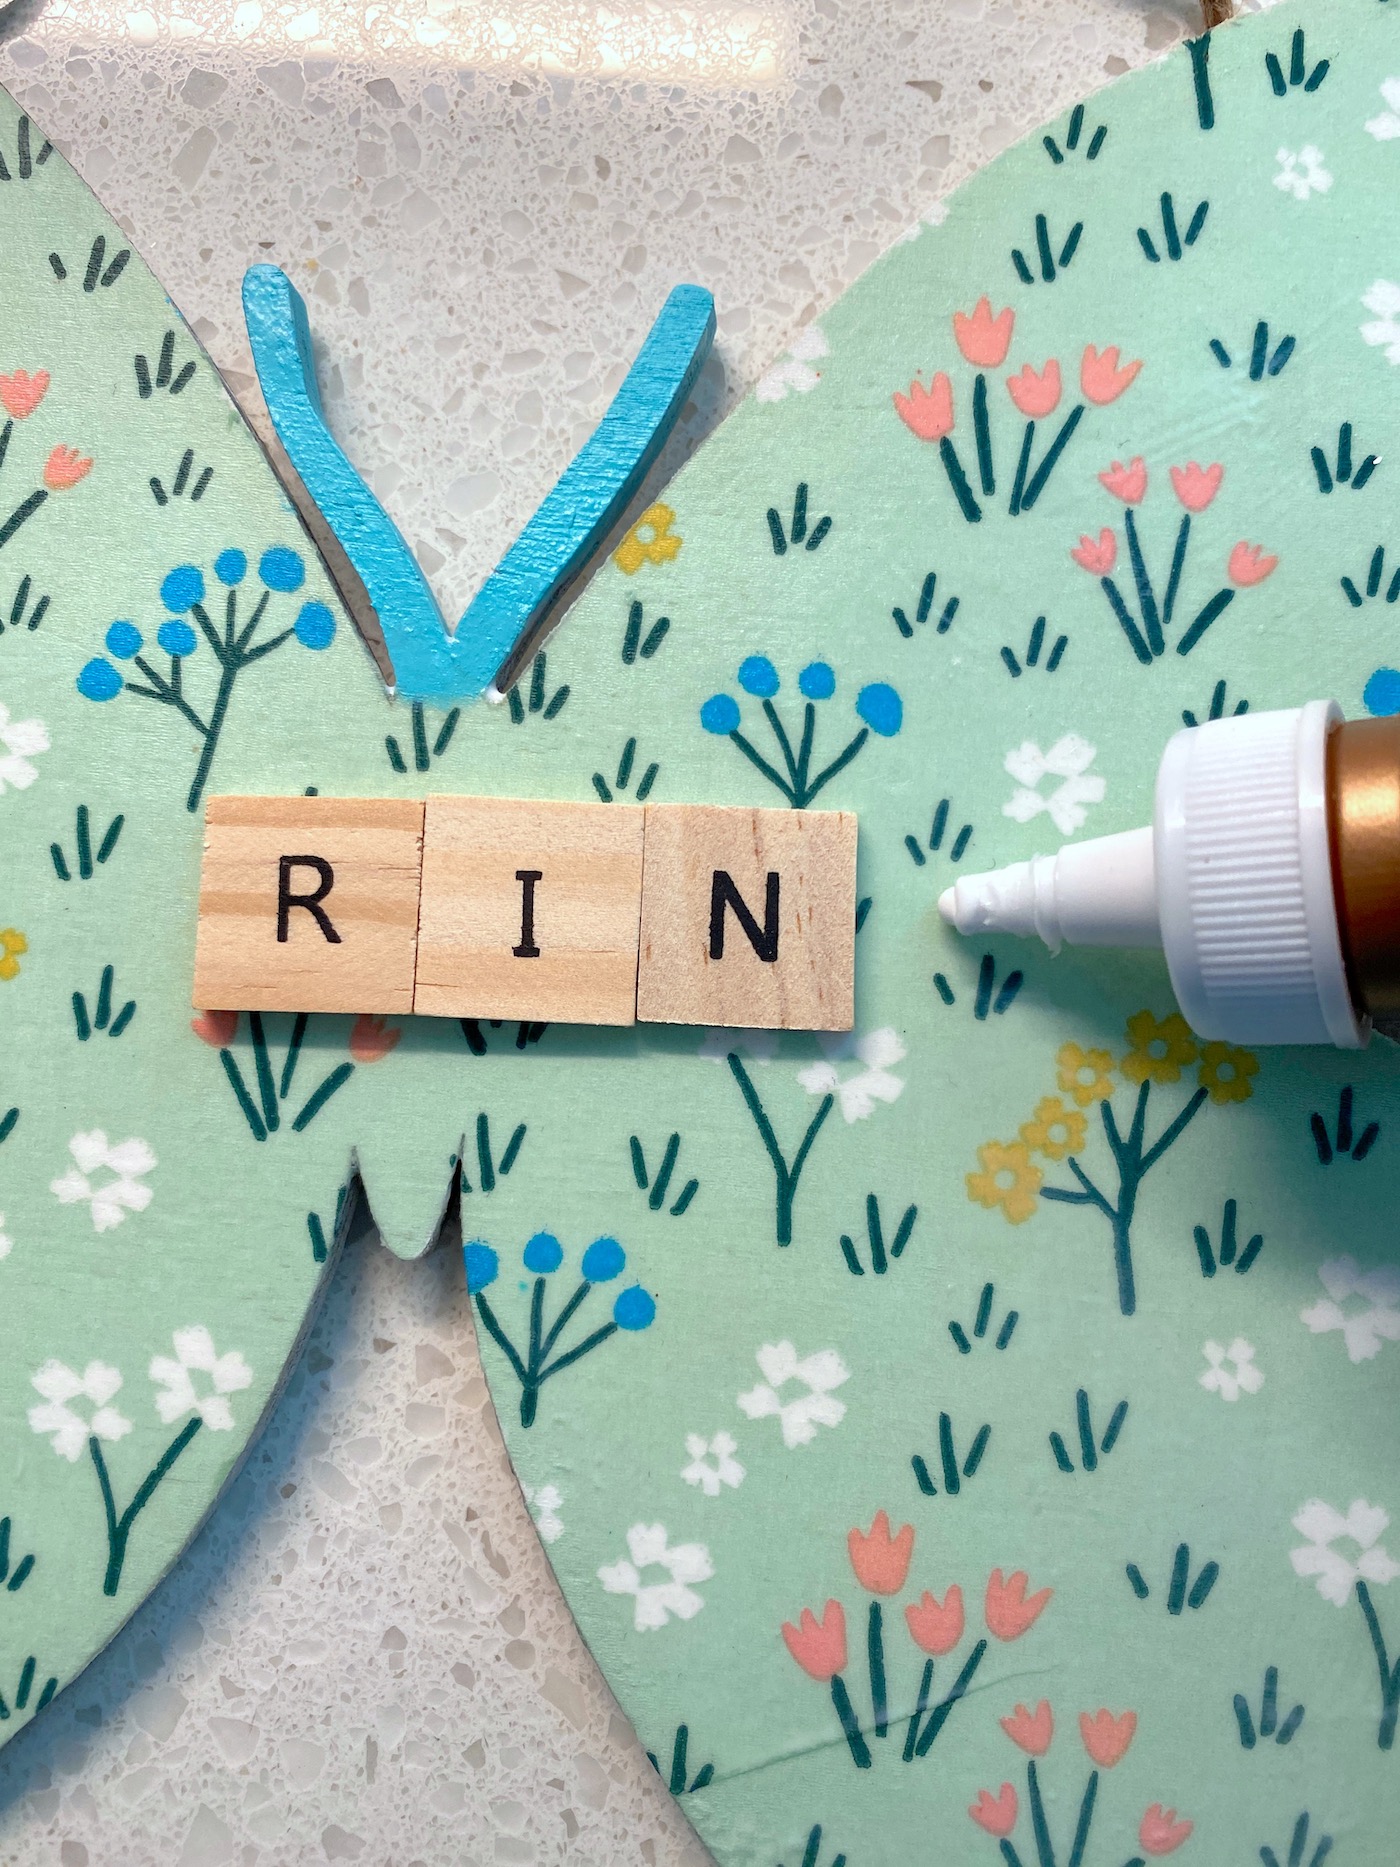
Let everything dry and then you can hang! If you want to change the twine, go for it. I kinda like it.
What do you think of my spring project? I’d love to know in the comments! I’d also love for you to check out these other crafts: