
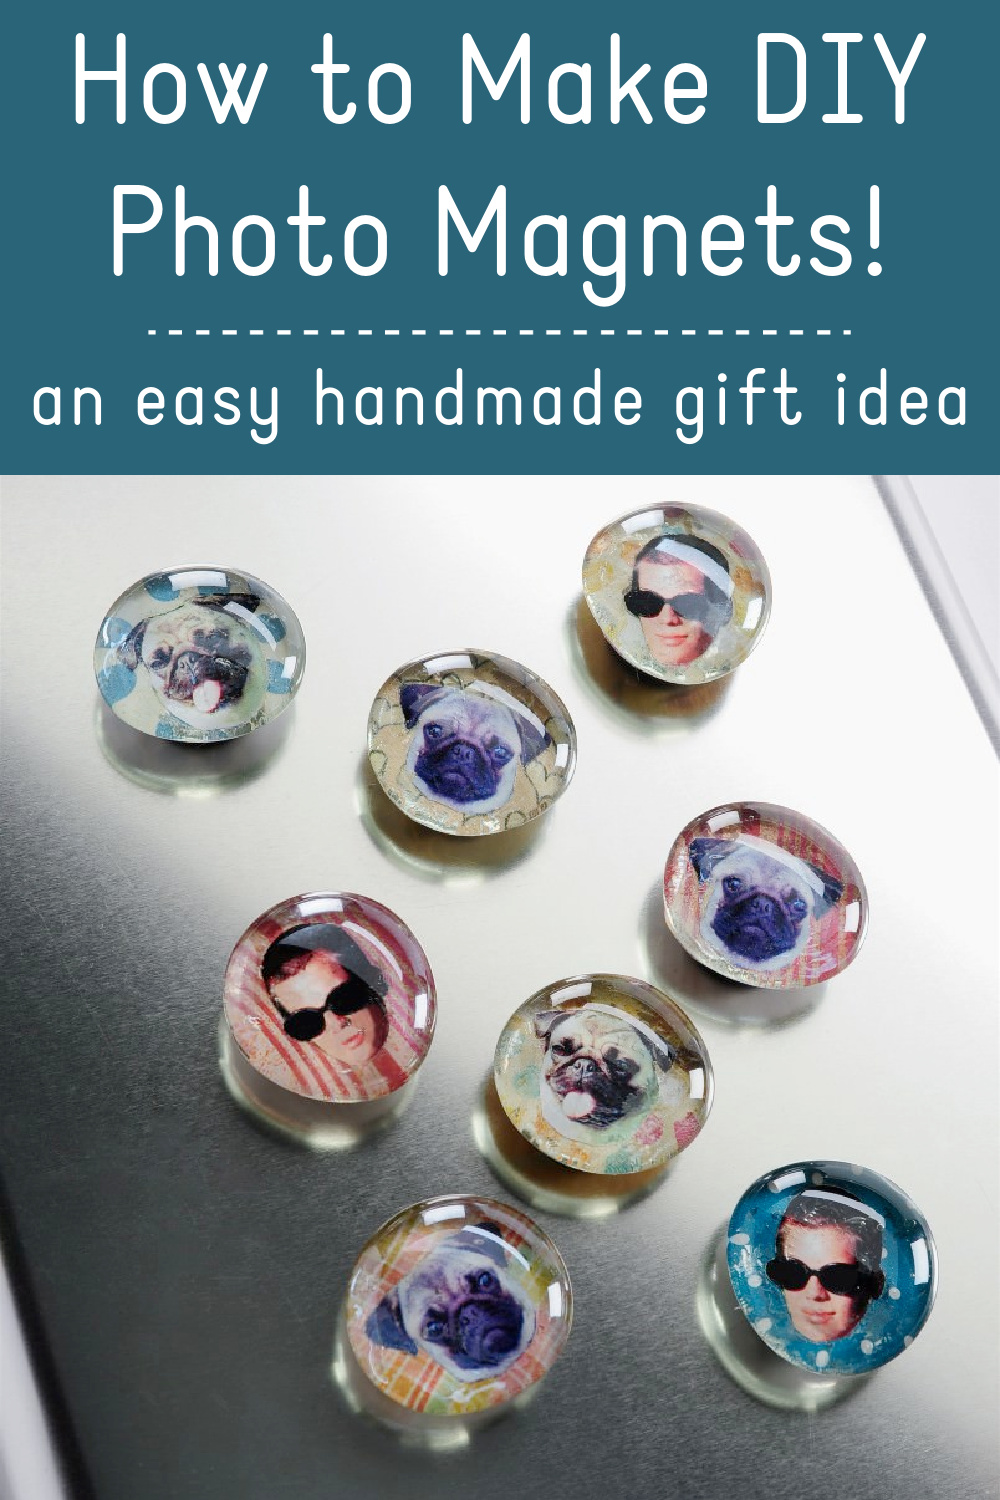
These EASY DIY photo magnets are so simple that even a kid can make them! Give these glass magnets as photo gifts, use them as party favors, or keep the kids busy during summer break.
Skills Required: Beginner. If you can cut out paper with scissors, you can make these photo magnets! The time required to make these is minimal, and you can make a lot of these picture magnets at once. You don’t have to worry about any wrinkles in this project.
Are you ready, my friends, to make the easiest craft project you’ve ever made in your life? Then you’re ready for these DIY picture magnets! I’ve made clothespin magnets and bottlecap magnets, but not the glass marble type.
It took me forever to finally try making DIY glass magnets like these, and I thought it would be the perfect time to try while looking for a quick craft idea. Making fridge magnets is pretty quick and I can’t believe I haven’t tried the glass version before.
The analogy is living in Seattle and never going to the Space Needle. It’s always seemed too obvious, so I’ve never done it.
I hope you will forgive me, because I think the picture I’m about to show you of myself will make up for everything. It’s a picture I used it in this photo craft:
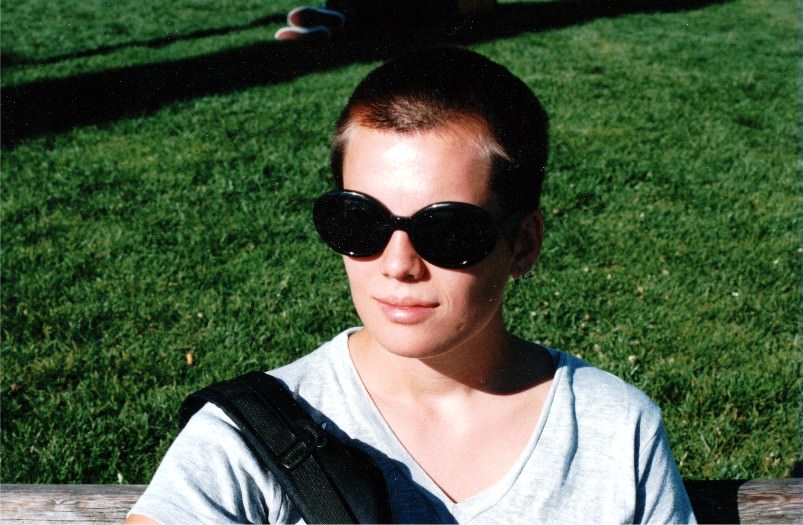
Yep, it’s me. I shaved my head when I was 22 years old. My hair was long, past my shoulders, and I had a boyfriend at that time who didn’t know I shaved my head until he came over to my house and saw it. Yipes (he didn’t mind).
Why did I do it, you ask? After having long hair for my whole (adult) life, I wanted to know what it felt like to have short hair.
I wasn’t sure how to cut it, so I shaved it off – and didn’t fully realize what happened until the hair was on the ground. I guess doing wild stuff is the fun part of being a young girl. But I digress . . .
DIY Photo Magnets
These photo magnets are easy to make (they’re a great craft for teens or adults), but I do have a few tips and commonly asked questions I wanted to address before we jump into the tutorial.
I originally published this tutorial in 2011 and since then, this is what people want to know. You can read this section or continue to scroll for the how-to.
Type of Beads/Marbles
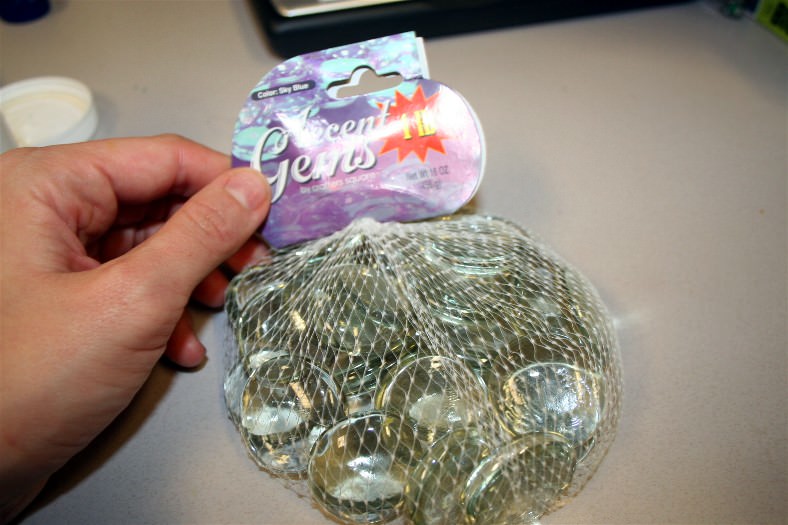
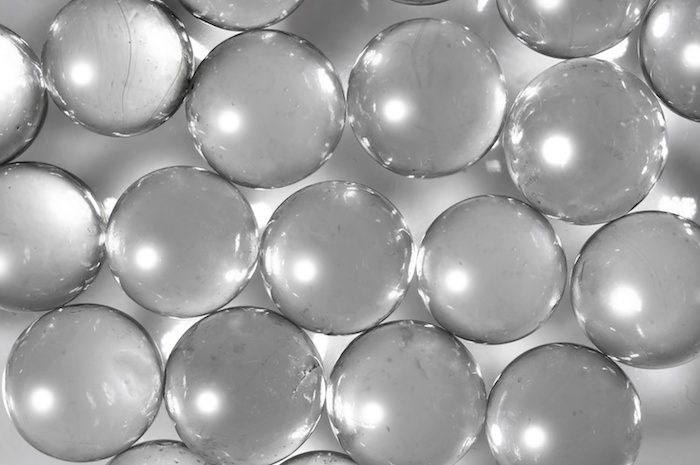
For these picture magnets you’re going to be looking for “flat backed” beads or marbles (they might also be called glass gems or accent pebbles). They are commonly used in floral displays I’ve found.
The flat back is so that you can glue a magnet to the back, so that part is important! Also you want something that you can see through (even if it’s not clear). The marbles you select for your glass bead magnets should be transparent.
Where to Buy Them
For these picture magnets, I got a 1-lb. bag of glass beads at Dollar Tree. I don’t know if they are always there – but I know that the craft store has them in the floral section.
In addition, I found them on Amazon and also on Wish (which is good if you want a large quantity for favors). MAKE SURE they have flat backs on one side!
Personalization Ideas
You can use photos to personalize your DIY glass magnets, however, I do recommend making laserjet copies of the real photos so you don’t get any bleed.
Photos are cute for handmade gifts or wedding favors. But you don’t *have* to use photos; you can use anything. The idea is to pick a scrap of something (the magnets will end up being about 1″ or so) that has meaning to you or to the recipient.
Paper, Fabric, and More
You can use a variety of materials on the back of the magnets: scrapbook paper, tissue paper, printed patterns (go for laserjet), fabric, wrapping paper, foil, maps, cardstock, rice paper, and more.
You can paint on the back too. For example, you could put some Sparkle Mod Podge on the back of the marble, let dry, and then paint. Your DIY glass magnets can be anything you want them to be!
Mod Podge Formula to Use with Glass Magnets
Because glass is shiny, I pretty much always use Mod Podge Gloss when glass is my surface. It’s just a personal preference, and you can use any formula you like to be honest.
The only formula I wouldn’t recommend using is Dimensional Magic. Dimensional Magic is meant to provide a 3-D effect on top of surfaces, not to adhere. Stick with Gloss, Matte, or Satin (but other formulas work too).
Are you ready to see how the glass magnets were made?? Keep reading!
Gather These Supplies
- Computer and printer/scanner
- Photos to scan
- Mod Podge Gloss
- Scrapbook paper scraps
- Glass beads – my 1 lb. bag is from Dollar Tree
- Magnets
- Hot glue gun
- Pencil or pen
- Paintbrush
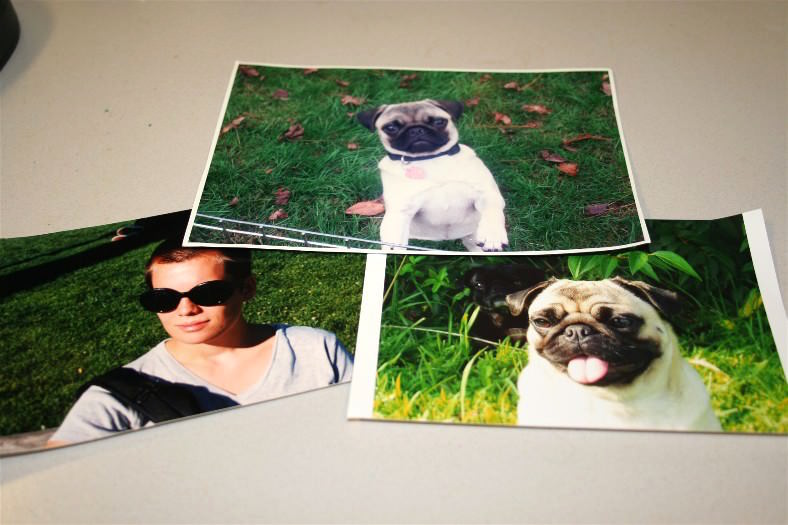
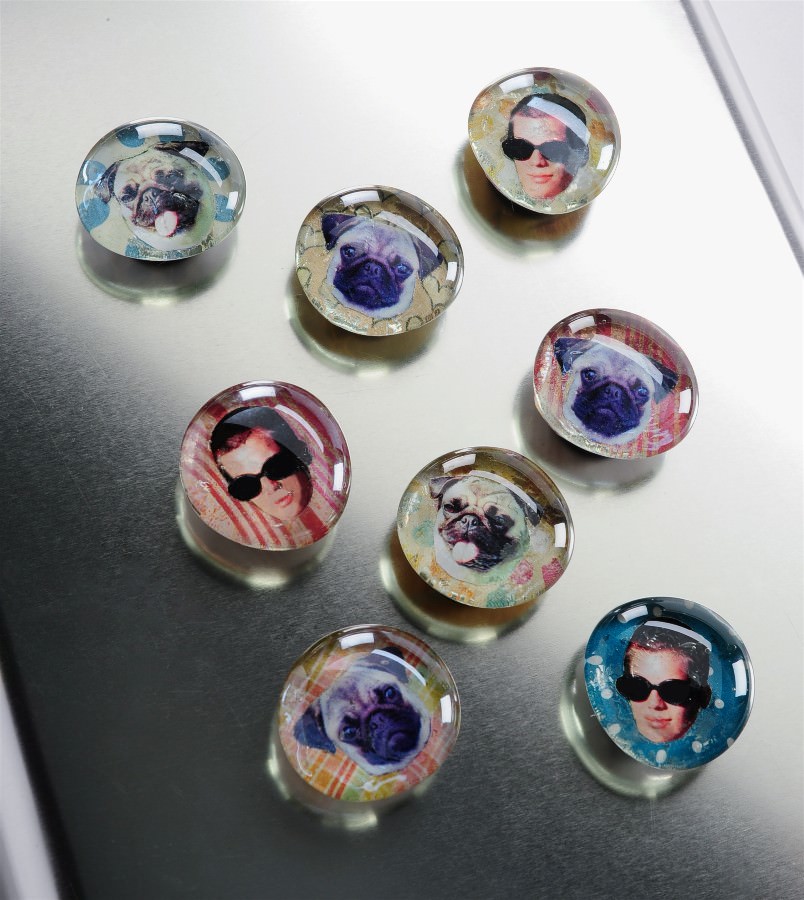
I wanted to commemorate the shaved head times as well as my pug Roxie, both when she was young and now. Here are the pictures I chose:
If you use regular photos, scan them in and print them out (preferably on laserjet). I will say that if you have an HP printer, it uses a dry ink, so you’re probably safe. You can also let the print outs dry overnight and then seal them with hair spray both sides. This prevents ink from bleeding.
Use photo software (like PicMonkey) to crop out part of the photo (a simple circle shaped crop), then I printed a few copies in different sizes to see what would work for my glass marbles.
You can cut out just the head shapes – I wanted floating heads on the back of the glass magnets, because that is more funny. Set the heads aside.
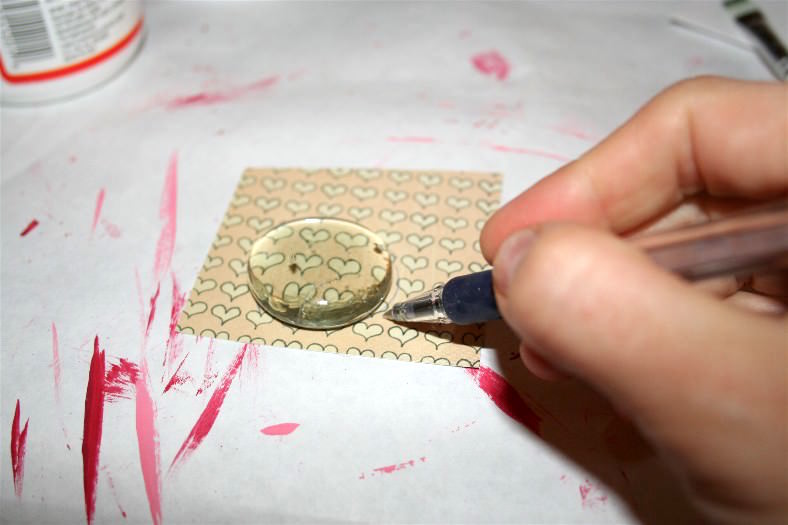
The glass marbles are not completely round, so trace them onto your scrapbook paper pieces and then cut out the shapes just inside the lines.
This is a great scrap buster project, by the way – it takes just a small amount of excess paper to make them!

Use your Mod Podge to adhere the face (right side down on the flat side of the marble); use a thin layer or it’s never going to dry. Smooth it with your fingers and allow to dry for 15 – 20 minutes.
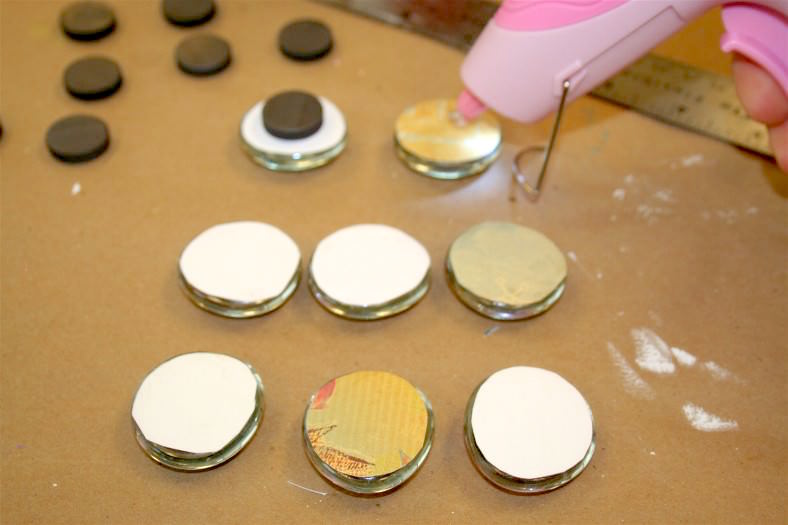
Adhere the scrapbook paper (right side down) on to the marble, allow to dry overnight and then hot glue to the magnets to the back. Don’t you love my cordless hot glue gun with a headlight?
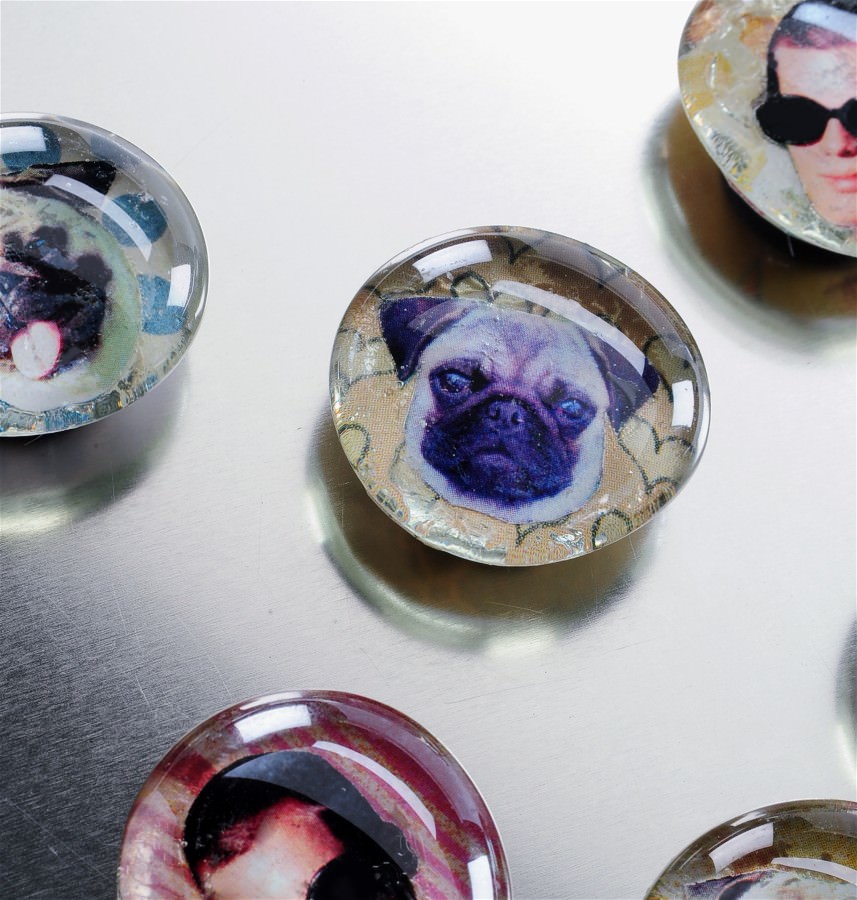
Here are the finished custom photo magnets. They make such a great end of summer craft to capture summer memories or fun photos. What about a teacher gift idea or back to school? The possibilities are endless.
I’d love to see you try these DIY picture magnets and let me know how they turn out in the comments!

Photo Magnets
Equipment
- Computer and printer/scanner
- Pen or pencil
Materials
- Photos to scan
- Mod Podge Gloss
- Scrapbook paper scraps
- 12 Flat glass beads also called marbles
- Magnets
Video
Instructions
- Use photo editing software to size your images to fit your glass marbles; print out using a laserjet or dry ink printer.
- Cut out your photo shapes and set aside.
- The glass marbles are not completely round, so trace them onto your scrapbook paper pieces and then cut out the shapes just inside the lines.
- Use Mod Podge to adhere the face (right side down on the marble). Smooth and allow to dry for 15 – 20 minutes.
- Adhere the scrapbook paper (right side down) on to the marble, allow to dry overnight.
- Hot glue to the magnets to the back to finish.
Want some additional easy budget project ideas? Check out these other posts:


I have bought these, but they weren’t flat and they made the picture off. I thought about sanding them. What do you think? When looking for these make sure they are flat.
Excellent. Thank you
Did you use the Mod Podge as well to adhere the scrapbook paper to the glass? Just want to make sure I do it right. :o)
Yes I did!
My 13 year old granddaughter is going to love making these! Thanks for sharing!!!
I love this project! When the kids were little we used to make them they are so much fun!
I just recently ran across some in my crafting room and thought I’d make some more!
Thanks for adding this to your list of quarantine projects!
I think I’ll put some butterflies on mine!
If you use a different single flower for each magnet with paper that looks like grass, it looks like a flower garden. OR another thing I did was, a single flower for each one with solid colored paper. I arranged them into what looks like a bouquet and made a big bow with a magnet and stuck it underneath. These are great fun!
Hello, Where did you get your glass beads from. I bought some from Michaels, They looked great because they were slightly larger than the little ones. Unfortunately, they are very rough on the flat part and it obscures the image when looked at directly through the glass. The pictures are most visible from an angle! What a bummer. I’m looking to try again, and your glass beads look nice and clear.
Thanks for your help!
Hi Moe! I got mine at the Dollar Tree a few years ago. If you can’t find them, I’d search on Etsy or just Google “flat back glass marbles.”
I make all kinds of magnets this way but had never done pictures. For mothers day I wanted to do pictures of my students for their moms. I took great pictures of them and had them developed. Big woops!! The photo paper refused to dry. I’ll know better next time….
Loved this until I tried it. Everything was simply enough to follow but the Mod Podge left awful gluey streaks over the faces and yes, I did a very thin layer. Very bummed this looked like a lot of fun, prob user error : (
Hi there! I’d have to know what you did and what type of paper you used to know what the issue was – if you used regular photos or anything with a coating, the Mod Podge won’t dry correctly.