Are you looking for fun and easy decoupage ornaments to make for Christmas? These are so fun and sparkly – any age can try them!
Skills Required: None: Grab a bottle of Mod Podge and some scissors. This is one of the most simple projects you’ll ever do.
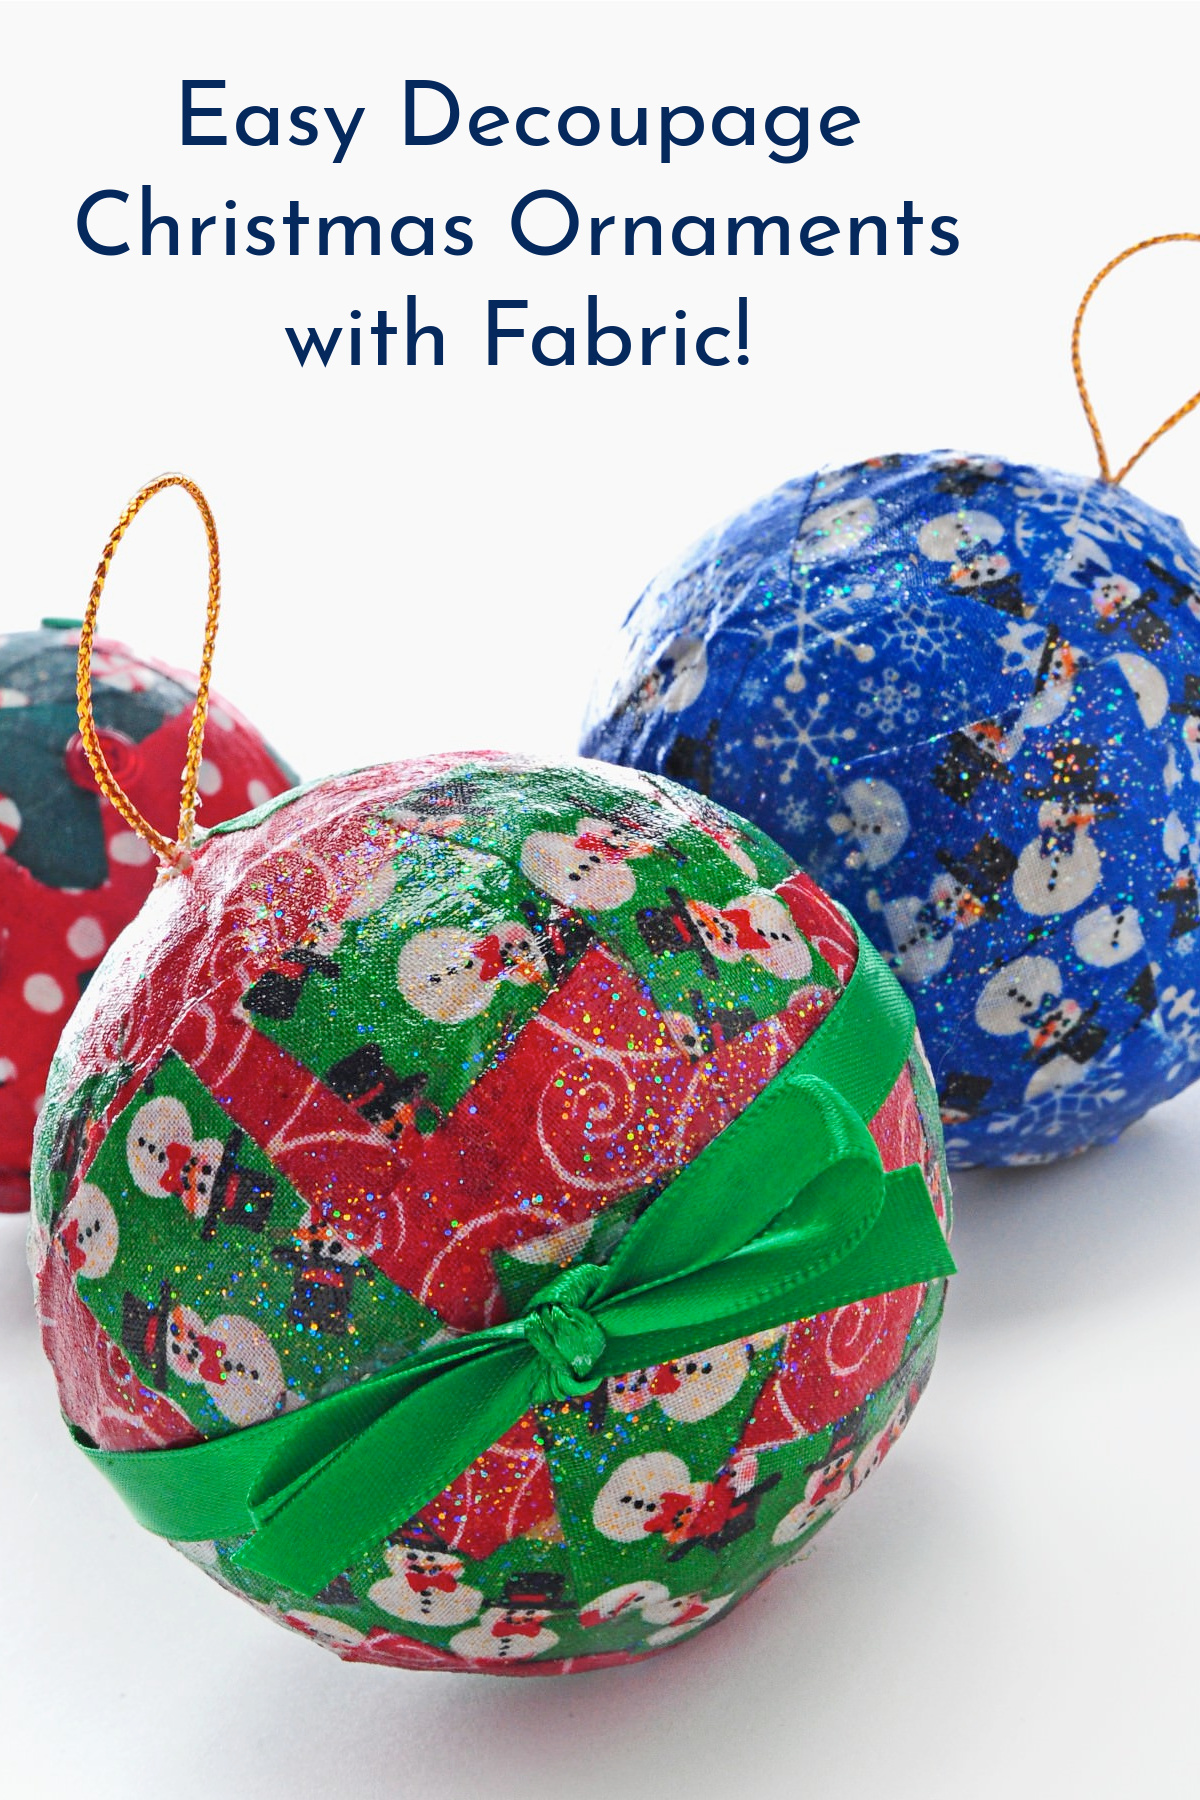
I know that right now many of you have little ones at home – they are out of school, it’s cold outside and they are bored. They might need some fun kids Christmas crafts! Kids love making Christmas ornaments!
Good news – Mod Podge is here to help. Since many of you are also setting up trees this weekend, you can set your kids at a table with these fabric scrap Christmas ornaments and let them go to town.
You know – adults actually love making these too. They are perfect for leftover fabric scraps if you’re a seamstress, and you can make some pretty pleasing color combinations with your scraps. Once you are done, slap them on the tree (okay, not so much slapping as placing).
These Mod Podge ornaments are so easy and inexpensive, you probably have everything you need already, and your kids are going to have a great time.
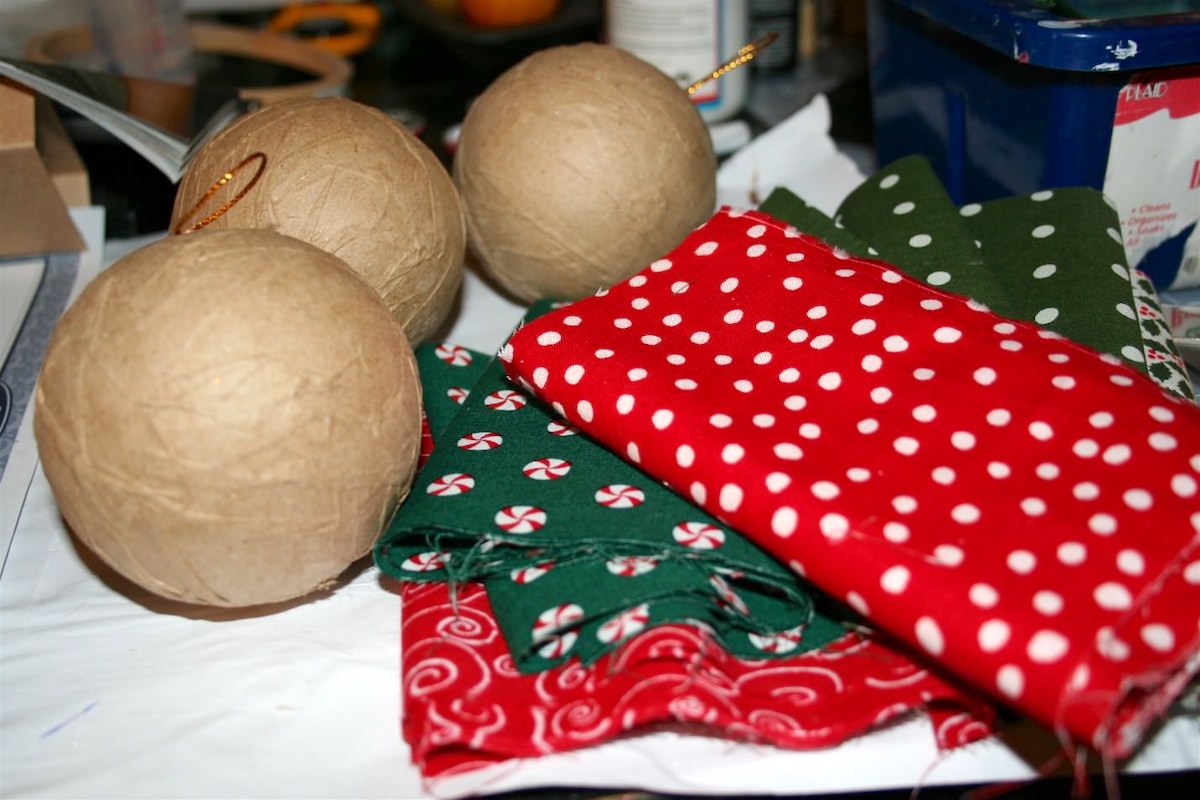
Here are the goods to make the kids Christmas ornaments. A couple of paper balls and some fabric. Oh, styrofoam works too, but I liked these because the hanger was attached. I have little patience when it comes to hanger-ing.
(learn how to make a Christmas wreath for kids here!)
Gather These Supplies
- Mod Podge – your choice of flavors. I used Glitter Gold, Glitter Silver, and Gloss. Glitter Mod Podge is no longer available so I recommend either Sparkle or Extreme Glitter
- Paper mache ornaments – as many as you want to make
- Fabric scraps – I didn’t have any holiday ones specifically so I bought 1/8 yard pieces from JoAnn. They were only around $.30 a piece with the sales right now
- Embellishments – whatever you have lying around; I used ribbon and buttons
- Flat paintbrush – one for everyone!
- Craft Glue
- Scissors
I had a great time decoupaging these! I fully believe adults should join in on kids Christmas crafts. Do you?
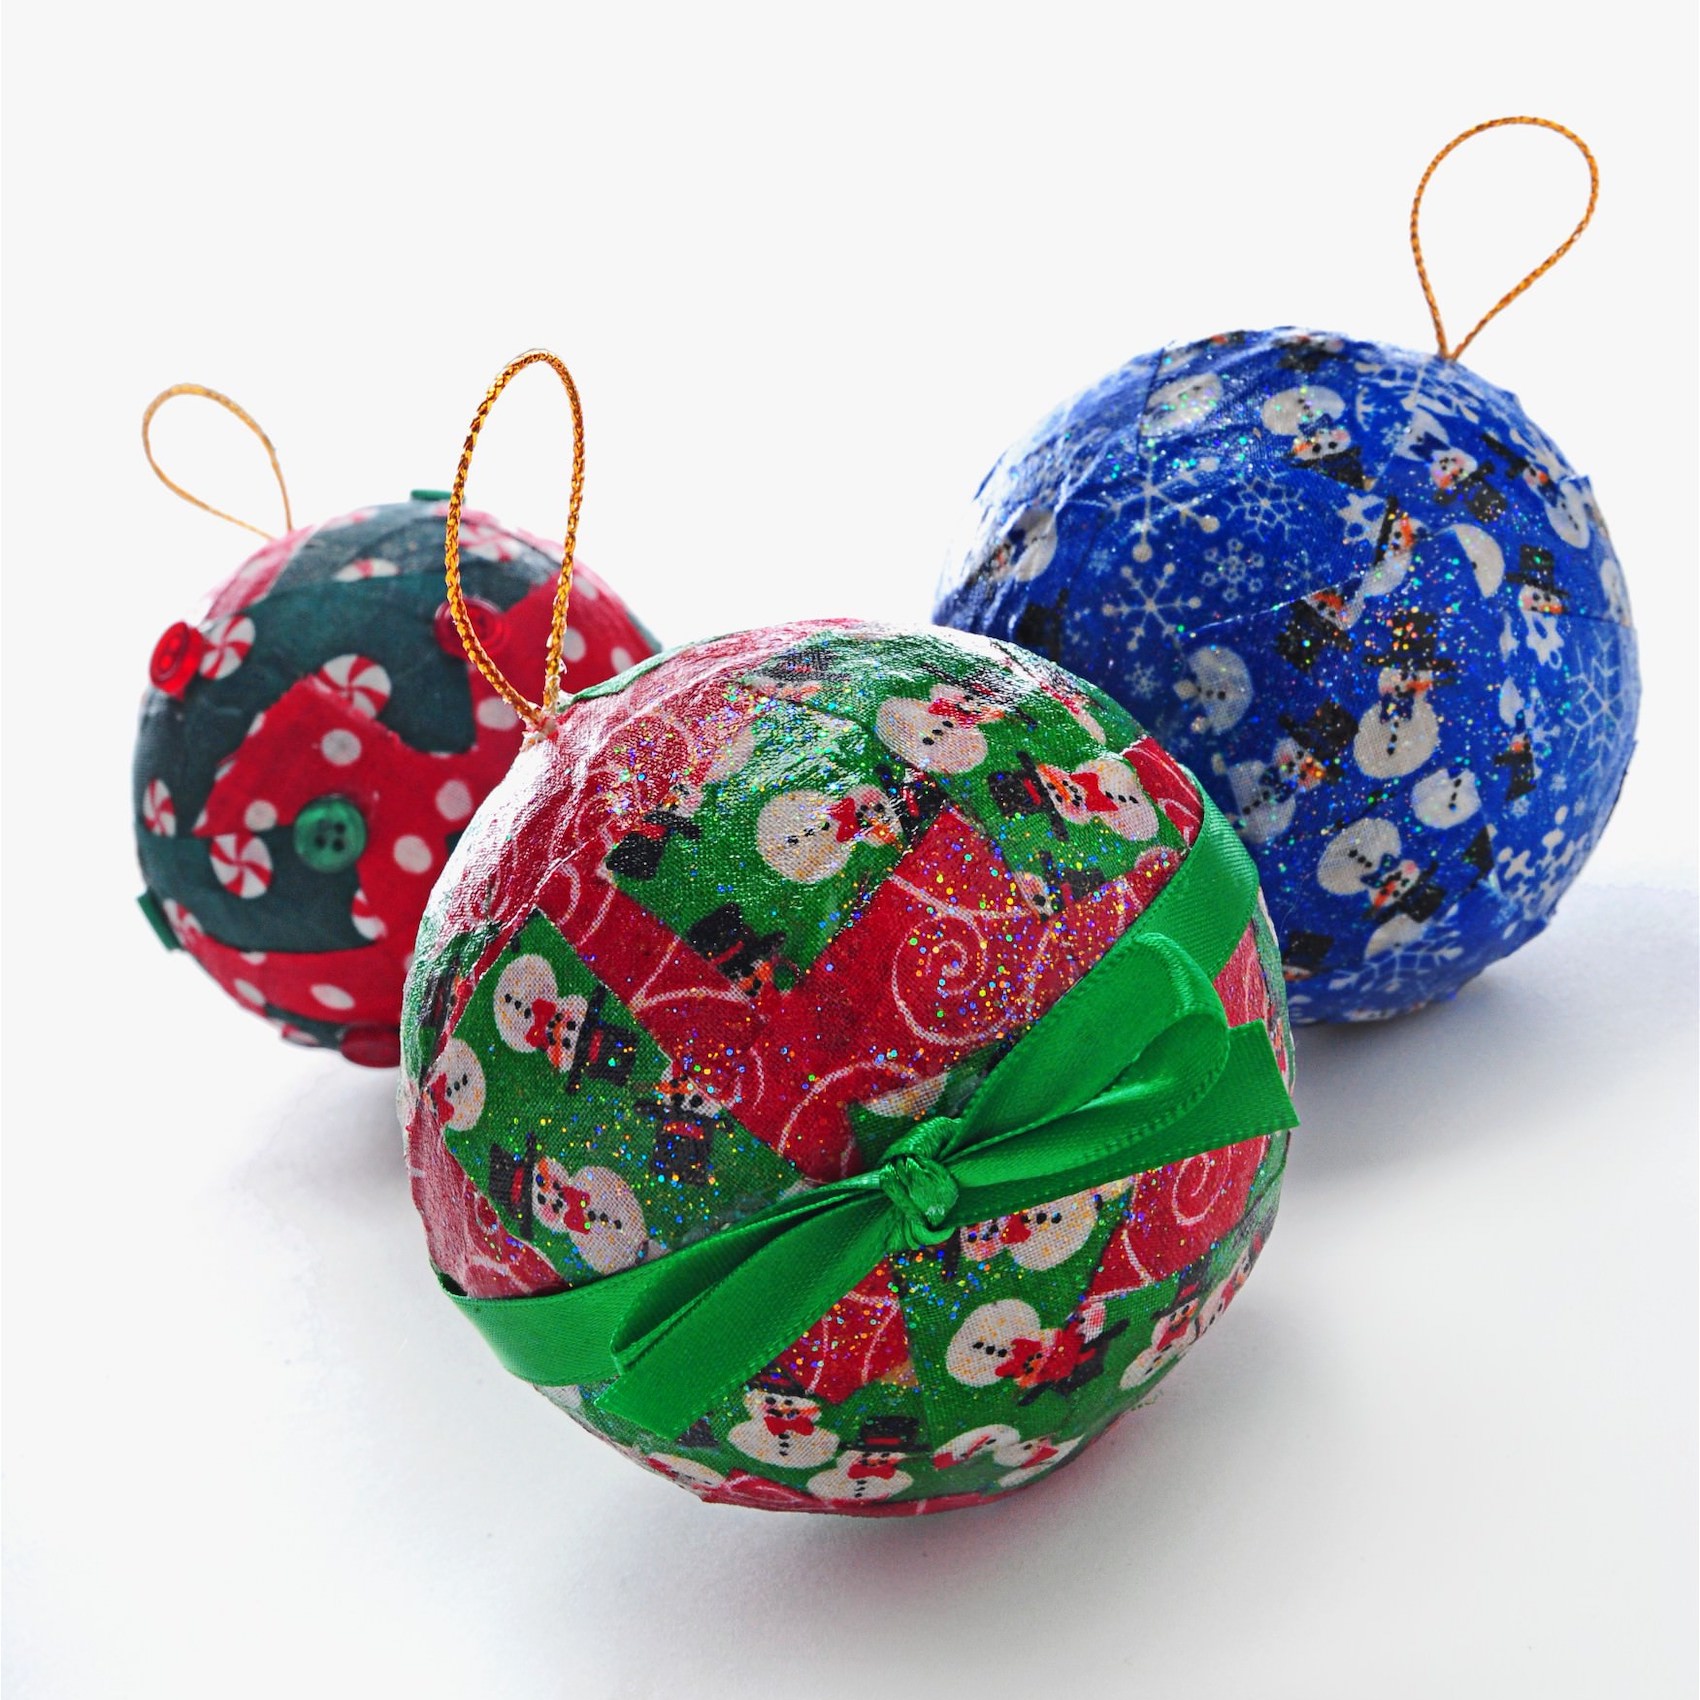
Let me know what you think in the comments. Here’s the printable how to:
Decoupage Ornaments
Equipment
Materials
- Mod Podge any formula
- Fabric scraps
- Embellishments ribbons, buttons
- Craft glue
Video
Instructions
- Cut your fabric into manageable bits using the scissors.
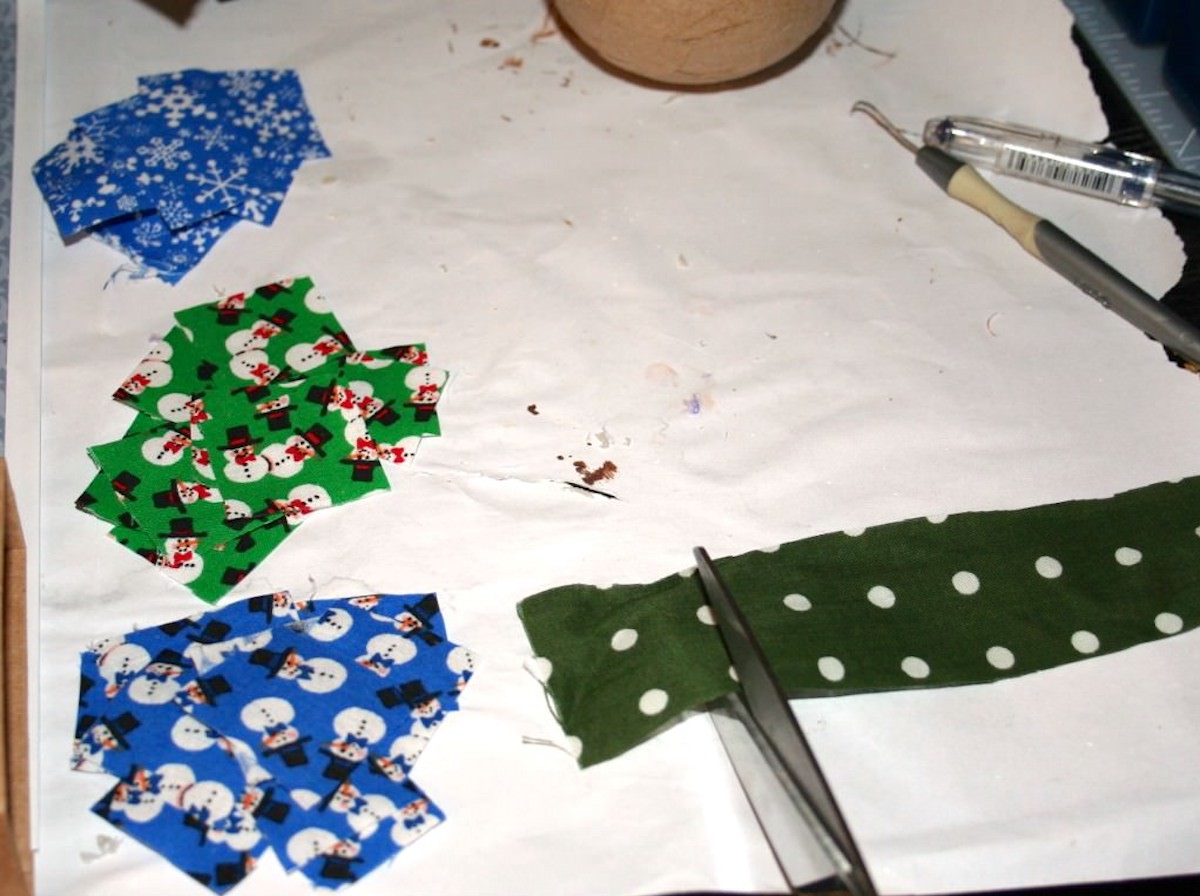
- Add Mod Podge to the surface of the ornament – place a piece of fabric down and then brush over it to smooth it down. Repeat, continuing to add Mod Podge and place more fabric squares. As you cover one side of the ball, let it dry.
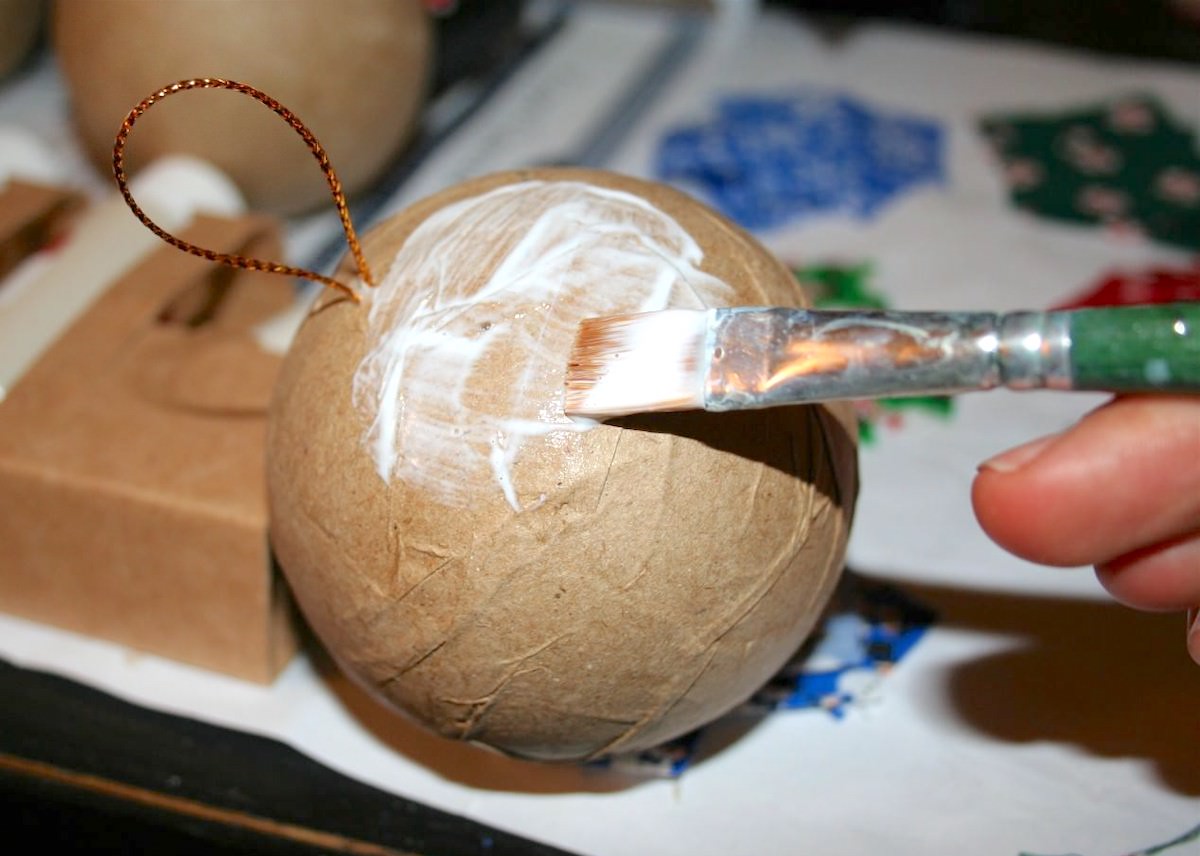
- Once the ball is dry, flip it over and complete the other side until the entire ornament is covered in fabric. Allow to dry.
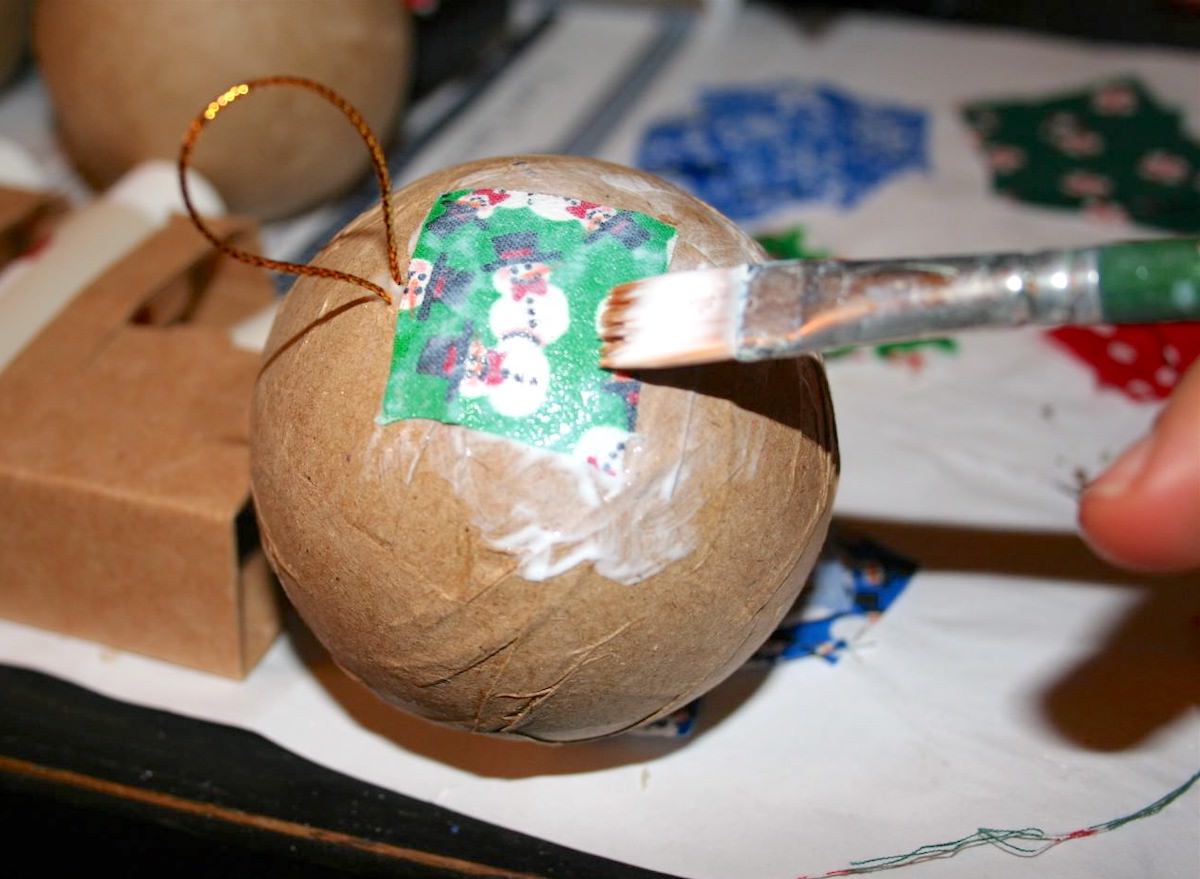
- If desired, seal some of the ornaments with glitter Mod Podge. Let dry.
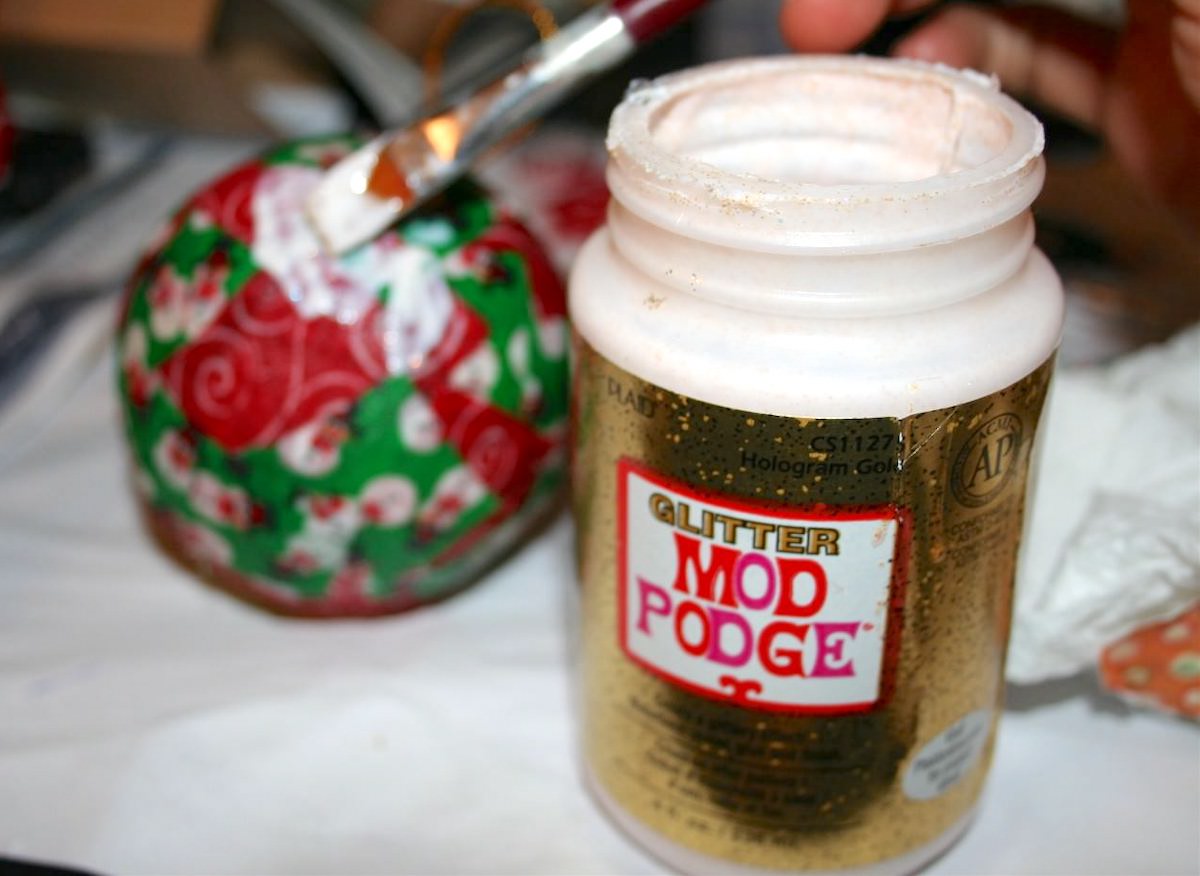
- Use the craft glue to add embellishments. You can also cut a length of ribbon with scissors and tie around the middle.
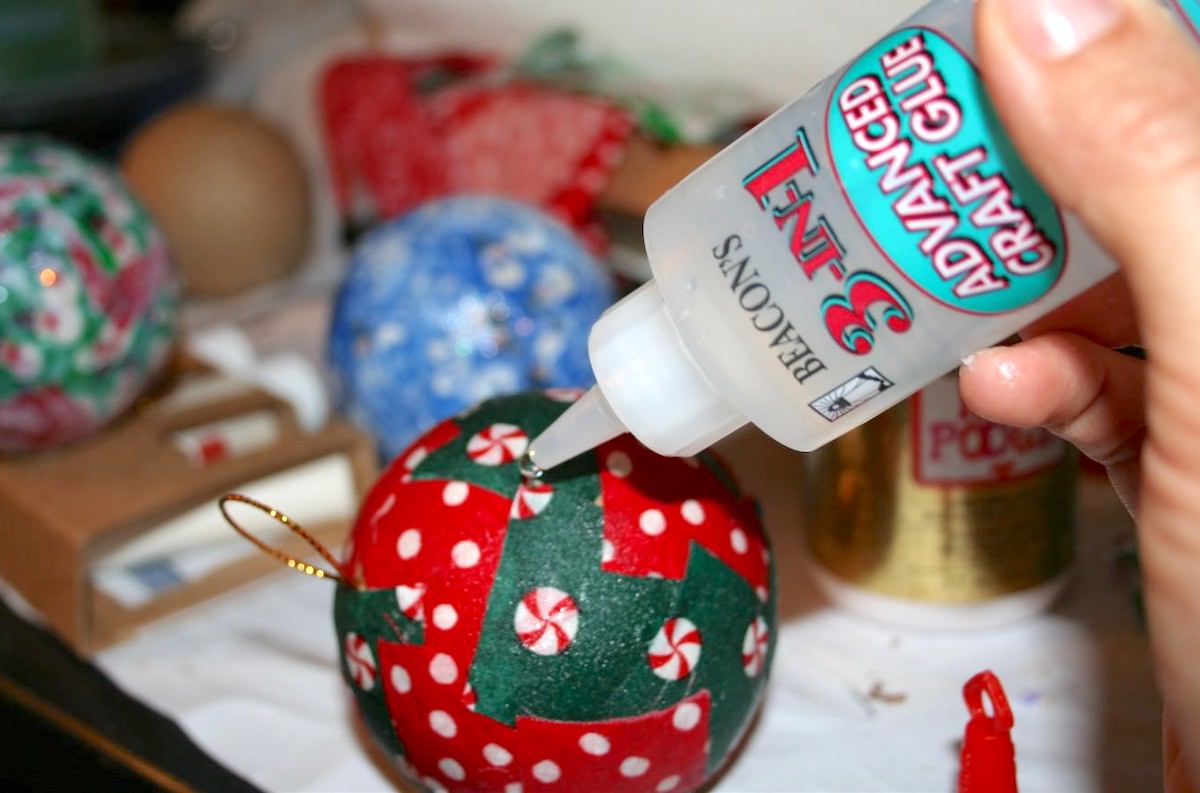
- Set to dry for at least a few hours before hanging on the Christmas tree.
Notes
Did you and your kids love making these Mod Podge ornaments? I hope so! Let me know in the comments. I’d also love for you to check out these other ornament ideas:
Confetti • Crystal Photos • Kids’ Handprints • Letters • Mason Jar Lids • Mod Podge Glitter • Night Light Bulbs • Painted Wood • Paper Bags • Paper Balls • Paper on Glass • Photo Blocks • Rhinestones • Rustic Glitter • Salt Dough • Seashells • Shadow Box • Sugar




So cute and such a great project to do with kids. I’ll have to remember that for when my boys get older.
I was just wondering today how to do this. You never disappoint. Thanks!
Sooo much fun! I love this, I’m looking for good ornament tutorials because I want to make ours – not buy them. I know that the ones you make are so much more fun to hang up because they involve memories. 🙂
Thanks for sharing!
What a great project! I HAVE to make a few! Thanks so much for sharing such clever and beautiful ideas!
I wanted to tell you thank you so much for your votes and tweets! You’re amazing and I’m grateful! 😉
Enjoy the weekend!
Roeshel
Great idea! I know my kids will have a great time doing this.
I love these! I’m going to post a link tomorrow morning from 7LittleMonkeys to your project. Thanks, and the other girls are right, you never disappoint! 🙂
Shanelle @
https://sevenlittlemonkeys.wordpress.com/
What a great idea!
My kids and I will be doing this tomorrow 🙂 AWESOME!!
That looks like fun! Who doesn’t have a ton of scraps around, what a great idea!
I commend them for their ideas. So inspirational and entertaining at the same time.
These are so fun amy! I featured them 🙂 https://homeandgarden.craftgossip.com/mod-podge-fabric-ornaments/
I made these years and years (40+) ago BEFORE H.P.
But H.P. makes much easier work out of them as a glue, coating AND embellishing (glitter). Can’t wait to try it again with the grands!
Help! I tried these and the fabric wouldn’t stick. My Mod Podge was old – does that make any difference? I used styrofoam balls, and the fabric just fell off. I wondered if it was the balls (you used paper balls) or the ModPodge?…. or just me?
Styrofoam does take Mod Podge, but you have to use a BOATLOAD because the styro soaks it up. And Mod Podge shelf life is only 2 years – so I’d get new Mod Podge and paper balls ;D
Could you use clear glass ornaments? Thanks!
You definitely could but obviously they are breakable – and with kids I don’t know if you’d want to do that. But definitely it would work!
Love this project – so pretty and so many possibilities! Just wanted to let you know I featured it in my roundup of glass ornament crafts here. Feel free to check it out if you want and hope you like it! : )
-Mel the Crafty Scientist