
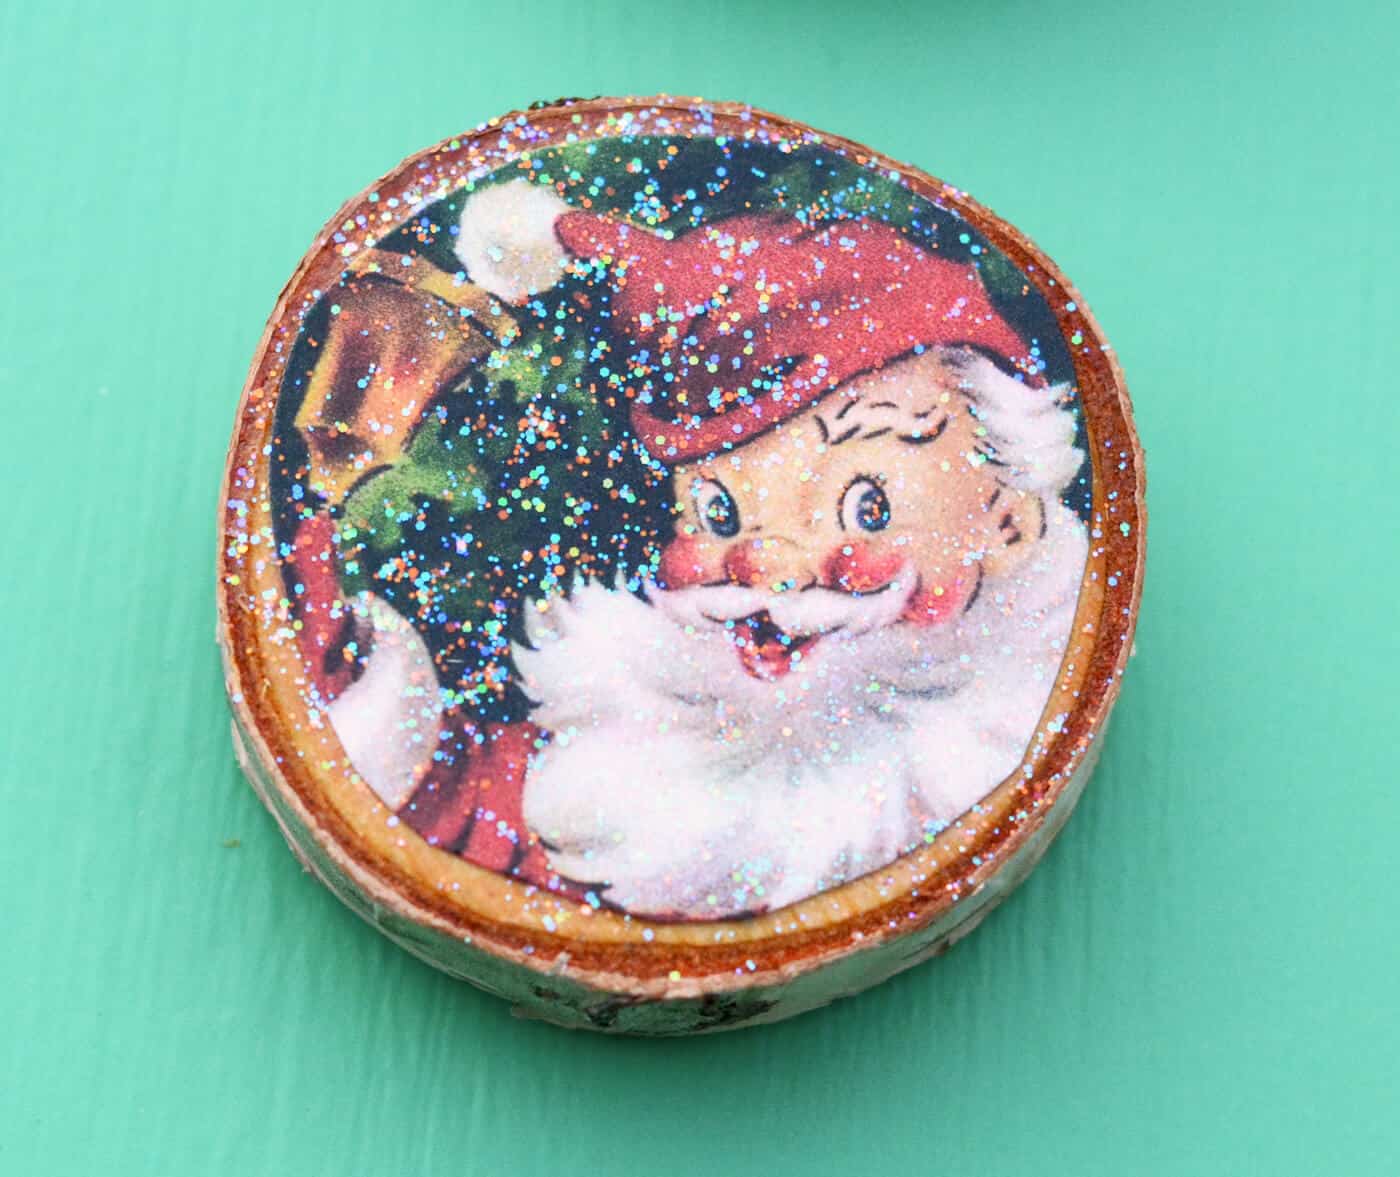
These DIY Christmas magnets with wood slices are SO easy to make and are a perfect gift idea! Use your own cards or the free printable included.
Skills Required: None. Even if you’ve never Mod Podged before, you will be successful with this project. The pieces are small enough that it isn’t hard to remove wrinkles.
Hi everybody! It’s Ashlee from My So Called Crafty Life, and today I am back to share a fun and ridiculously easy holiday DIY with you! Christmas is my favorite holiday and my favorite time of year! I can’t get enough!
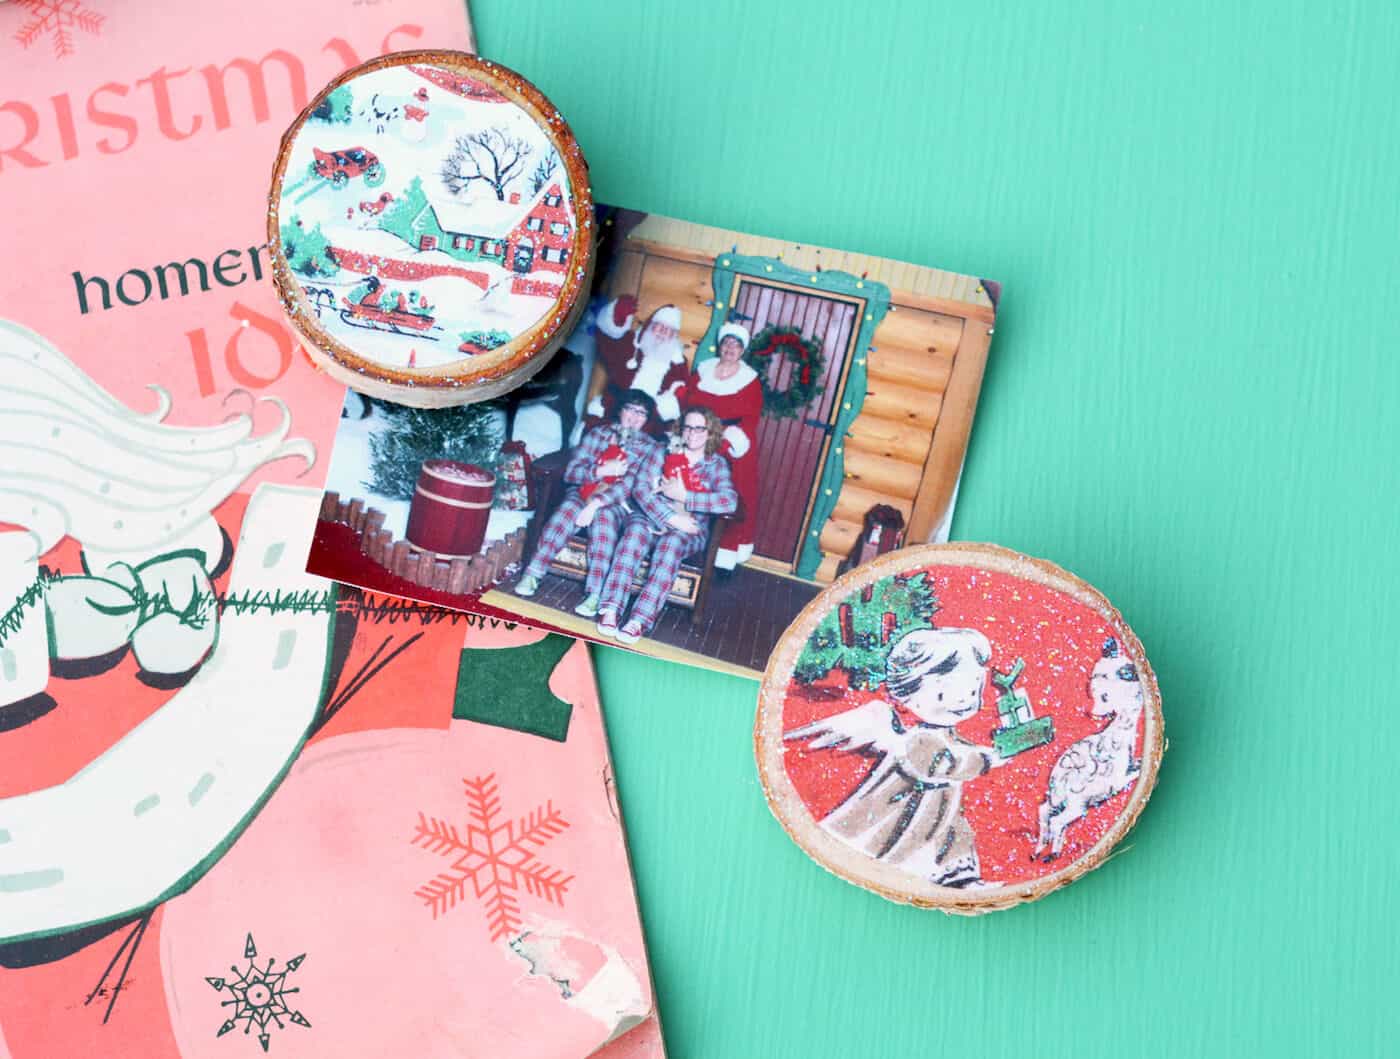
One of my favorite things to collect is vintage Christmas cards. I use them all the time for holiday crafting, either by using the cards themselves or scanning them and using the prints.
I have been wanting to make some Christmas magnets for the fridge, so when I saw these little wood slices at Michaels, I knew they would be perfect for the job.
This is a great Christmas craft for adults, but it’s also a great introduction to Mod Podge for the littles as well. Older children love to make these for gifts for friends or teachers.
Learn how to make this wood Christmas craft using the tutorial (and get the free Christmas printable) below.
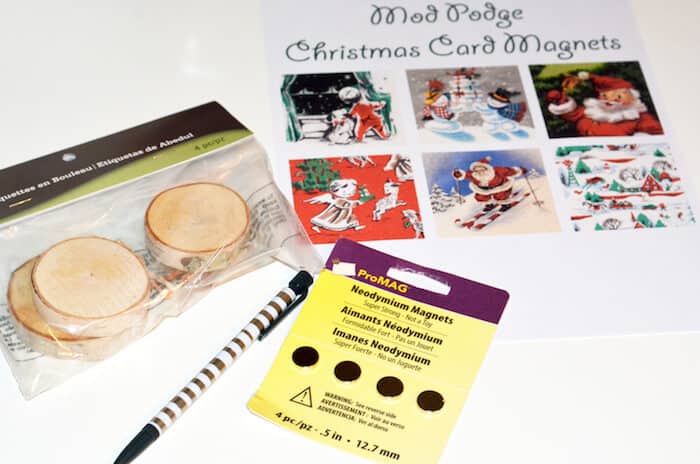
Gather These Supplies
- Christmas card printable or your own holiday cards
- Small wood slices
- Mod Podge (Matte or Gloss)
- Mod Podge Sparkle
- Paintbrush
- Pencil
- Scissors
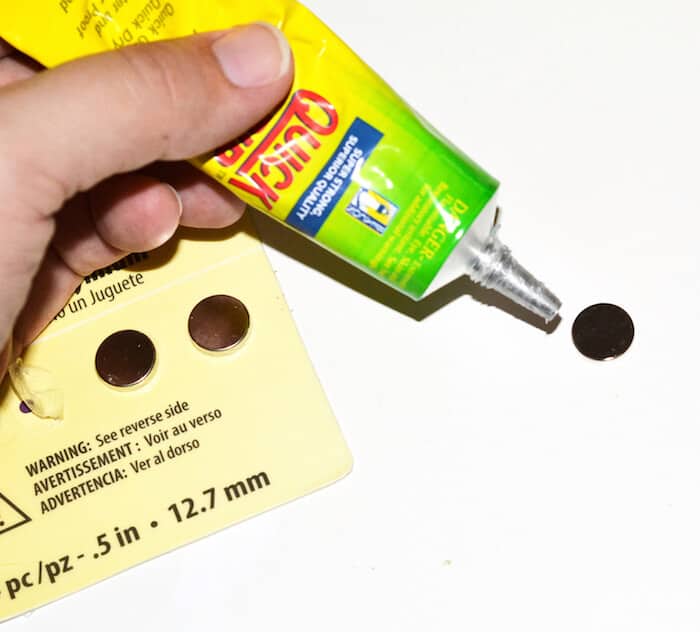
- Strong magnets
- Glue (I used a quick grab ceramics glue, but E-6000 would work well too)
Tip: Either print laserjet, or spray seal both sides of the inkjet jet print out with clear sealer or hairspray. This prevents bleeding of the inkjet.
The squares in my printable are 2.5″ which will fit most wood slices. They come in different sizes.
If you want a particular size to fit the wood slices you have, then measure the wood and adjust the size of your print accordingly. Please note that I used cardstock to print, regular printer paper is a little too thin and wrinkles easier.
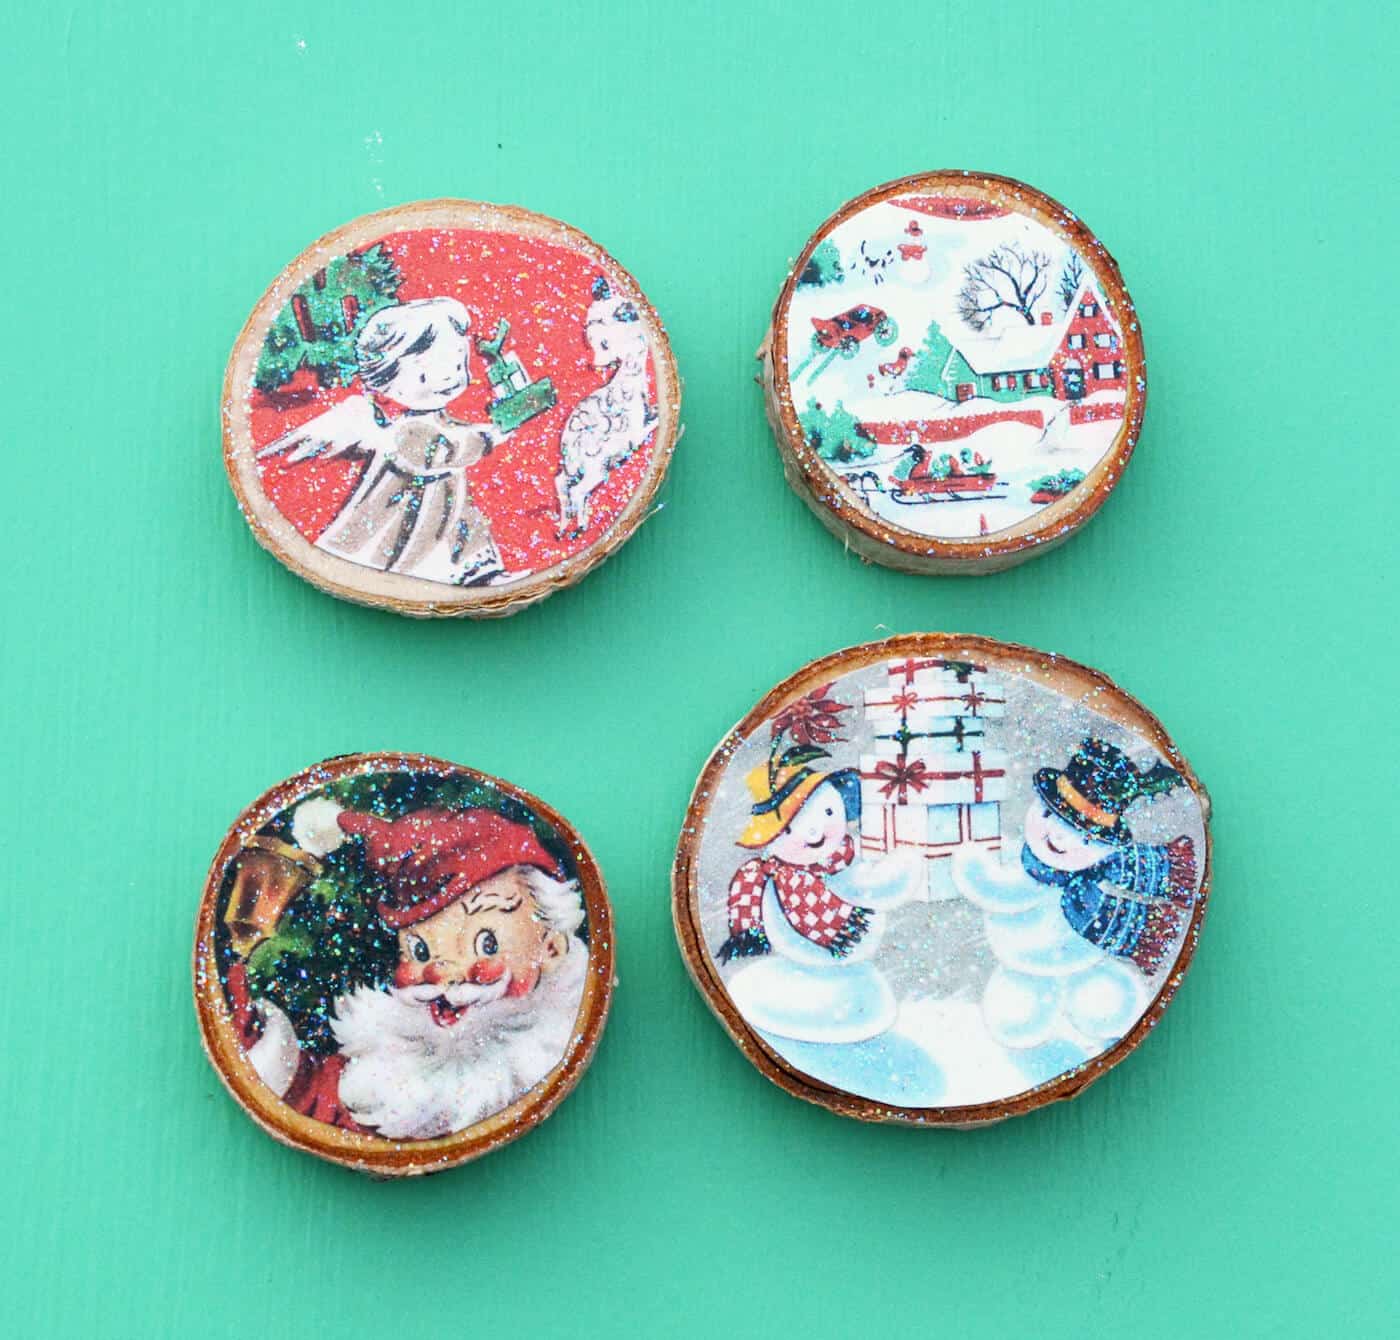
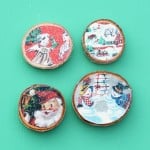
I absolutely love my little Christmas magnets! They look awesome on my fridge and add a little extra cheer to my kitchen.
What I love so much about this particular DIY is that it is so darn easy, and these are fast to whip up too! Perfect for handmade decorating for the holidays.
These Christmas magnets would be a great project to do with your kids or your craft club while on break. You can make a whole bunch of them in well under an hour.
I hope you will add this to your holiday crafty bucket list this year! I think you will love them too. Get the printable how to below:
Christmas Magnets
Equipment
Materials
- Christmas card printable or your own holiday cards
- Small wood slices
- Mod Podge Gloss
- Mod Podge Sparkle
- Strong magnets
- E-6000
Video
Instructions
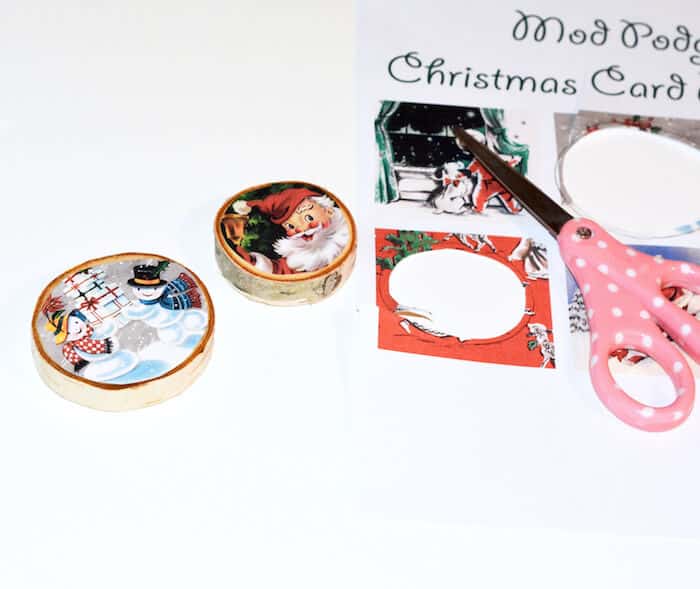
- Print out images or gather cards for cutting out.
- Now lay the wood slices on top of your designs. Then trace around the wood slices on the paper with your pencil.
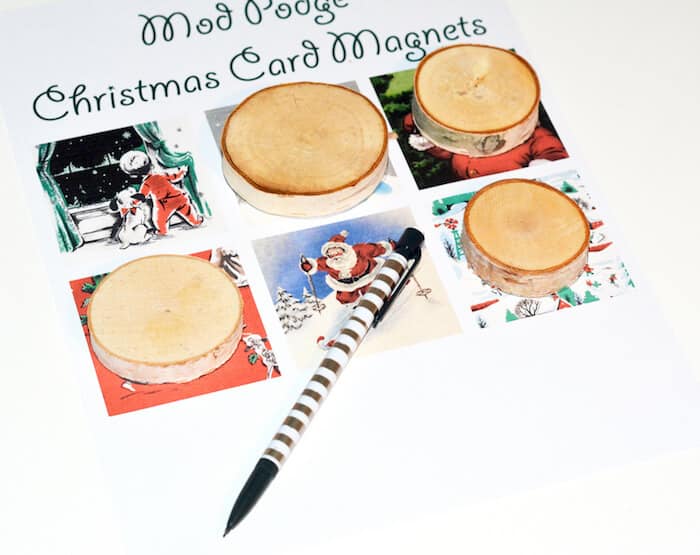
- Cut out the shapes. Cut inside the pencil line by about 1/16 to 1/8th of an inch so you will see just a little of the wood on the front.
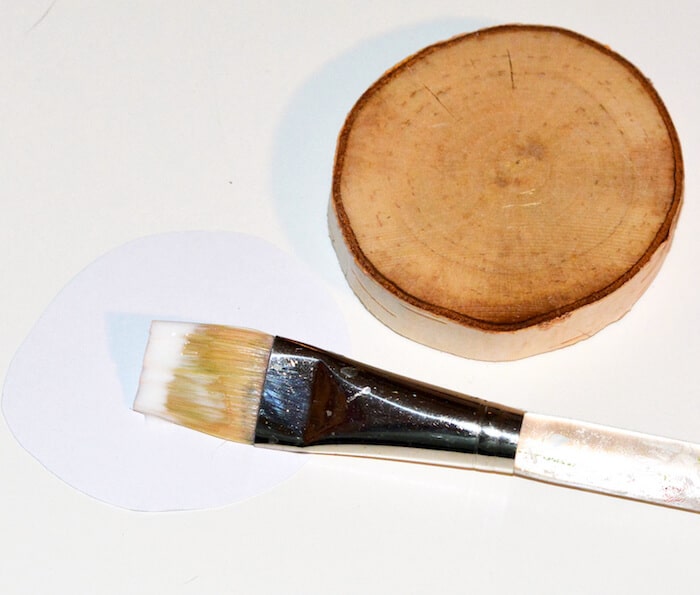
- Now you are ready to decoupage. Paint a thin layer of regular Mod Podge onto the backside of your paper circle.
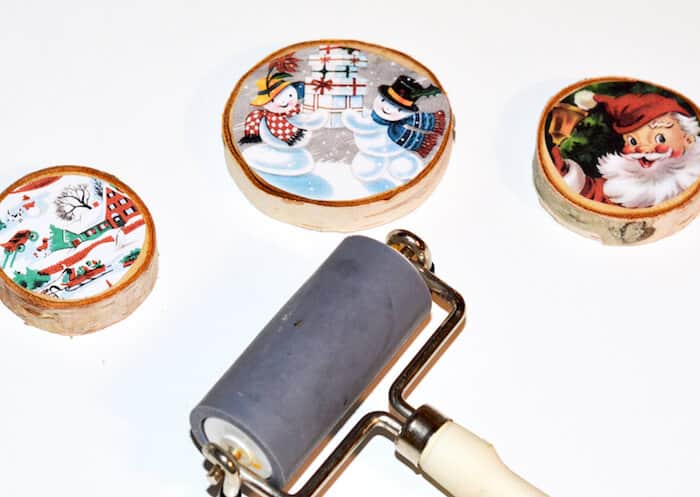
- Lay the paper face up onto the front of the wood slice and smooth, getting out any air bubbles or excess medium. Let dry and repeat.
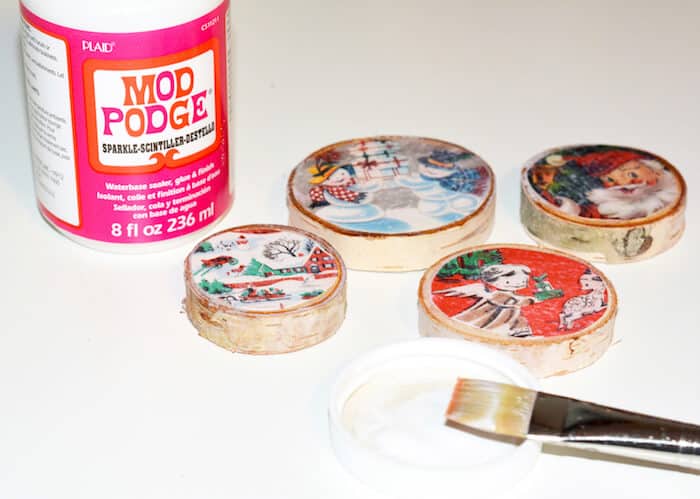
- Paint a layer or two of Sparkle Mod Podge on the top of each of your decoupaged wood slices. Set them aside and let them dry thoroughly.
- Place a small dab of strong glue onto the backside of a magnet. Then lay that magnet, glue side down onto the center back of your wood slice. Do the same with your other magnets. Let the glue dry and cure according to the package directions before you use the magnets.
For more holiday craft inspiration like this Christmas magnet craft, visit the following projects:
Believe Wood Star • Chalkboard Trees • Countdown Chalkboard • Fabric Christmas Bowl • Frosted Mason Jar Luminaries • Gnome Wood Gift Tag • Handmade Magnets in a Mason Jar • Holiday Door Hangers • JOY Plaque • Mason Jar Lid Ornaments • Merry Christmas Decor • Peace Wood Decor • Salt Dough Ornaments • Stenciled Wood Magnets


This is close to tree ornaments I made this year. I decoupaged a print onto both sides of thin wooden discs I got at Walmart. I put glitter in the wet decoupage around outside of picture. After all was dry my husband sprayed a thin coat of polyurethane to seal it. I didn’t want glitter all over the place. I am pleased with them.
That’s very cool!
Amy, I love this idea and did make coasters like these. I gave them as gifts. Everyone loved them. Such a cute idea to add Christmas cards and make magnets!
Yay! I’m glad you had fun with them! 😀
Hi, Amy! These are so cute! I was wondering though, would the same steps apply if i were to make coasters?
Yes Monique though I would add one more! Paint Minwax Polycrylic on top so that any moisture or heat doesn’t ruin the coaster. 😀
Thanks for sharing. The instructions are very easy to follow. I have been collecting Christmas cards since I was little. Now I can put some of them to good use. 🙂
Cute idea, and a great way to recycle Christmas cards! Thanks for sharing!