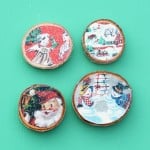
Christmas Magnets
Learn how to make DIY Christmas magnets with wood slices. Perfect for stocking stuffers or hostess gifts.
Yield: 4 magnets
Cost: $5
Equipment
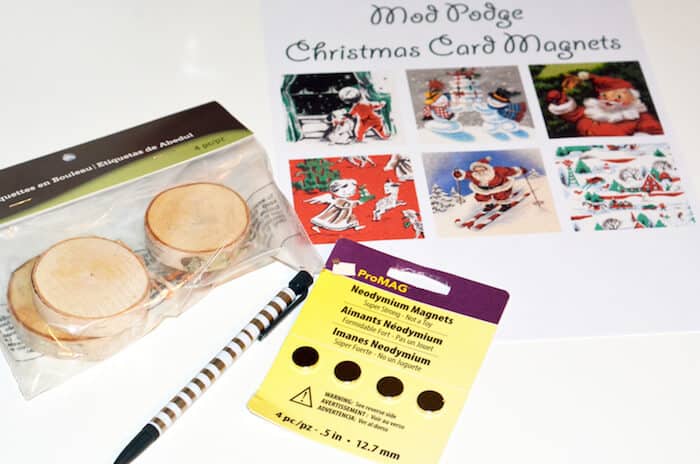
Materials
- Christmas card printable or your own holiday cards
- Small wood slices
- Mod Podge Gloss
- Mod Podge Sparkle
- Strong magnets
- E-6000
Video
Instructions
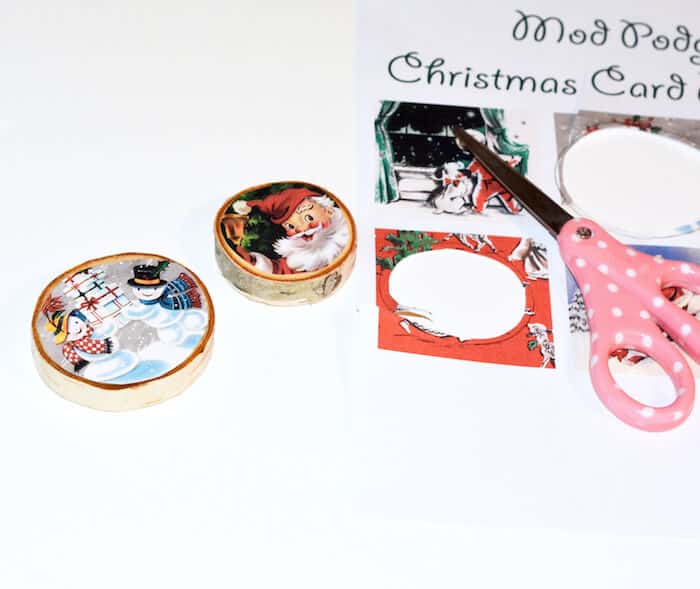
- Print out images or gather cards for cutting out.
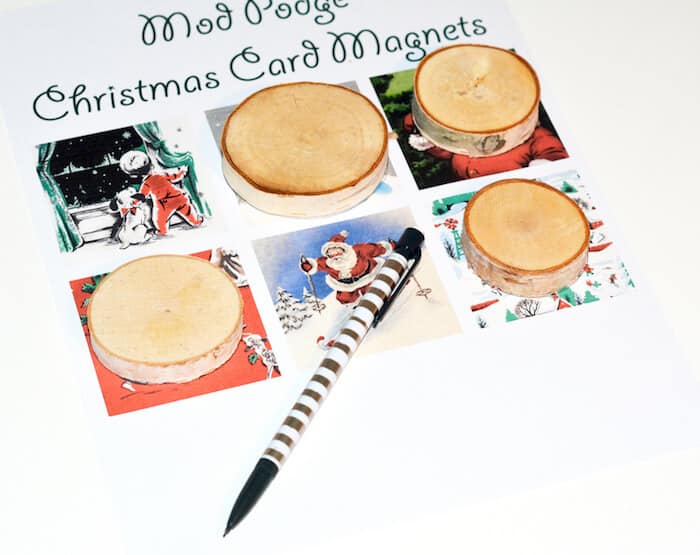
- Now lay the wood slices on top of your designs. Then trace around the wood slices on the paper with your pencil.
- Cut out the shapes. Cut inside the pencil line by about 1/16 to 1/8th of an inch so you will see just a little of the wood on the front.
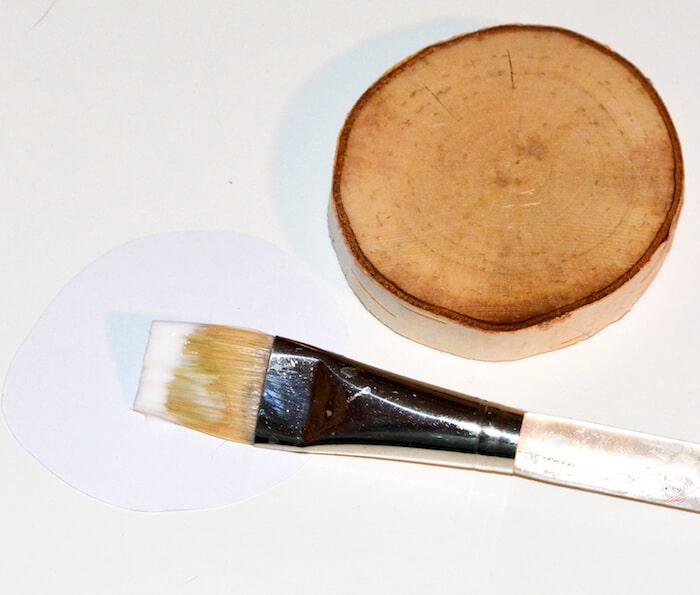
- Now you are ready to decoupage. Paint a thin layer of regular Mod Podge onto the backside of your paper circle.
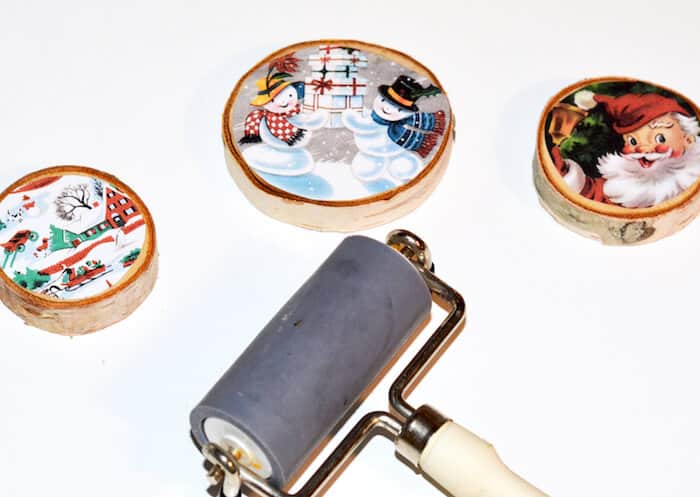
- Lay the paper face up onto the front of the wood slice and smooth, getting out any air bubbles or excess medium. Let dry and repeat.
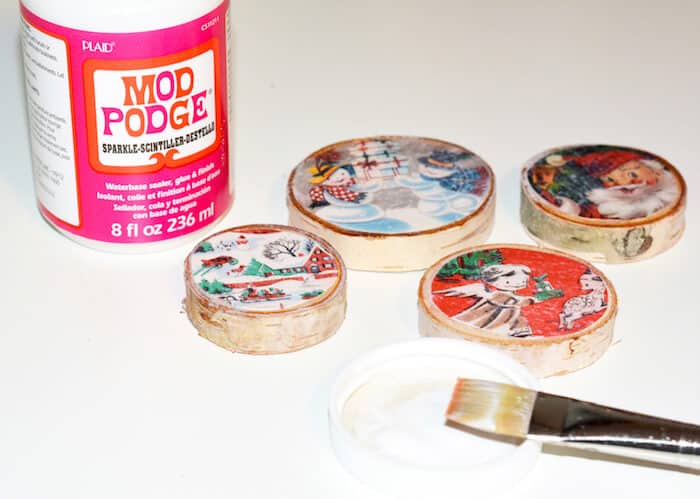
- Paint a layer or two of Sparkle Mod Podge on the top of each of your decoupaged wood slices. Set them aside and let them dry thoroughly.
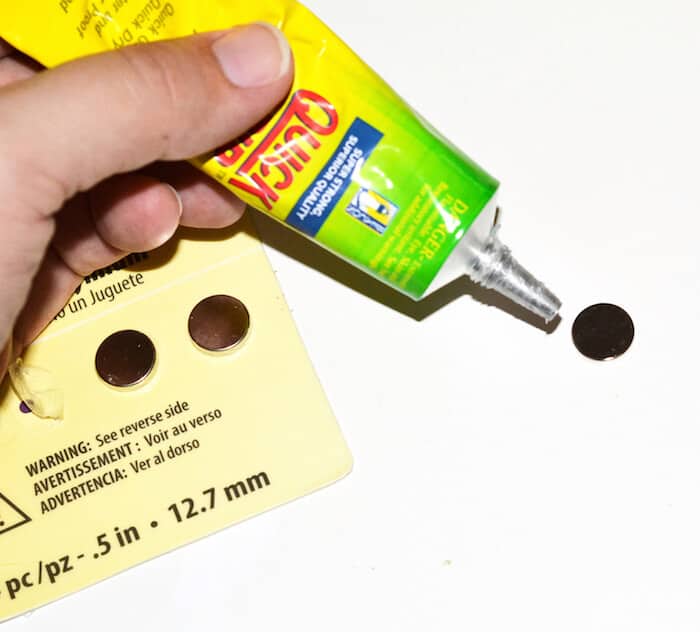
- Place a small dab of strong glue onto the backside of a magnet. Then lay that magnet, glue side down onto the center back of your wood slice. Do the same with your other magnets. Let the glue dry and cure according to the package directions before you use the magnets.