You can make these EASY mummy mason jar luminaries on a budget, in three steps! Both kids and adults will love these Halloween mason jars.
Skills Required: Beginner. You don’t need any crafting experience to make these mummy mason jars! You’re going to wrap a glass jar in cheesecloth using Mod Podge, and then attach eyes cut out of cardstock. This project is so easy that even a child could do it.
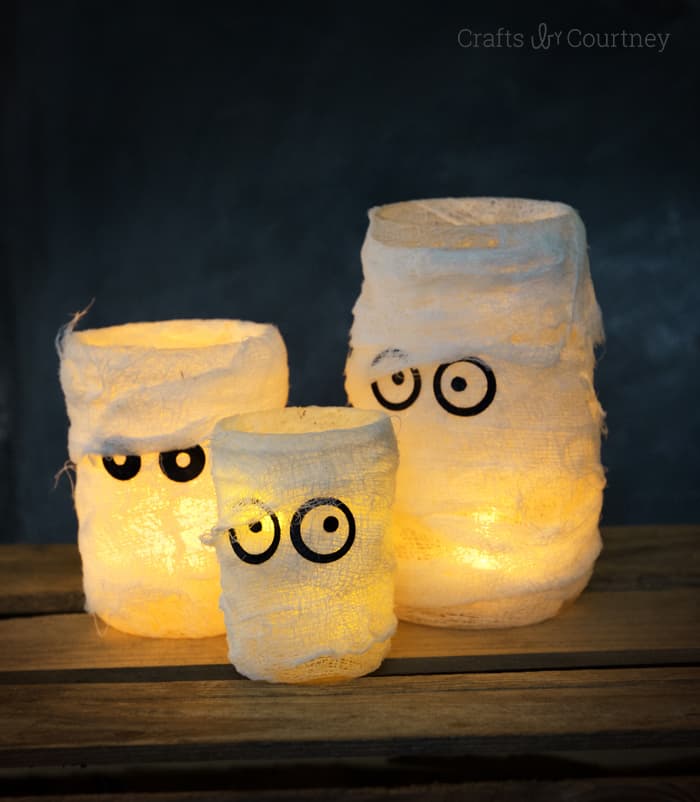
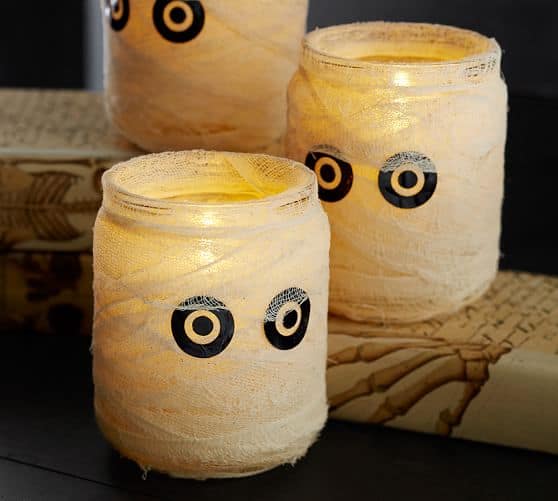
While looking through the Pottery Barn website for Halloween decorations (which I do religiously), I spotted some cute gauze mummy mason jars. I thought they were super cool, BUT they were $25.00 each. YIKES! I knew I could totally make these Halloween lanterns myself.
Here’s a quick look at what Pottery Barn Mummy Luminaries look like. I think they look pretty similar . . . and mine are way cheaper. What do you think?
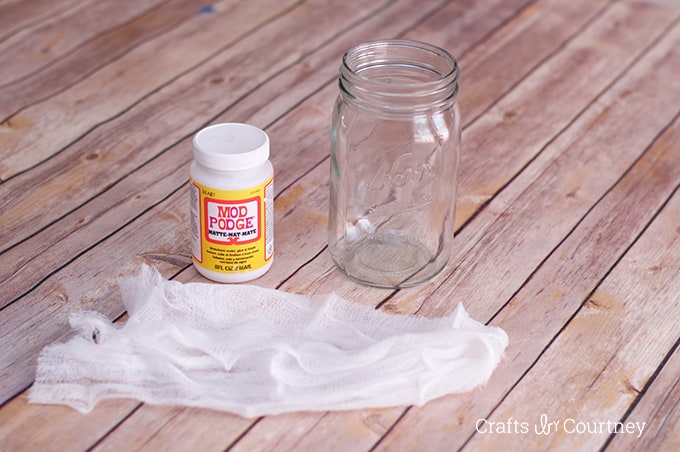
I checked my craft supplies to see if I had some cheesecloth and I DID! This is such an easy project to do, you could even turn it into a Halloween kids craft. I know my boys would really enjoy making one too. So I grabbed some glass jars and Mod Podge to begin.
I really think these Halloween candle holders turned out cool and it’s something I can keep for a long time. Since I had all the materials on hand, it didn’t cost me a thing. Woohoo!
Are you ready to learn how to make this awesome Halloween mason jar craft? Keep reading!
Gather These Supplies
- Mod Podge Matte
- Glass Jars
- Cheesecloth
- Circle Punch
- Black Cardstock
- Foam Brush
Finally, pick up some flameless candles or tea lights and you’re ready to display your Halloween luminaries! They would look perfect on a Halloween mantel, front steps, or even as a night light for the kids (use the LED lights!).

See how easy these mummy mason jars were to make? I had all three done in about 15 minutes. It took me longer to find the cheesecloth than it did to make them.
I have some more really cool Halloween crafts coming up so stay tuned (here’s a spoiler, they’re all gonna use Mod Podge). Get the printable how to for this one below:
Mummy Luminaries
Equipment
- LED tealights
Materials
- Mod Podge Matte
- Glass Jars
- 6 yards Cheesecloth
- 1 sheet Cardstock black
Instructions
- Clean and wash your jars, removing any labels or adhesive. Cut the cheesecloth intro strips.
- Add Mod Podge to the glass, and start wrapping the cheesecloth around the jar. Let dry. Keep layering to get the "mummy effect," letting dry between layers.
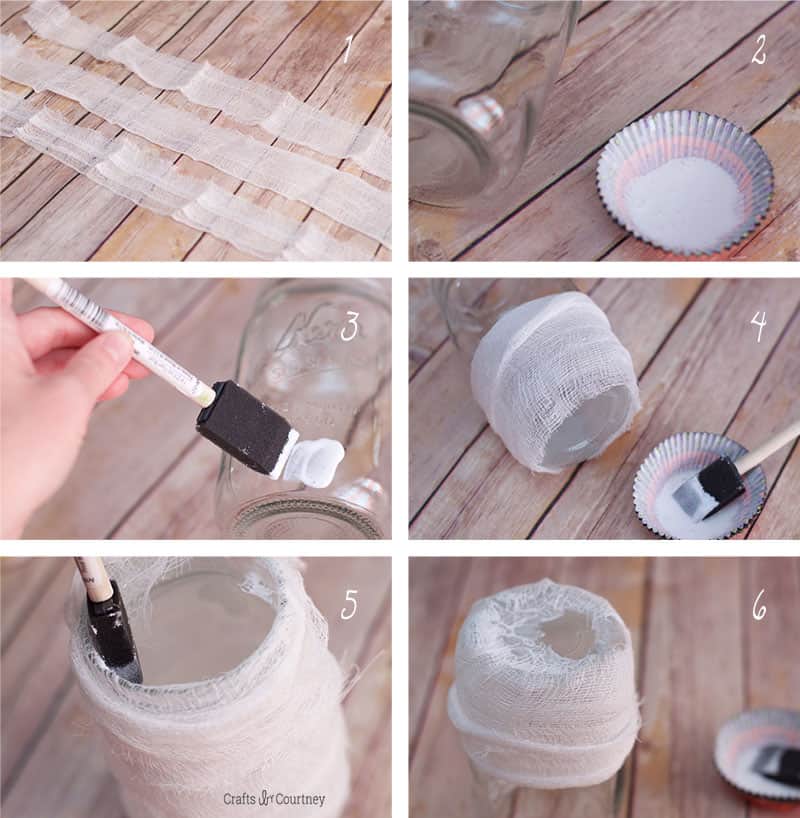
- Apply Mod Podge to the inside lip of the jar and fold the cheesecloth over the rim. Mod Podge down and let dry.
- Repeat with as many jars as you like. Give each jar a final coat of Mod Podge to stiffen the cheesecloth, and let dry.
- Use circle punches to cut circle eye shapes out of black cardstock. The small dot was created with a hole punch. Add the eyes with Mod Podge and let dry.
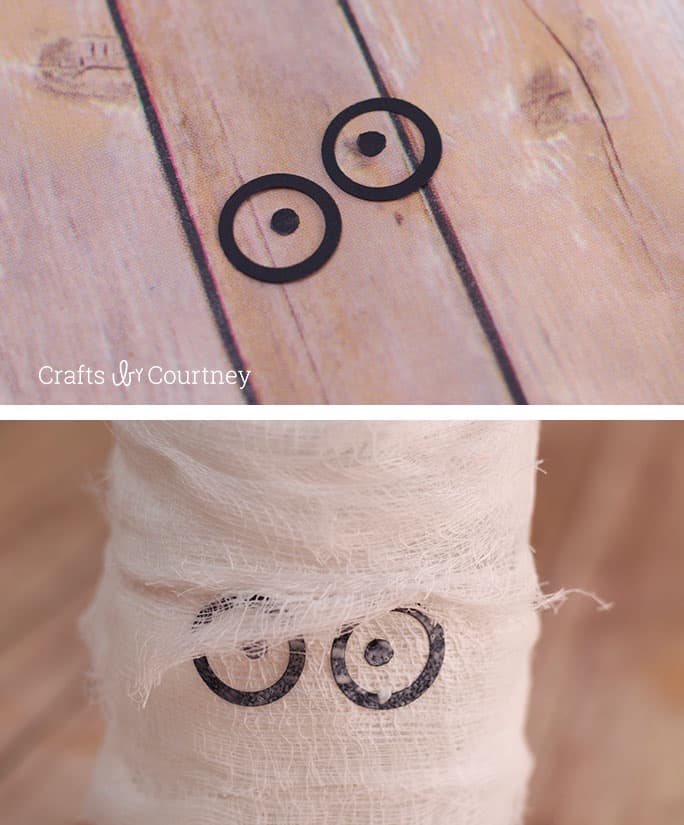
- Pick up some flameless candles or tea lights and you're ready to display your Halloween luminaries!
Notes
- I used recycled jars for this project, and I had everything else on hand. If you need to buy the cheesecloth, it’s about $5.
- If you don’t have black cardstock, you can draw on the eyes with Sharpie. I think the cardstock looks cleaner, however.
If you enjoyed these Halloween luminaries, take a peek at these other holiday crafts I think you’re going to like:
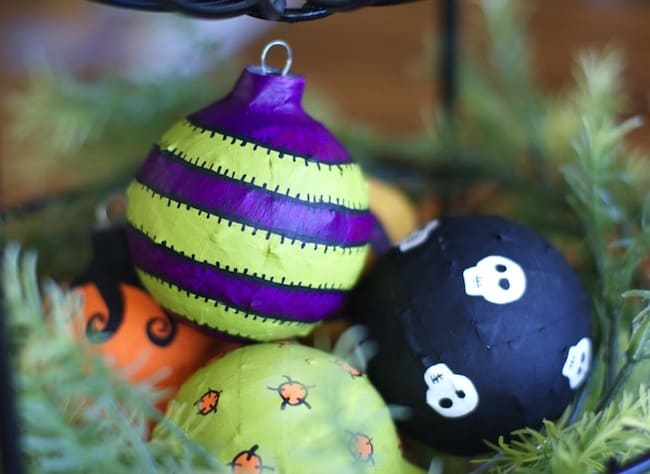
BOO Letters • Button Art • Coffin Tray • Duct Tape Pumpkin • Fairy Garden • Halloween Ornaments • Halloween Rocks • Paper Cones • Potion Bottles • Spooky Candle Holders • Spooky Pumpkins • Witch Hat Garland




How cute and yours look better. I like your eyes better. This could be done with orange to make pumpkins too.
Carla from Utah
Very cute and I like yours better. Not mass produced to sell but made with love to enjoy.
Do like the Mummy jars. Very clear instructions and just spooky enough. Thank you for showing.
Deirdre
Adorable! Do you think the eyes could be painted on before the cheese cloth wrap?
Hmmmm – they might be faint but I think they could be! That would be very spooky 😮