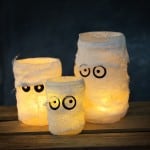
Mummy Luminaries
These mummy mason jars are so fun to make for Halloween - both kids and adults will love them! Learn how to make these jar luminaries in a few easy steps.
Yield: 3 luminaries
Cost: $5
Equipment
- LED tealights
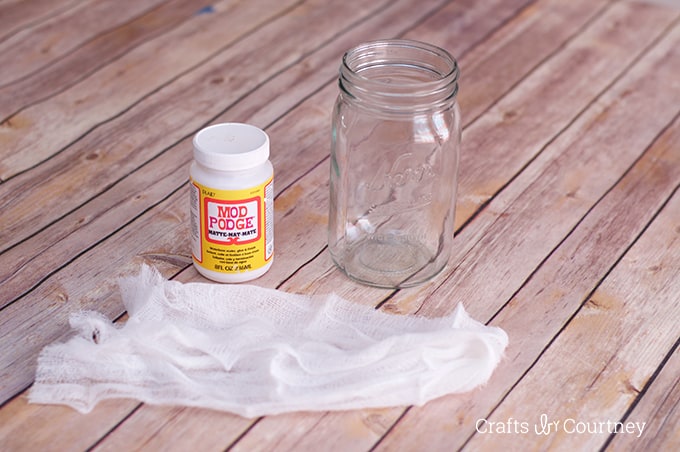
Materials
- Mod Podge Matte
- Glass Jars
- 6 yards Cheesecloth
- 1 sheet Cardstock black
Instructions
- Clean and wash your jars, removing any labels or adhesive. Cut the cheesecloth intro strips.
- Add Mod Podge to the glass, and start wrapping the cheesecloth around the jar. Let dry. Keep layering to get the "mummy effect," letting dry between layers.
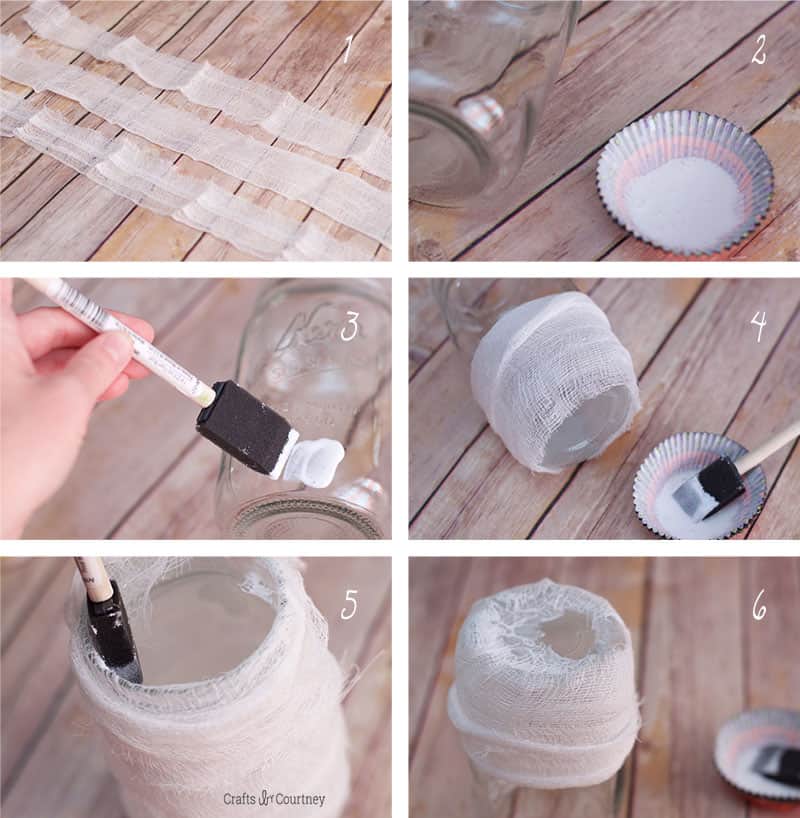
- Apply Mod Podge to the inside lip of the jar and fold the cheesecloth over the rim. Mod Podge down and let dry.
- Repeat with as many jars as you like. Give each jar a final coat of Mod Podge to stiffen the cheesecloth, and let dry.
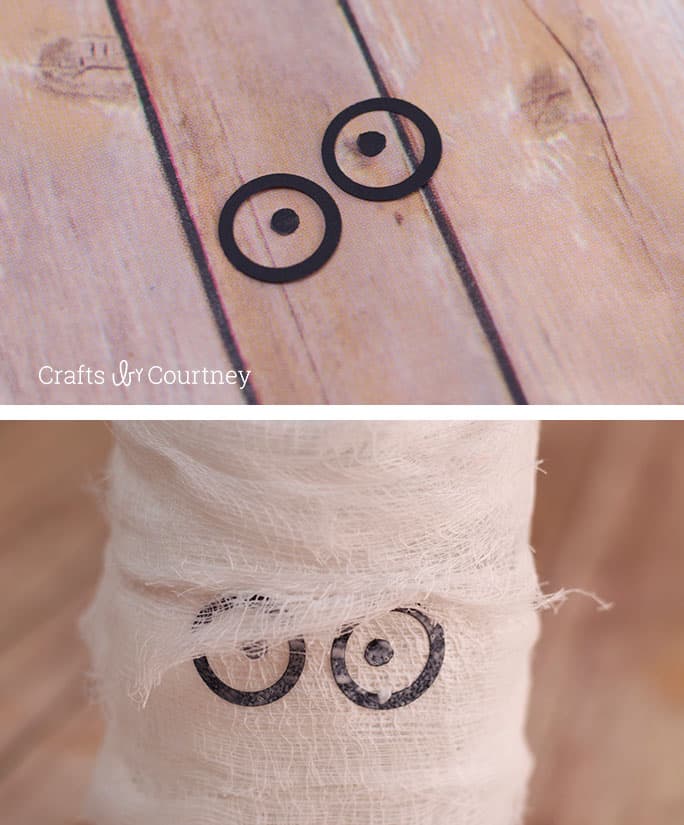
- Use circle punches to cut circle eye shapes out of black cardstock. The small dot was created with a hole punch. Add the eyes with Mod Podge and let dry.
- Pick up some flameless candles or tea lights and you're ready to display your Halloween luminaries!
Notes
- I used recycled jars for this project, and I had everything else on hand. If you need to buy the cheesecloth, it's about $5.
- If you don't have black cardstock, you can draw on the eyes with Sharpie. I think the cardstock looks cleaner, however.