
Learn how to make a DIY mouse pad using cork, scrapbook paper, and Mod Podge! This easy no sew project is colorful, customizable, and fun.
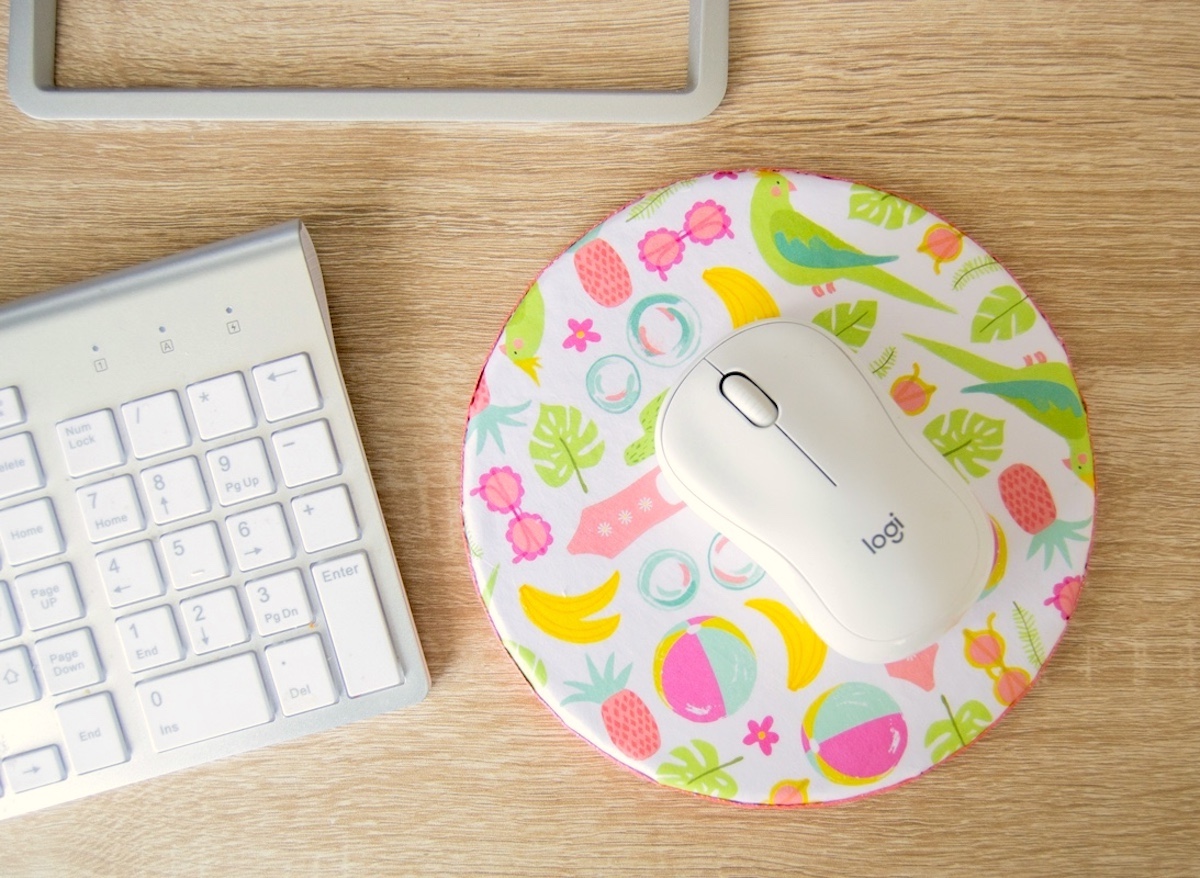
There’s something oddly satisfying about making everyday office supplies prettier.
Because honestly? Most mousepads are either aggressively boring or weirdly expensive for no reason. And if you spend a lot of time at your desk, having a workspace that actually feels colorful and creative makes SUCH a difference.
That’s why I love this easy DIY mouse pad.
It’s simple, inexpensive, customizable, and completely beginner friendly. Plus, unlike some tutorials that involve sewing fabric layers together while quietly questioning your life choices, this version uses scrapbook paper, cork trivets from IKEA, and Mod Podge.
No sewing machine required.
No complicated steps.
No crafting drama.
Just decoupage glue, paper, and a cork circle turning into something way cuter than store bought. Well, and maybe a little craft paint.
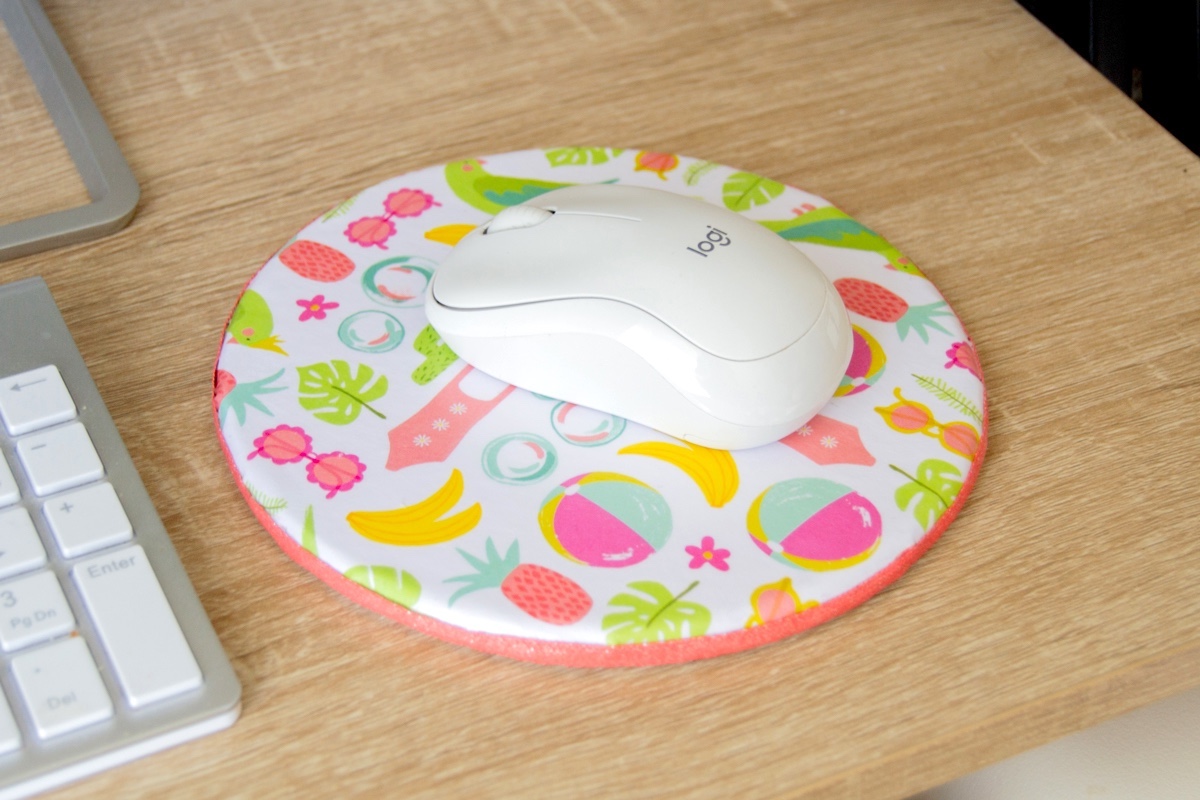
Honestly, that’s my kind of project. And any crafter will love this idea.
I also love how customizable this mousepad is. You can use bright scrapbook paper, florals, retro prints, minimalist neutrals, seasonal patterns, or literally anything that matches your desk setup.
And if scrapbook paper isn’t your thing? You can absolutely use fabric instead. A lightweight cotton works best if you want to create a fabric mouse pad variation using the same process.
The cork underneath acts as the non-skid base, which means the mousepad stays in place while you work. That cork layer also gives the project durability without making it stiff or bulky.
Plus, cork circles are easy to find and inexpensive at craft stores.
Honestly, once you make one, you’ll immediately start thinking about making extras for dorm rooms, office makeovers, or handmade gifts.
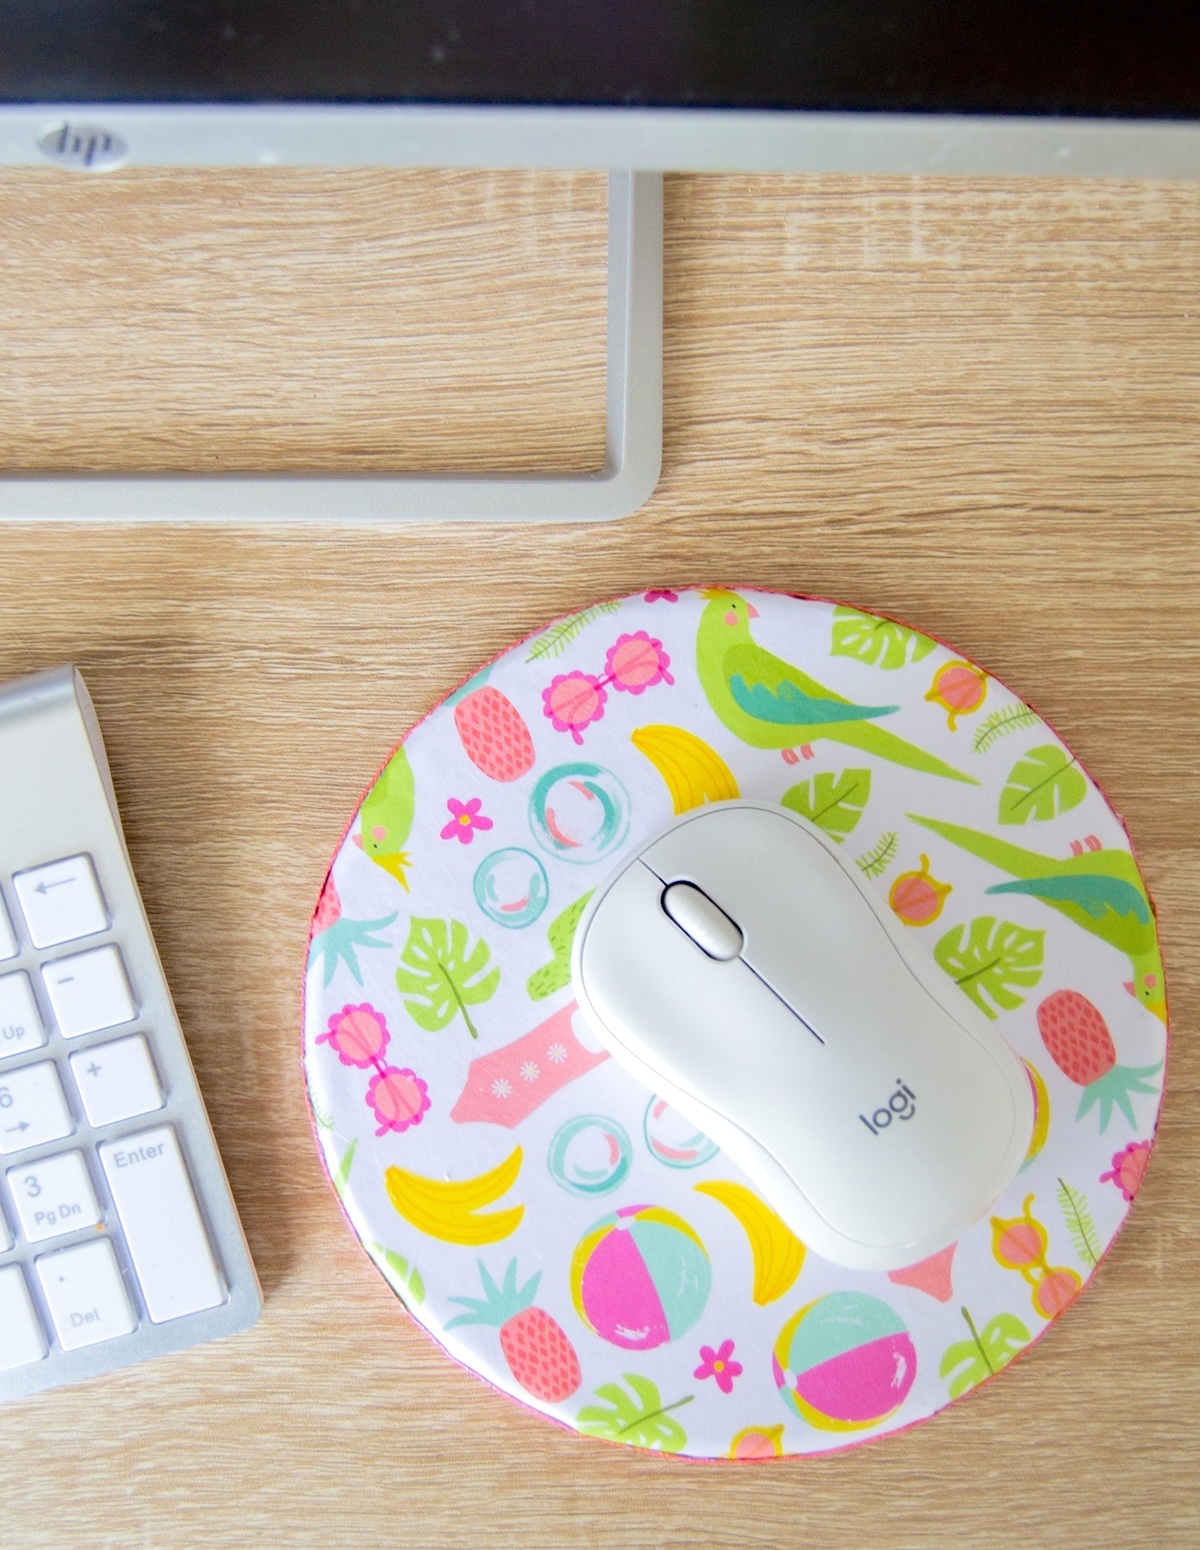
Why This Project Works So Well
One reason this easy DIY mouse pad turns out so polished is because the cork creates such a sturdy foundation underneath.
The scrapbook paper adds personality while the Mod Podge works as both glue and sealer. That protective layer helps the surface resist wear from everyday use while also making the colors look more vibrant.
And unlike some desk crafts that end up shoved into drawers forever, this one actually gets used constantly.
Which is deeply satisfying honestly.
I also really like that this tutorial works for almost any style.
Bright and colorful?
Minimalist?
Vintage-inspired?
Bold patterns?
Everything works depending on the paper you choose.
Tips Before You Start
A few quick things help this project turn out even better.
First: smooth carefully. Keeping the right sides facing outward and wrinkle free makes a huge difference in the final appearance.
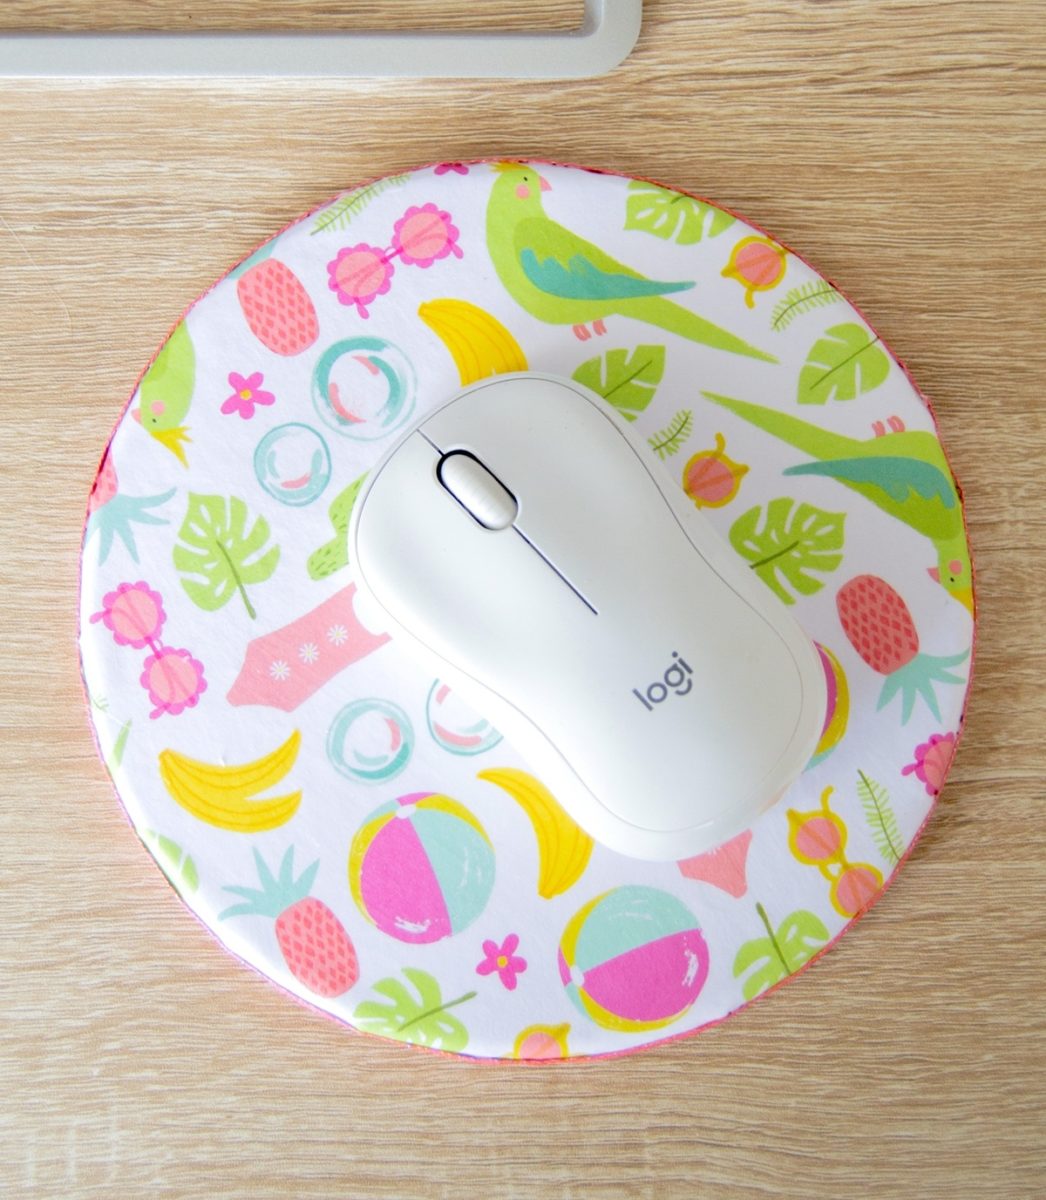
Second: don’t apply super thick coats of Mod Podge. A thinner layer dries more evenly and helps prevent bubbles or streaks from forming on top of the paper.
And finally: let each layer dry fully before adding another coat. I know waiting is annoying. But trying to rush Mod Podge is honestly one of crafting’s most dangerous games.
Personally, I think this project is perfect for:
- home offices
- craft rooms
- teen desks
- colorful workspaces
- handmade gifts
- dorm rooms
Because life is simply too short for boring desk accessories. Get the printable how to card below:

DIY Mouse Pad
Equipment
Materials
- Round cork circle at least 7"
- Scrapbook paper
- Mod Podge Gloss
- Ribbon
- Acrylic paint
Instructions
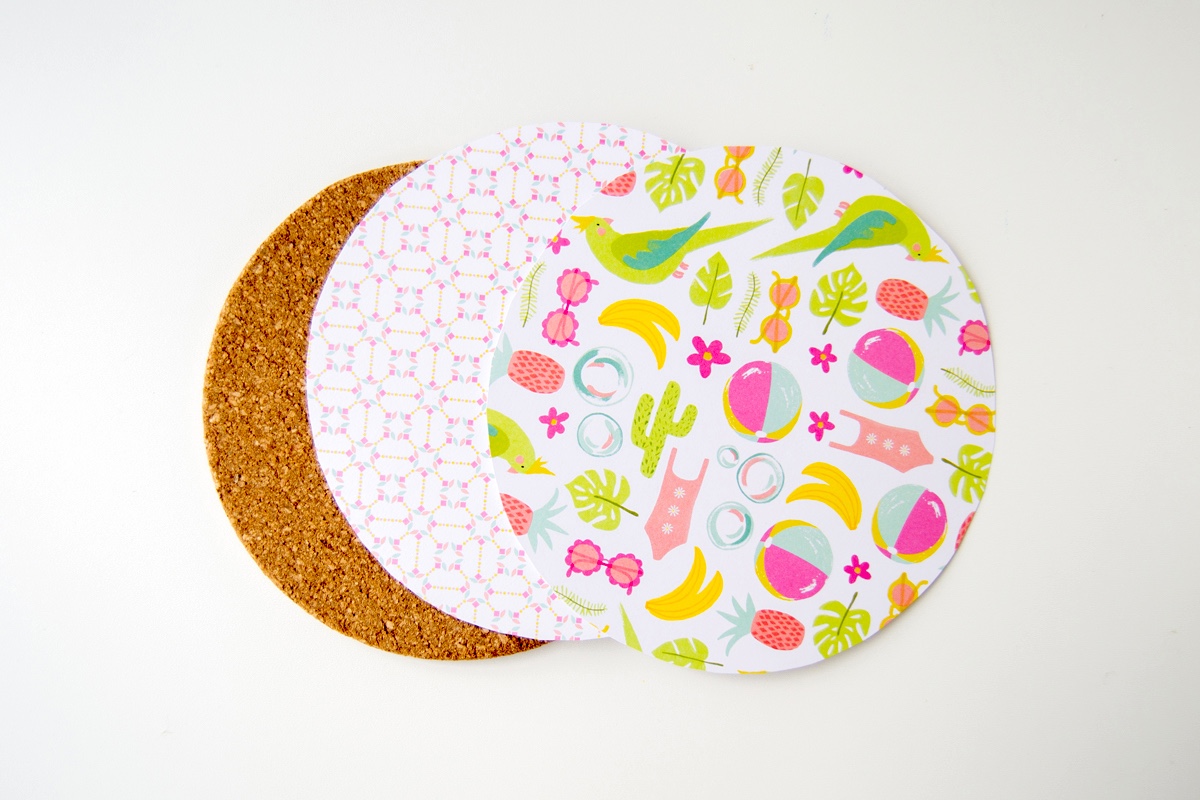
- Trace the cork circle shape on the backs of your scrapbook paper and cut. You will want two pieces for the top and bottom of the mousepad if you would like a reversible one, or you can cut just one if you don’t want a second ‘face’.
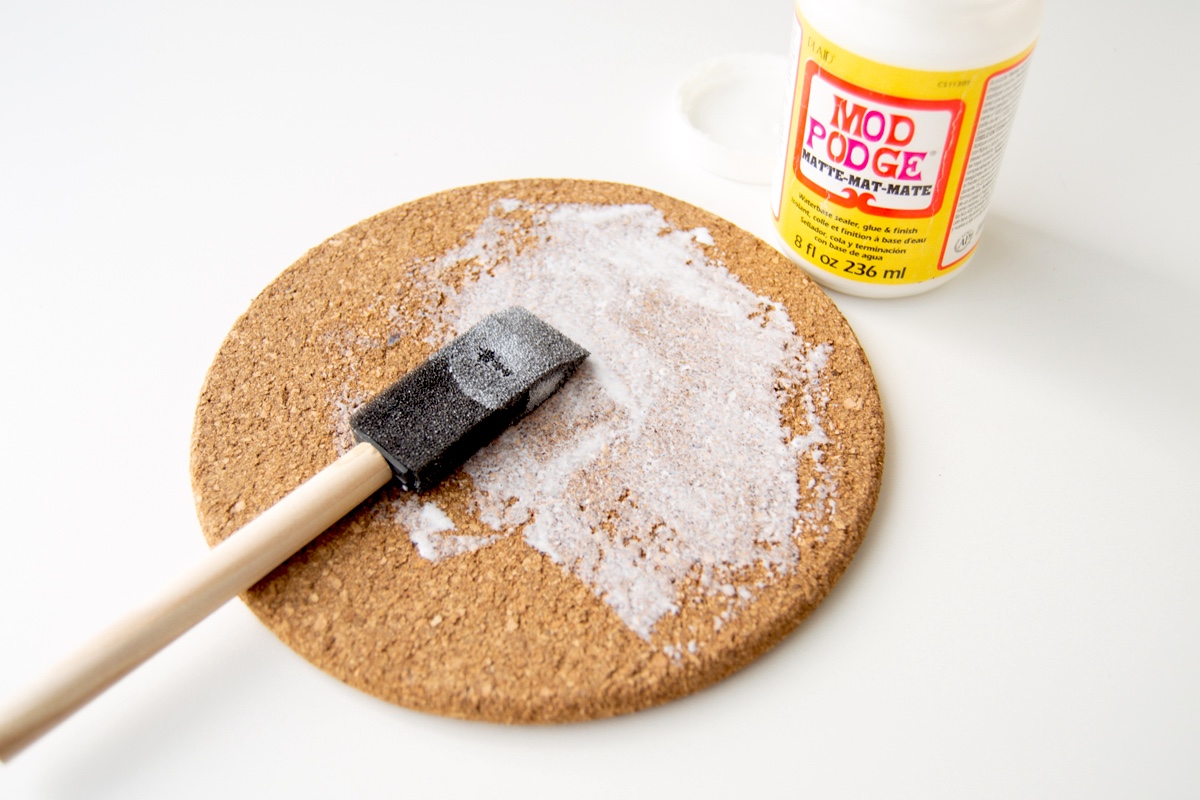
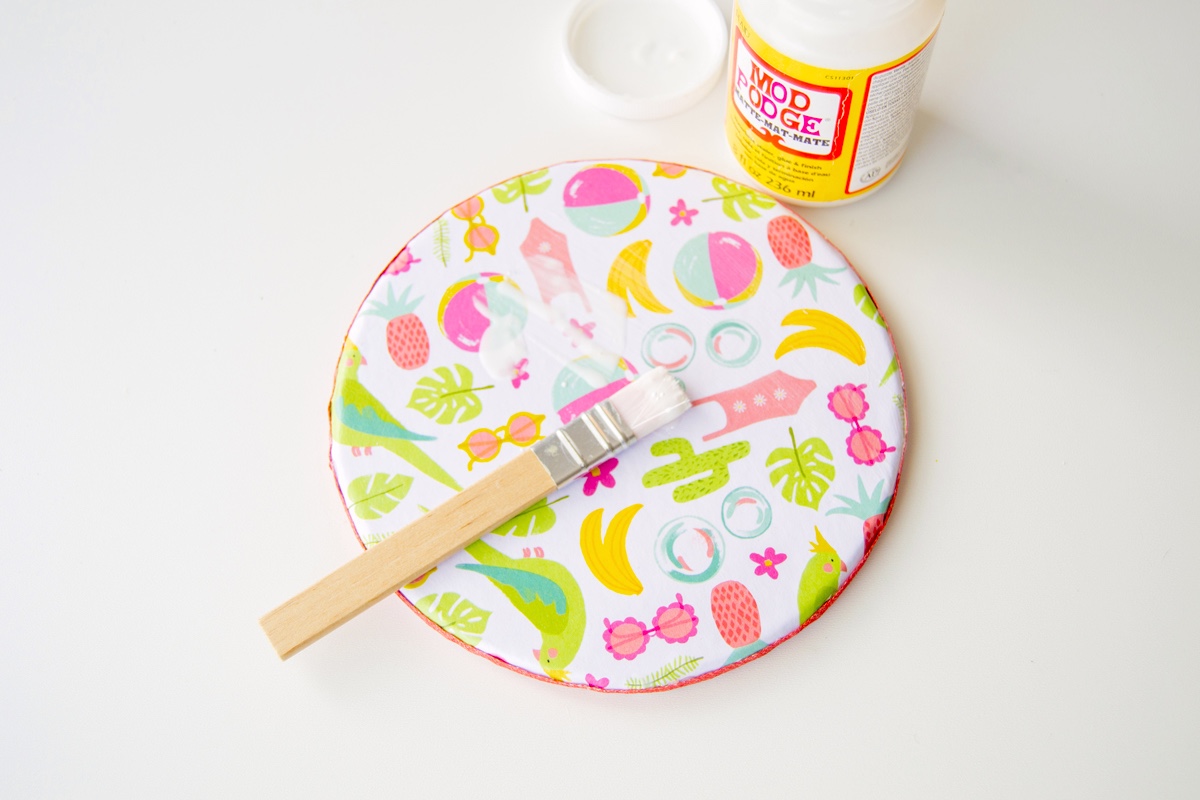
- Cover the top part of the cork and the back of the scrapbook paper with a medium layer of Mod Podge. Place the paper on the cork. Smooth down thoroughly and press the sides down. Let dry and repeat on the other side if desired.
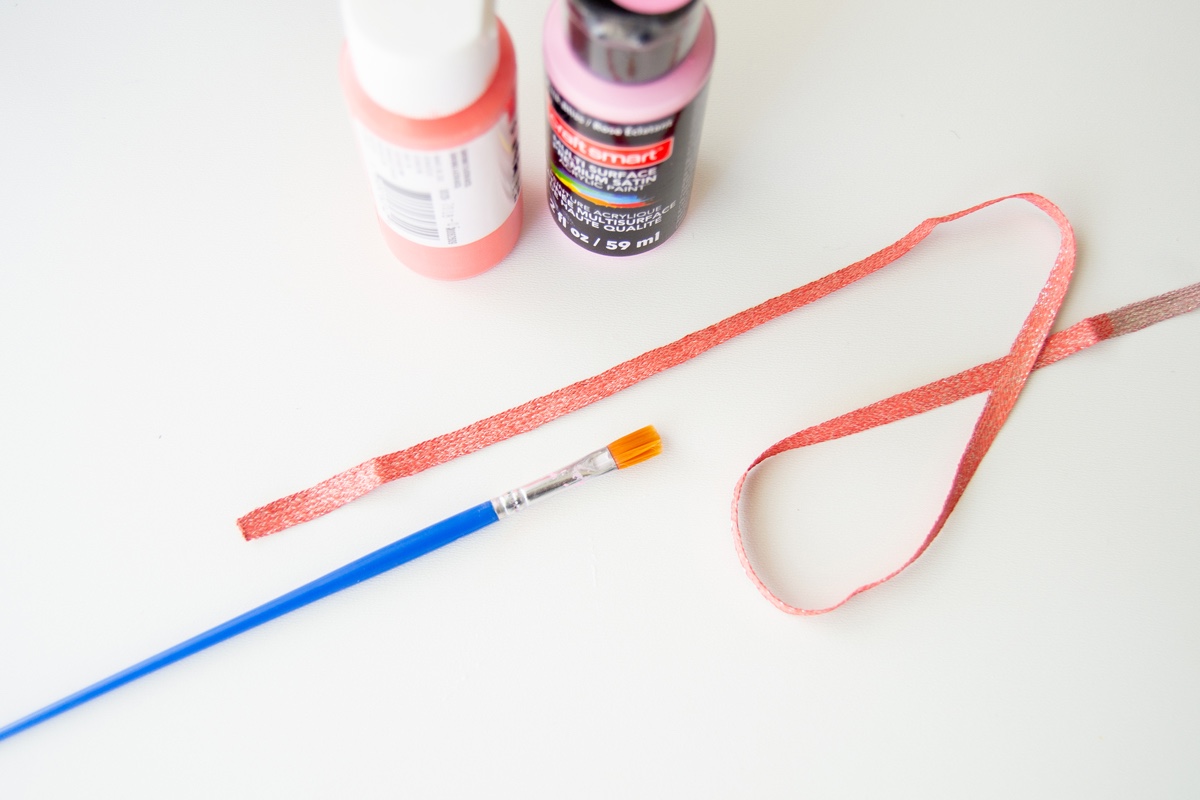
- Paint the ribbon on both sides if needed. Let dry.
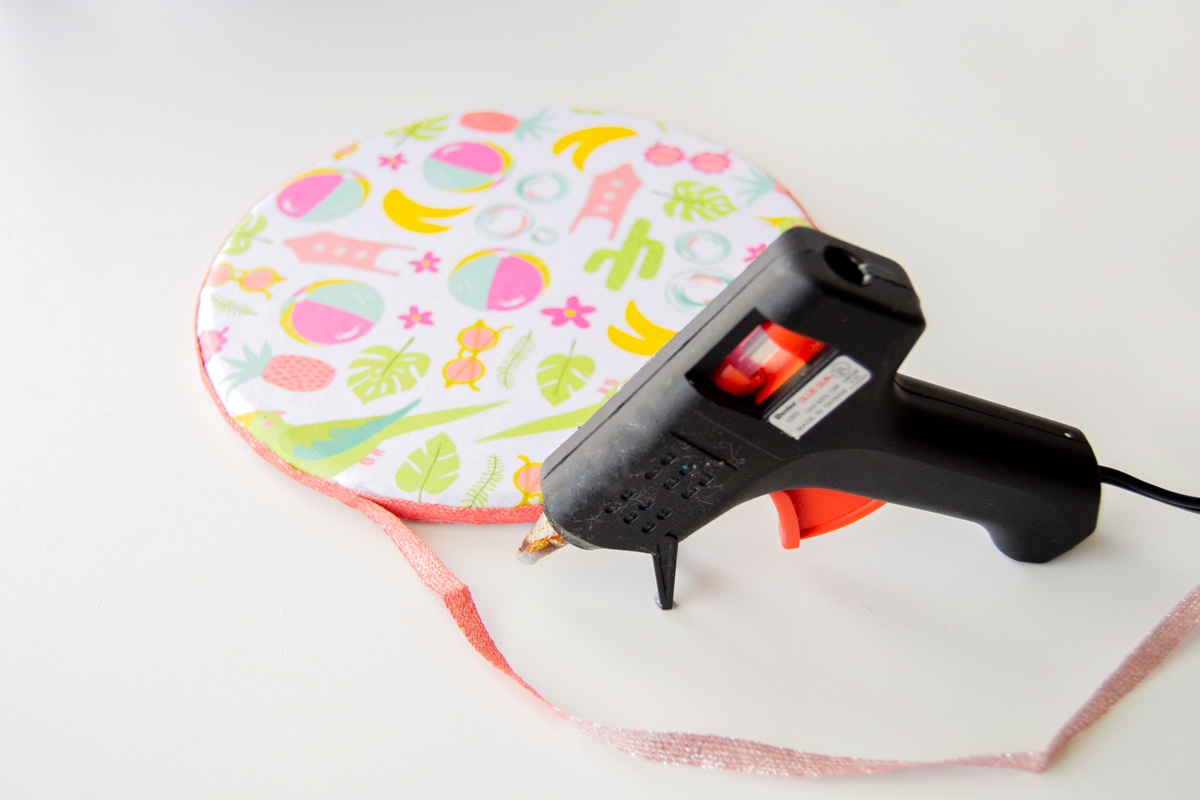
- Add the ribbon to the edge of your mouse pad. Use a glue gun or Mod Podge to adhere it.
- Seal the whole mousepad (even the edges) with Mod Podge to protect it from wear, and let dry before using.
Notes
If you enjoyed this project, here’s another craft you might like that use the same trivets: DIY cork boards! You can also check out these other ideas:
Back to School Crafts • Cork Board Jewelry Organizer • Cork Coasters • Crafts for Boys • Crafts for Girls • Decorate a Photo Frame • Decorate a Wood Crate • DIY Desk Organizers • Dollar Tree Crafts • Home Decor Crafts • Using Mod Podge with Ink, Markers, Pencils, & More


This is a great idea for inexpensive Christmas gifts! One question…can I use Mod Podge over a watercolour painting? Thank you.
Hi Maureen! You would have to spray seal it first or seal it some other way that won’t disturb the watercolor. Mod Podge is a waterbased product so basically it would be like adding water to the watercolor again. It would mess it up.
Love the mouse pad. Will be making me a new one! Thanks for the information on how to!
Today I used Hard Coat Modge Podge for lining drawers. The paper was nautical charts, more like map paper, much heavier than regular printer paper or scrap book paper.
The edges are all wavy and the interior is bubbly.
I put this stuff down like brain surgery I was so careful to get it down perfectly flat and avoid bubbles. I used a brayer and rolled and rolled. I used a dry paint brush to rub along the corners and edges to make sure they stick down well. I’m not terribly upset because it’s for use in a kitchen and will be covered by utensils and every thing you put in a kitchen drawer.
However, I plan to do a table top next and that will be terrible if it looks like this.
I dampened a a piece of the paper and it got wrinkly enough I could not iron it smooth. Should I have sprayed the paper with acrylic spray first? I don’t know if the spray is to stiffen the paper or keep the color from running. I don’t know what I did wrong.
Hi Nancy! Two questions for you. Did you use enough Mod Podge . . . ? You have to use A LOT under thick paper . . . and if it seeps out the side when you are rolling, wipe away the excess. Secondly, did you wait 15 – 20 minutes before putting on a top coat? Also I recommend a spray bottle (I’m not sure how you dampened it).
Did you spray the paper first? I missed this. (Or should I say, “I mist this”?)
What a great idea! Thanks for sharing. I’m definitely going to try this as a weekend craft.
XOXO JuJu