
Create stylish DIY cork coasters with this easy tutorial! Personalize with Mod Podge and paper designs for a fun and functional home decor project.
I don’t know about your neck of the woods, but summer’s here full-force in Atlanta!
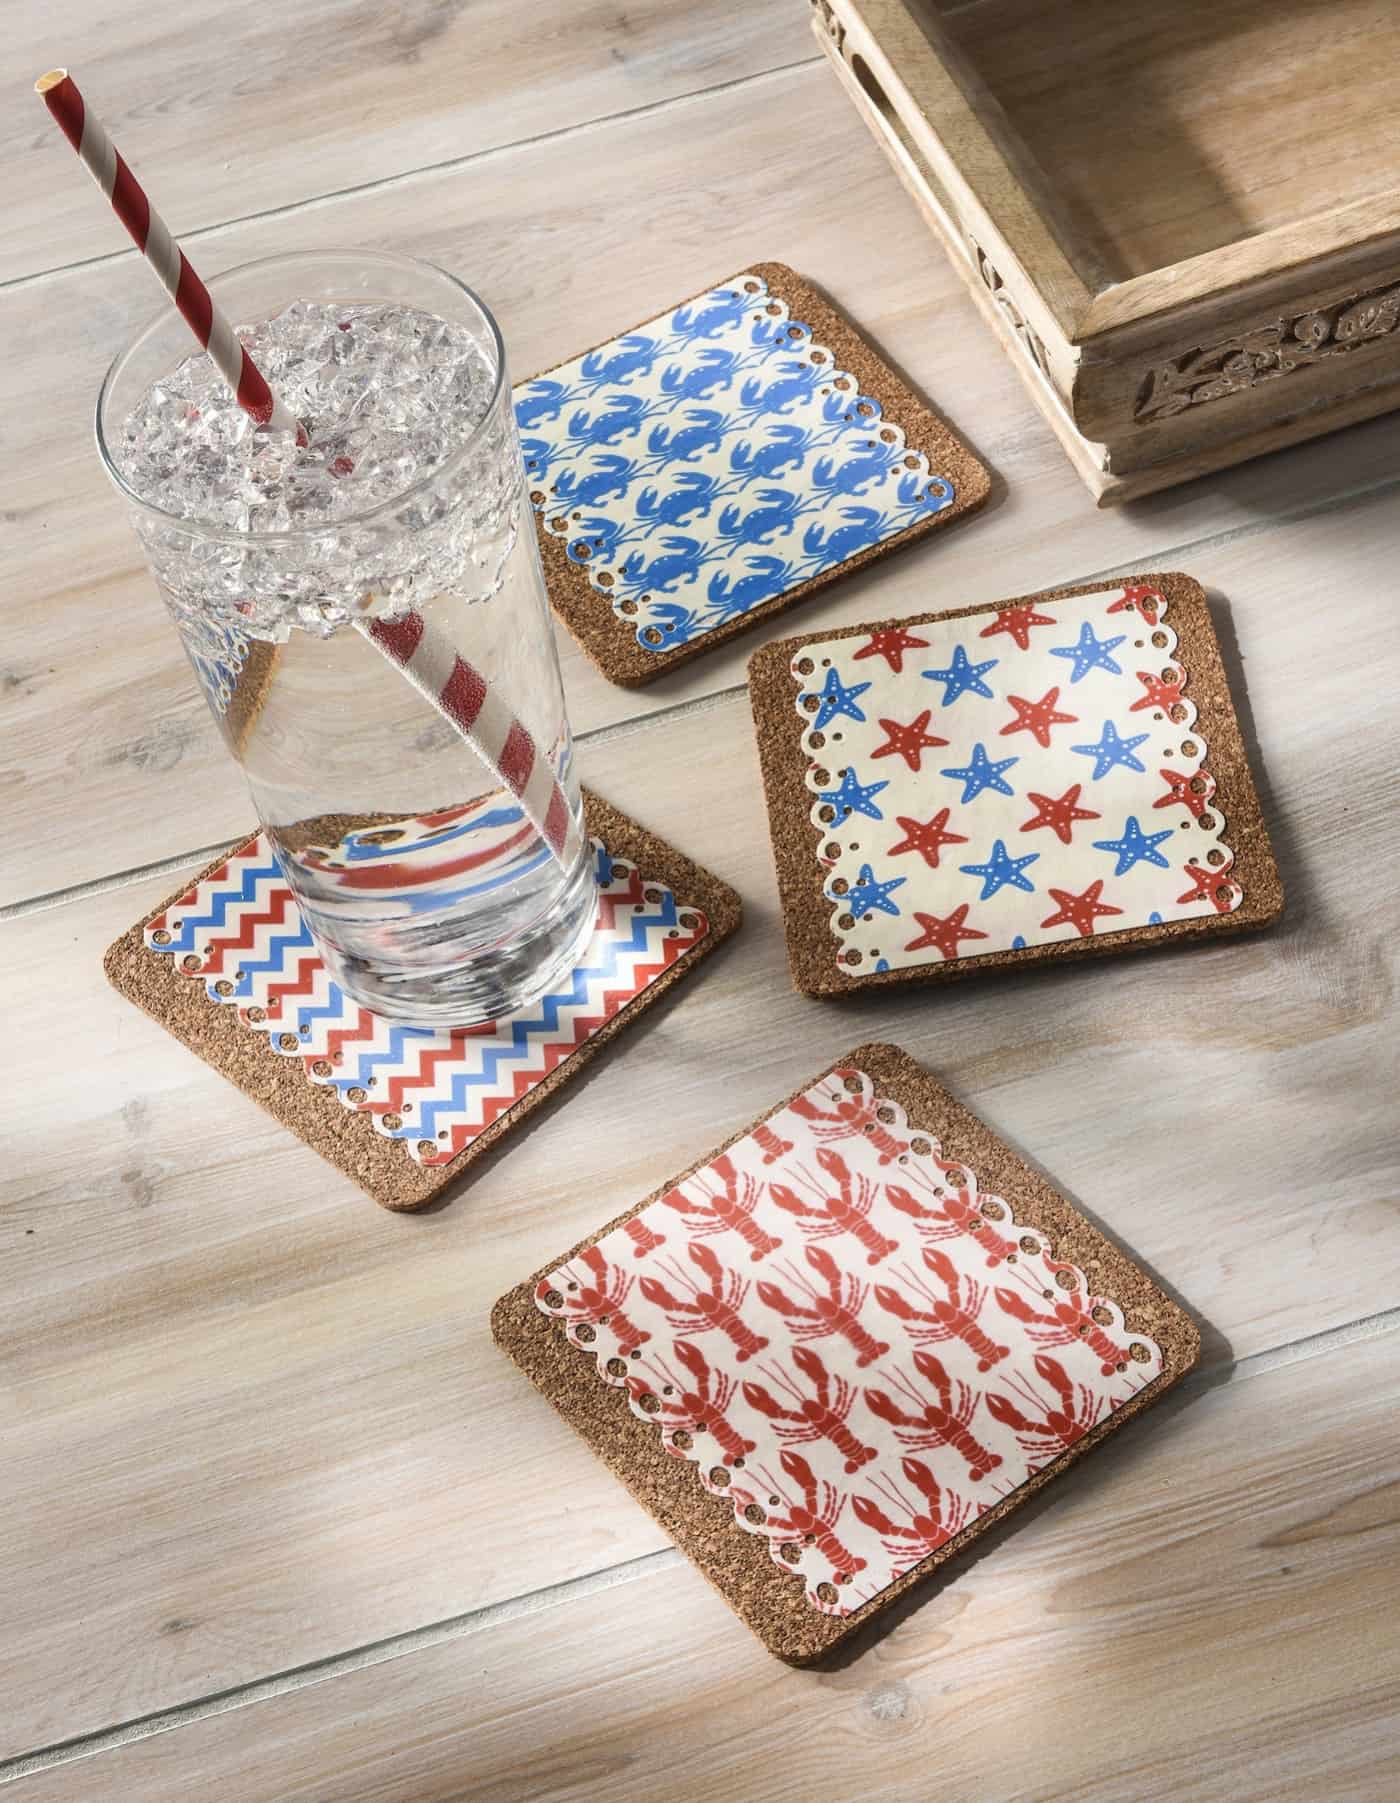
I always like to throw a few nautical or beach themed crafts into the rotation this time of year, and I decided to make some coasters for my patio.
I love sitting outside with a cool beverage in the evenings and saying hello to neighbors. I need something fun to protect the wood furniture so that I can set down my glass while I’m outside!
I made these coasters out of cork.
These coasters are very easy to make and would be perfect for a sunroom or a beach house.
I’ve provided fun, free nautical themed papers for you to make your coasters. They are so simple, you’ll have them done in minutes. Learn how to create this beach decor below.
These are going to look perfect on my patio. I may even make a few sets for the neighbors! Get the printable how to below:

Cork Coaster Craft
Equipment
- Craft punch(es)
Materials
- Laserjet printed image(s) get my freebie here
- Cork coasters set of 4 to 6, approximately 4” square
- Dishwasher Safe Mod Podge
- Polycrylic or Engine Enamel
Instructions
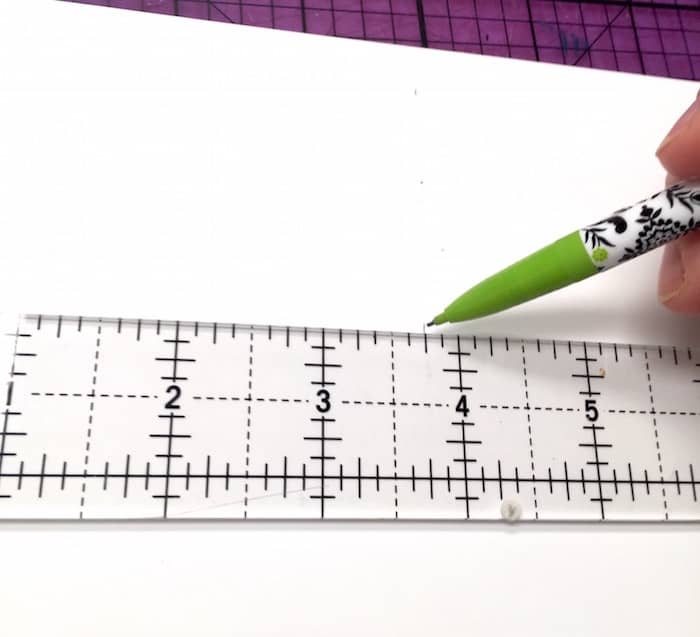
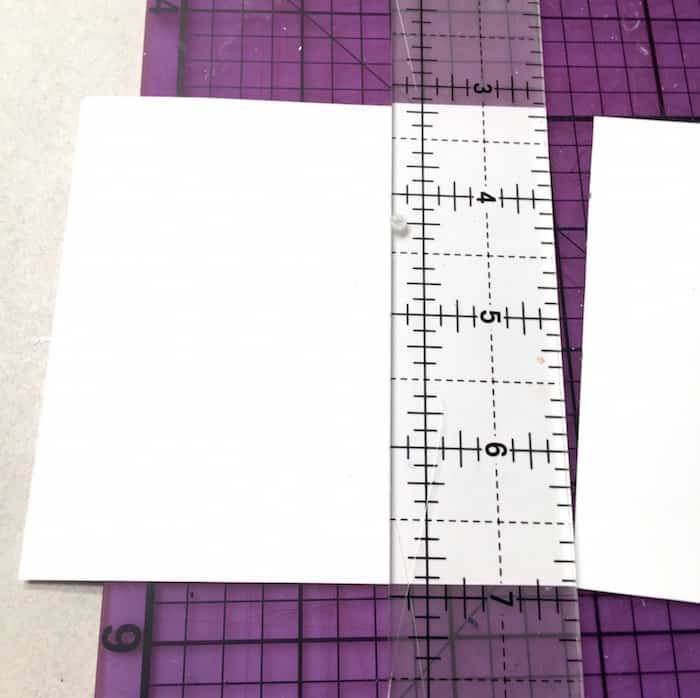
- Print out the freebies or grab some scrapbook paper. From there, measure the paper and mark it with a pencil. My coasters were 4”, so I measured approximately 3.75”.
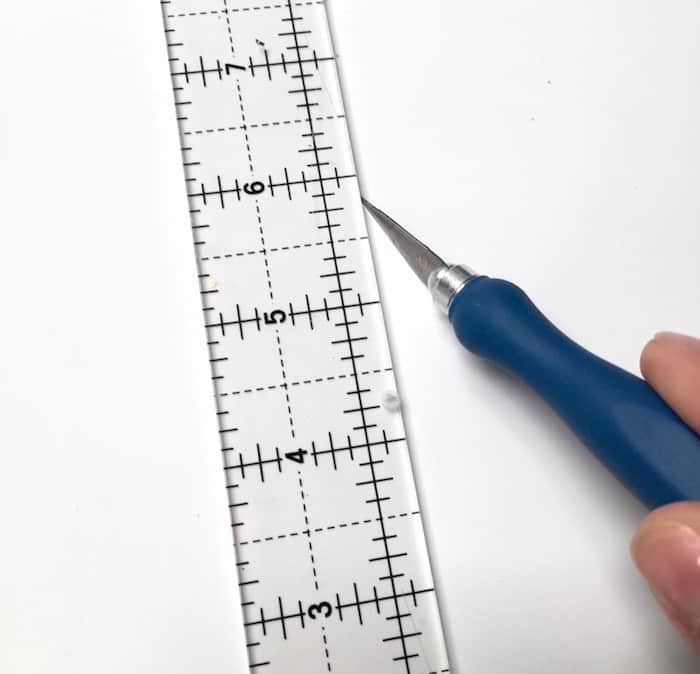
- Use your craft knife to cut and trim the paper down that you measured and marked.
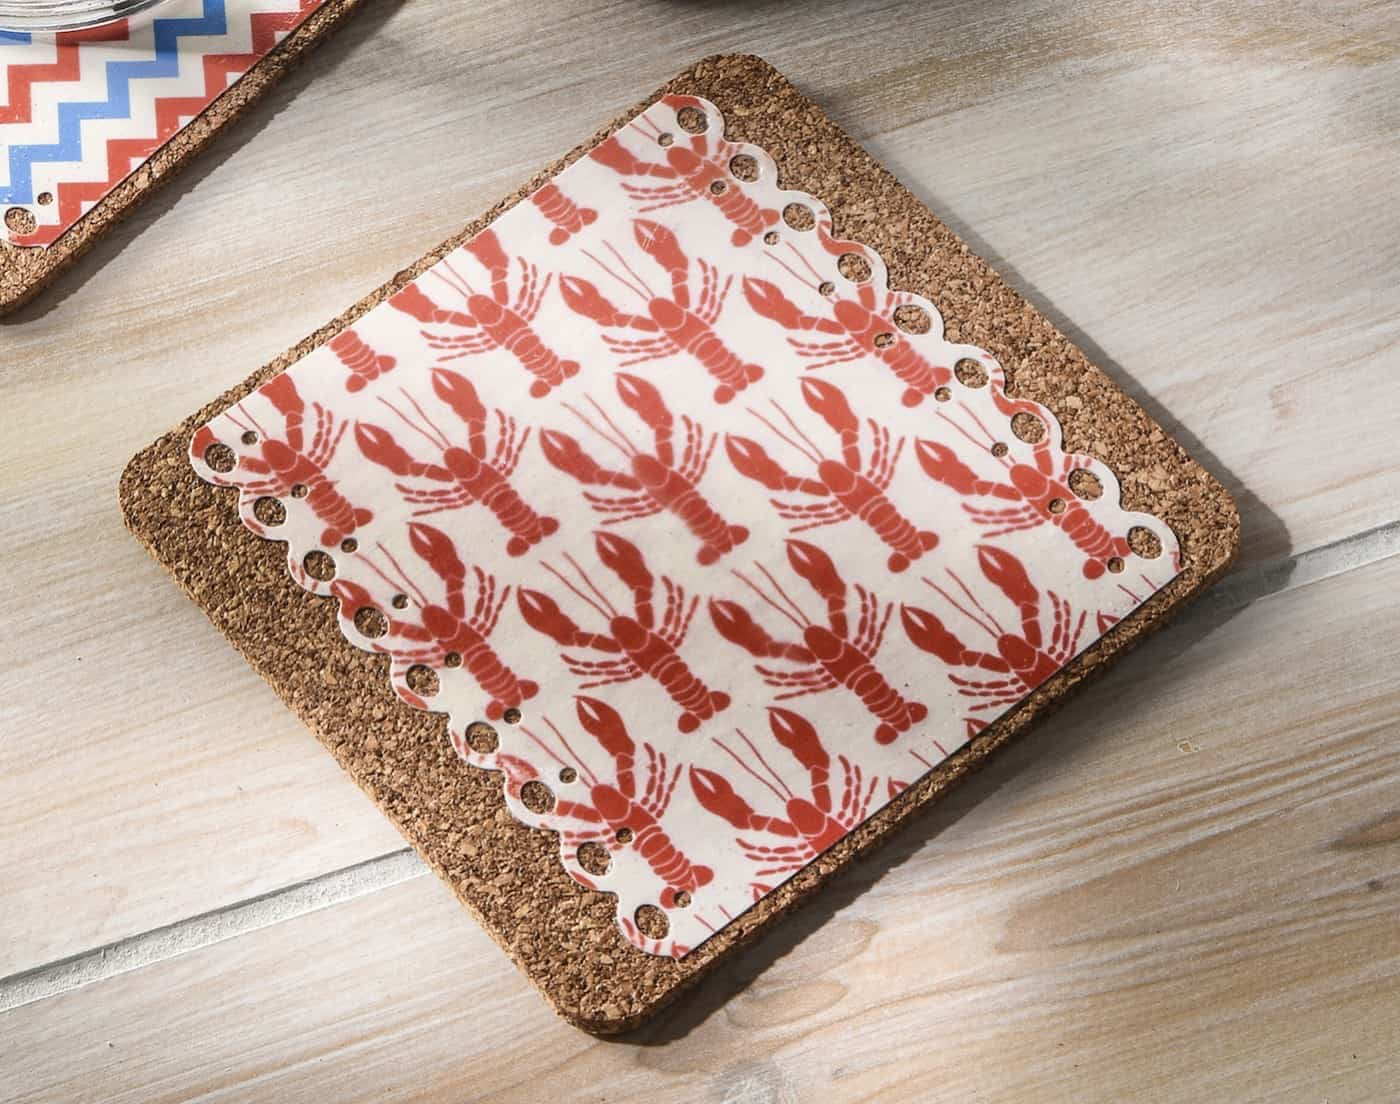
- Select and trim four different papers, or one for each coaster.
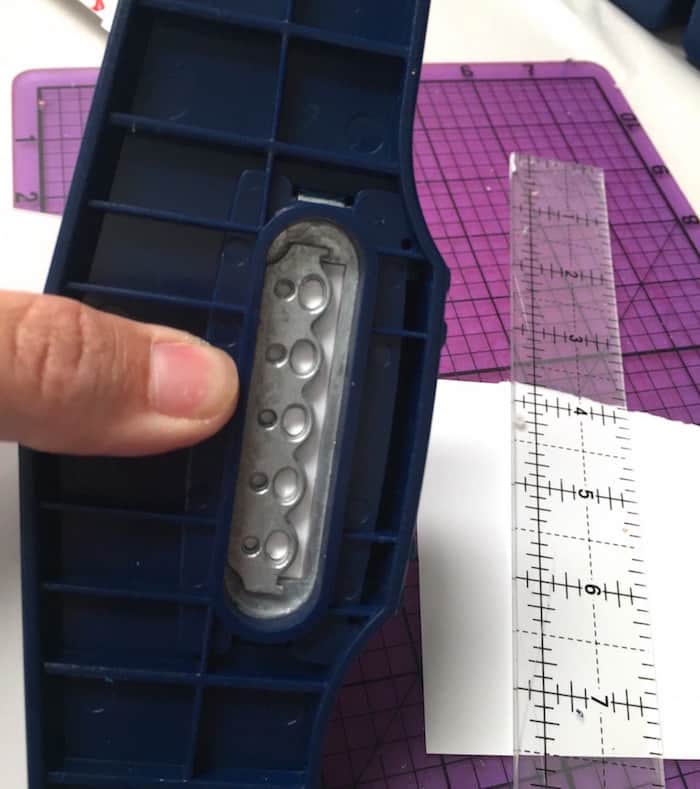
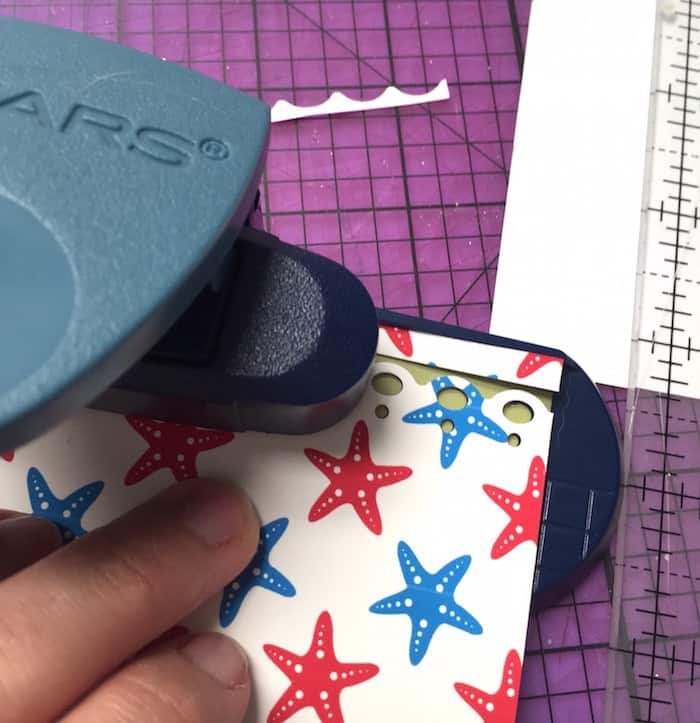
- Use your edge punch to trim down TWO of the edges, parallel to each other. Edge punches are nice because there is a template on the top to line up the design. So once you have punched, move slightly right, line up and punch again.
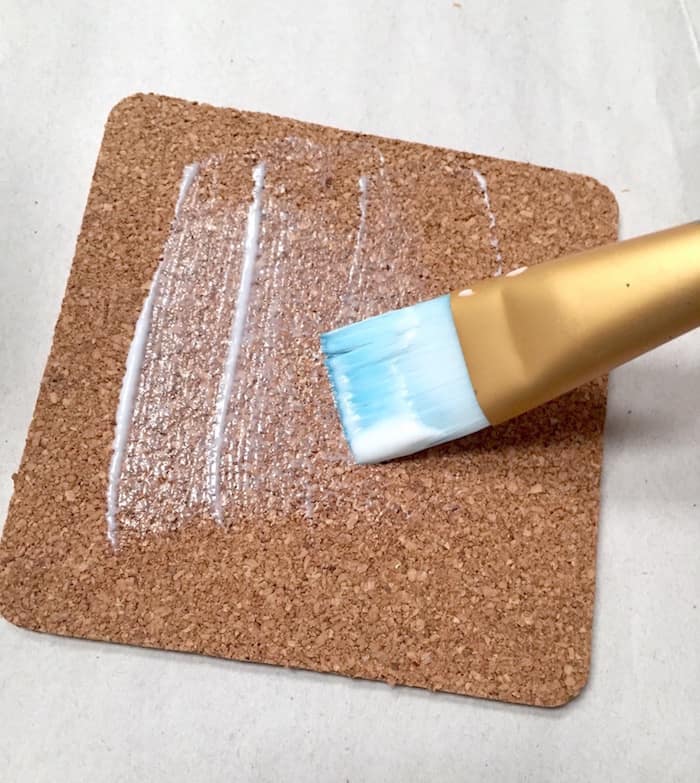
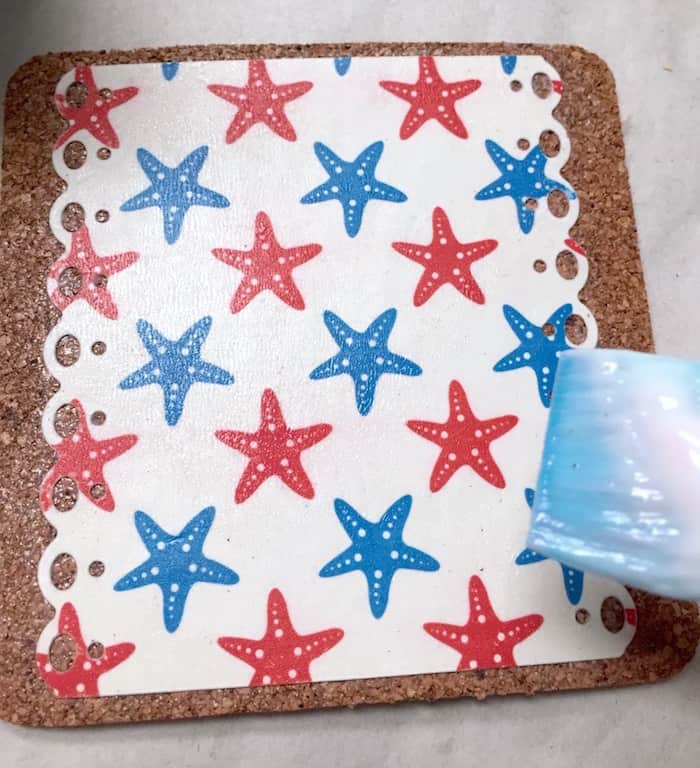
- Place a medium layer of Mod Podge on the top of the coaster AND on the back of the paper.
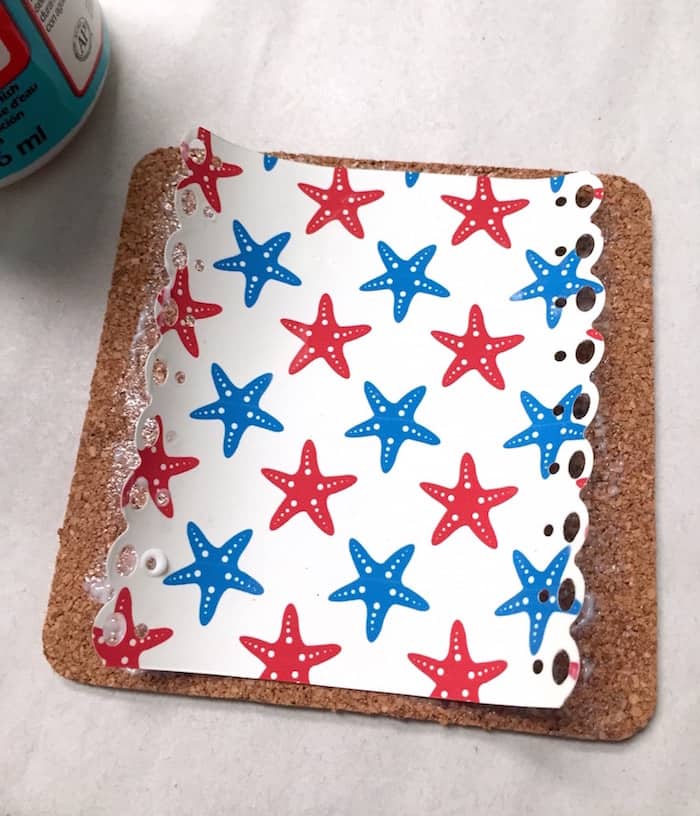
- Place your paper down in the center of the coaster and smooth. Your paper might start to curl like mine did, depending on the climate . . . In which case, a brayer is very helpful for keeping it smoothed down. Don’t give up, just keep rolling and rolling until your paper flattens. Let the coasters dry for 15 – 20 minutes.
- Place a layer of Mod Podge over the top of your coasters. Let them dry and place another coat on top. let dry.
- Seal the coasters with a few coats of brush on polycrylic or spray with several coats of Engine Enamel to resist water.
Notes
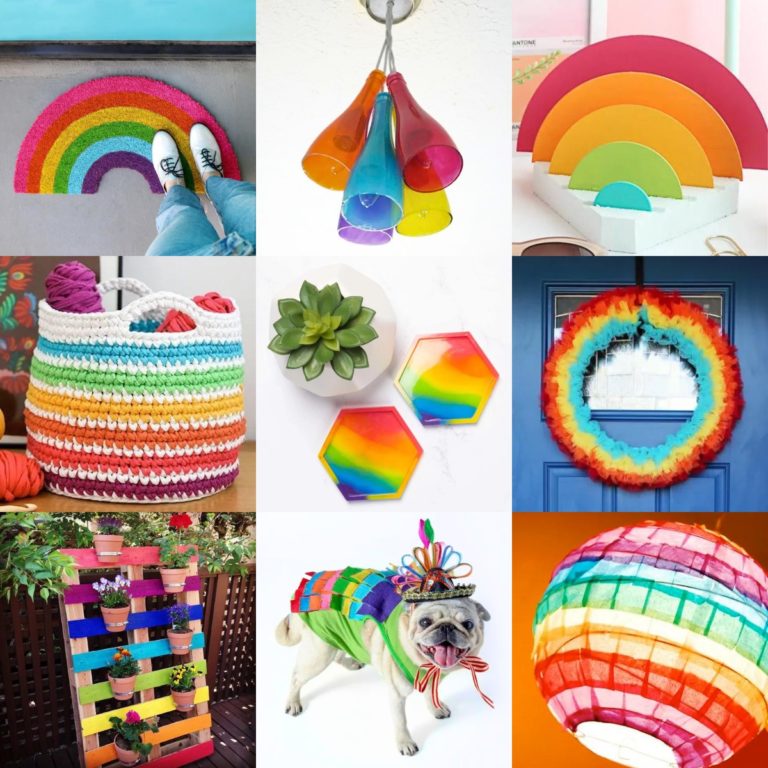
Did you enjoy this coaster craft? I’d love for you to take a peek at these other posts:


Hallo,
Beautiful coasters! Can I know what brand ruler you are using?
I believe I just got it on the cheap at Target!
Will I use the same method using ceramic tiles?
Yes you will!
Do you use the packages of cork tiles that are in craft stores? Do you have to use Mod Podge on the back also?
Hi Mary Beth! I did – and no I did not. They curled a little bit but then I just bent them the other way.
This is so cute & super easy to try! About the tackiness ^^^ , Once you told me about using zero sand paper & I am always doing this to make it less tacky. it works well.
Thanks for sharing this interesting idea.
Did/do you have to let the coasters cure for the full month before using? Thanks!
Hi Angie! I should have noted this in the post – if you want to use them right away and you are in a humid climate like me, I’d use a brush on sealer like Minwax Polycrylic. Then you won’t experience tackiness issues. Here in Georgia I pretty much HAVE to add that extra layer over the top or the coasters take forever to dry. Then if you stack them they stick, etc. It’s just easier to use the brush on top coat. I prefer the brush on top coat to the spray, also. Though many people use a spray and love it. Thanks for the great question!