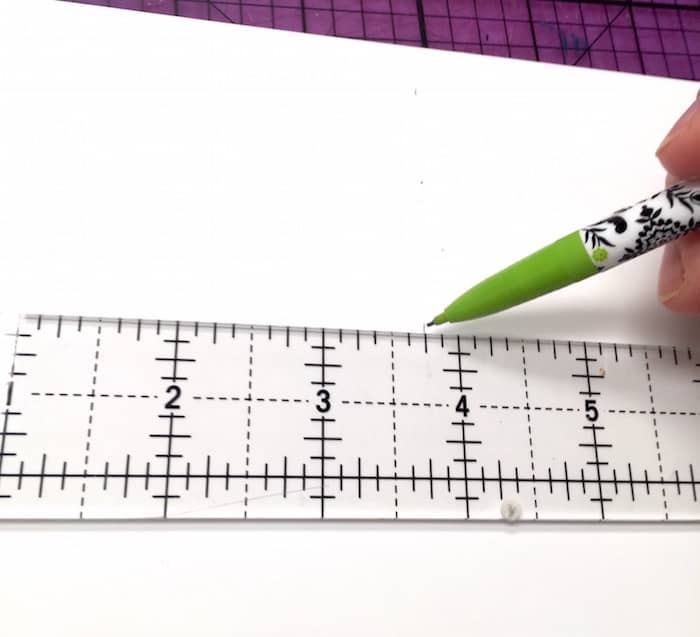
Print out the freebies or grab some scrapbook paper. From there, measure the paper and mark it with a pencil. My coasters were 4”, so I measured approximately 3.75”.
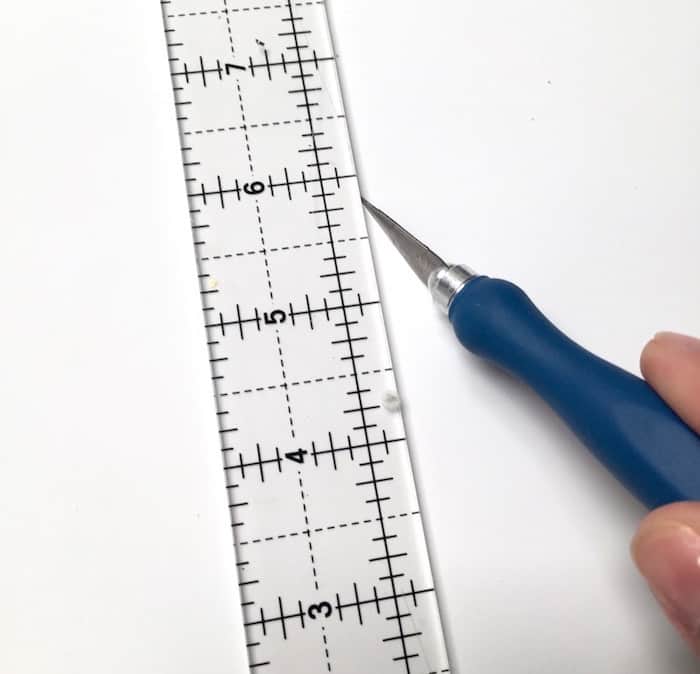
Use your craft knife to cut and trim the paper down that you measured and marked.
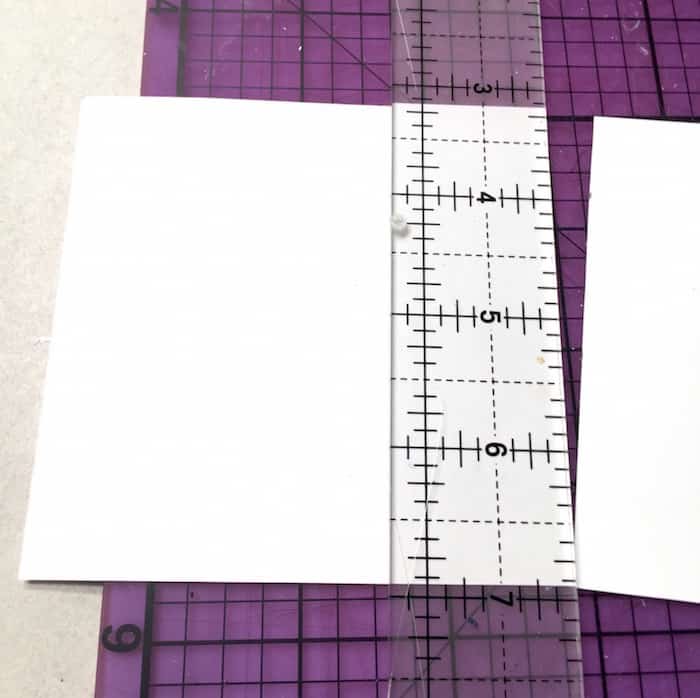
Select and trim four different papers, or one for each coaster.
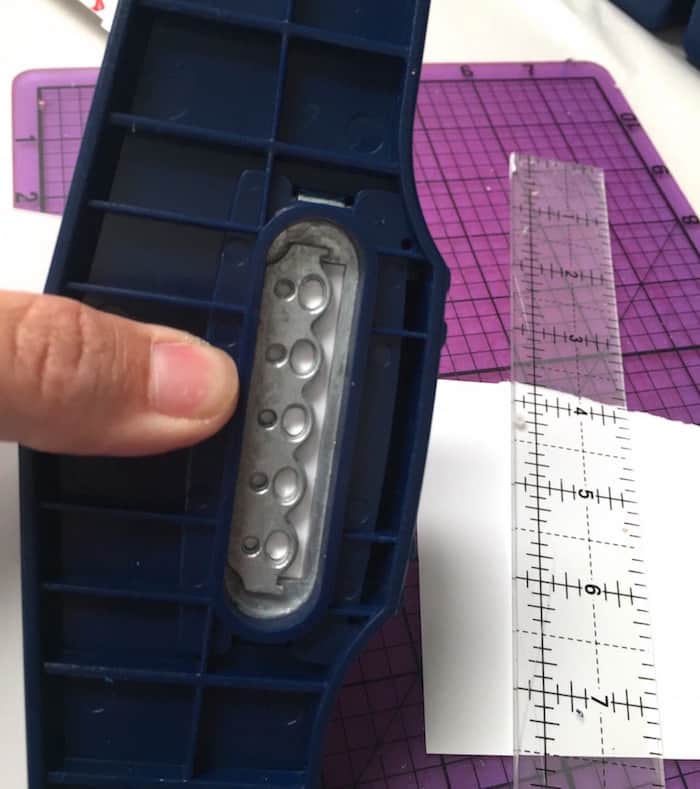
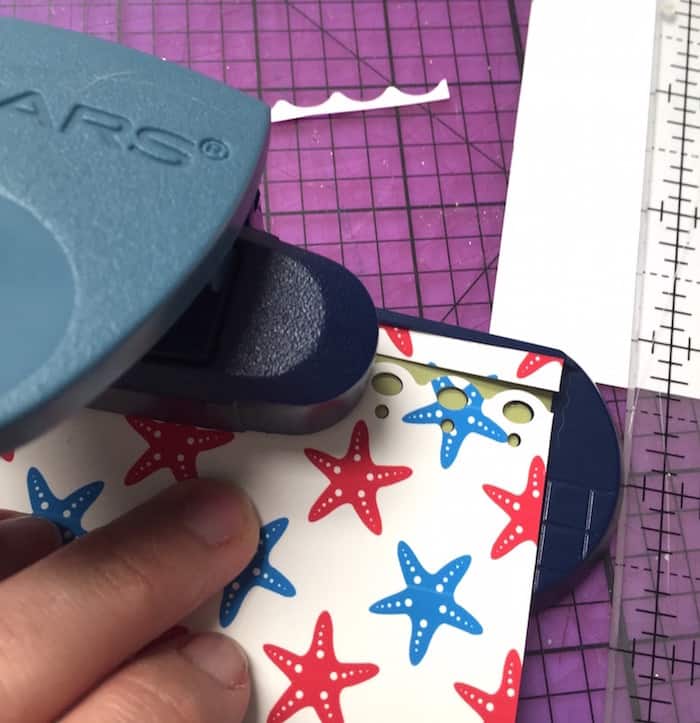
Use your edge punch to trim down TWO of the edges, parallel to each other. Edge punches are nice because there is a template on the top to line up the design. So once you have punched, move slightly right, line up and punch again.
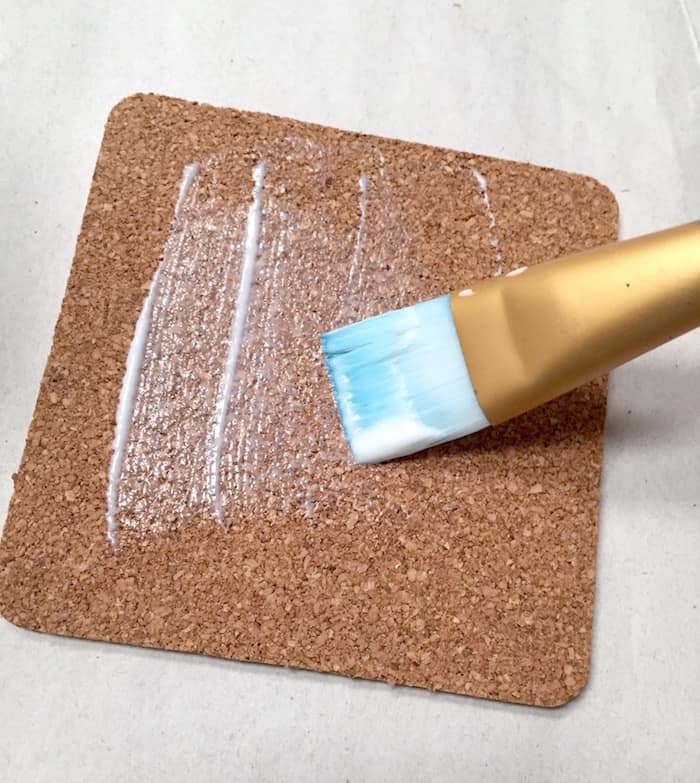
Place a medium layer of Mod Podge on the top of the coaster AND on the back of the paper.
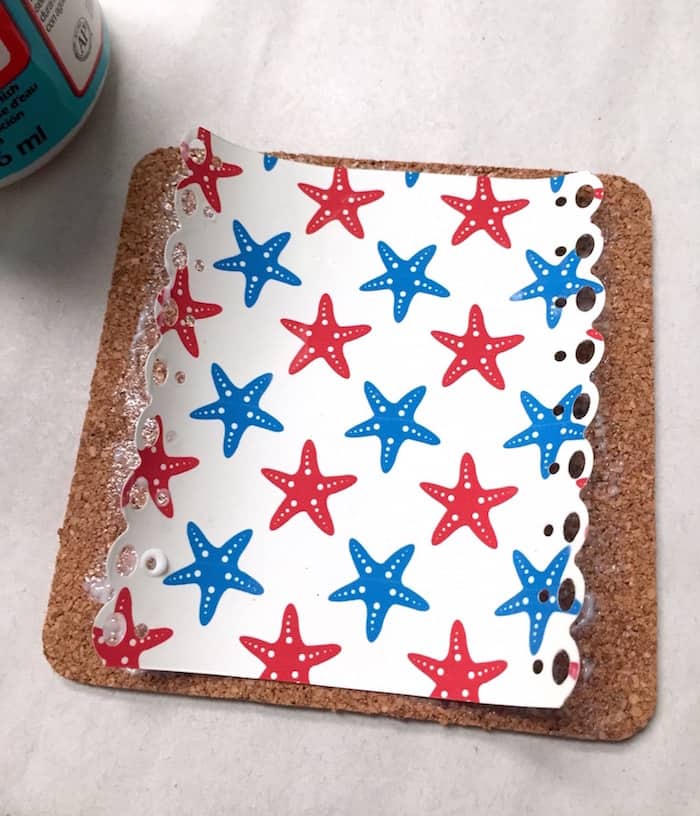
Place your paper down in the center of the coaster and smooth. Your paper might start to curl like mine did, depending on the climate . . . In which case, a brayer is very helpful for keeping it smoothed down. Don’t give up, just keep rolling and rolling until your paper flattens. Let the coasters dry for 15 – 20 minutes.
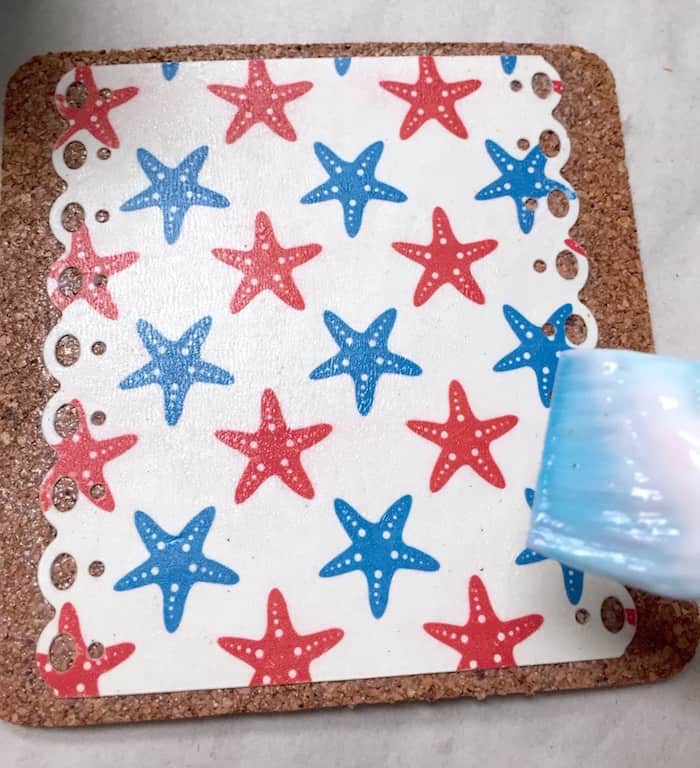
Place a layer of Mod Podge over the top of your coasters. Let them dry and place another coat on top. let dry.
Seal the coasters with a few coats of brush on polycrylic or spray with several coats of Engine Enamel to resist water.
Notes
Step 1: Doing so created enough room to punch my design and show off some of the cork underneath.Step 4: You could do all four edges, but you’ll have to do some math to make the design work . . . I found this to be easier and I liked how it looked.It's easy to line up the punch and repeat the pattern:Step 7: If you brush back and forth too much along the paper, your ink will start to bleed (especially the red).Don’t brush too much on your first layer; let that dry and you can brush a little more on your second layer. You can also hit it with a clear acrylic spray before brushing to help stop bleeding if you would like.Step 8: if you want to use them right away and you are in a humid climate like me, I'd use a brush on sealer like Minwax Polycrylic or a spray on sealer like VHT Engine Enamel as a final top coat on your coasters. Then you won't experience tackiness issues.