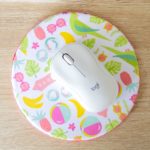
DIY Mouse Pad
Learn how to make a mouse pad using a cork circle. This craft is inexpensive and really easy - and you probably have the supplies on hand.
Yield: 1 mouse pad
Cost: $2
Equipment
Materials
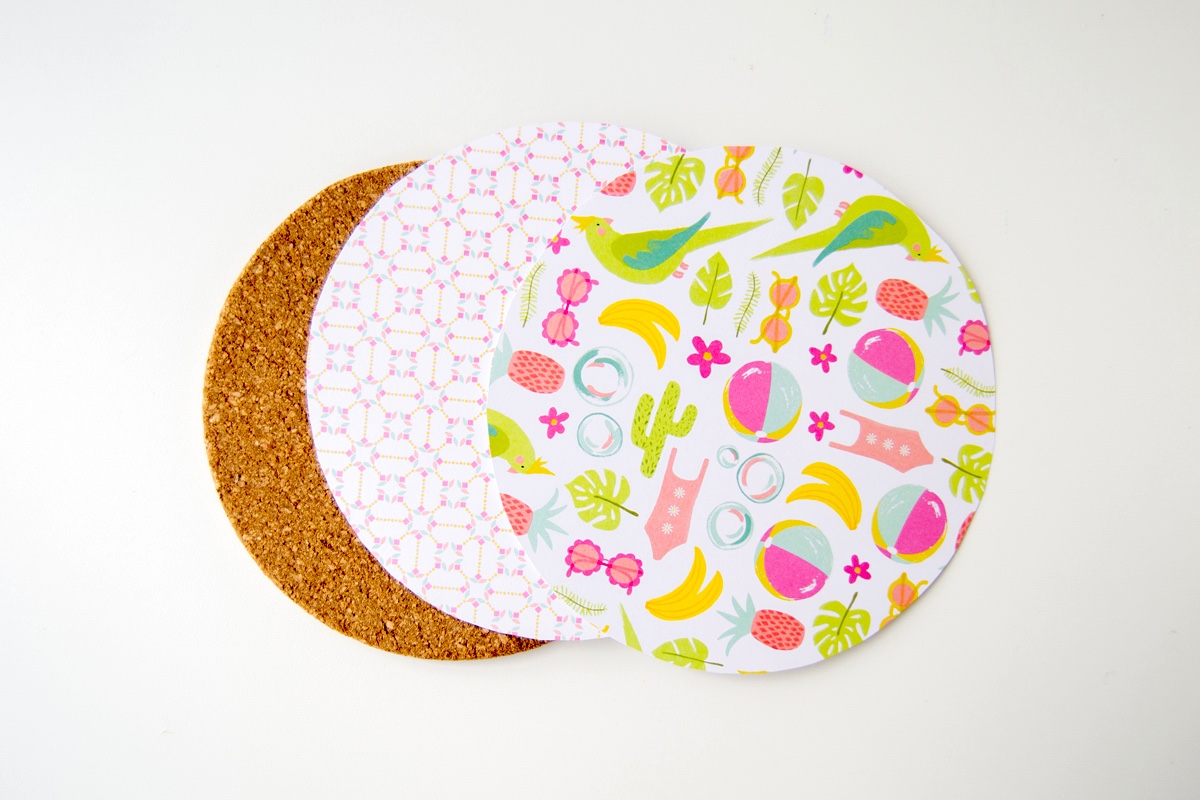
- Round cork circle at least 7"
- Scrapbook paper
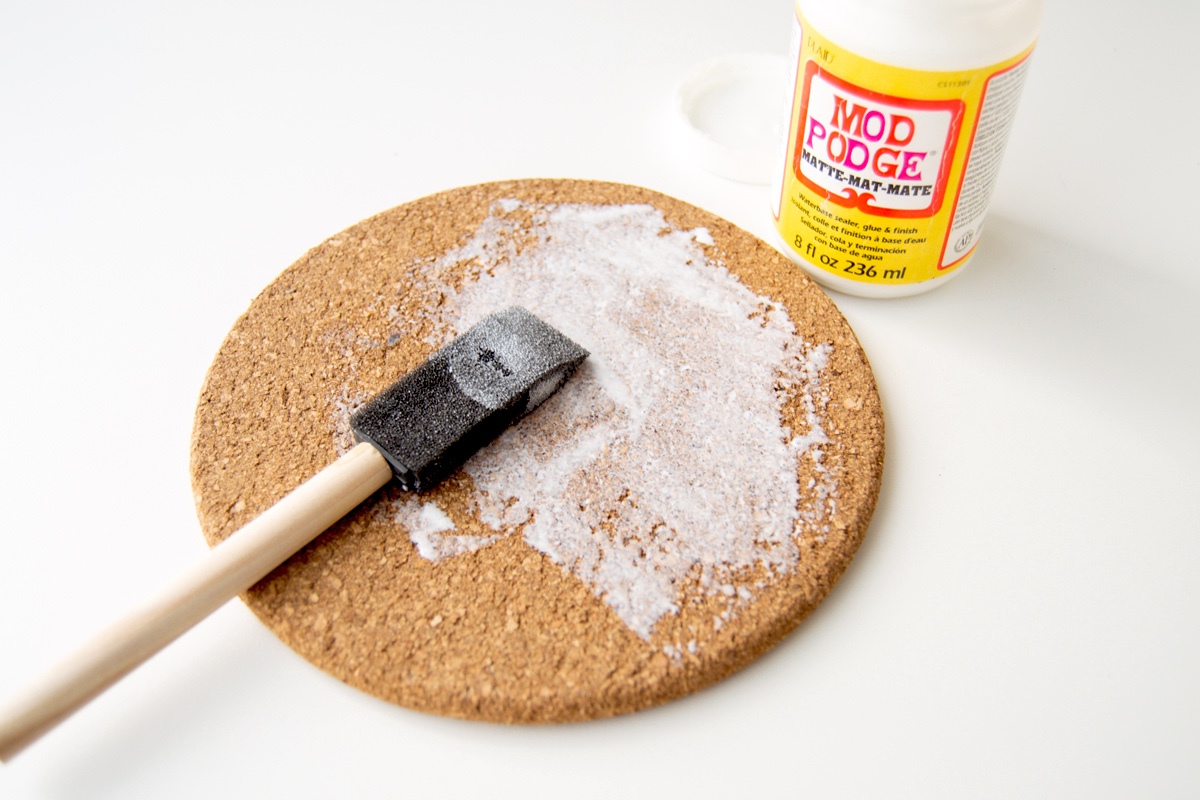
- Mod Podge Gloss
- Ribbon
- Acrylic paint
Instructions
- Trace the cork circle shape on the backs of your scrapbook paper and cut. You will want two pieces for the top and bottom of the mousepad if you would like a reversible one, or you can cut just one if you don’t want a second ‘face’.
- Cover the top part of the cork and the back of the scrapbook paper with a medium layer of Mod Podge. Place the paper on the cork. Smooth down thoroughly and press the sides down. Let dry and repeat on the other side if desired.
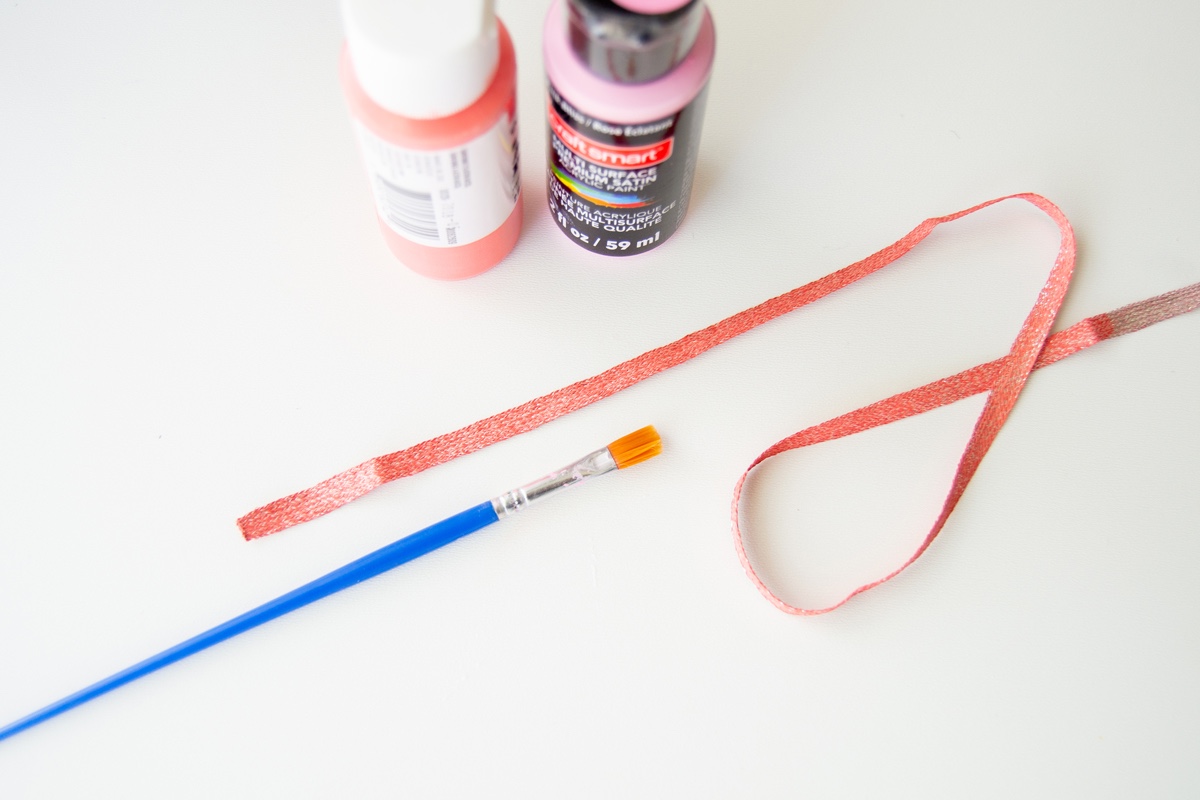
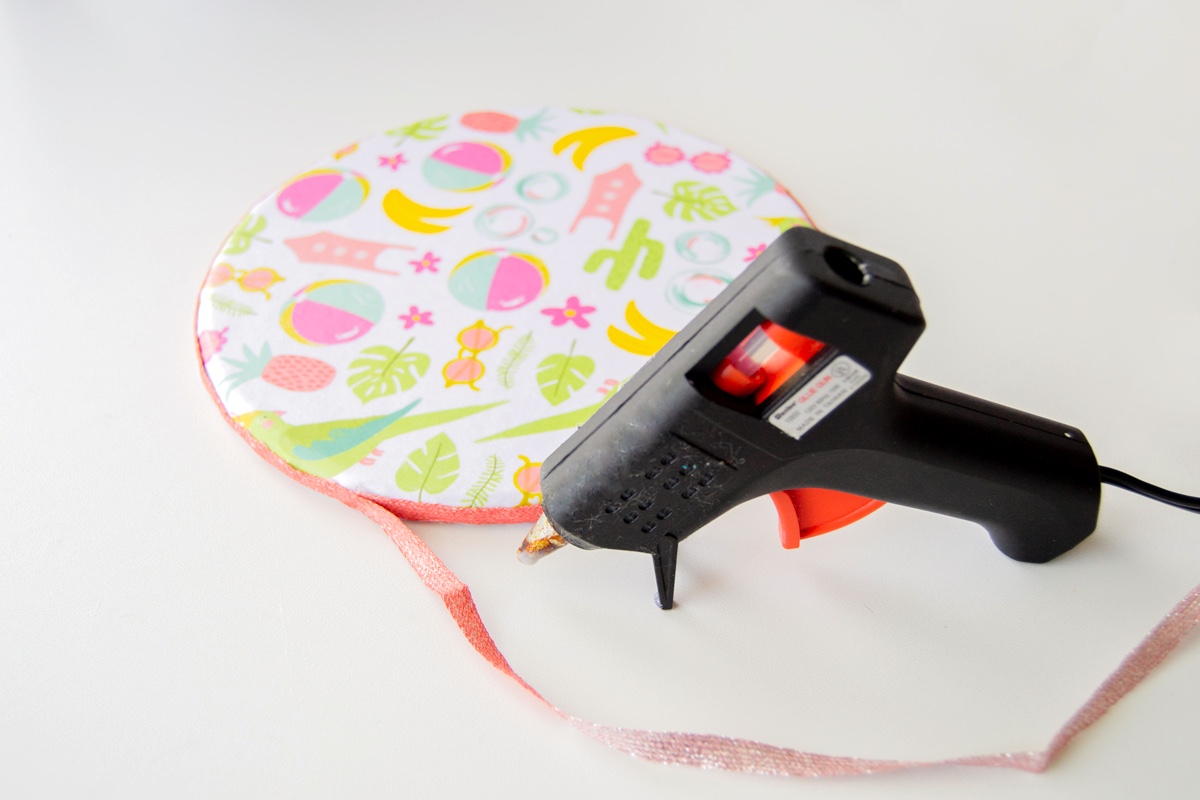
- Paint the ribbon on both sides if needed. Let dry.
- Add the ribbon to the edge of your mouse pad. Use a glue gun or Mod Podge to adhere it.
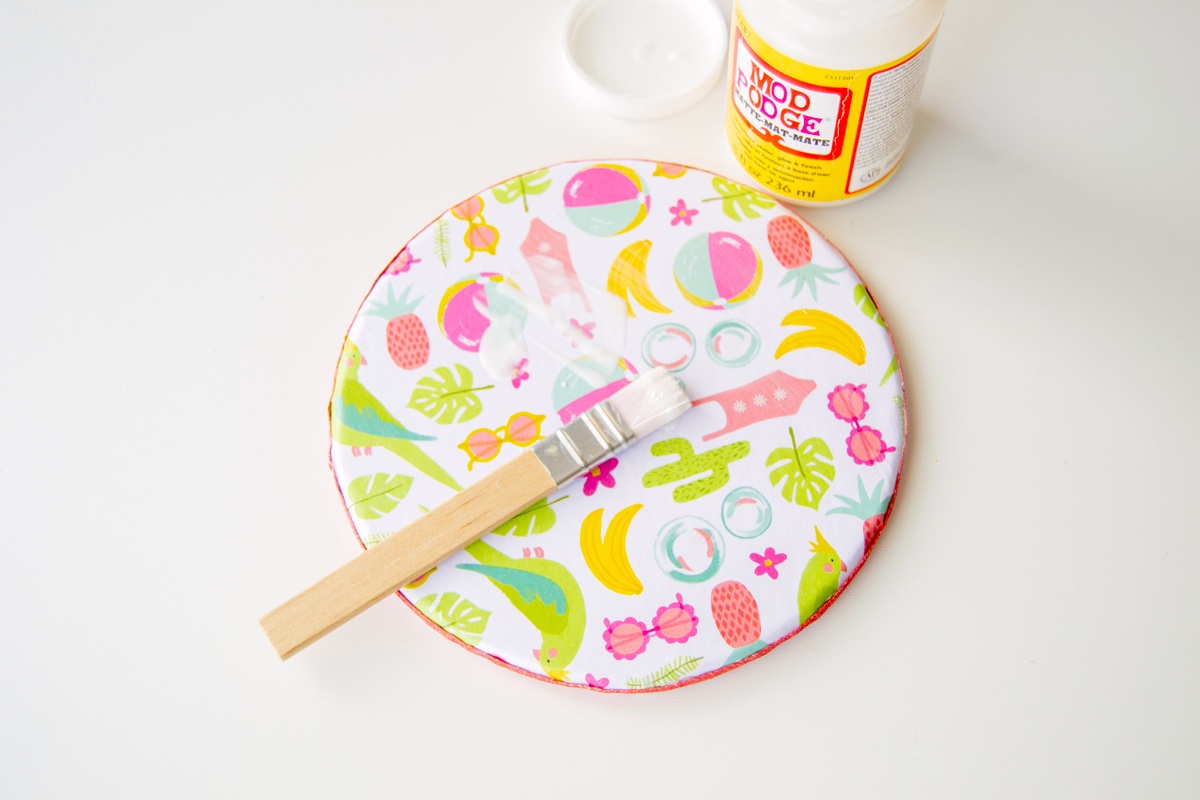
- Seal the whole mousepad (even the edges) with Mod Podge to protect it from wear, and let dry before using.
Notes
Quick Tips
Don't have cork rounds? Trace a small plate on some cardboard and that can be your surface. You'll have to put something non-stick on the bottom.
When cutting out your circle, leave a little extra hanging over the sides to fold over the edges of the cork for a clean and polished look.
If you don't have the ribbon color you need, do what I did and hack it with some paint!