
New to decoupage crafts or have questions about Mod Podge? This helpful resource covers everything you need to know, including FAQs, videos, tutorials, craft ideas, and how-tos!
Do you want to learn how to use Mod Podge for crafts? You can decoupage with Mod Podge – a glue, sealer, and finish. I’ve been doing it for 16 years now and I love it.
This post provides an overview of Mod Podge and how it is used, with FAQs. You should read this post BEFORE you ever start Mod Podging. Learning about this decoupage medium is a good idea before you use it.
I’ll ask you to first watch this video below, then visit my post on how to decoupage.
I also have a YouTube channel, and I’d love for you to GO HERE and watch the beginner videos. Are you ready to jump in? Here’s what you’re going to learn about!
Learn How to Mod Podge
I’ve compiled a list of 101 Mod Podge uses and crafts that I think you have to see before you begin. It’s going to get you excited about the possibilities, and then you can keep these uses in mind as you go through the learning process! The FAQ is below.
About Mod Podge
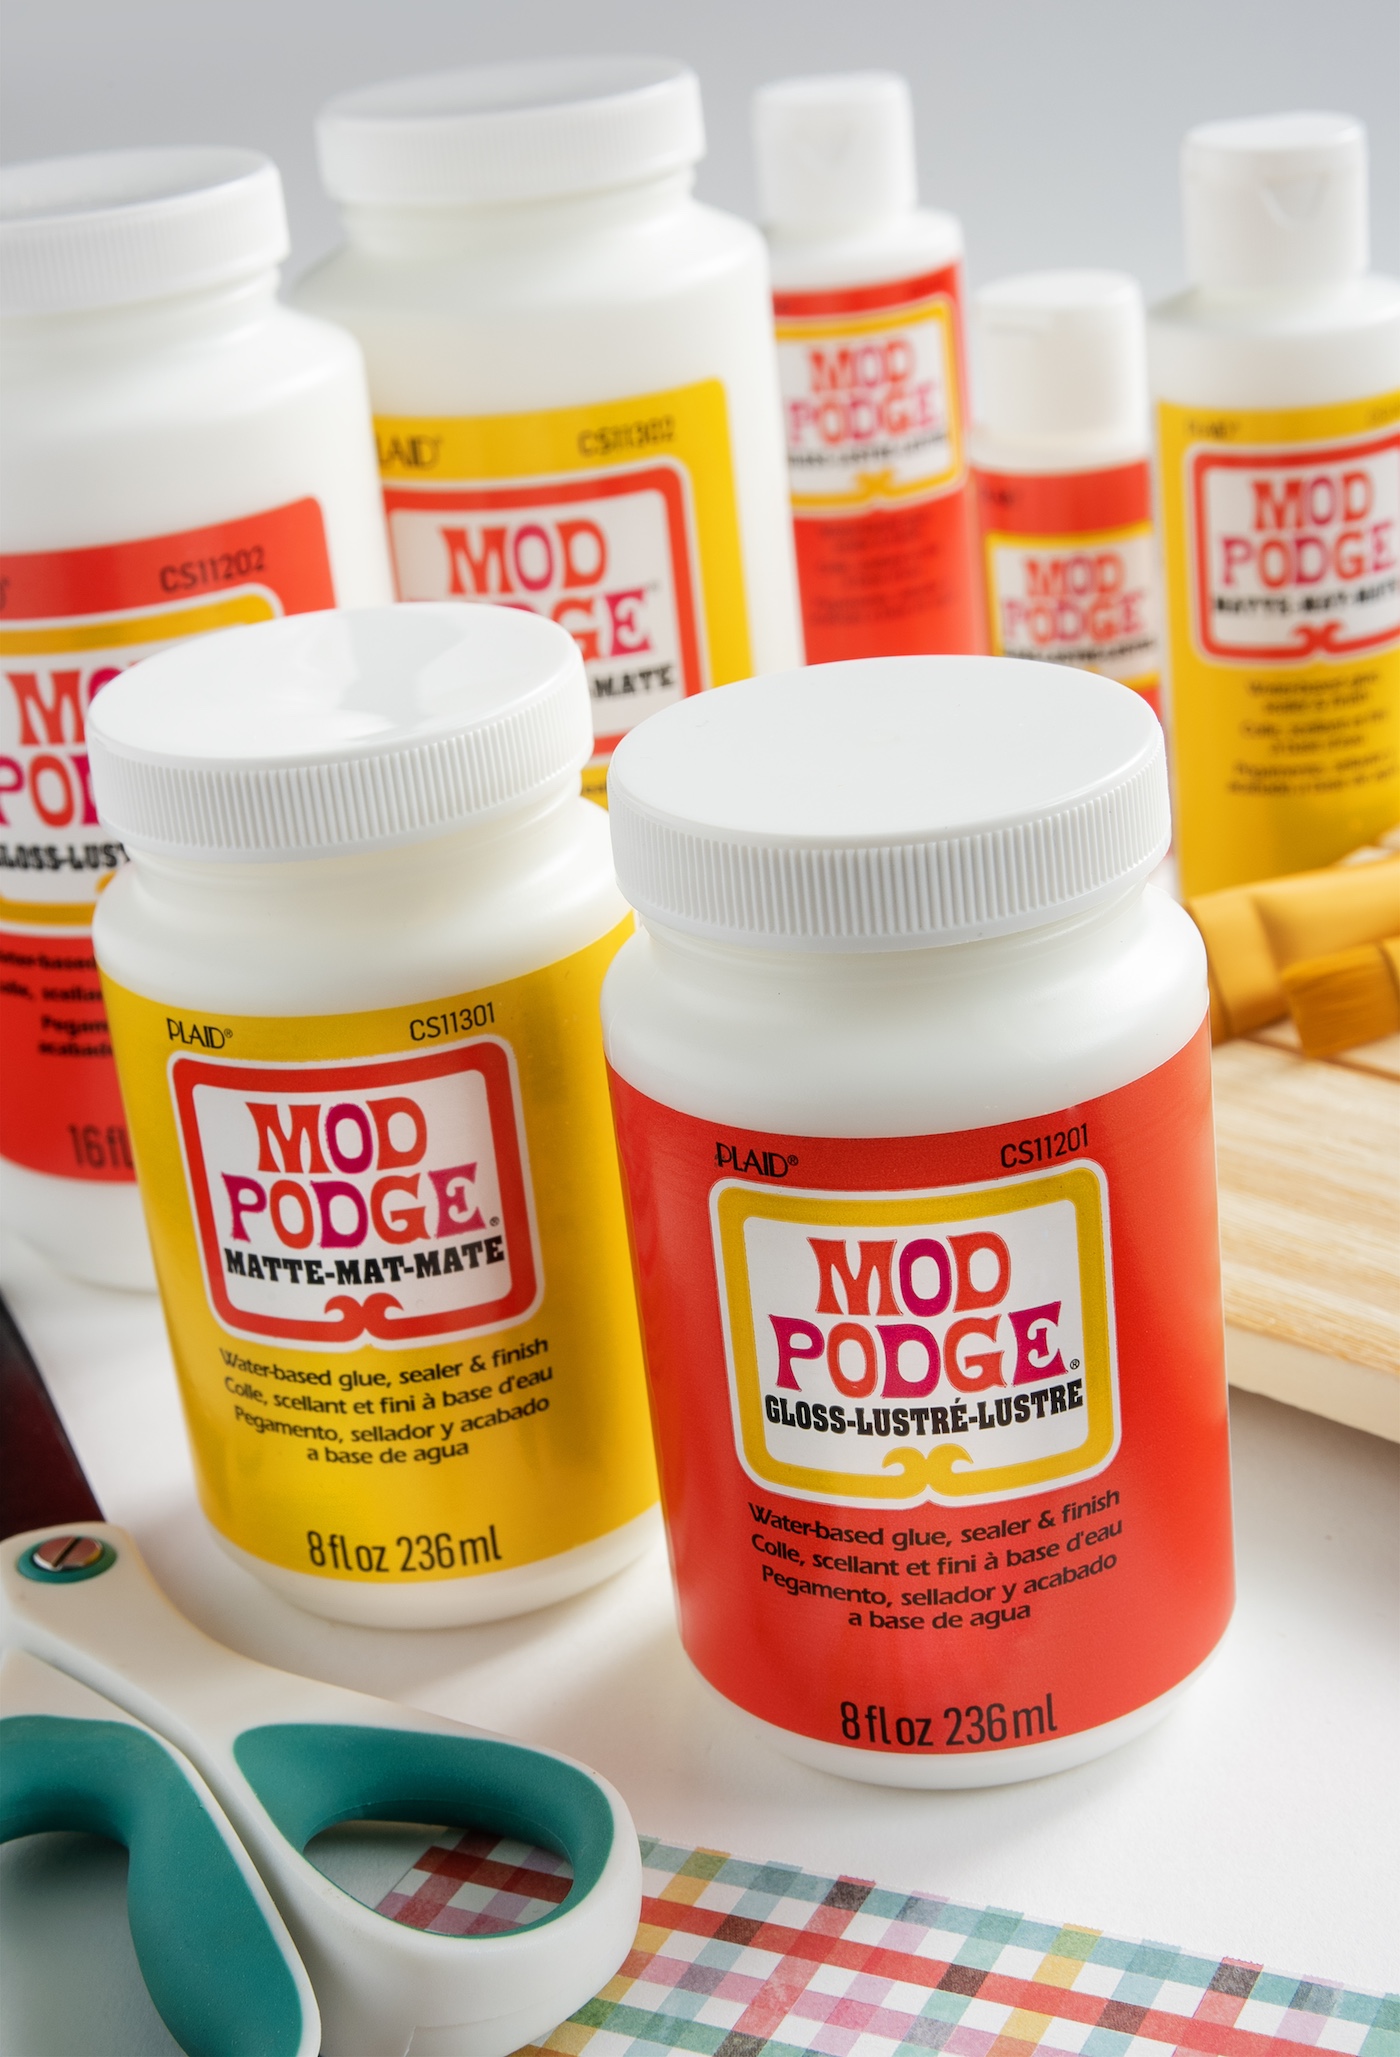
What is Mod Podge?
Let’s start with the obvious. It’s all-in-one sealer, glue, and finish used for crafts and works of art that does three things:
- Glue: you can use it to adhere items to porous surfaces
- Sealer: paint a protective coat over the project, to seal in your work
- Finish: add a final finish to the project, which depends on the formula
Decoupage medium is used in the art of decoupage, or gluing paper/fabric to surfaces. In fact, the name comes from combining “modern decoupage.”
Is Mod Podge really Elmer’s glue?
No. MP can glue things down, but it is also a sealer and a finish. It has “special” ingredients that school/craft glue doesn’t have.
It’s much stronger than Elmer’s, especially over the long haul. Read this post about why you shouldn’t make your own Mod Podge.
Is Mod Podge waterproof when dry?
No. It is waterbase and acrylic, which is great because that means it’s non-toxic. You can use it with your children without fear. But all these things mean that it’s not totally waterproof.
Even the Outdoor and Dishwasher Safe formulas are only highly water-resistant.
If you want to make your crafts essentially waterproof, I recommend a clear acrylic sealer or resin when your project is complete. Make sure that the final layer of decoupage is completely dry before spraying.
What is the dry time and cure time for Mod Podge?
It feels dry within an hour, but I wouldn’t hang up a project or use it until it’s been dry for 24 hours. For Hard Coat, the recommended dry time is 72 hours. Since Hard Coat is typically used on furniture, wait for 72 hours before putting anything on the furniture.
Curing is when solvents in a product evaporate and a product reaches its maximum strength. Curing is a chemical process. Even craft paint goes through this process, as does wall paint, etc. This takes 28 days approximately for Mod Podge.
Does Mod Podge have a shelf life?
The experts have told me two years if unopened. If opened, it will be about six months to a year.
Is Mod Podge food safe? Can I use it on a plate?
No, it’s not food safe. It’s non-toxic, but becoming food safe requires a product to go through FDA approvals – not typical for art supplies. You should use decoupage on the back of a glass plate, and then you can put edible items on top.
You can put Mod Podge on the top of a plate, but you’ll need to put a clear glass plate over that before putting your food down.
I’ve heard you can make your own Mod Podge. Is this true?
No. I’ve had more than a few readers e-mail me with a ruined project, very disappointed after having used a homemade formula. Please read the article I wrote about it here.
Can I use Mod Podge Over Acrylic paint?
Yes. Mod Podge is waterbase and acrylic, just like craft paint. You can use it over the top of acrylic craft paint, underneath – or even mixed together (to make more of a “glaze”).
I do not recommend using Mod Podge with latex paint. I’ve never tried it, but I have more than a few reports telling me that decoupage medium makes the latex paint bubble up and causes a huge mess. So if in doubt, do a test.
Where can I buy Mod Podge? Where can I buy it internationally?
Mod Podge is available at AC Moore, Hobby Lobby, Michaels, and WalMart. It is also available in smaller craft outlets and even online.
Call to confirm that the store carries the formula you are looking for. And if you are overseas, you’ll want the international distributor locator.
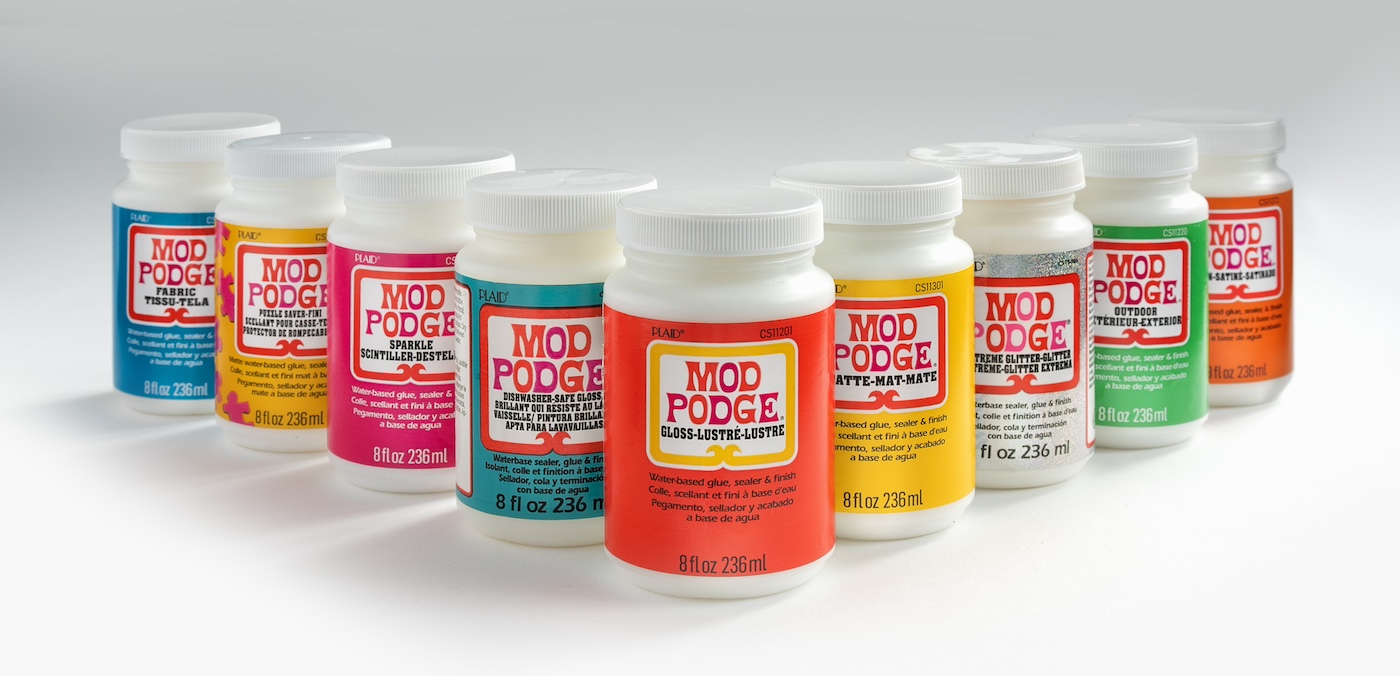
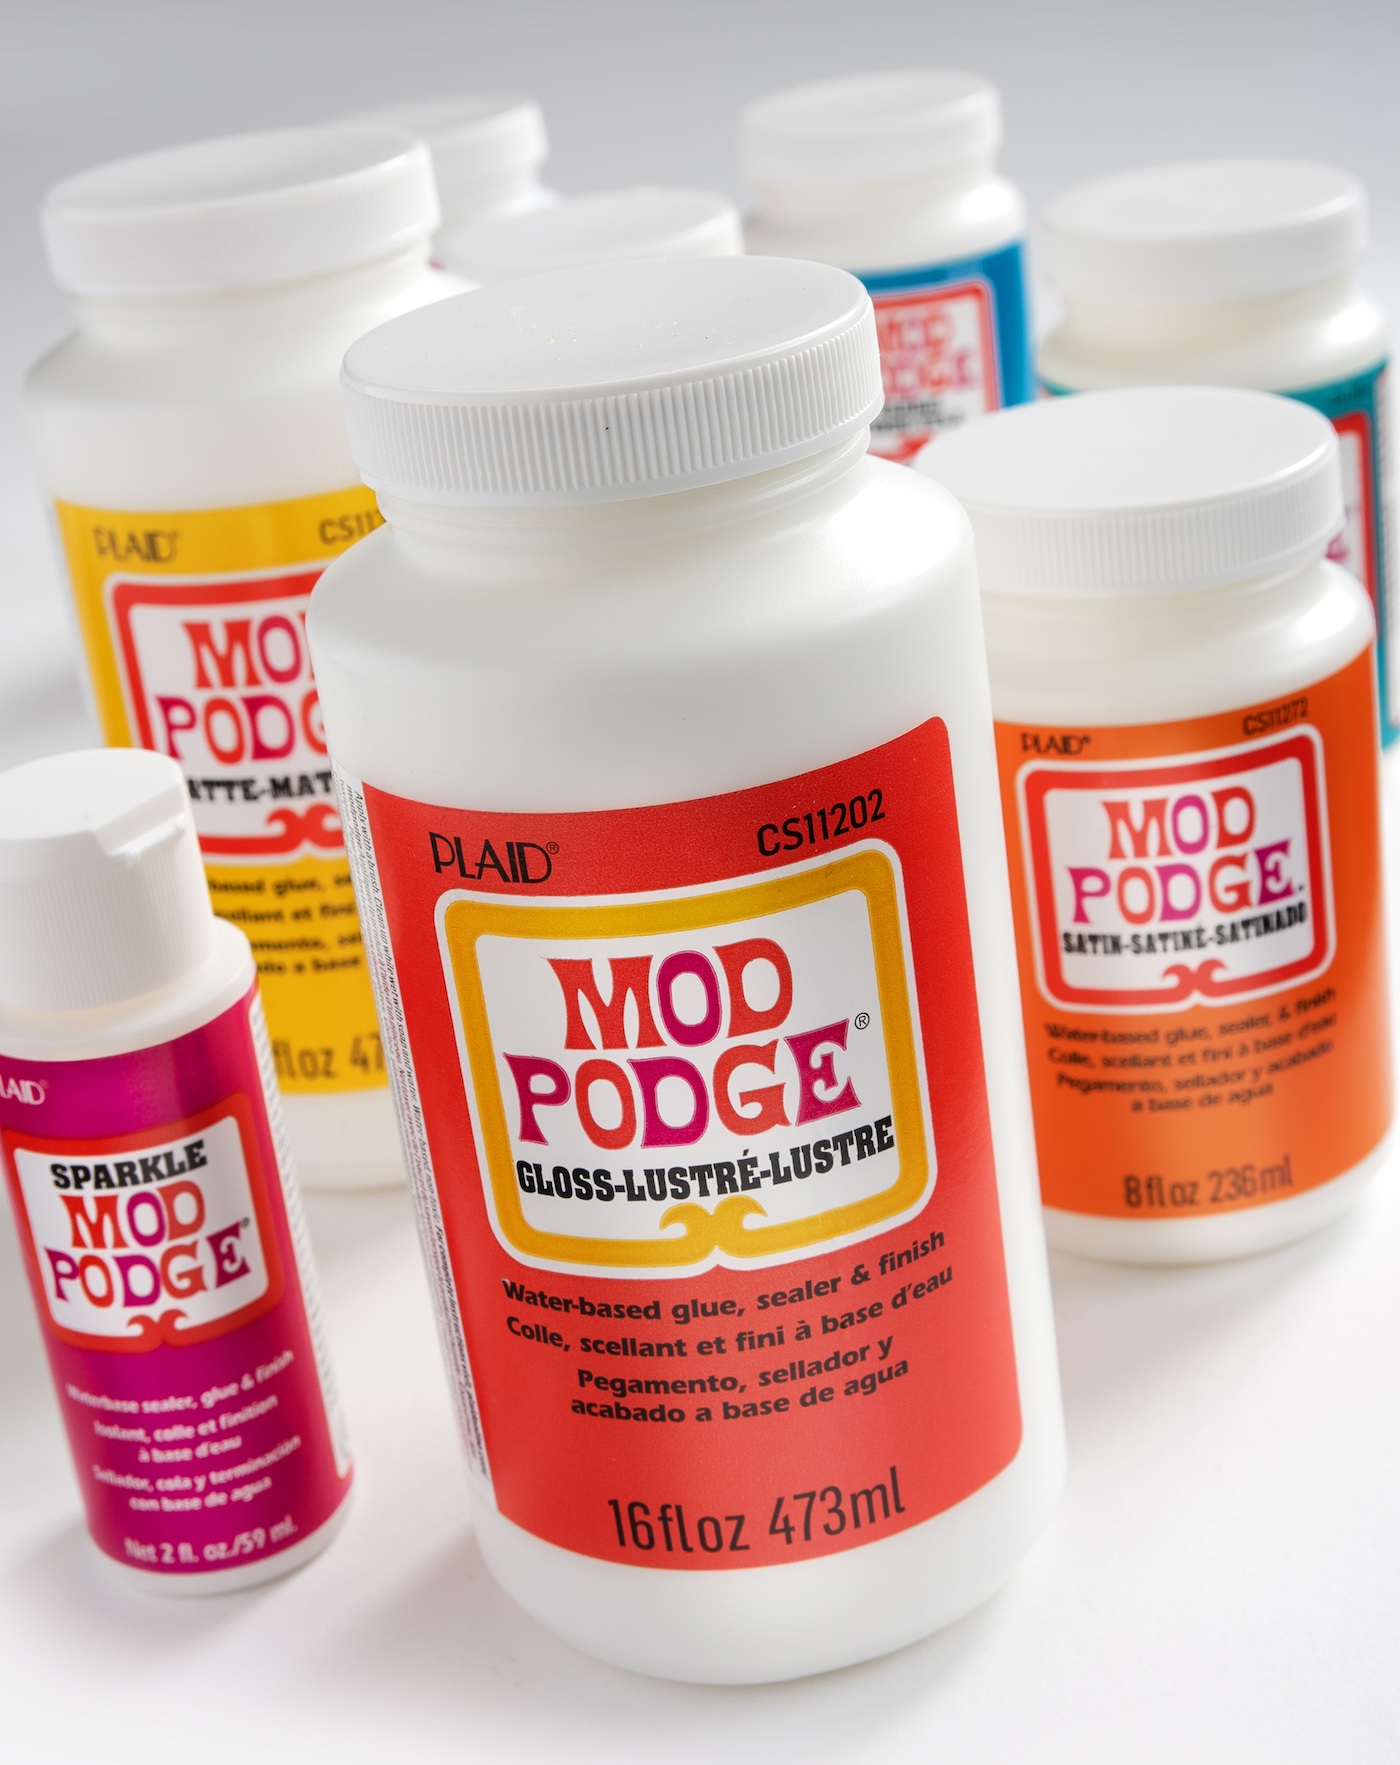
Mod Podge Formulas
What formula should I use for what project?
I wrote a formula guide about the various finishes that you can find here.
I’m on a budget and I can only afford one formula. Which one should I buy?
This is a very hard question for me to answer, because it really depends on the application. But if you have to get one formula, I would get original Mod Podge Gloss if you want a glossy finish or Mod Podge Matte if you want a flat finish (no shine).
What formula is the most durable?
Hard Coat. I use it for all of my furniture projects.
What Mod Podge is best to use for an area that will be exposed to moisture (bathroom, kitchen backsplash)?
I’d just use the Hard Coat formula with another sealer over the top of it. I recommend Minwax Polycrylic or another brush-on sealer. You don’t want to use a spray sealer indoors.
Is there such thing as colored Mod Podge? Can I tint Mod Podge with paint?
There is no such thing as colored Mod Podge, but you can tint it with food coloring and even paint. You can even create a stained glass look with it. I made these clings that you can peel and stick on glass.
Is Mod Podge Outdoor waterproof?
You can’t submerge an item that’s been Podged with Outdoor for an extended period of time, so it’s not technically “waterproof.” But it’s really, really close.
How to Use Mod Podge
What tips would you give to a beginner?
- Start with a simple project. Purchase a $1 frame and a cheap piece of scrapbook paper.
- Have patience. Don’t rush the project. Put the kids down for a nap and take your time. You MUST allow for proper dry time to avoid wrinkles.
- Practice. Don’t expect your first project to turn out perfectly. Mine didn’t, and now I can Mod Podge like a pro. Be kind to yourself.
What is your Mod Podging process? How can I get the best results?
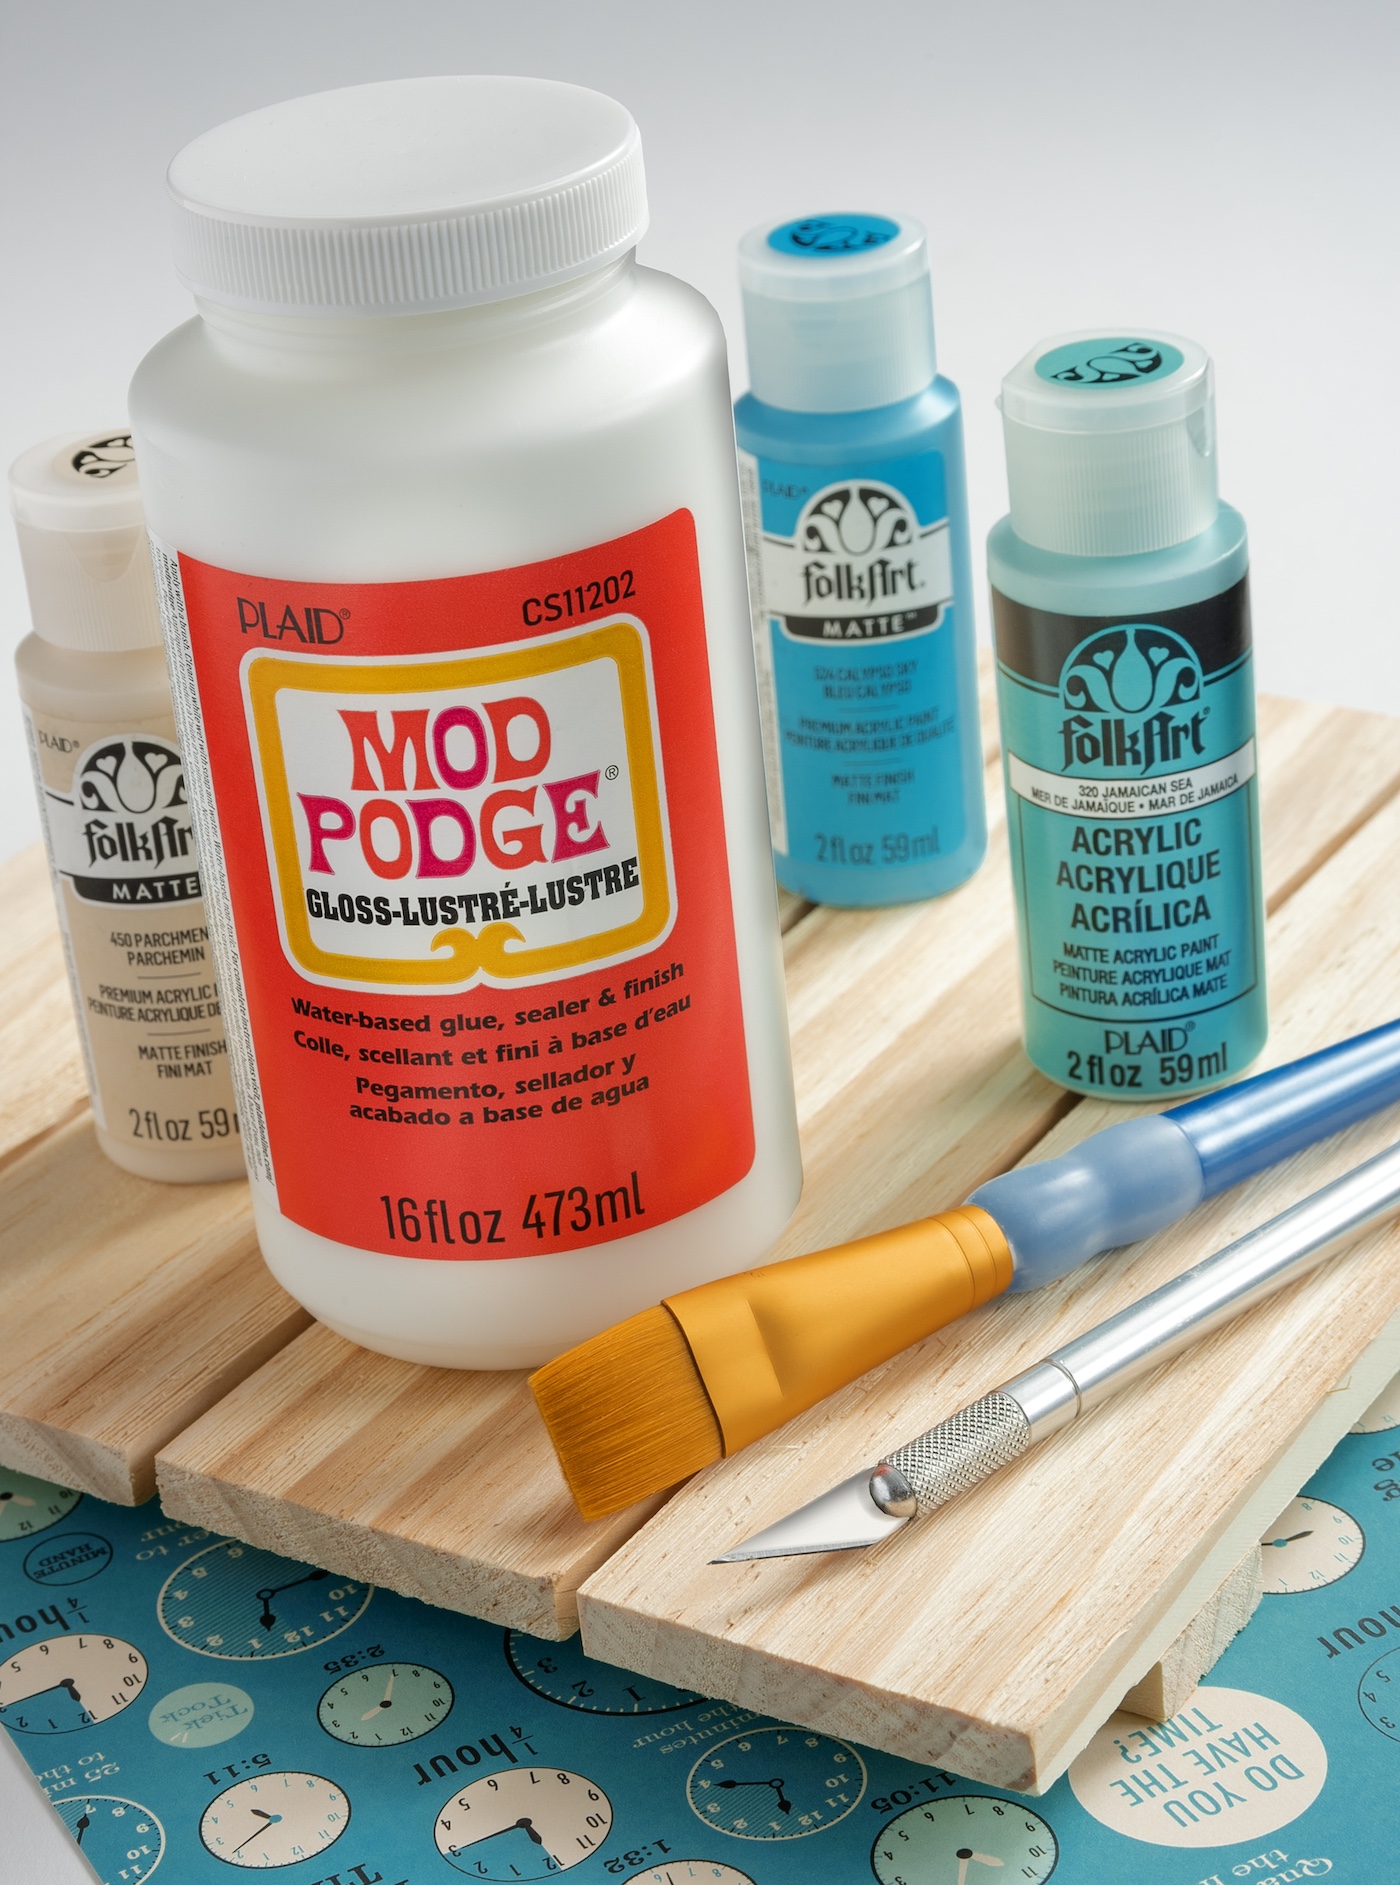
You can watch the video in this post, but here are my steps as well. I first prepare my surface by sanding wood, washing glass or tin, etc. I paint the surface with several coats of acrylic paint (if desired).
Let that dry. I cut my paper or fabric to fit the surface – I typically use a ruler and craft knife over scissors to get the most precise fit.
I apply a medium layer of my formula – enough so that it’s visible (white) on the surface. I apply Mod Podge to the surface as well as to the back of the paper or fabric. I work quickly since Mod Podge dries quickly. I smooth the paper or fabric onto the surface and roll out with a brayer.
I let that dry for 15 – 20 minutes, then I decoupage over the top. Let that dry and then give the whole project 2 – 3 more coats. Let dry before using.
How can I prevent wrinkles and bubbles?
This is the #1 question I get – and it’s such an important question that I made this video. The key is using enough Mod Podge during application, and allowing the Mod Podge to dry long enough between layers. Please watch the video for all the details.
PS – sometimes you’ll see wrinkles even if you follow my process, but many times they go away when the project is drying.
My Mod Podge project is tacky/sticky when dry. What can I do?
The Gloss formula is more likely to be tacky – the rule I’ve found is that the more glossy the formula, the more “tacky potential” it has. It really depends on the climate, drying time and a variety of factors.
If you find that your Mod Podged item is still tacky even after drying, just use a clear acrylic spray or brush-on sealer on top. Though Mod Podge is self-sealing, the sealer gives your project an added layer of protection.
Applying Mod Podge
What Surfaces Can I Mod Podge On?
Here are the various surfaces and what you should do to prepare them:
- Wood – Sand smooth with fine grit sandpaper, wipe off sawdust.
- Glass – Thoroughly wash in warm, soapy water to remove dirt, dust, and grease film. Then rinse in warm water and let it dry.
- Canvas – Wipe primed canvas clean; if unprimed, apply 2 coats of gesso primer or acrylic paint.
- Plaster – Wipe clean with damp cloth.
- Plastic – Clean with soap and water. You’ll need to test the surface though as Mod Podge doesn’t stick to all plastics (see the next question).
- Paper-mache – Wipe clean with damp cloth.
- Terra Cotta – Wipe clean with damp cloth.
- Tin – Wash with soap and water, then wipe with a white vinegar dampened cloth if it’s really dirty.
What surfaces can I NOT Mod Podge on?
Plastics. You’ll need to test the plastic first with a small square of paper or fabric. Mod Podge the paper/fabric down and let it dry for 15 minutes. If it peels off really easily, it’s not going to work.
If it is more difficult to peel off, then you should be safe to Mod Podge the item. You’ll still be able to peel off the Mod Podged paper/fabric, so don’t worry about ruining the surface. Items coated with a polymer, like Teflon, are too slick.
Felt. It feels really rough when it’s Mod Podged, plus it soaks in and you have to glop a lot on. Touching Mod Podged felt gives me the yips! This is just personal though – you might not mind it.
I want to decoupage photographs. What do I need to do?
I don’t use original photographs; rather, I make photocopies on a laserjet printer so that I can preserve the originals.
If you want to go ahead and use photos, just make sure to use a lot of Mod Podge, because it takes more than normal. You’ll have to hold the photos in place for several minutes after you apply the Podge, so that they don’t come up.
If you want to make copies or computer printouts of your photos, see the next question.
I want to Mod Podge computer printouts – how do I handle inkjet versus laserjet prints?
Inkjet ink bleeds, laserjet doesn’t. You don’t want to print on photo paper; you should print on regular printer paper because it doesn’t have a coating on it. I use 20 lb. paper, but you can go thicker if you need to.
Read how to decoupage with any printouts for more information.
How thick should each coat of Mod Podge be?
I use a “medium” coat when applying one surface to another. By medium, I mean that I can visibly see the white completely covering the surface.
If it’s clear in some areas before you apply paper, it means the Mod Podge has already dried and the surface needs more.
You are better off applying too much than not enough, because you can always wipe away excess. Not enough will cause wrinkles. The coats to seal don’t need to be as thick. I would use a few thinner coats to seal your project.
How many coats should I apply?
I would use two – three coats to seal a craft. You’ll want more coats depending on how much the project will be handled. If it’s a piece of furniture under heavy use, I’d even go up to five.
How should I smooth out paper?
I recommend a brayer and squeegee like in the Mod Podge tool set. The brayer is good for big, flat surfaces and the squeegee gets into corners.
Are there certain types of papers that don’t decoupage well?
Tissue paper and napkins are more difficult. But there is an iron on method you can use that will give you the desired results. Read my post on paper napkin decoupage.
How should I handle Mod Podging edges of a project?
I always trim my paper or fabric to fit my surface exactly so that I don’t have to mess with overlap. It can be very difficult to trim edges of paper or fabric after a surface has been Mod Podged.
Having said that, you can sand the edges and add more Mod Podge if you need to. Use a nail file or fine grit sandpaper.
How can I minimize/eliminate brush strokes?
Use a soft bristled brush and then sand between coats. To do this, apply the Mod Podge and let it dry an hour. Then use #0000 steel wool and lightly sand the entire surface. Do this between every coat. After the final coat, sand and then spray a clear acrylic sealer to finish.
Can I use a blow dryer on my project to speed up the drying process?
Yes, but keep the blow dryer back at least 12 inches and don’t use an uber-hot setting. You will definitely melt your project or the Podge if you get too close or use too hot of a setting.
Finishing Your Project
Do I have to use a sealer to finish the project?
You don’t HAVE to use a sealer after Mod Podge (it’s self-sealing), but I always do, just for extra protection. Plus sometimes Mod Podge stays tacky in certain climates, so I spray it to prevent that.
Any clear acrylic spray sealer will do (the Mod Podge brand sealers are good) . . . though if an item is going to be exposed to water, you’ll need to use a waterproof/enamel sealer. You can also use resin.
What sealer should I use with coasters or other items that need to be waterproof?
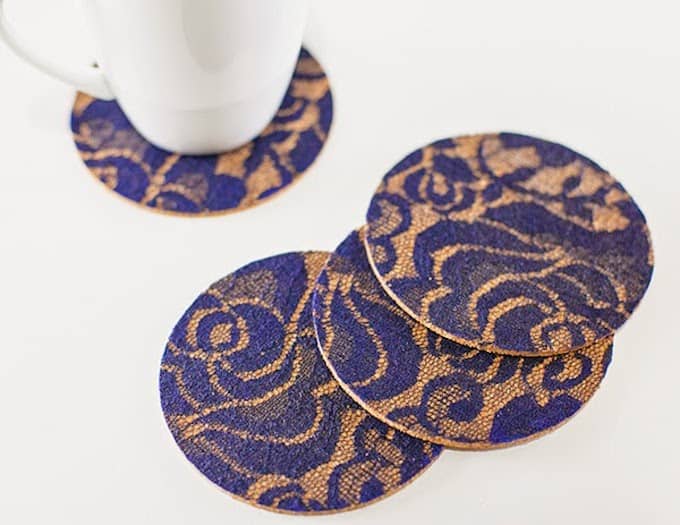
There are waterproof/enamel sealers on the market (ask at your local hardware store). Minwax Polycrylic is amazing for sealing and making Mod Podged items waterproof. Resin is awesome too. Check out our tile coasters.
How do I send a decoupaged project in the mail?
I know a lot of people sell their projects online, and therefore want to ship their items. Read my instructions here for doing it without ruining everything!
Mod Podge Tools
Get my list of essential decoupage supplies here.
What type of brush should I use to apply Mod Podge?
You can use regular taklon or natural bristle brushes found at your local craft retailer. I use a soft bristled, 1” brush in most instances. Sometimes I go smaller, but the 1” brush works for most of my projects.
A foam brush can also be used, but I find that my soft bristled brush minimizes brush strokes.
What is the best way to clean brushes? Do I need to use a new one each time?
You should always wash brushes immediately after Mod Podging. Regular brush cleaner or non-abrasive soap works very well for cleaning brushes. You don’t need to use a new one each time as long as you wash the brushes out thoroughly before anything dries.
Special Situations
I need to send a Mod Podged project to someone – how do I pack it?
I recommend using Glad Press N’ Seal around the entire project before packing it. Wax paper also works, I just like Press N’ Seal because it’s easier to press around edges and round surfaces.
Mod Podge smears my marker/stamping ink. What can I do?
Spray both sides of the paper with workable fixatif (several coats) and let it dry. Paint with a thin layer of medium on both sides, let it dry. Then you can decoupage as normal. It sounds like a lot of steps, but it’s not that difficult – you just have to make sure it all dries.
I actually wrote an article about this very thing here – you need to check it out!
Will my project yellow over time?
Yes, it does yellow over time. But it takes a long time, and it’s very slight. I’ve had things for years that are not yellow.
Good luck Mod Podging! You are, without a doubt, going to love it. And let me know if you have any more questions!!


Hi there. So I make jewelry out of my own handmade clay. End result is similar to air dry clay, so it’s porous. I would like it to be uv resistant, water resistant and obviously durable. Which mod podge would be best?
And if possible, to put a polyurethane varnish like cabots over the top as the final coat for extra protection. How long before the final varnish layer can be applied? (The items are too small to sand)
Or is there another product that would be just as good to give a great final seal? Cheers Simone
Hi Simone! If you’re going to varnish, you don’t need Mod Podge. Unless you’re decoupaging something on top, which is what the Mod Podge would be for. Sure it seals, but there are tougher sealers if you’re not doing decoupage. I would recommend going to the hardware store and asking them for a sealer that is UV resistant and water resistant. My guess is there’s a brush on that could work like the varnish, so either the Cabots or you wouldn’t need it. You don’t need two things, just one. And wait 24 hours before applying final varnish layer.
My project does not dry clear. It is clear pictures of haunted castles. When the MP is dry I puy on the picture, then another layer. But it dries cloudly. HELP.
Hi Janice! My guess is the clear pictures aren’t paper otherwise they wouldn’t be clear. Mod Podge – and other acrylic products – don’t necessarily dry crystal clear underneath plastics. They can’t breathe. I would join our Facebook group Getting Crafty with Mod Podge for help. But I think it’s the pictures you are using. Not everything works with Mod Podge. ALMOST everything does, but plastics are one that are hard.
Hello. I am wondering how long I have to wait for Mod Podge glossy to try over handmade paper on a painted tray, before adding resin or an enamel sealer? The Mod Podge gloss container says it takes 4 weeks to curee. Which type of sealer would you recommend? The tray has sides so I don’t want to use a spray. Thank you. 🙂 Jill
There is a difference between dry time and cure time! Curing is a chemical process. Anyhoo, you can do it after 48 hours or so of dry time (being conservative because I don’t know where you live and in humid climates – longer dry time). Minwax has a lovely brush on polycrylic you can purchase I like. And resin is great too 🙂
Hi Amy,
If I have some ‘original’ formula and some ‘hard coat’ formula, do you recommend using the original for the initial gluing layer, and save the hard coat formula for the subsequent top layers? Or would you recommend using the hard coat formula for both sides?
Thanks
RH
It depends on what it is! You can use them together. But if you have original you have either gloss or matte. Hard coat is a satin finish. So whatever you put on last, the finish is going to be that finish. If it’s furniture or something that will be beat up, use Hard Coat. If it’s just wall art or something, use Original for the whole thing.
Can you mix Mod podge with acrylic paint, to paint on plastic for a better adhesion? If so what is the ratio acrylic paint to mod podge?
Hi Vicky! You can mix them together but it doesn’t make it work better on plastic. Mod Podge is also acrylic so there’s no improved adhesion. You can try it on plastic and see if it sticks – cause it usually depends on the plastic. Having said that, there are plastic spray paints. That is the ideal situation is that you use a paint specific to plastic.
Hello! The expensive wedding shoes I bought have a crushed Pearl effect on the top and we’ve realised they are catching the material on my dress, making it difficult to walk in. I’ve been told to use mod pod he on th the create a smooth layer over the shoes but I don’t know which formula to choose. I need something that will be able to take a bit of movement, showerproof, non tacky. Please help. 3 weeks till the wedding!
Hi Ellie! I recommend using something other than Mod Podge. It’s going to dull the pearl effect (slightly), it’s not completely waterproof, and it can be tacky if not fully cured (which takes four weeks, and is different than dry time). You could use the regular gloss formula, but your shoes are expensive, so I would figure something else out than Mod Podging them.
I’m helping a friend making a glam picture on canvas. Canvas is painted w silver acrylic paint. We used modge podge for glueing the chips of cut mirror, now using m p to glue small tiny colors of pink for another area. I’ve let it dry, tapped the extra off and re added crystals where needed.
My question is, if we put m p over the shiny mirror and shiny pink will it make it look dull? Want to seal it but wasn’t sure it could be used that way and do not want to ruin the sparkle.
hello Debora! Yes, acrylic mediums or sealers can dull the sparkle. The best sealer I’ve used that doesn’t dull the glitter is: https://www.krylon.com/en/products/craft/glitter-blast-clear-sealer/
Having said that, here’s a project where Mod Podge is over the glitter, and it’s still glittery:
https://modpodgerocksblog.com/diy-glitter-shoes/
Very glittery . . . but NOT as glittery as they would be without Mod Podge.
Hi. I’m so excited about starting to Mod Podge and encouraged by your site. I was wondering if I can MP burlap on a door? And if MP will come off a rubber floor mat?
Hi Gayle! Yes you could probably Mod Podge burlap on a door . . . having said that, drying vertically might be a challenge. Burlap isn’t that light, and I feel like the door would need to be horizontal for it to work unless you used painter’s tape to keep it secure while drying. Mod Podge will come off a rubber floor mat generally speaking.
Can I modgepodge on enamel?
Maybe. Enamel usually has a coating which makes it NOT conducive for this.
Can you use Mod Podge over glass from picture frames and stuff without paper
You can Mod Podge over glass from picture frames! If you don’t use paper you’ll need fabric, tissue paper, or something else. Or mix it with food coloring . . . there are a lot of options. Guide: https://modpodgerocksblog.com/mod-podge-on-glass/