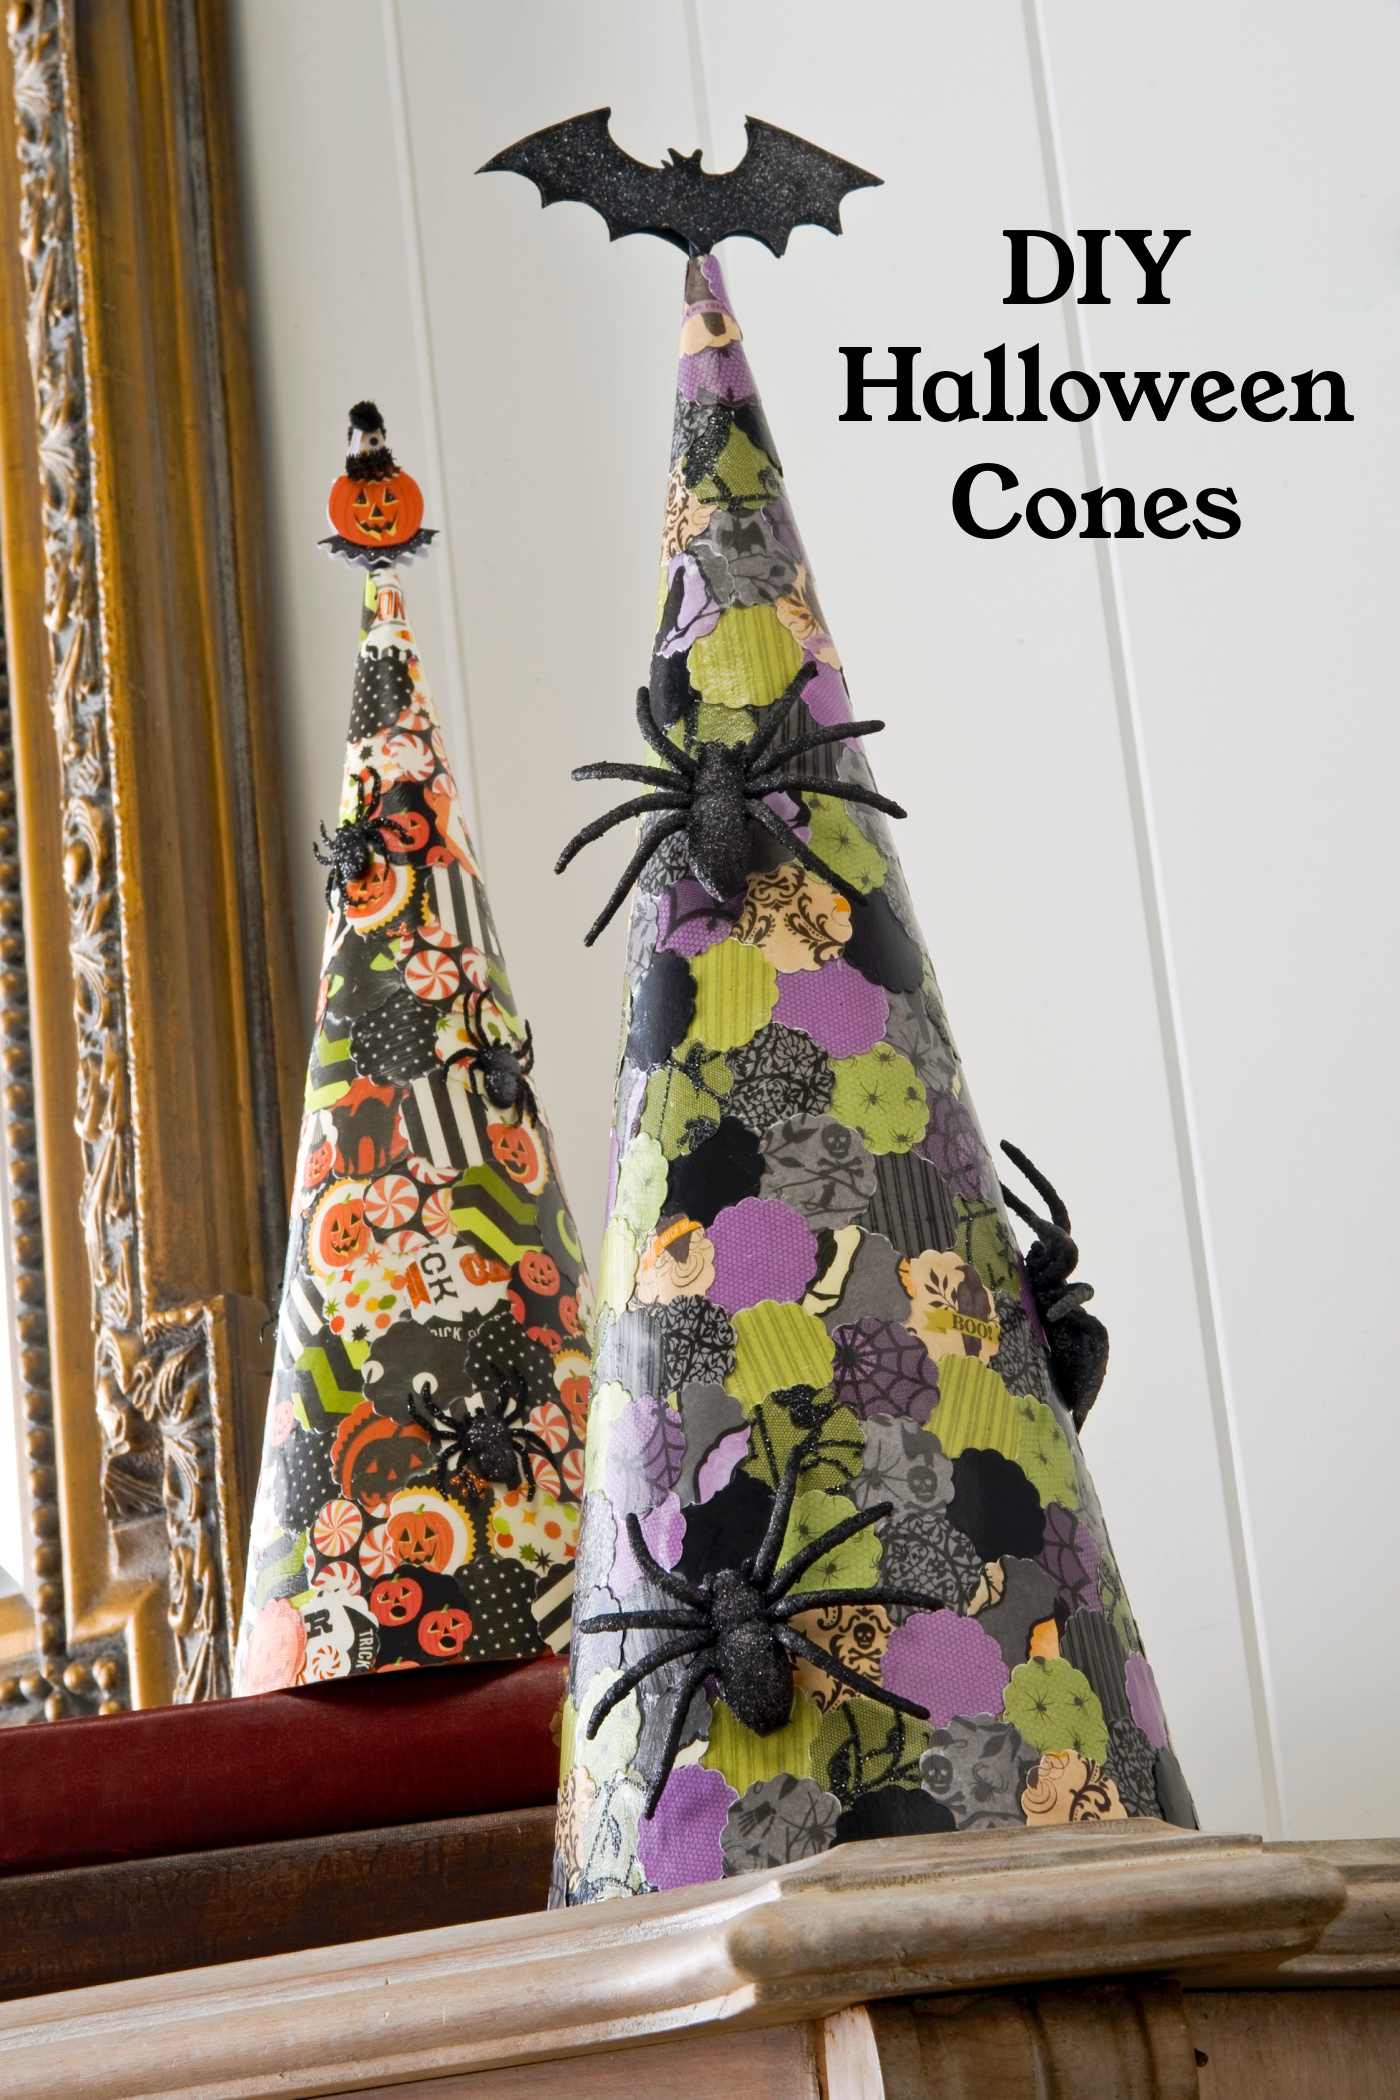
Looking for some easy holiday decor? These Halloween cones are so simple that even a kid can make them. Perfect for a spooky mantel!
Skills Required: None. These paper cones are very easy to decorate even if you’ve never Mod Podged before. You don’t have to worry about wrinkles.
If you are new to my blog then you should know one thing right away – I love Halloween. It is without a doubt my favorite holiday, and I believe in going all out for it. Who doesn’t love candy and spooky Halloween decor?
I decided to decorate paper cones this year, and turn them into Halloween paper spider cones. I decorated a doily cone last year for Christmas, and I definitely needed a few for my Halloween decor.
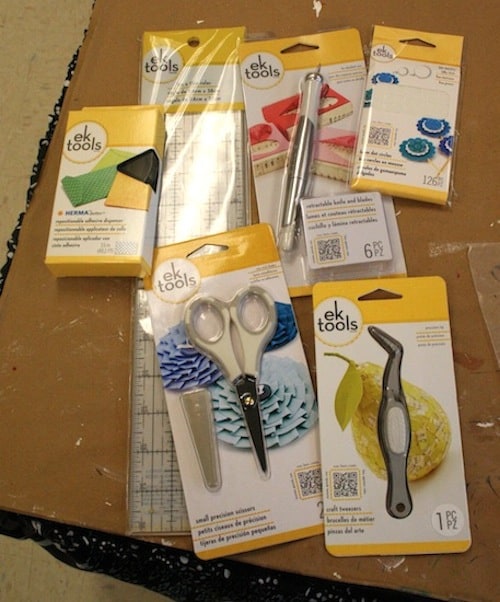
So how did I make them fancy? With some scrapbook paper and a pile of new EKSuccess tools that I got in the mail.
I’m a huge fan of paper crafting tools, and EKSuccess was nice enough to send me a set of theirs to use. I’m always using tools with paper and Mod Podge. Here’s what I got – and these products are available at select Walmarts (FYI):
If you are a fan of Halloween decor like I am, take a peek at my tutorial for these cones. These are so easy to make. Here’s how it’s done.
Halloween Paper Cones
Gather These Supplies
- EKSuccess Tools including the 1″scallop punch, retractable knife and titanium scissors
- Paper mache cones – available from the craft store
- Halloween scrapbook paper – Halloween (I chose two themes)
- Black scrapbook paper – 1 sheet
- Embellishments – spider stickers and other stuff to put on/top the paper cones
- Mod Podge Gloss
- FolkArt acrylic paint – orange and black
- Dowel rod – 1/16″
- Paintbrush
- Craft glue
- Optional: spider stencil and black glitter paint
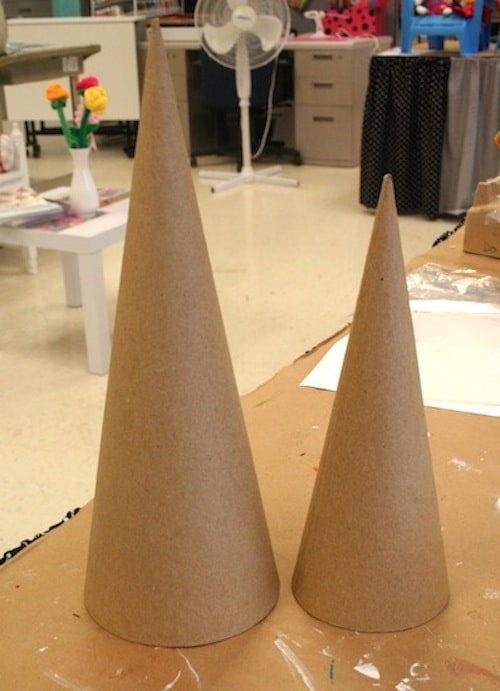
If you were wondering what the paper cones look like when you are shopping, here they are. Very paper. Very cone-like.
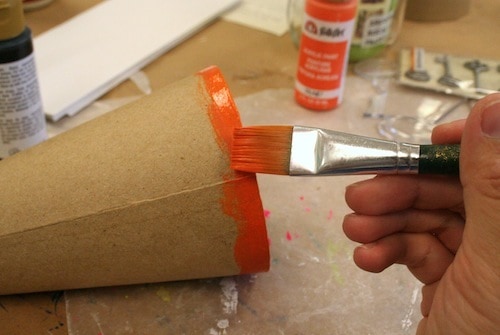
Your first step is to paint the bottom of your cones. You don’t HAVE to do this, but I like to in case a little bit of cone ends up peeking out. Let the paint dry.
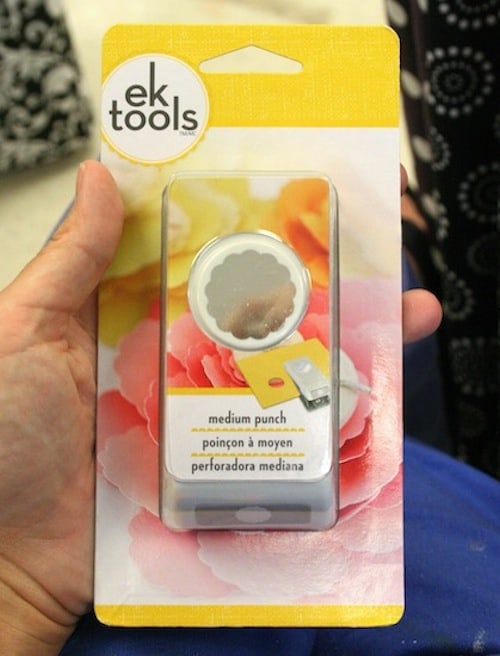
This tool is going to be your best friend in this project, and is actually one of my favorite tools in the whole world. This isn’t the first project I’ve done with the 1″ scallop punch. I love this thing.
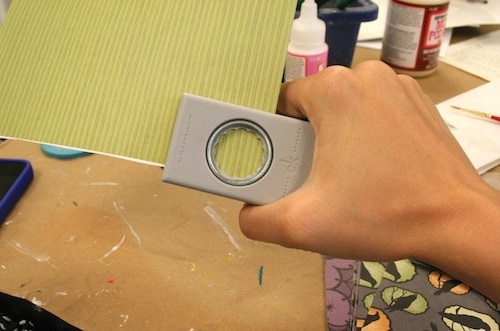
You are going to need a television or radio for this part – you need to punch out quite a few scalloped circles from your paper. You’ll be covering both cones with them.
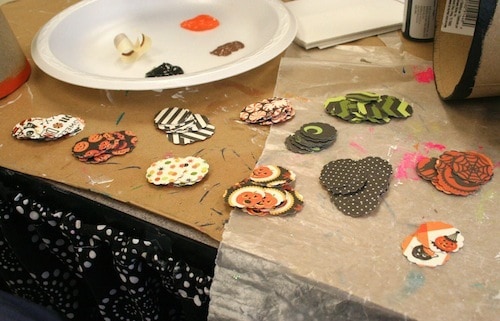
This is the best I could organize – I sorted my little scalloped punched papers into piles, so that I could make sure to know what I have (and get even numbers of each).
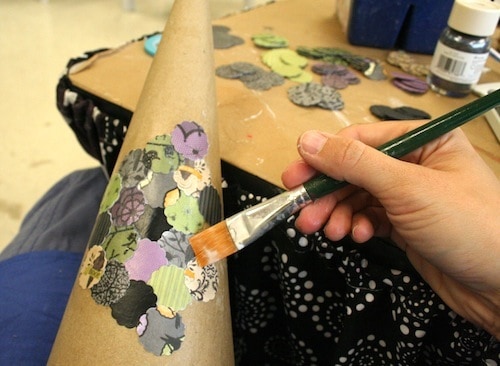
You can start wherever you want to on the cone – you just need to paint some Mod Podge down, smooth a circle down and then Mod Podge over the top. You’ll want to overlap your circles.
You’ll probably also want to bend the circles a little bit before Mod Podging them down if the paper is thicker. I did this and it really helped.
Cover both Halloween cones and let dry – then paint a layer of Mod Podge over the top. Let that dry.
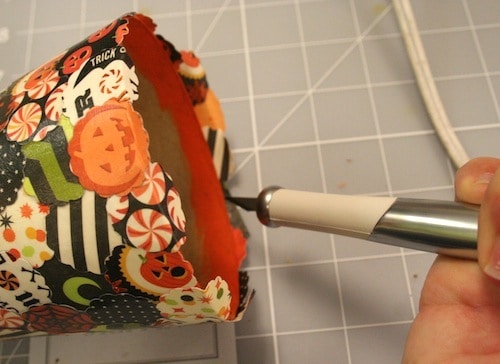
Use the retractable knife to trim the paper that overlaps the bottom.
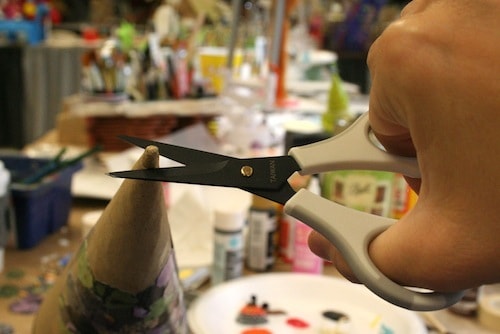
At some point I decided I would add toppers to my paper cones. I used the scissors to cut off the ends.
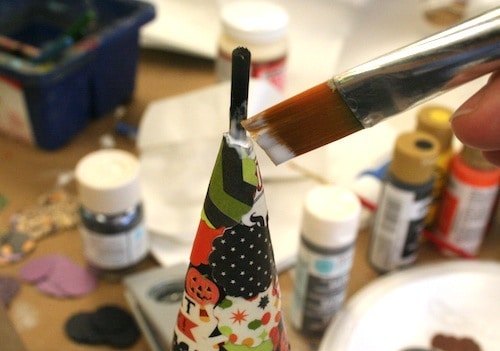
I then painted small pieces of dowel rods with black paint, inserted them into the ends and glued them in. Then I glued embellishments on either side of the dowel rod.
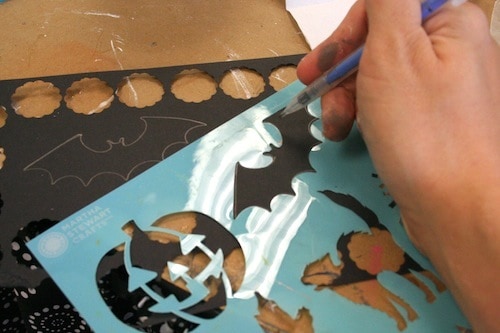
One of the embellishments was a bat that I traced on the black paper with a stencil and cut out – then added black paint.
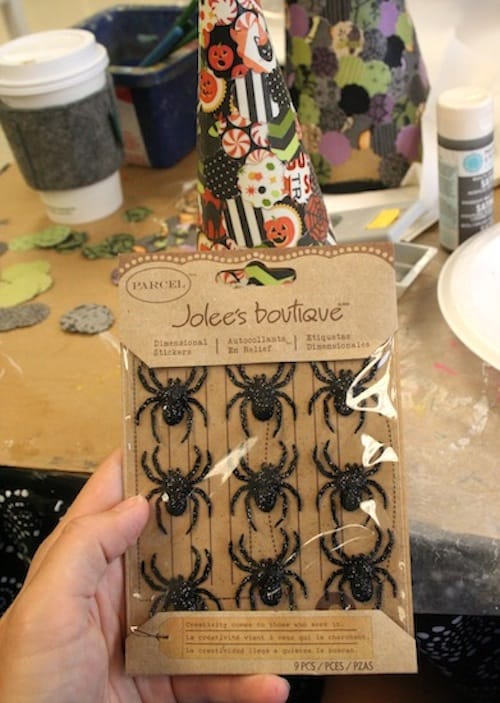
To finish off my cones, I added spiders. I used these spider stickers and some larger spiders that I glued to the sides.
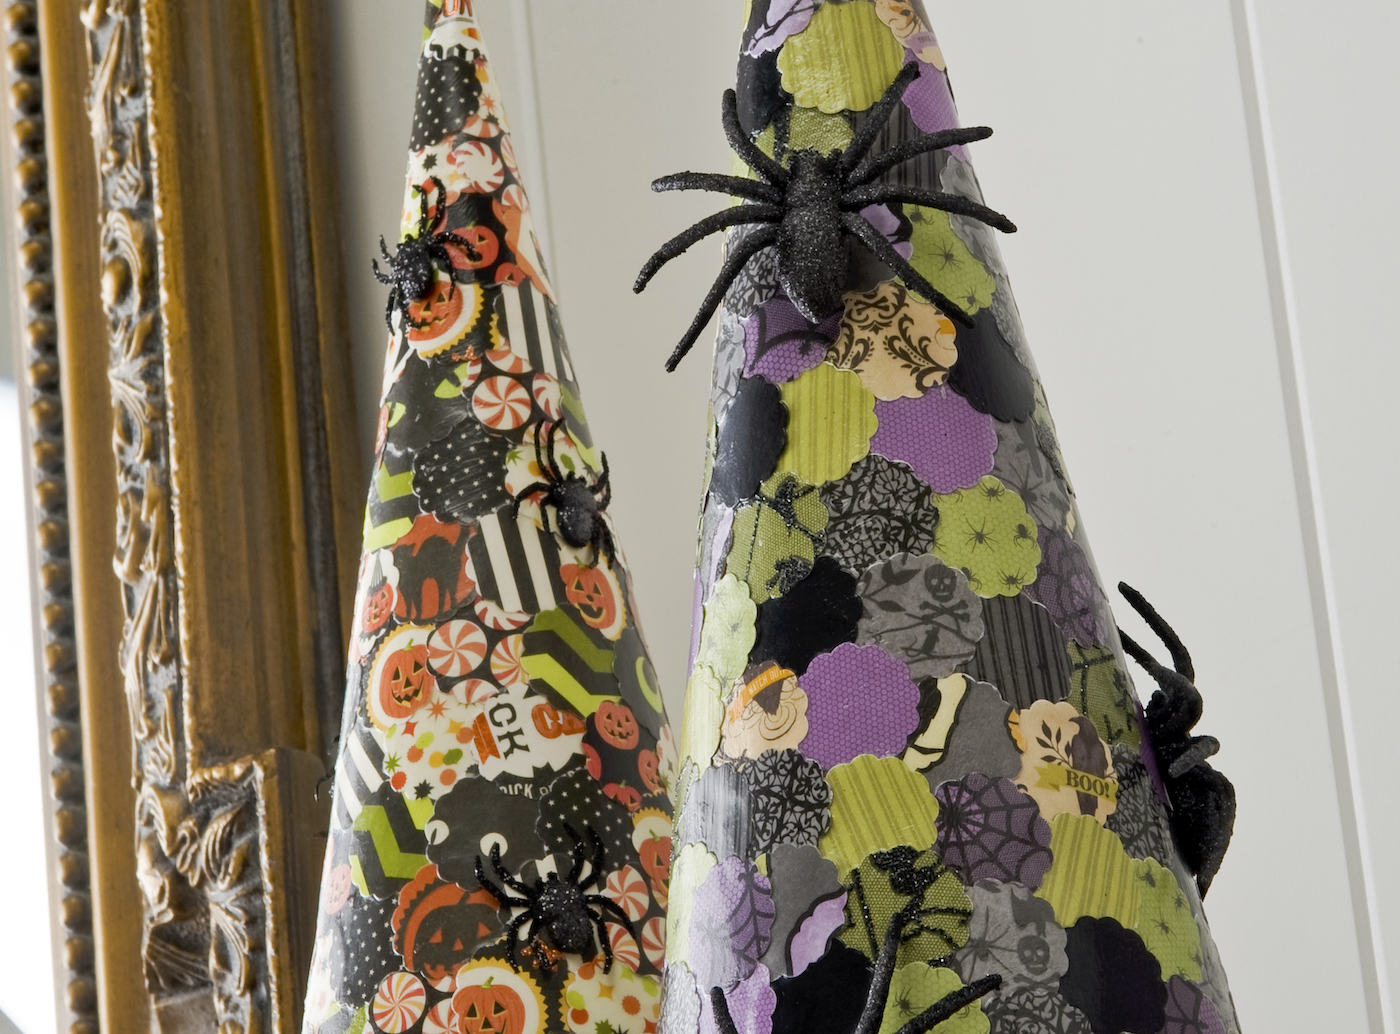
Here’s some detail of my Halloween craft . . .
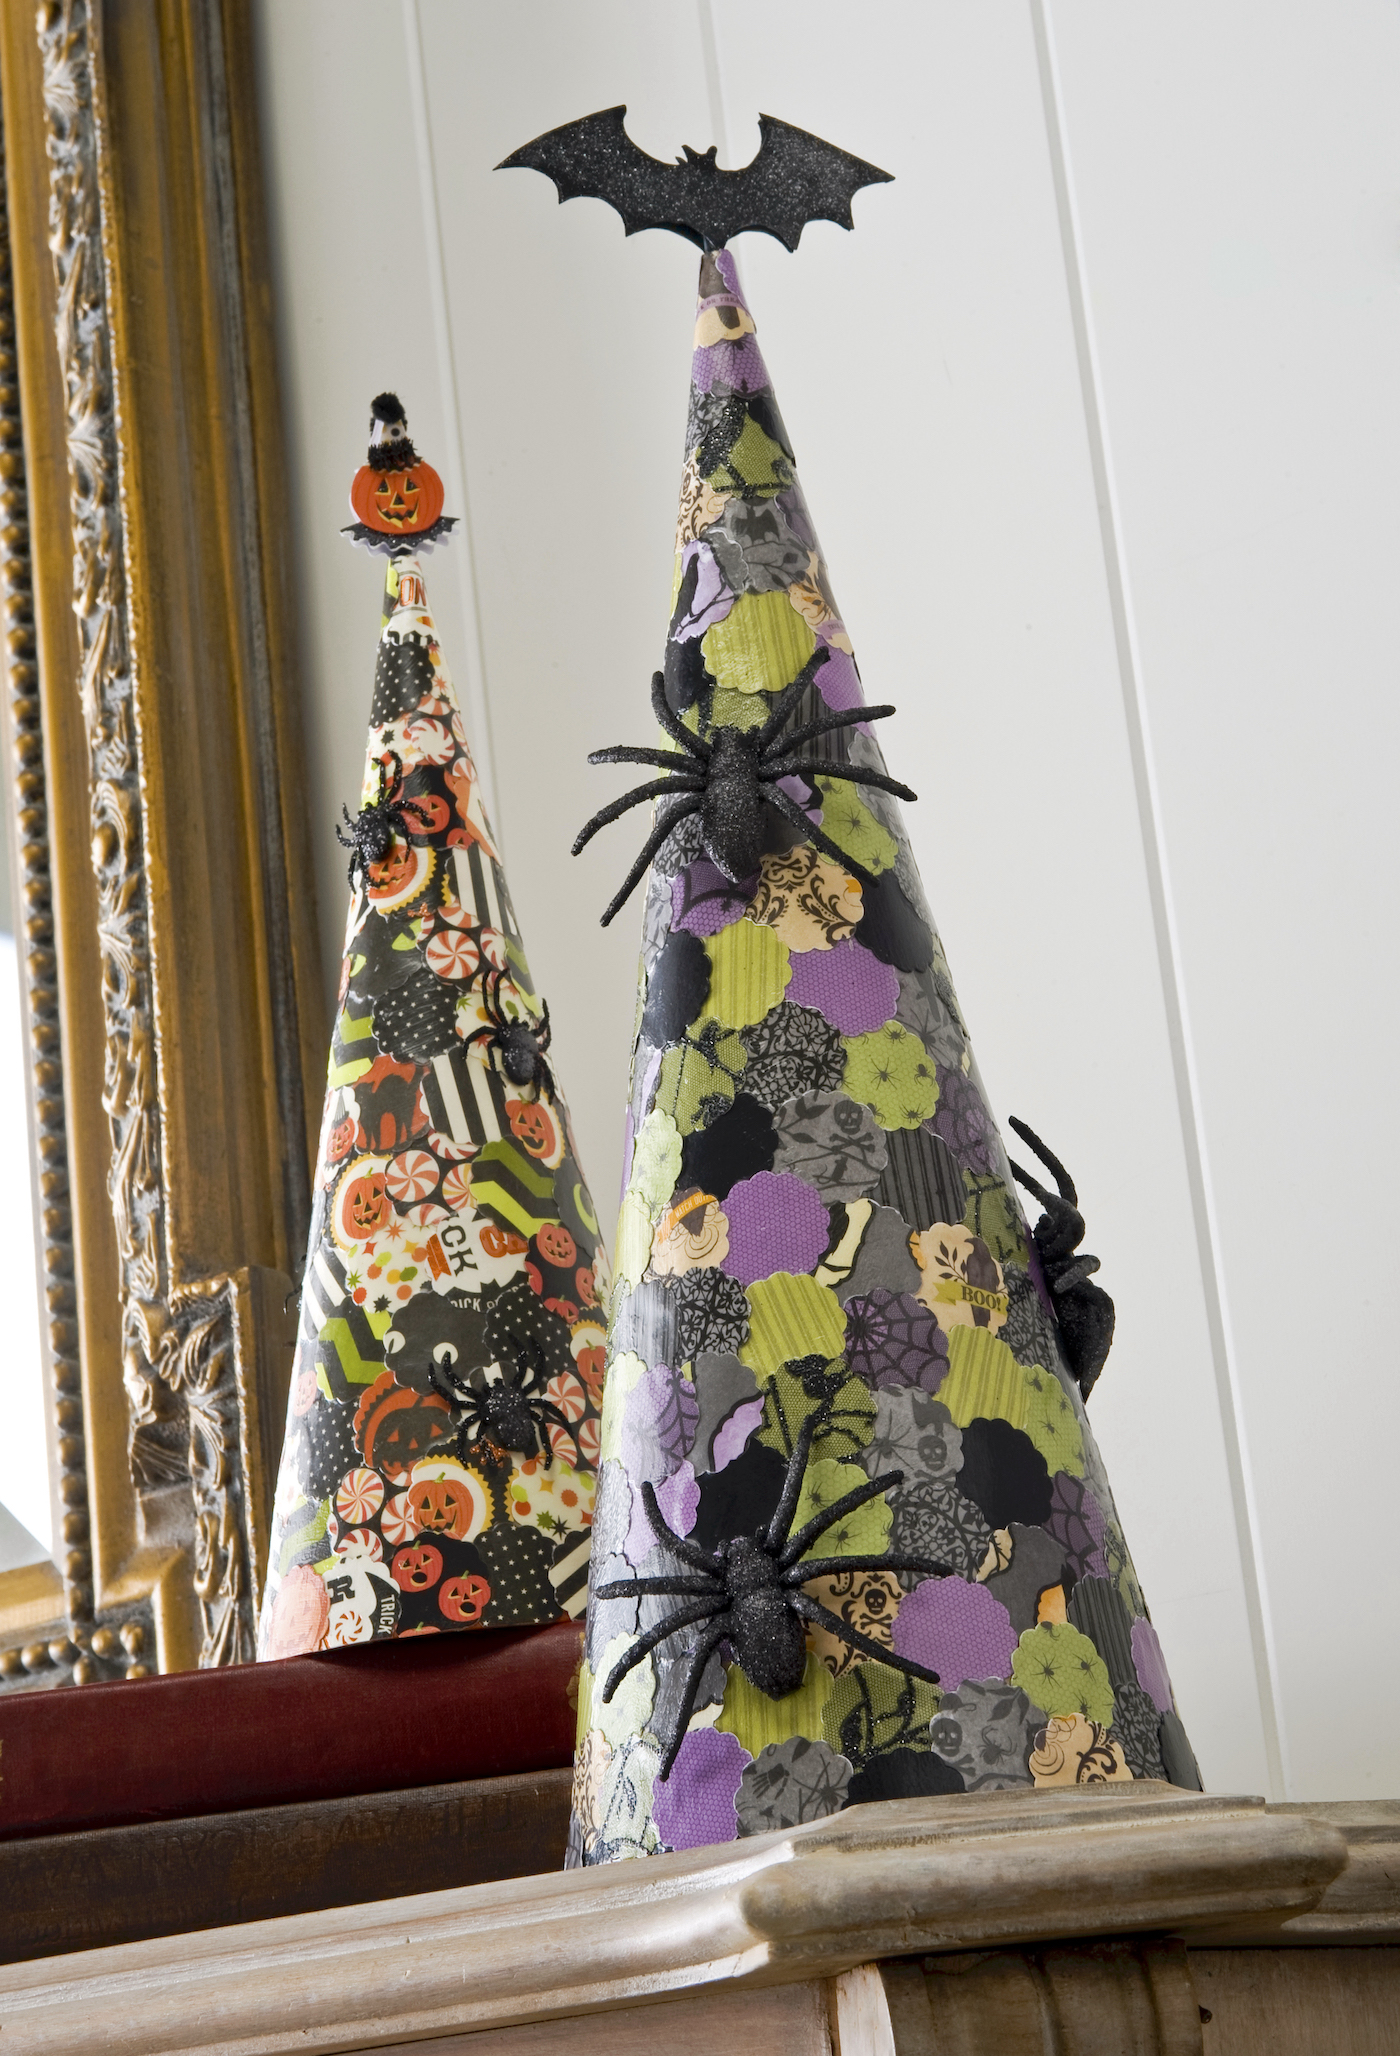
And the Halloween cones one more time. I’m sure by now you are convinced that you need paper cones, a scallop punch and of course, Mod Podge.
Are you ready to check out some other Halloween craft ideas? I’d love for you to check out these projects:
BOO Letters • Cheesecloth Ghost • Coffin Tray • Decorating Wood Cutouts • Decorative Blocks • Door Hangers • Fairy Garden • Halloween Magnets • Halloween Rocks • Mummy Luminaries • Potion Bottles • Spooky Candle Holders • Spooky Pumpkins • Wall Decor • Witch Hat Garland • Wood Ghost Decor




I like the cones! something different and also it looks great! and I can do this with my kids!
Inspired! How about mini cones (made from a 12×12 sheet of cardstock or chipboard aka recycled cereal box or repurpose dollar store birthday party hats!) and cover with Halloween stickers and those mini plastic spider rings? Not as chic as yours above but might be doable with my 3 year old. Maybe modge some diecuts on there…?
These are gorgeous! And they look like something I could actually start AND compete!