Create a cozy DIY farmhouse Christmas sign with buffalo plaid and a deer head design—perfect for holiday decor or gifting!
Skills Required: Beginner. I recommend having some experience with Mod Podge since you will be applying a cutout to wood with some smaller details. You’ll also be doing some painting.
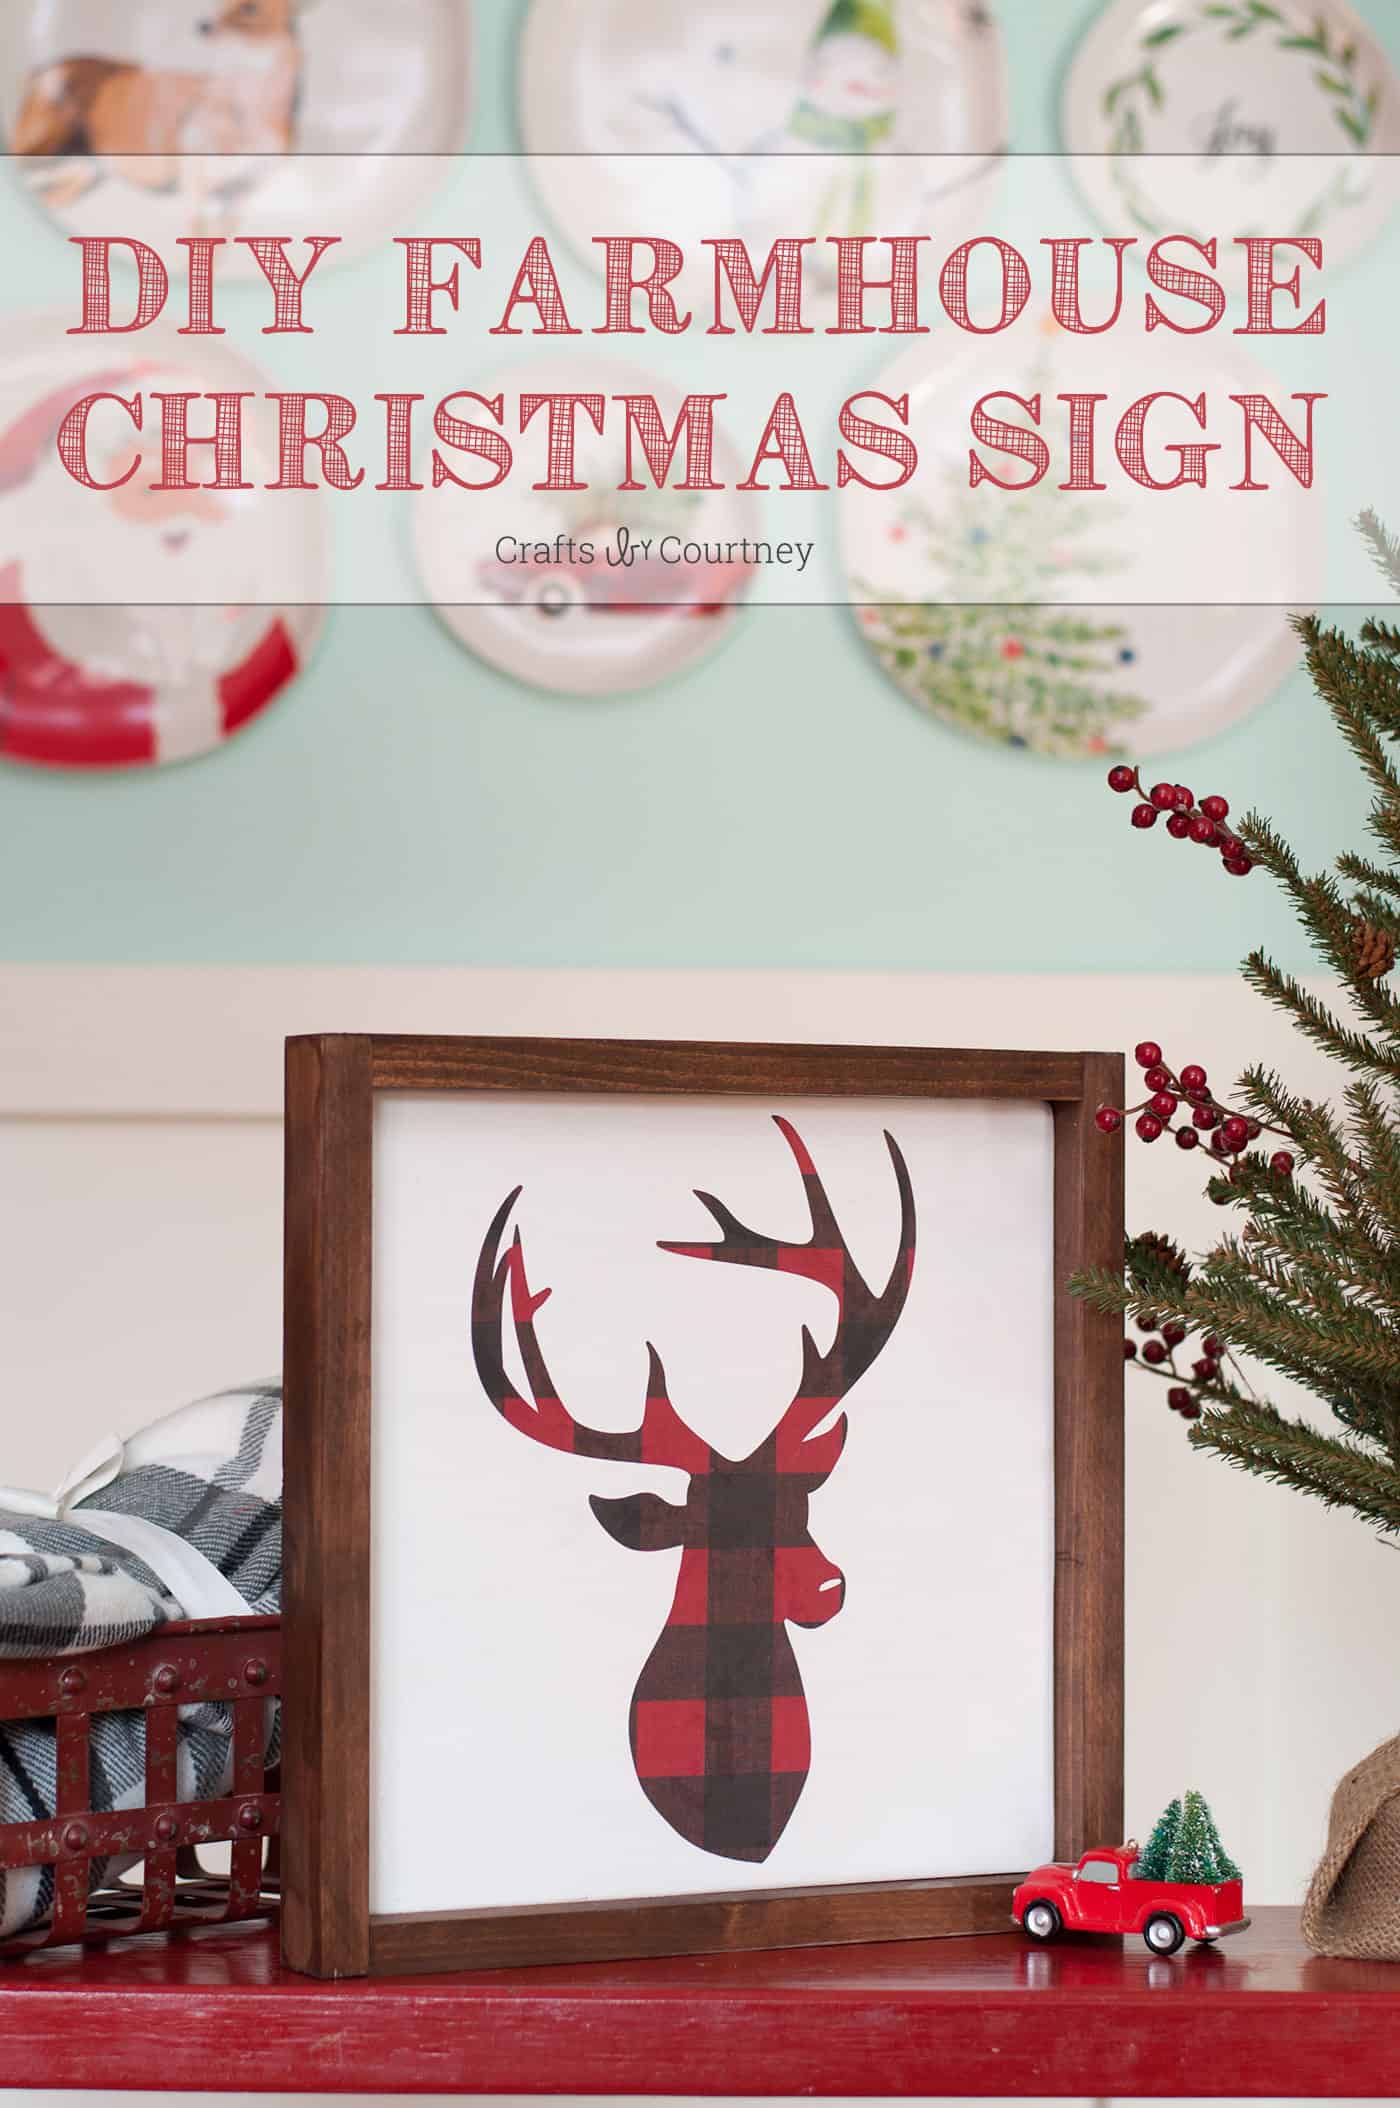
Creating holiday wall decor is one of my favorite ways to get into the festive spirit, and a farmhouse style sign has been on my crafting bucket list for ages.
There’s just something magical about transforming a piece of wood into something that not only adds charm to your space but also sets the tone for the season.
After wrapping up a “Give Thanks” sign recently, I couldn’t resist using the extra wood I had left to dive into a Christmas project.
Enter this buffalo plaid DIY Christmas sign – a perfect blend of cozy farmhouse vibes and a dash of holiday whimsy!
If you’re like me and love adding a touch of personality to your holiday mantel, wall, or even an entryway table, this project is for you. Plus, who doesn’t love the versatility of a deer head design?
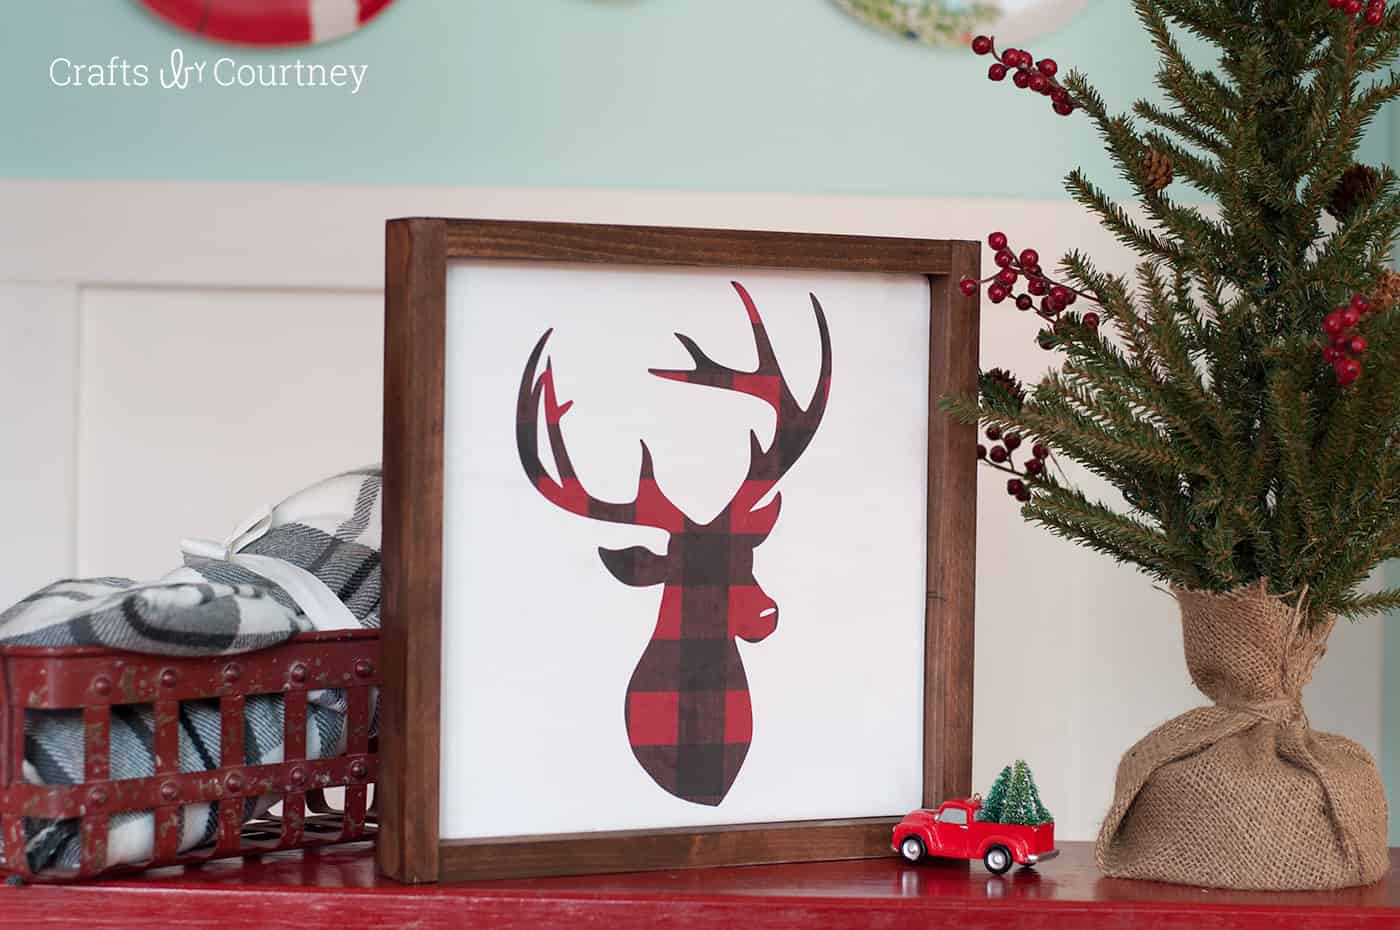
Last year, I played with a scrapbook paper version, but this time, I wanted to take it up a notch with a farmhouse twist that’s perfect for rustic holiday decor or even a gift idea for someone who adores handmade charm.
Ready to spread some holiday cheer? Let’s make a Christmas sign that will have everyone asking where you got it – because nothing beats the satisfaction of saying, “I made it myself!” Keep reading for the full tutorial and tips to make this wood craft your own.
Gather These Supplies
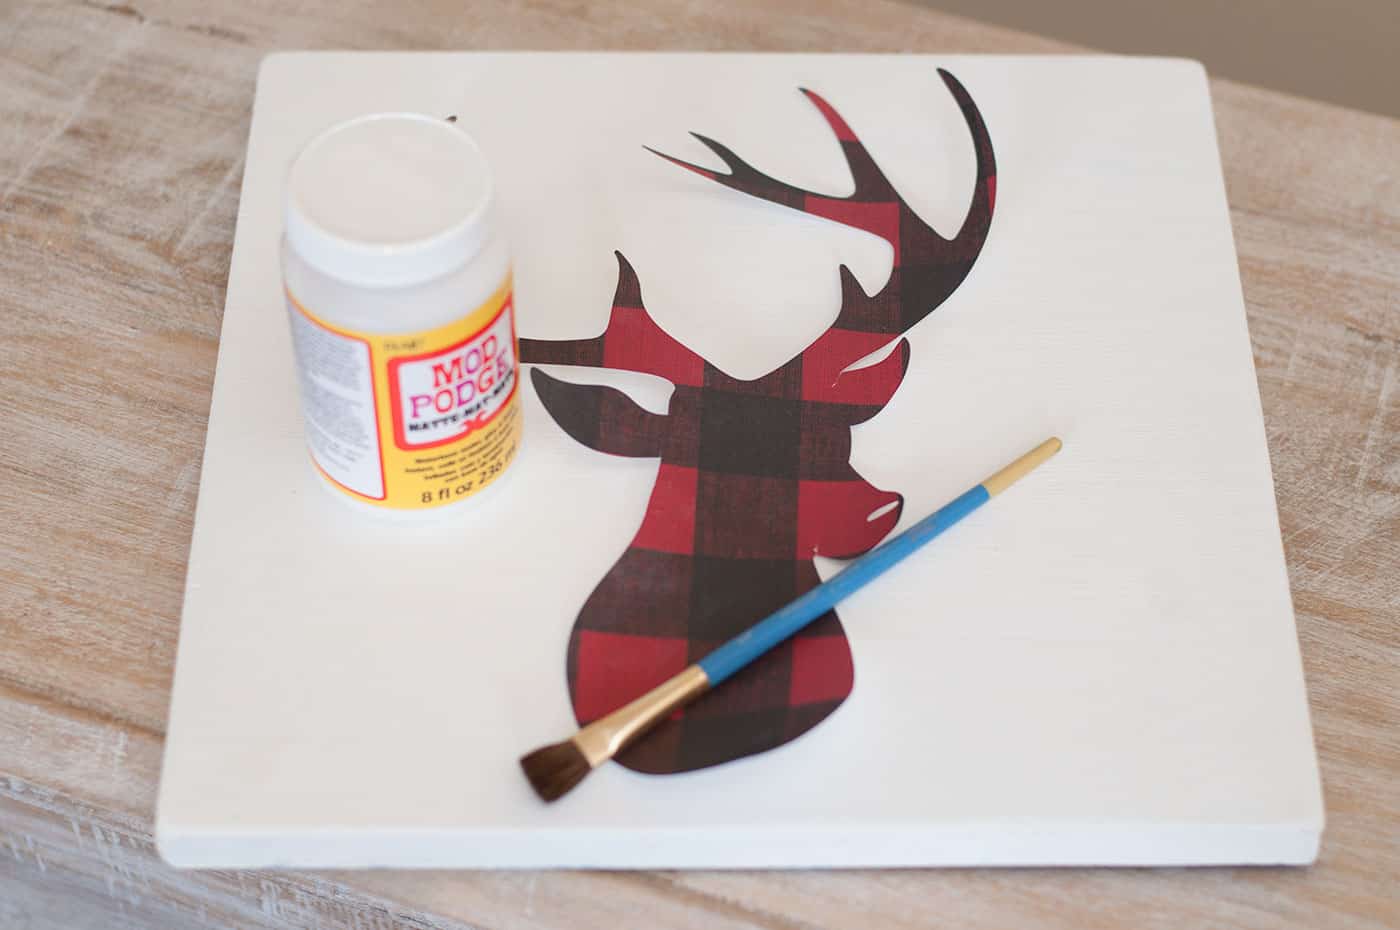
- Mod Podge Matte
- 12 x 12 wood square
- Wood trim – 60″
- Acrylic paint – white
- Wood stain – brown
- Plaid scrapbook paper
- Sandpaper
- Paintbrush
- Rags
- Stencil
- Scissors or die cutter
- Table saw
- Nail gun
Let’s get crafting!!
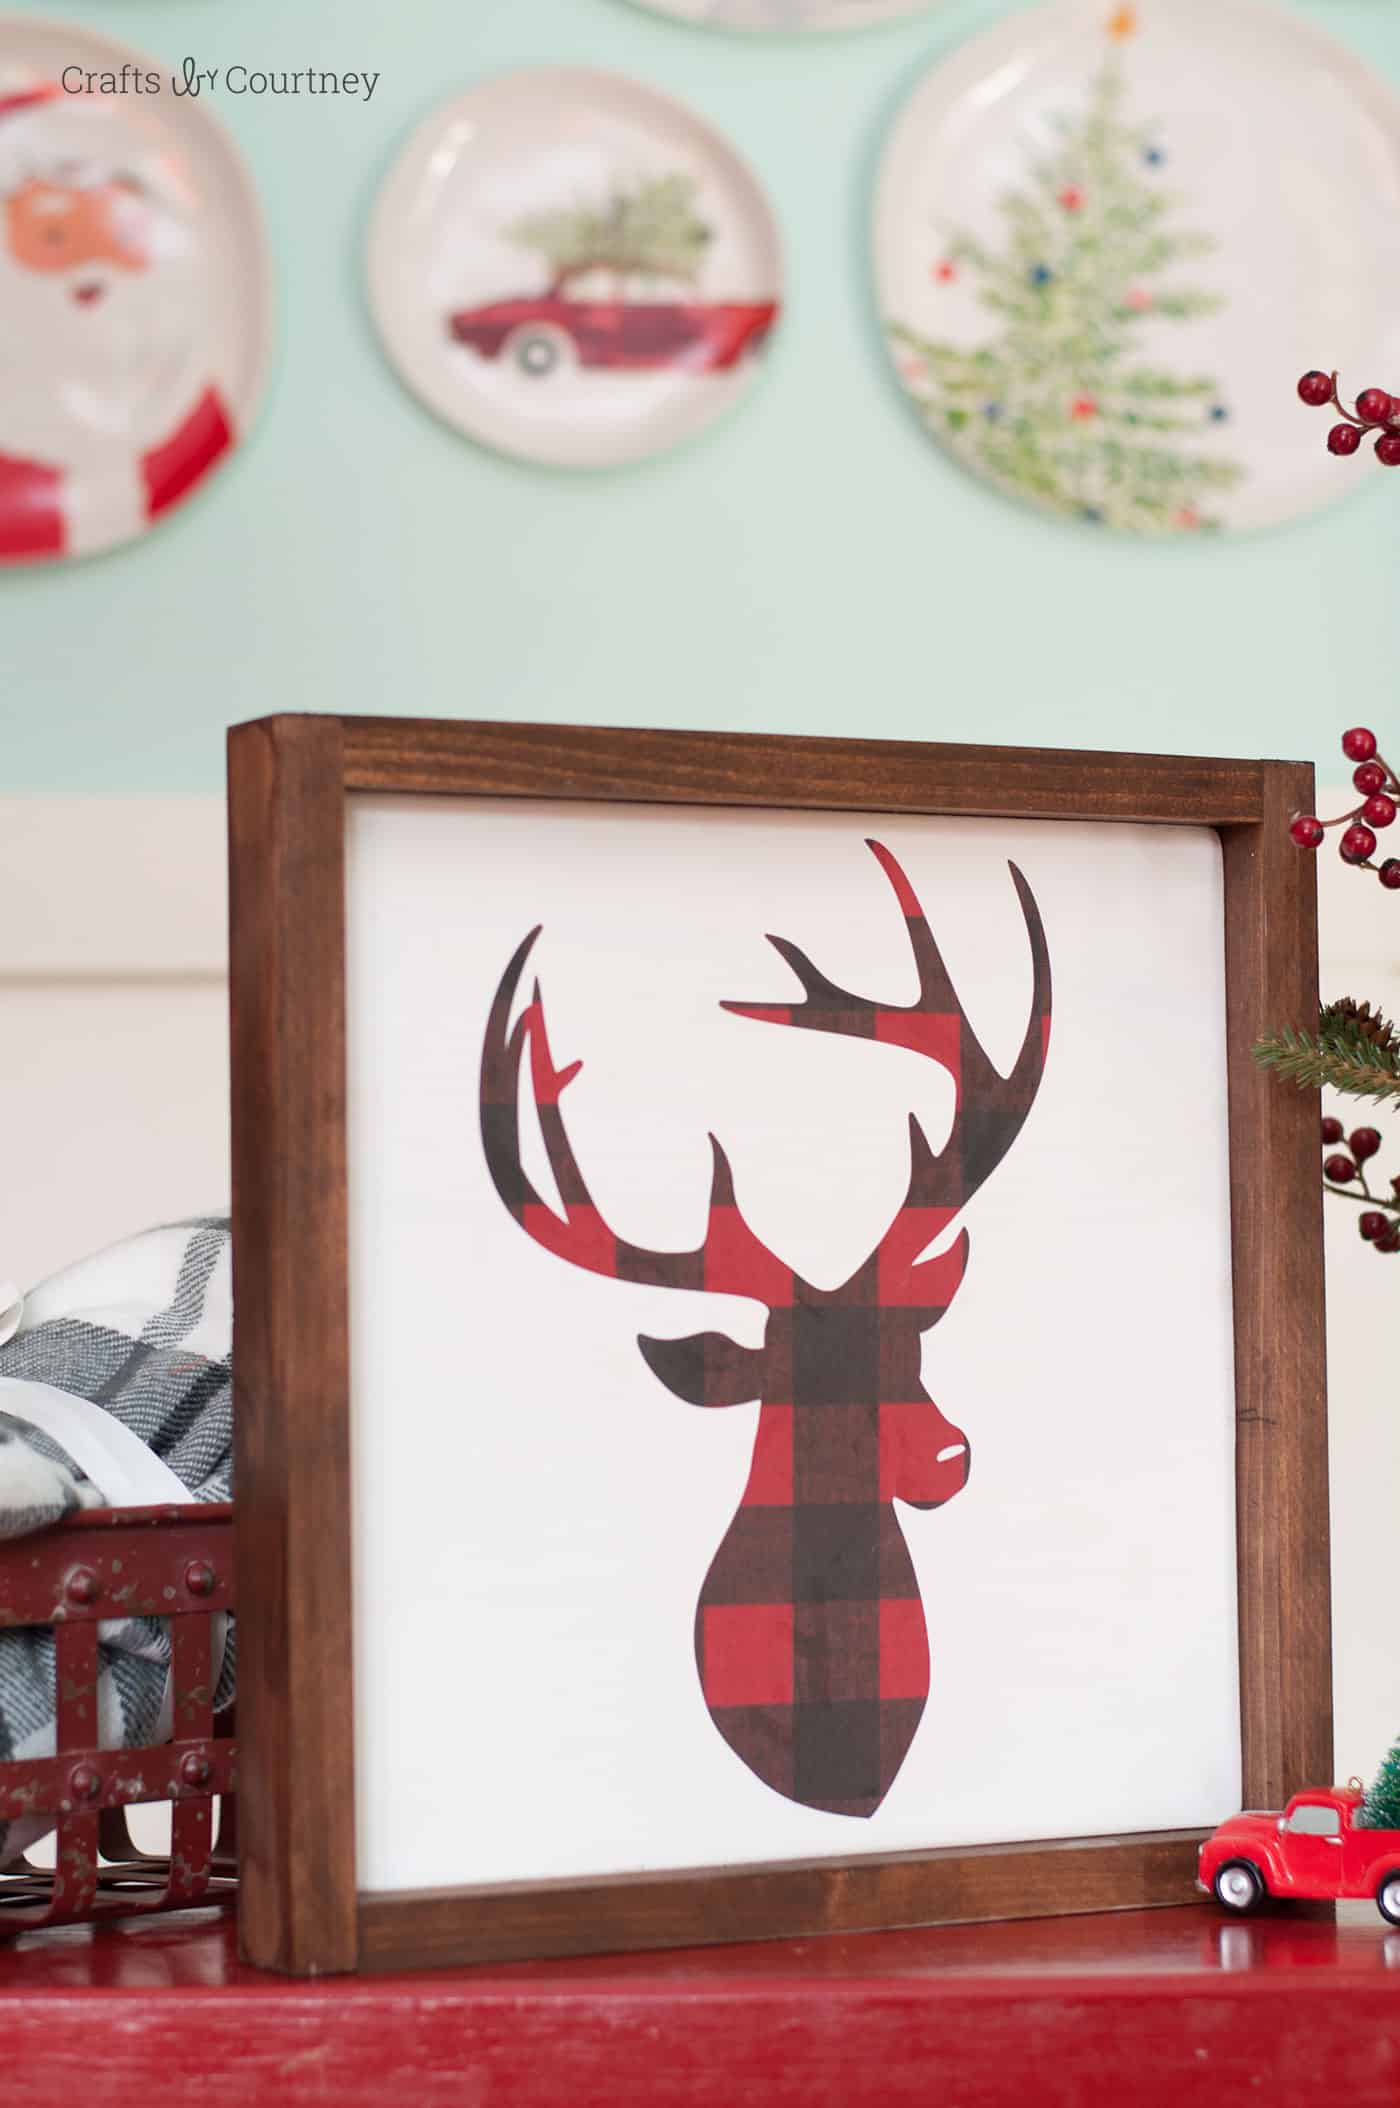
I am so HAPPY with how my sign turned out!! Seriously – I think it’s in my top 5 favorite posts for this year. I definitely plan on making some more signs like this for the house.
Plus, this was a pretty cheap Christmas craft to make – and quick, too.
Get the printable how to card below:
DIY Farmhouse Christmas Sign
Equipment
- Rags
- Stencil
- Scissors or die cutter
- Nail gun
- Table saw
Materials
- Mod Podge Matte
- Wood square(s) 12 x 12
- Wood trim 60"
- Craft paint white
- Wood stain brown
- 1 piece Scrapbook paper plaid
- Sandpaper
Instructions
- Use a table saw to cut a piece of wood that is 12 x 12 for your base. Paint with white craft paint and let dry.
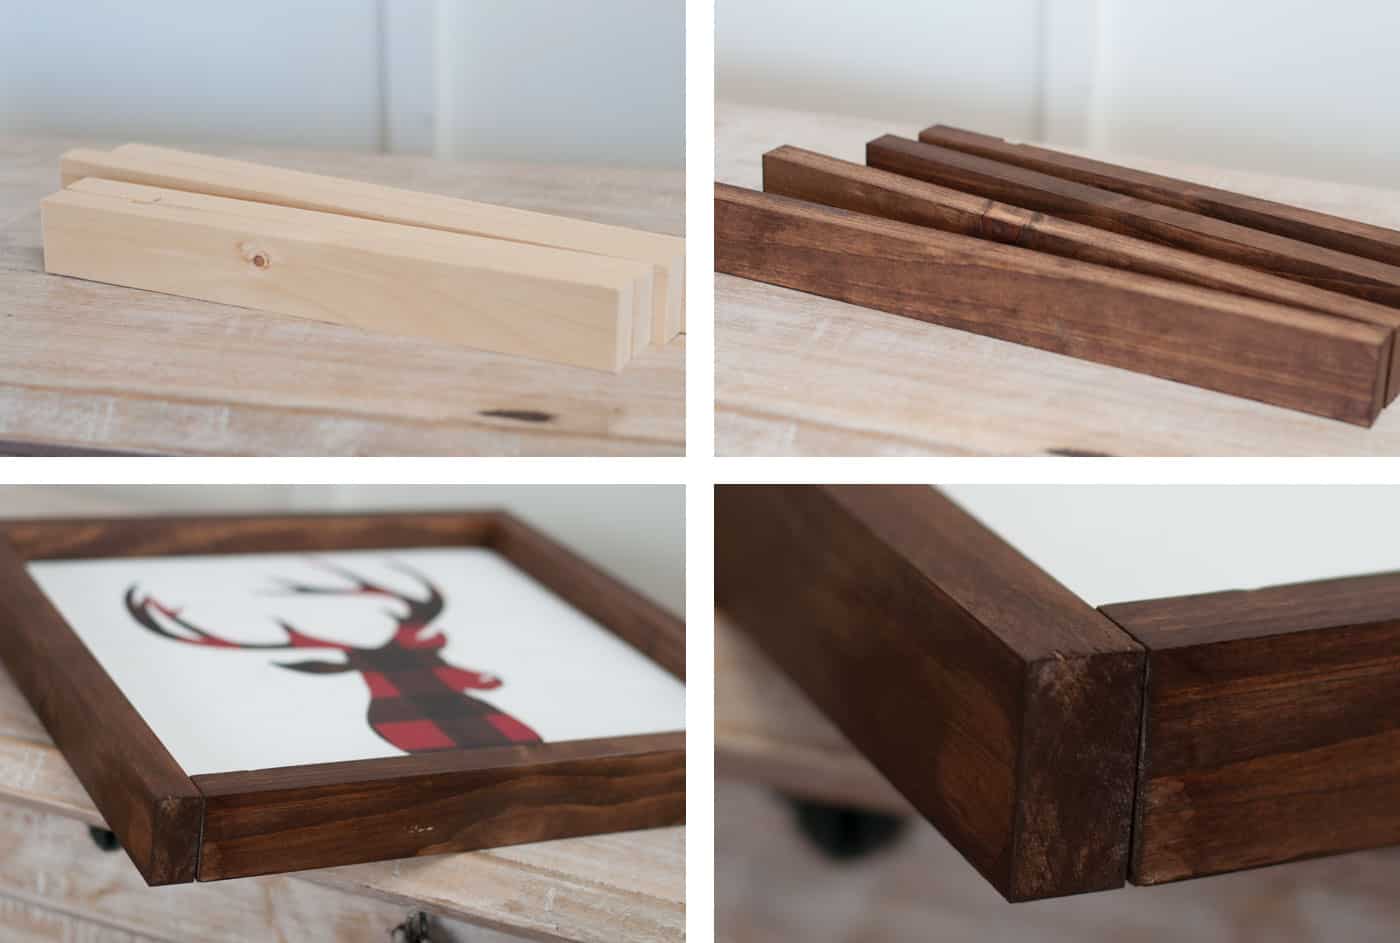
- Use a table saw to cut the wood trim to fit around the frame. Rag on stain until the pieces are covered; let dry.
- Cut a deer head shape out of scrapbook paper, either using scissors or a die cutter.
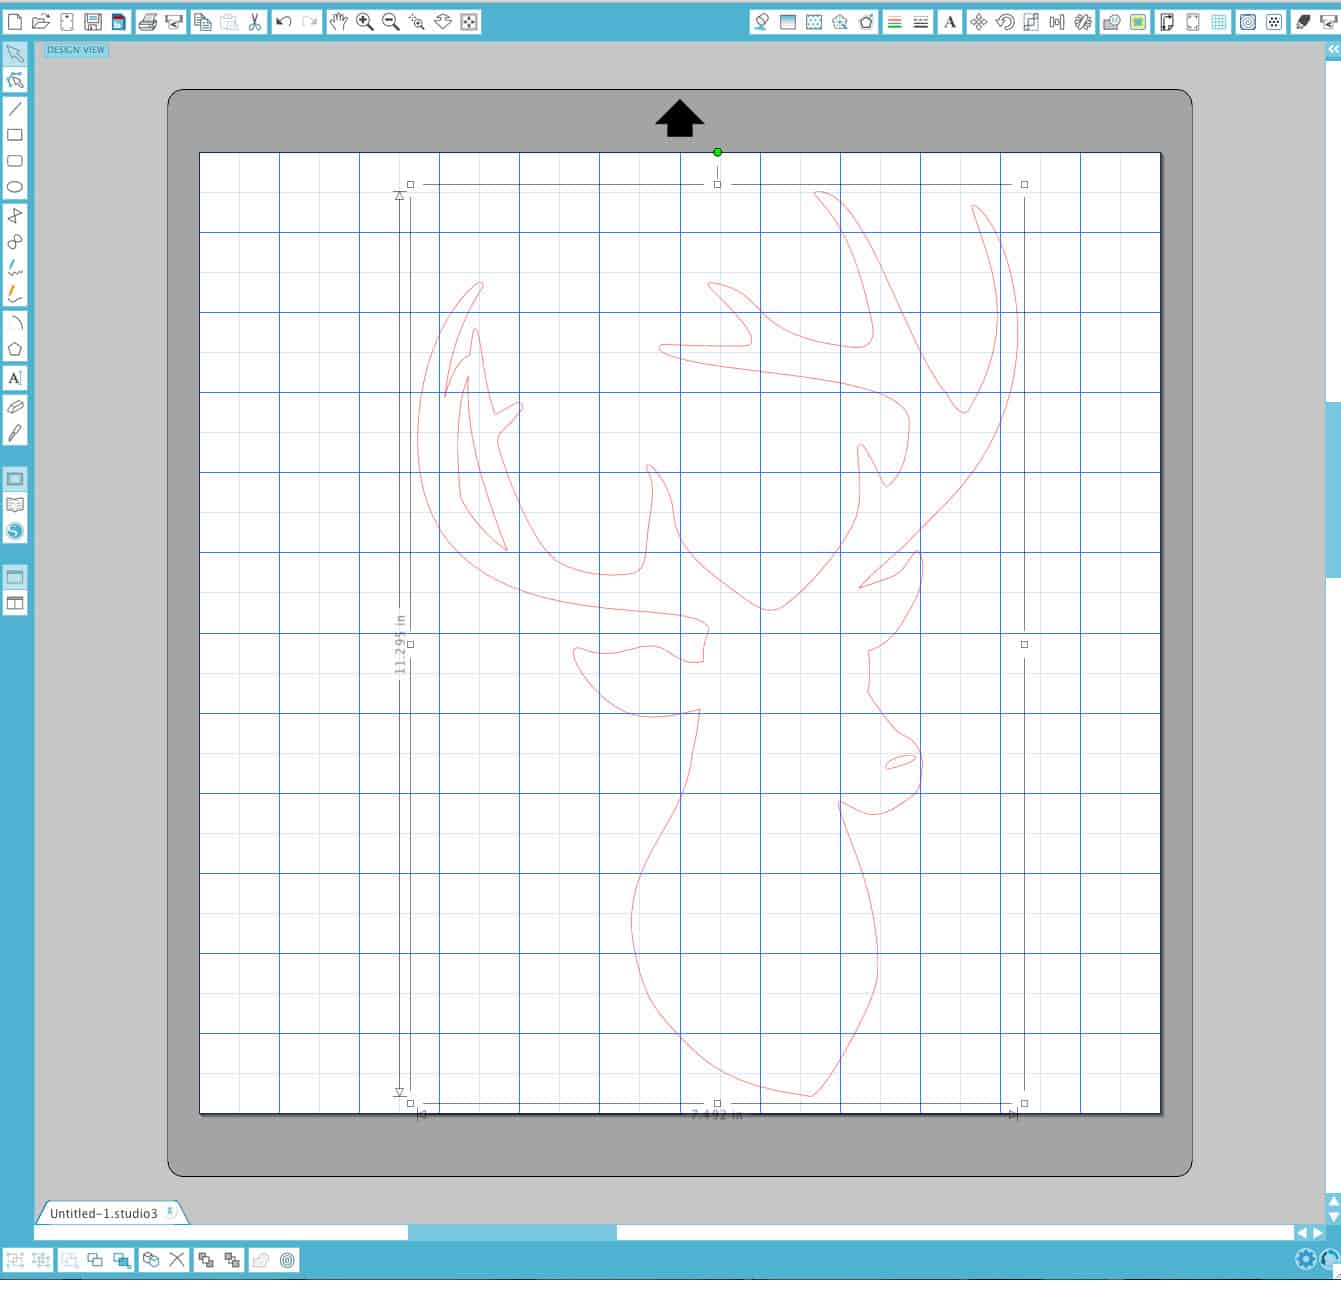
- Use Mod Podge to apply the deer head to the wood panel. Add Mod Podge to the back of the paper as well as to the wood and smooth down. Wipe away any Mod Podge that comes out from the paper. Let dry for 15 – 20 minutes.
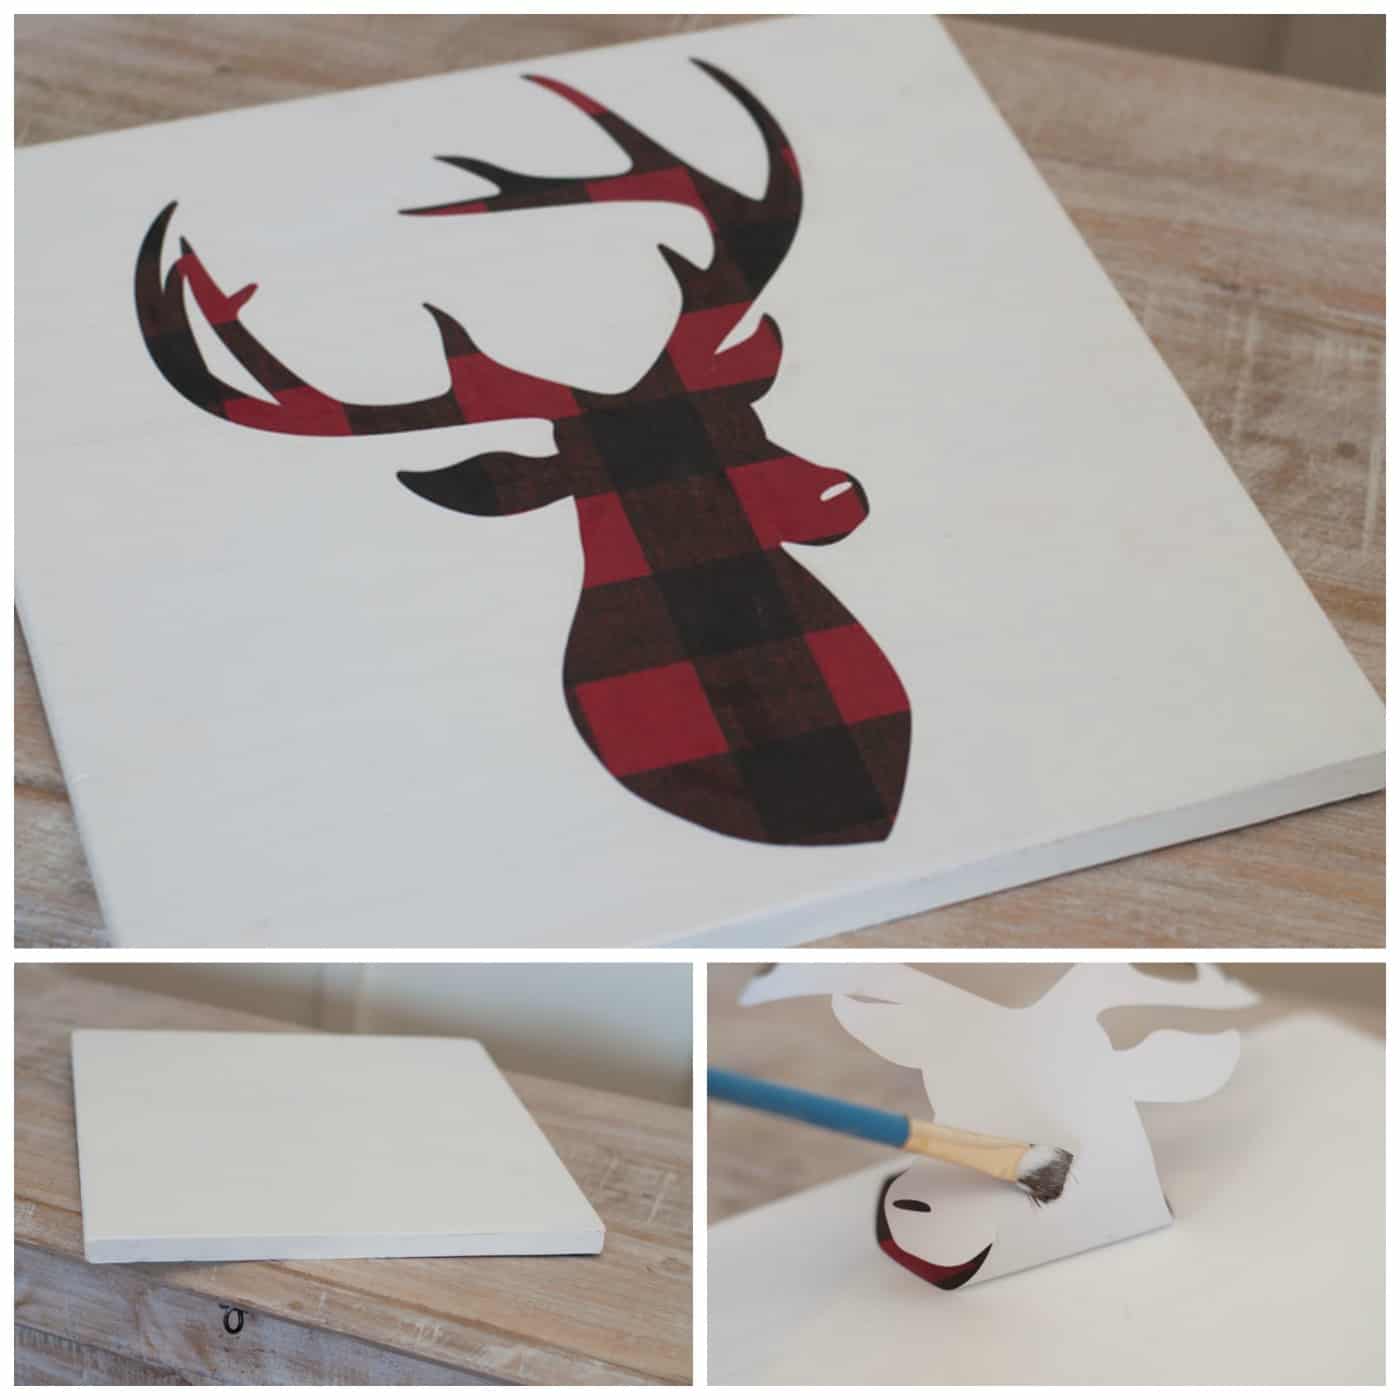
- Apply a single layer of Mod Podge over the top of your sign. Let dry.
- Use a nail gun to attach the frame around the wood base piece and finish.
If you enjoy making this sign, let me know in the comments! I hope you’ll also enjoy these other Christmas decor ideas:
Believe Wood Star • Chalkboard Trees • Countdown Chalkboard • DIY Christmas Village • Fabric Christmas Bowl • Farmhouse Door Decor • Frosted Mason Jar Luminaries • Gnome Wood Gift Tag • Hang Stockings Without a Mantel • Holiday Door Hangers • JOY Plaque • Merry Christmas Decor • Peace Wood Decor • Tree Mantel Decor • Wood Ornament Decor • Wood Trees with Book Pages





He is SO CUTE! Thank you for sharing!