
DIY Farmhouse Christmas Sign
Learn how to make this DIY Christmas sign with Mod Podge and a few other basic craft materials. Great for rustic holiday decorating!
Yield: 1 sign
Cost: $5
Equipment
- Rags
- Stencil
- Scissors or die cutter
- Nail gun
- Table saw
Materials
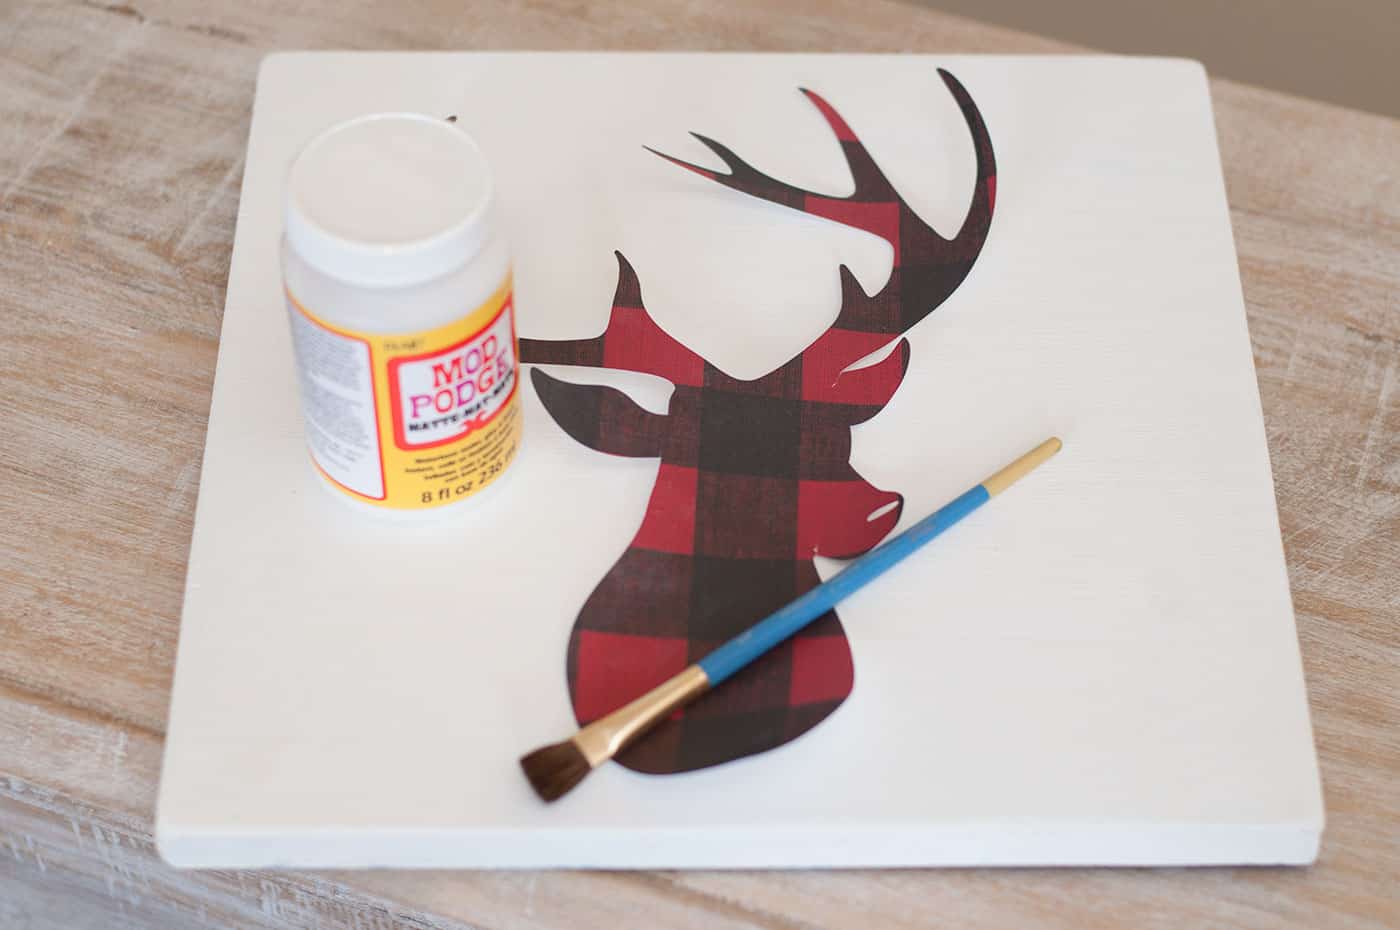
- Mod Podge Matte
- Wood square(s) 12 x 12
- Wood trim 60"
- Craft paint white
- Wood stain brown
- 1 piece Scrapbook paper plaid
- Sandpaper
Instructions
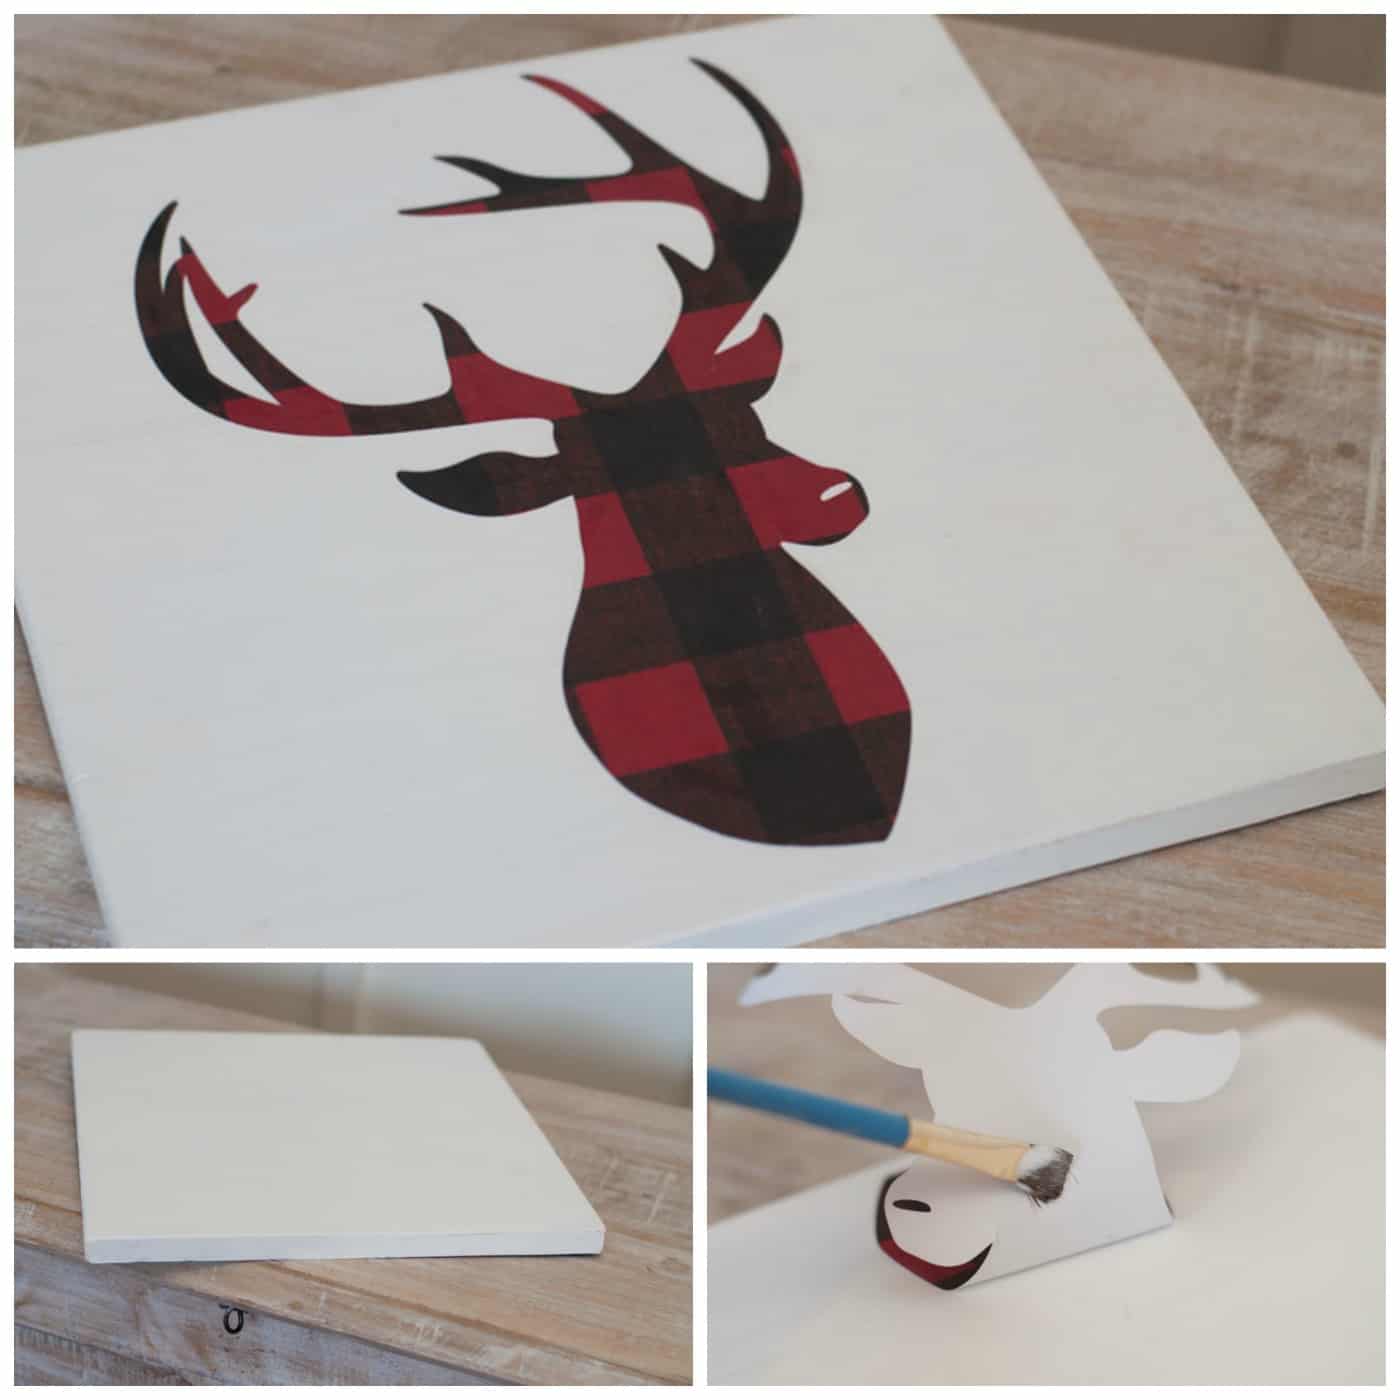
- Use a table saw to cut a piece of wood that is 12 x 12 for your base. Paint with white craft paint and let dry.
- Use a table saw to cut the wood trim to fit around the frame. Rag on stain until the pieces are covered; let dry.
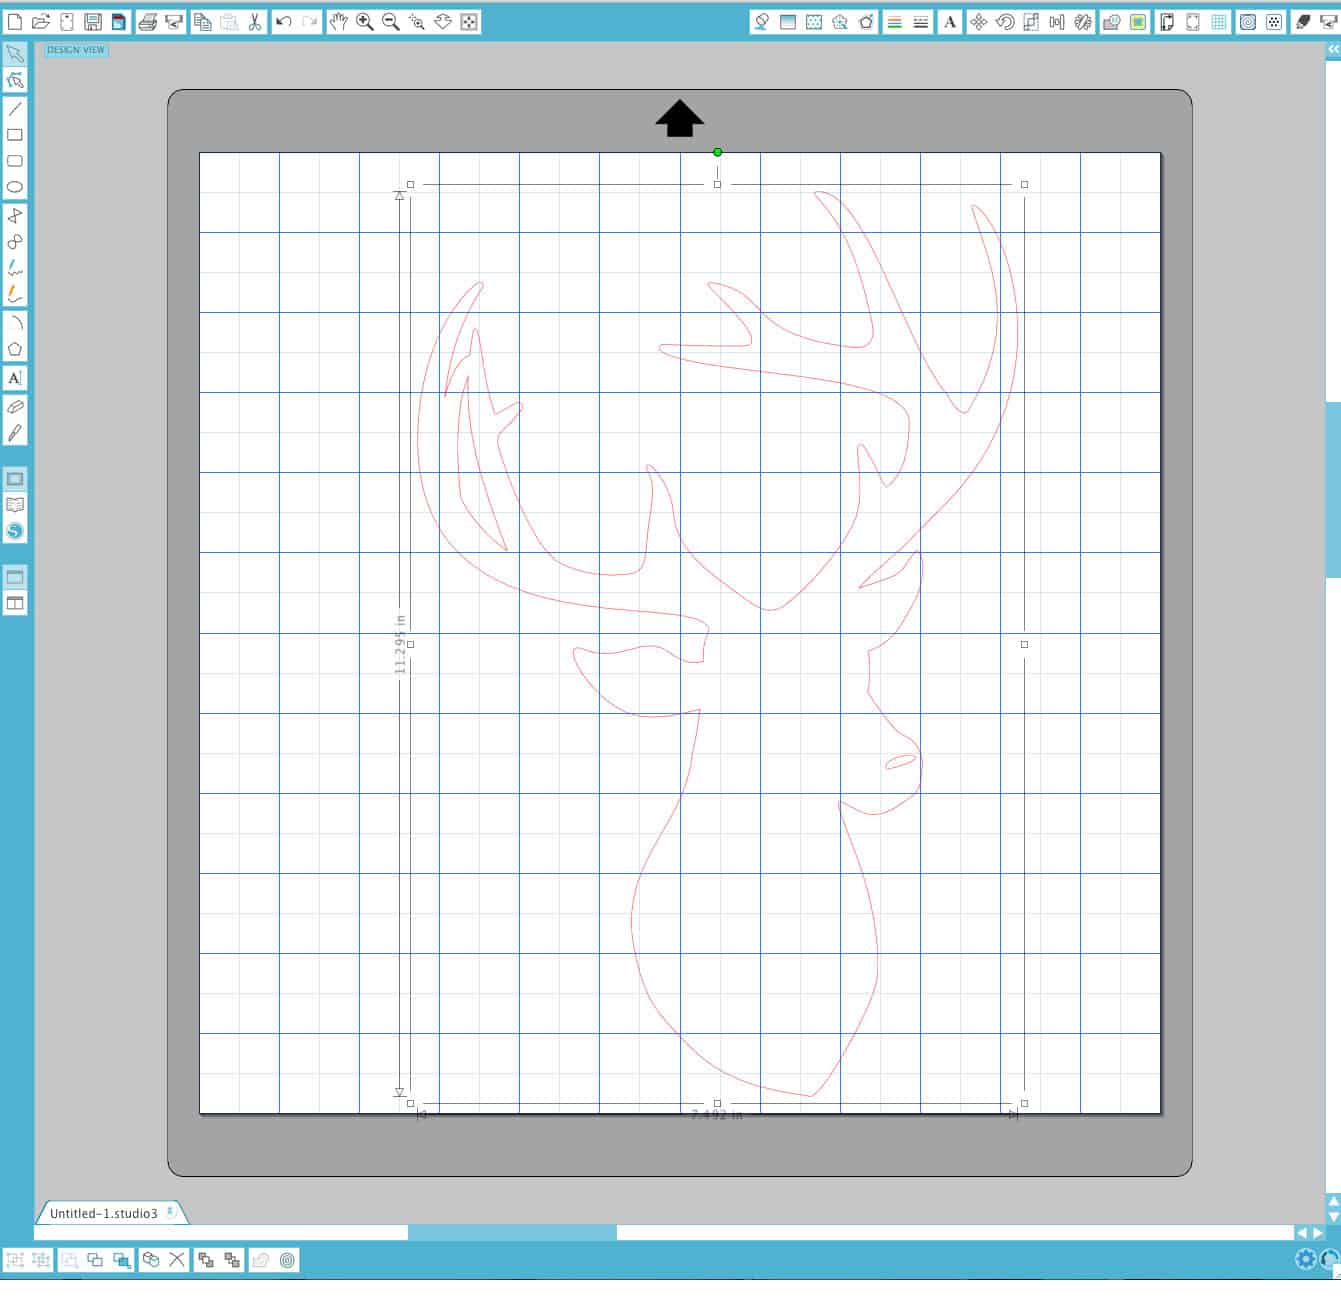
- Cut a deer head shape out of scrapbook paper, either using scissors or a die cutter.
- Use Mod Podge to apply the deer head to the wood panel. Add Mod Podge to the back of the paper as well as to the wood and smooth down. Wipe away any Mod Podge that comes out from the paper. Let dry for 15 - 20 minutes.
- Apply a single layer of Mod Podge over the top of your sign. Let dry.
- Use a nail gun to attach the frame around the wood base piece and finish.
