Use old book pages, scrapbook paper, and Mod Podge to make a DIY photo mat. This picture mat is easy to customize for your decor.
Skills Required: None. You’ll be applying smaller pieces of paper to a photo mat with Mod Podge. Allowing proper dry time should help you avoid any wrinkles.
Embarking on a home decor project can bring to mind visions of workshops, advanced tools, and perhaps a touch of wizardry to bring it all together. Yet, here I am, about to flip that script with something so wonderfully simple, yet undeniably charming: a DIY photo mat.
This isn’t just any run-of-the-mill frame-up for your cherished memories; it’s a journey into the heart of creativity using items you likely have lying around. Stuff like old book pages, scraps of scrapbook paper, and, of course, the crafters’ bread and butter, Mod Podge.
The beauty of this particular project lies in its embrace of the beautifully imperfect. It’s a shout-out to all those who’ve faced a ruler and thought, “Eh, close enough.”
With a patchwork pattern that forgives and even celebrates the not-so-straight line, this DIY picture mat project is a testament to the fact that sometimes, the best results come from just having a good time with what you have.
This tutorial is tailored for everyone. You’ll be applying smaller pieces of paper to a photo mat with Mod Podge, ensuring a unique piece that’s more about expression than precision. The goal here isn’t to avoid wrinkles in your paper; it’s to embrace each crease and curve as part of the mat’s character.
This project is not just a way to spruce up your home decor on a budget; it’s a crafty call to arms for anyone looking to add a personal touch to their space without the need for expensive materials or tools.
Thrift stores and your own bookshelves might just become your new favorite shopping spots as you hunt for the perfect materials to bring your photo mat to life.
So let’s cut out the complexity and try a project that proves the best DIYs are the ones that are fun, forgiving, and full of personal flair. Ready to get started? Keep reading, and let’s craft a photo mat that’s as unique as your memories.
Here’s what you’re going to need.
Gather These Supplies
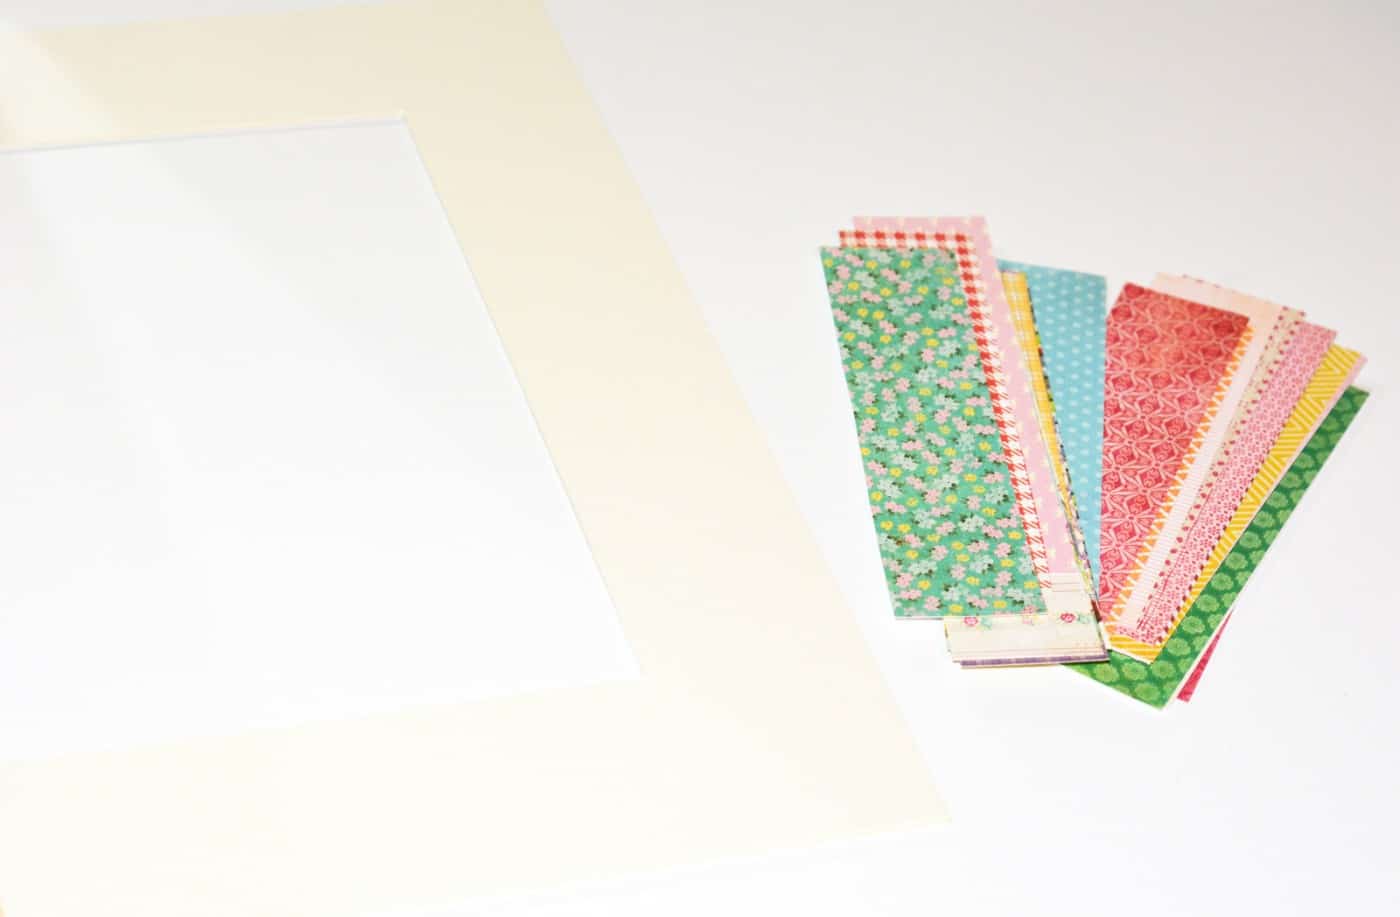
- Mat board or a pre cut mat
- Scrapbook paper, book pages, wallpaper, etc.
- Mod Podge Matte
- Ruler
- Pencil
- Paper cutter or scissors
- Frame
Tips and Thoughts for This Project
If you’re going to cut your own matboard regularly, you might want to invest in a matboard cutter. That will give you the nice beveled edge on the side of the board.
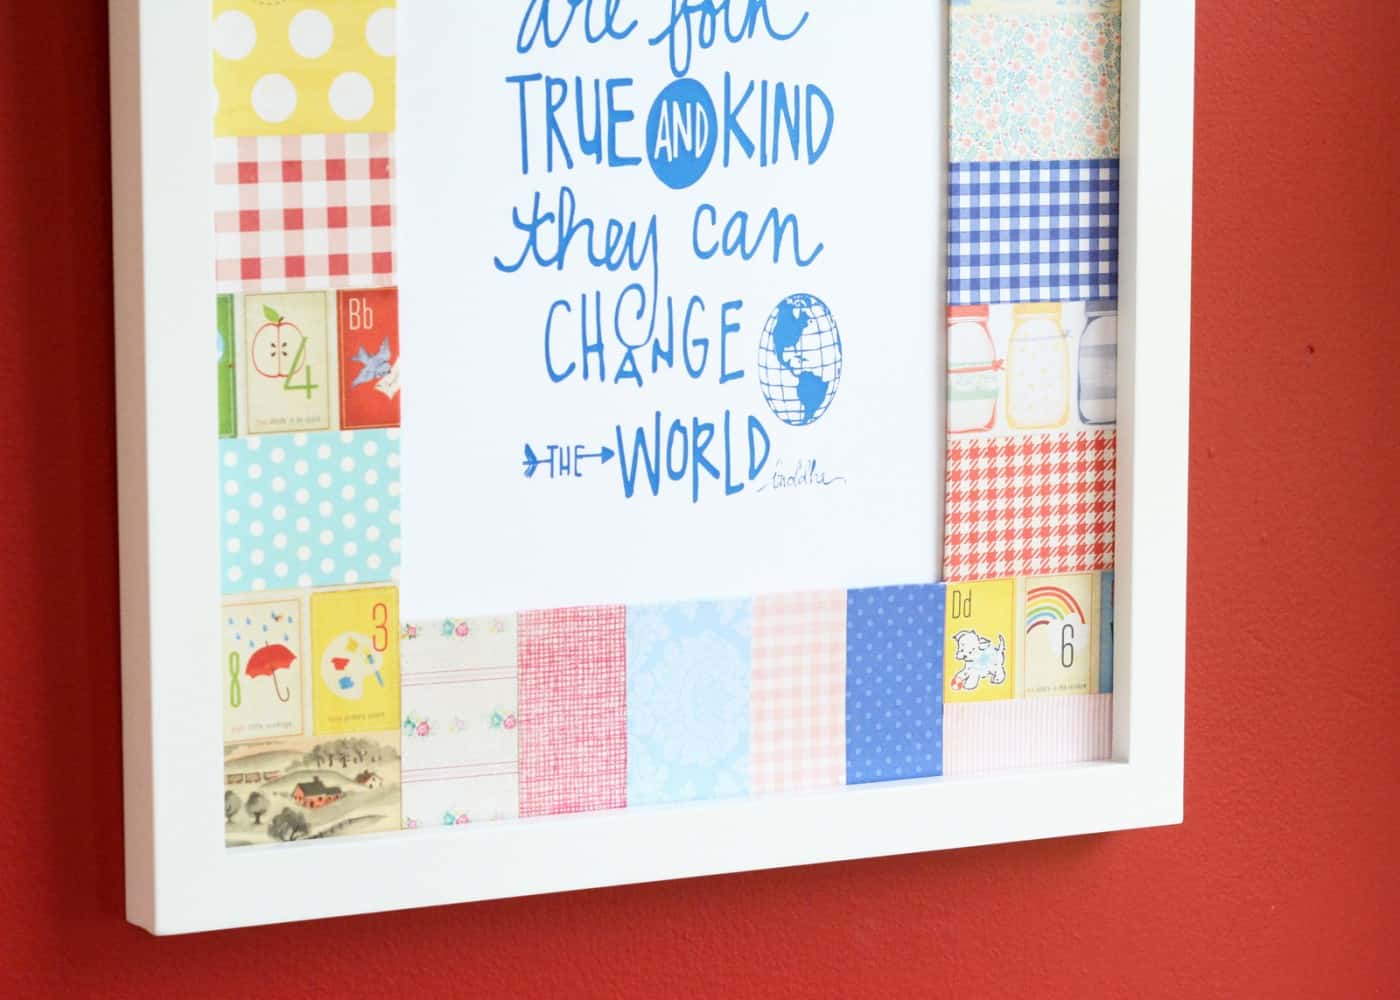
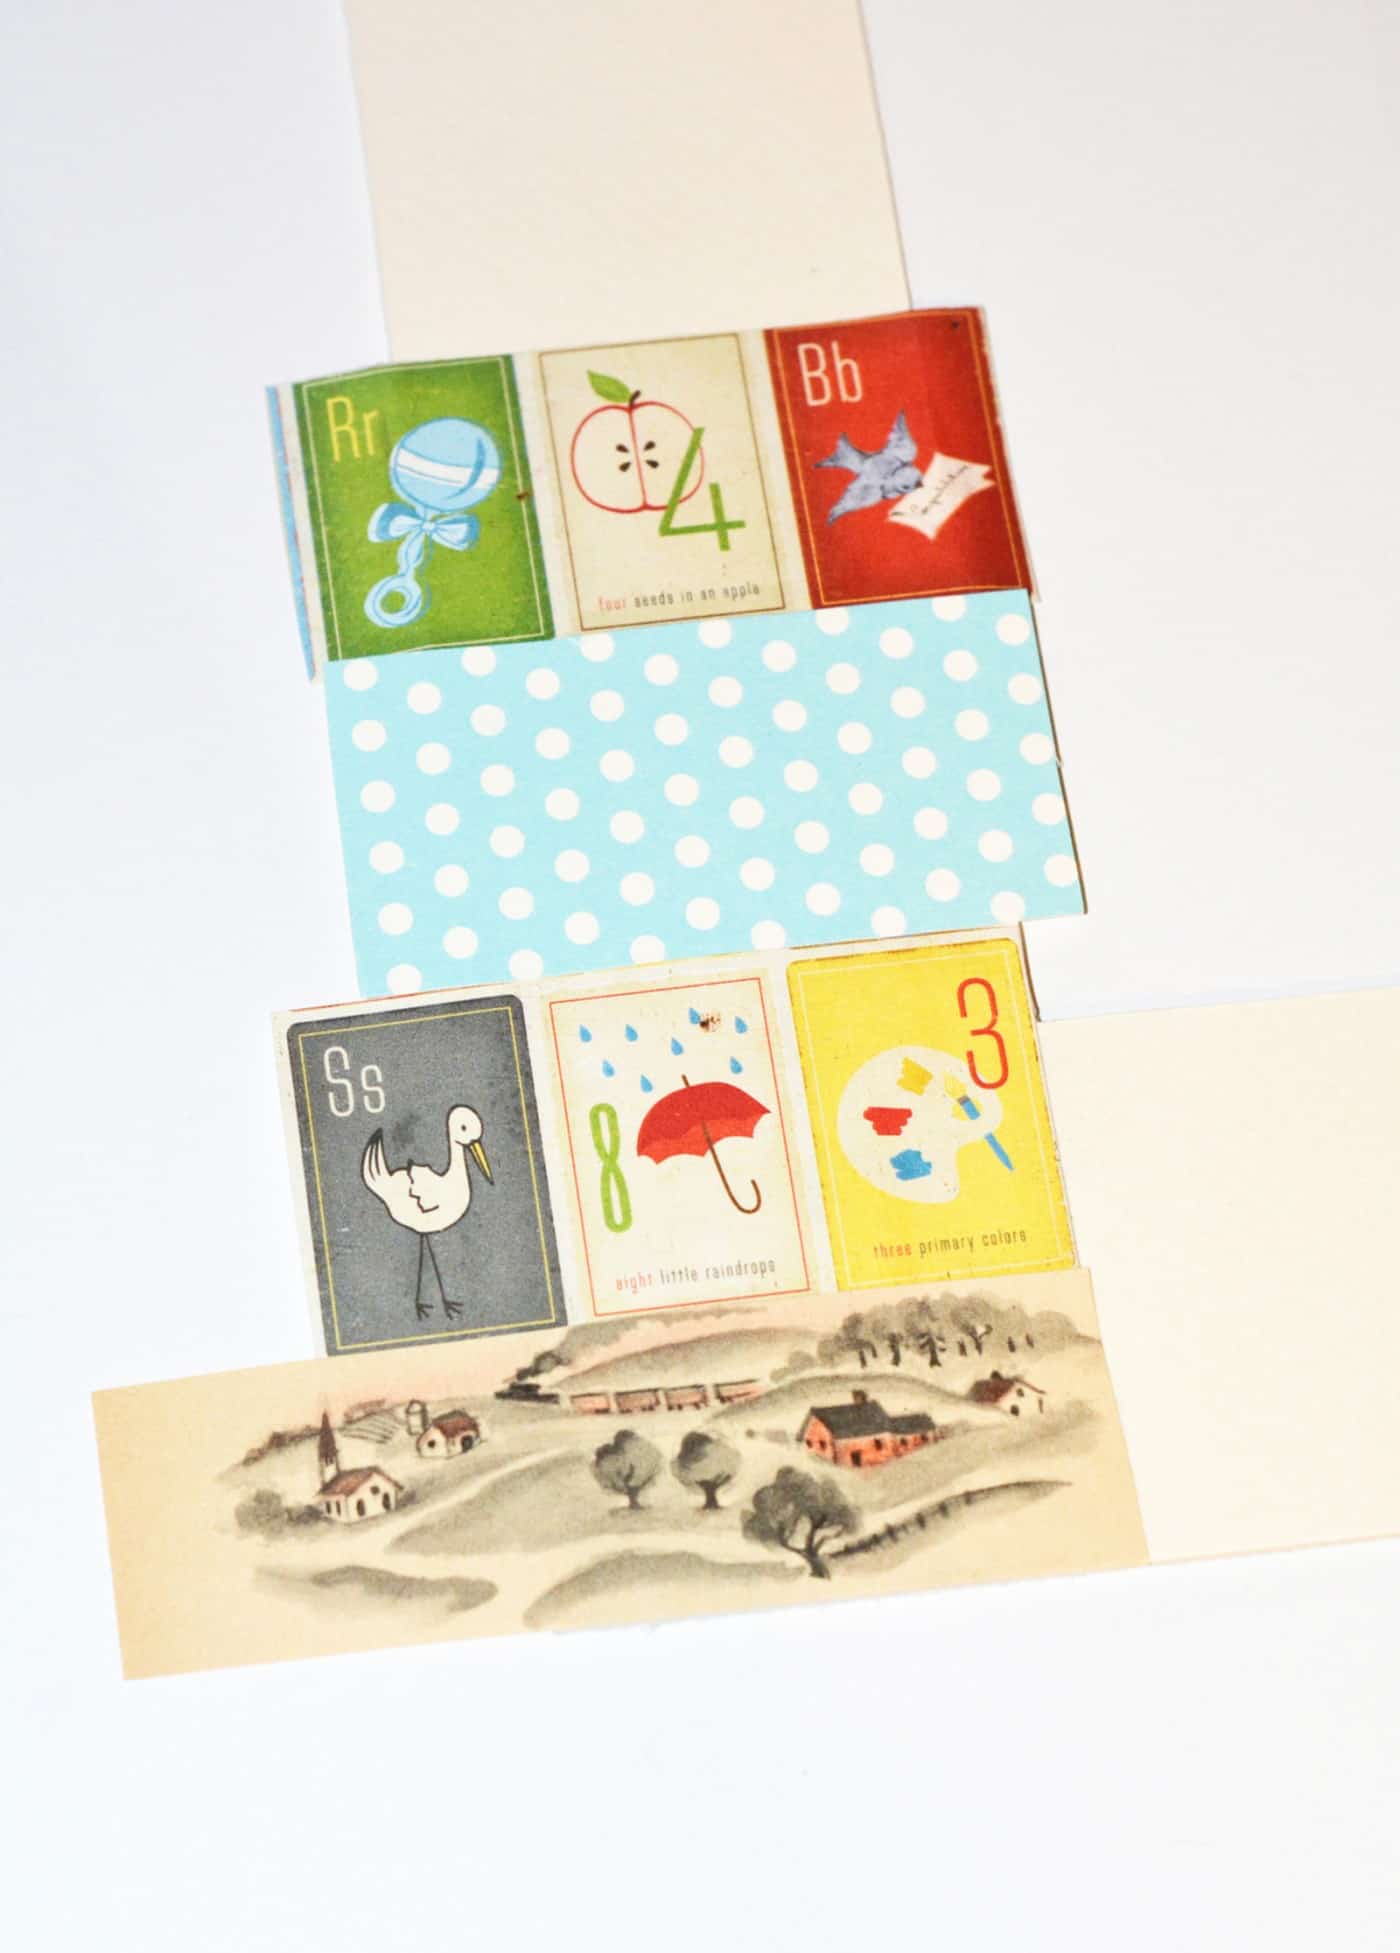
You get to decide how wide you want your paper strips. I made mine around an inch tall by about an inch longer than the width of the mat. So, each strip was approximately 1.25″ x 3.5″.
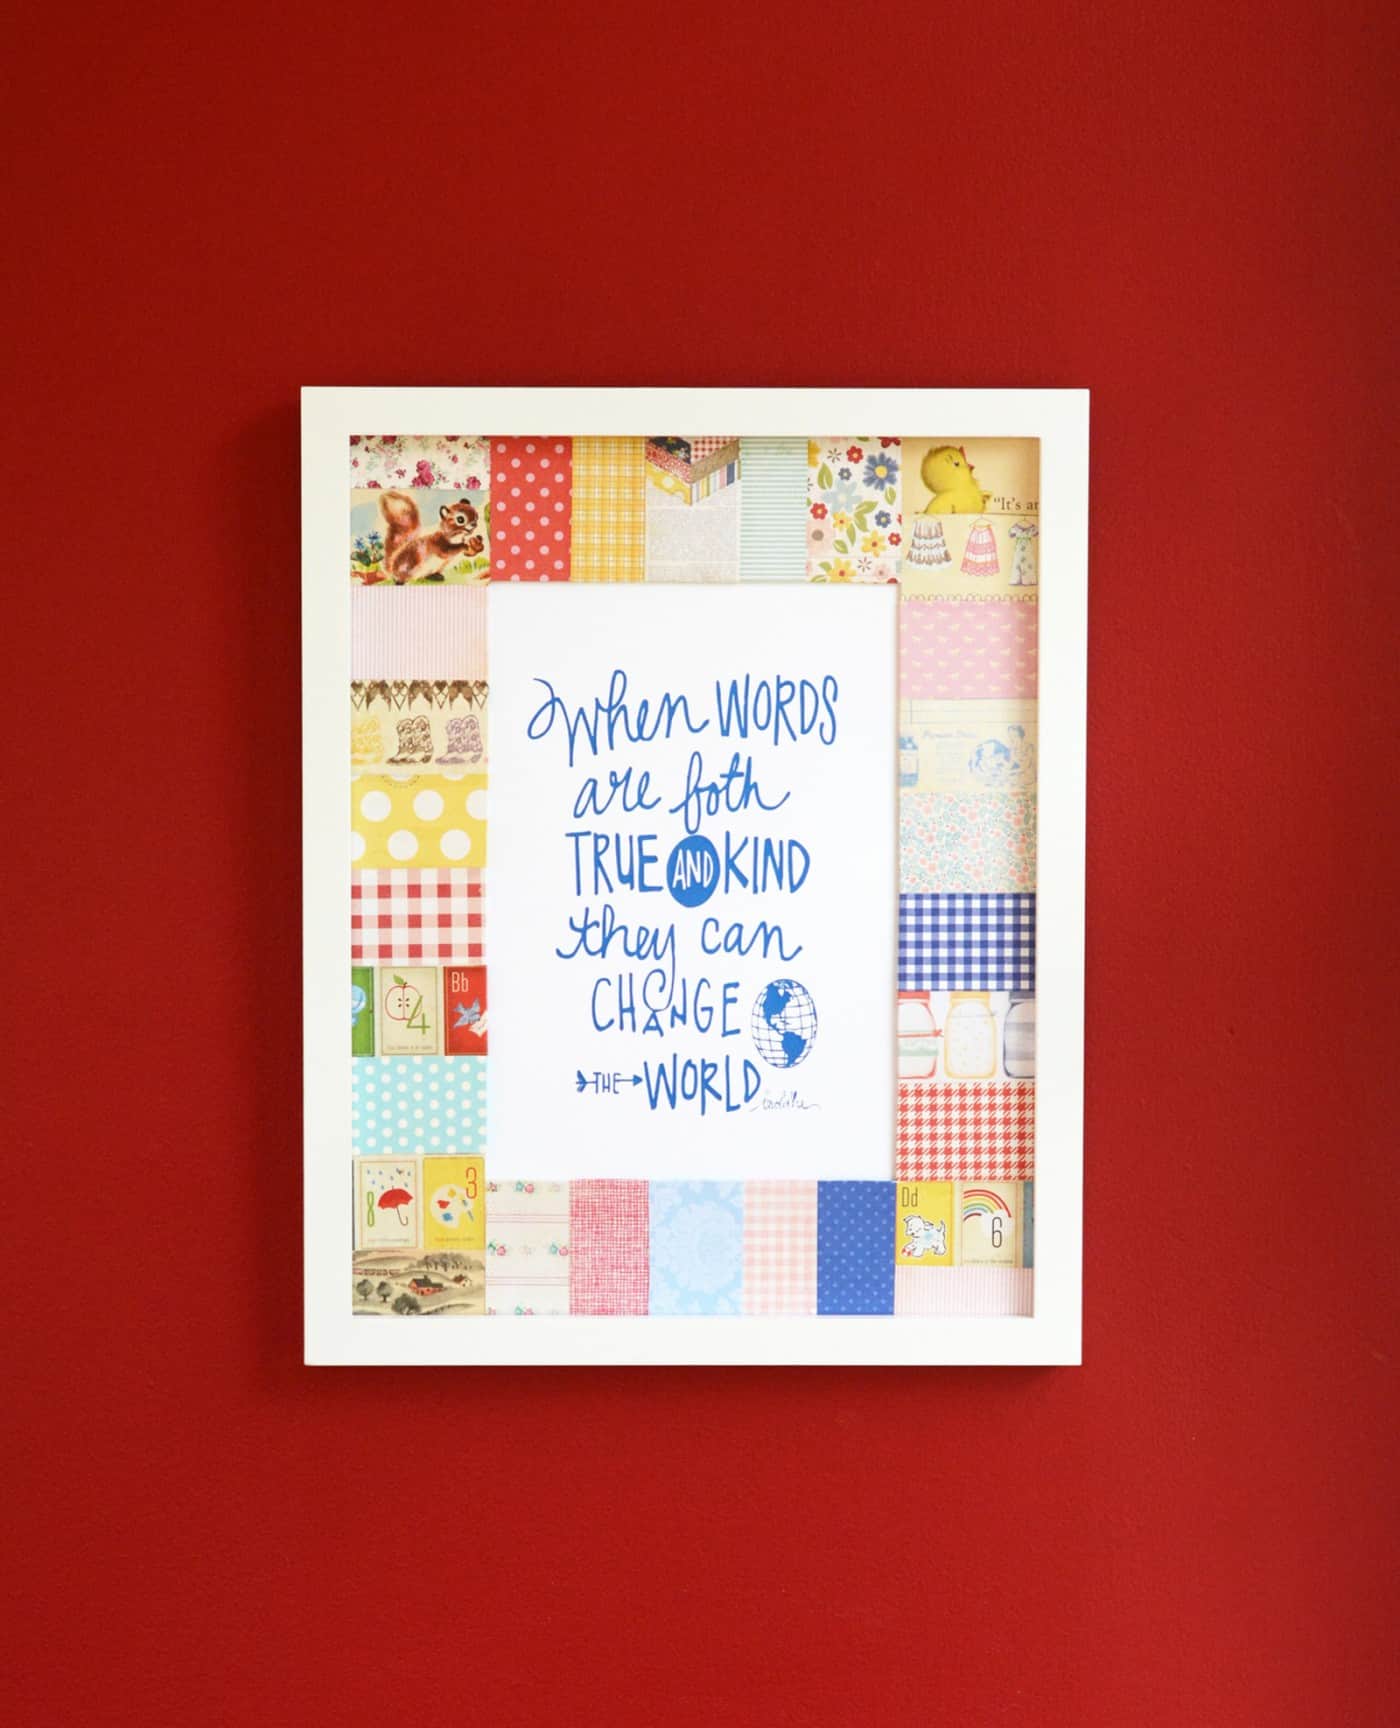
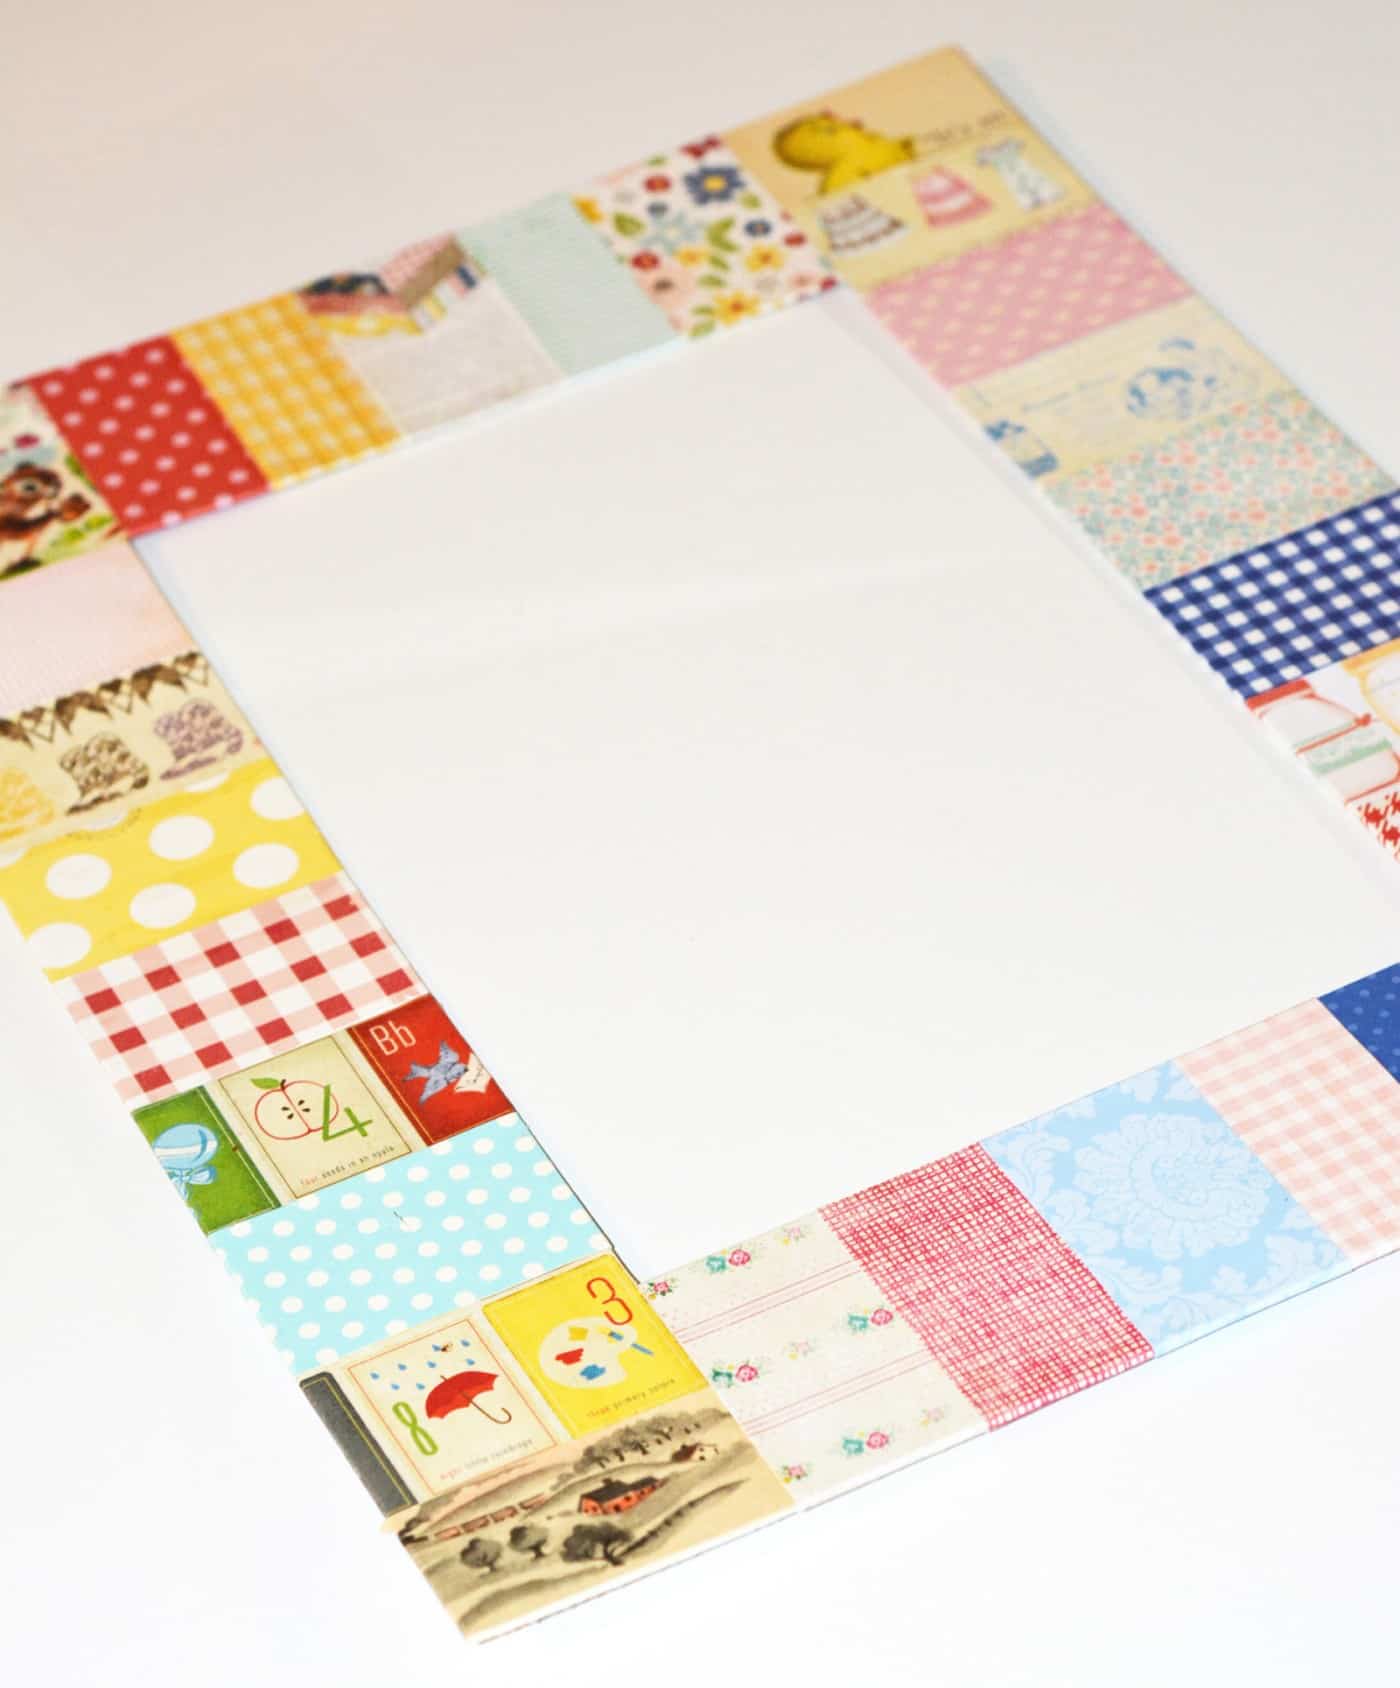
I love how my DIY picture mat turned out! It uses some of my favorite scrapbook paper scraps and some book pages from my vintage kids book scraps. The process was really fun, and didn’t take long at all.
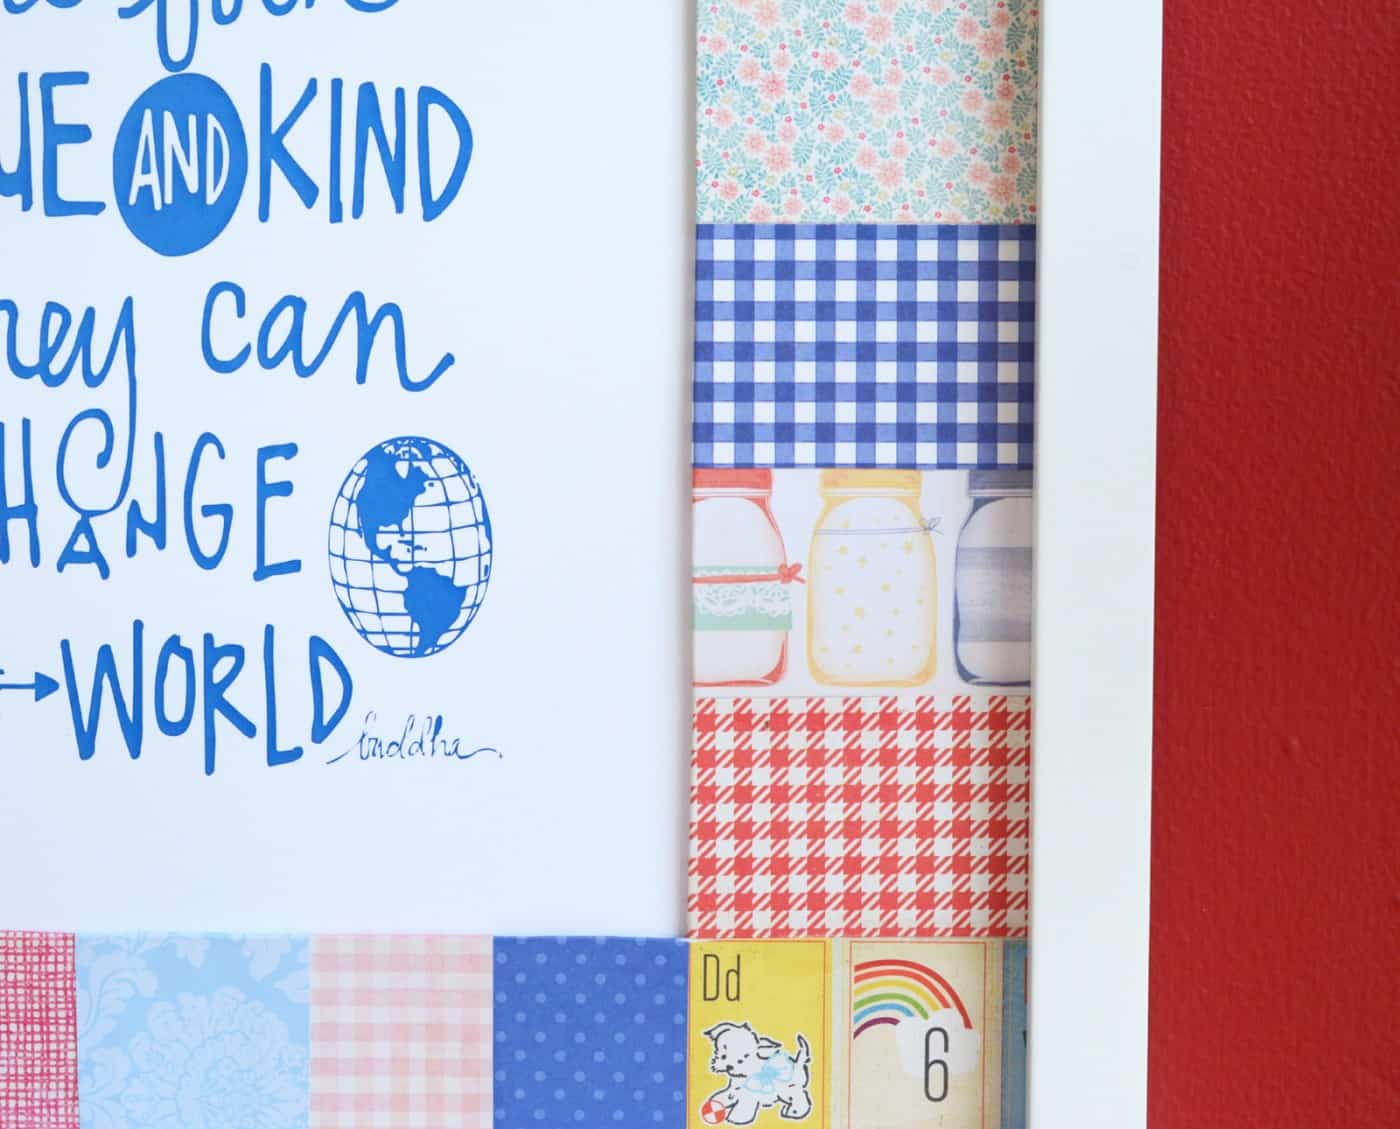
It was a little bit of work cutting all the strips, but it was fun to create the collage of them! The best thing about this project is that it is so easy to customize it to your style.
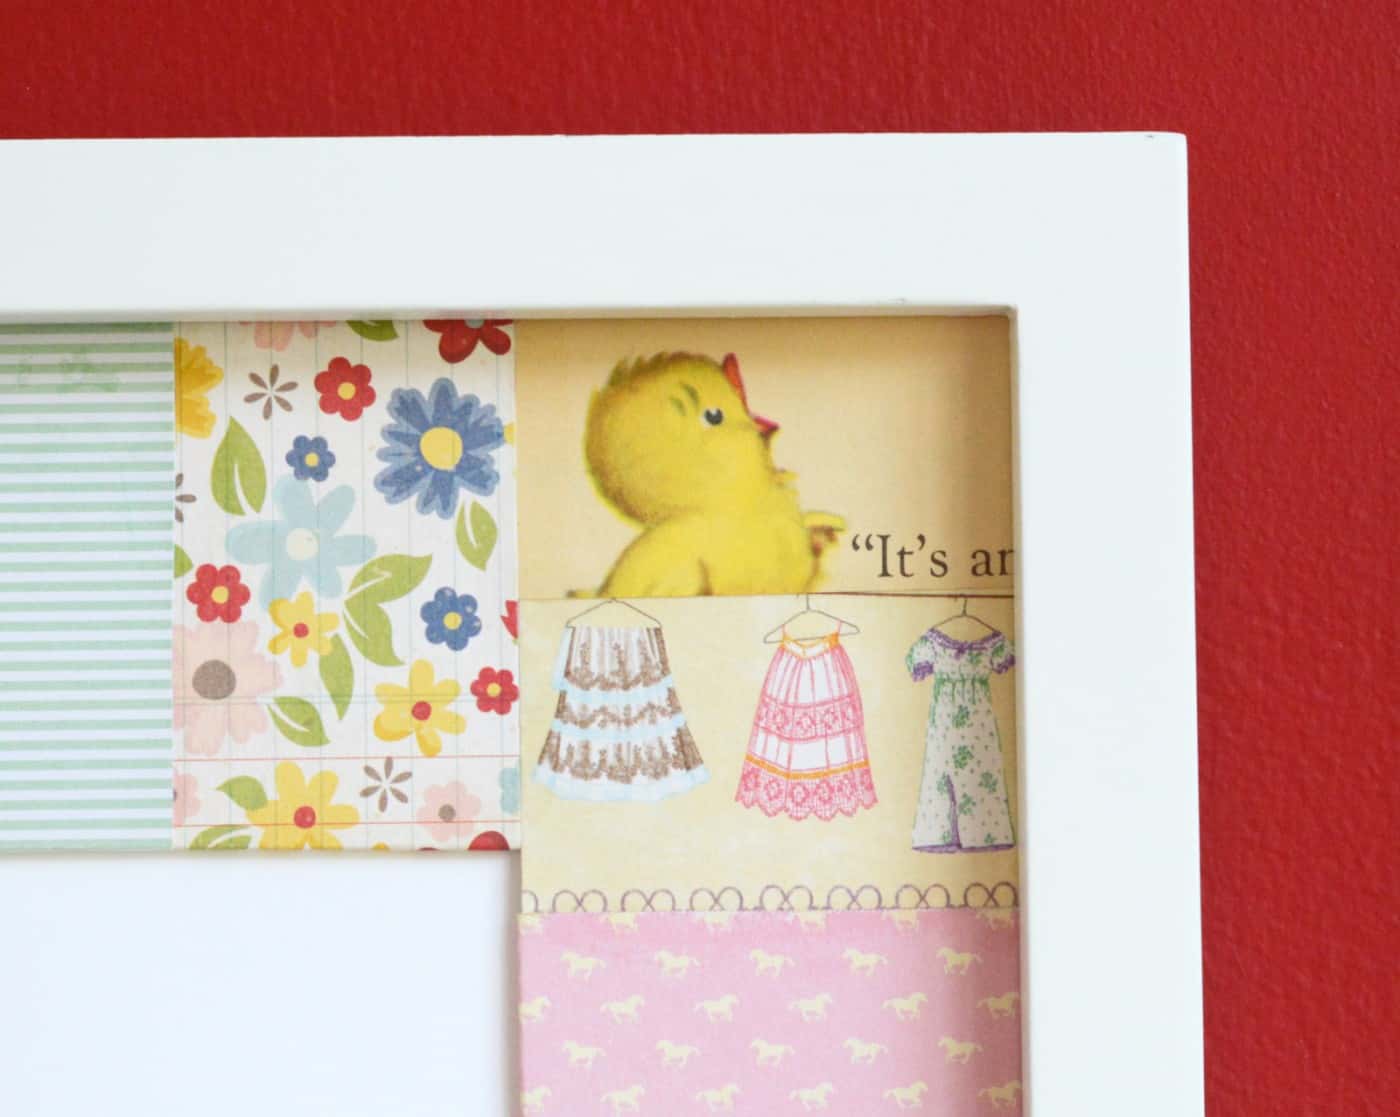
It could work for a craft room, nursery, kids’ playroom . . . get the how to card below:

DIY Photo Mat
Materials
- Mat board or a pre cut mat
- Scrapbook paper book pages, wallpaper, etc.
- Mod Podge Matte
- Frame
Instructions
- If you need to cut the mat board, measure the inside of your frame. Cut the outside of the mat board to fit the inside of your frame, and then measure in two to three inches all the way around so your borders are even. Cut out the opening to be the size you desire.
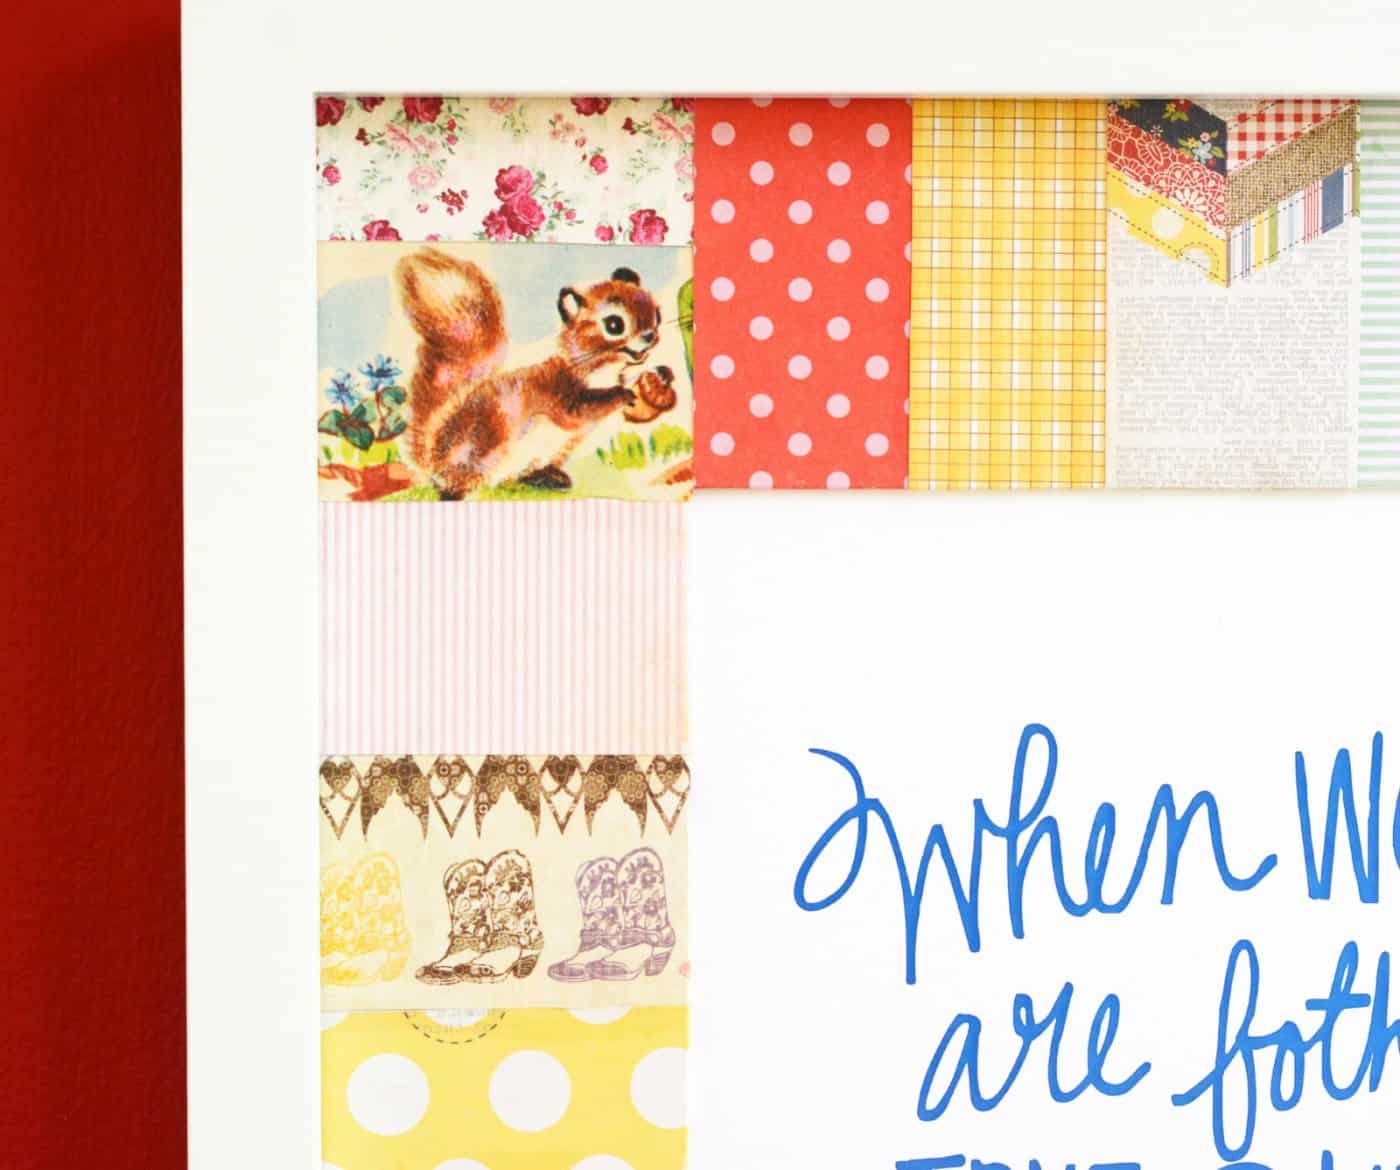
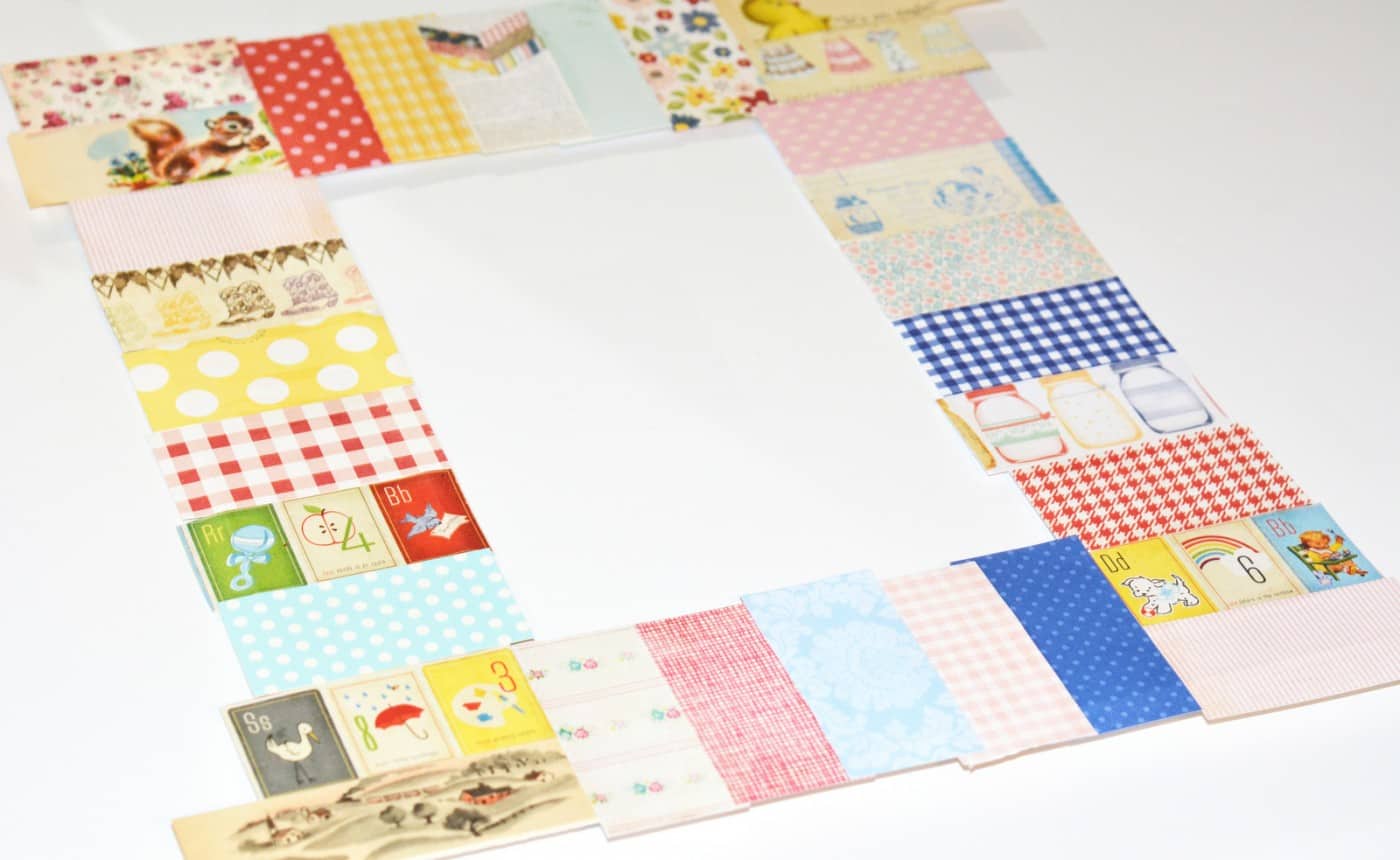
- Cut out approximately thirty strips of paper depending on the size of the strips and the size of the mat.
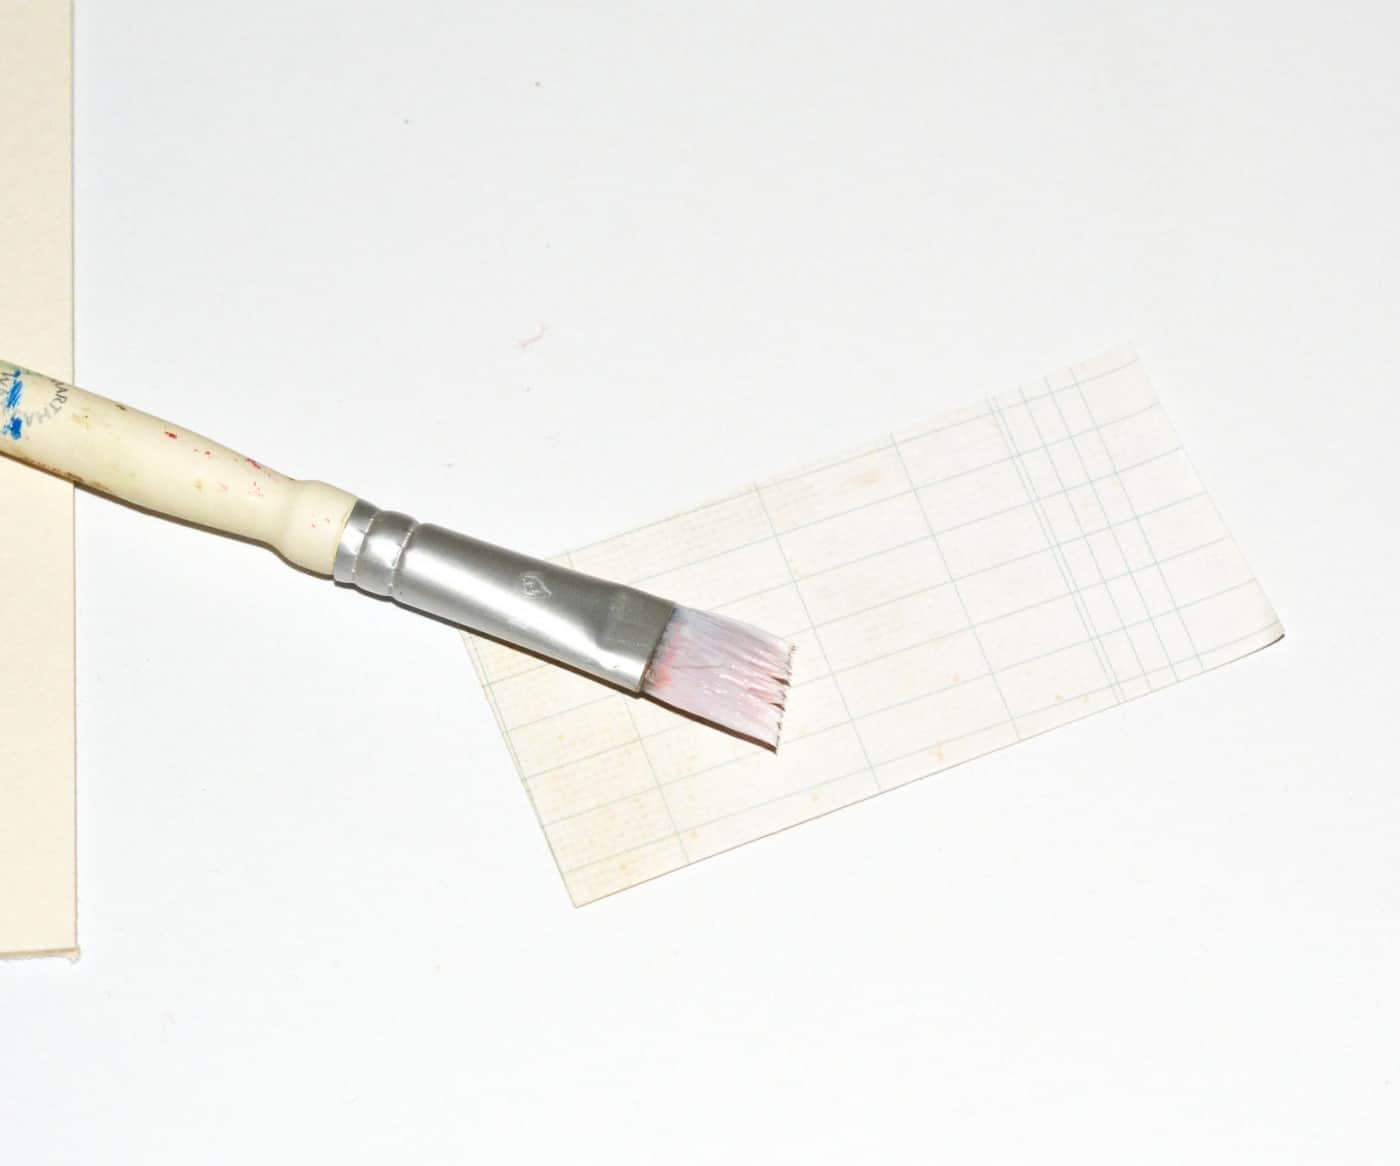
- Brush decoupage medium on the back of a paper strip. Smooth it onto the mat, making sure it is straight. Add another strip right next to the first, overlapping if needed.
- Keep adding strips. When you get to the top, trim the width of the strip so that it sits flush with the inside edge.
- Add a vertical strip and keep adding until you get to the next corner. Trim the pieces flush as needed.
- Once you have added strips around the entire mat, decoupage the ends to the back side of the mat. Brush Mod Podge onto the back and fold over the edges. Smooth.
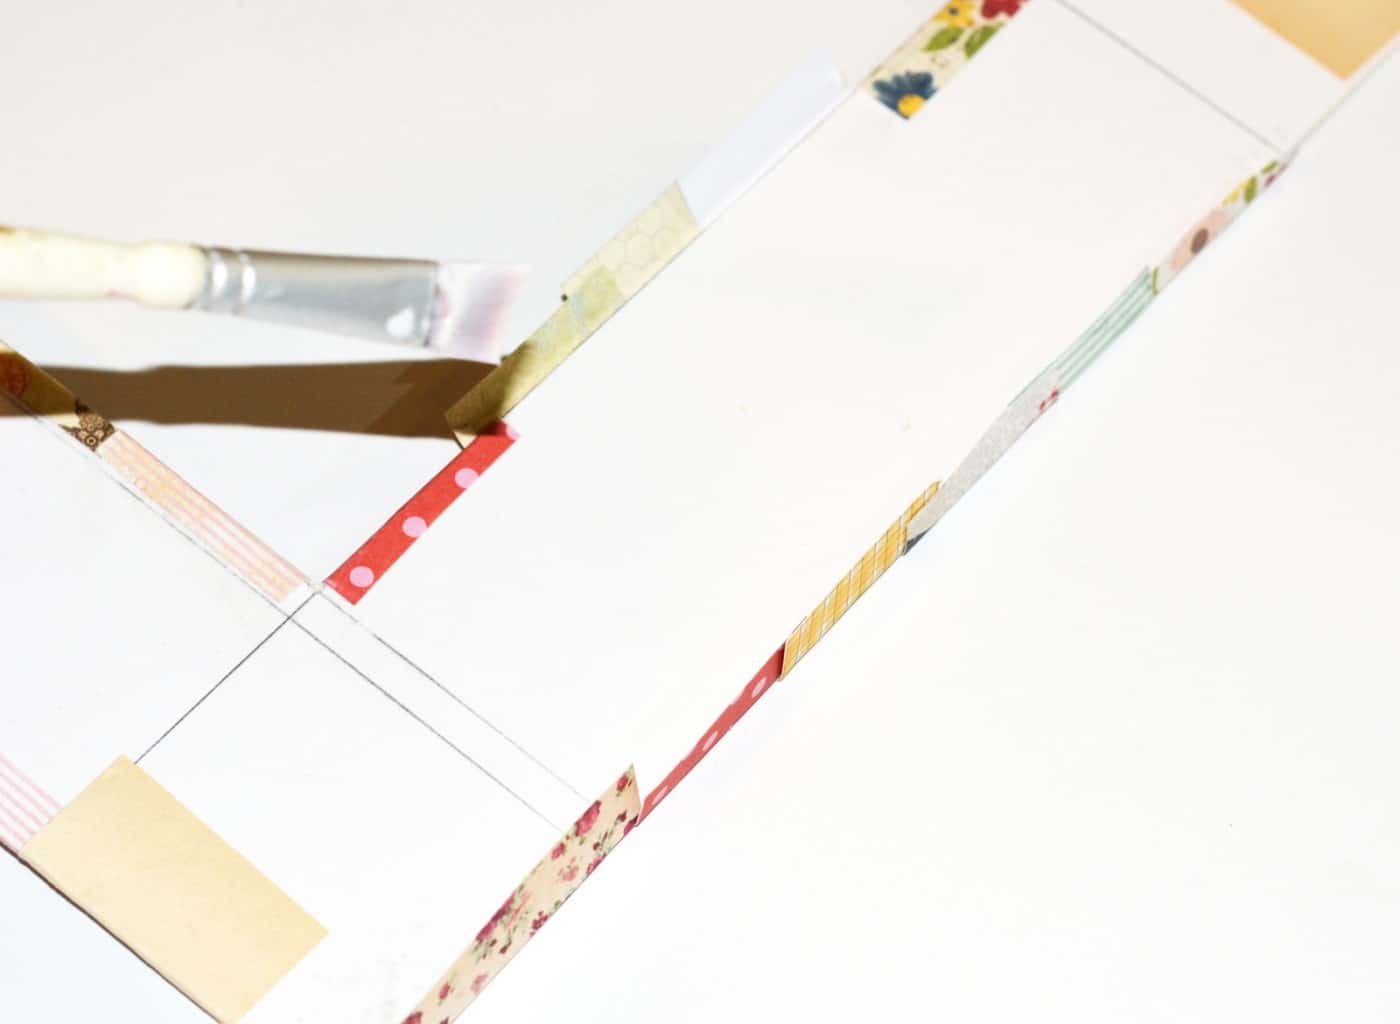
- Once dry, flip over and Mod Podge the front paper strips. Let dry completely before inserting the photo into the frame.
If you enjoyed this project, I’d love for you to check out these other simple home decor ideas made with Mod Podge:
Button Wall Art • Clothespin Magnets • Decoupage Wood Tray • Decorate a Memory Box • DIY Bow Holder • DIY Cork Boards • DIY Floor Cloth • DIY Tile Coasters • Doily Wall Art • Fabric Covered Books • Magazine Collage • Photo Frame Decoration Ideas • Photo Wall Collage • Scrap Wood Candle Holders • Wood Welcome Sign