
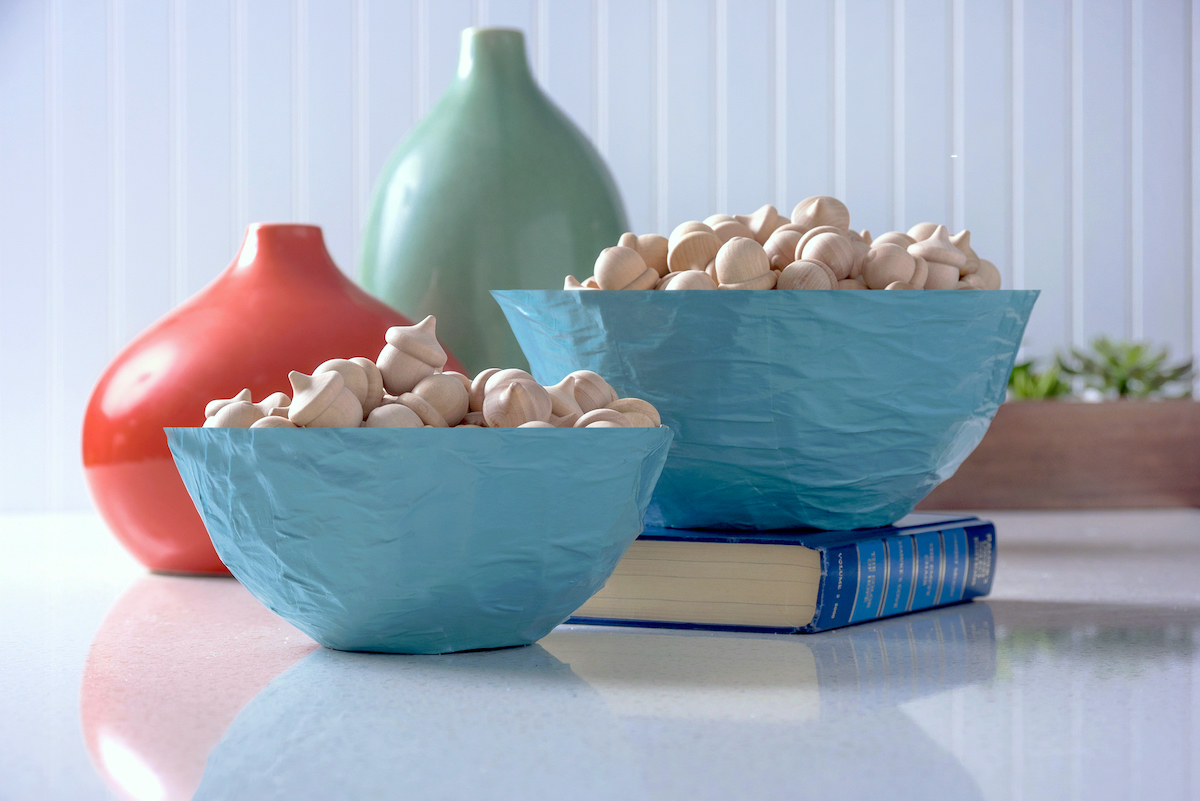
Learn how to make Mod Podge paper mache bowls the easy way! You can paint them any colors you like to match your decor. So simple!
Skills Required: None. You can make paper mache with no previous crafting skills. It’s a perfect idea for beginners, and even children.
I don’t know about you, but paper mache played a large part in my childhood art classes. I don’t know if it’s an 80s thing or if kids are still doing it today, but there was a lot of paste making with flour and water.
There was a lot of stirring a chunky liquid (because the flour never fully dissolved) and then slapping it onto newspaper. It was a simpler time.
Luckily, times have changed. Well it’s not that they’ve changed that much, but I’m here to show you how to make Mod Podge paper mache. So that you don’t have to mix the ingredients and deal with the chunky water. But why would you want to do that instead?
A typical paper mache glue recipe is one part flour and two parts water. Some people add school glue. And when you mix it? It’s kind of clumpy. And stays chunky in some areas. And doesn’t dry clear.
SO I use Mod Podge for my paper crafts!
Well, the nice thing about using Mod Podge to make paper mache is that you can use it directly from the bottle. There’s no mixing. The Podge can also be used to seal the paint on the newspaper (if you choose to paint).
Plus you don’t have to worry about yellowing or crusting or falling apart like you do with the flour and water combo. I highly recommend it for adult projects especially, if not for all of your projects.
But what if your Mod Podge is thick?
If your Mod Podge is thick, I do a few things. First I shake the bottle, then I wet the brush and dip it into the Podge (rather than just dipping a dry brush in).
If it’s super duper thick, you can pour some into a separate container and add a touch of water. You just want to thin it a bit, not dilute it completely.
Are you ready to try a paper mache project? It couldn’t be any easier. I’m going to show you how to make this craft at home below.
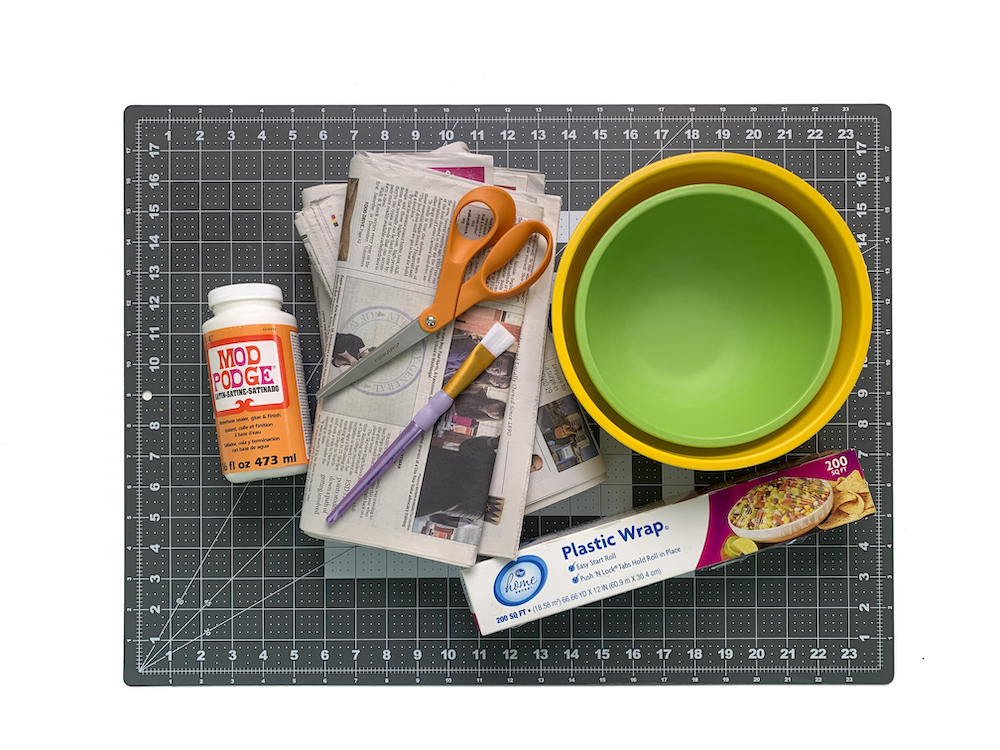
Gather These Supplies
- Bowl (or balloon)
- Plastic wrap
- Newspaper
- Mod Podge Satin (or Gloss or Matte)
- Mod Podge Hard Coat (optional)
- Acrylic paint – a few colors
- Paintbrush
- Scissors
Tips and Thoughts for This Project
You can use a bowl or a balloon as a base for your project. Some people like to blow up balloons and use them to create bowls like was done with this confetti bowl.
I personally like using another bowl for my template because it’s a stable working surface. But, it’s up to you.
Choose the Mod Podge formula of your dreams to make Mod Podge paper mache. I recommend Gloss, Matte, or Satin . . . but it really doesn’t matter because you’ll be painting over it.
You can also use tissue paper, wrapping paper, and other papers in place of newspaper. Whatever you have, give it a try.
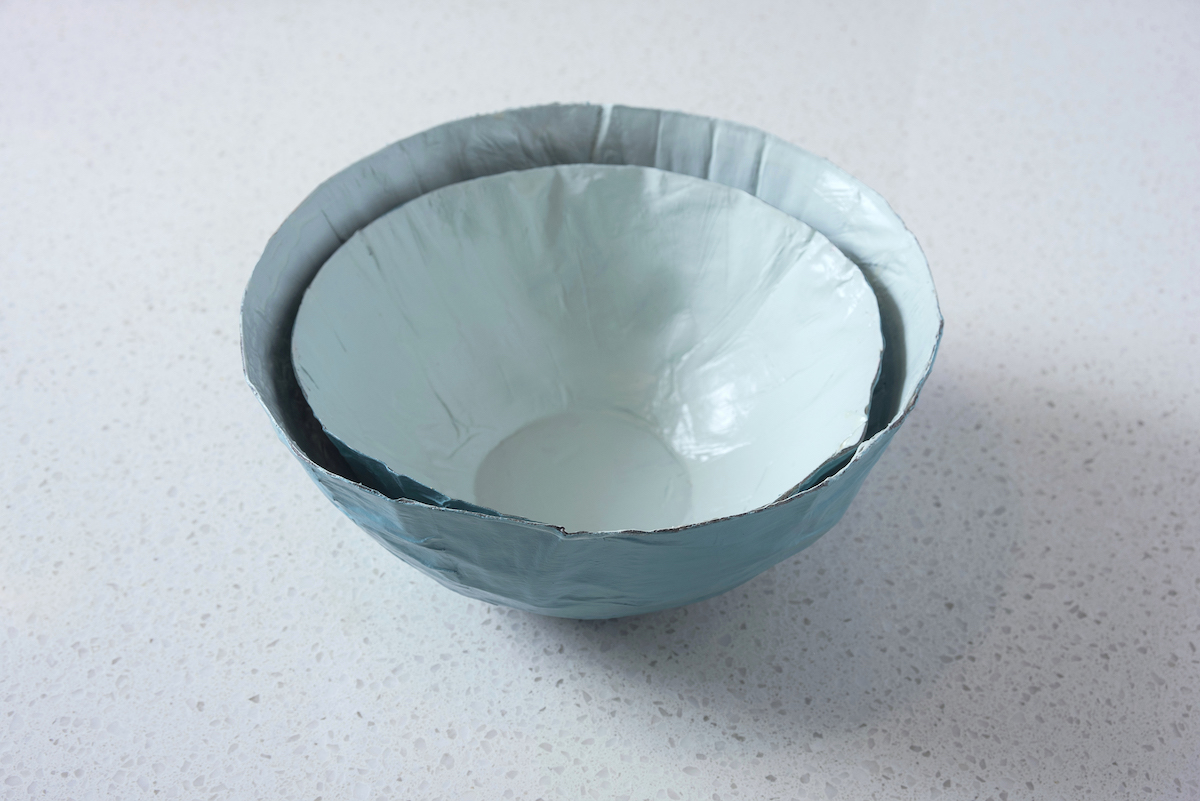
It looks kind of cool with just the recycled newspaper look . . so paint it . . . or don’t! It’s up to you.
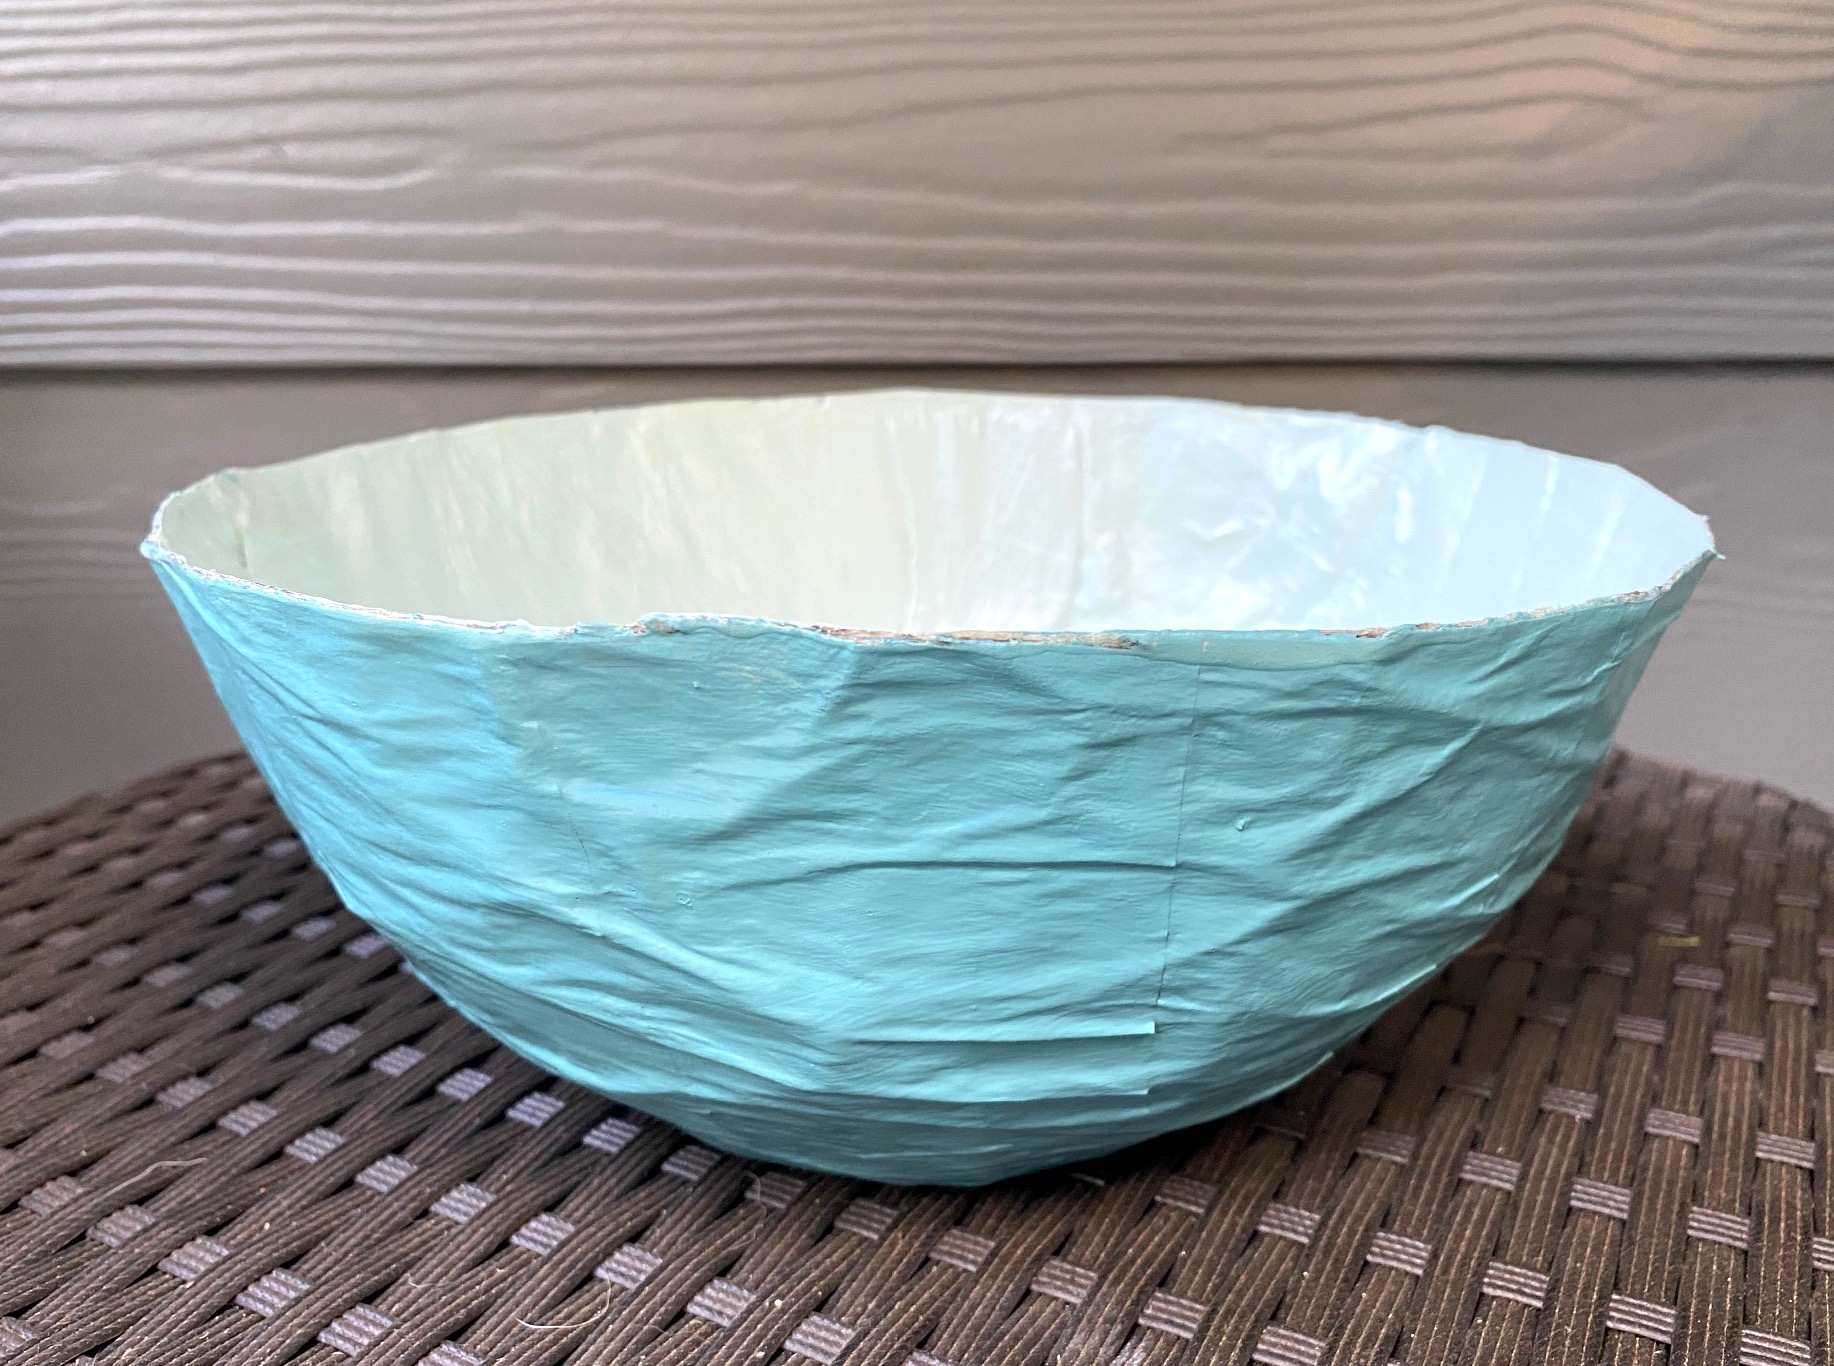
Time to enjoy your finished paper mache bowl. What do you think? What else are you going to try with this paper mache method?

Mod Podge Paper Mache
Equipment
Materials
- Bowl or balloon
- Newspaper
- Plastic wrap
- Mod Podge Hard Coat
- Acrylic paint
- Painter’s tape optional
Video
Instructions
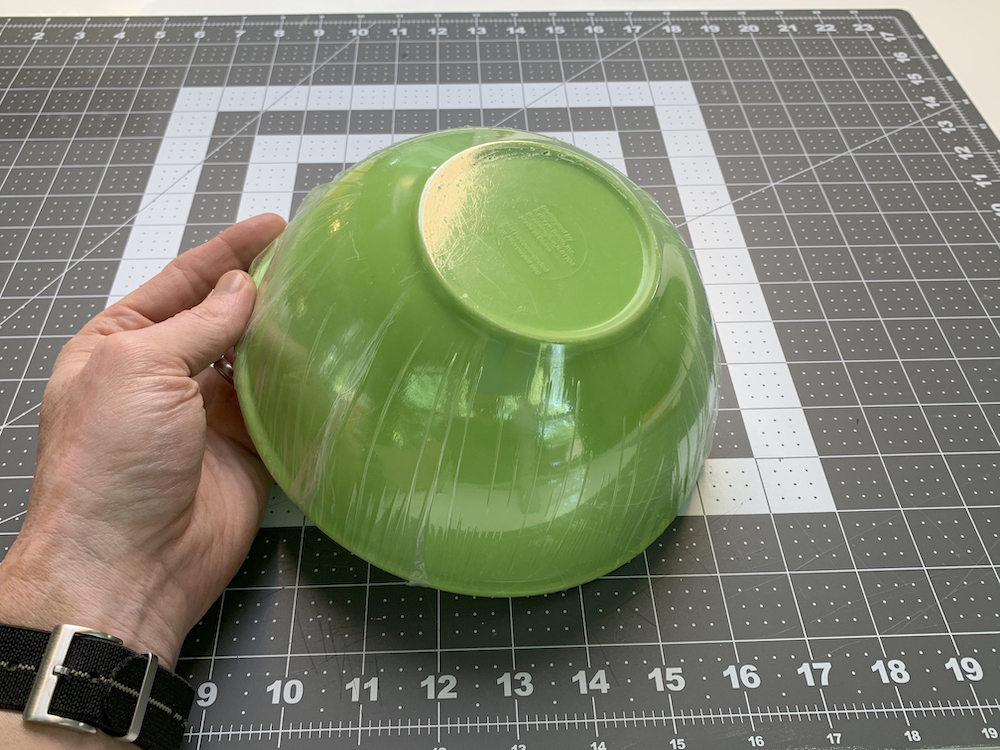
- Cover a clean, dry bowl in plastic wrap to protect it. Tape to the insides if necessary with a removable tape (like painter's tape).
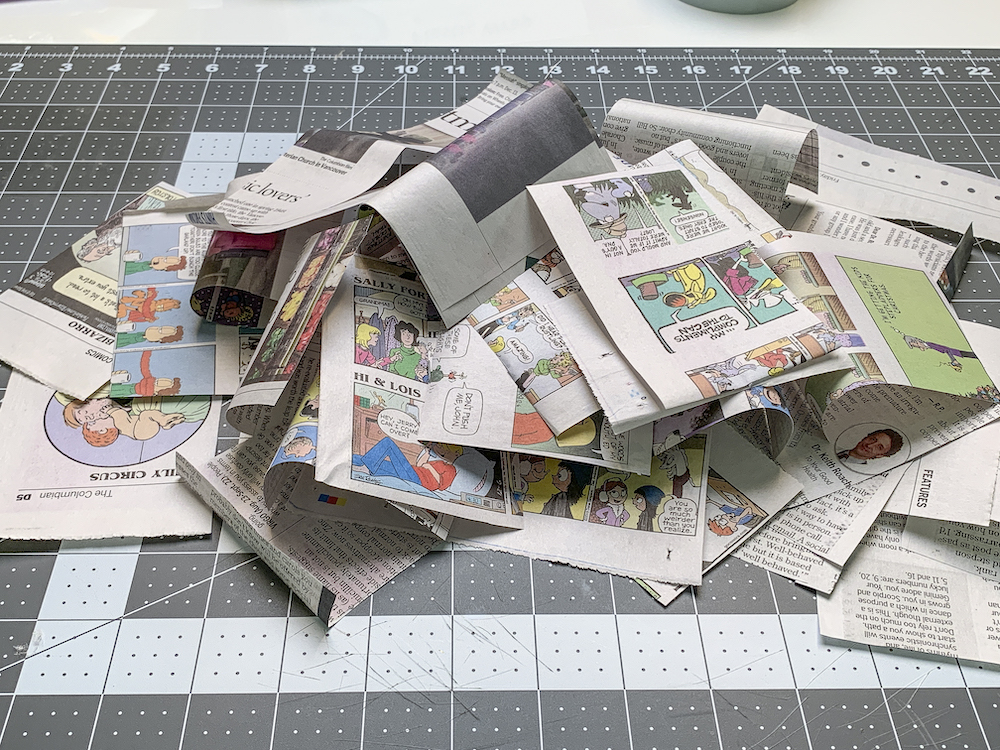
- Tear or cut several pages of newspaper into squares.
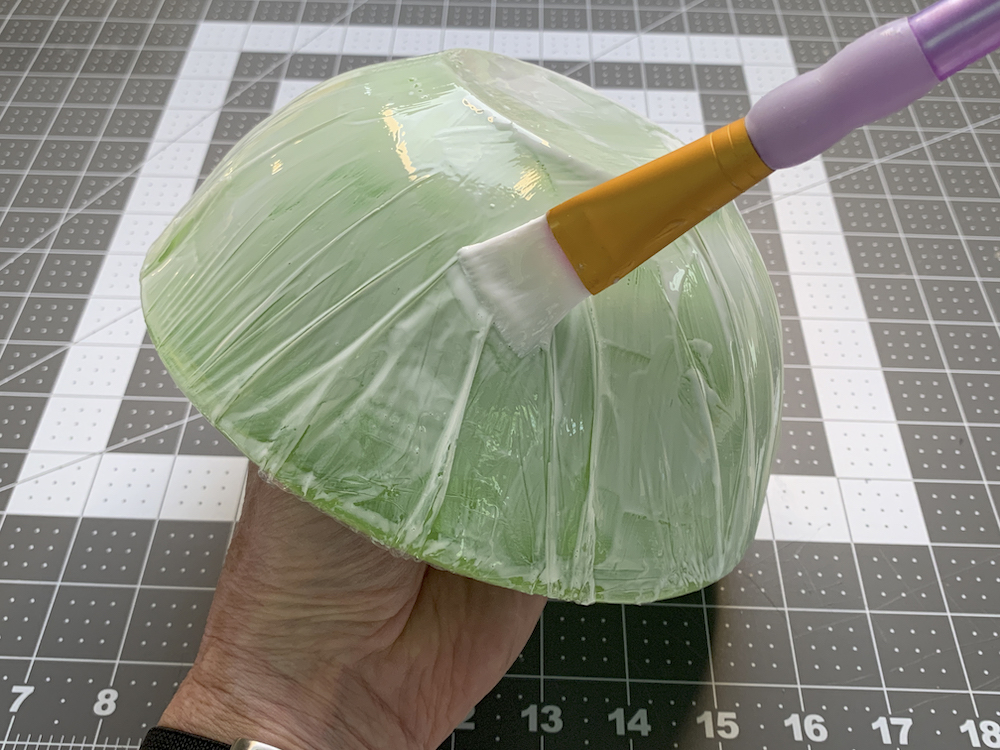
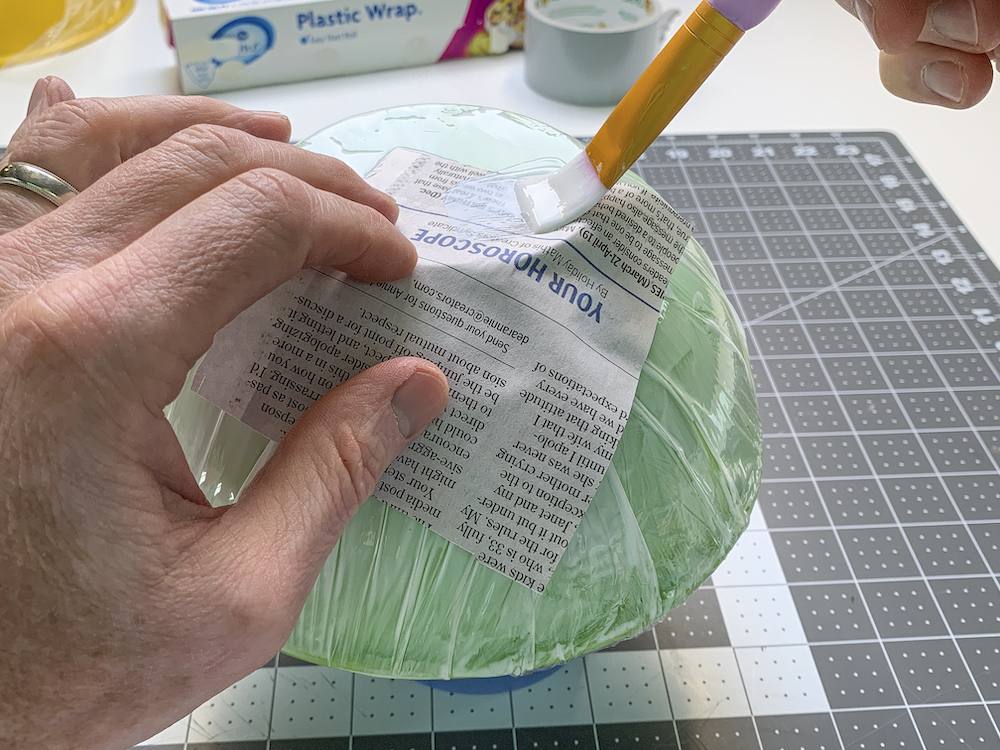
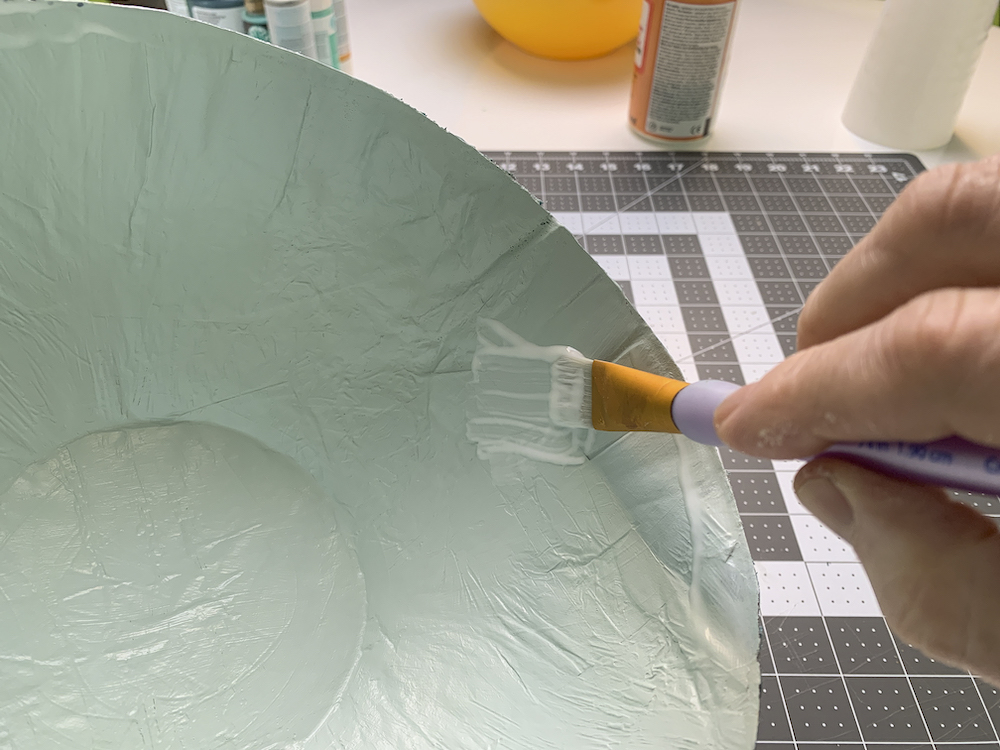
- Place a layer of Mod Podge on the outside of the plastic wrap.
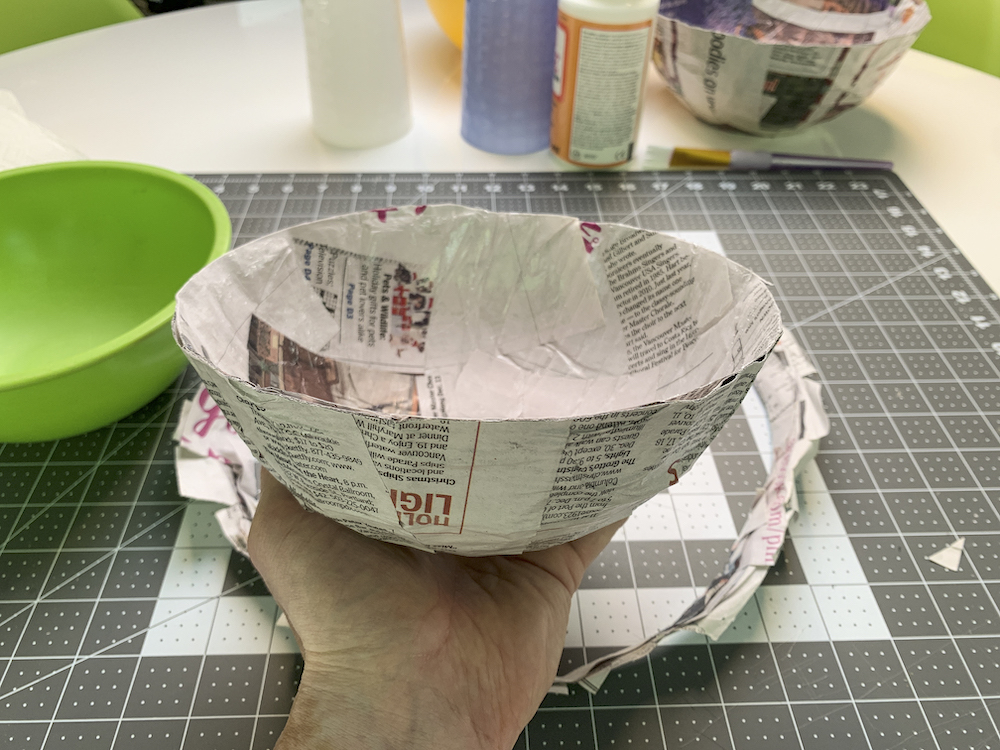
- Lay down pieces of newspaper down on the surface of the bowl and smooth with a paintbrush covered in Mod Podge. Press the paper down and brush right over the top.
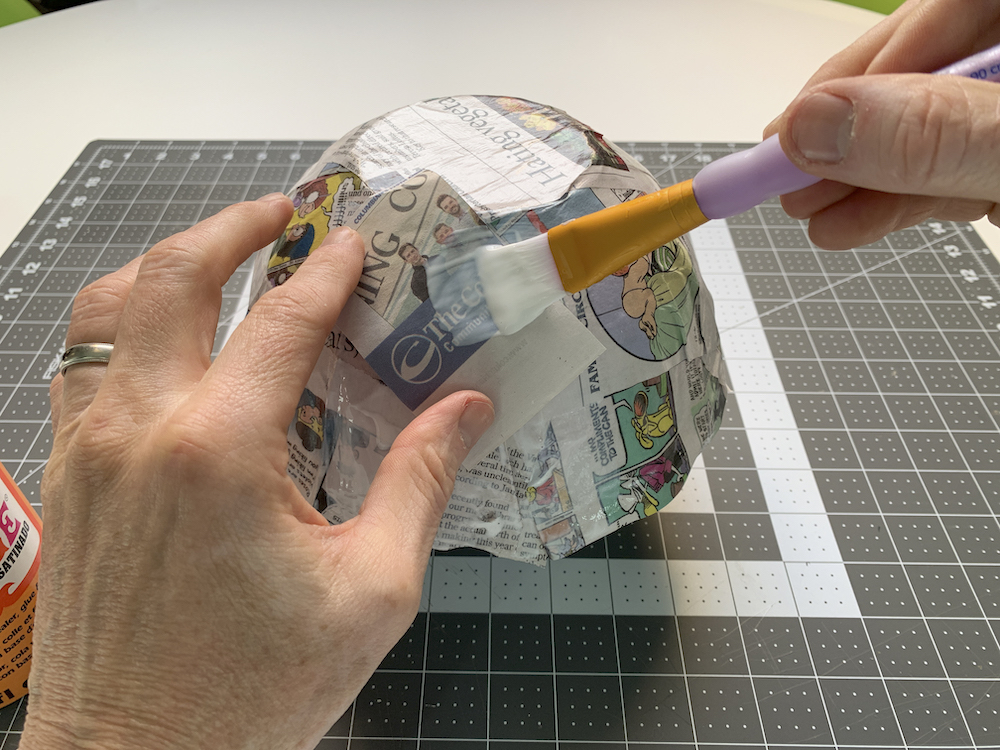
- Continue overlapping newspaper pieces and applying with Mod Podge until the entire bowl is covered. Apply a second layer of newspaper for more rigidity. Wrinkles will form, but don't worry about those. It's part of the character.
- Apply a layer of Mod Podge and let the entire bowl dry on your work surface, even overnight if you're in a humid area.

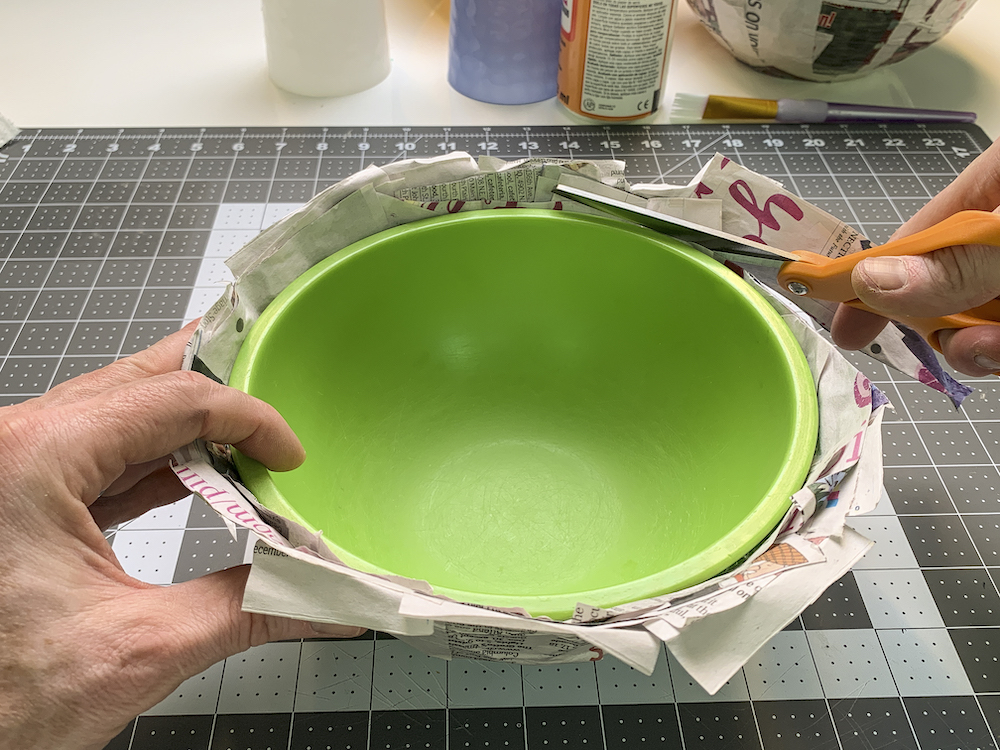
- Once dry, remove the layer of plastic wrap from the bowl mold, releasing the bowl. You might have to twist a little bit. Remove the plastic wrap from the paper mache.

- Use the bowl mold as a template to trim the edges of your newspaper bowl with scissors.
- Paint the inside and outside of the bowl with acrylic paint if desired.
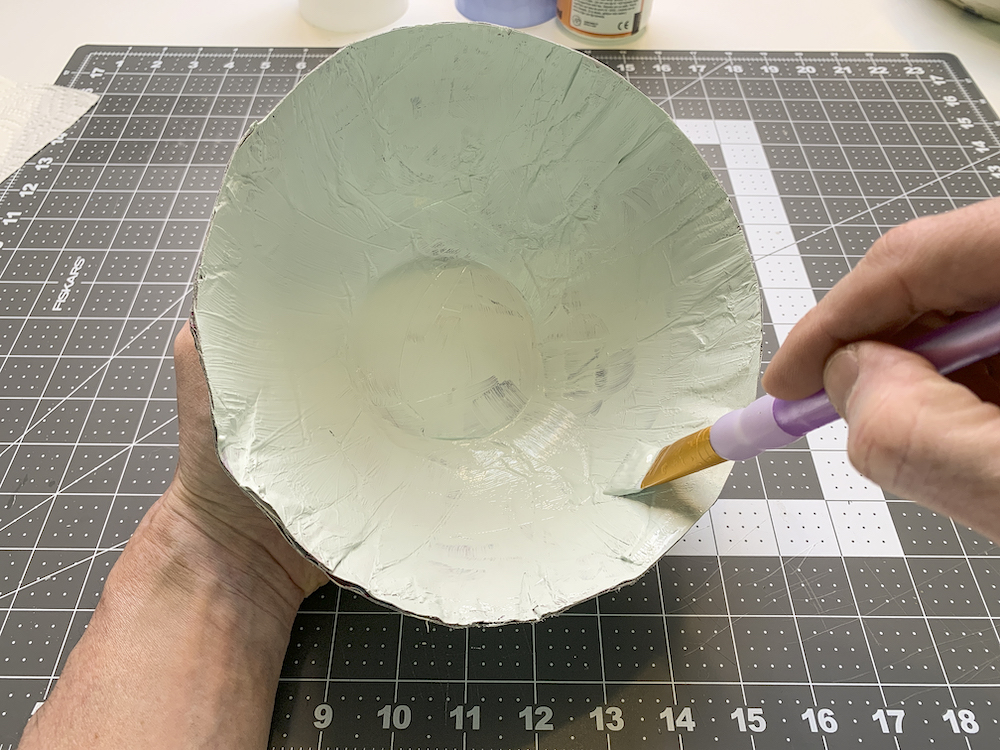
- Paint a layer of Mod Podge on both the inside and outside of the bowl; let dry and apply a second coat. Let dry completely before using.
Notes
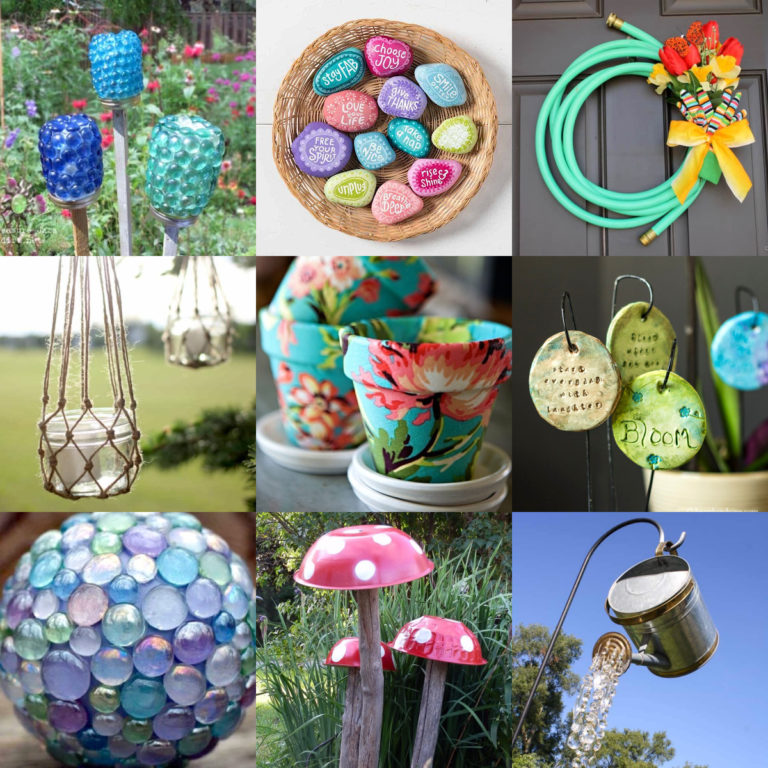
If you enjoyed these Mod Podge bowls, let me know in the comments! I’d also love for you to check out the following projects and posts:


I’m having trouble removing the paper mache bowl from template bowl, it feels like it’s stuck. Any advice?!
Paper mache is not an 80s thing at all. I played with it when I was in lower elementary school in the middle 1960s. I believe the craft is even much older. We used liquid laundry starch, which if I remember correctly, dried clear. We also painted over the project after the starch dried. I don’t know about longevity of that method because our project was only around for a few weeks…. we broke the piñata at halloween.
That’s awesome! It’s so fun for kids.
I took a mason jar and grunged it (coffee, cinnamon, modge podge, etc) , when it dried I wanted to put a coat of modge podge on it to seal it. It is staying white! Is there anything I can do to fix it??
If you are in an area with humidity/cold it can take awhile to dry. You can hit it with a hair dryer!
Next time water the Modge Podge 50/50 with water and apply a thin coat. It will dry beautifully and change the coffee/cinnamon coating darker and give it a smooth finish. Leave it dry overnight and enjoy!