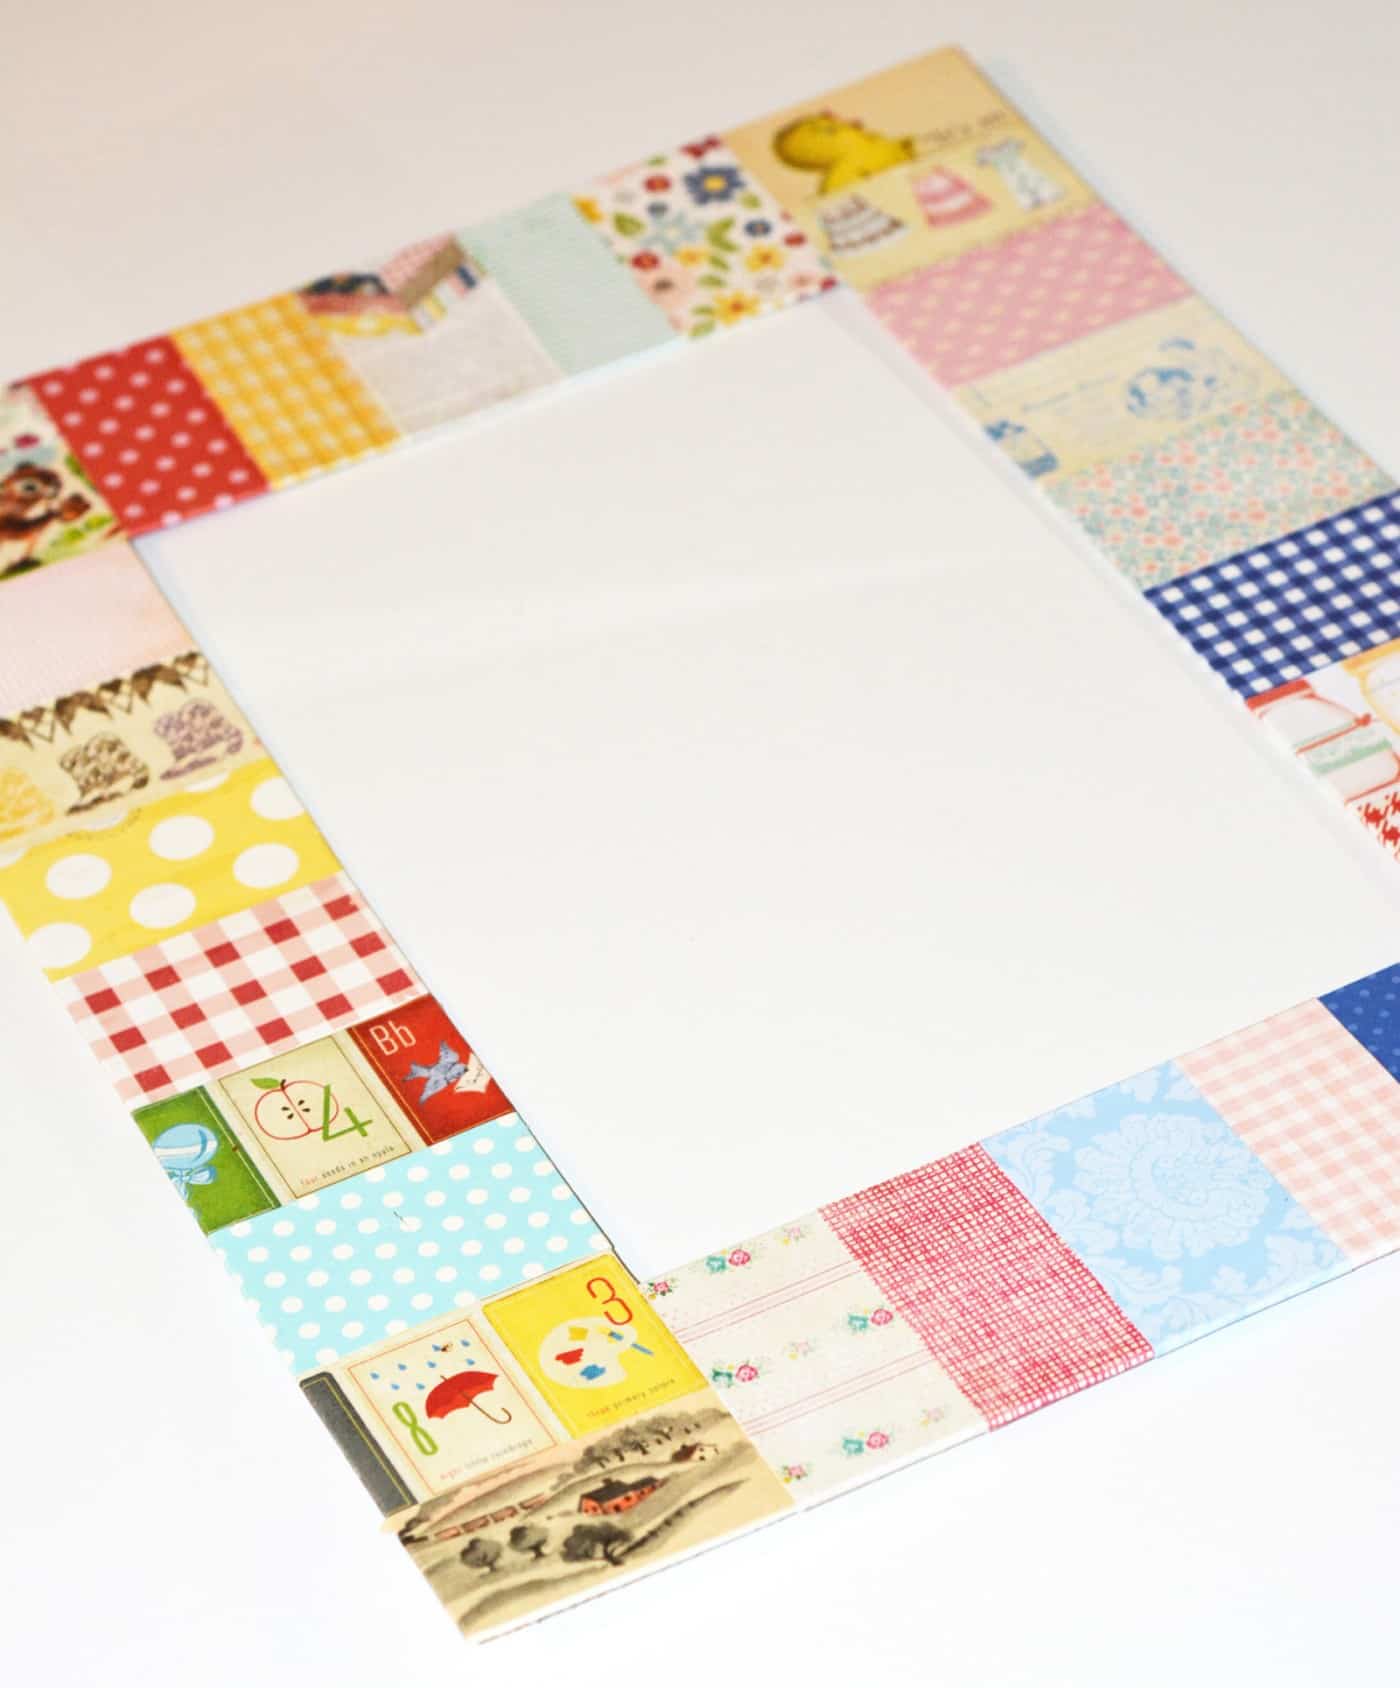
DIY Photo Mat
Learn how to make a mat for a frame using paper scraps and Mod Podge. This is a very simple home decorating project.
Yield: 1 frame
Cost: $5
Materials
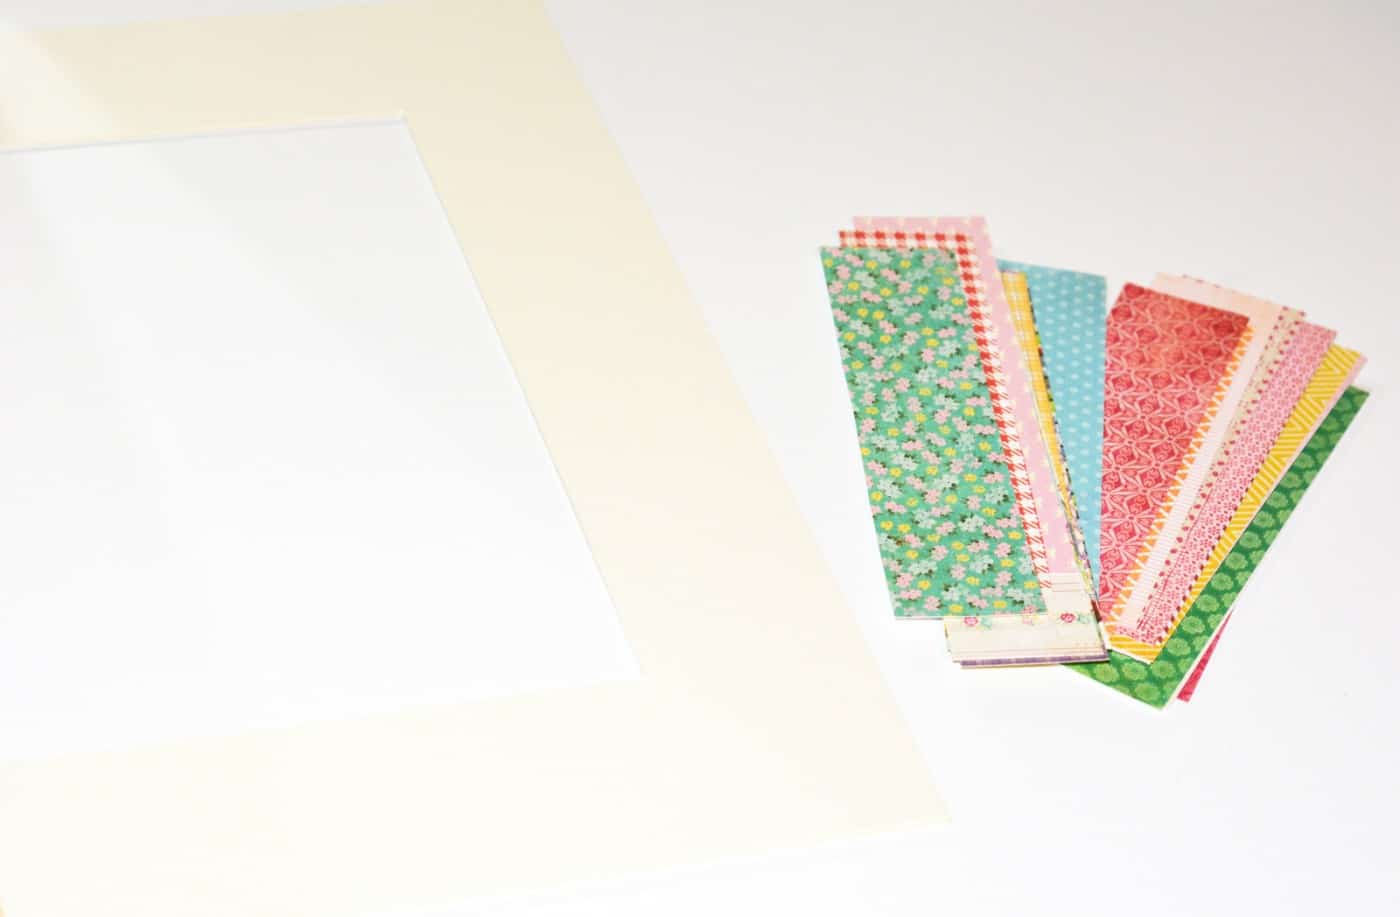
- Mat board or a pre cut mat
- Scrapbook paper book pages, wallpaper, etc.
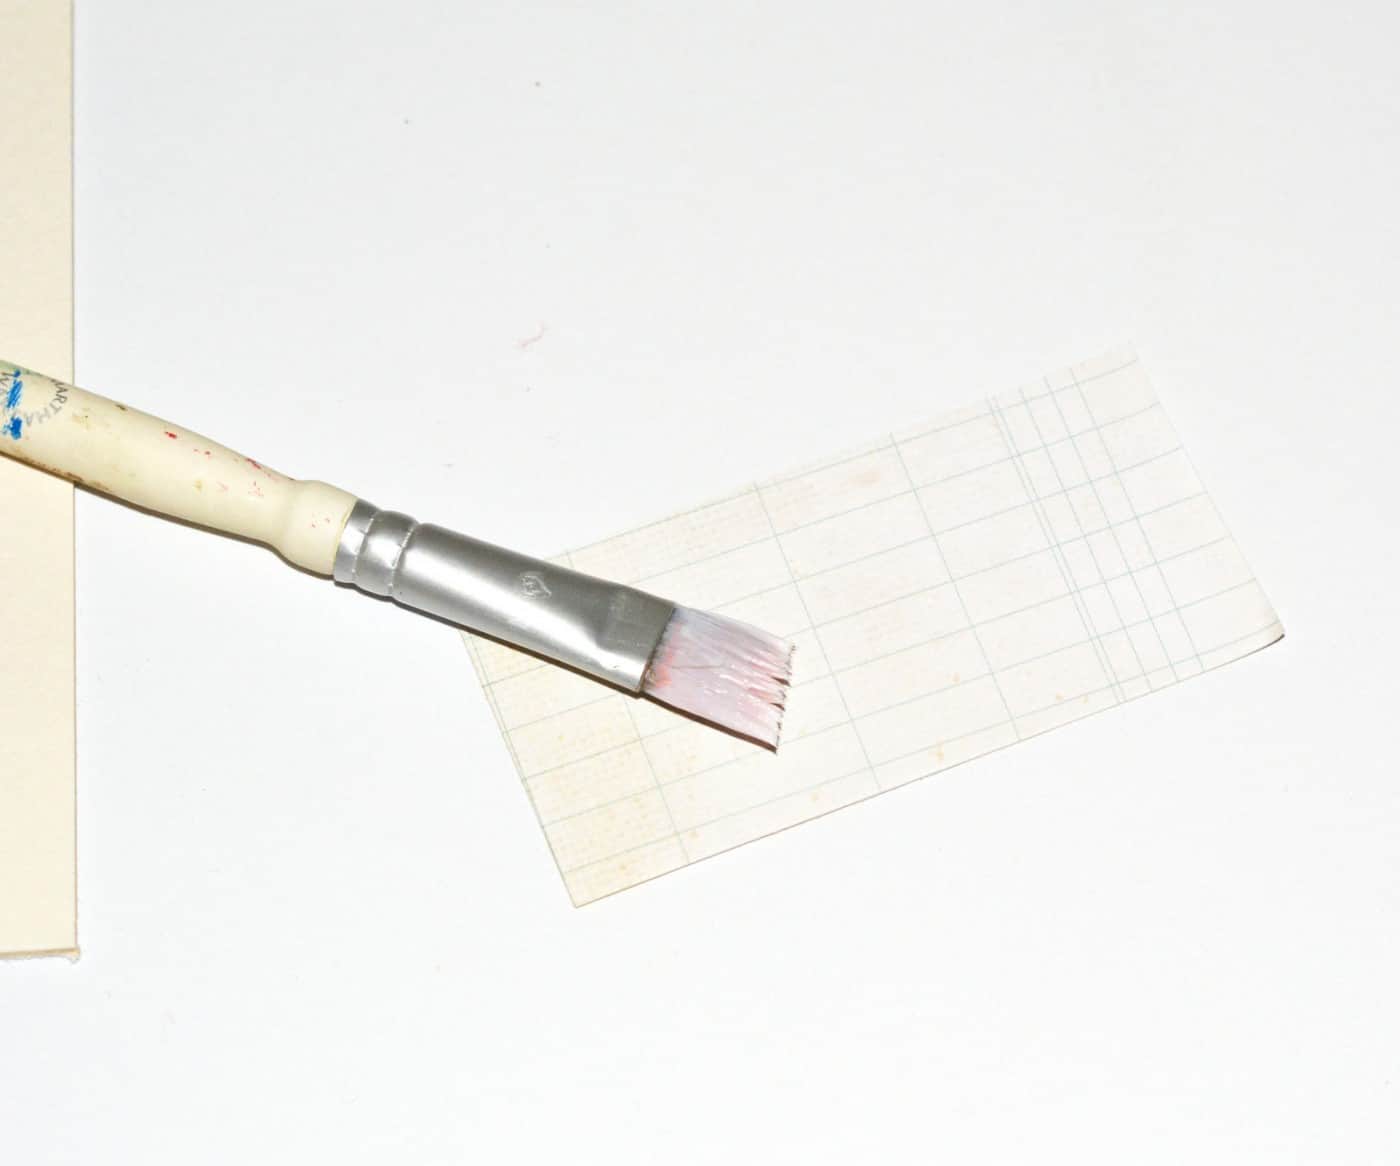
- Mod Podge Matte
- Frame
Instructions
- If you need to cut the mat board, measure the inside of your frame. Cut the outside of the mat board to fit the inside of your frame, and then measure in two to three inches all the way around so your borders are even. Cut out the opening to be the size you desire.
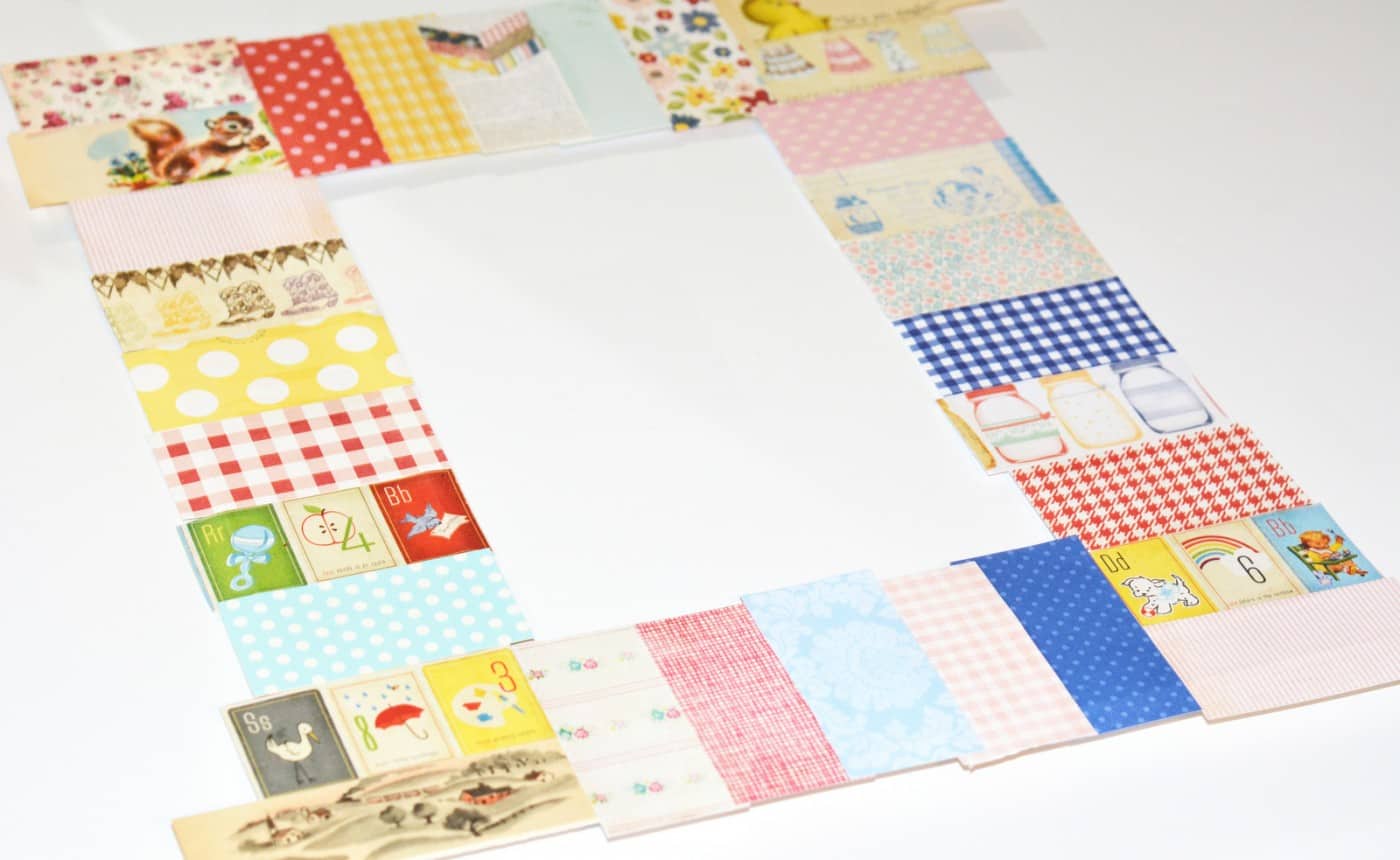
- Cut out approximately thirty strips of paper depending on the size of the strips and the size of the mat.
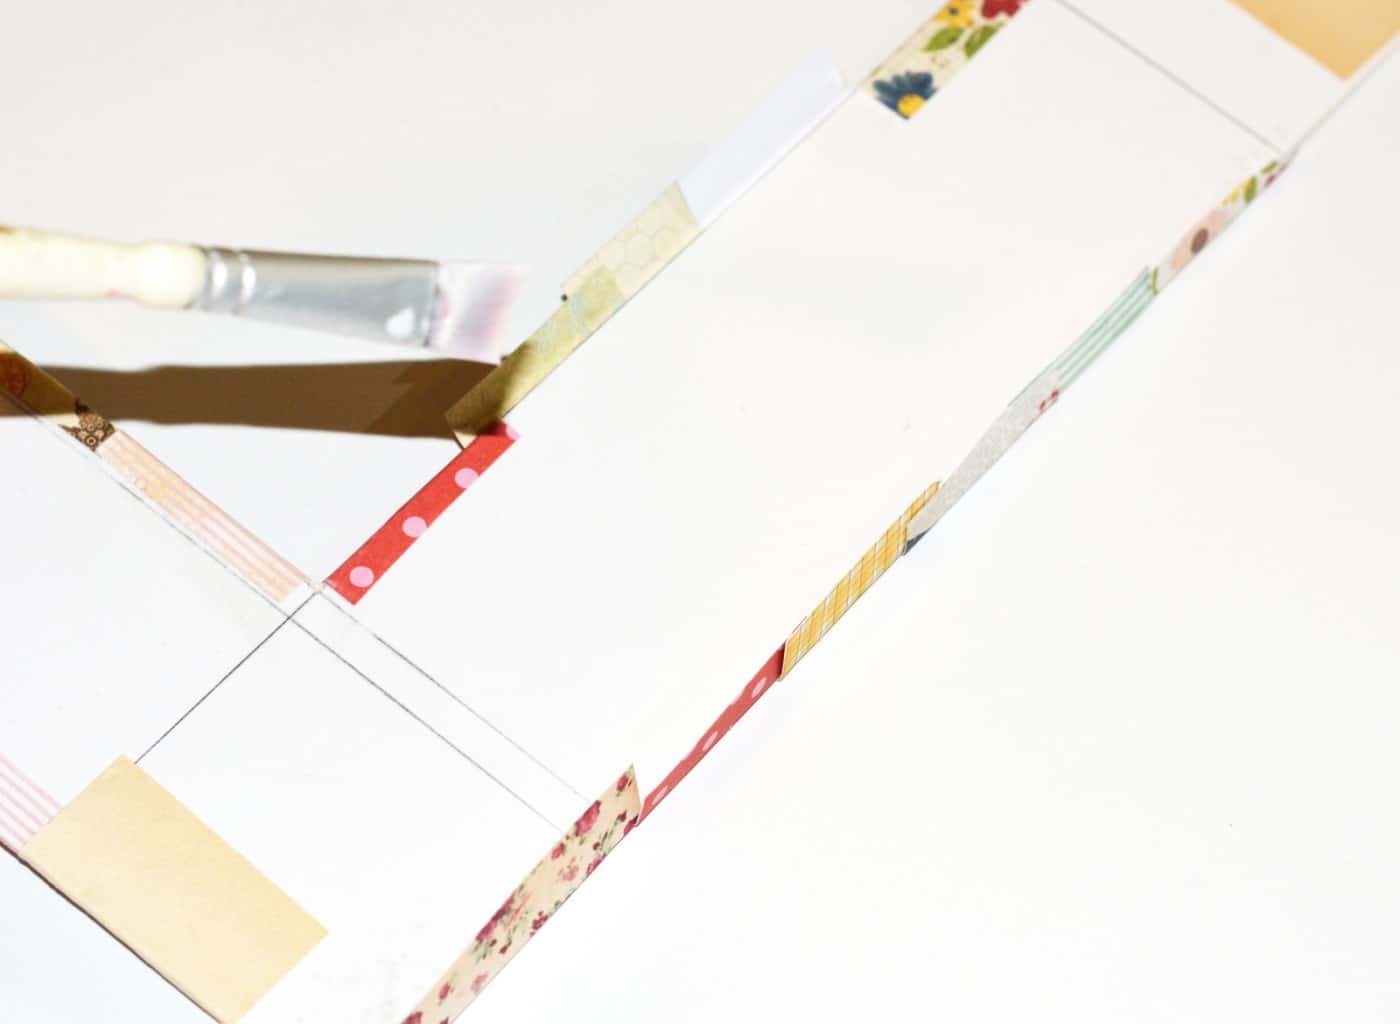
- Brush decoupage medium on the back of a paper strip. Smooth it onto the mat, making sure it is straight. Add another strip right next to the first, overlapping if needed.
- Keep adding strips. When you get to the top, trim the width of the strip so that it sits flush with the inside edge.
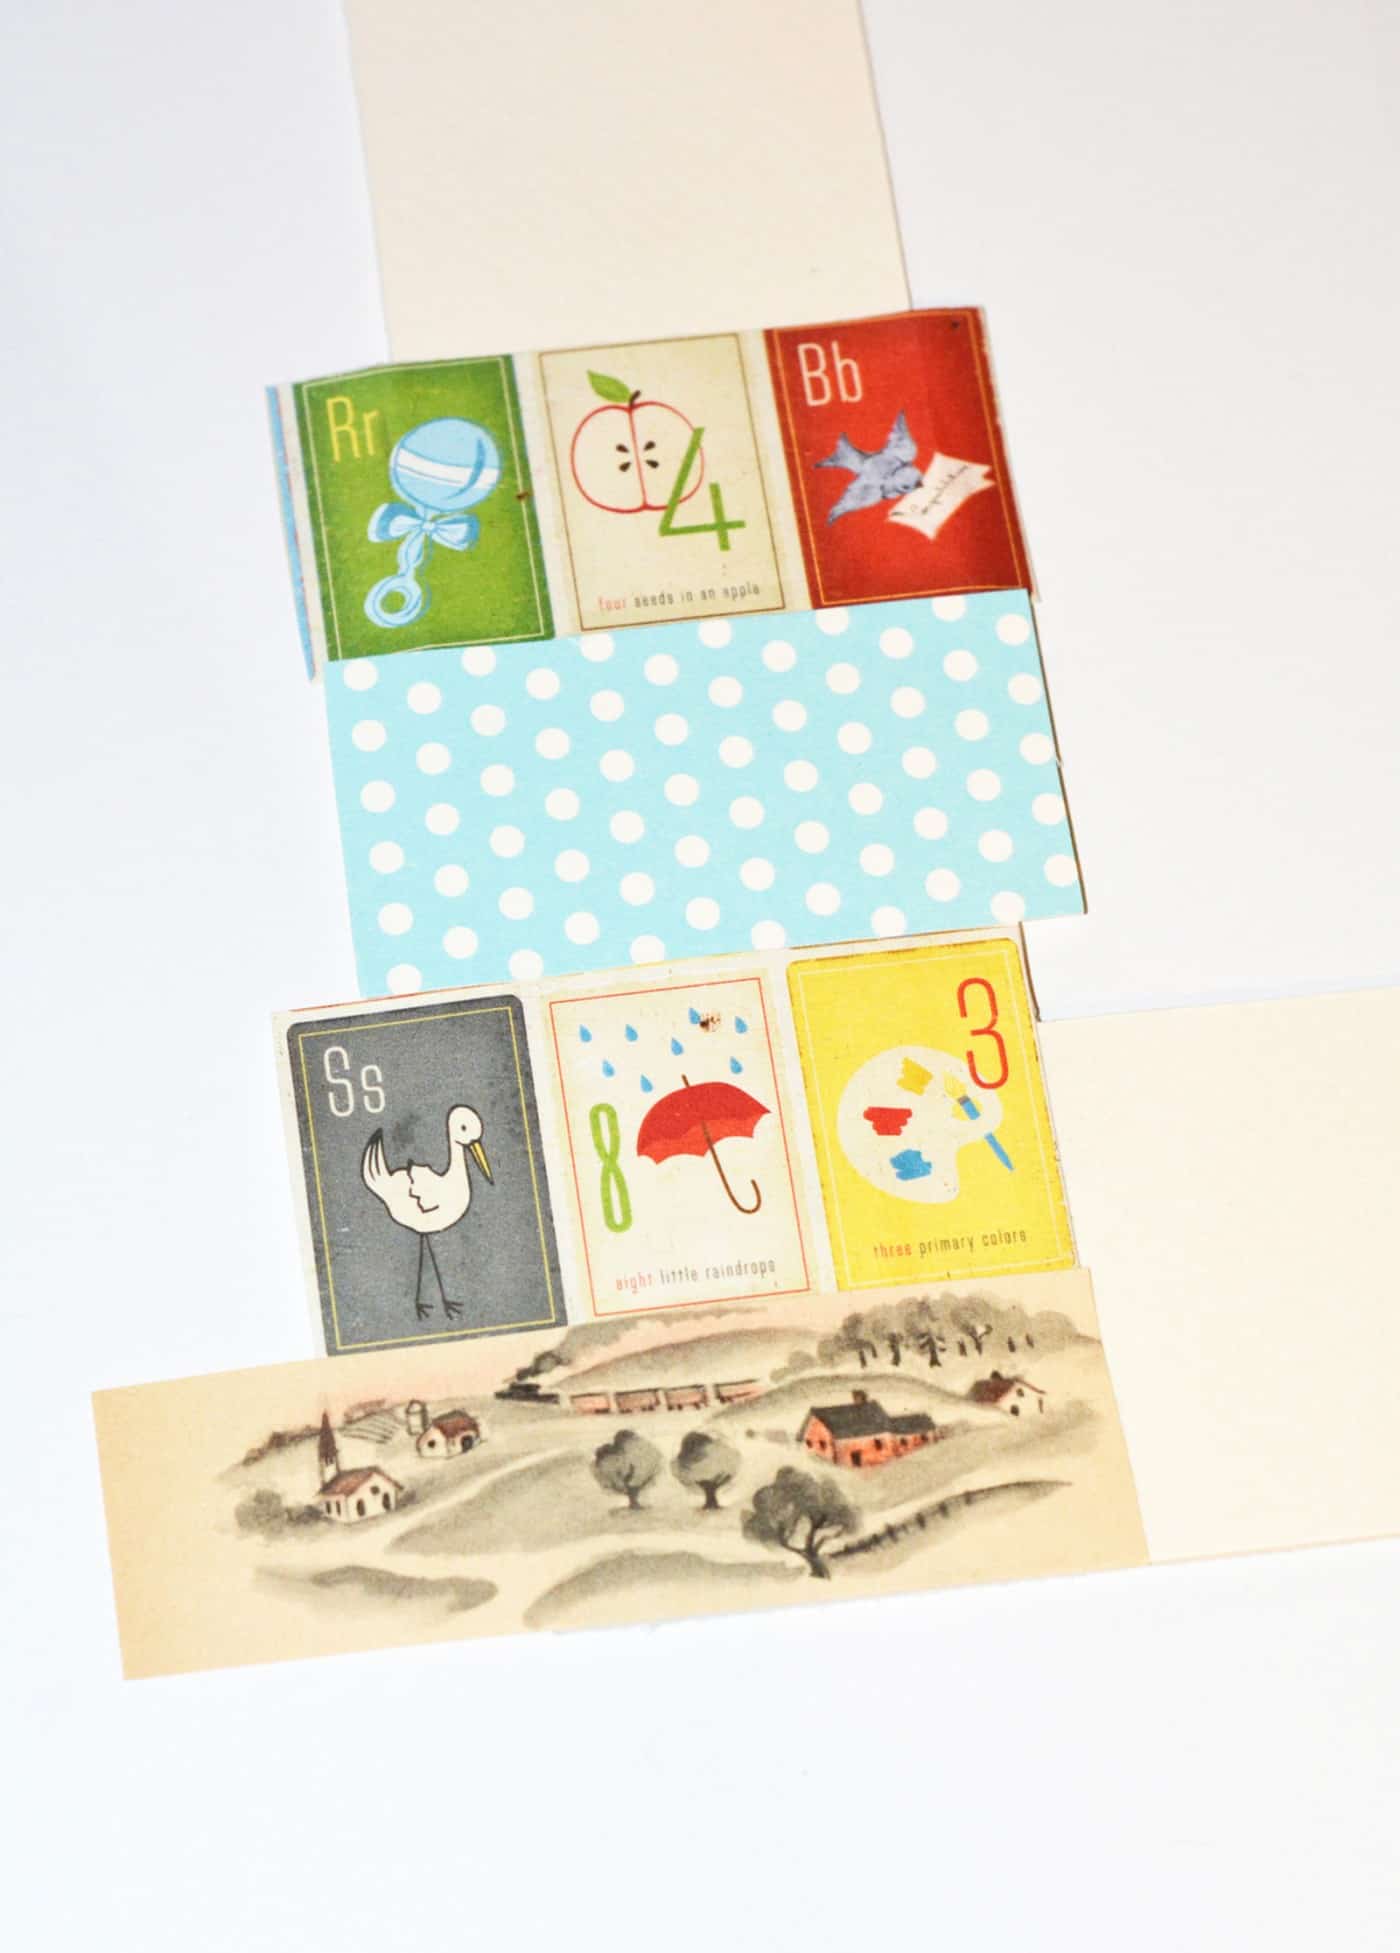
- Add a vertical strip and keep adding until you get to the next corner. Trim the pieces flush as needed.
- Once you have added strips around the entire mat, decoupage the ends to the back side of the mat. Brush Mod Podge onto the back and fold over the edges. Smooth.
- Once dry, flip over and Mod Podge the front paper strips. Let dry completely before inserting the photo into the frame.