
Learn how to make a cheesecloth ghost for Halloween the easy way, with fabric stiffener! You can make these in any size you like with this method.
Skills Required: Beginner. If you’ve never worked with fabric stiffener before, it isn’t hard but it can be a little bit messy. You might want to try a smaller ghost first with a small piece of cheesecloth before making something larger.
I’m REALLY excited about today’s Halloween craft. If you’ve never made a cheesecloth ghost (also known as a Stiffy ghost) before, you need to stop whatever you’re doing right now.
Do not “pass Go,” do not collect $200 – it’s time to head to the craft store! You’re going to need only a few supplies to make this awesome Halloween decor.
For those new to fabric stiffener, it’s a pretty simple premise. Whatever you dip into the stiffener becomes “stiff” when dry. That includes cheesecloth, fabric, and other lightweight materials.
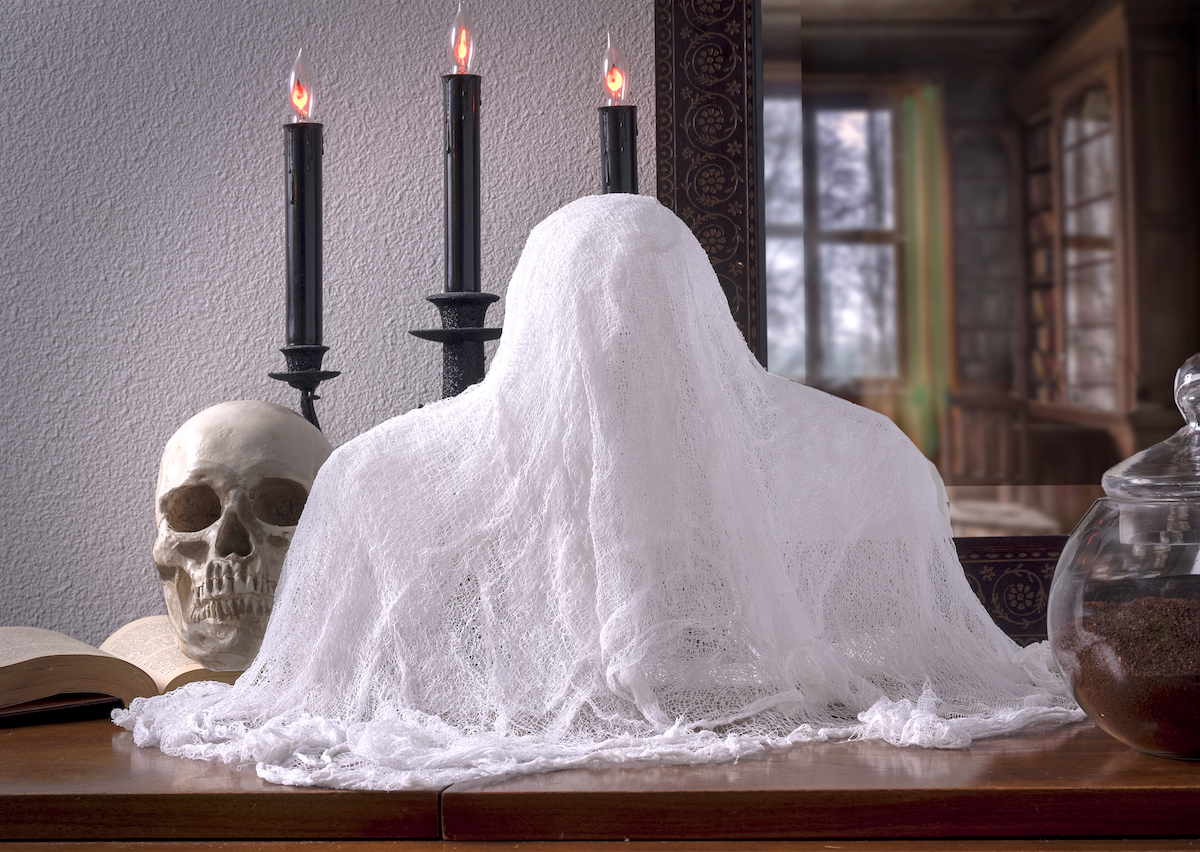
That doesn’t mean your finished item is totally rock hard, but it’s pretty solid and can support itself. Just like this Halloween ghost.
The key to any project with fabric stiffener is creating a solid mold (otherwise known as an armature) that you can drape the fabric or cloth over.
You’re going to wet the fabric with the stiffener, then hang it over the mold. The mold needs to be able to retain its shape until the stiffener is dry.
In this case once the ghost is dry, you can remove the mold. Then your ghost stands on its own! And that’s the basic premise.
I will walk you through it, but understand that you can use this idea to make cheesecloth ghosts any size you like. Ideally you could make one as large as a person if you could make the mold big enough (please don’t use a real human).
There are four basic steps to this Stiffy ghost project. You’re going to make your mold, cut and wet the cheesecloth, drape it over the form (let dry), and then remove the mold to finish.
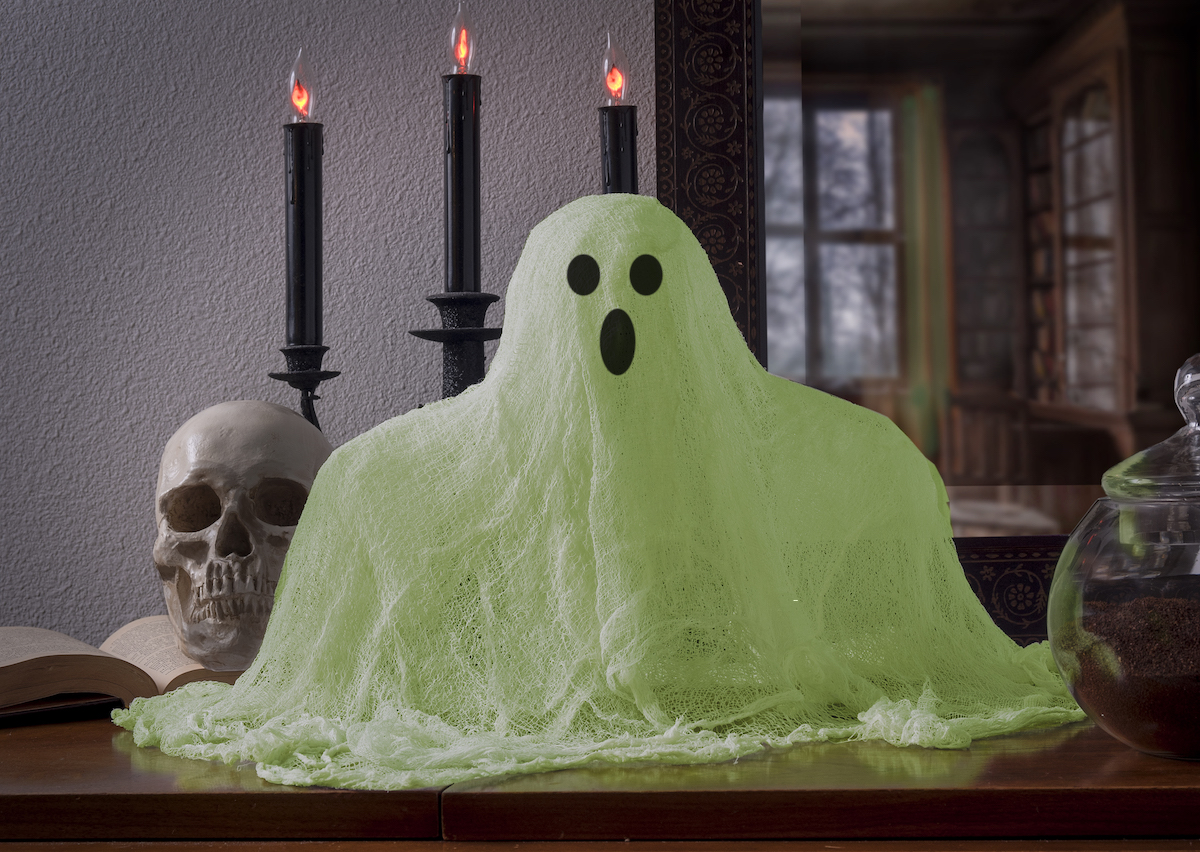
You can add glow in the dark paint or eyes and mouth when all is said and done if you like. I find it makes the ghost more kid friendly somehow. However you want to decorate it, I’ll leave that up to you!
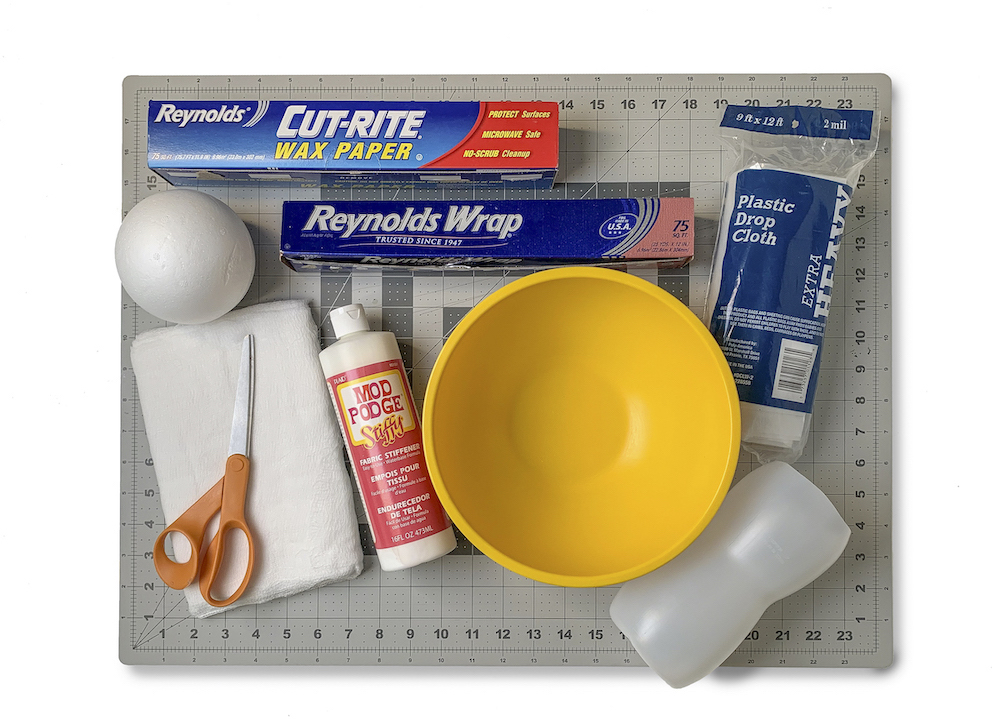
Gather These Supplies
- Cheesecloth – I bought a pack from Hobby Lobby that was 6 yards x 36″ wide
- Mod Podge Stiffy
- Aluminum foil
- Wax paper
- Styrofoam ball (or other round object for the head)
- Old coffee creamer bottle (or something similar for the body)
- Scissors
- Bowl
- Glow in the dark paint (optional)
- Black Sharpie or cardstock (optional)
- Dropcloth (optional)
Tips and Thoughts for This Project
There are two things you should know before you get started. First of all, it’s a good idea to have a plastic drop cloth to cover your work surface so that you don’t get Stiffy everywhere. Note that you can reuse the drop cloth for other projects. Just let everything dry and fold it up.
Secondly, you’re welcome to get creative with the body of your cheesecloth ghost. I used a coffee creamer bottle with the top cut off. Both the arms and head fit nicely and make it easy.
But you can use a variety of items. You could even use a dowel rod with a base. You just need something to support the head and arms – something stable so that the mold holds while the ghost is drying.
If you choose to paint, you can use acrylic paint and go right over the top of the fabric stiffener. You can use paint pens to draw on eyes and a mouth. I chose to leave mine plain. I don’t know – it seems more spooky that way!

Cheesecloth Ghost
Equipment
- Bowl
Materials
- Cheesecloth
- Mod Podge Stiffy or other fabric stiffener
- Aluminum foil
- Wax paper
- Styrofoam ball
- Old coffee creamer bottle – with top removed
- Glow in the dark paint optional
- Black Sharpie or cardstock optional
- Drop cloth optional
Video
Instructions
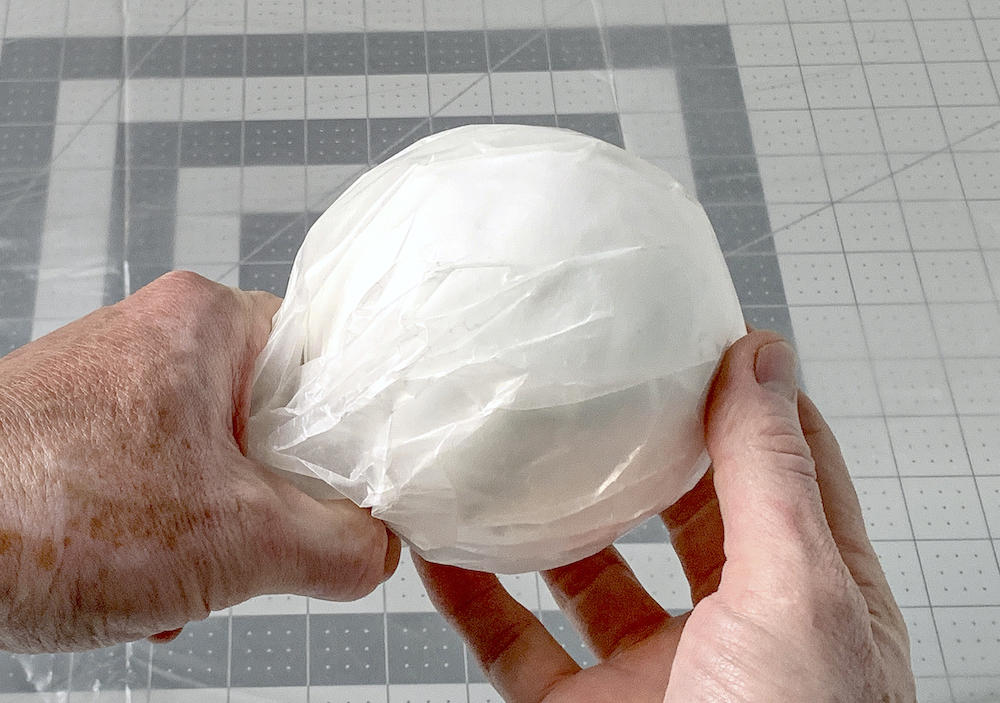
- Tear a piece of wax paper off of the roll and place over the ball. Twist the end and set aside.
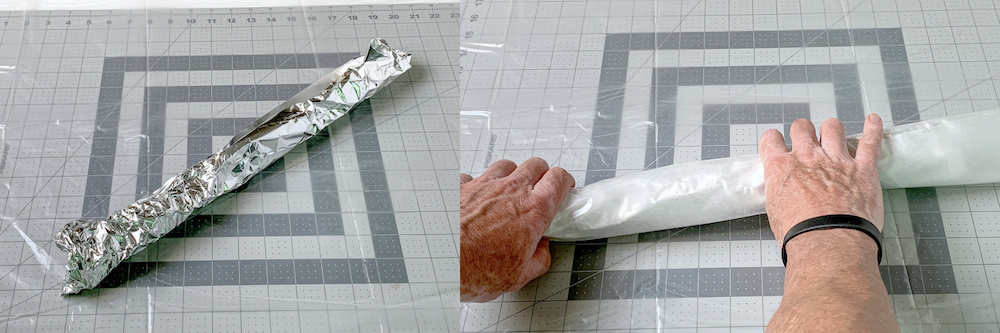
- Tear off two feet of foil and wrap into a tube. Cover the tube with wax paper so that the stiffener doesn't stick to it. These will be the arms (you can add more foil to make the arms longer).
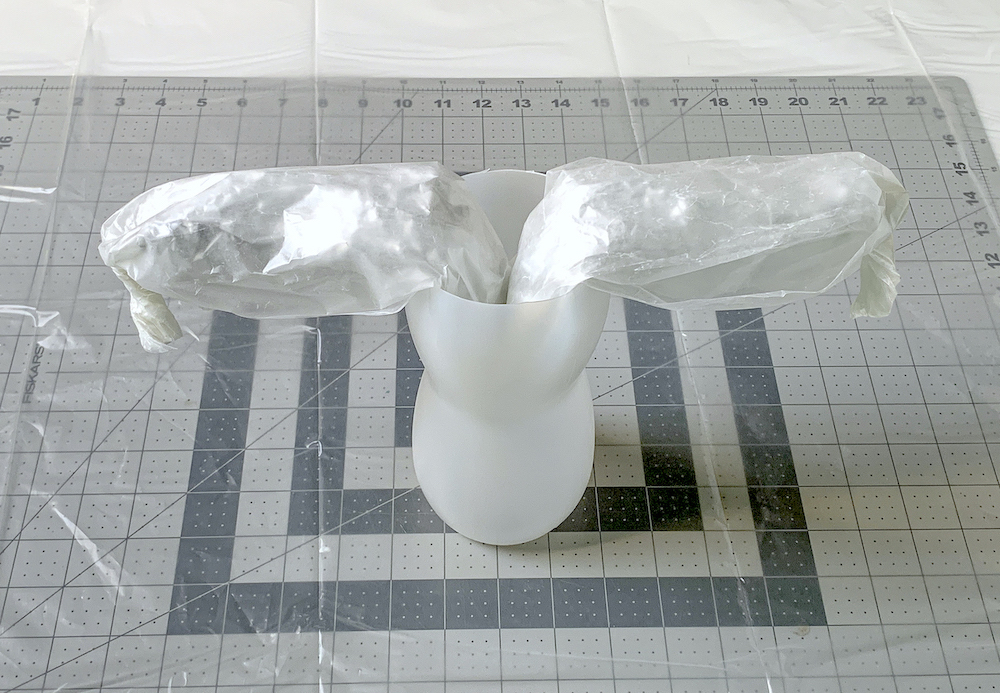
- Twist the ends of the arms so they don't come unraveled. Bend in the middle and stick into the coffee container. Shape so the arms don't come out and they stay straight.
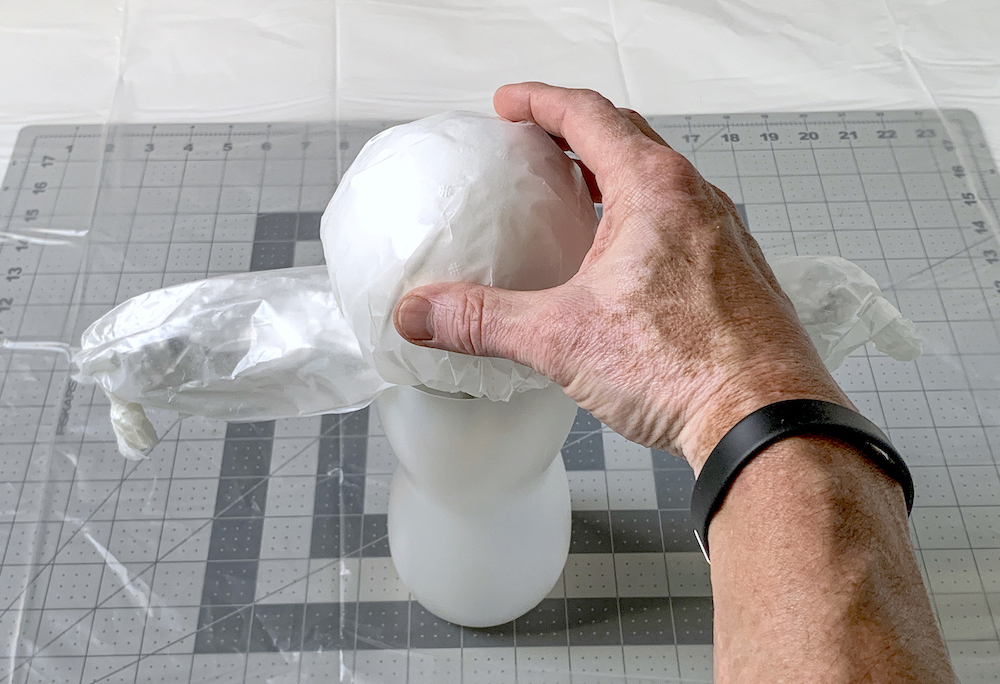
- Place the head on top of the container with the twisted portion down inside.
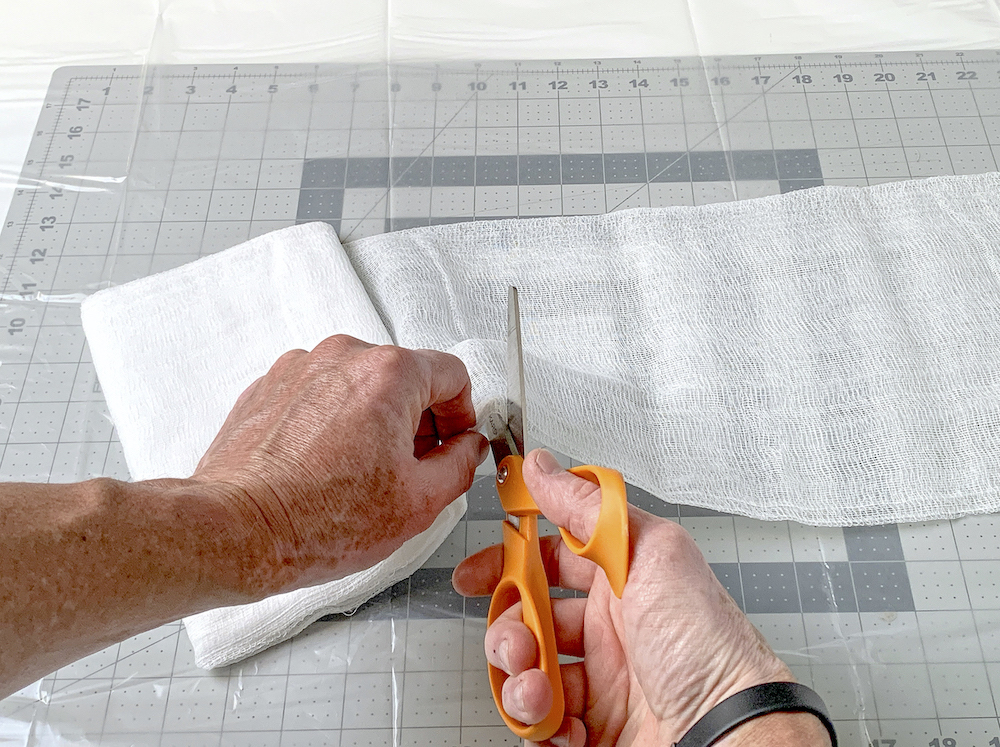
- Cut three lengths of cheesecloth (about 18", or to cover your mold) using the scissors. Before cutting, check to make sure the pieces will be long enough to cover the mold.
- Place in a bowl and squeeze fabric stiffener on top to cover. Coat the cheesecloth thoroughly with stiffener. You want enough to get it pretty wet without making it "stiffener soup."

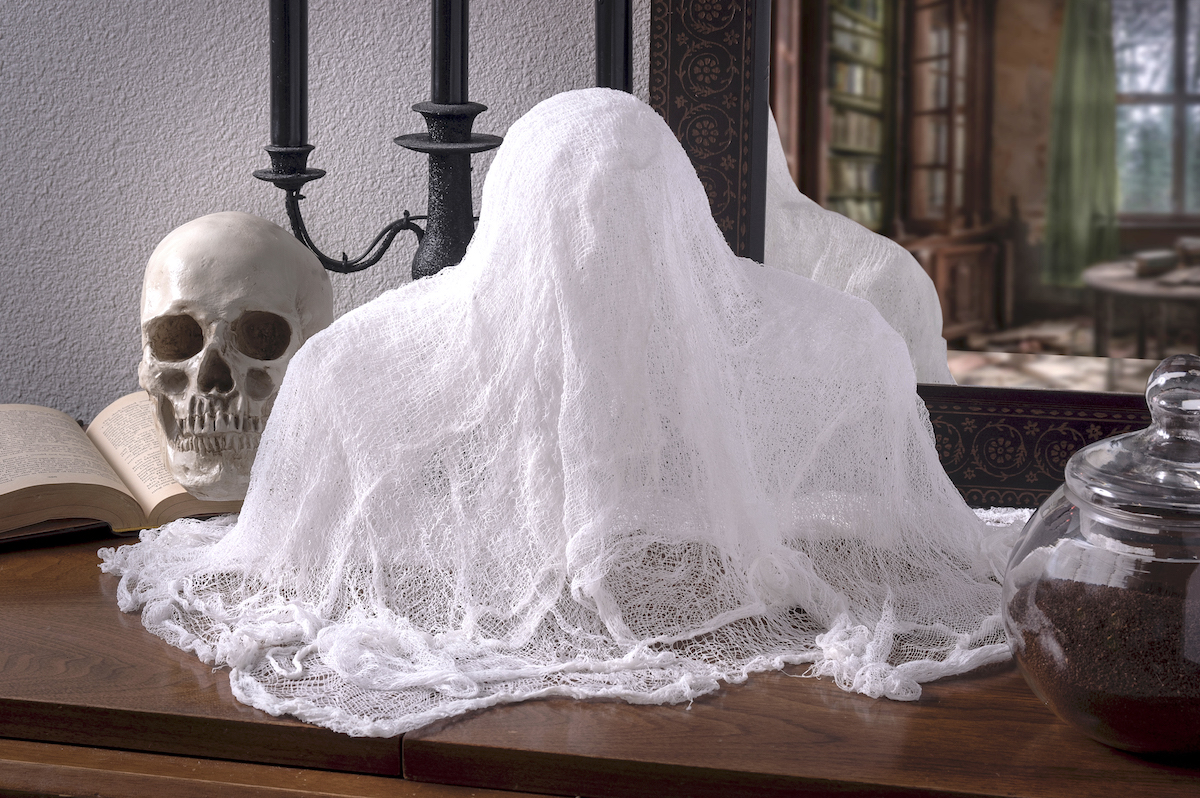
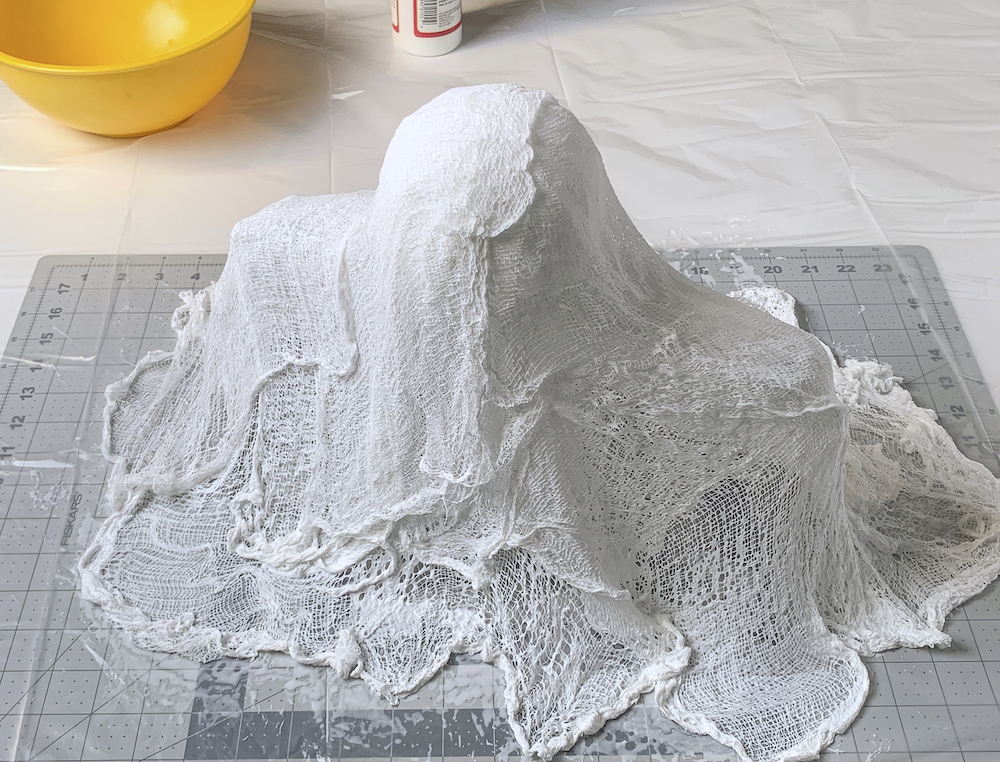
- Pick out one piece of cloth at a time and squeeze out excess stiffener. Drape over the top of the mold. You'll see that the ends curl naturally quite nicely. It's pretty lightweight so your mold should hold it easily.
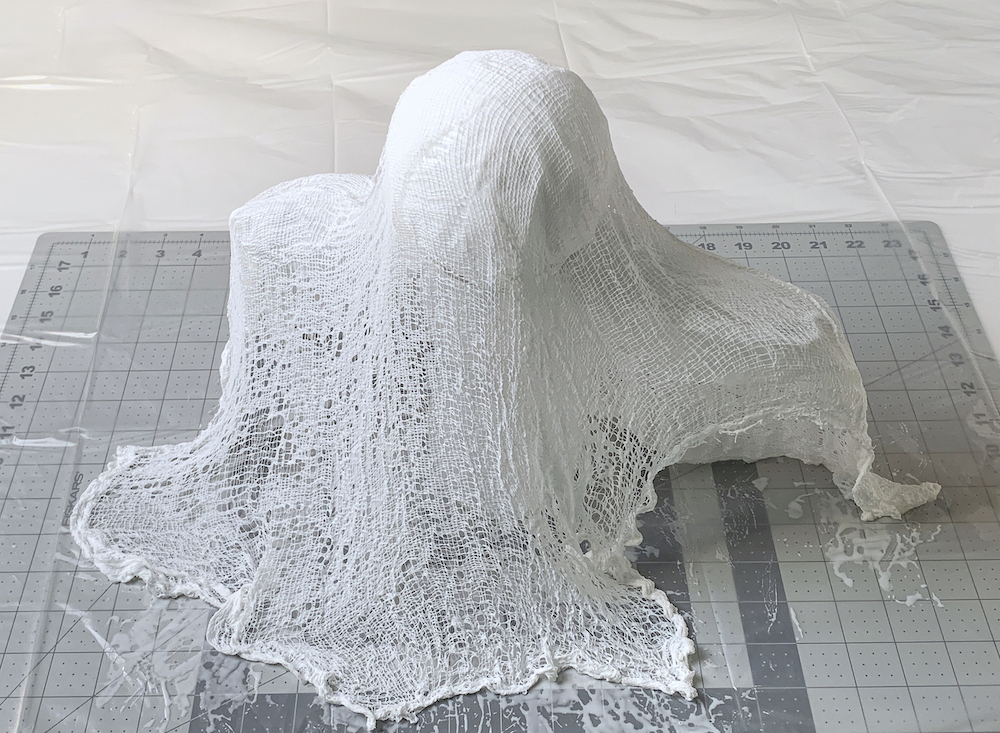
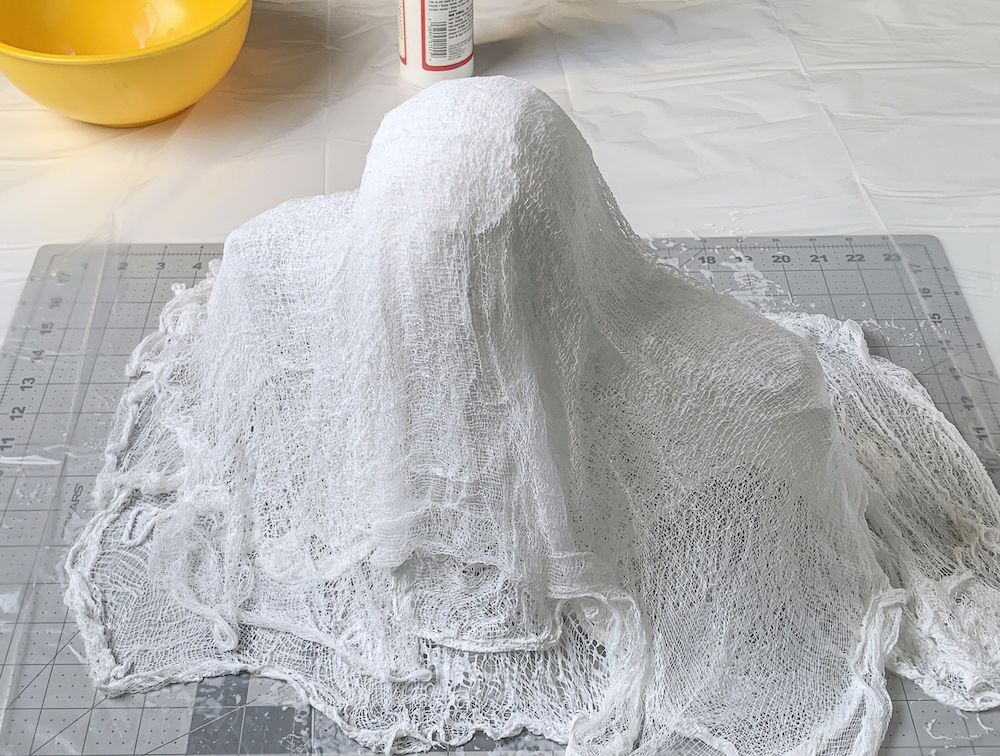
- Repeat with the second and third pieces of cheesecloth, arranging them slightly differently as you place to cover areas that you didn't get before. Let dry overnight.
- Remove the mold from the bottom of the ghost. You can help assist with the process using a hair dryer if needed. Make sure all parts are completely dry before displaying.
- Paint with glow in the dark paint and add eyes and a mouth if desired!
Notes
I hope you enjoyed this Stiffy ghost! Let me know what you think about this Halloween craft for adults in the comments! I hope you’ll also check out the following projects:
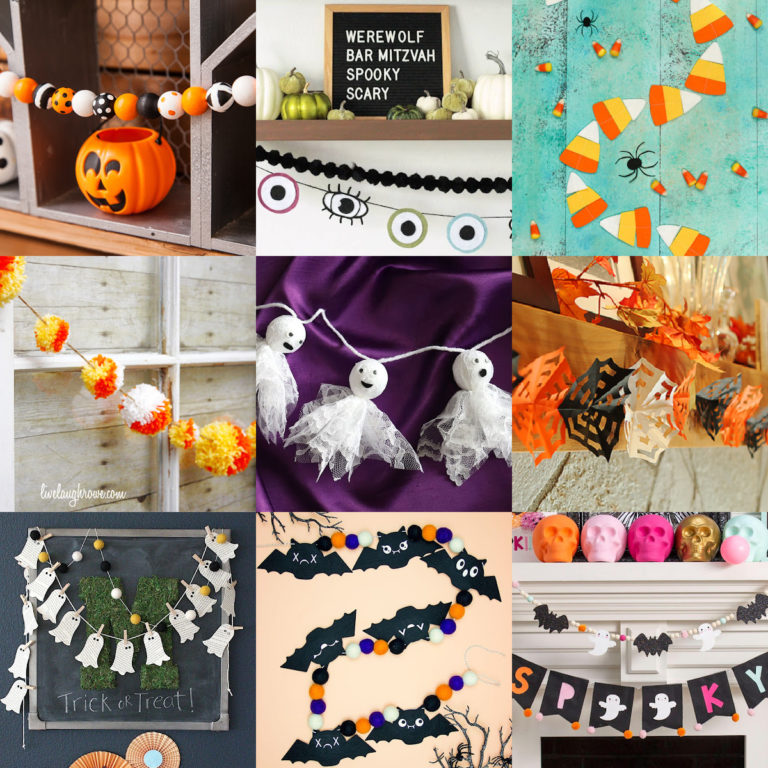
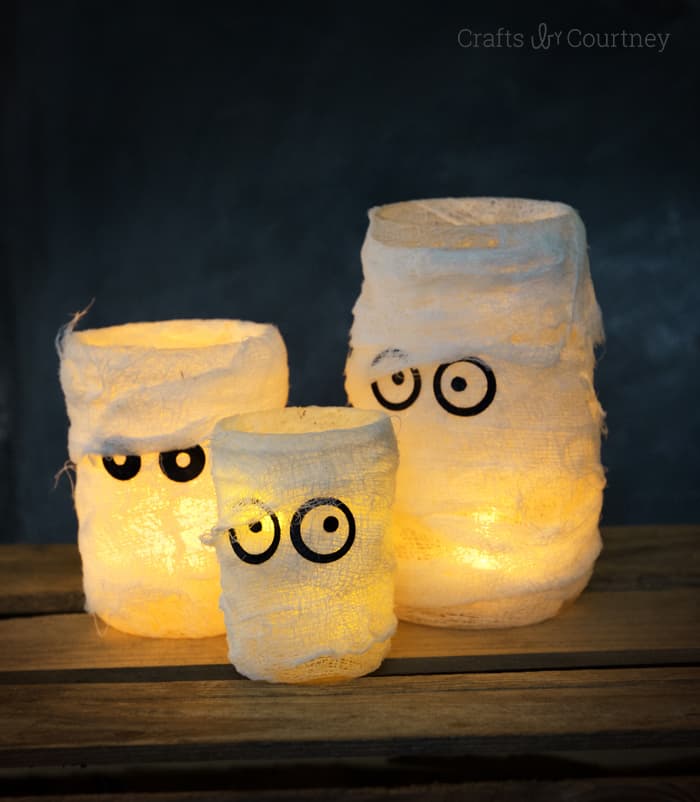
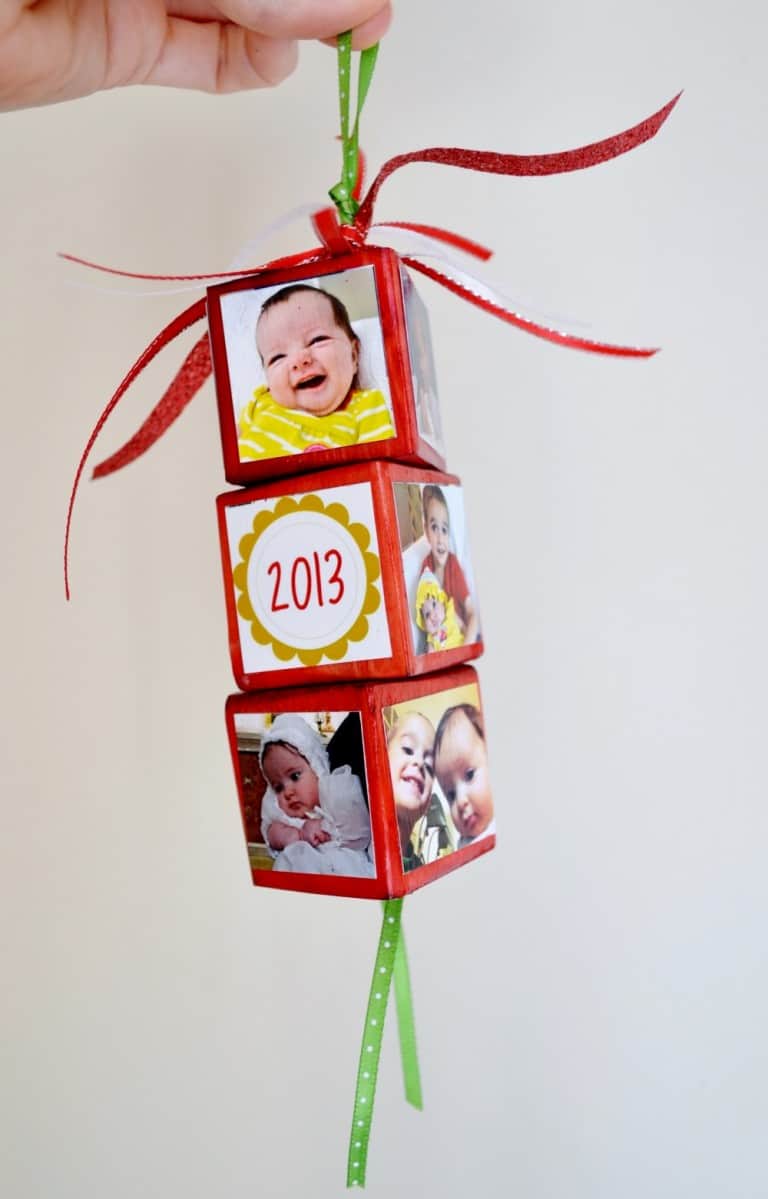
BOO Letters • Coffin Tray • Decorating Wood Cutouts • Decorative Blocks • DIY Wreath • Dollar Tree Wood Pumpkin • Door Hangers • Duct Tape Pumpkin • Fairy Garden • Halloween Ornaments • Halloween Rocks • Mason Jar Lanterns • Mummy Luminaries • Paper Cones • Potion Bottles • Spooky Candle Holders • Spooky Pumpkins


I have some ghosts that I made with Stiffy probably about 10 years or more ago. They’ve lost their oomph. Do you think if I were to get them wet (not saturated), I could re-drape them?
Love the crafts. You broke the directions down nicely. Love reading you letter.
Can you use the regular matte or satin mod podge with this project?
You can try but it will not be as stiff! Stiffy is made to be just a fabric stiffener, not a decoupage medium, so it’s harder when dry.
do you spray it with sealer afterwards?
love the idea!!!!
Hi Joann! I didn’t spray mine with sealer . . . I wonder if that would dissolve the Stiffy? That would be my concern. I haven’t done it!
Ghost is adorable
Made these several years ago with our granddaughter. Sit them over a battery tealight on our picnic table when camping every fall. Looks great and have lasted better than I expected. Get stored in a boxing the camper year round so no special treatment.
Oh that’s fun! I love the tealight idea underneath!
It is with pure joy I read your emails. Unless one has done a “How-To”, they cannot know how much work it is to break down every step, insert pics, add tips, and finally distribute the lesson. Thank you so much for sharing your expertise with everyone.
BTW: The ghosts are great.
Thank you so much Mare! You are so sweet. You made my day 🙂
Love your ghost
Thank you so much!
Love these ghosts