Learn how to paint wooden ornaments using adhesive stencils, glitter, and Mod Podge! This Christmas decor is easy to personalize, and these are perfect for gifts.
Skills Required: Beginner. It helps to have a little experience with acrylic paint since you’ll be painting with small stencils. If you’ve never used an adhesive stencil before, try on a practice surface first.
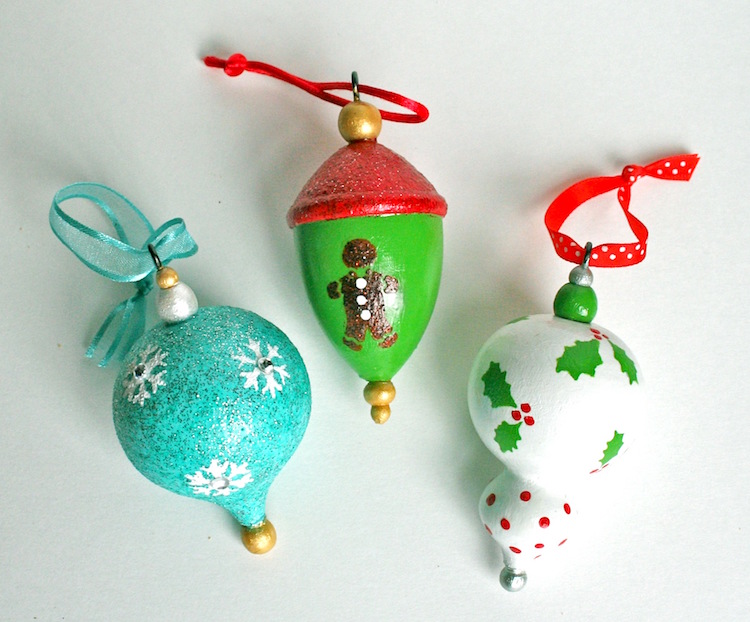
I’ve had some wooden ornaments purchased at Michaels lying around for about two years, and I am so excited to share with you that I *finally* got the chance to paint them.
I think sometimes it just takes the right crafting supplies and everything coming together at the right time. For this wooden Christmas craft, I used several supplies including paint in metallics/glitter . . . I also used my favorite Mod Podge Dimensional Magic.
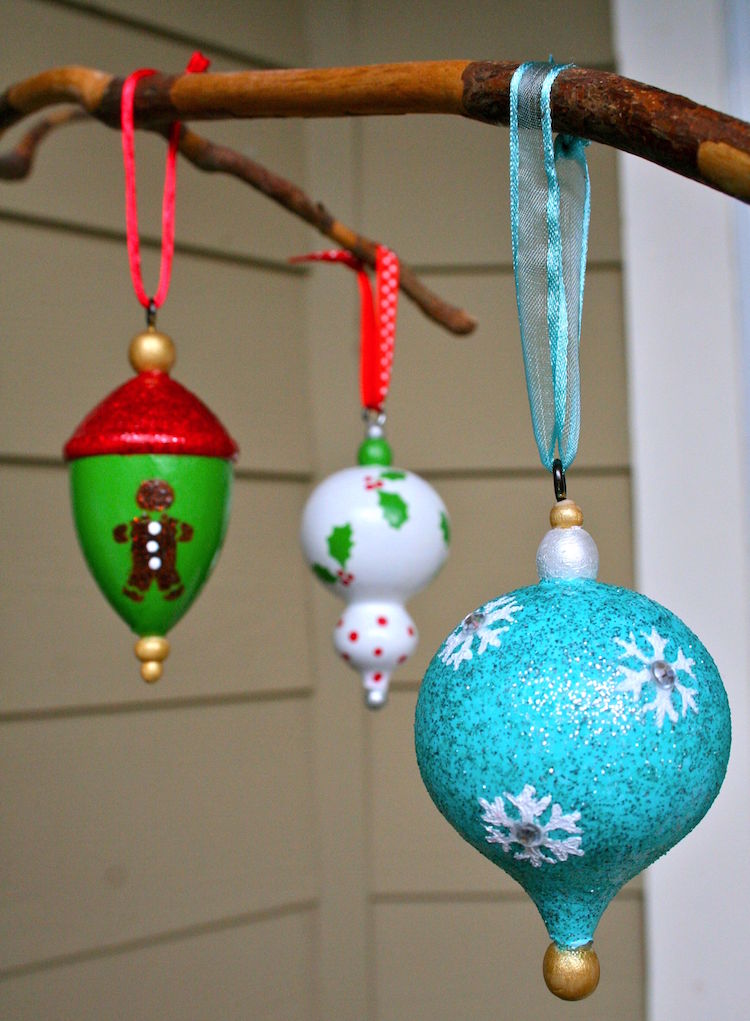
There’s a lot of glitter and bright colors goin’ on, just like there should be for the holidays. These were so fun to make – I had a blast. Read on to learn how to paint wooden ornaments.
Painting Wood Ornaments
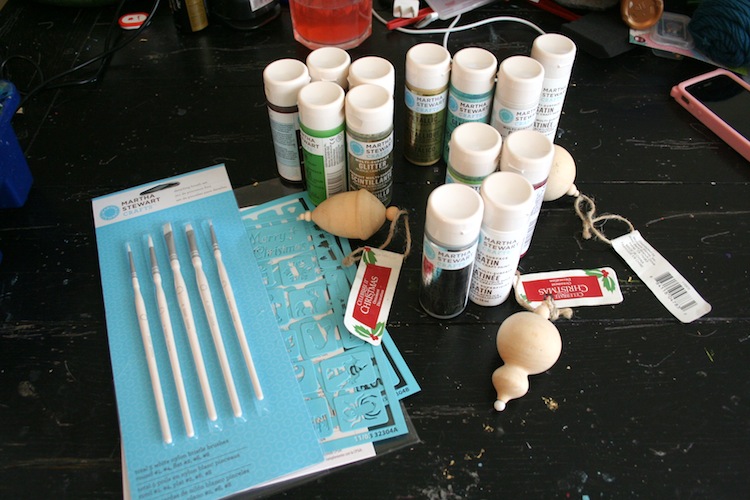
Gather These Supplies
- Wood ornament baubles – these were $.99 a piece at Michaels
- Mod Podge Dimensional Magic
- Craft paint – grab your favorite paint colors; use as many or as few as you like. I was playing!
- Martha Stewart Crafts Holiday Icons II Adhesive Stencils
- Spouncers – small
- Paintbrushes in various sizes
- Ribbon
- Scissors
- Small rhinestones
- Craft glue
The key to making everything look good with these paints is allowing appropriate dry time. This is the hardest for me because I am completely impatient in every way. I promise you won’t regret it.
Basecoat the Ornaments with Paint
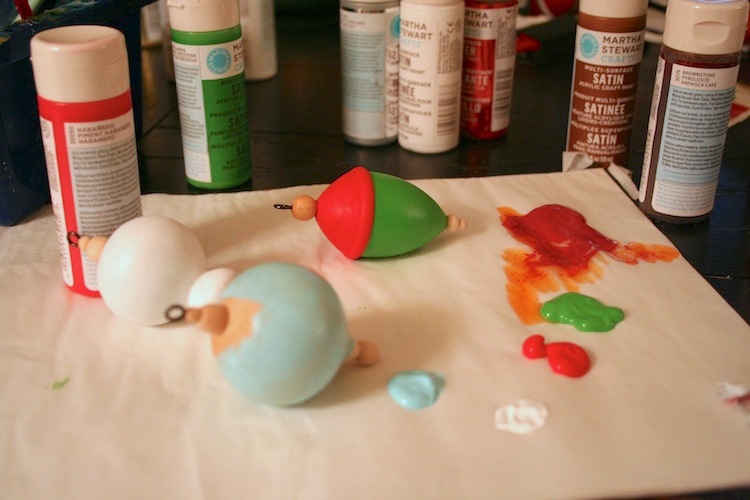
I first decided on my paint color combinations and then went to town basecoating. Small paintbrushes will aid you in this step. Basecoat everything first and allow to dry.
Add Glitter Paint
My little round guy was to get the Feldspar glitter paint over the Surf paint. I quickly realized that brushing was not the way to go with the glitter paint. Use the spouncer!
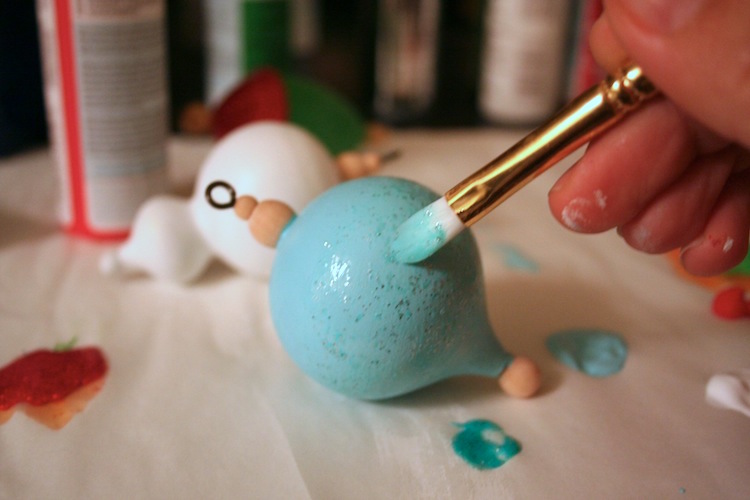
Give several coats of the glitter, until you have the desired glitter effect that you are looking for. I wanted it pretty glittery, so I painted on about five coats.
Add White Snowflakes with a Stencil
To finish this ornament, I added a few snowflakes using the adhesive stencil. This is where I learned patience.
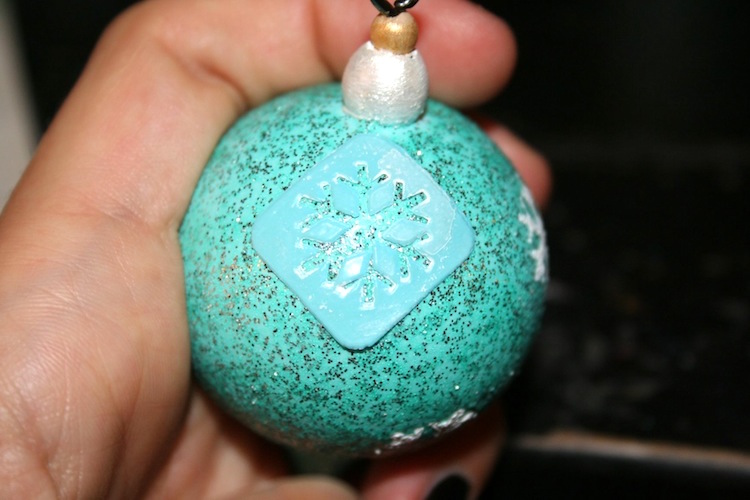
I painted on a snowflake (rub the stencil down firmly and then use a spouncer to paint), and then washed the stencil (and let it dry) before painting another. If you do this, you will get the cleanest lines.
Add Brown Gingerbread Men with a Stencil
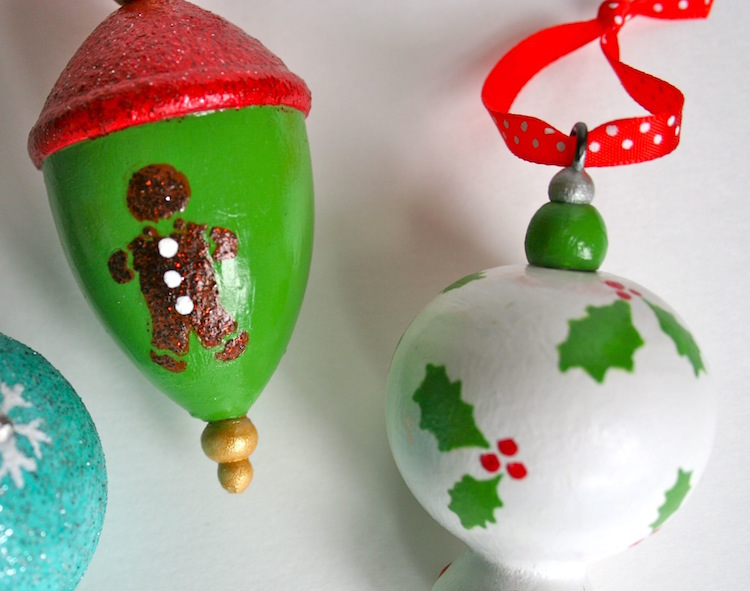
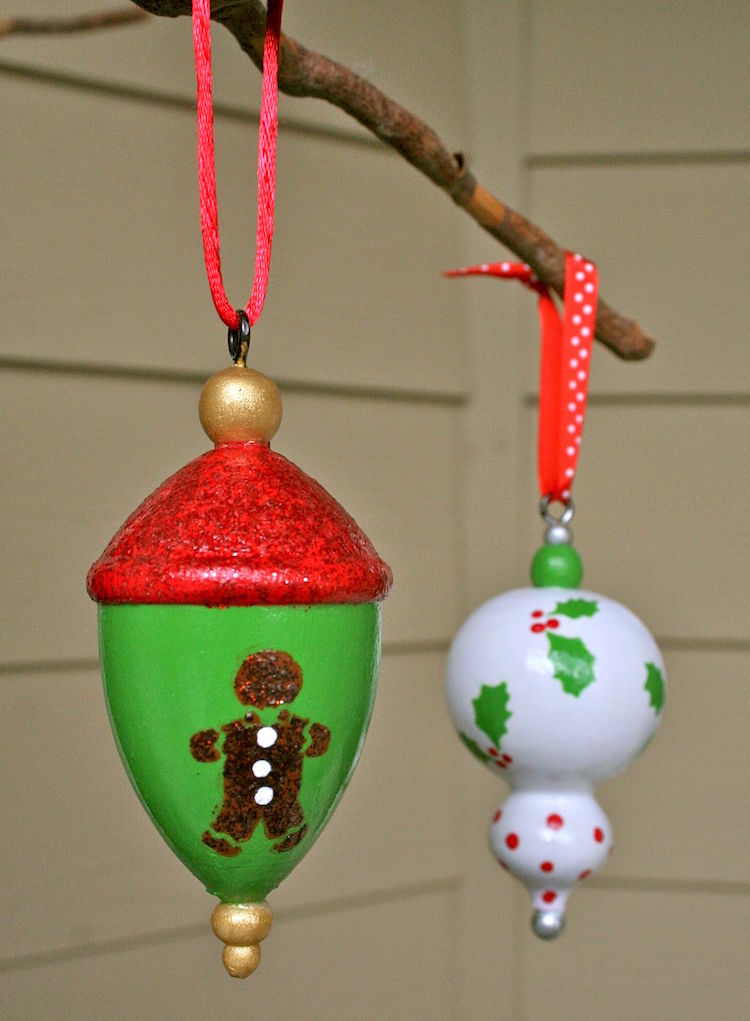
My acorn ornament got the gingerbread man stencil. Notice that I painted the top Habanero and added Garnet glitter paint to finish it off.
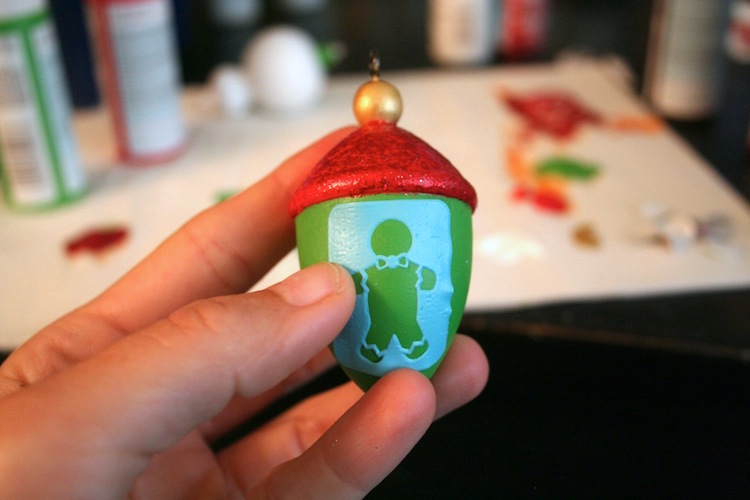
Peel off the stencils while the paint is still wet and touch up with a small paintbrush as needed. After painting the body with Chestnut Brown, I came back with the stencil again and added Brownstone glitter on top.
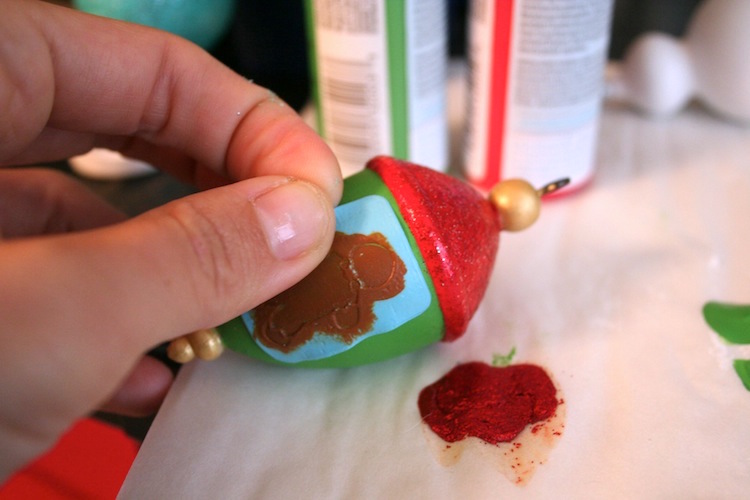
I let everything dry and gave my little man some buttons with the end of a paintbrush.
Add Holly with a Stencil and Spouncer
This teardrop was my most challenging surface. It’s not that it was hard, but it did take some time to get so many holly onto it.
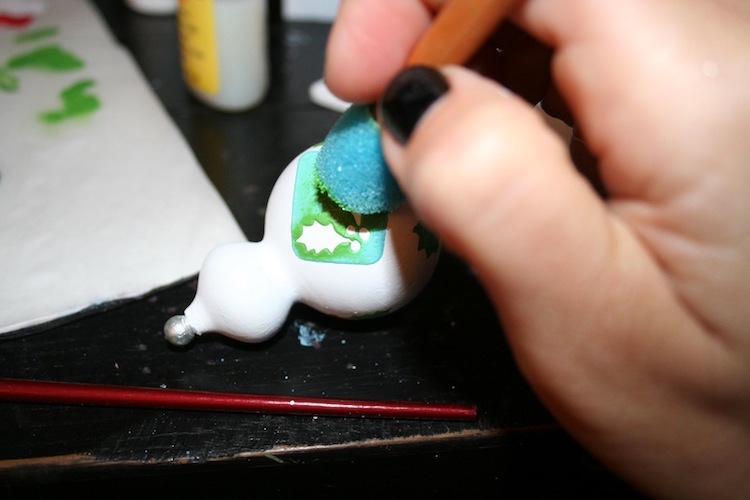
If you have several painted ornaments drying at once, it’s not a big deal because the paint dries quickly. You can work on one and then move to another while everything is drying.
Coat with Dimensional Magic
I decided to add Dimensional Magic to two of the ornaments (gingerbread man and holly). Simply take the cap off and pour a little bit out onto your palette – or you can dump the whole bottle like I did, but I don’t recommend it (whoops).
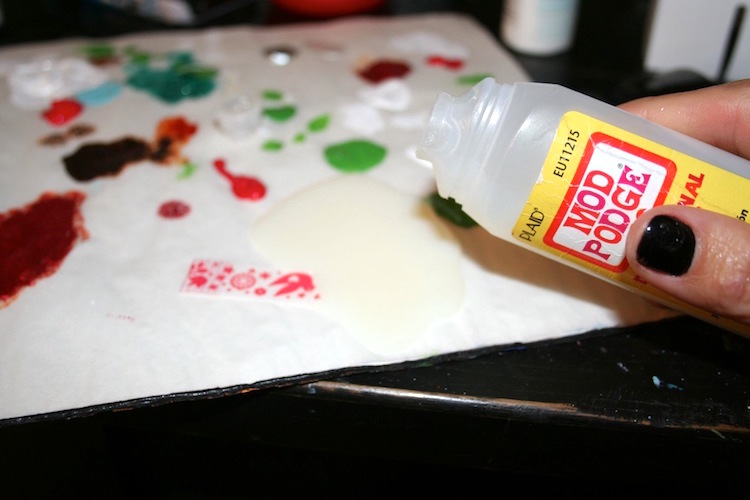
Paint the Dimensional Magic on with a brush to get an epoxy-shiny-ish effect. Those new tape dispensers make great ornament drying holders!
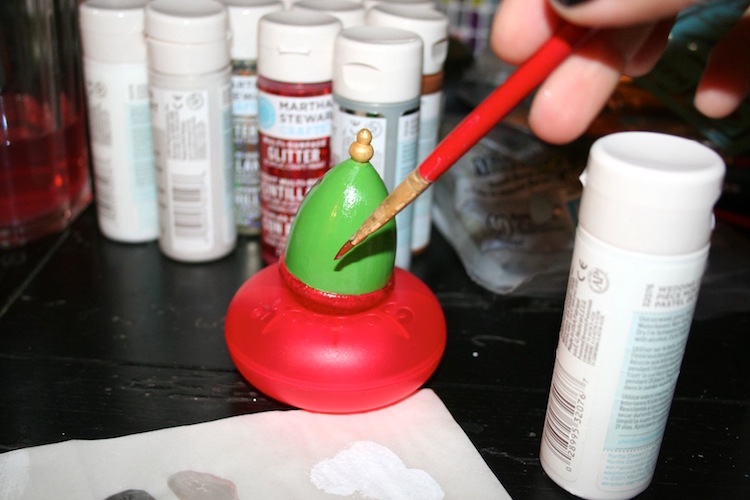
Make sure to get your brush right into water after using DM, because if it dries you’ll have to throw away the brush. Allow everything to dry thoroughly.
Add the Ribbons to Finish
Add the finishing touches to your painted ornaments, like ribbon hangers and rhinestones with craft glue.
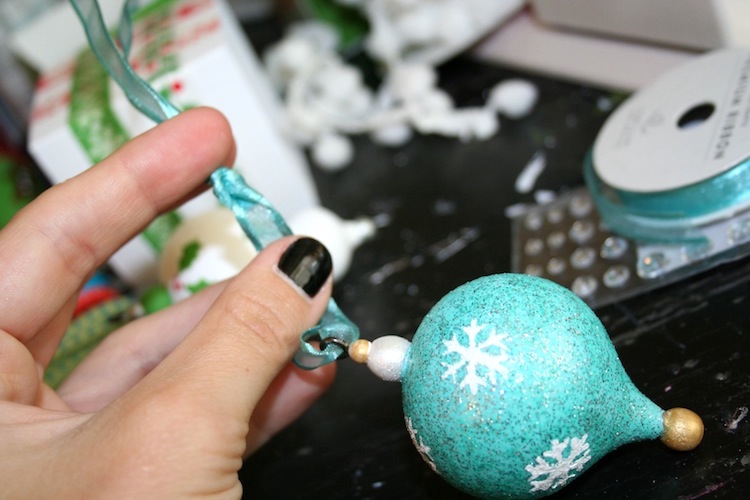
I’m very pleased with my painted ornaments! I love the multisurface paints (and I mean love), the stencils rock and you know I love Dimensional Magic.
Now that you know how to paint wooden ornaments, I hope you’ll give it a try.
I need to head to Michaels and see if they have any more of these cute little wood shapes, because I have so many more stencils and these are awesome projects to make as gifts. Have you painted any wooden ornaments for Christmas this year?
Do you love making ornaments? I’ve got LOTS of ideas for you. Check out the following posts:
Confetti • Crystal Photos • Decoupage Fabric • Kids’ Handprints • Letters • Mason Jar Lids • Mod Podge Glitter • Night Light Bulbs • Paper Bags • Paper Balls • Paper on Glass • Photo Blocks • Rhinestones • Rustic Glitter • Salt Dough • Seashells • Shadow Box • Sugar




These are awesome! And I never thought to use the pouncer for the glitter… I’ll have to try that! I hope that they still have ornaments like these when I stop by – I love that they aren’t traditionally “round” ones! : )
I’m jealous of your patience! I’m also jealous of your MS paint collection.
Oh these turned out super Amy! I am so in love with that glitter paint.
Pretty and cute, sparkly is so festive, I love the holiday shine.
What would the holidays be without glitter everywhere? I’m in — and hope I win! Thanks for the great offering and super ideas.
Super Cute! Three of my favorite holiday things- Snowflakes, Gingerbread and Crafting!
I like the glitter paint by itself. I usually use it as a second coat to add a little bling to my project.
I have two wooden ornaments in my craft drawer that I wasn’t sure what to do with, and now I have a little inspiration! Thank you!
So Cute I especially love the blue one.
I agree sometimes it takes time to mary objects in order to create something so FAB as these Ornaments! Nice Job, Amy!
I haven’t tried Martha Stewart paints yet but would love to. Cute ornaments! I am ready to get into some holiday crafts now!
I always had trouble with the glitter paint..Ah ha! I will pounce it on I love them…so cute!
Carol
You dressed up those wooden ornaments perfectly! Will have to look out for them at Michaels!
They turned out great! Love your tutorial too – great tips! Yeah, I usually work on 3 projects at once because of the paint drying time :p
The pouncer idea is awesome! I’m not painting ornaments yet but I am painting a ton of santas & angels. Giving them a little ‘soul’. I’ve heard in the ATL it’s easy to find black santas, but not so here in CA. So I’m using MS paint on all the figurines. Love that stuff 😀
Hey – maybe you could open an Etsy shop. I know you have plenty of free time, right ? lol
Looks like fun and would be great idea as pull for fans a and pull on lights to add as a tossel if they were small.
Last Christmas my best friend gave me a really nice wooden Christmas ornament. It had my name and a picture of a reindeer engraved on it. It was super cool and I found out that a firm out in Colorado called Unique Custom Products made it. I am considering ordering from them this year…check them out if you like wooden itemswww.stampworldonline.com.