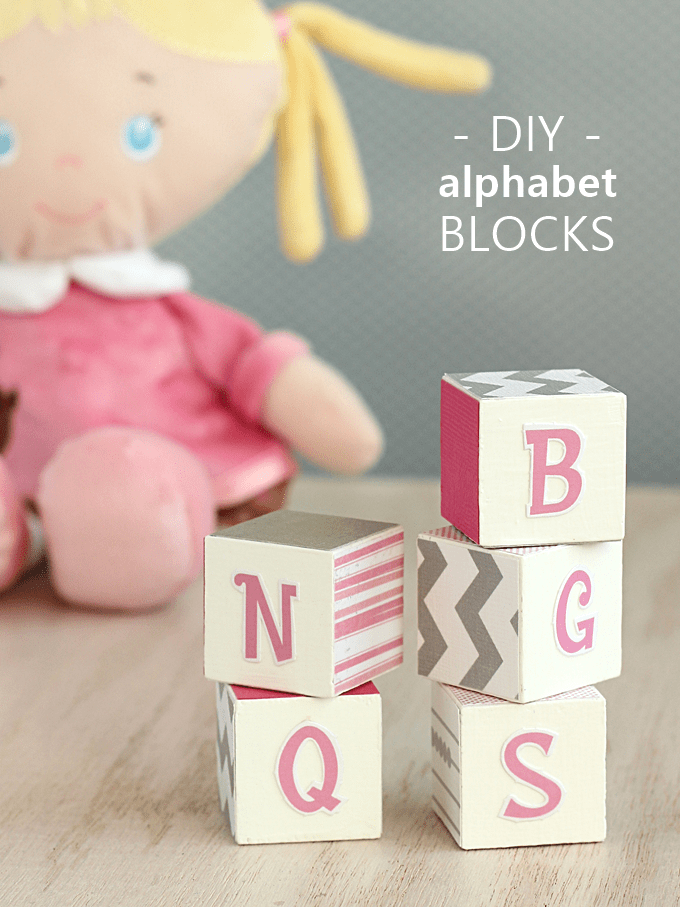
Make cute DIY alphabet blocks for nursery or room decor! This easy decoupage craft is perfect for a beginner to tackle and is so cute.
Skills Required: None. These blocks are easy to make! They are small enough to complete quickly. You’ll be applying such small paper designs that wrinkles shouldn’t be an issue.
Hi there! It’s Shannon from Rosyscription again and I’m back to share another simple decoupage craft. I don’t think I’ve told you this, but my husband and I are expecting our first baby later this summer!
We are so excited and I’ve been working on a bunch of projects for our little girl’s nursery. I recently made these easy DIY alphabet blocks to decorate her room.
NOTE: Mod Podge is non-toxic and water based, so it is safe for children to handle and to craft with. Older kids can definitely play with these blocks, but I would supervise very young children with them. They should not be put in children’s mouths.
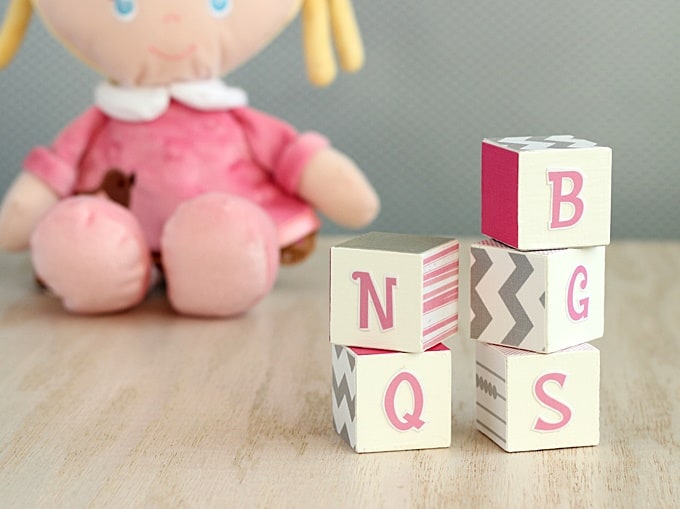
Easy DIY Alphabet Blocks
This wood craft is a very easy Mod Podge project that can be tackled at any craft level. It would be a perfect beginner craft idea, especially if you are looking for a simple craft for kids’ room decor.
What’s great about this project is that you (or your child) can customize these blocks however you want.
The blocks can match a room’s décor or your child can cut out their favorite pictures, stickers or patterns to make the blocks their own.
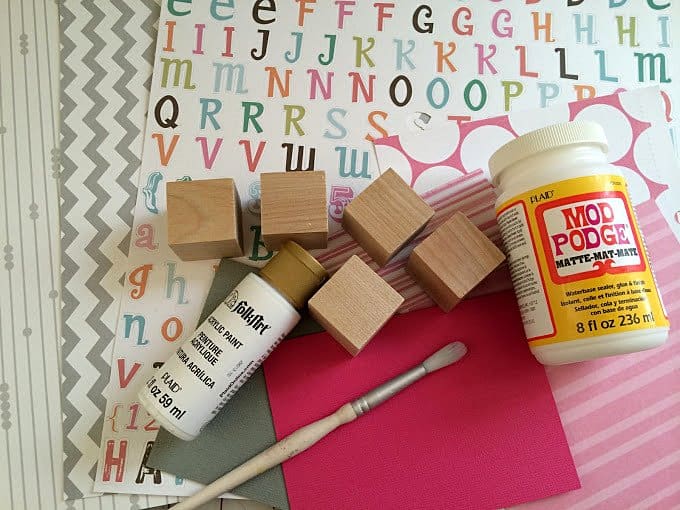
Gather These Supplies
- Small wooden blocks
- White craft paint
- Mod Podge Matte formula (or Mod Podge Hard Coat for added durability)
- Brushes
- Scrapbook paper, in coordinating patterns and colors
- Alphabet stickers or cut-out shapes
- Scissors or paper cutter
Steps to make DIY alphabet blocks:
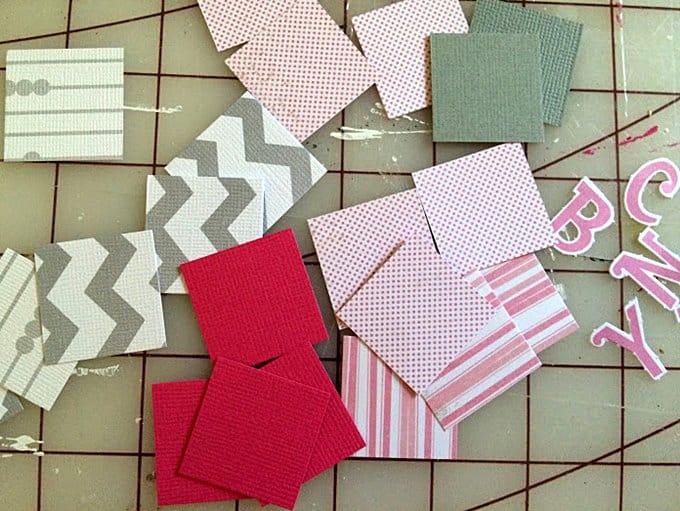
Using scissors or a paper cutter, cut out small squares of paper that will fit snugly on each side of the blocks.
You can also use letter stickers or shapes if you desire to make an ‘alphabet’ block. I used two letters on each block and covered the other four sides with pretty paper.
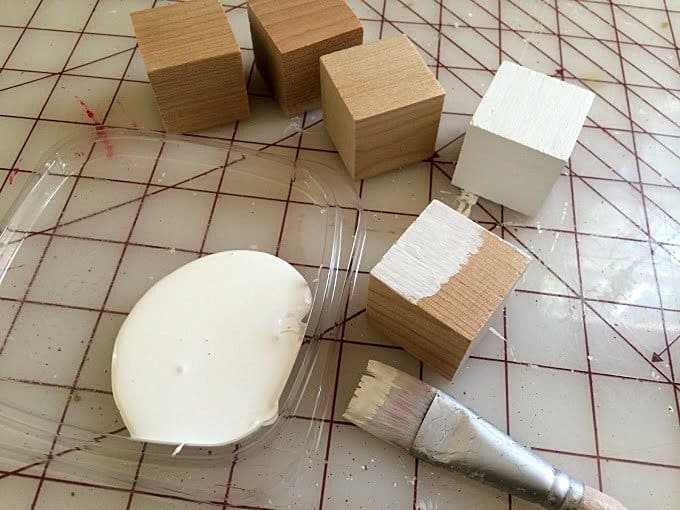
Paint each block with one to two coats of paint. This color will serve as a base color that will potentially show along the edges of the paper squares or behind your letters. Allow the paint to dry.
The next step for your DIY alphabet blocks is to Mod Podge them.
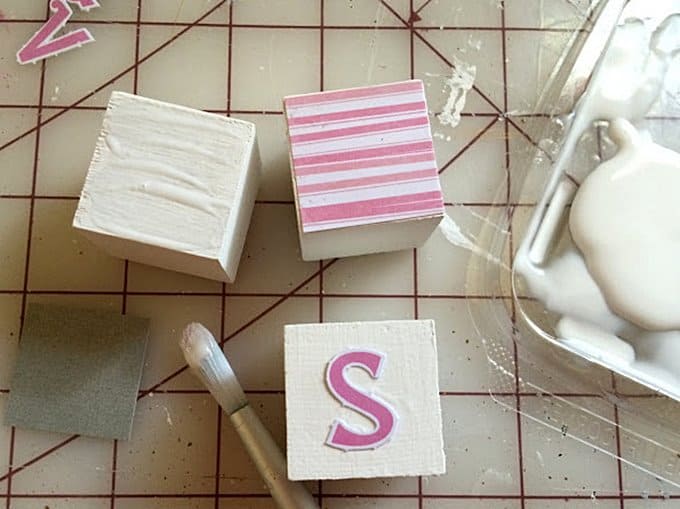
Brush a coat of Mod Podge on one side of a block and press either a paper square or letter shape over the glue. Smooth out any bubbles and allow to dry. Repeat this step on all of your other blocks.
Then, begin to work your way around all the surfaces of each block to cover the sides of each one. You may have to work in stages to allow one side to dry before working on the opposite side of the block.
Once all of the block sides have decoration on them and are dry, go back and apply one to two more coats of decoupage over all of the surfaces.
Again, you may have to work in stages to allow for drying time before flipping to the other side.

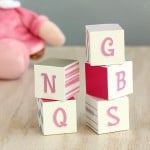
Set your cute DIY alphabet blocks out as décor or play with them!
We are planning to use our DIY letter blocks as décor on a shelf only for the first year or two with our babe. It will be fun to look and handle them with her together.
Alphabet Blocks
Equipment
Materials
- Wood block(s)
- Craft paint white
- Mod Podge Matte
- Scrapbook paper in coordinating patterns and colors
- Alphabet stickers or cut-out shapes
Instructions
- Using scissors to cut out small squares of paper that will fit snugly on each side of the blocks.
- You can also use letter stickers or shapes if you desire to make an ‘alphabet’ block. I used two letters on each block and covered the other four sides with pretty paper.
- Paint each block with one to two coats of paint. Allow the paint to dry.
- Brush a coat of Mod Podge on one side of a block and press either a paper square or letter shape over the glue. Smooth out any bubbles and allow to dry. Repeat this step with the other blocks.
- Cover the sides of each block, working in stages as each side dries. Let dry completely before displaying.
Notes
If you like these DIY alphabet blocks, here are some other craft ideas you can make with wood blocks: