
Use Mod Podge, holiday minis, and a paper mache box to create unique Christmas shadow box ornaments. So fun and very satisfying to make!
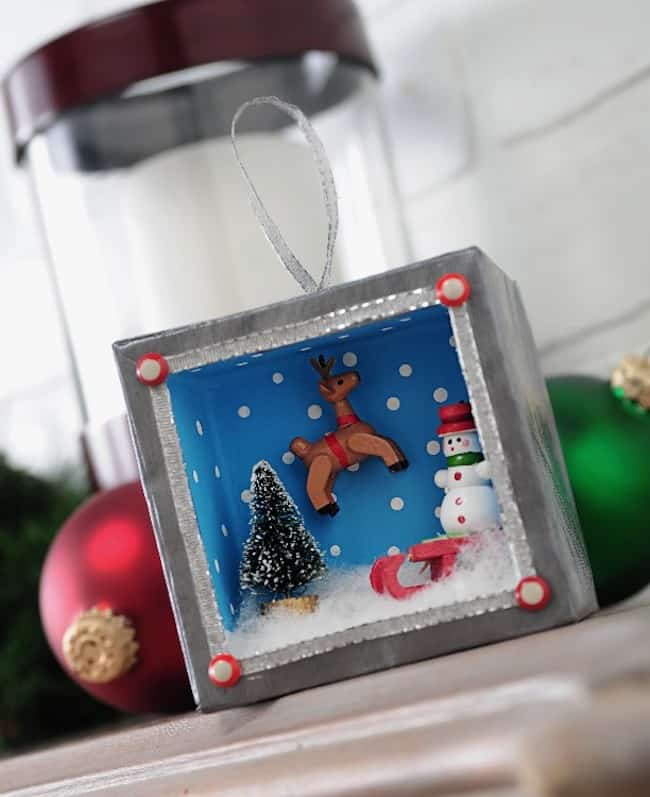
I’m so excited about this shadow box ornament project! I’ve wanted to try shadow box ornaments for my Christmas tree, so when Sizzix asked me to use their 3-D cube shape I eagerly accepted the challenge. I knew there was something wonderful that could be done with it: a Christmas ornament!
Sometimes the obvious escapes me, and it was designer (and my friend) Holli who suggested that I do holiday shadow box ornaments. Thanks Holli, for this Mod Podge ornament idea – I owe you one.
*Note: this shadowbox ornament was made with a Sizzix product that is no longer available. If you want make an ornament like this, use a square paper mache box like one of these with the lid removed. Pick one larger and deeper than the one suggested below.
DIY Shadow Box Ornament
Gather These Supplies
- Sizzix Bigz XL Die – Cube, Twist 3-D by Karen Burniston
- Sizzix Big Shot die cutter
- Black cardstock, 1 sheet
- Mod Podge Silver Shimmer (if you can’t find the Silver Shimmer, just use a sparkle version)
- FolkArt Acrylic Paint – Ocean Cruise, Winter White
- Paper Mache box, approximately 2.5 – 2.75″ square
- Mini Christmas ornaments – I bought mine in a set at Michaels
- Silver Ribbon, 1 yard
- Red brads (you could use buttons too)
- White stuffing for fake snow
- Craft Glue
- Craft Knife
- Scissors
- Paintbrush
- Toothpick
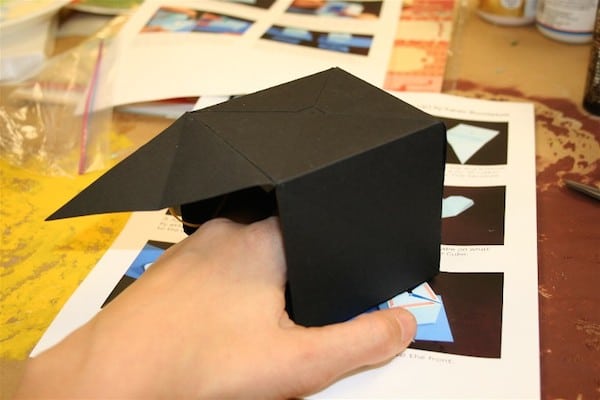
Assemble the cube according to the instructions. Karen Burniston, who designed the die, is very kind and made a video that you can find here. I left the back of the cube open.
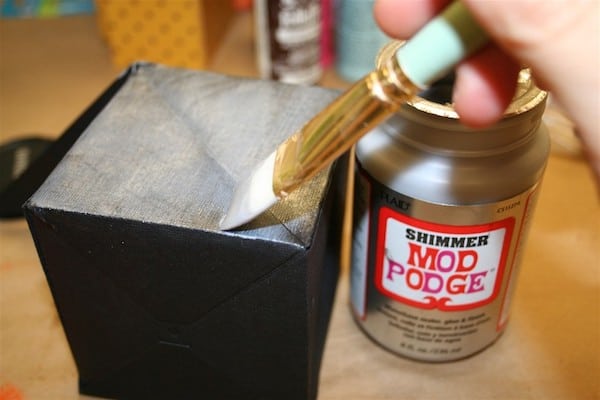
Completely coat the outside of the cube with Mod Podge Silver Shimmer. I put on about three coats so that it would be very shimmer-y. I’m all about bling these days. What’s come over me?
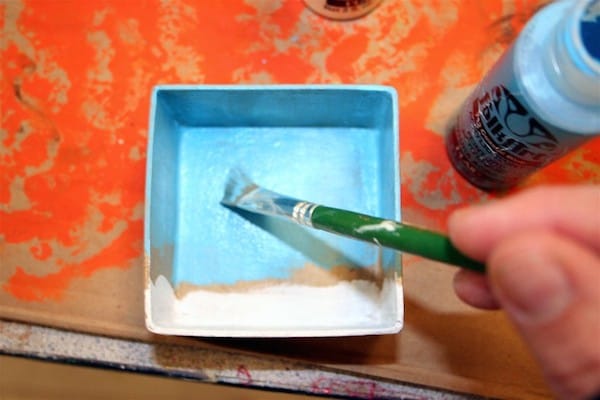
Take the lid off of the paper mache box – you won’t need it for this project (but save it for another). The inside of the box is going to hold everything, so paint it with a winter scene.
I used both FolkArt colors to make my sky and snow for my shadow box ornaments. Allow to dry.
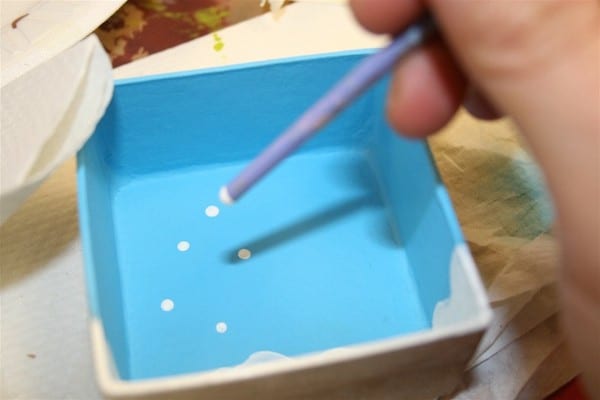
Use the end of your paintbrush to make dots for falling snow. Allow to dry.
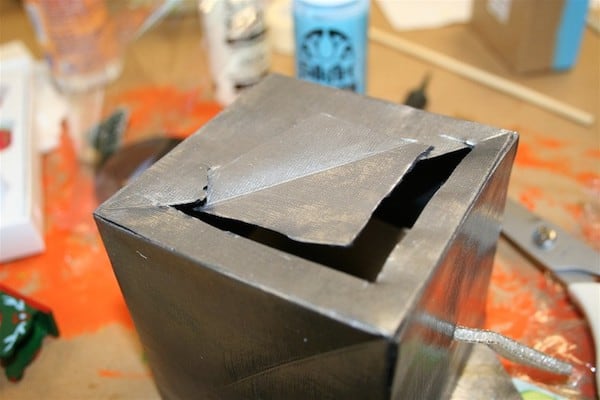
Choose which side of the cube is going to be the front. If you use Karen’s die it includes a pre-cut hole, so that needs to be on the top.
Use your craft knife to cut out a window in the front. Cut carefully and slowly; use scissors to trim up if necessary.

Time to go glue crazy, which is the best kind of crazy to be! Insert the box into the back of the ornament and glue to the front. Glue the snow into your scene, and then use the silver ribbon to outline the “window.”
You’ll see I used a toothpick to apply the glue because I needed such a thin strip.
After you are done gluing, make sure that you have inserted some silver ribbon through the hole in the top of the cube so that it will hang like an ornament. Glue to secure.
You are done working inside the cube, so you can now glue the back flaps closed. Don’t you feel like you just completed major surgery?
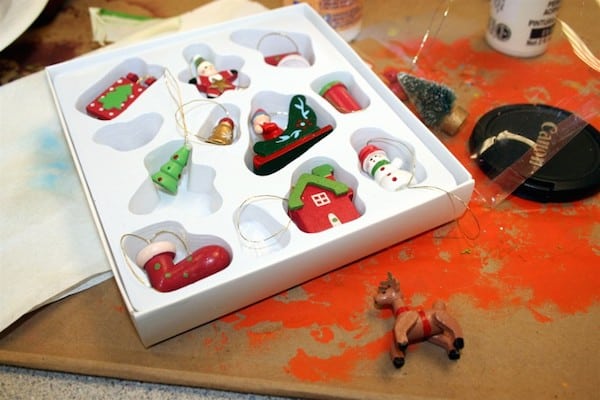
Here’s my cute little ornament tray (along with a paint mess and my camera lens cover). I chose a few characters and a tree and snipped off the hangers.
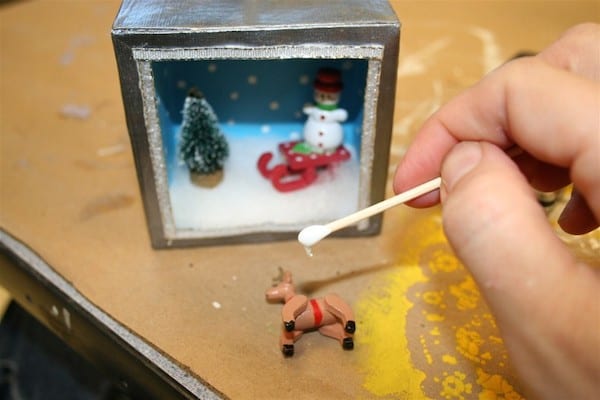
Glue your miniatures into the shadowbox. I used a toothpick again. Suddenly I love gluing with toothpicks.
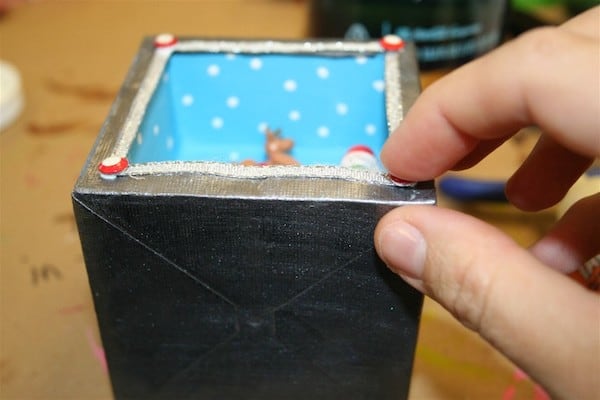
To finish, add either brads or buttons to the corners with craft glue. You don’t need a toothpick this time, but you are welcome to use one if you would like.
Thanks for swinging by and seeing my shadow box ornament. I had a blast. I hope you’ll try some shadow box ornaments in the future! I also hope you’ll check out these other ornament tutorials:
Confetti • Crystal Photos • Decoupage Fabric • Glass Balls • Kids’ Handprints • Letters • Mason Jar Lids • Mod Podge Glitter • Night Light Bulbs • Painted Wood • Paper Bags • Paper Balls • Photo Blocks • Rhinestones • Rustic Glitter • Salt Dough • Seashells • Sugar


Where did you get those cute ornaments??
Hi Jessica – Michaels!
Lovely and simple, thanks for sharing such a fun project 🙂