These decorative Christmas boxes are easy to make for your home using scrapbook papers! This cute DIY project looks like a Christmas tree.
Skills Required: Beginner. This isn’t a hard project, it just takes a bit of time due to the several steps of painting, decoupage, etc. It’s fun though. You get to do a little bit of everything!

Sometimes I go crazy with an idea – and this would be one of those times. You see, I had a set of wood boxes with lids, and I wanted to make a Christmas decoration of sorts. So what is a crafty gal to do but raid her stash and make it happen?
Christmas Boxes Decor
I pictured a DIY Christmas tree (at least the shape) made by stacking the boxes. It would go on a table display or Christmas mantel, which makes the height kind of nice.
I think the supply list below looks a little intimidating, but here’s the thing – that’s everything I used, and you can just use what you have on hand.
Christmas paper and embellishments? Check. Mod Podge? Check. You don’t need much more than that, and you can decorate this wood Christmas craft as much or as little as you like . . . though I do recommend the little star on top to make it more tree-like.
Here’s how I made this Christmas craft for adults below.
Gather These Supplies
- Stackable wood boxes with lids – 3 (you can also use paper mache)
- Mod Podge Satin and Sparkle
- Mod Podge Dimensional Magic
- Gift tag shape – wood
- FolkArt paint – Wicker White, Bright Green, Citrus Green, Christmas Red, Pure Metallic Gold
- Scrapbook paper in various Christmas patterns
- Wood star shape
- Wood circle
- Embellishments – ribbon, buttons
- Wood letters to spell “JOY”
- Paintbrushes – one medium, one small detail brush
- Craft knife or scissors
- Craft glue
- Pencil
- Ruler
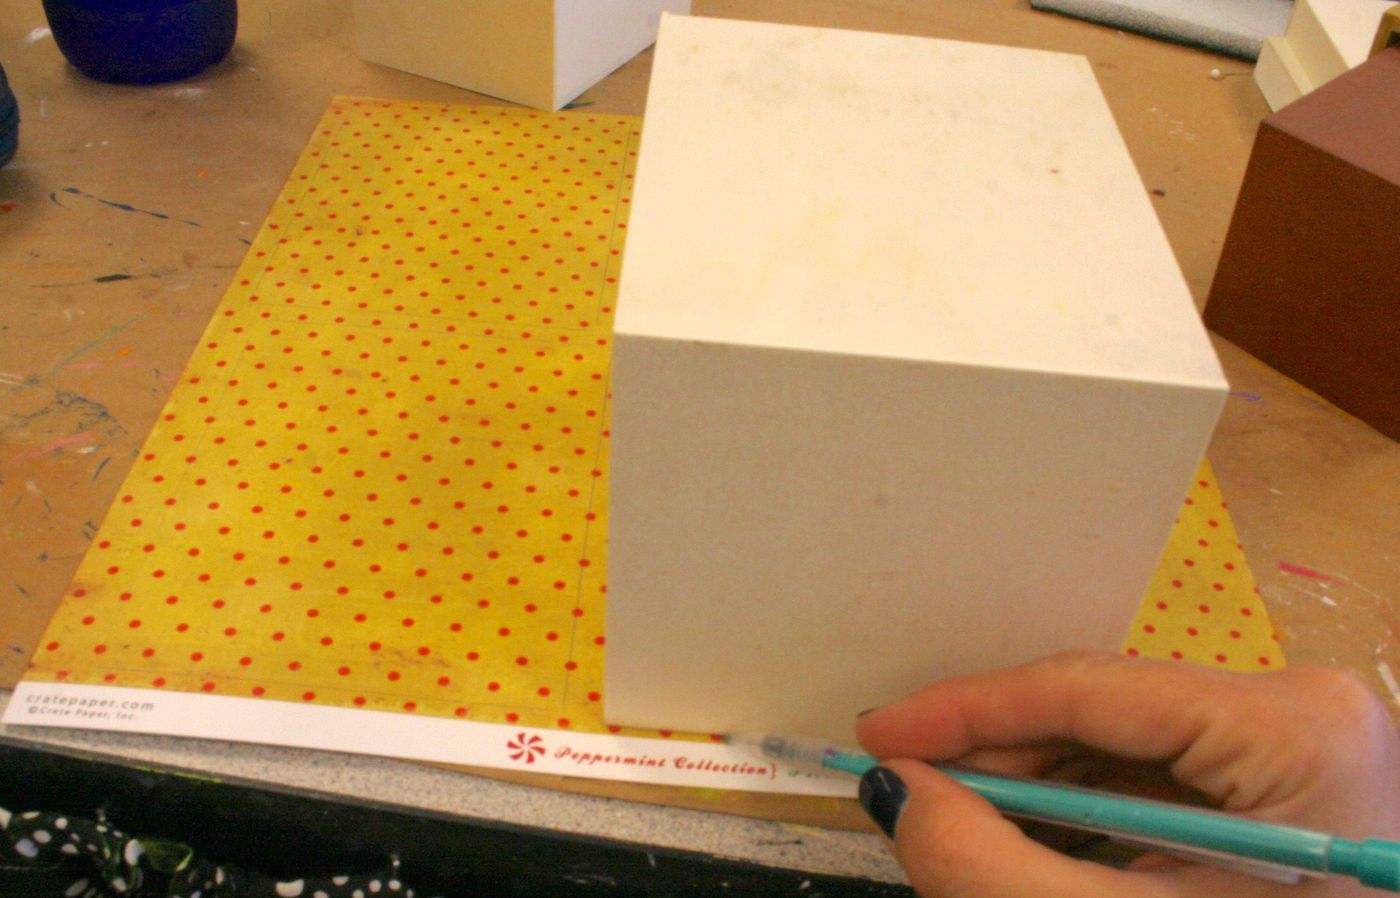
Trace and Cut Out the Paper
Trace the sides of the boxes onto scrapbook paper using the pencil – all four sides. I covered each side of all four boxes with paper is what I’m sayin’.
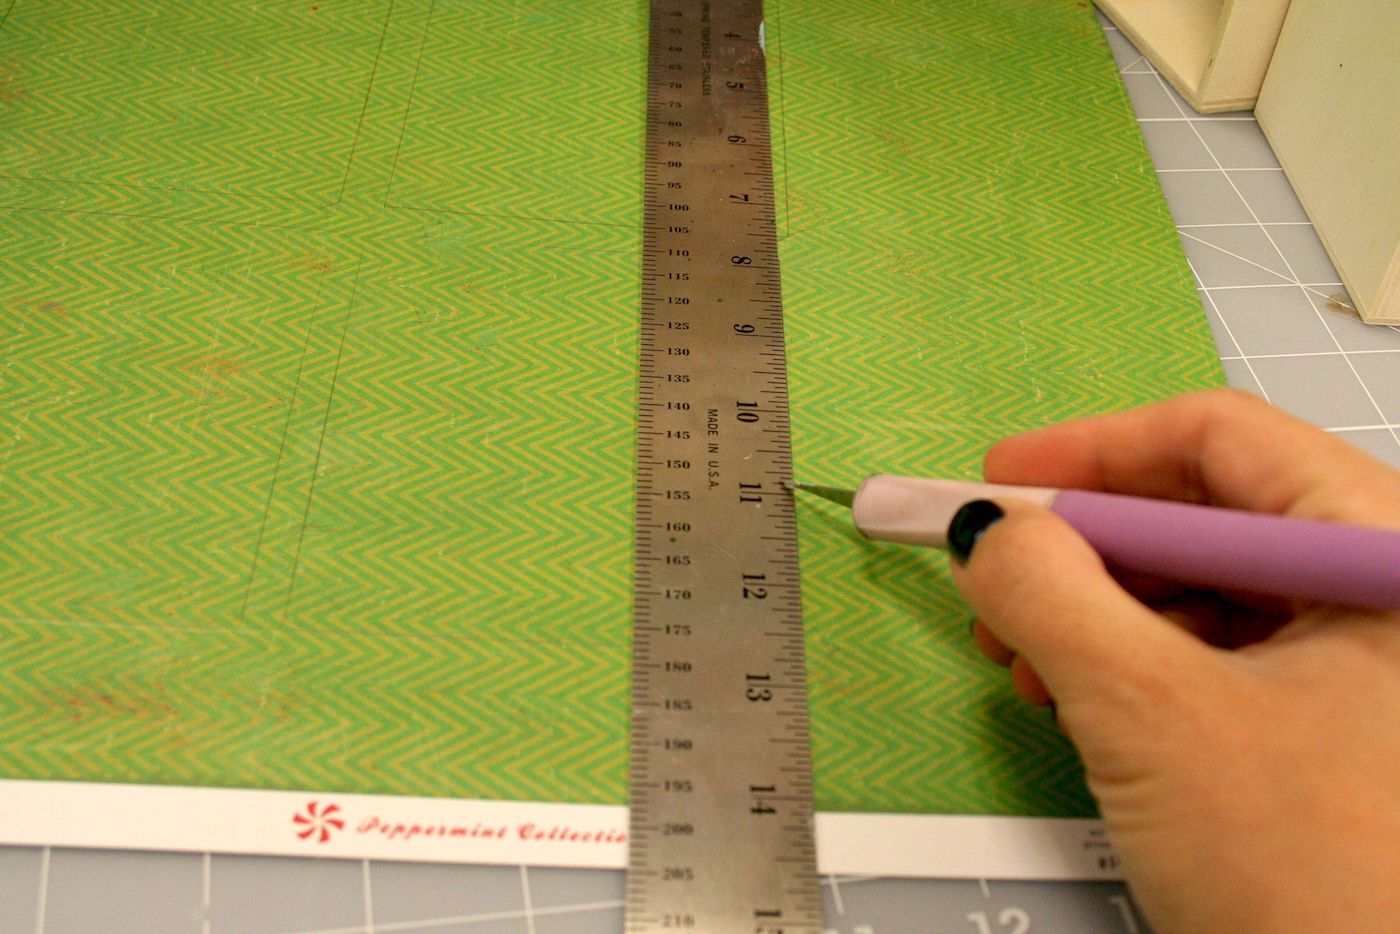
Use scissors or a craft knife to cut out the paper and set aside.
Adhere Paper to the Boxes
What I did next was paint the edges of all of the boxes with white paint, just in case something peeped out. You don’t have to do this, if you don’t mind seeing raw wood if your edges aren’t exact.
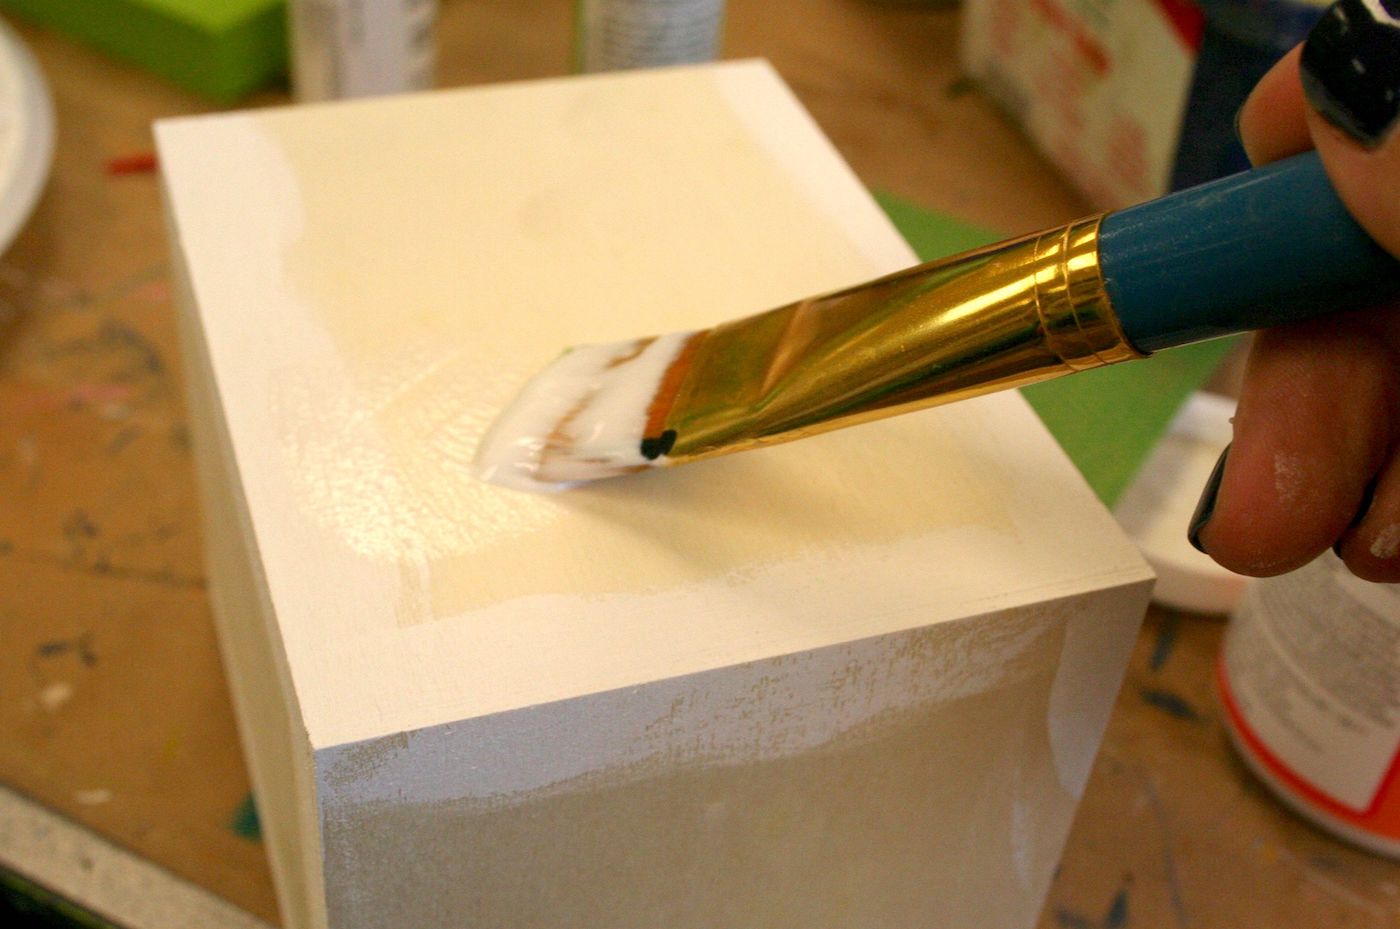
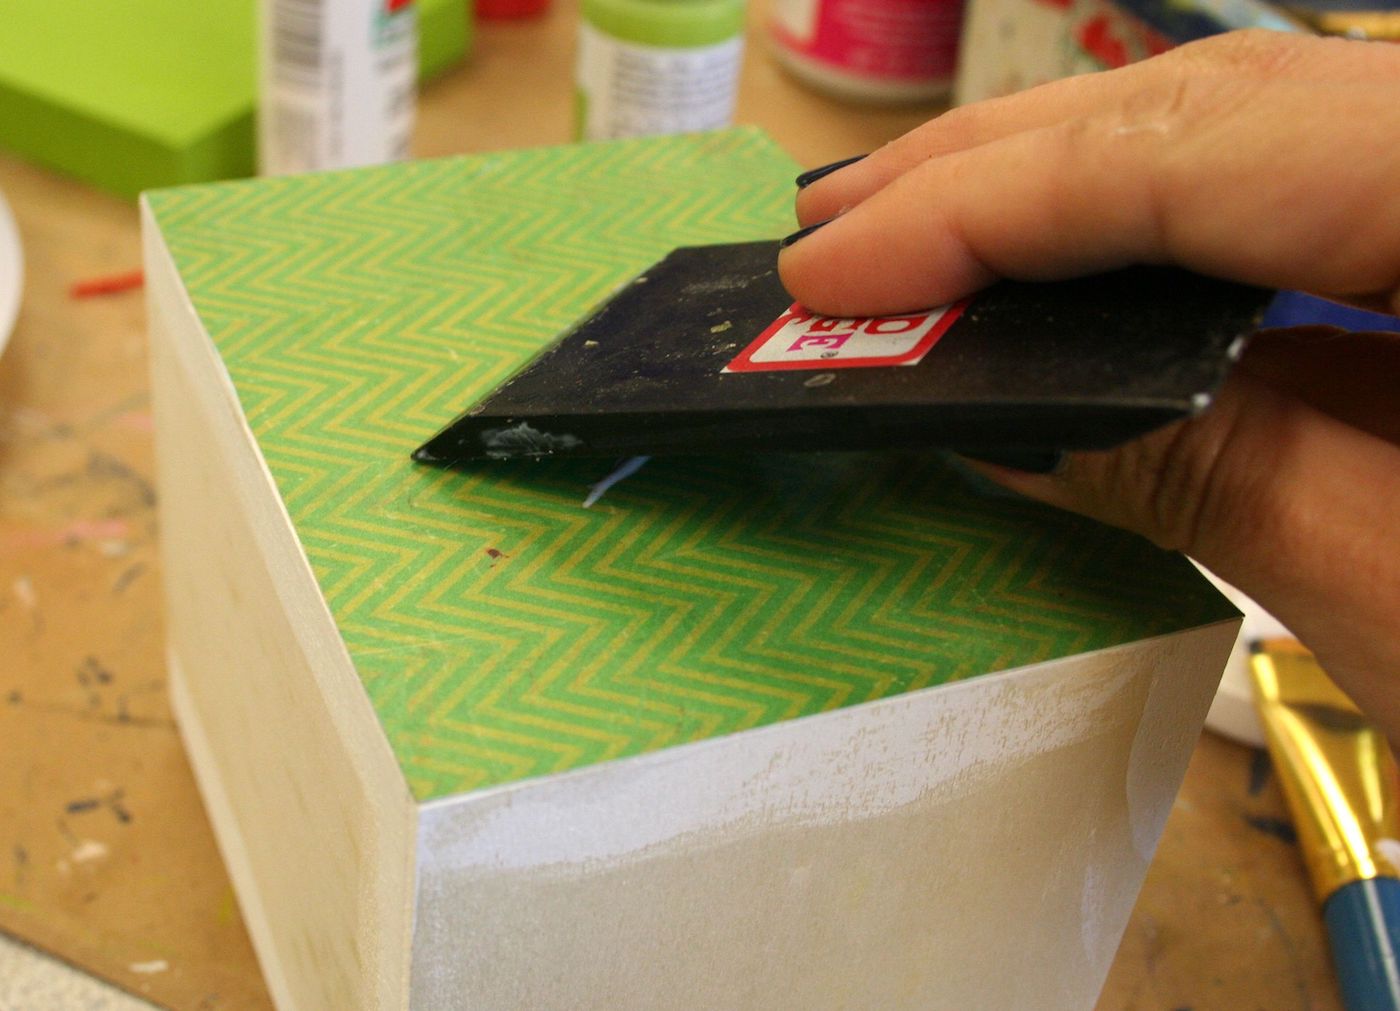
Adhere the paper to each box using Mod Podge Satin. To do this, Mod Podge the paper down one side at a time, smoothing thoroughly after applying the paper.
Let each side dry for 15 – 20 minutes, then put a coat of Mod Podge over the top. Repeat with the side of each box until all sides are covered. Let dry and then give each box base a final coat of Mod Podge Satin and let dry.
Tip: I use this fun tool called a squeegee to smooth my papers down. You can do it with a brayer too.
Oh, and if you want to glue any other papers on the boxes (or embellishments), do it with Mod Podge now.
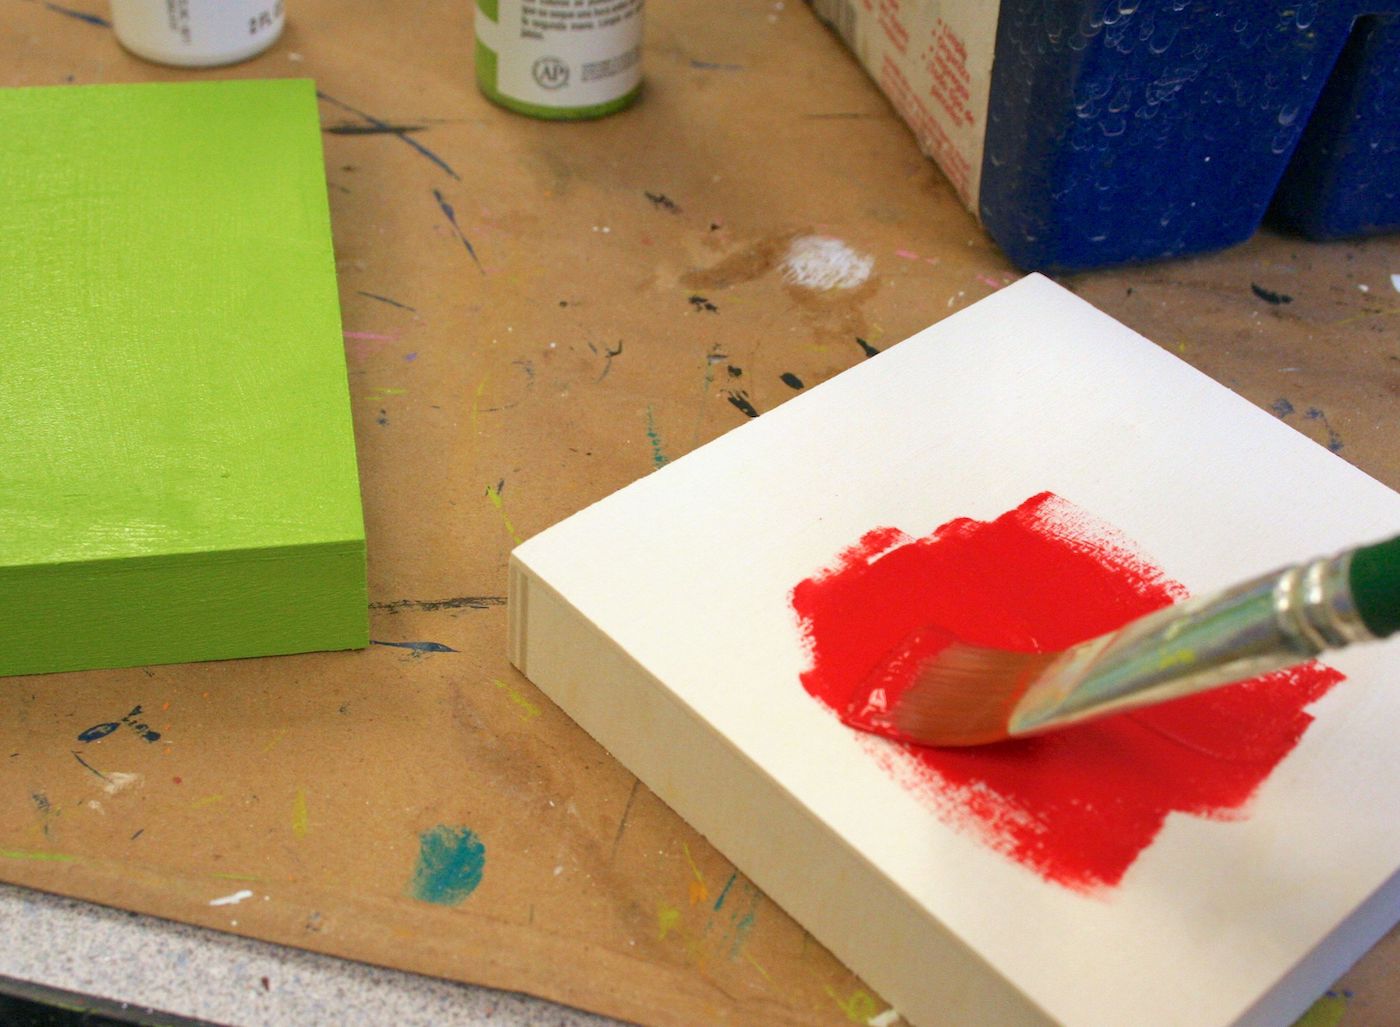
Paint the Lids and Embellishments
Paint the lids of all the decorative Christmas boxes. Let them dry and then give each box lid a coat of Mod Podge Sparkle.
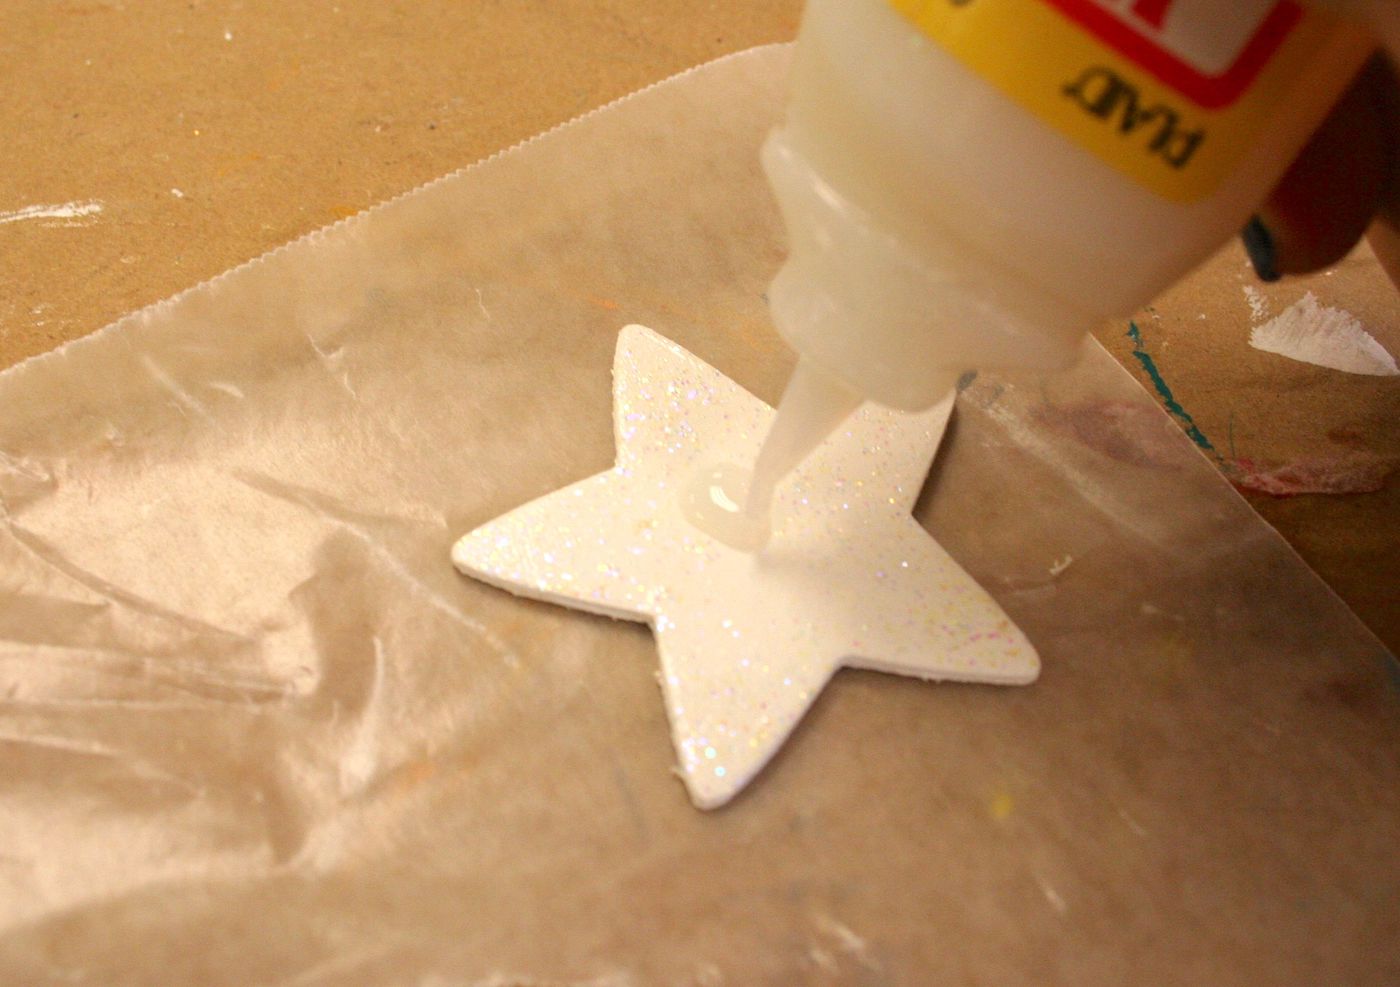
Paint the wood star shape and wood circle with white while other things are drying. Paint the star with Mod Podge Sparkle and let dry. Then add Dimensional Magic to one side – let dry then add to the other side. Put it aside for a moment.
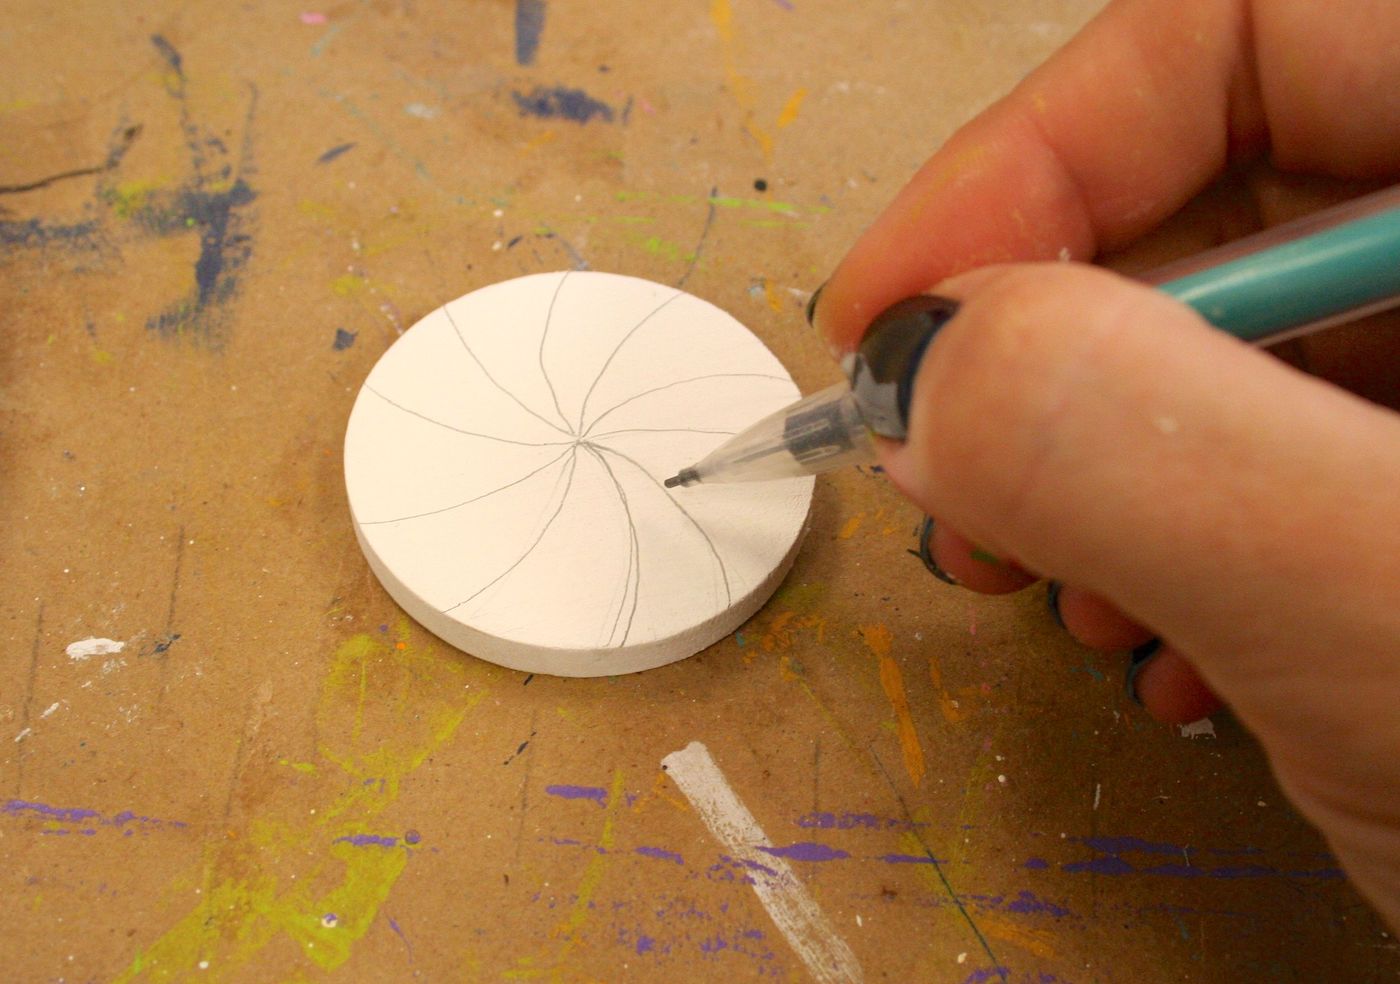
This is when things got a little crazy. I decided to make a peppermint for the front of the boxes using a wood circle. So I drew the sections with a pencil . . .
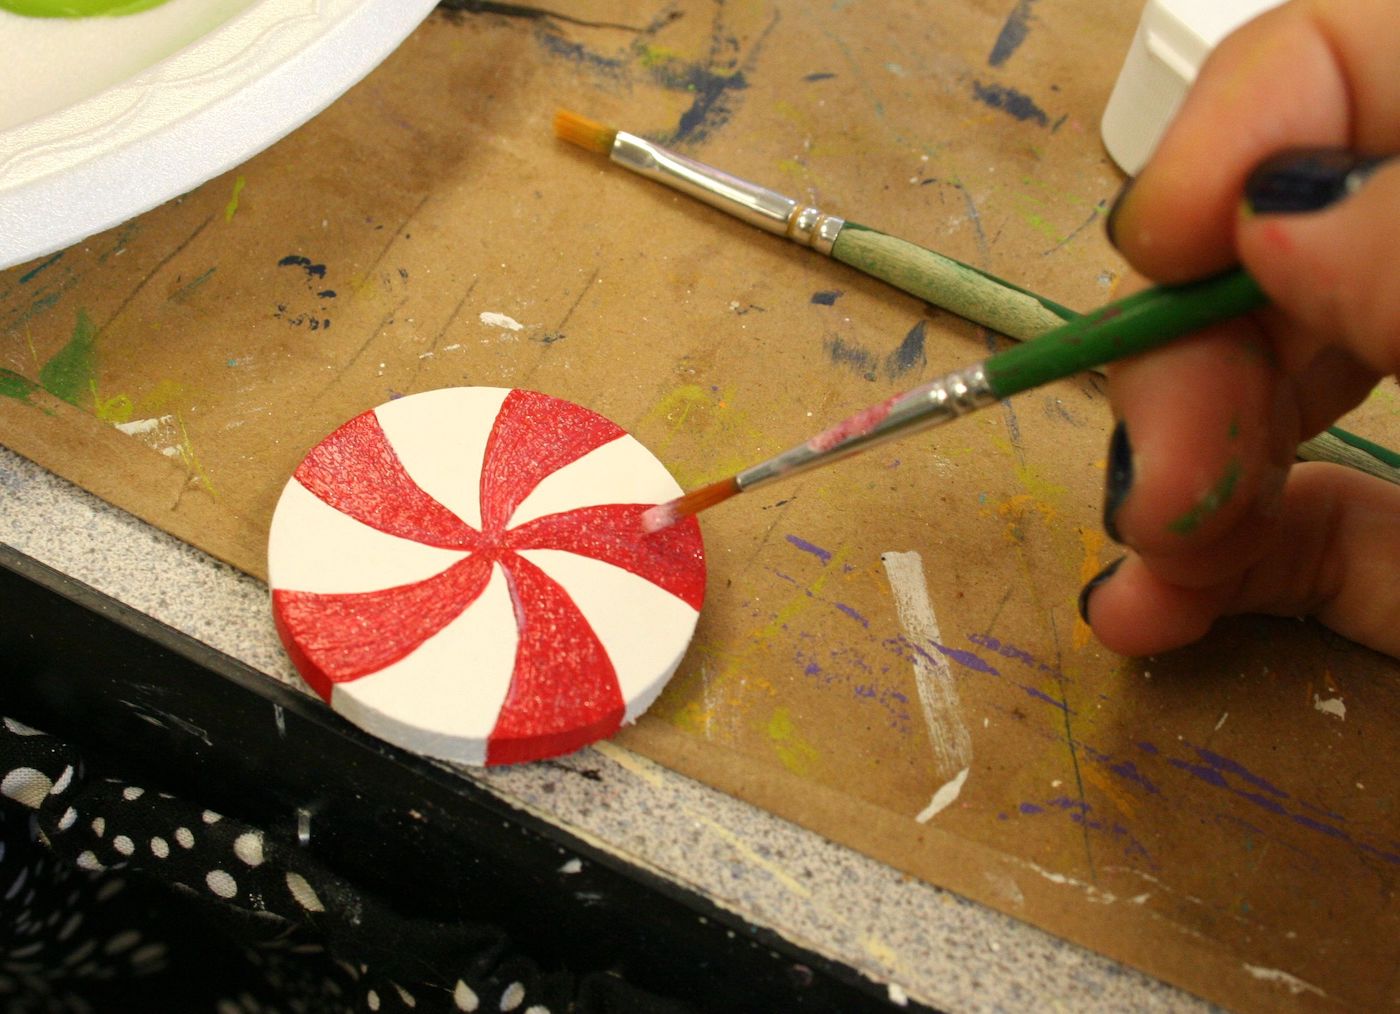
And then I painted them. And sparkled them. Then I added Dimensional Magic to the top of the peppermint shape and let dry.
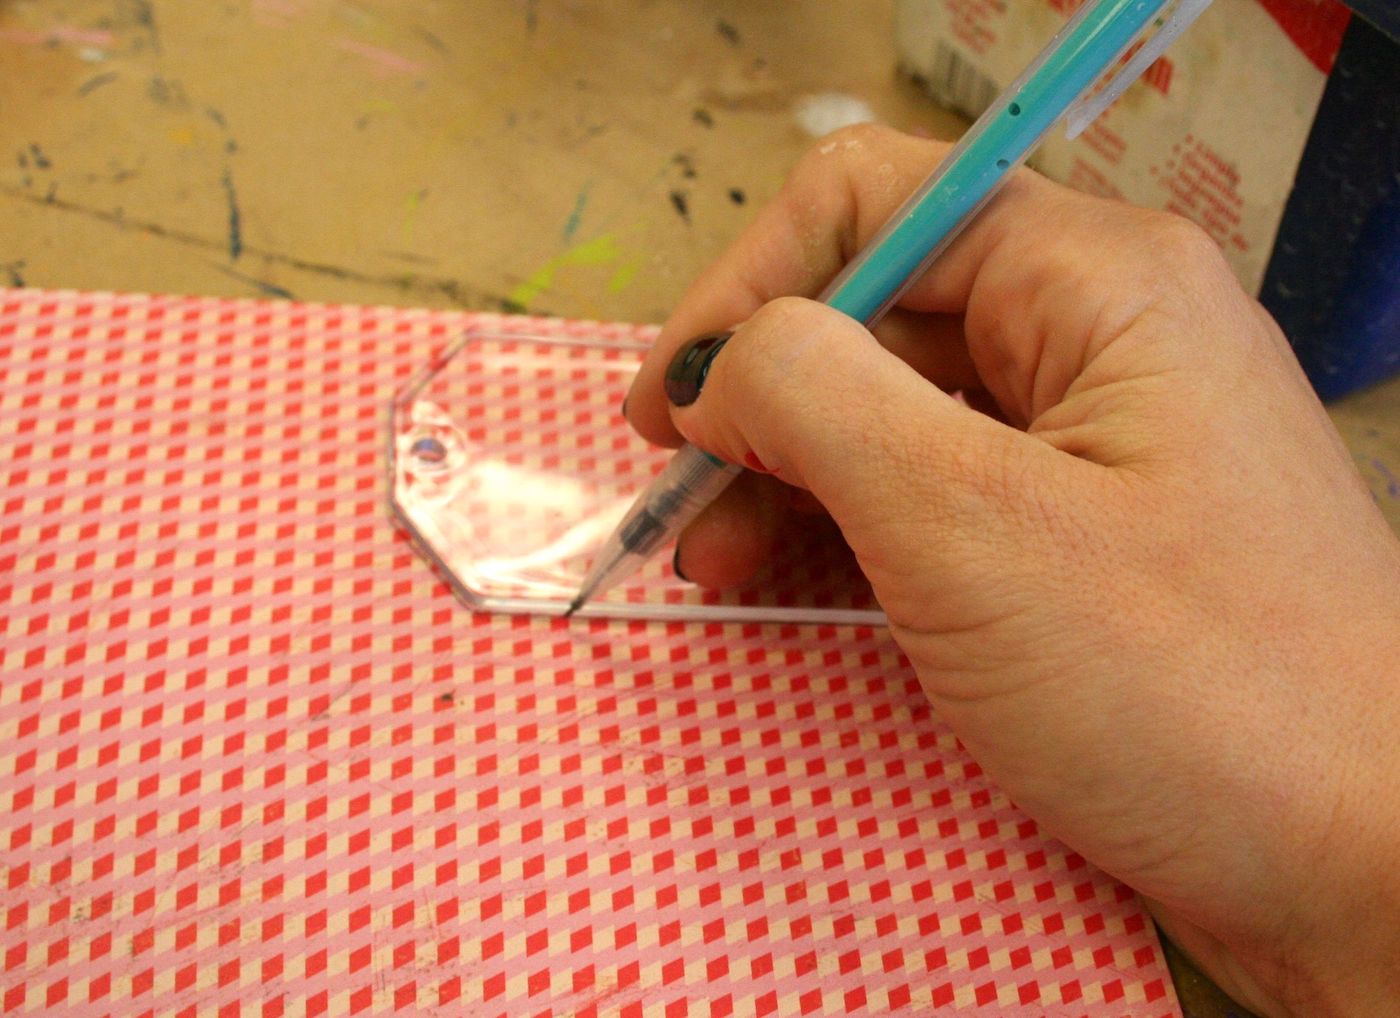
Next you’ll trace the gift tag shape onto a piece of paper and then attach to the back of the gift tag using Mod Podge Satin. Let dry. Add Dimensional Magic to the top of the gift tag and let dry.
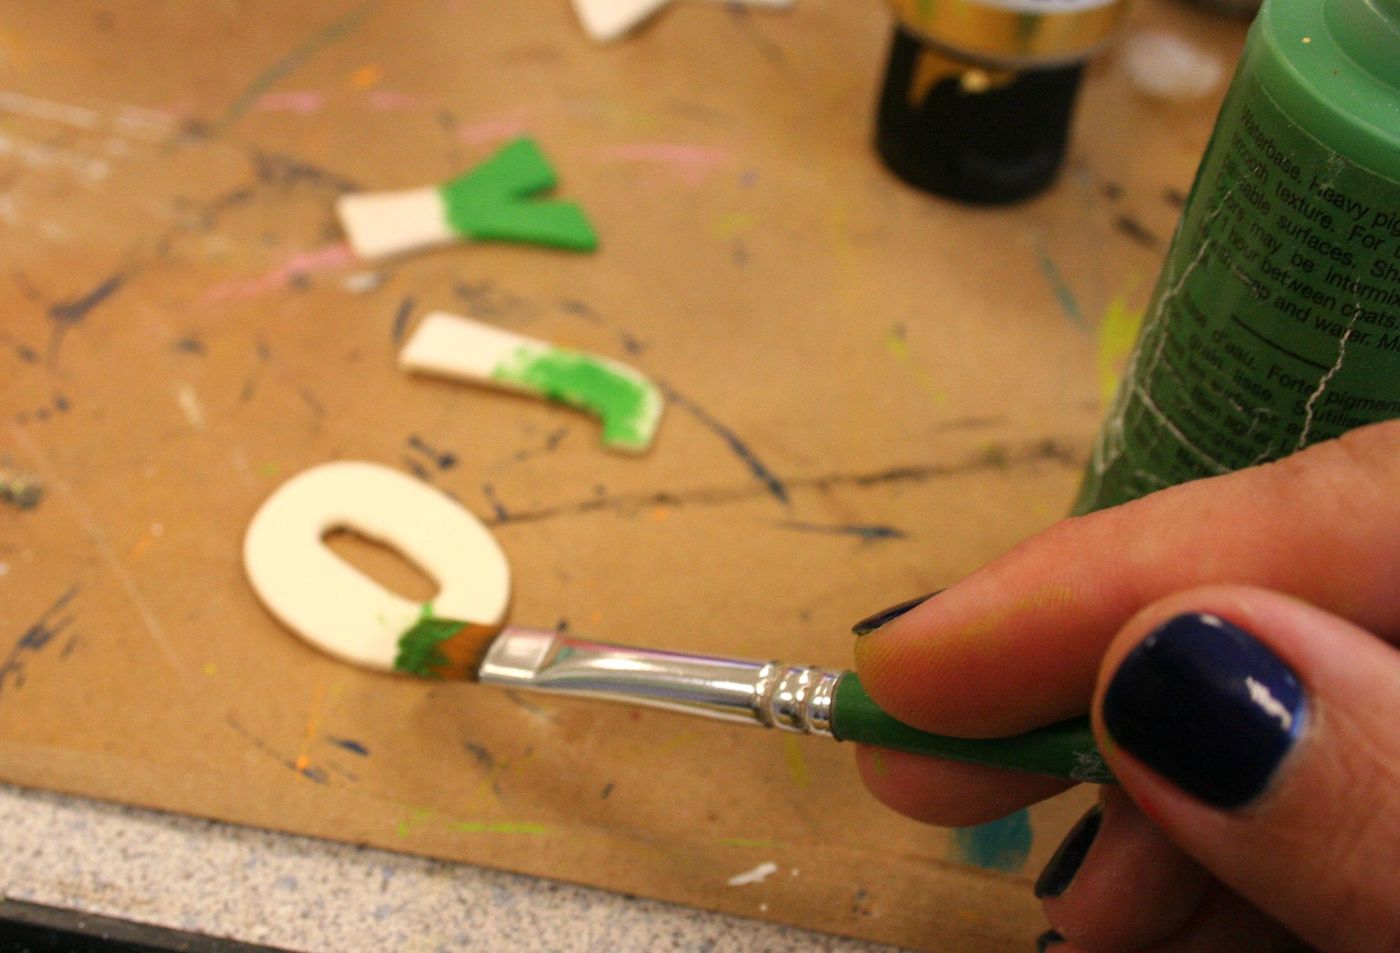
Paint the wood letters spelling “JOY” using Bright Green. Let dry and then paint with Mod Podge Sparkle. Let dry. Add Dimensional Magic to the tops of the letters and let dry. Glue these letters to the top of the gift tag.
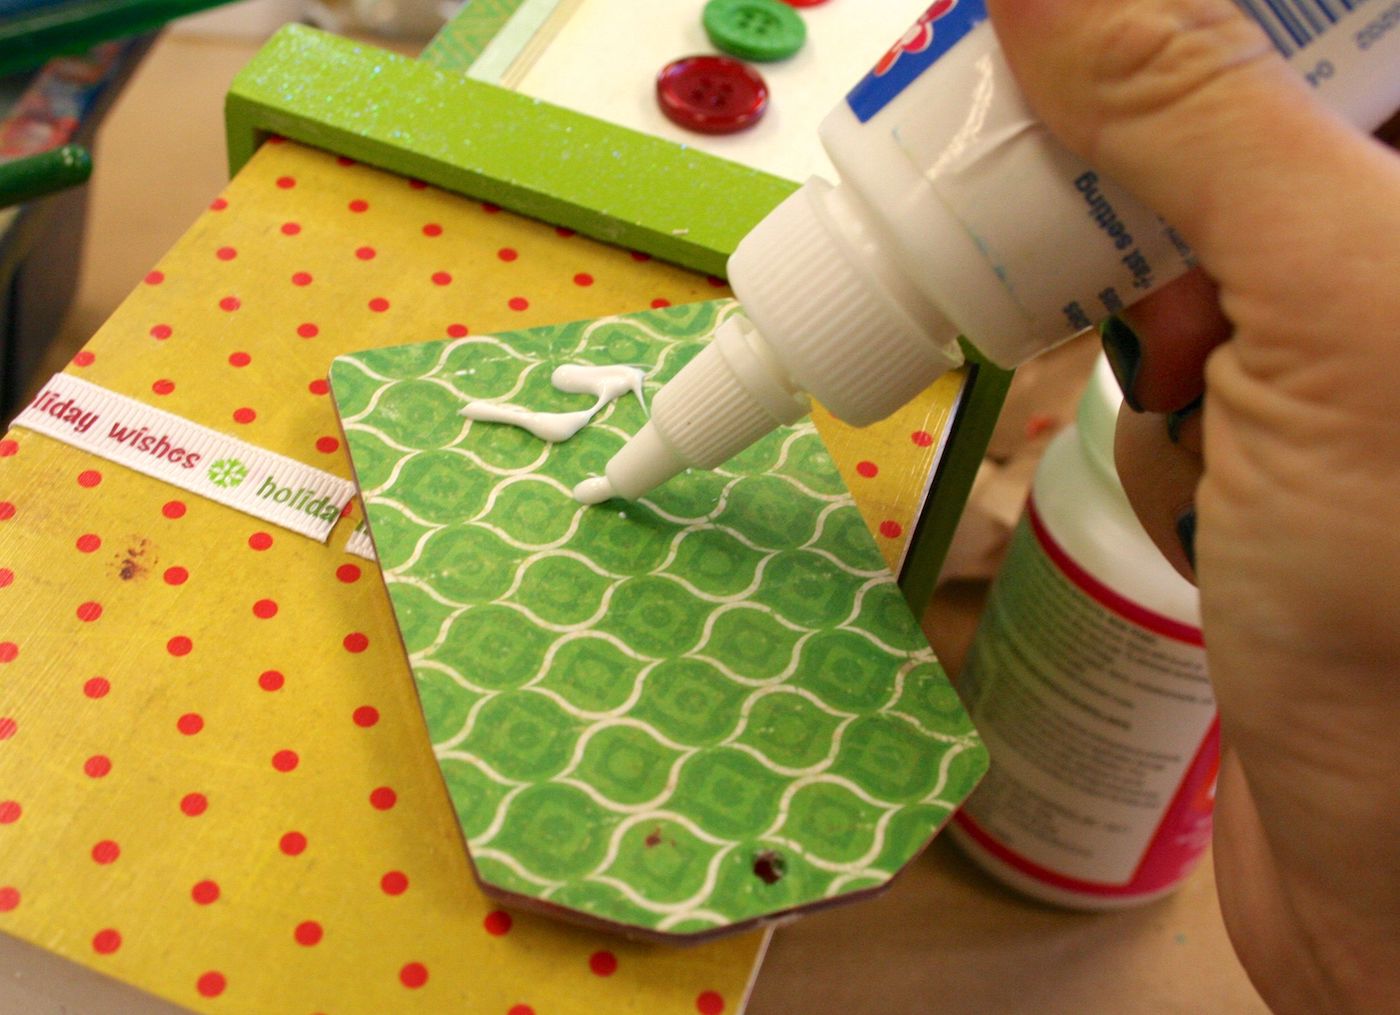
Glue the Embellishments to the Box
Add ribbon around the middle of the largest box using craft glue. Add the gift tag to the front of the box (where the ribbon meets) using craft glue. Let dry.
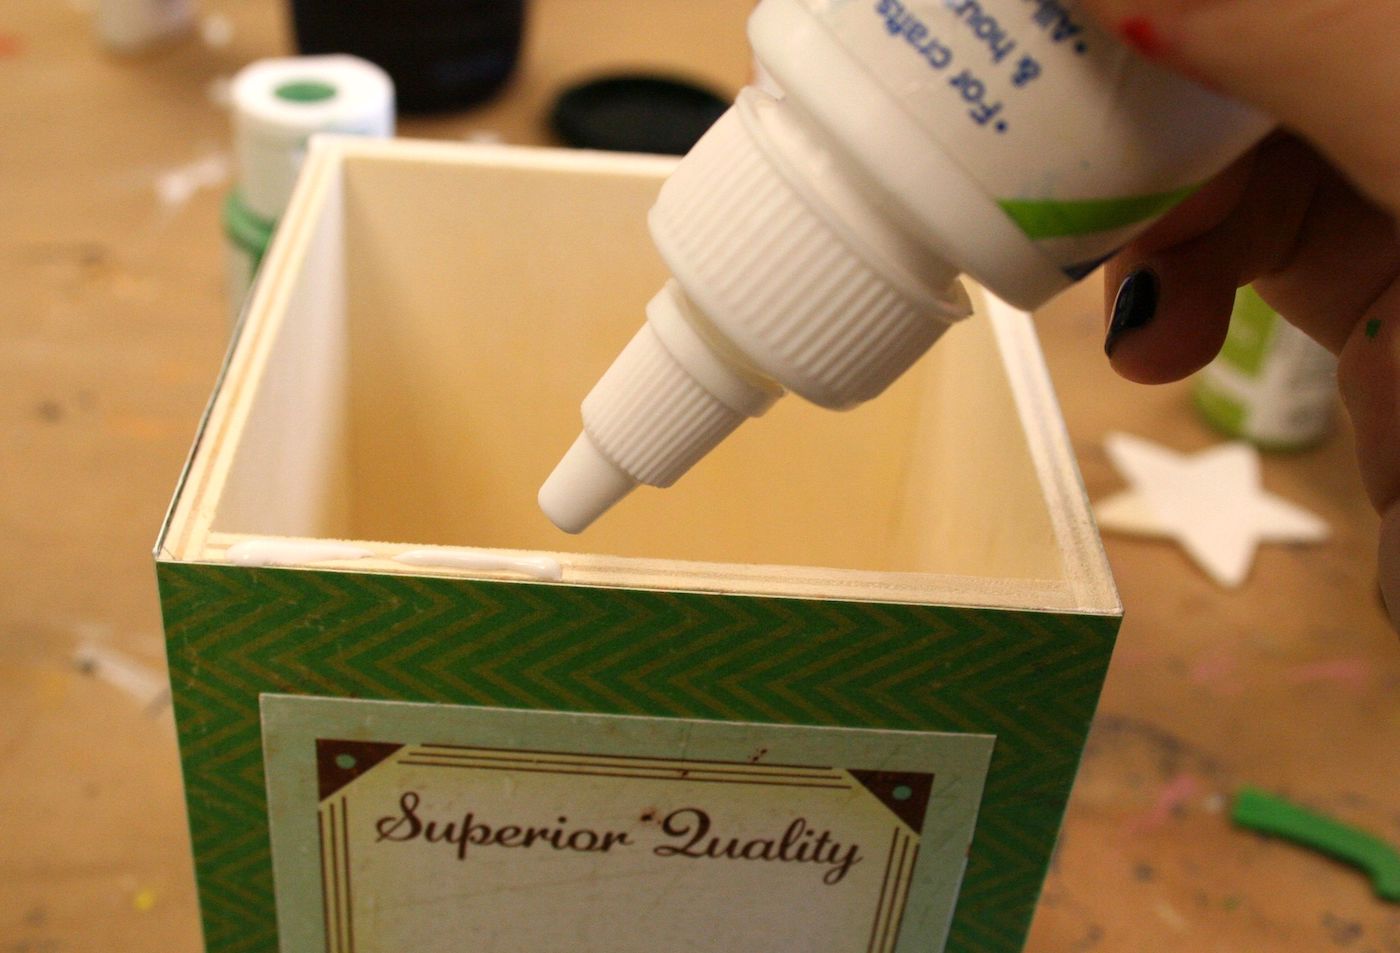
Finish your faux tree by gluing all boxes and lids together as shown in the photo, if desired. You don’t have to glue them together if you want them to open.
Add any other embellishments you want and let everything dry (I’m thinking buttons, more ribbon, etc). Then you glue the star to the very top.
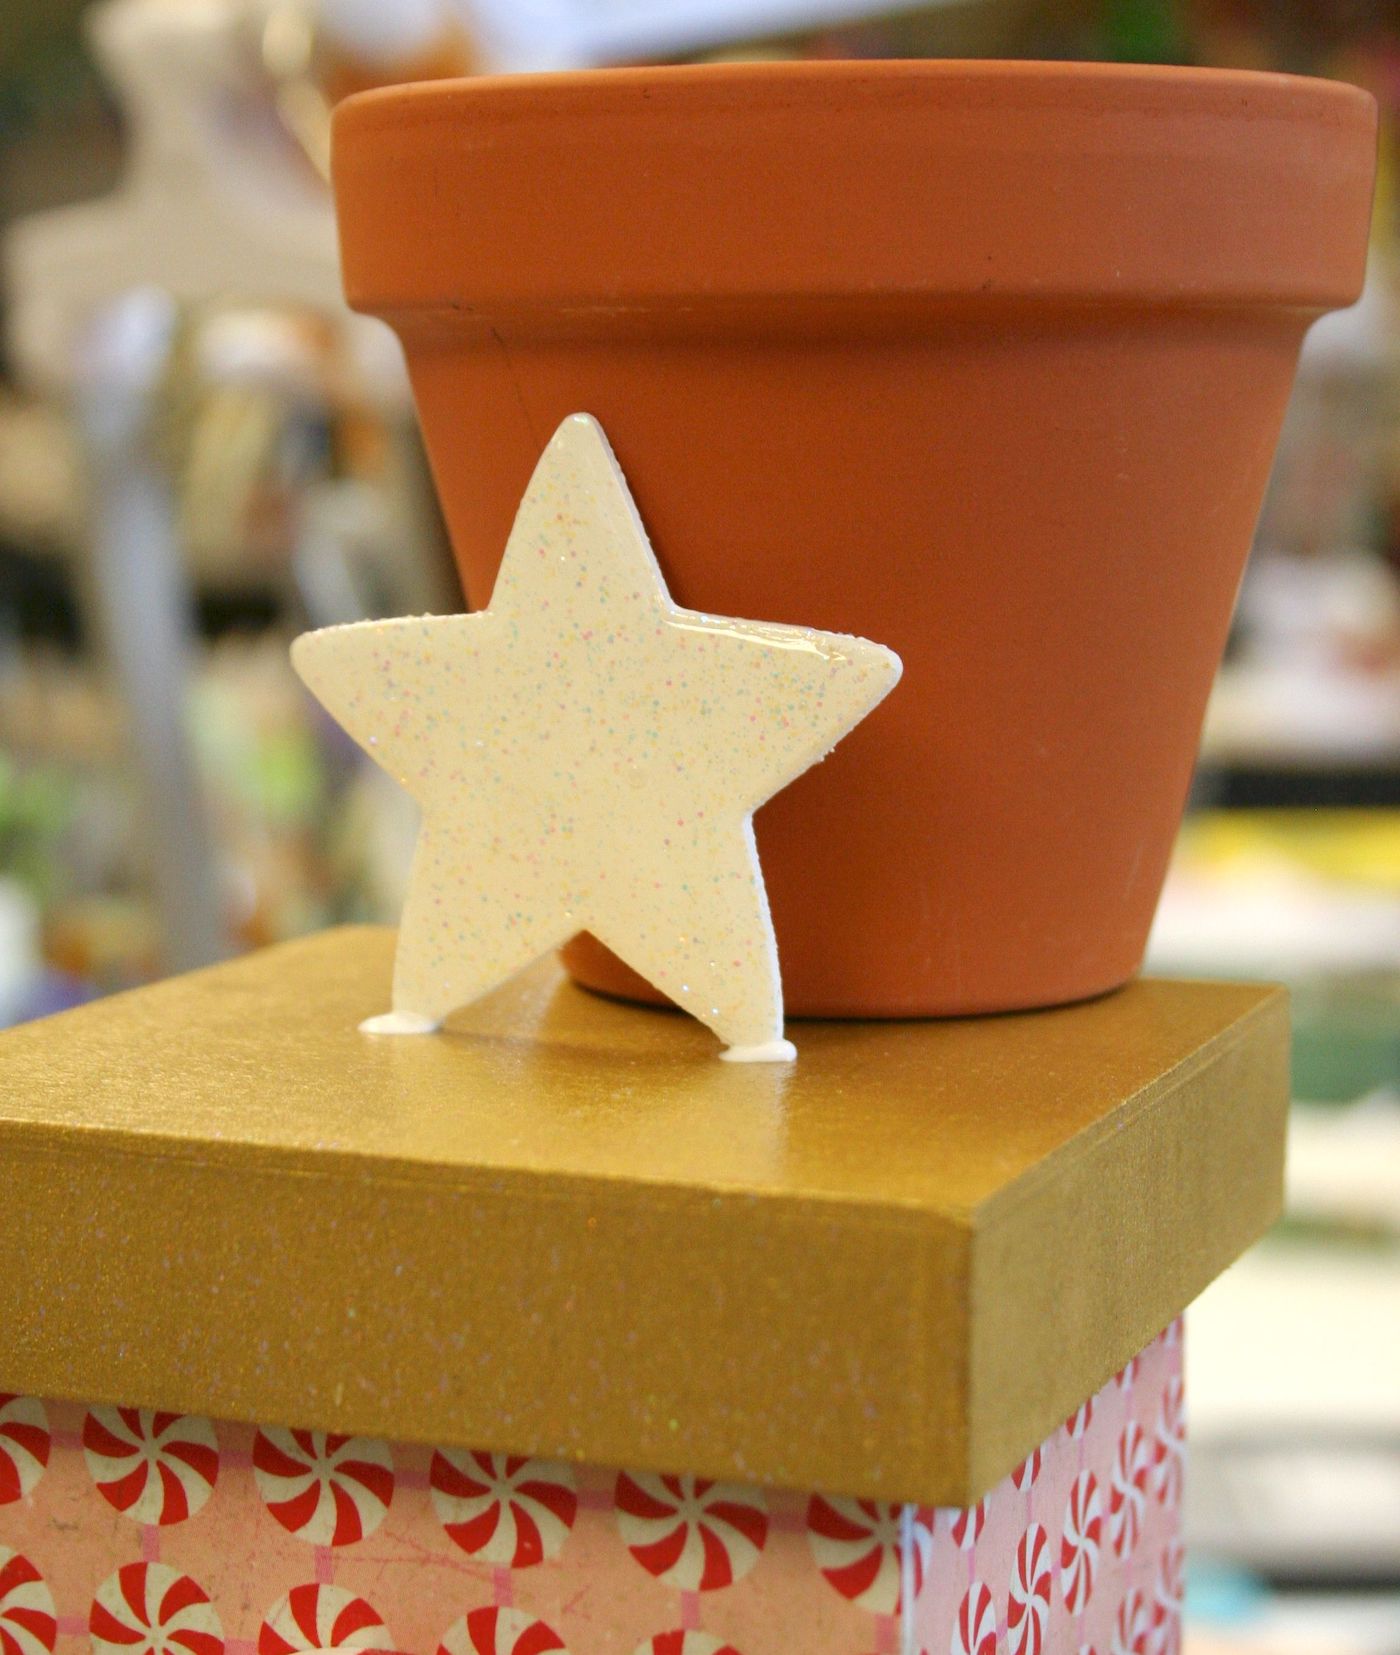
This is how I kept the star in place while it was drying. I know – I’m a genius.
What do you think of my decorative Christmas boxes? I used up so much stuff in my stash that I did the hamster dance when I was done. One more Christmas project in the bag. Happy Holidays!
If you enjoyed this Christmas craft idea, I hope you’ll enjoy these other cute projects: