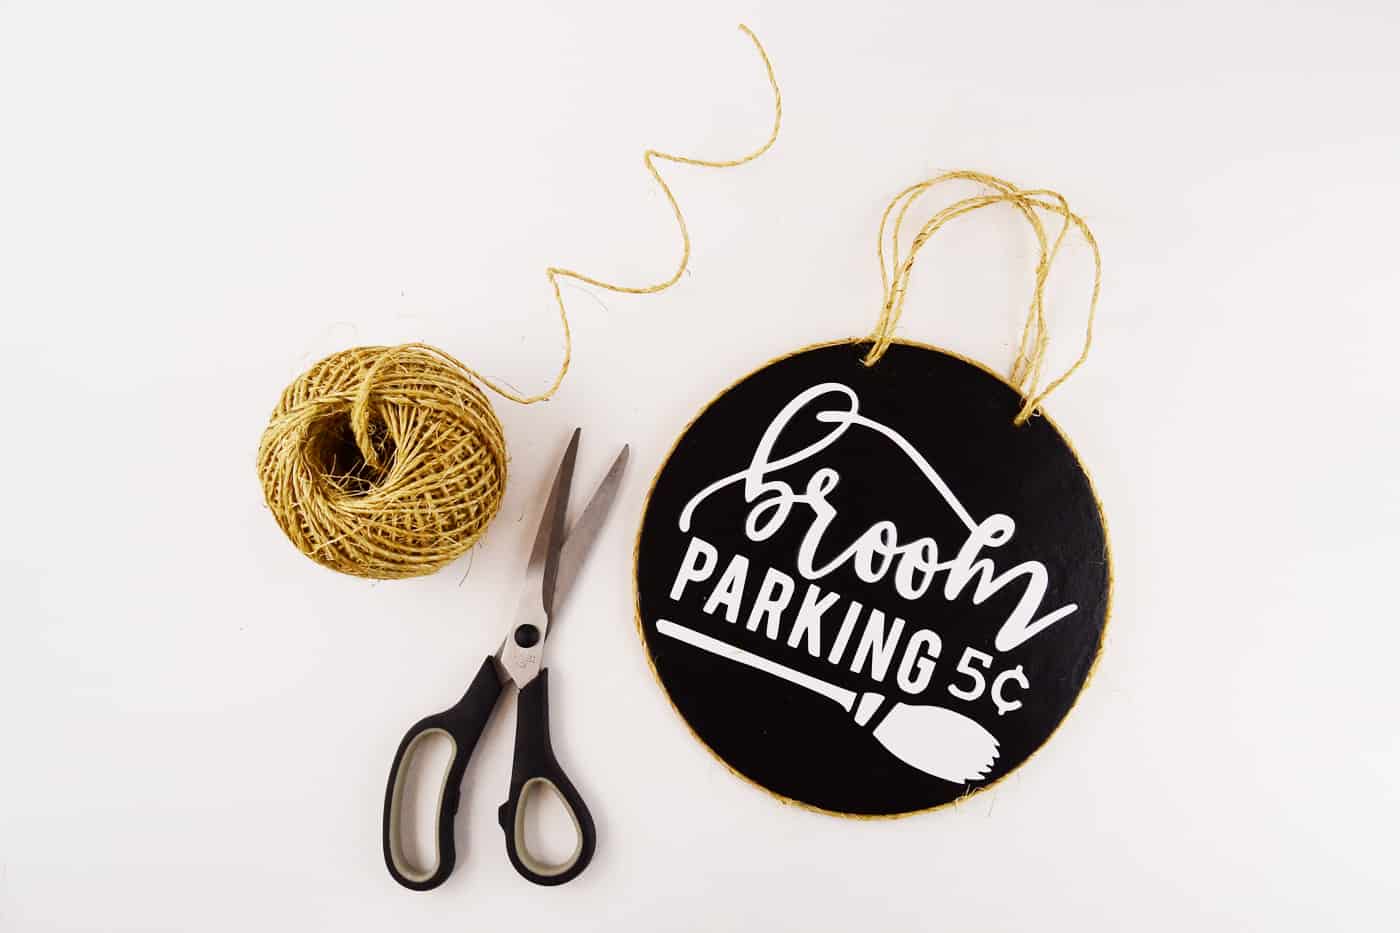
Learn how to make a “broom parking” Halloween sign that is perfect for a door hanger or wreath adornment! Get a free printable to make it EASY.
Skills Required: Beginner. I recommend having prior experience with Mod Podge so that you’re used to decoupage before you make this broom parking sign.
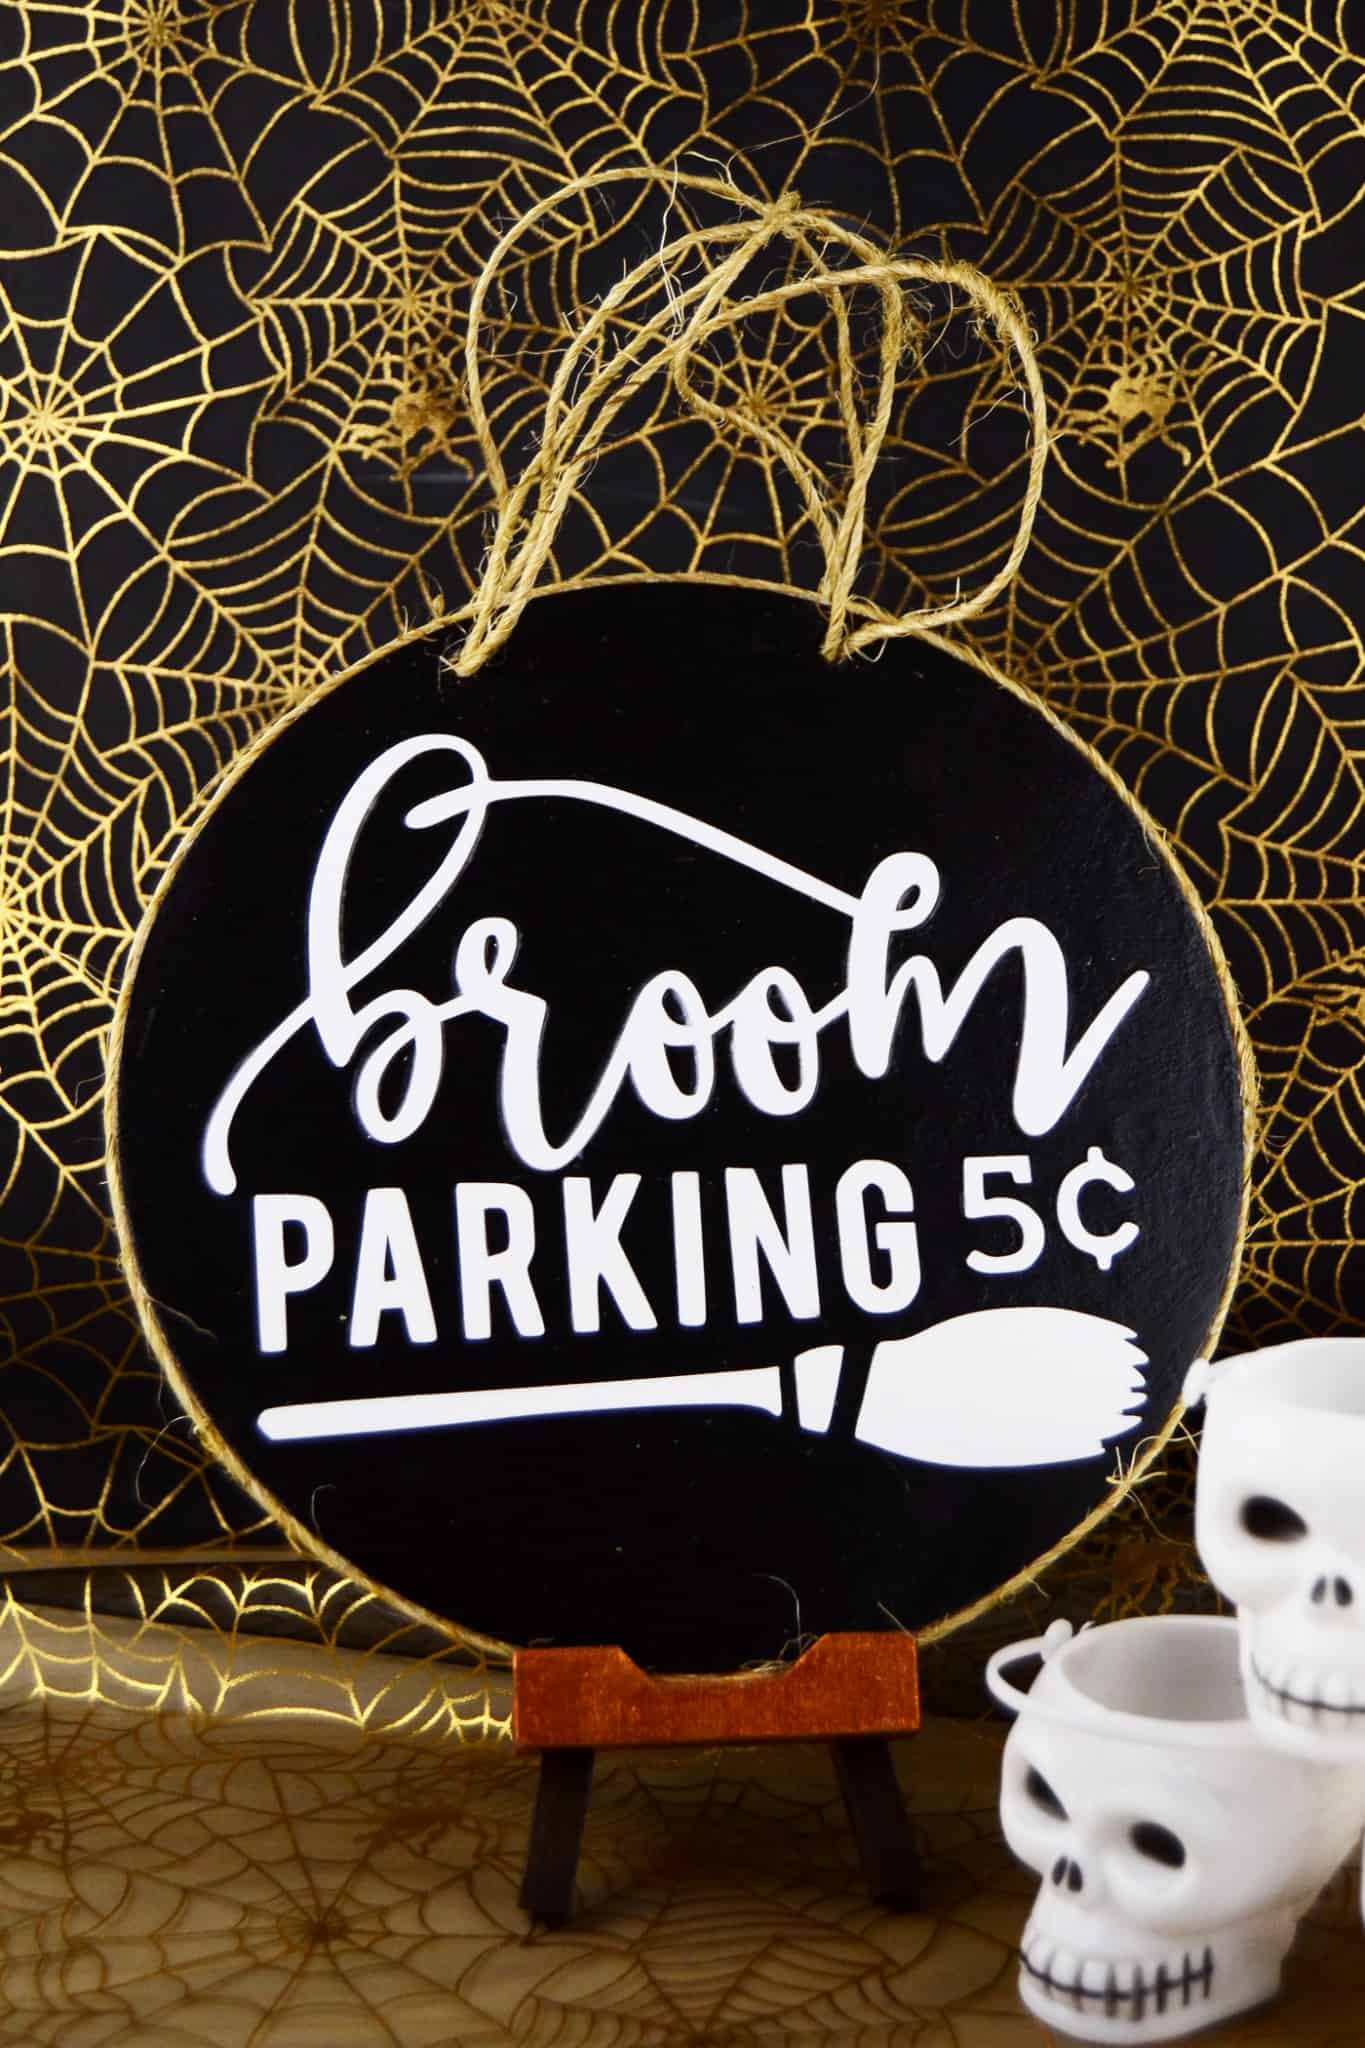
Making Halloween crafts and decorations is one of the best ways to get into the spooky spirit of the season. There’s just something magical about transforming everyday materials into festive pieces that bring a touch of fun and fright to your home.
Whether you’re decking out your space for a Halloween party or just adding some handmade seasonal decor, DIY projects let you create something unique and personal.
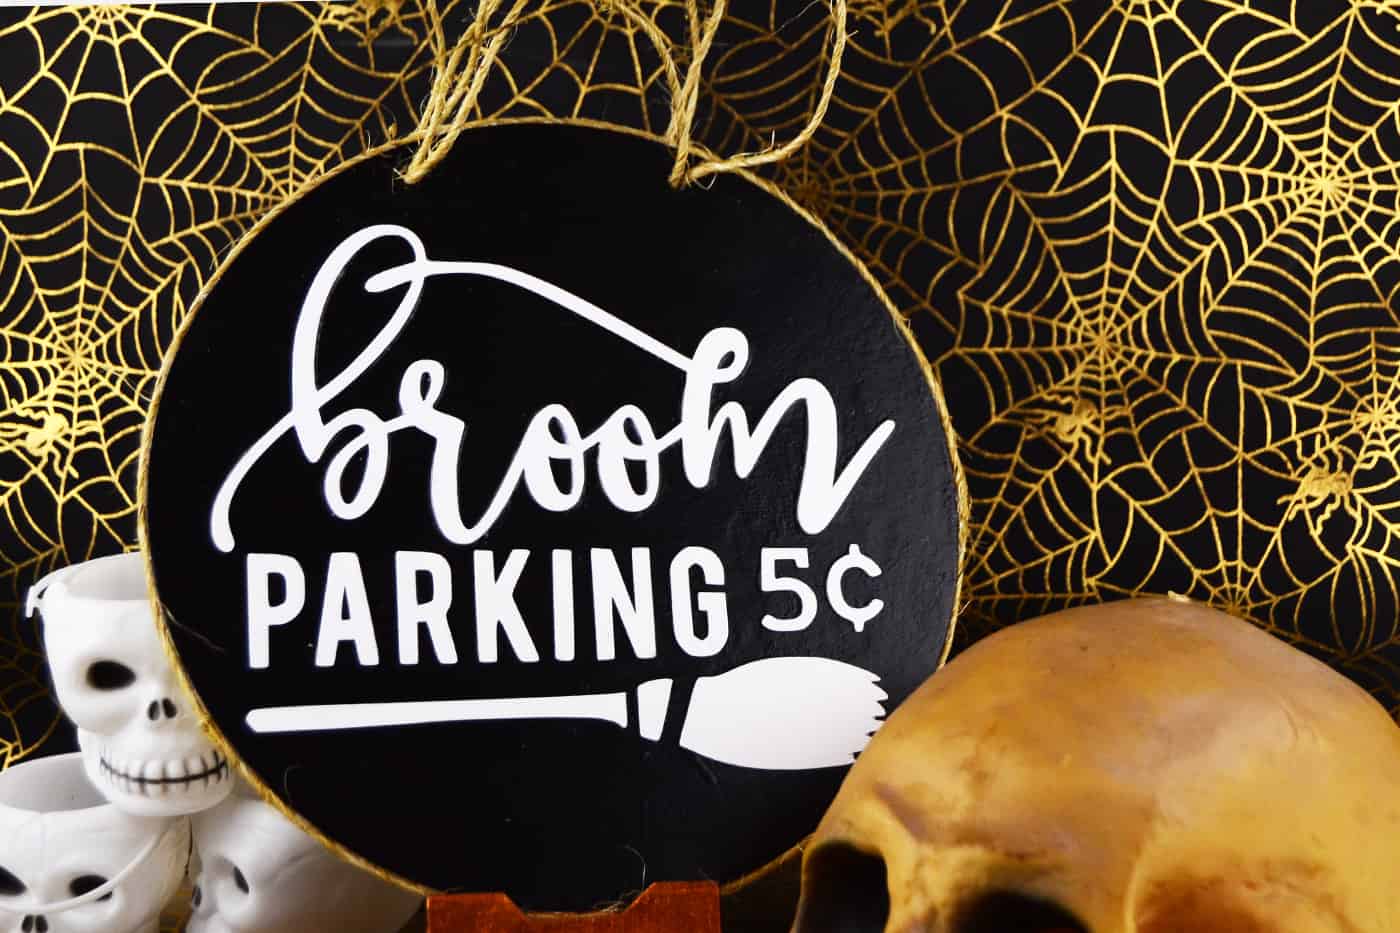
Today, I’m excited to share a simple yet charming idea: a small broom parking sign that’s perfect for Halloween! This craft is versatile and can be used in so many ways.
If you’re a renter, it makes a fantastic front door hanger without damaging the door. It also works beautifully as a whimsical addition to a wreath or even as a stand-alone piece to decorate an entryway or interior wall.
The best part? I’ll be sharing the custom file I designed just for this project, so you can recreate it with ease.
Whether you’re an experienced crafter or just looking for a fun Halloween DIY to try, this sign is a great way to add a little spooky charm to your space. Here’s what you’re going to need.
Gather These Supplies
- 8″ wood circle
- Printable – download the printable here!
- Cardstock for printing or die-cutting
- Matte Mod Podge
- Sponge brush or Spouncer
- Hot glue gun
- Drill
- Sandpaper
- Twine
- Scissors
It’s a fun and simple Halloween sign that looks modern and not so creepy – my kind of style. What’s yours? Let me know in the comments!
Get the printable how to card below:
Witches Broom Parking Sign
Materials
- 1 Wood circle 8"
- Halloween Sign Printable
- Cardstock for printing or die-cutting
- Mod Podge Matte
- Sandpaper
- Twine
Instructions
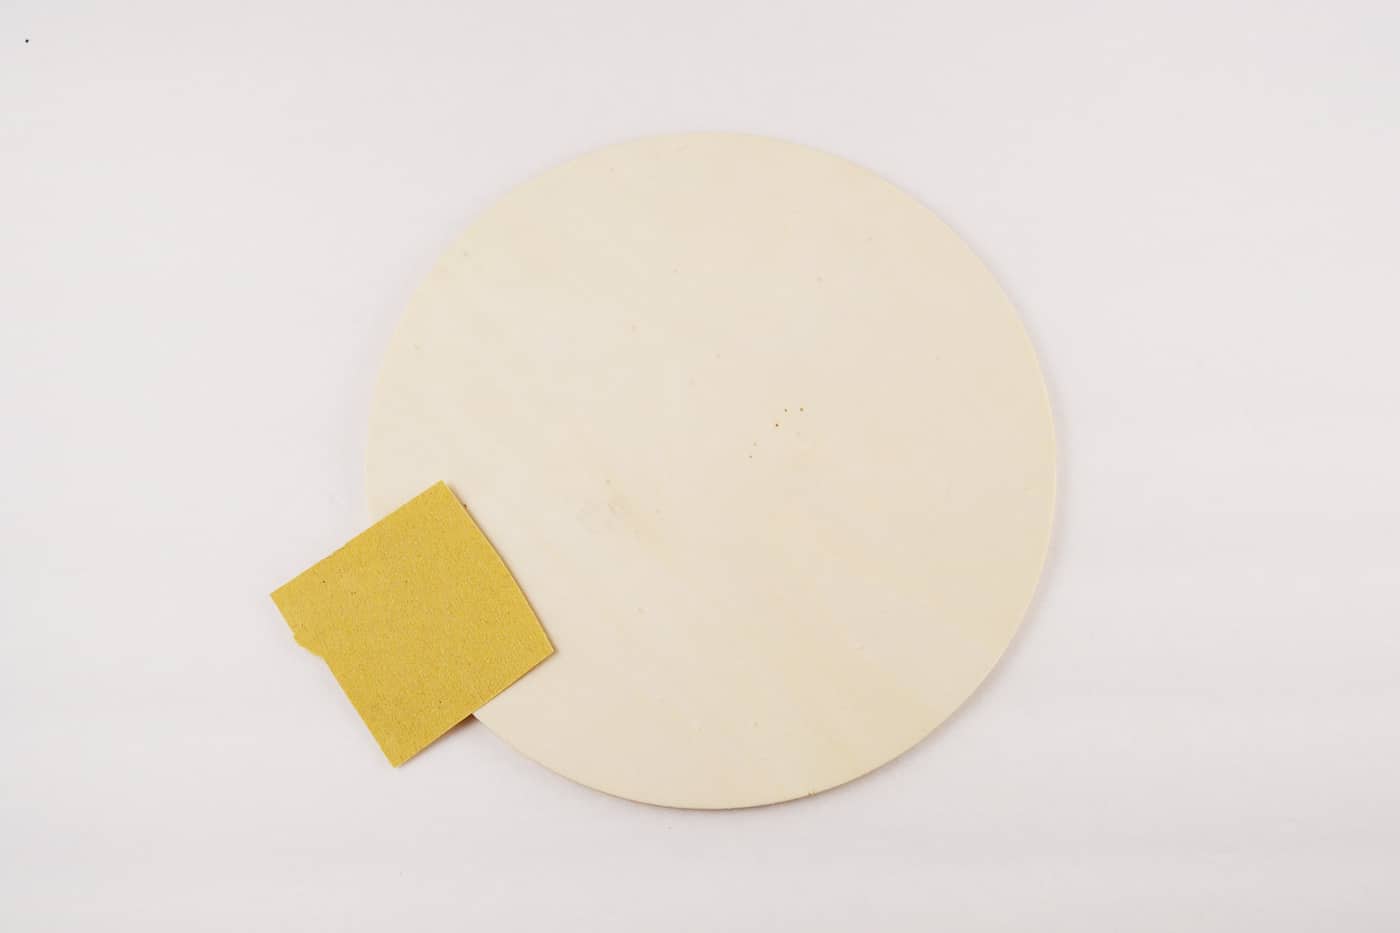
- Sand the surface and the edges of your wooden circle lightly, to make sure there aren't any unfinished areas or splintered wood.
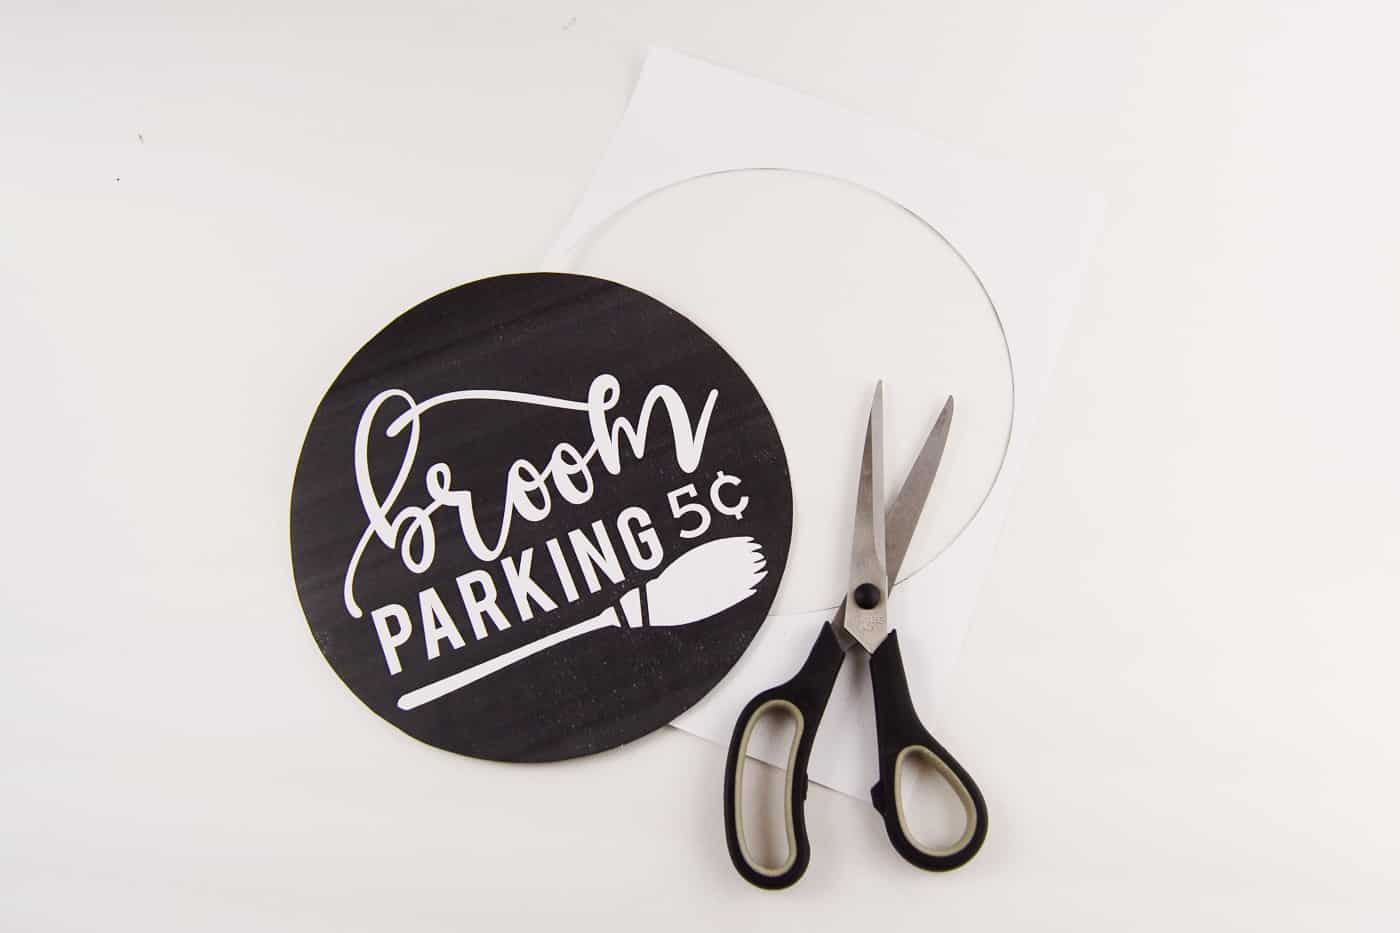
- Print the Halloween sign printable, and cut around the circle with a pair of scissors.
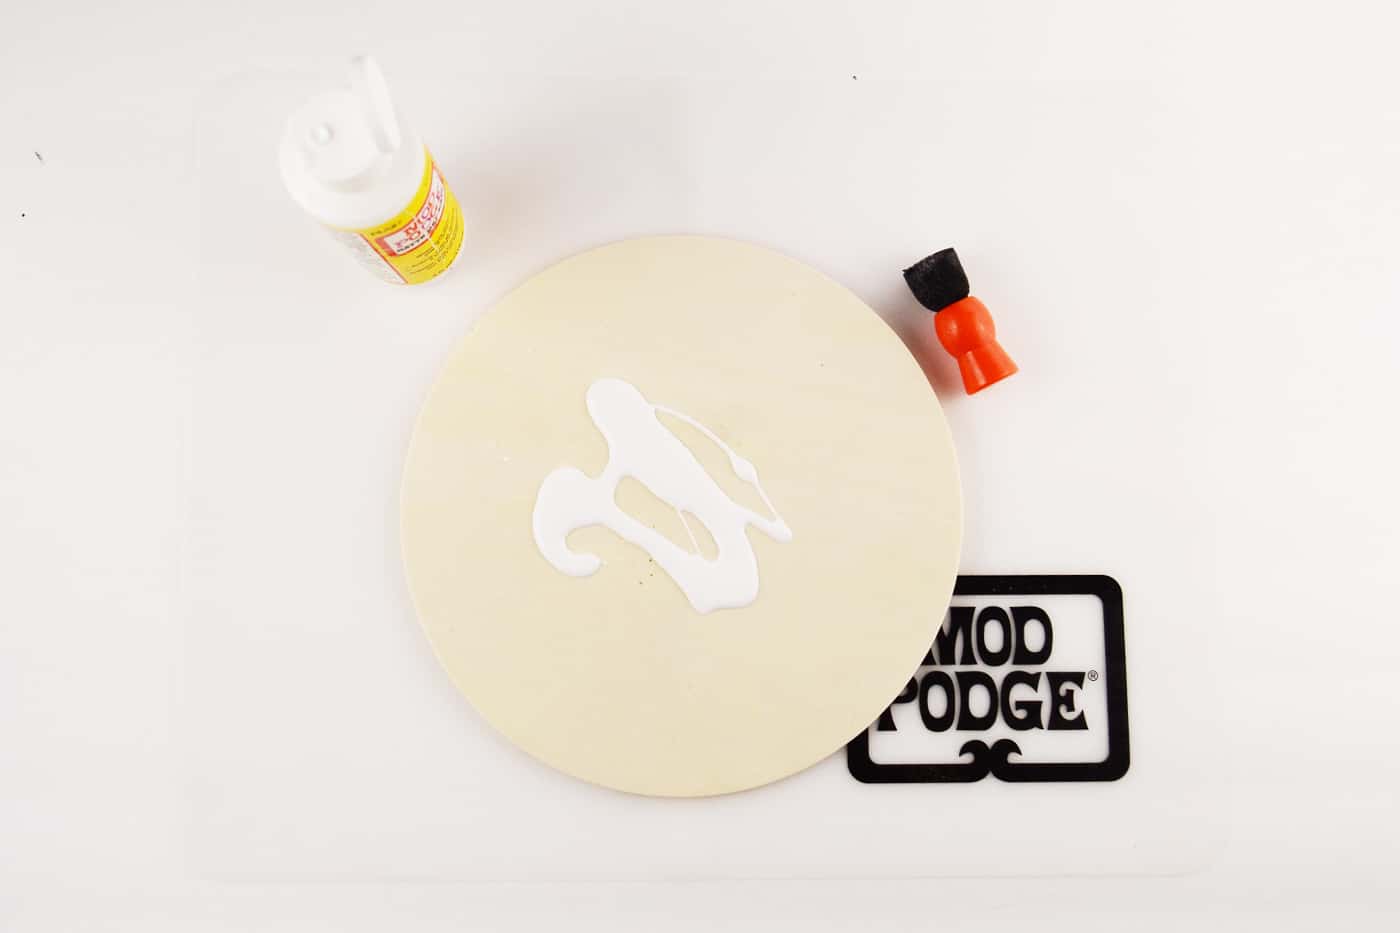
- Put a generous amount of Mod Podge on the surface of the wooden circle.
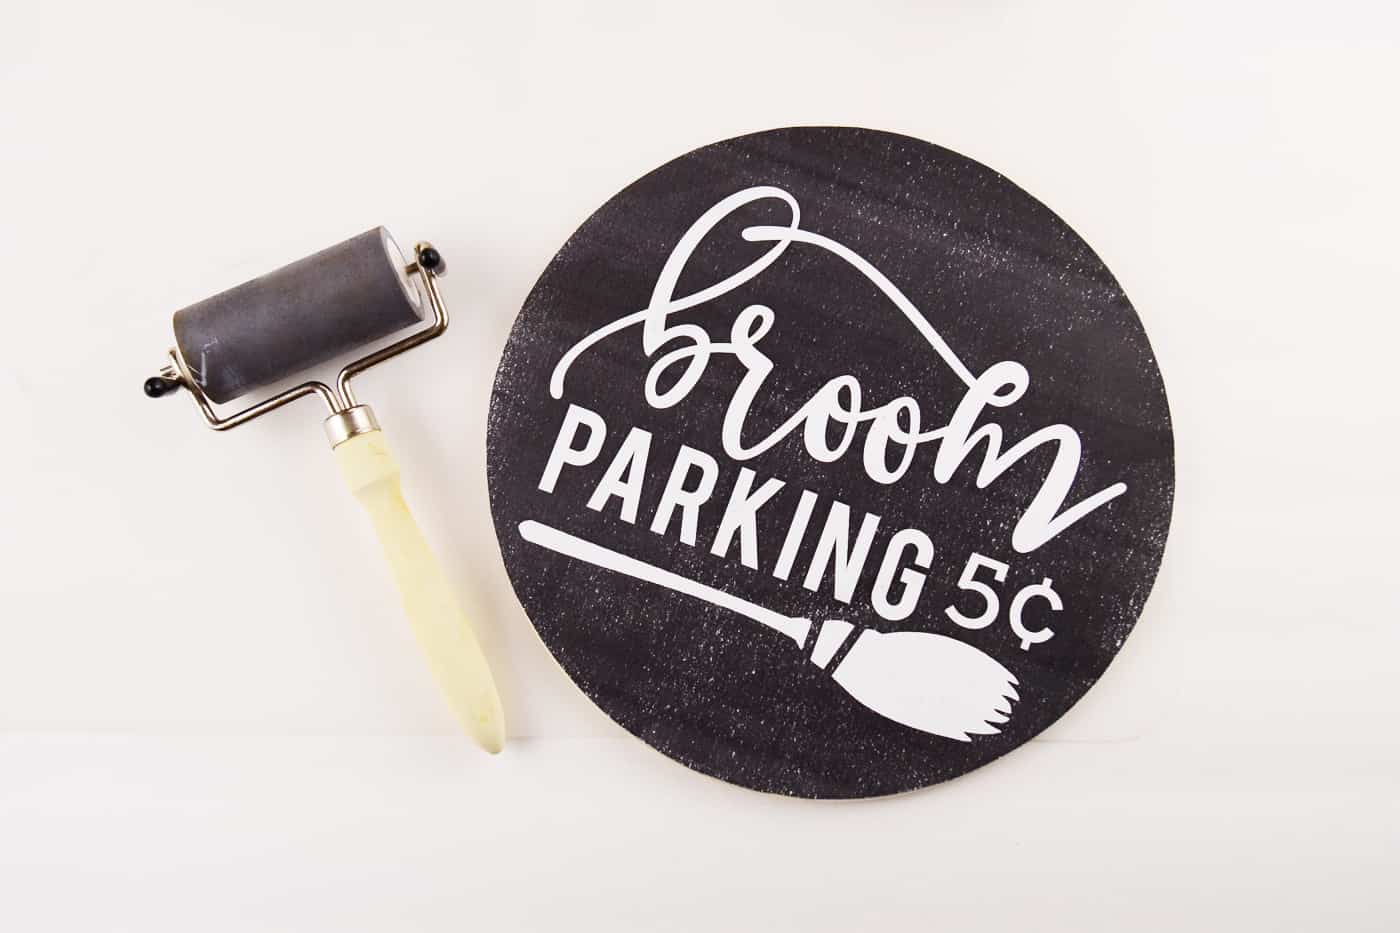
- Adhere the print, using a brayer to smooth the print over the entire surface of the circle.
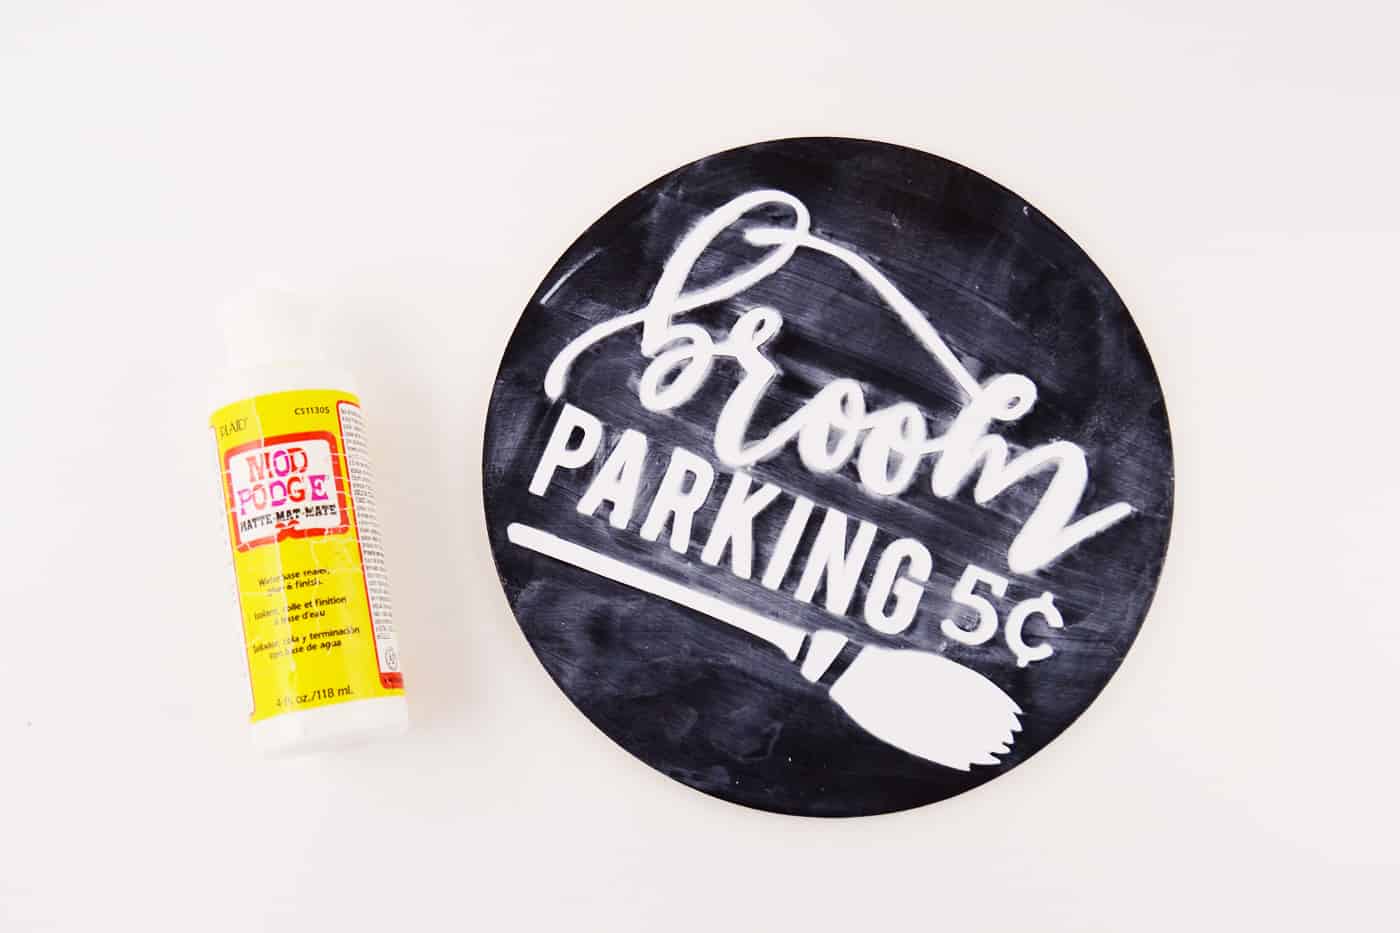
- Apply a good bit of Mod Podge to seal your image. Wait for the Mod Podge to fully dry before proceeding.
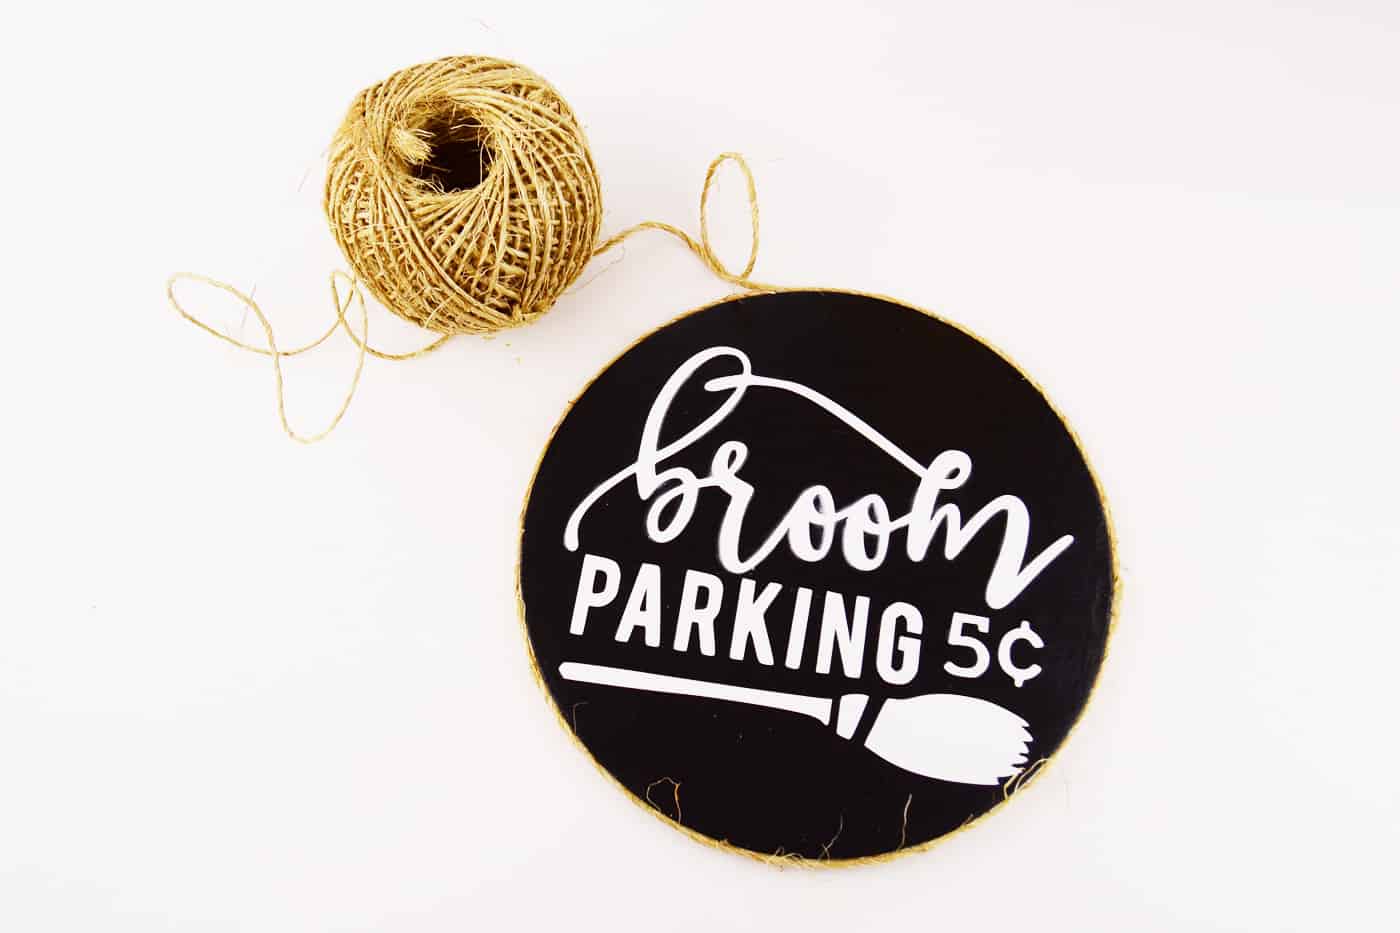
- Use a hot glue gun to attach the twine around the edge of the sign.
- Mark and drill two holes on the top part of the circle. Thread and knot your twine to make a hanger and finish off the project.
Notes
If you like this wood Halloween craft, you might also enjoy these other holiday projects:
BOO Letters • Cheesecloth Ghost • Coffin Tray • Decorating Wood Cutouts • Decorative Blocks • Dollar Tree Halloween Crafts • Door Hangers • Fairy Garden • Glowing Skeleton Decor • Halloween Ornaments • Mason Jar Lanterns • Mummy Luminaries • Paper Cones • Party Favors • Potion Bottles • Witch Hat Garland





Very cute Idea 🙂 Thanks for sharing Aki 🙂
Thank you! 🙂
This sign is so cute! You did a fabulous job!
Paige
https://www.thehappyflammily.com/
I love the broom sign, thanks
Thank you!