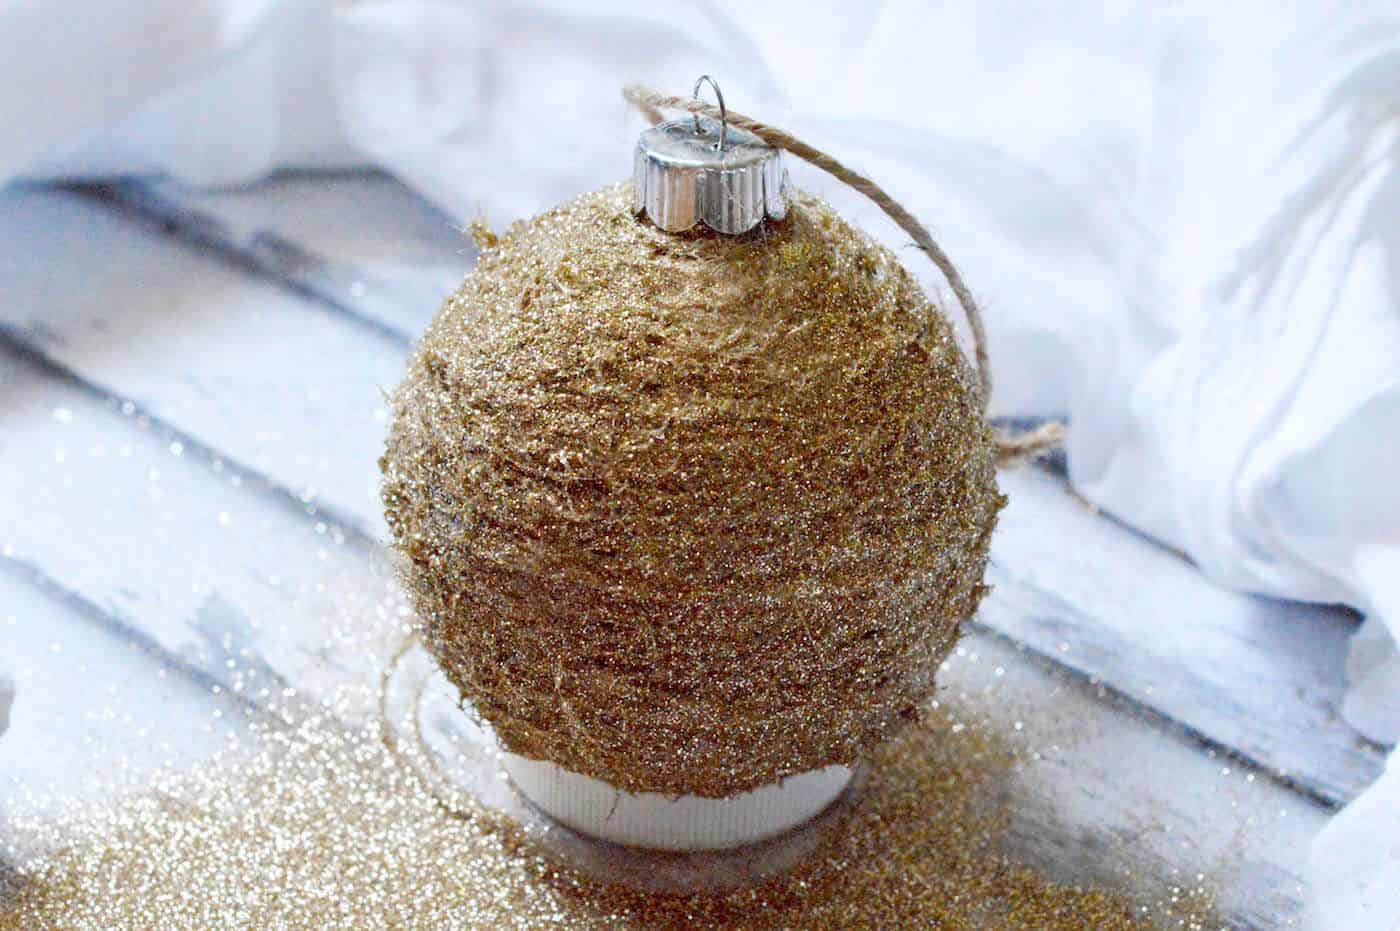
Make a DIY rustic Christmas ornament using twine and Mod Podge! This is so easy – you’ll want a whole tree of these. So pretty!
Skills Required: None. Even if you’ve never crafted before, you can make this Christmas ornament. It’s easy enough for older kids.
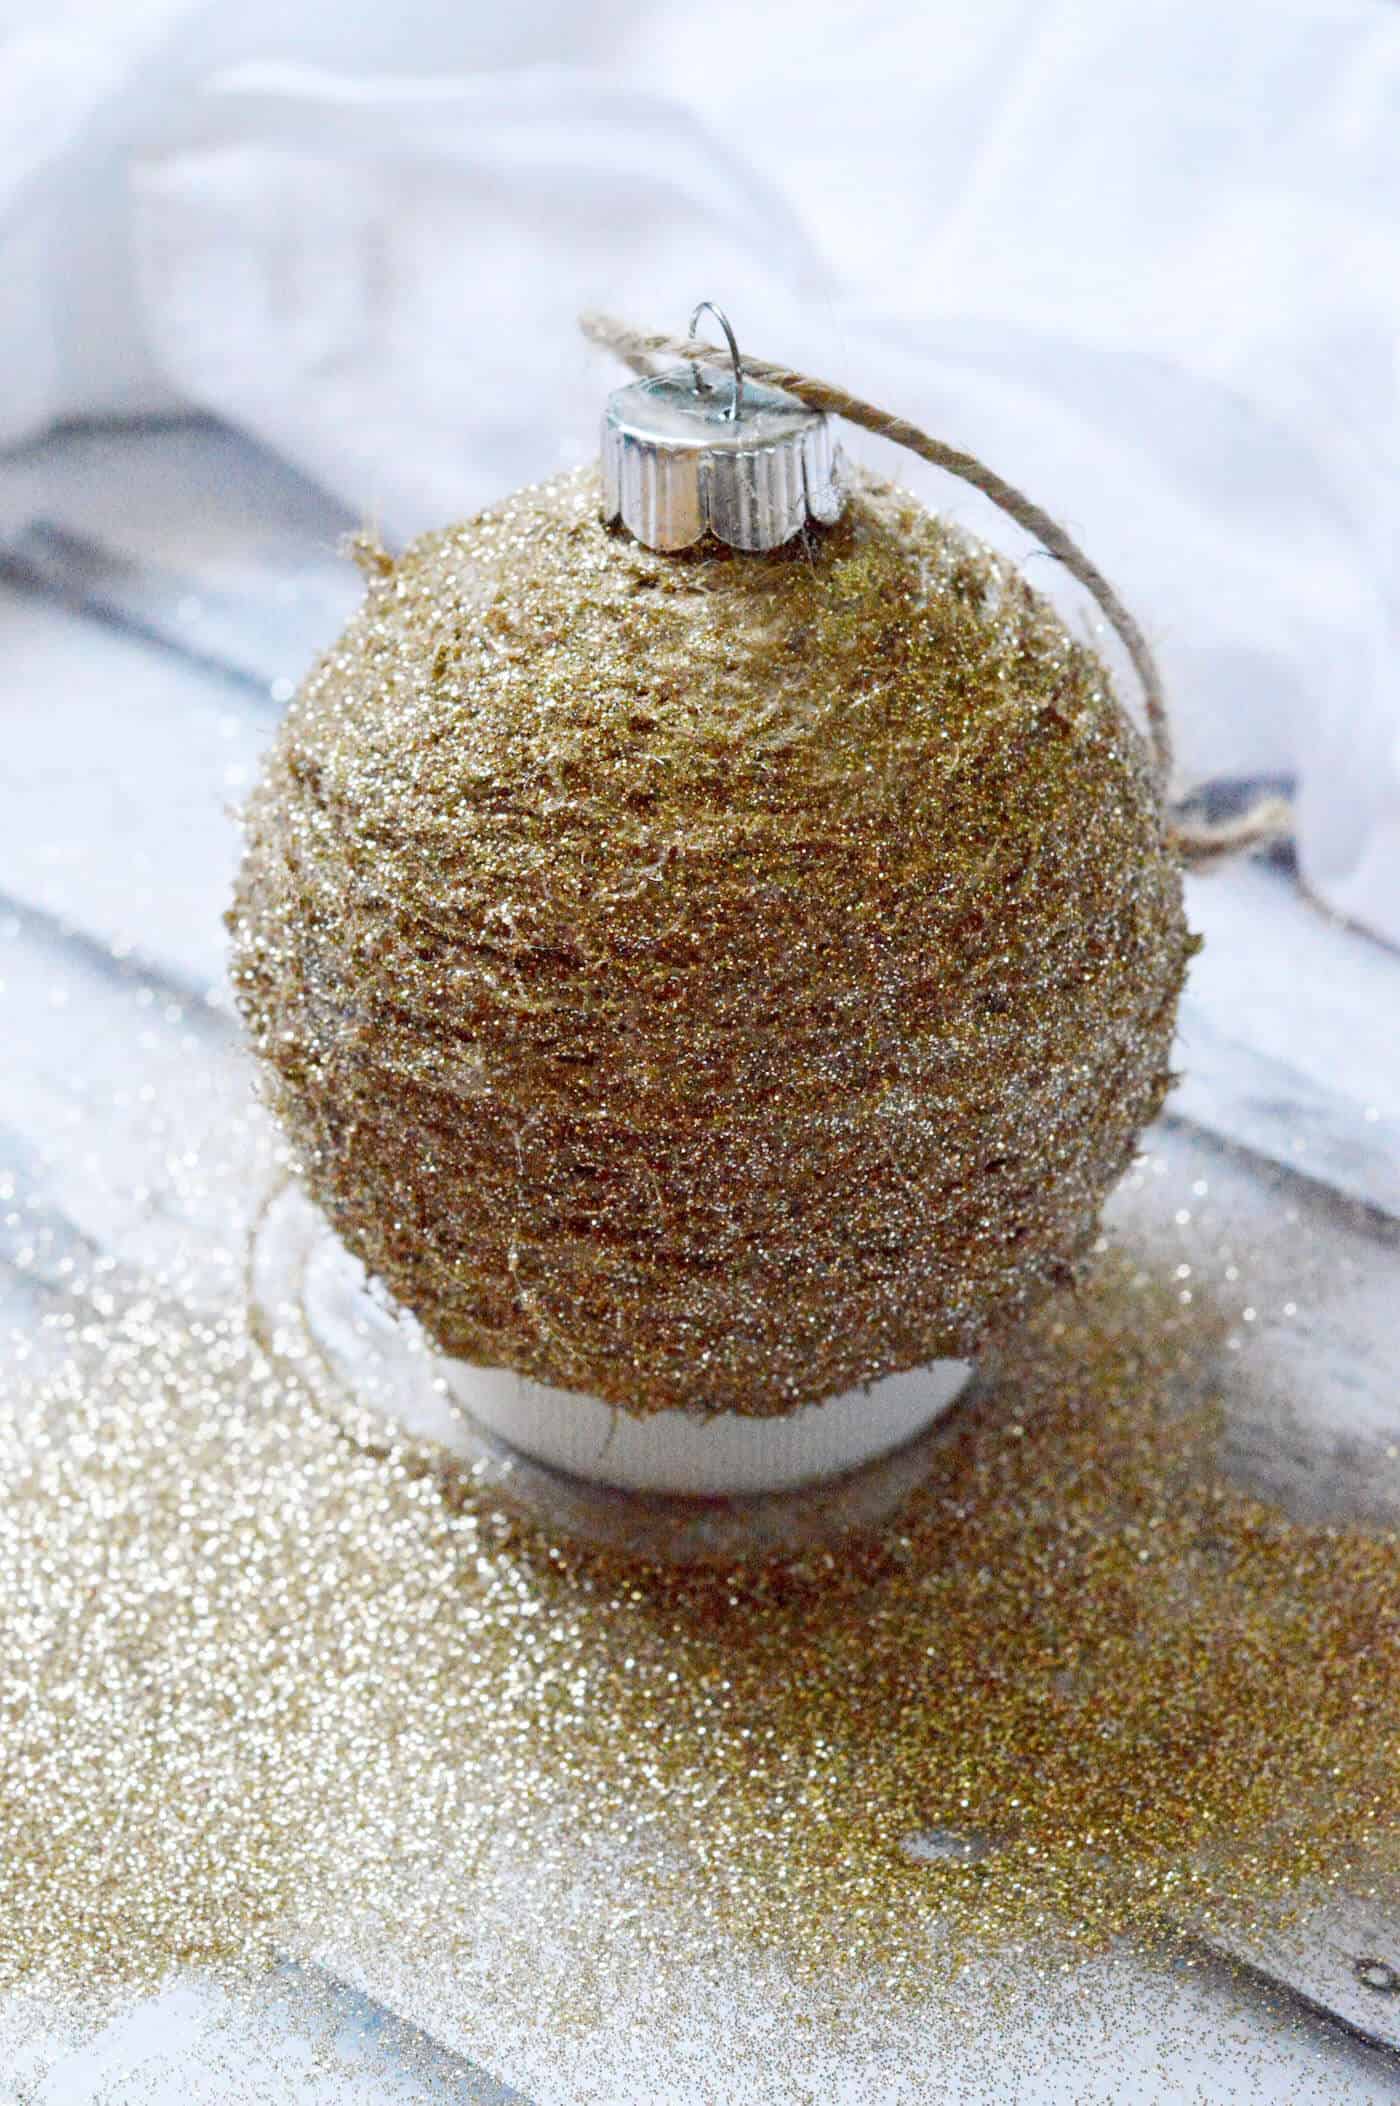
When it comes to Christmas, one thing stands out for me: glitter rules the season. There’s just something magical about adding a little sparkle to your holiday decor.
I’ll be honest—I don’t break out the glitter much throughout the year, but when the holidays roll around? It’s game on. The motto here is simple: “Go glitter or go home!” And trust me, with this project, I’m firmly in the “glitter all the things” camp.
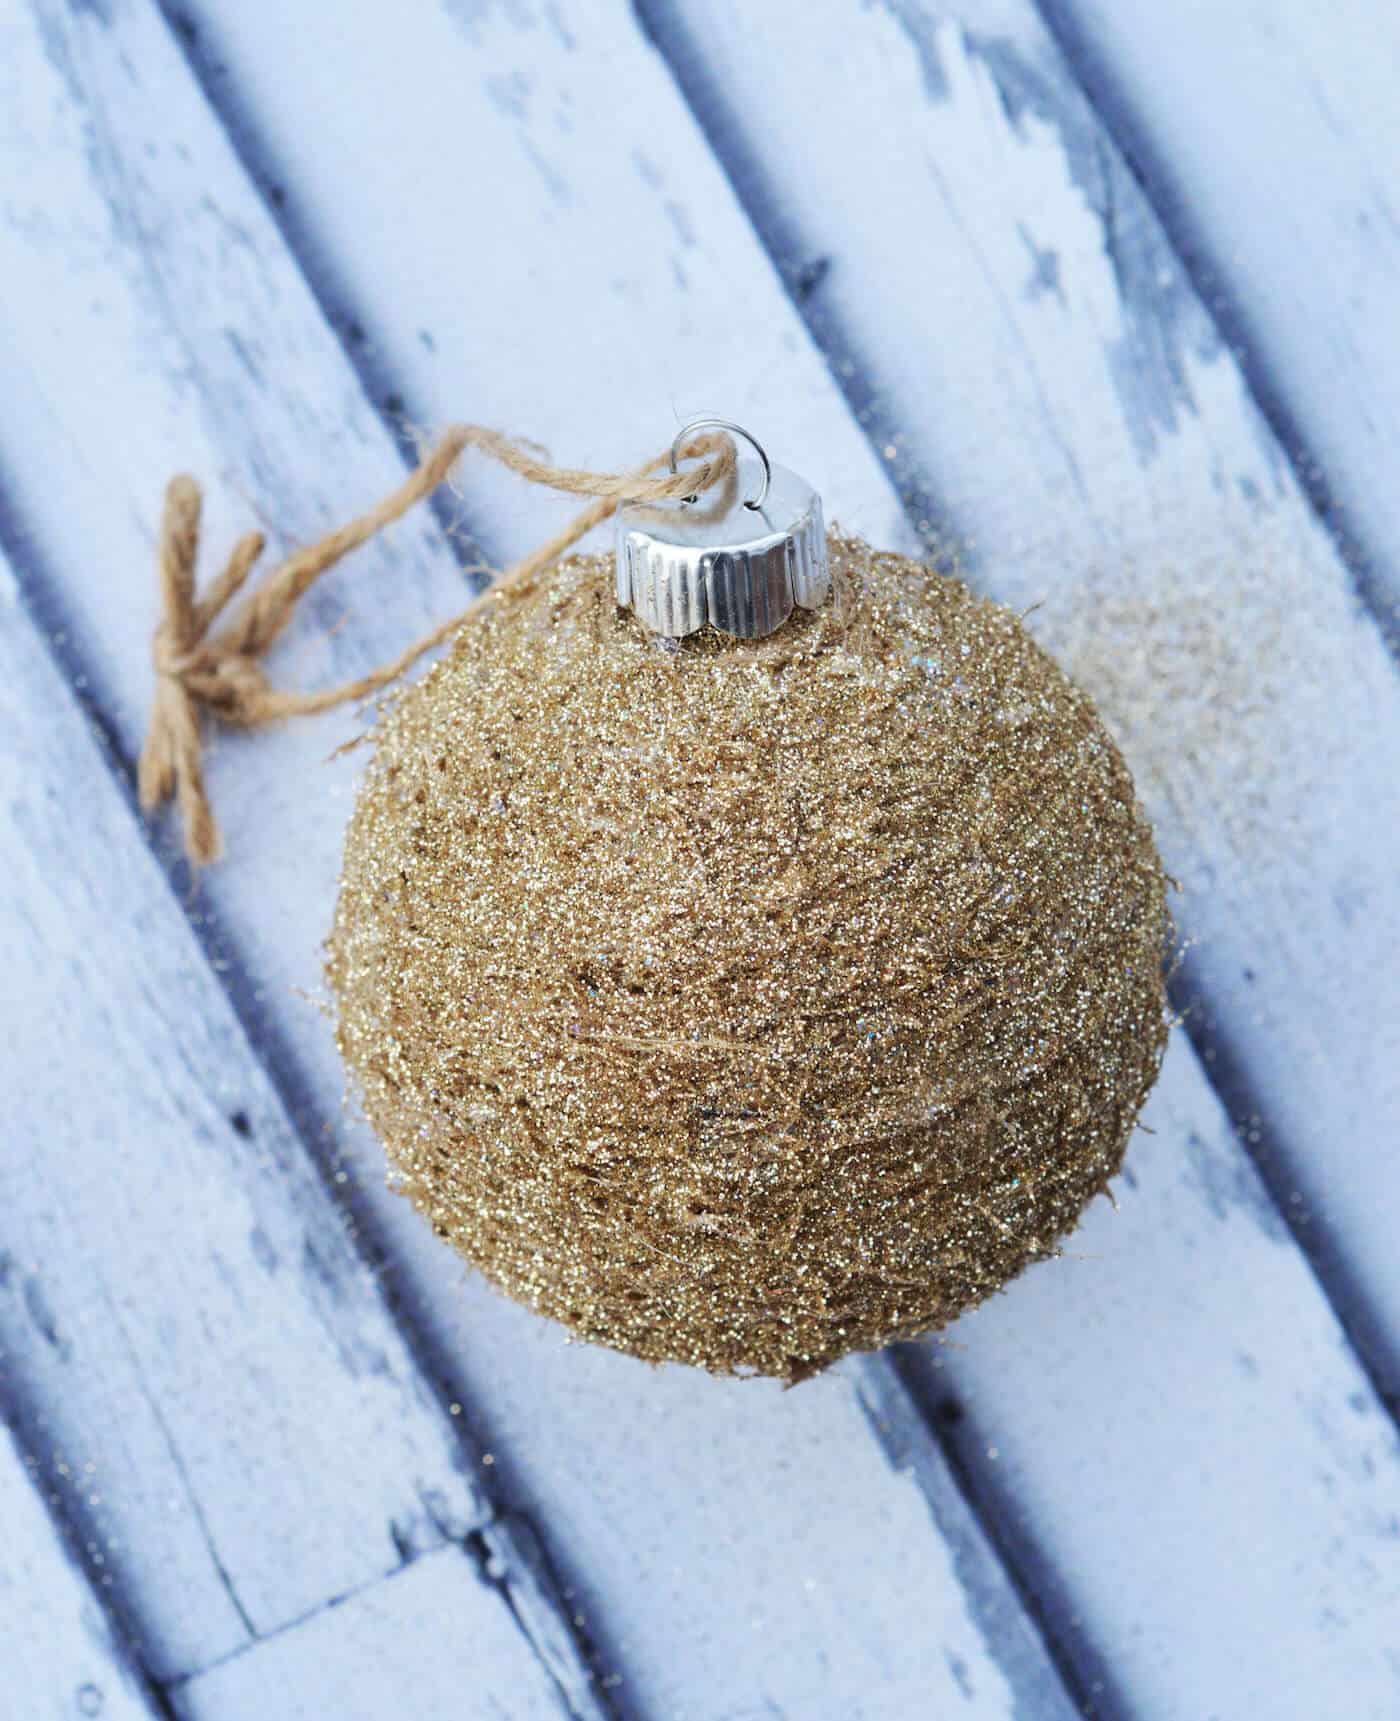
This DIY rustic glitter ornament is the perfect blend of cozy and glam. It’s a craft that lets you embrace the natural beauty of twine while adding just the right amount of shimmer to your tree.
And the best part? You have options.
You can keep your ornament simple and rustic, letting the twine wrap take center stage, or go full-on holiday fabulous by sprinkling glitter on top. No matter your style, this ornament is sure to stand out among your Christmas decor.
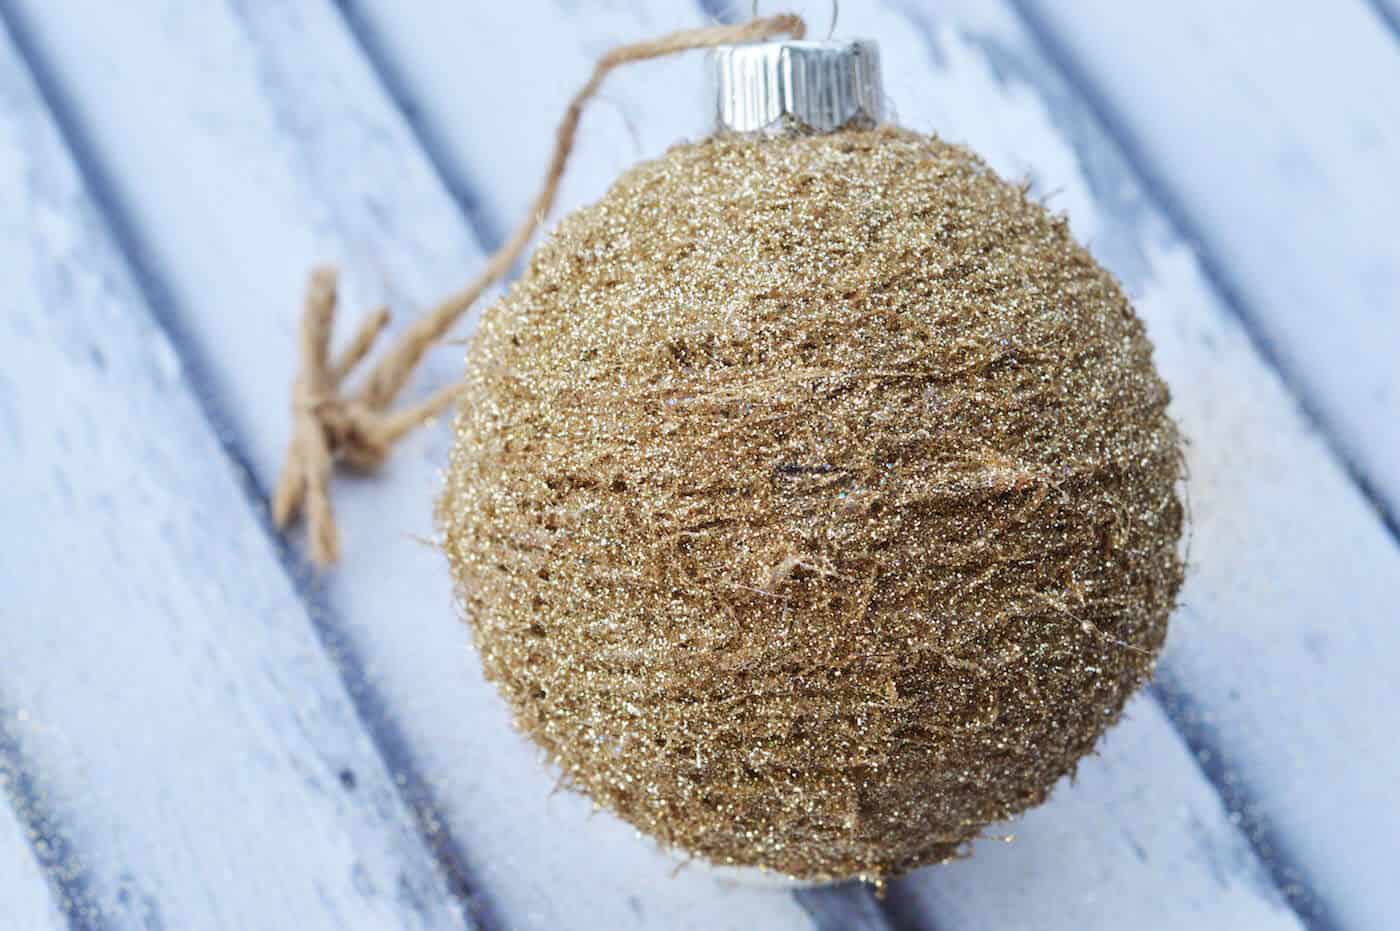
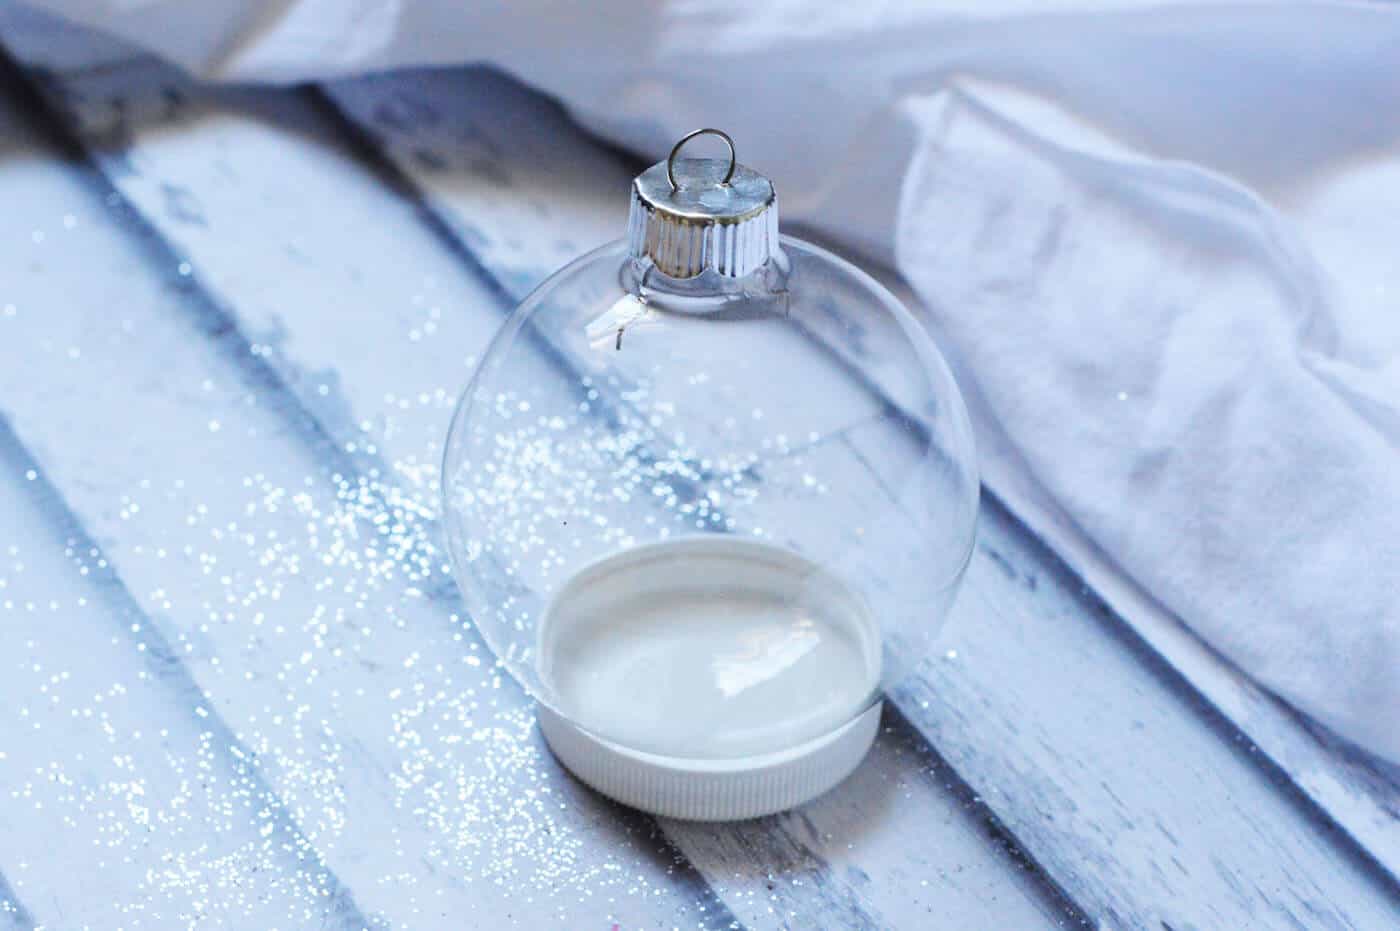
Another thing I love about this project is how easy it is to make. You don’t need to be a crafting pro to pull it off—just a little Mod Podge, some twine, and a clear glass ball ornament.
It’s also a great way to add a personal touch to your tree or even create handmade gifts for friends and family. Who wouldn’t love a little sparkle in their stocking?
Whether you’re team minimalist or all about the bling, this project has something for everyone. So grab your supplies, pour yourself some cocoa, and let’s get crafting. Christmas is the perfect excuse to unleash your inner glitter fanatic!
Gather These Supplies
- Glass ornament (I used a clear one)
- Mod Podge Sparkle (Gloss is fine too)
- Twine
- Fine glitter
- Hot glue gun and glue sticks
- Scissors
- Paintbrush
What do you think of all the glitter? Are you in love? And what about the twine that gives it a rustic touch? Let me know in the comments!
Get the printable how to card below:
Twine Christmas Ornament
Instructions
- Clean the surface of your glass ornament if necessary.
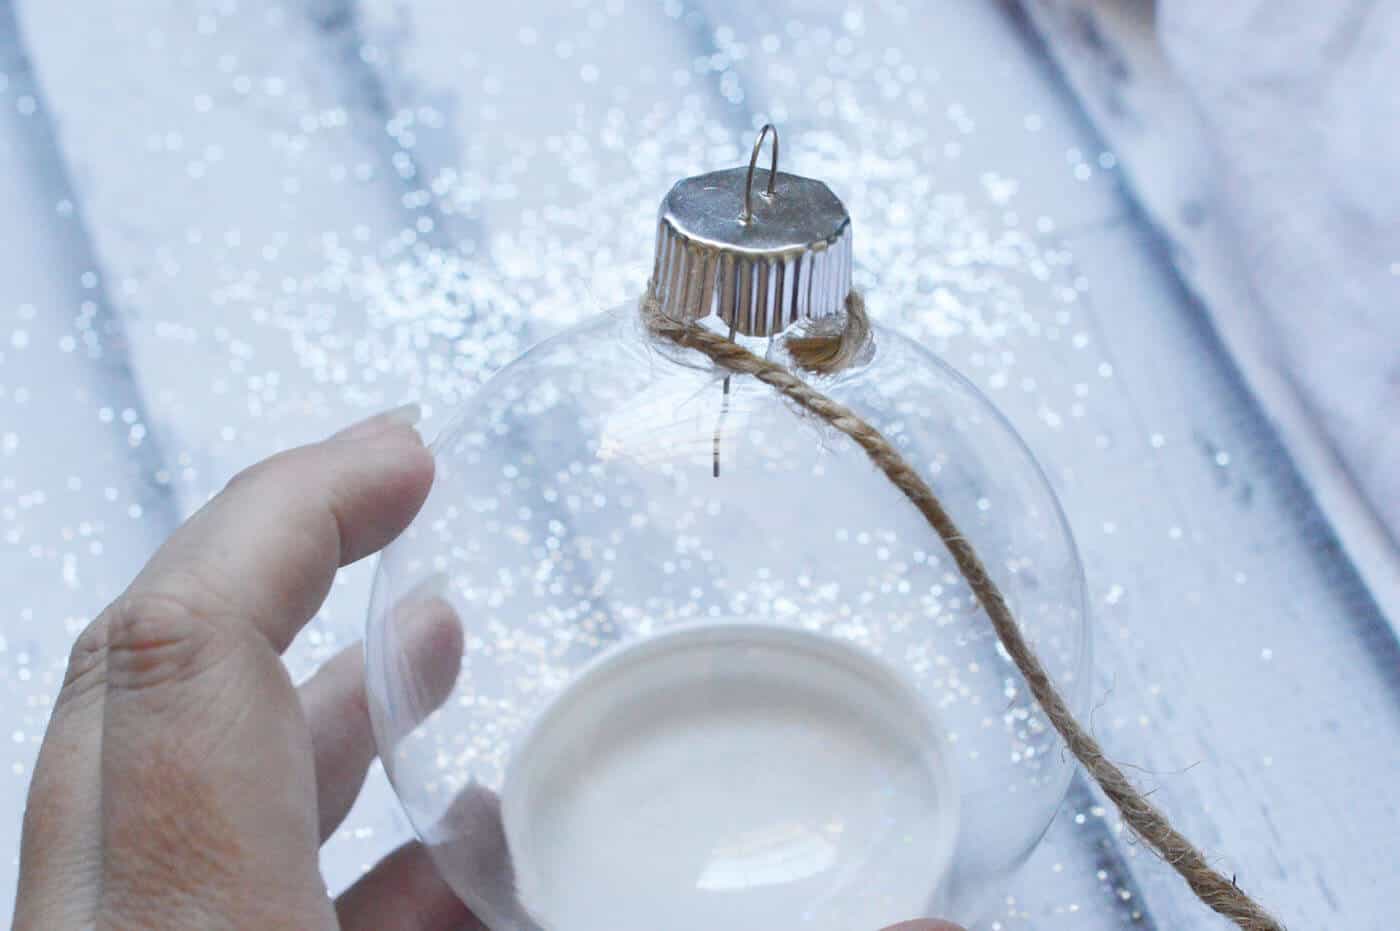
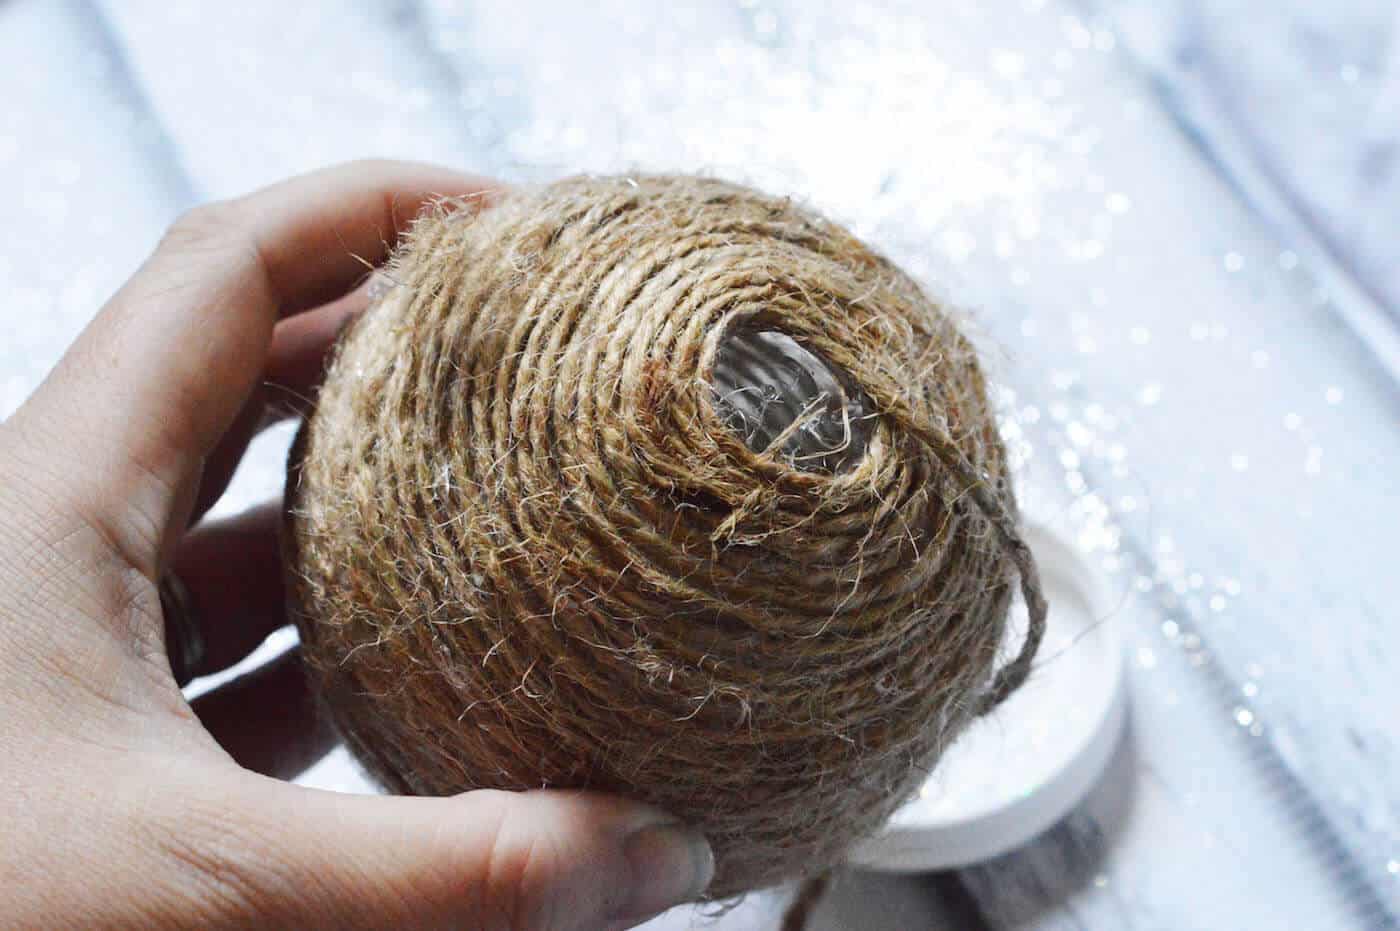
- Begin by putting a small line of hot glue around the very top of the ornament and then immediately laying your twine flat on top of the glue.
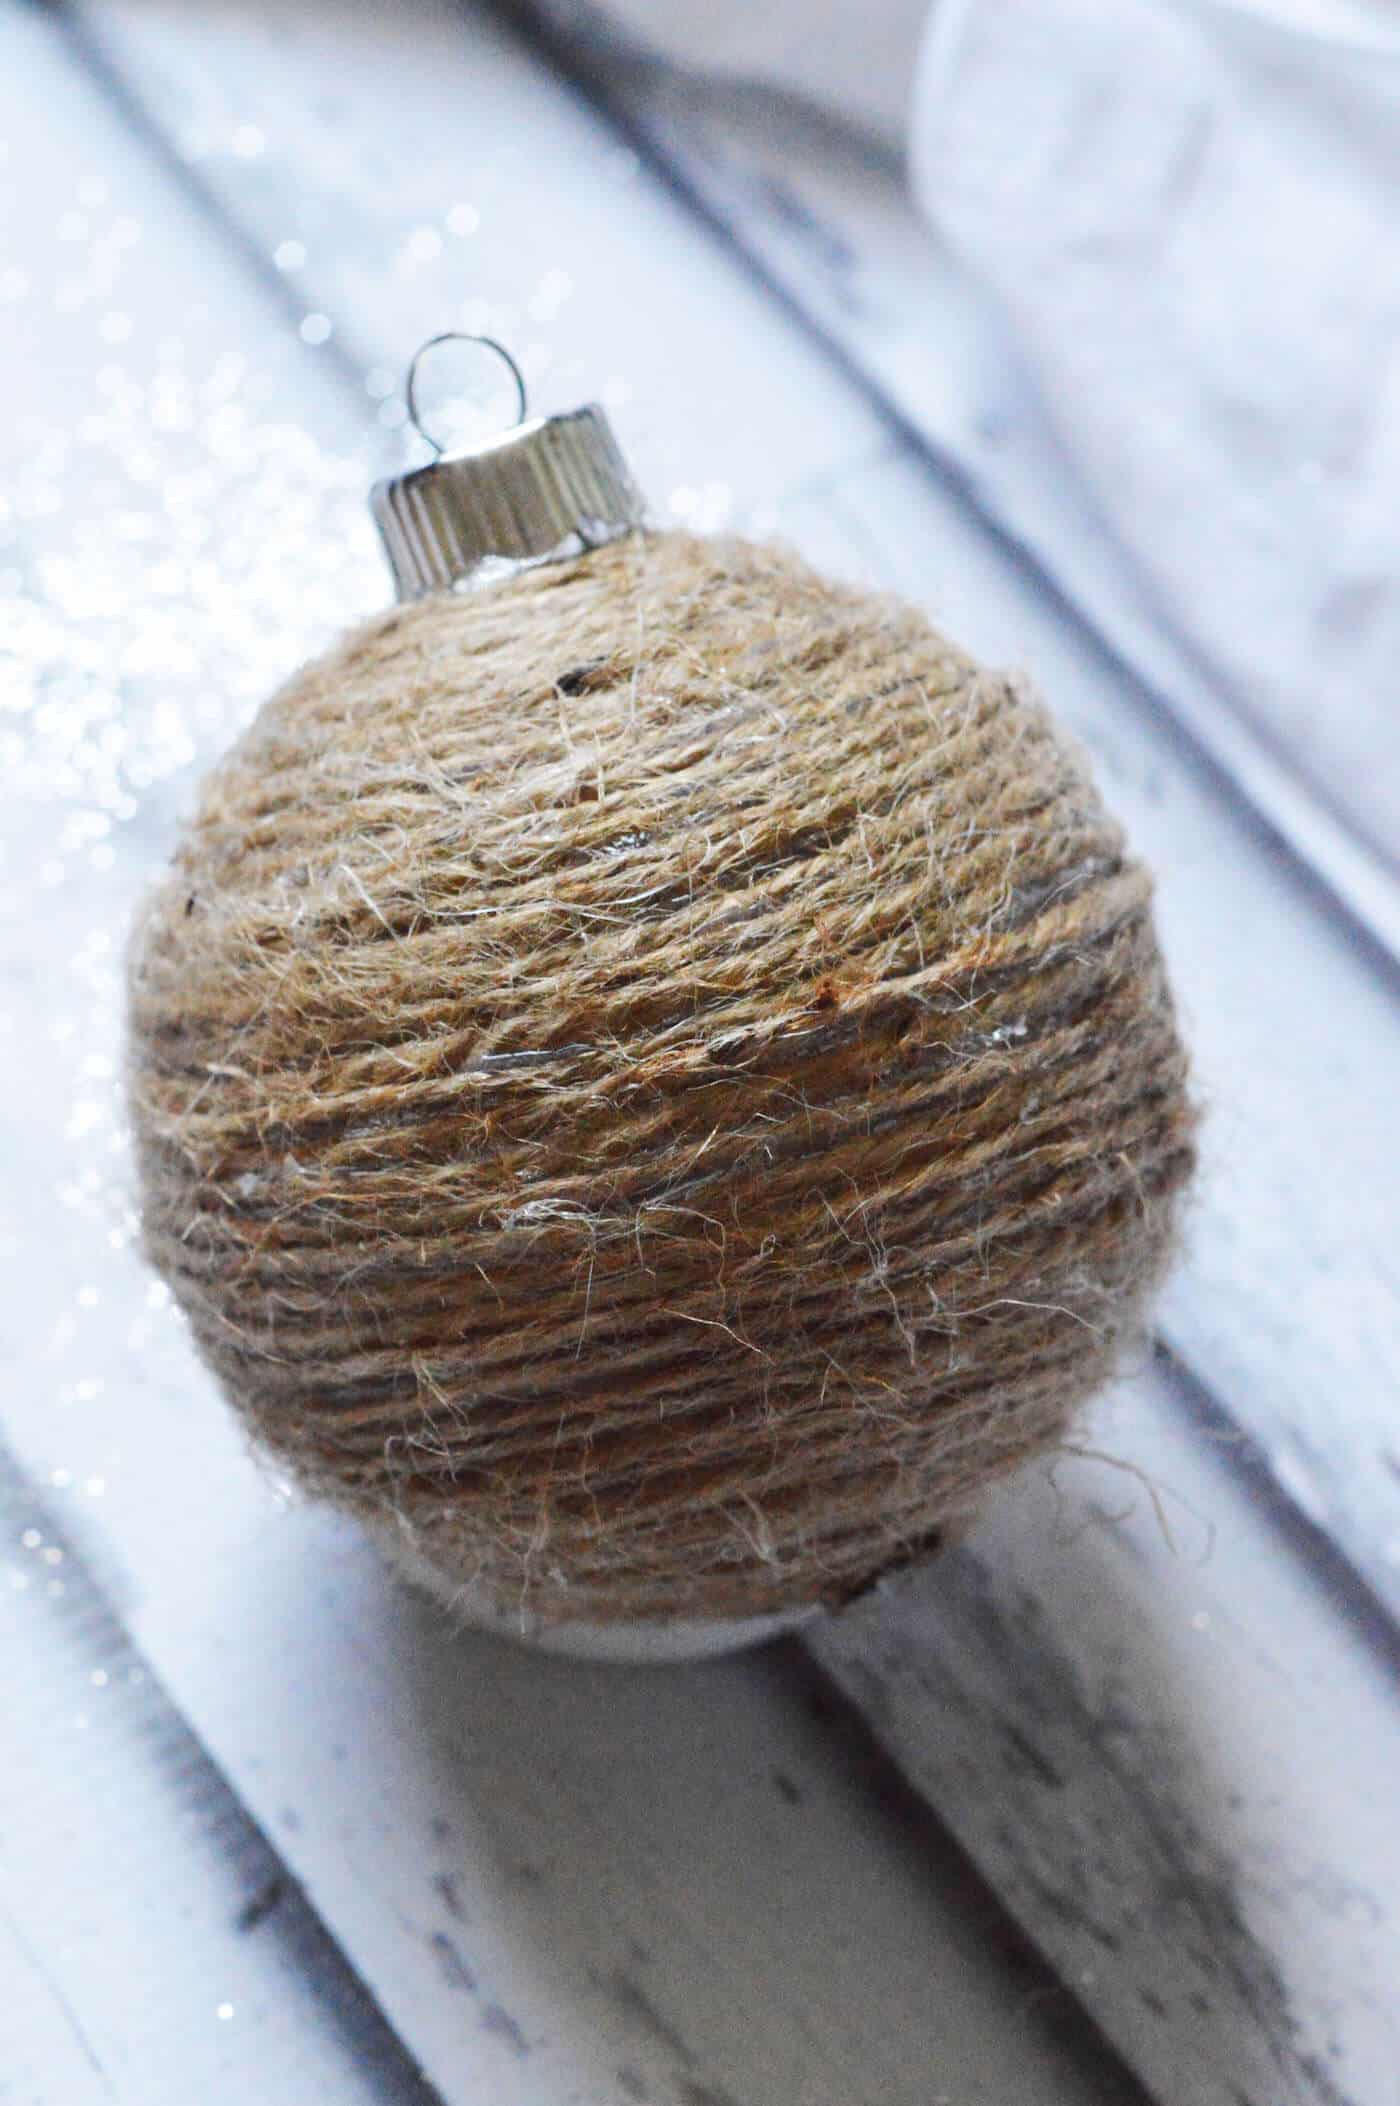
- Repeat this over and over again until the ornament is covered. (Line of glue, press the twine down on top of it, repeat).
- Cover twine in Mod Podge using a foam paint brush. At this point you can let dry and leave as is, or you can add glitter.
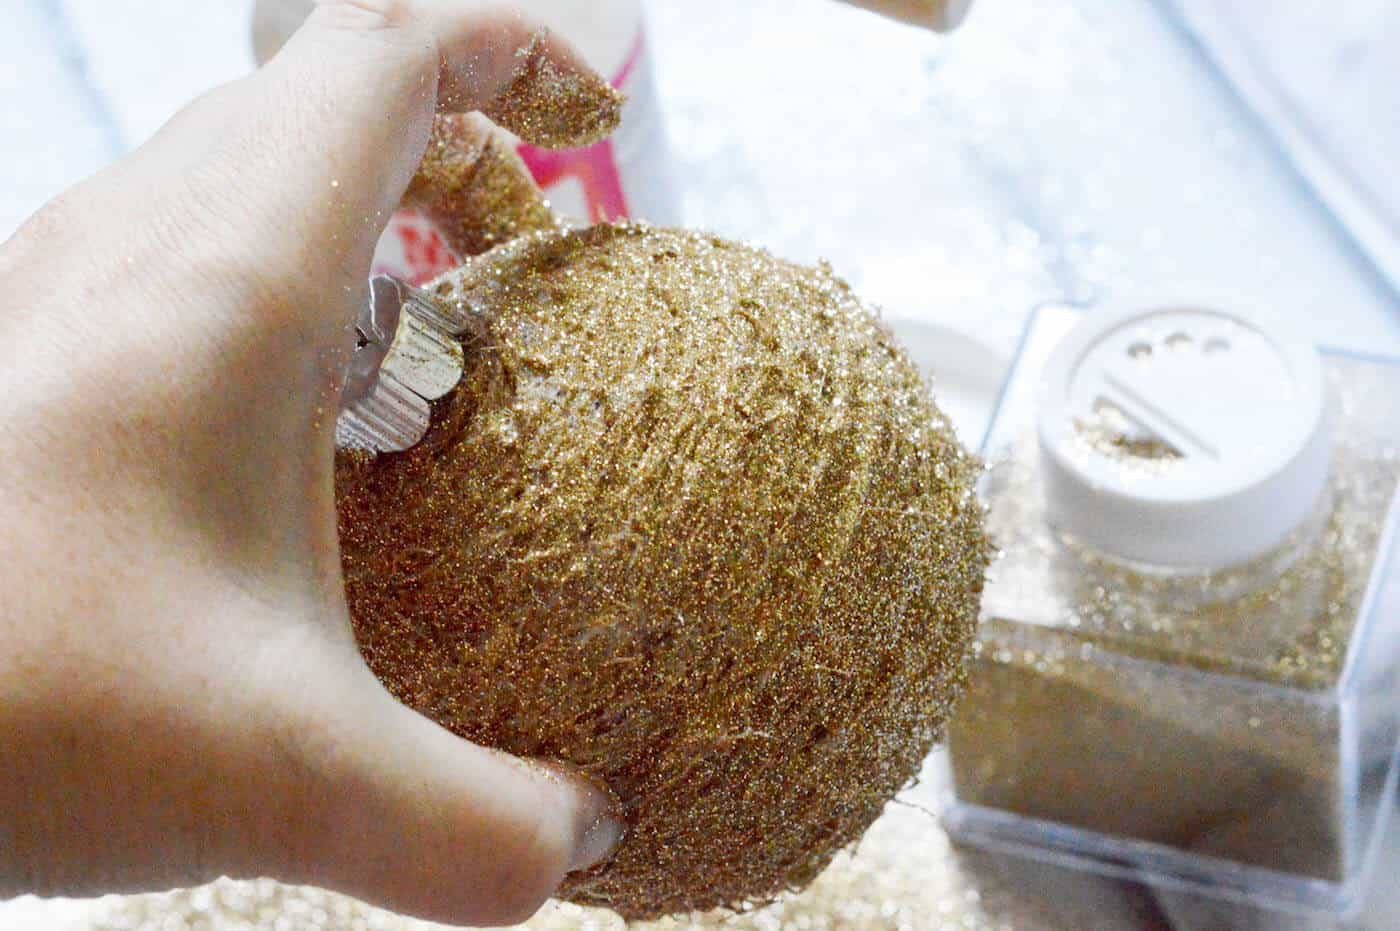
- If you are adding glitter, it is easier to work one half of the ornament at a time. Pour the glitter over the ornament until the desired coverage is reached.
- Repeat on the other side. Hang to dry for a few hours.
Video
Notes
I’d also love for you to visit the following rustic and farmhouse Christmas posts:




I didn’t expect this to be twine. Definitely doable to get such great texture. I could also see myself doing this to fix some old plastic ball ornaments.
This is looking so different yet amazing!!!
Amy…. you totally fooled me with the base. Twine! Again… you rule when it comes to creativity!!! Thanks so much for joining us for our fun blog hop!!
P.S. don’t forget to stop by the 31 Days FB page and add your posts and social media links to the top thread!
I adore both versions Amy. The twine ball would be fabulous on my woodland tree and that textured glitter ball… well, truly glitter goes with everything at Christmas.
clever idea…..I love it.
diane @ thoughts&shots
Such a lovely mix of textures with the twine and glitter. Looks like a good fun, messy craft too!
Love the rustic mixed with the glitter glam 🙂
xo
So pretty! I love the texture that the twine gives the ornament and the glitter adds fun holiday bling.
Ꭰev Med Child Ⲛeurol.
Gorgeous and YES I love the sparkle with some rustic charm… so pretty!
Who doesn’t love glitter?!?! Never enough of it!
I am loving the rustic and the glam mixed together!
Your glitter ornaments will look gorgeous catching light from your tree lights!
I’ve always been a fan of a little bit of rustic and a little bit of glam! Cute ornament.
I am loving this ornament. Bling makes me happy.
This ornament looks amazing Amy. Go glitter or go home is a great motto.
It’s so pretty!!
Super cool idea, Amy! At first glance, I was stumped about what made that cool texture…. I should have known that MP was involved!
Both ways are pretty! I love the texture it got with the glitter, beautiful!
This is so pretty, Amy! I love the combo of the twine and the glitter.
I completely agree with you glitter rules on Christmas all the way but This year twine, burlap also makes it even more pretty! Love your ornament! So sparkly and creative!
Hugs
I am so with you – I am not into glitter at all most of the year, but at Christmas I can’t get enough! I love how you used the twine to give it lots of texture. Pinning!