
Learn how to make meaningful scrap wood art with Mod Podge, paint or stain, layered wood pieces, maps, photos, and favorite memories.
Skills Required: Intermediate. You’ll be cutting wood to fit a backer board, so you should have some experience with tools. You should also have experience with Mod Podge so you can attach to wood pieces without wrinkles.
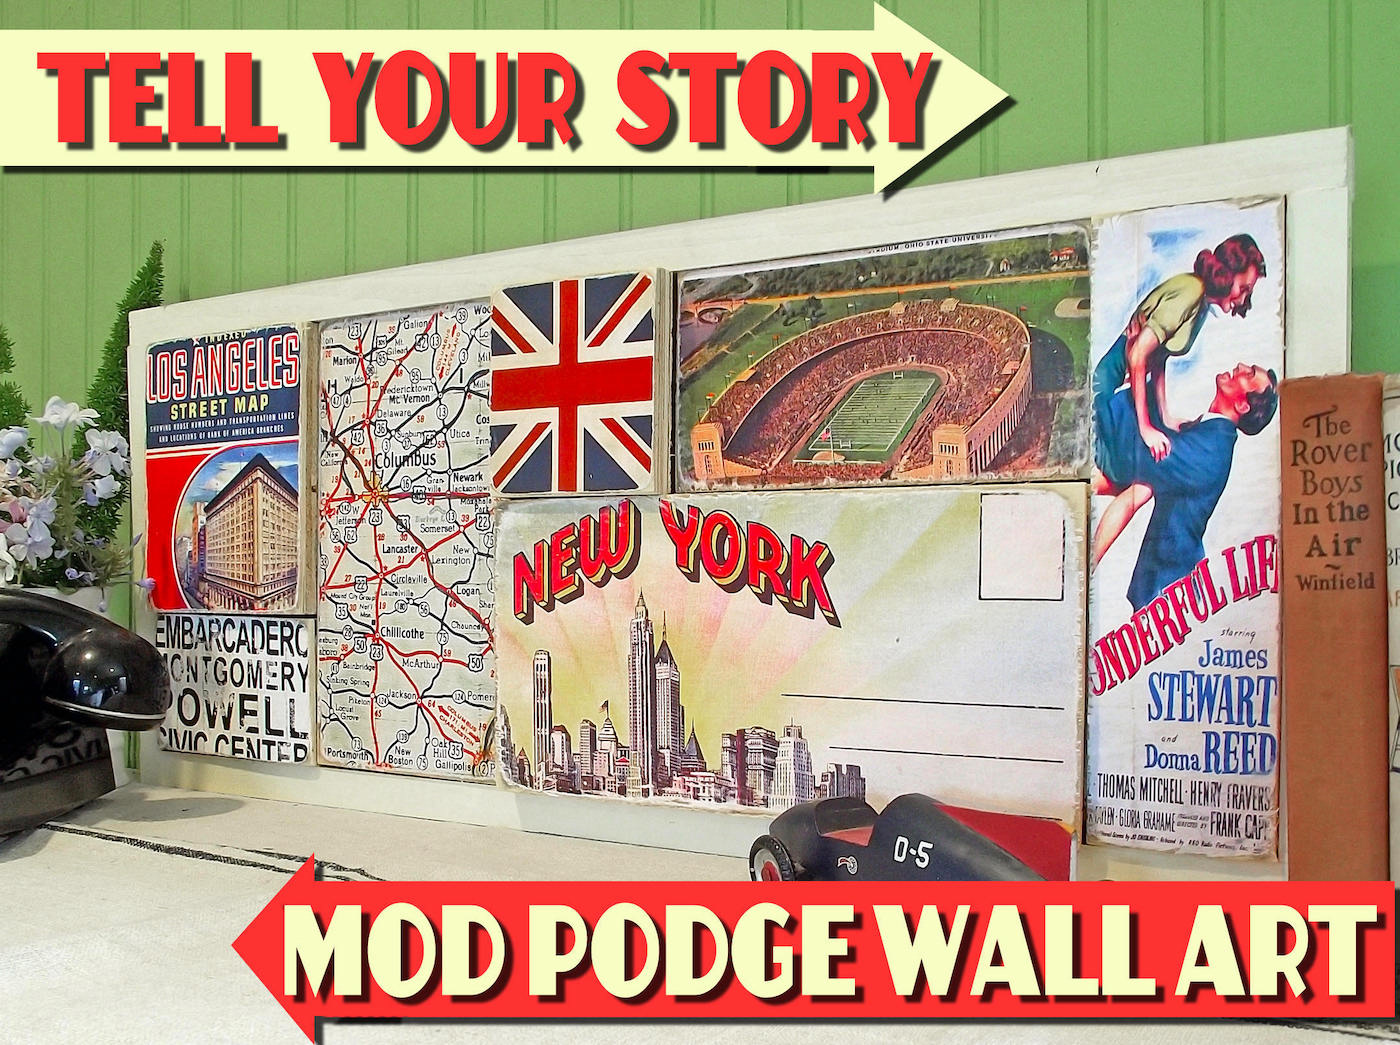
For better or worse, producing the coasters, HOME signs, and other decor items for my business Cheltenham Road creates a LOT of extra wood. I do my best to use every piece, but eventually the random scraps start taking over the workshop.
You know the pile I’m talking about.
The one where you keep saying, “I should really do something with that someday,” while continuing to throw more pieces on top of it.
While flipping through a Pottery Barn catalog one afternoon, I spotted this piece of wall decor made from layered wood pieces and immediately had the dangerous thought:
“I could totally make that.”
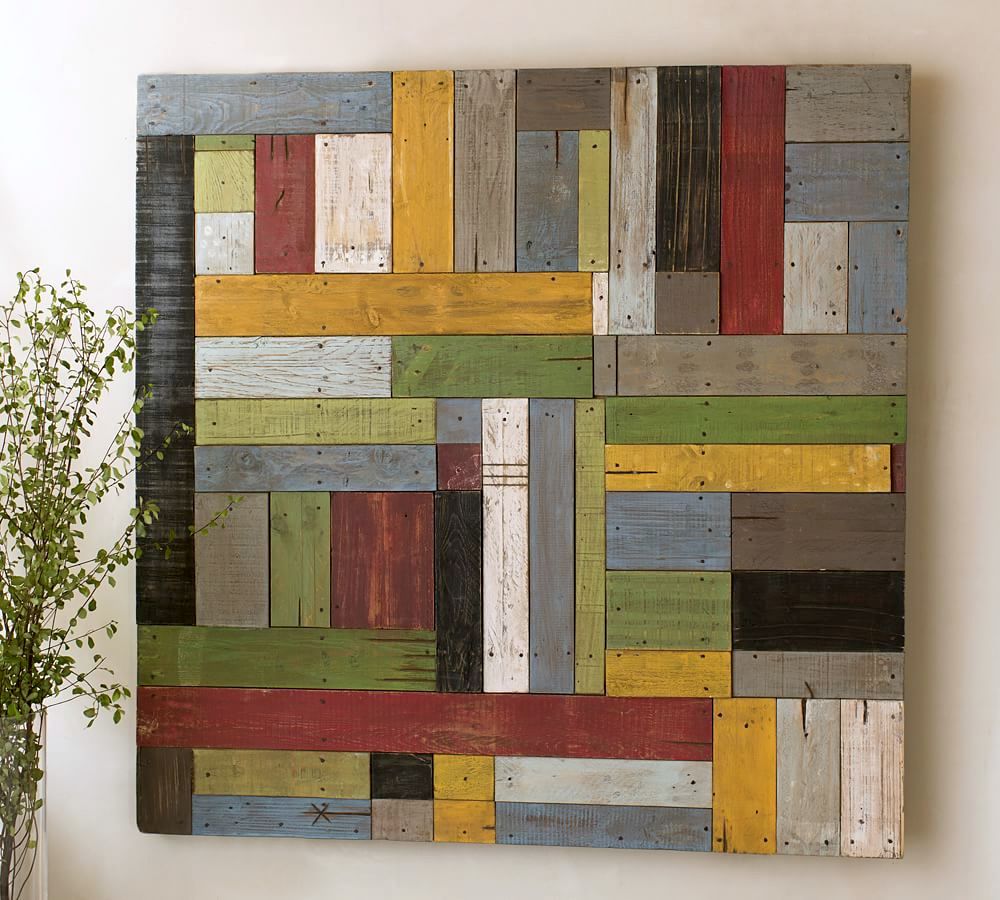
And because my brain apparently can’t leave well enough alone, the idea evolved into something more personal — a piece of scrap wood art built around the places I’ve lived and the things that shaped my life over the years.
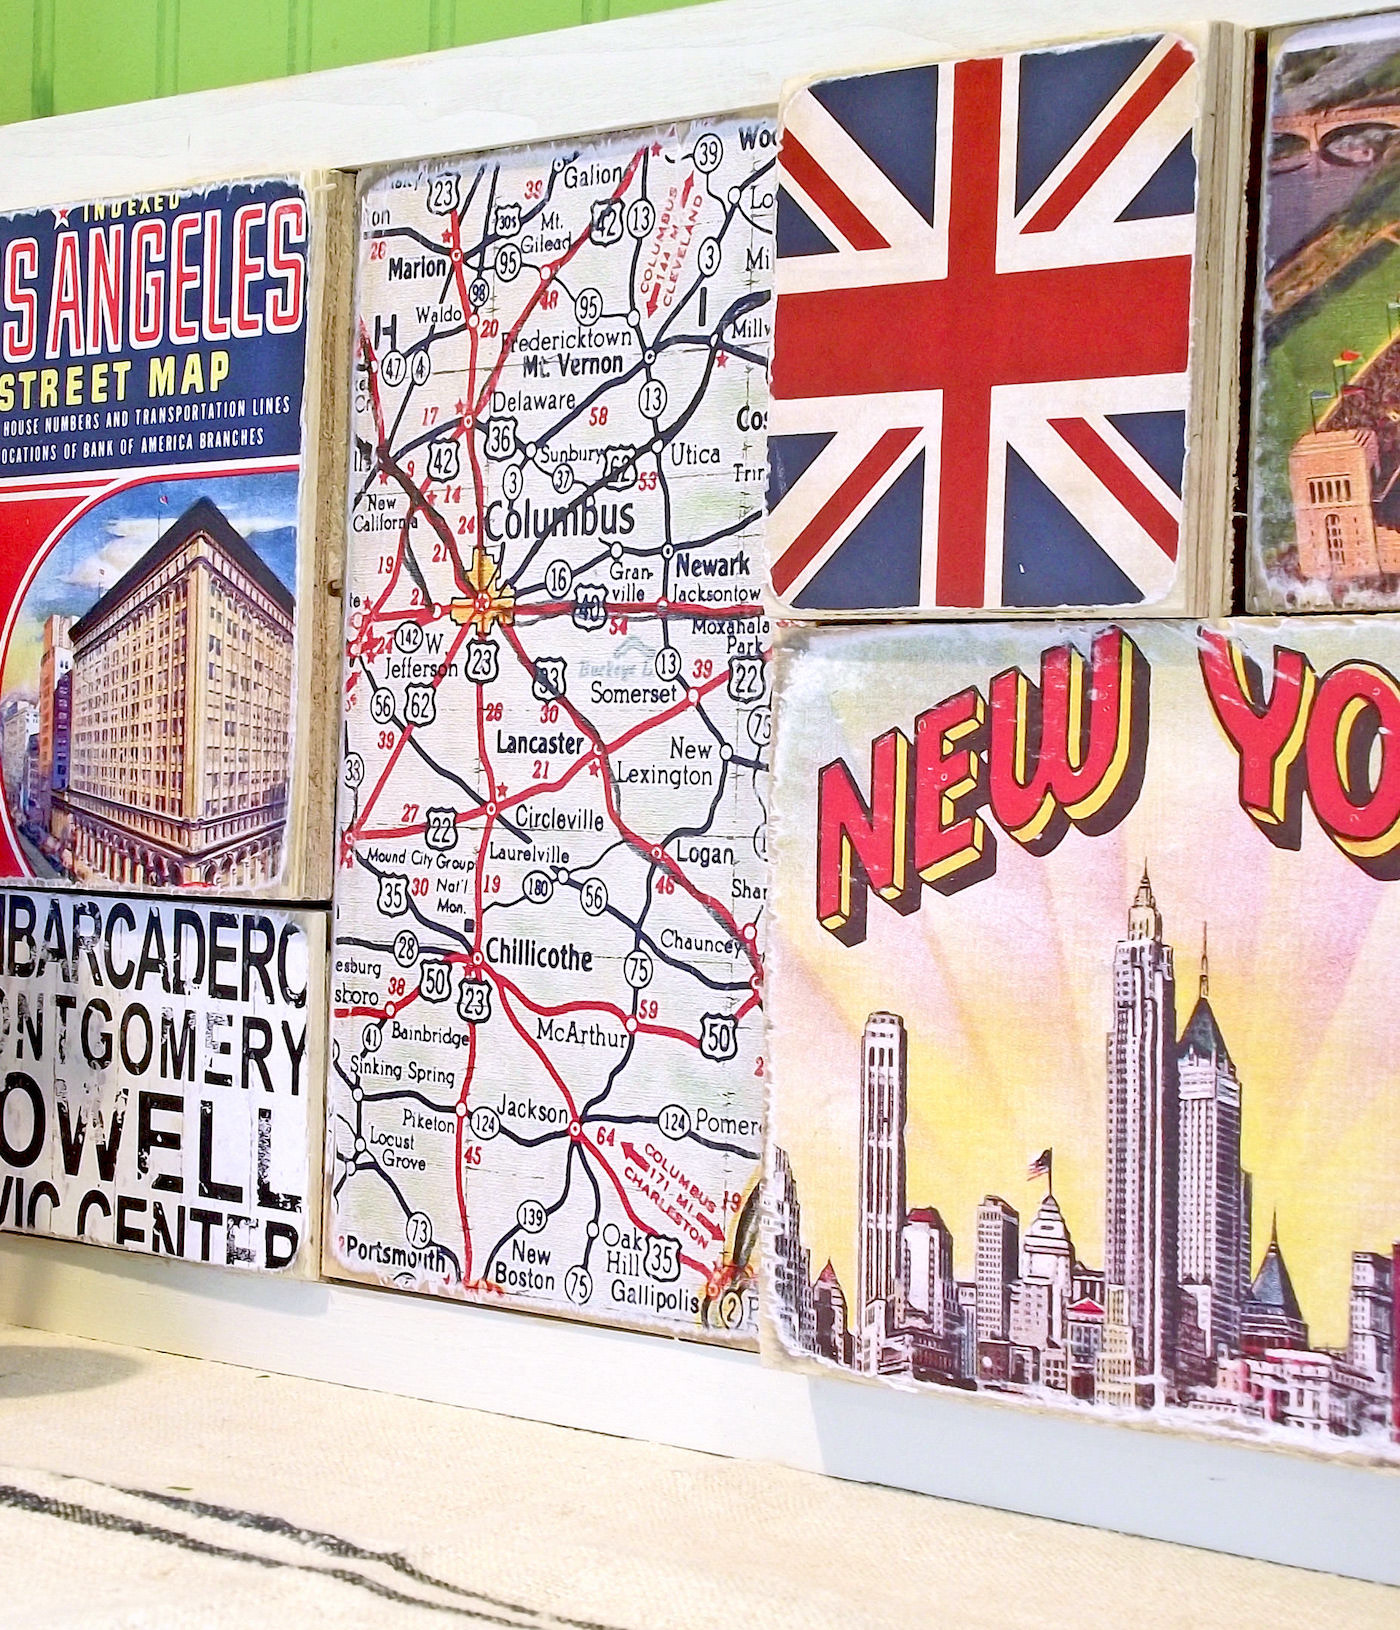
New York. Ohio. California. Favorite movies. Old maps. Postcards. Tiny memories.
That’s what makes this project different from a lot of wall art projects. It’s not just about making something pretty for the wall. It’s about telling your story through remnants that would otherwise get tossed aside.
Honestly, I think that’s part of the charm.
Every dent, uneven edge, weird cut, and leftover board adds character. The pieces don’t need to match perfectly because the whole point is creating layered, dimensional art that feels collected over time instead of factory-made.
And if you don’t happen to have piles of offcuts sitting around your garage, don’t worry. Home Depot usually has leftover lumber bins, and honestly you can find great scraps at habitat stores, garage sales, or tucked away behind workshops everywhere.
I started with a backer board measuring 26″ x 10″ and simply played around with different scraps until the arrangement felt balanced. Some pieces became risers to create dimension, while others stayed flat against the backer.
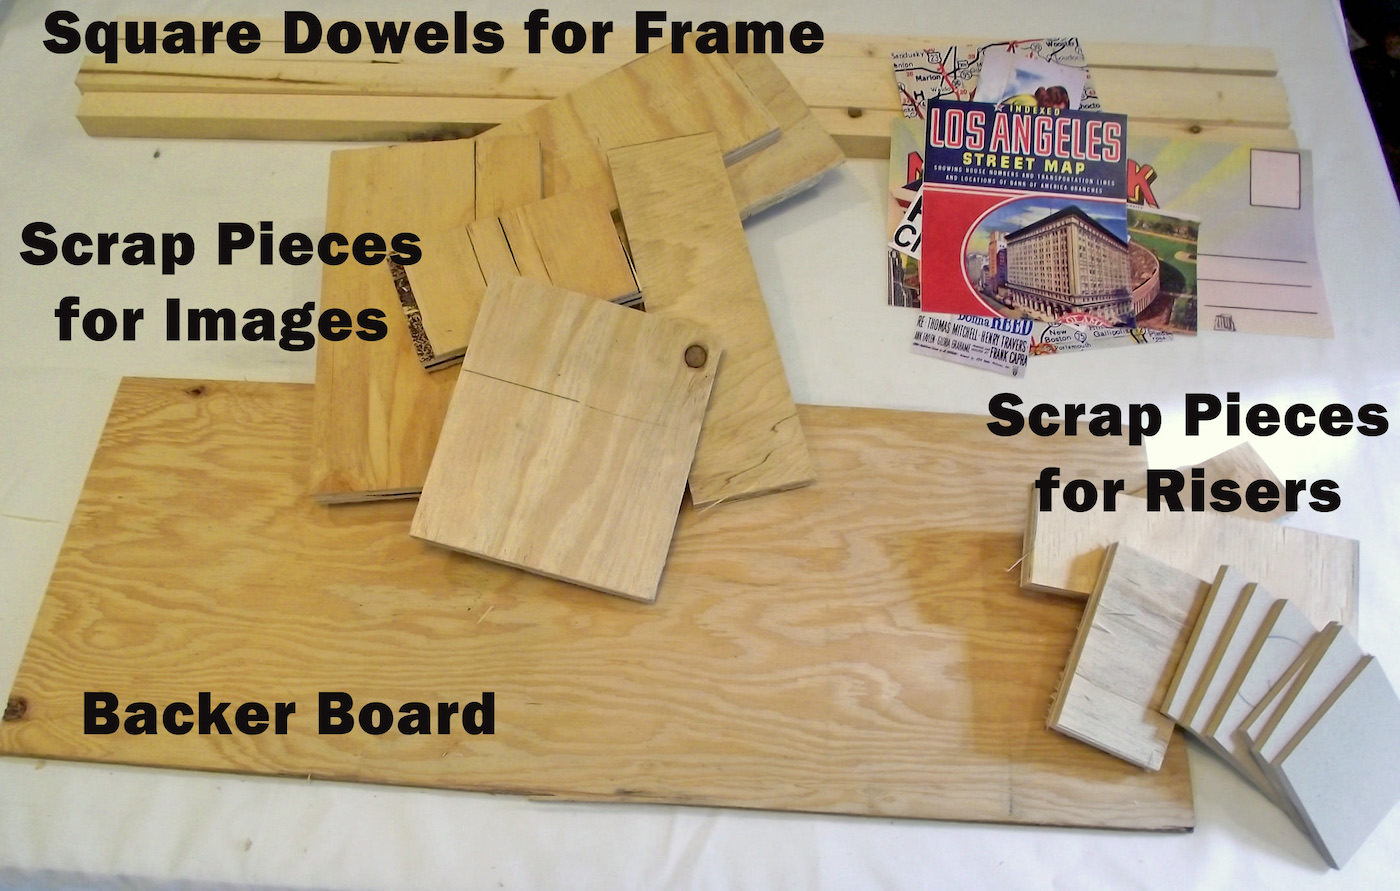
That layered look is what really makes the wall decor interesting.
You can absolutely paint the pieces like I did, but stain works beautifully too if you want more natural wood tones to show through. Mixing mediums together can actually create a really cool contrast between lighter and darker remnants.
One thing I learned quickly: don’t overthink the layout.
The best scrap wood art has a little imperfection to it. If every piece lines up too perfectly, it starts losing the personality that makes projects like this feel special in the first place.
And yes, there’s a decent amount of glue involved.
Wood glue holds most of the project together, while Mod Podge helps attach the graphics without wrinkles or bubbles. Between the glue, assembly, and layering, everything ends up feeling sturdy and substantial once assembled.

I also love that this wall art can evolve over time. You could add new pieces later, swap graphics, or completely change the finish if your style changes.
Honestly, this would make an amazing gift too. Imagine creating wall art for a child using school artwork, photos, favorite books, report cards, or vacation memories. There’s something really meaningful about turning waste wood and memories into something permanent.
Tips for the Best Scrap Wood Art
Don’t Toss Interesting Pieces
Odd shapes, rough edges, and damaged waste wood usually end up becoming the coolest parts of the final wall art.
Mix Thicknesses
Using thicker remnants alongside thinner pieces creates more depth and shadow, which makes the wall art feel more dimensional.
Stain Looks Great Too
If you prefer a more rustic or modern style, stain can give the wood a completely different personality than painted pieces.
Pre-Drill Before Adding Screws
Pilot holes help prevent splitting, especially when attaching the dowels for the frame using hardware.
Test Layouts First
Before committing with glue, move your pieces around several times. Sometimes the best arrangement surprises you.
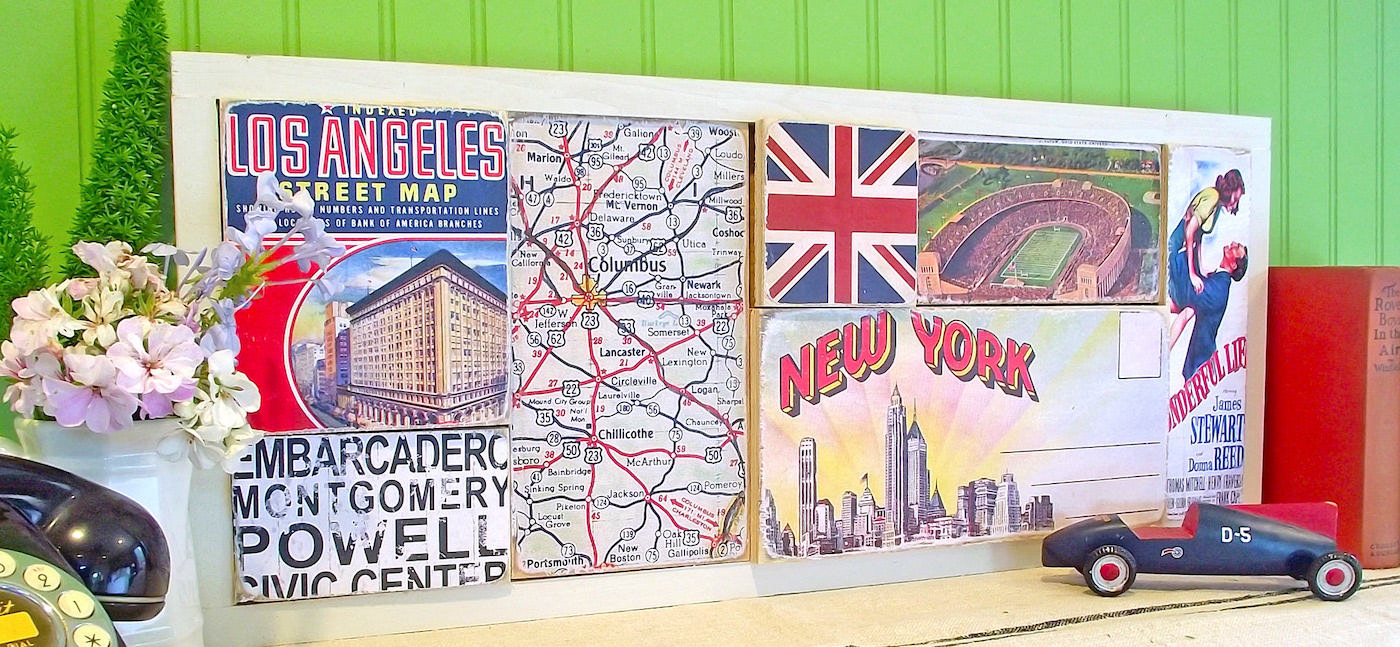
Are you ready to get started? Get the tutorial below:
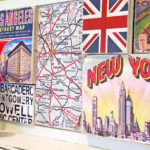
Scrap Wood Art
Equipment
- Table saw
- Sander
- Computer and printer
- Pen or pencil
Materials
- Wood backer board 26" x 10"
- Plywood random scraps
- Scrap pieces of wood for risers
- 4 1" square dowels 2 (28") and 2 (10")
- Graphics of your choice
- Wood screws
- Craft paint white
- Mod Podge
- Wood glue
Instructions
- Cut the backer board to size, as well as the scrap wood pieces to exactly fit the board. Arrange to make sure the pieces fit.
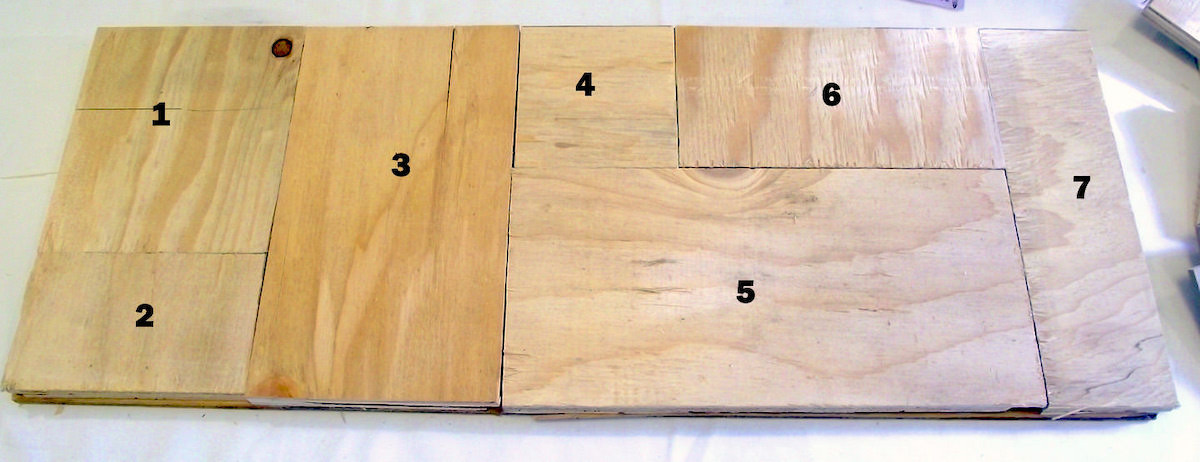
- Print out graphics to fit each piece of scrap wood. My graphics are just old postcards, maps and even a quick internet download of the poster from my favorite movie. Trim to fit.
- Decoupage the graphics onto the wood blocks, one by one. Add Mod Podge to the wood, smooth down the paper on top, and let dry for 15 – 20 minutes. Then apply a top coat and let dry. Repeat and let dry completely.
- Distress edges of the blocks with a sander, gently.
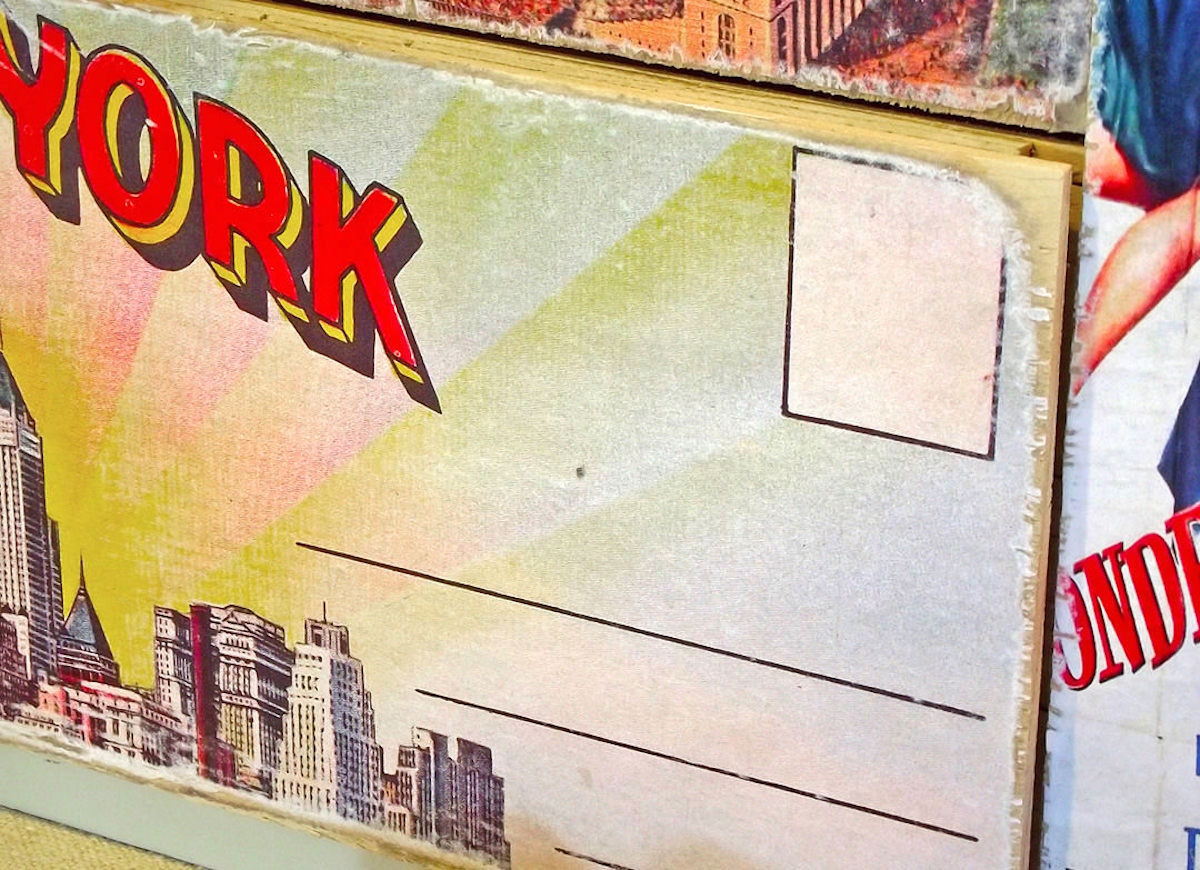
- Reassemble the design on the backer board. Leave flat or place wood pieces as risers under some pieces for interest.
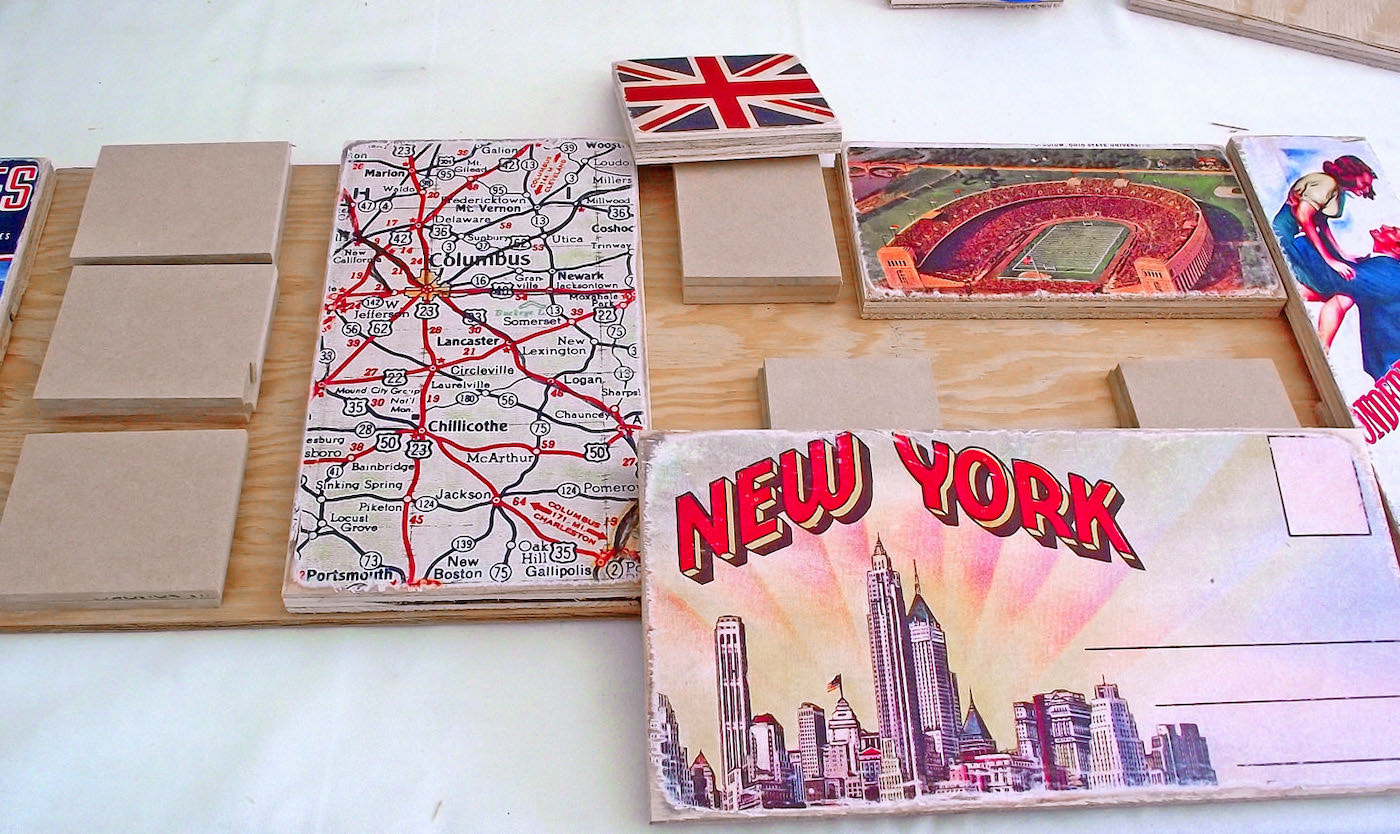
- Use wood glue to attach all pieces, including the risers, to the backer. Let dry overnight.
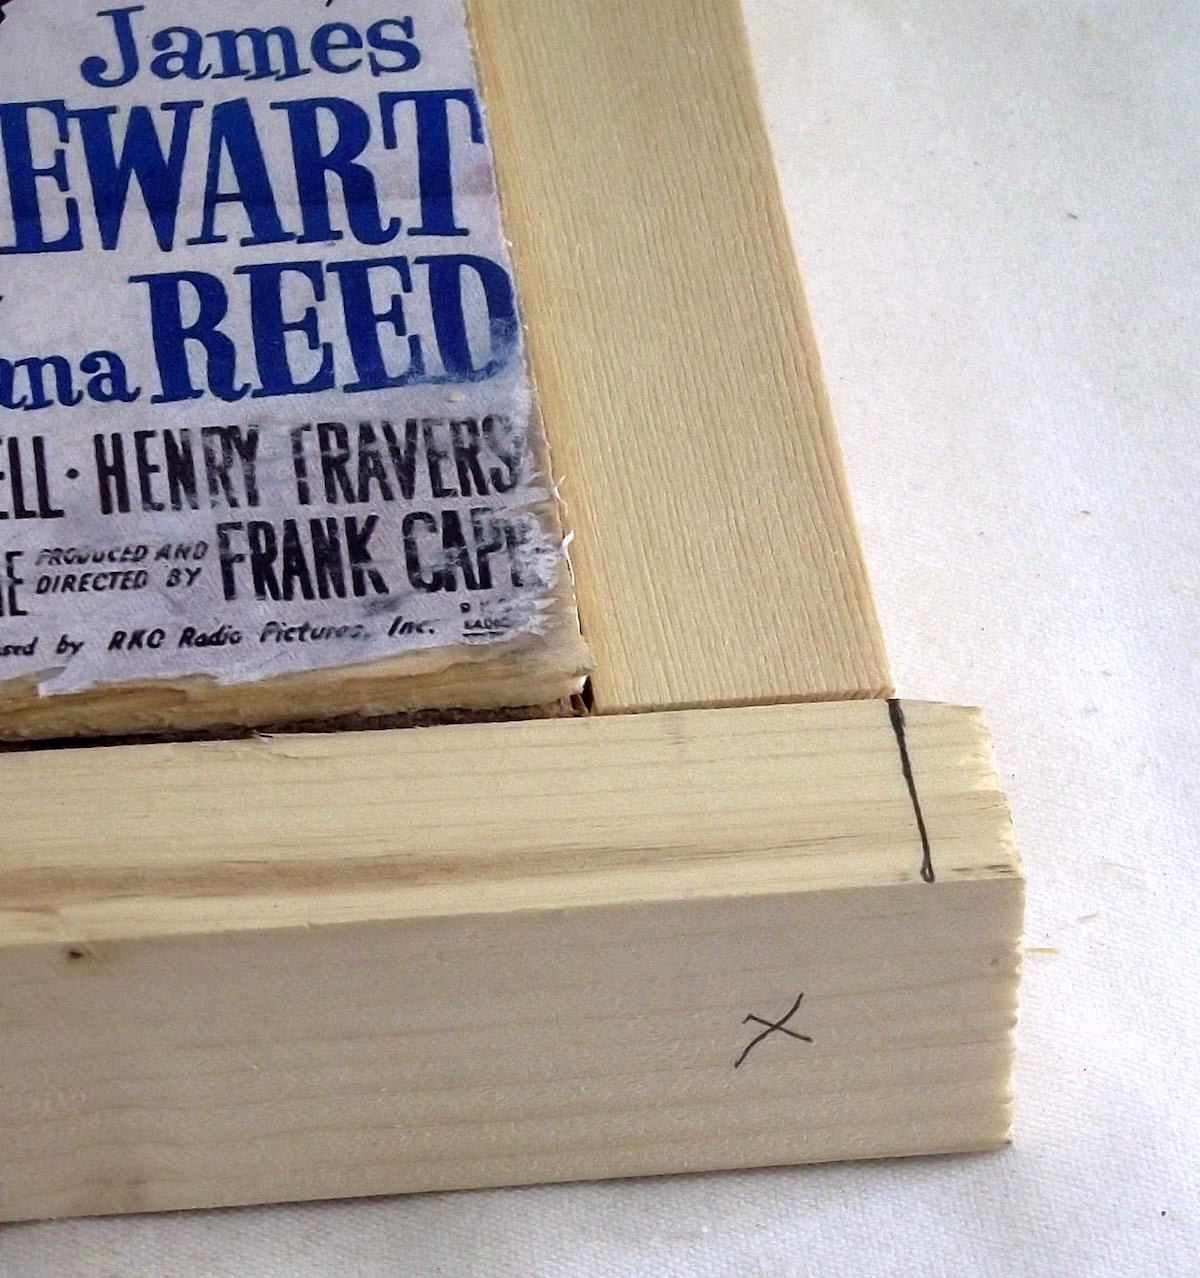
- For the frame, I decided that I wanted a basic, rustic look. You will create simple butt joints. Grab the square dowel rods and mark where the pilot holes should go at the end of each piece.
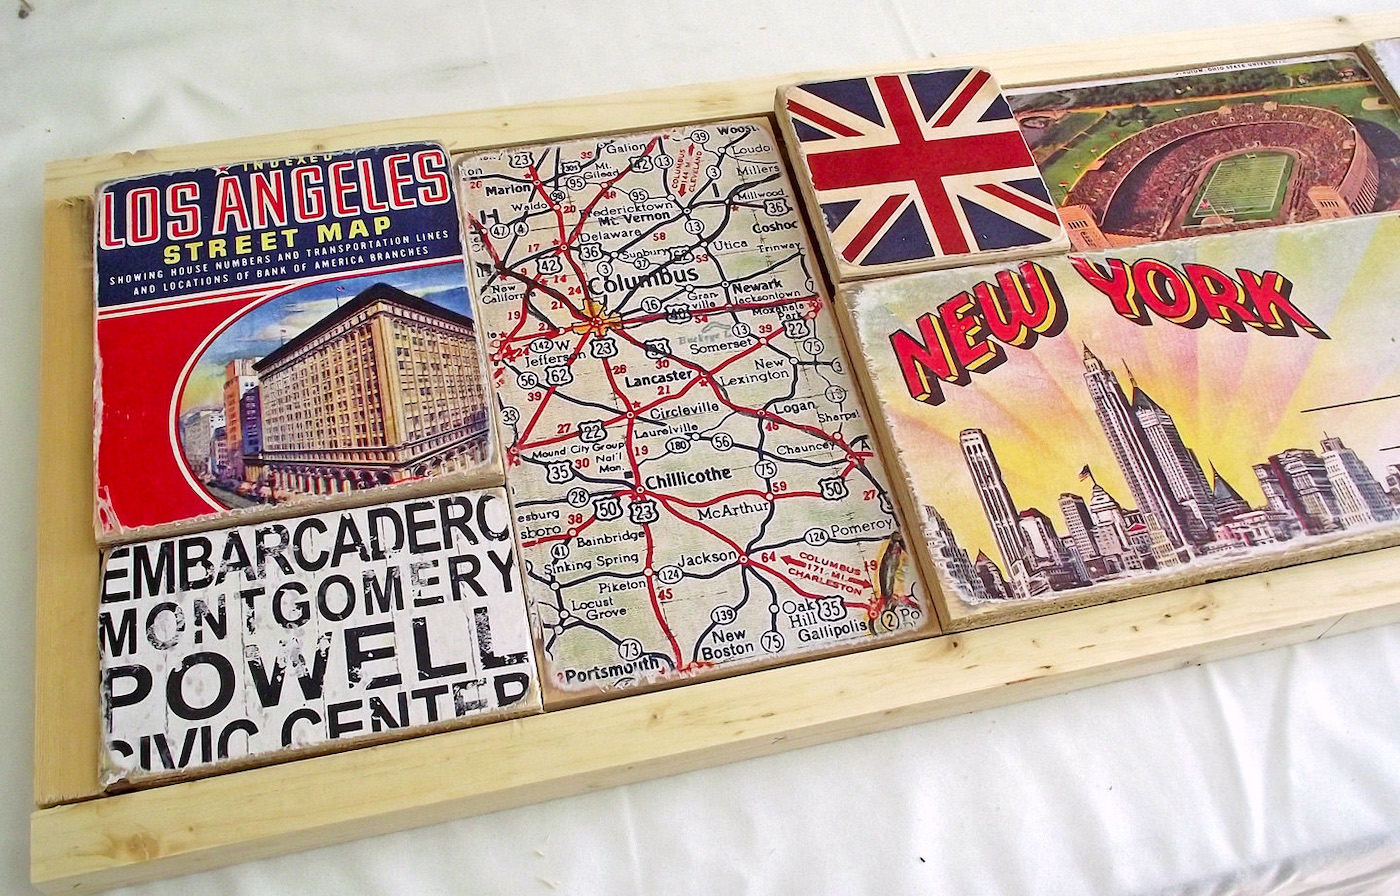
- Drill the pilot holes (these will prevent the dowel from splitting while screwing. Then attach the dowel pieces to the frame using the wood screws.
- Paint the frame with white paint and let dry before hanging or displaying.
Notes
- I used plywood because that’s what I had on hand. Anything sturdy would work for the graphics, even mat board or foam core.
- This might be cool to do for a child – to show their life. You could use photos, report cards, school projects/drawings, favorite book covers (all laser copies of course). It would also be very meaningful Father’s Day gift.
- I left the edges of my graphic panels unpainted. They might look nice painted black – just to emphasize the dimensionality a bit more.
- If you don’t want to deal with as much sawing of wood, you could design the pieces to overlap.
- Ideally you can print the graphics on a laserjet printer. But if you only have inkjet, print them out and spray both sides with a clear acrylic sealer or hairspray. Let dry overnight before decoupaging.
As with all my projects, once I finished this scrap wood art, I immediately thought of about ten other ways to do it differently. Honestly, that’s part of what makes working with scraps so fun in the first place!
Now check out these other fun projects:
Baseball Card Table • Baseball Wall Art • Breakfast in Bed Tray • Decorative Luminaries • Display Vintage Kitchen Utensils • DIY Coffee Bar Sign • DIY Lazy Susan • Dollar Tree Wall Art • Family Reunion Centerpiece • House Number Sign • Kitchen Cabinet Hardware • Magazine Collage • Map Canvas Art • Photo Vases• Photo Wall Collage • Rolling Pin Bookends • Watercolor Collage • Wood Candle Holders


This is a great idea, David!
Fabulous idea and I love that it can incorporate individual personal memories. Great! Can’t wait to give it a go. Just need to gather up some scrap pieces of wood…. maybe from my neighbour’s skip….?
Looks great!
This is a great idea, David!