Wood Scrap Art
Learn how to make scrap wood wall art the easy way! Commemorate with your favorite images.
Yield: 1 piece
Cost: $10
Equipment
- Table saw
- Sander
- Computer and printer
- Pen or pencil
Materials
- Wood backer board 26" x 10"
- Plywood random scraps
- Scrap pieces of wood for risers
- 4 1" square dowels 2 (28") and 2 (10")
- Graphics of your choice
- Wood screws
- Craft paint white
- Mod Podge
- Wood glue
Instructions
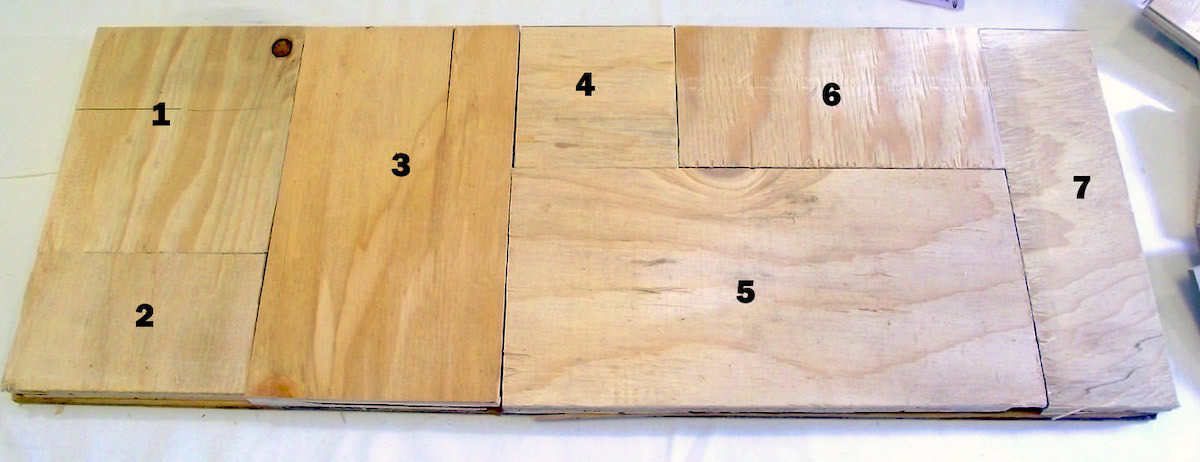
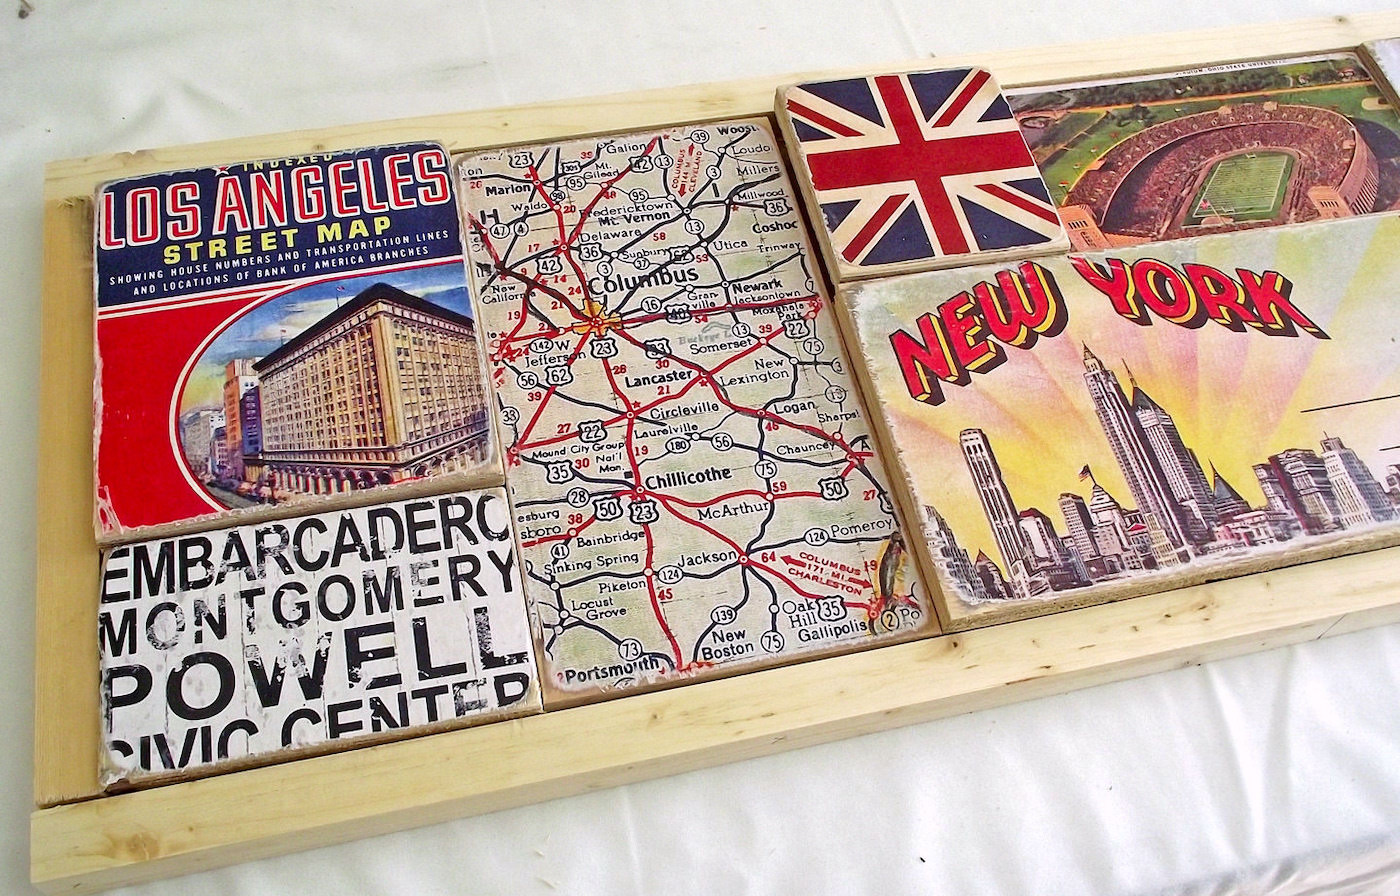
- Cut the backer board to size, as well as the scrap wood pieces to exactly fit the board. Arrange to make sure the pieces fit.
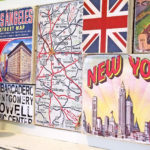
- Print out graphics to fit each piece of scrap wood. My graphics are just old postcards, maps and even a quick internet download of the poster from my favorite movie. Trim to fit.
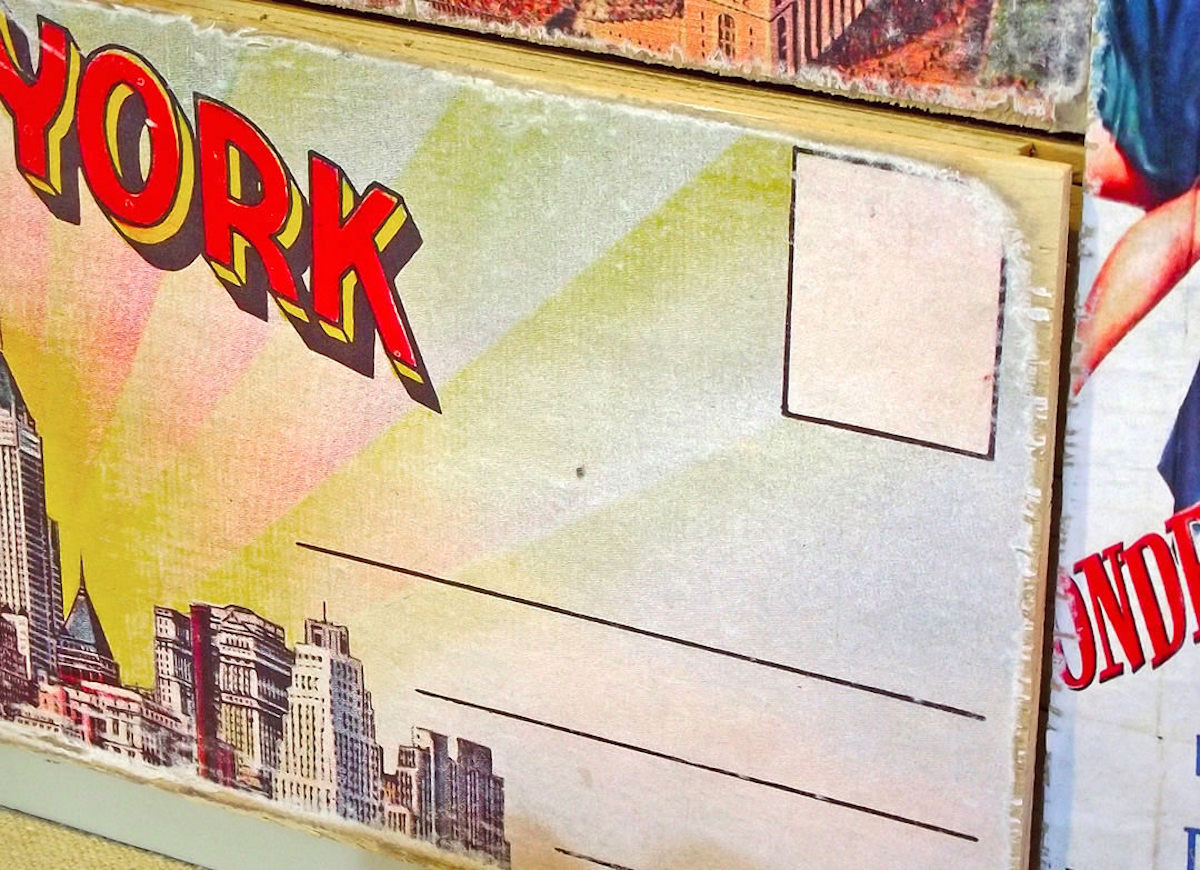
- Decoupage the graphics onto the wood blocks, one by one. Add Mod Podge to the wood, smooth down the paper on top, and let dry for 15 - 20 minutes. Then apply a top coat and let dry. Repeat and let dry completely.
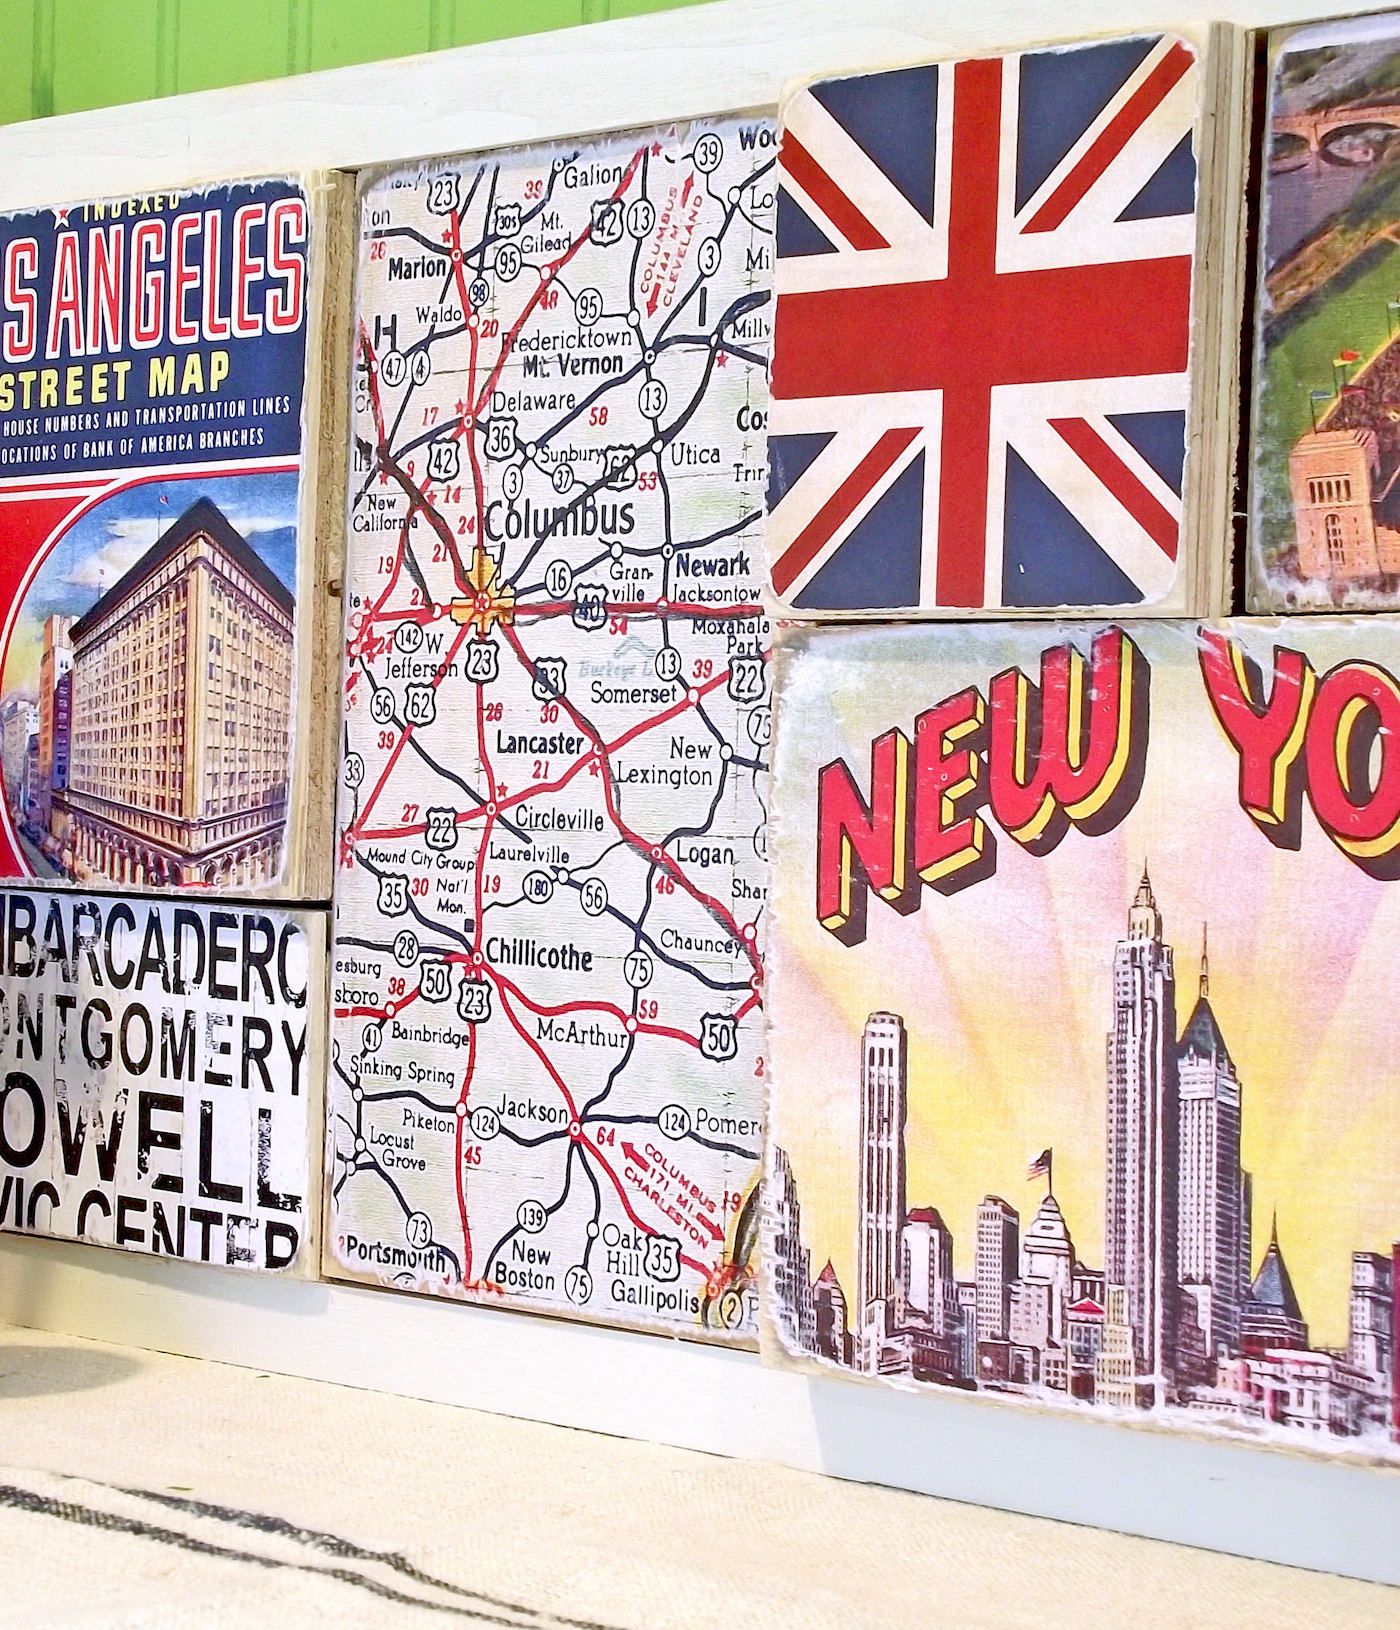
- Distress edges of the blocks with a sander, gently.
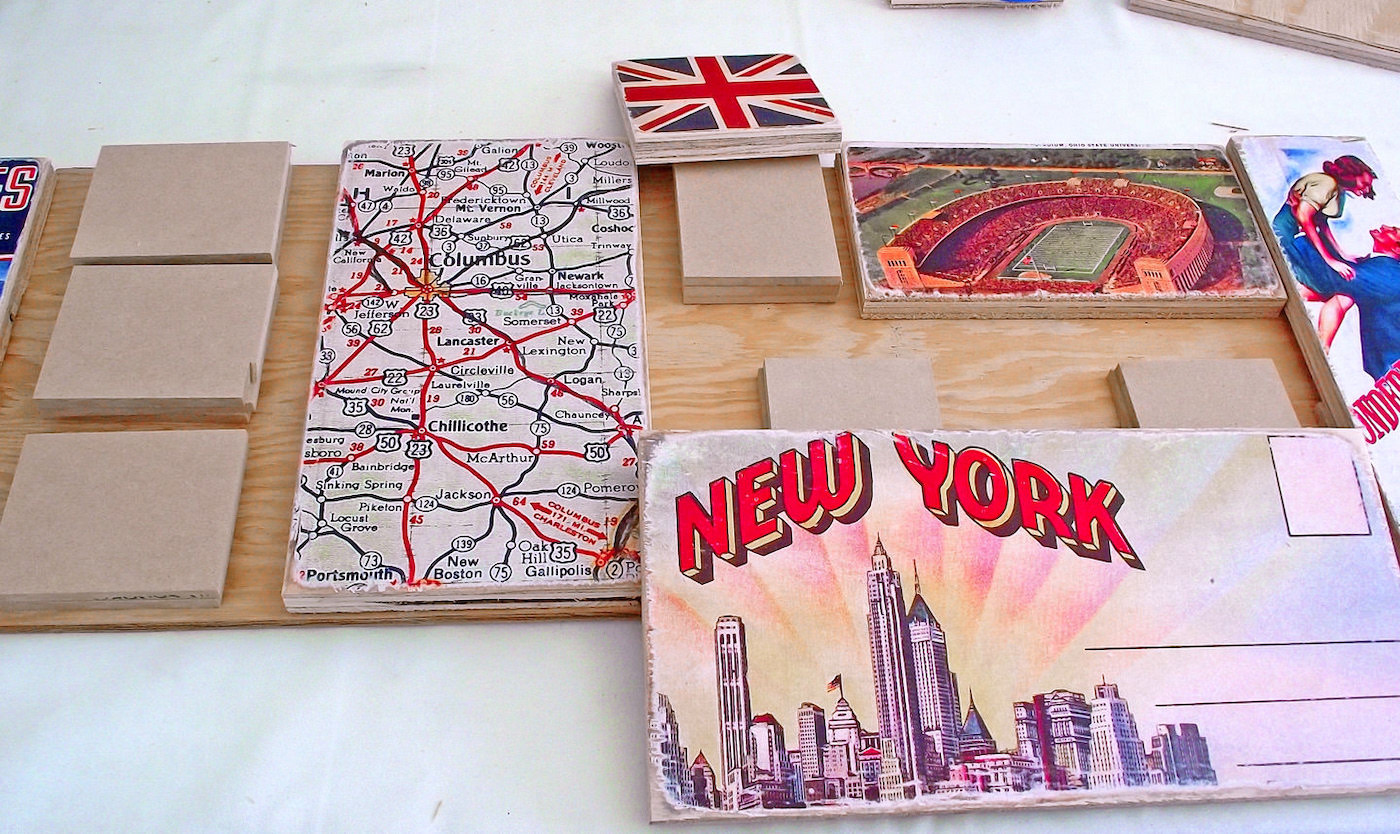
- Reassemble the design on the backer board. Leave flat or place wood pieces as risers under some pieces for interest.
- Use wood glue to attach all pieces, including the risers, to the backer. Let dry overnight.
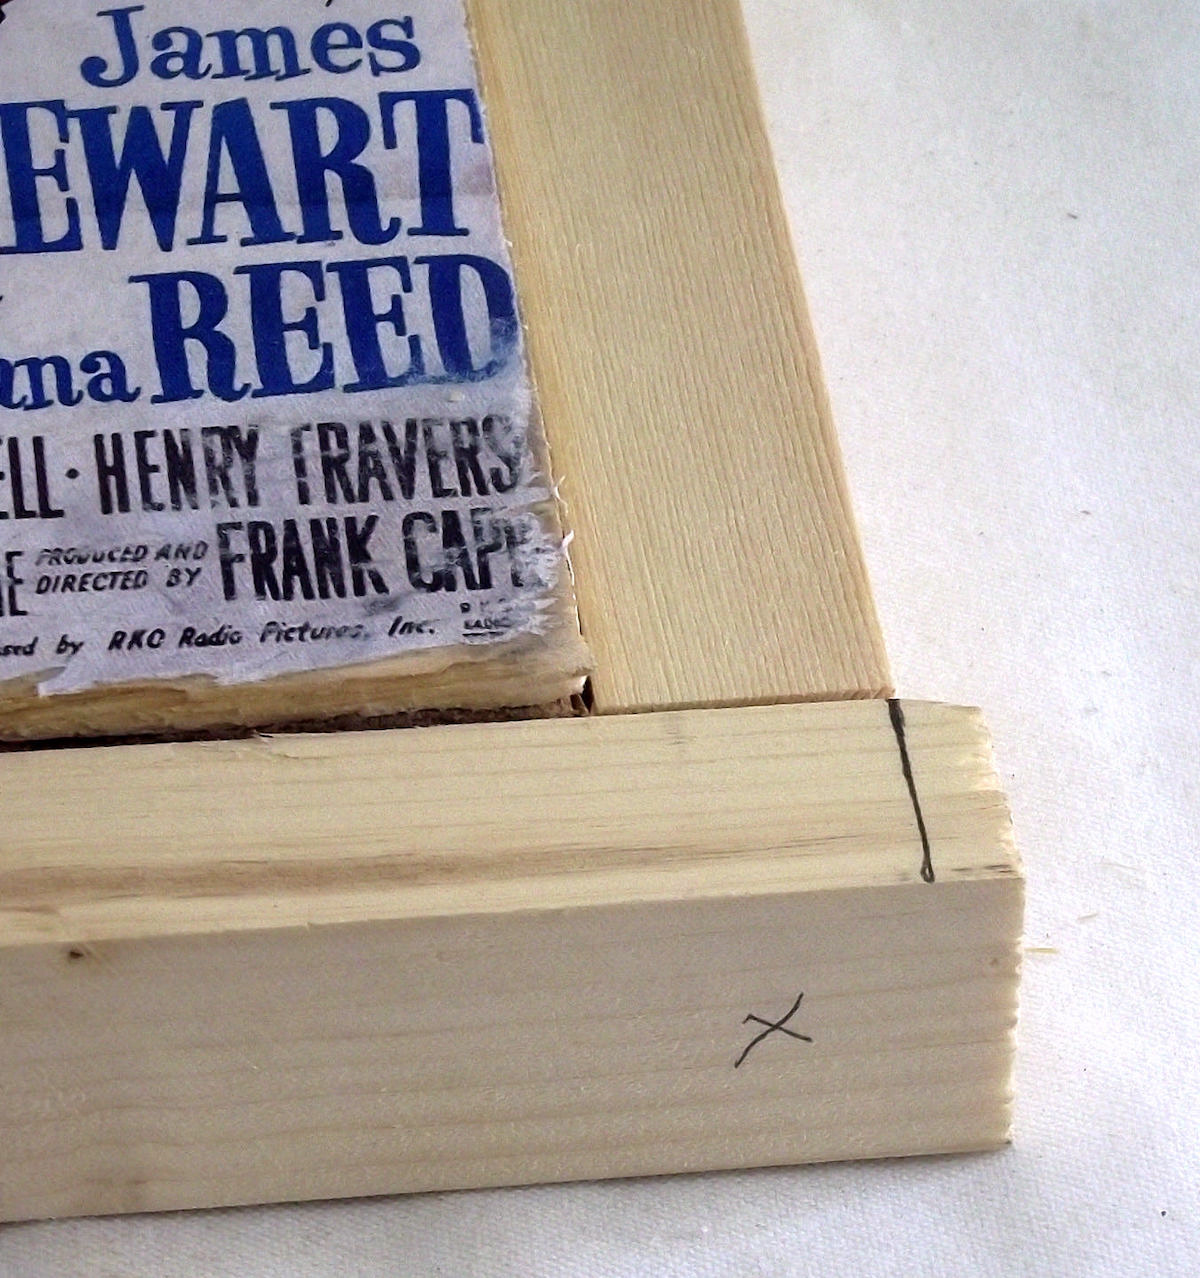
- For the frame, I decided that I wanted a basic, rustic look. You will create simple butt joints. Grab the square dowel rods and mark where the pilot holes should go at the end of each piece.
- Drill the pilot holes (these will prevent the dowel from splitting while screwing. Then attach the dowel pieces to the frame using the wood screws.
- Paint the frame with white paint and let dry before hanging or displaying.
Notes
As with all my projects, once it's done I think of a million different options.
- I used plywood because that's what I had on hand. Anything sturdy would work for the graphics, even mat board or foam core.
- This might be cool to do for a child - to show their life. You could use photos, report cards, school projects/drawings, favorite book covers (all laser copies of course). It would also be very meaningful Father's Day gift.
- I left the edges of my graphic panels unpainted. They might look nice painted black - just to emphasize the dimensionality a bit more.
- If you don't want to deal with as much sawing of wood, you could design the pieces to overlap.
- Ideally you can print the graphics on a laserjet printer. But if you only have inkjet, print them out and spray both sides with a clear acrylic sealer or hairspray. Let dry overnight before decoupaging.