
This is one of the easiest gifts you’ll ever make! This jar includes handmade fridge magnets that take minutes to make. Simple and cute!
Skills Required: None. You don’t need any prior crafting skills to complete this project; that’s how easy it is. Even newbies with Mod Podge will have success.
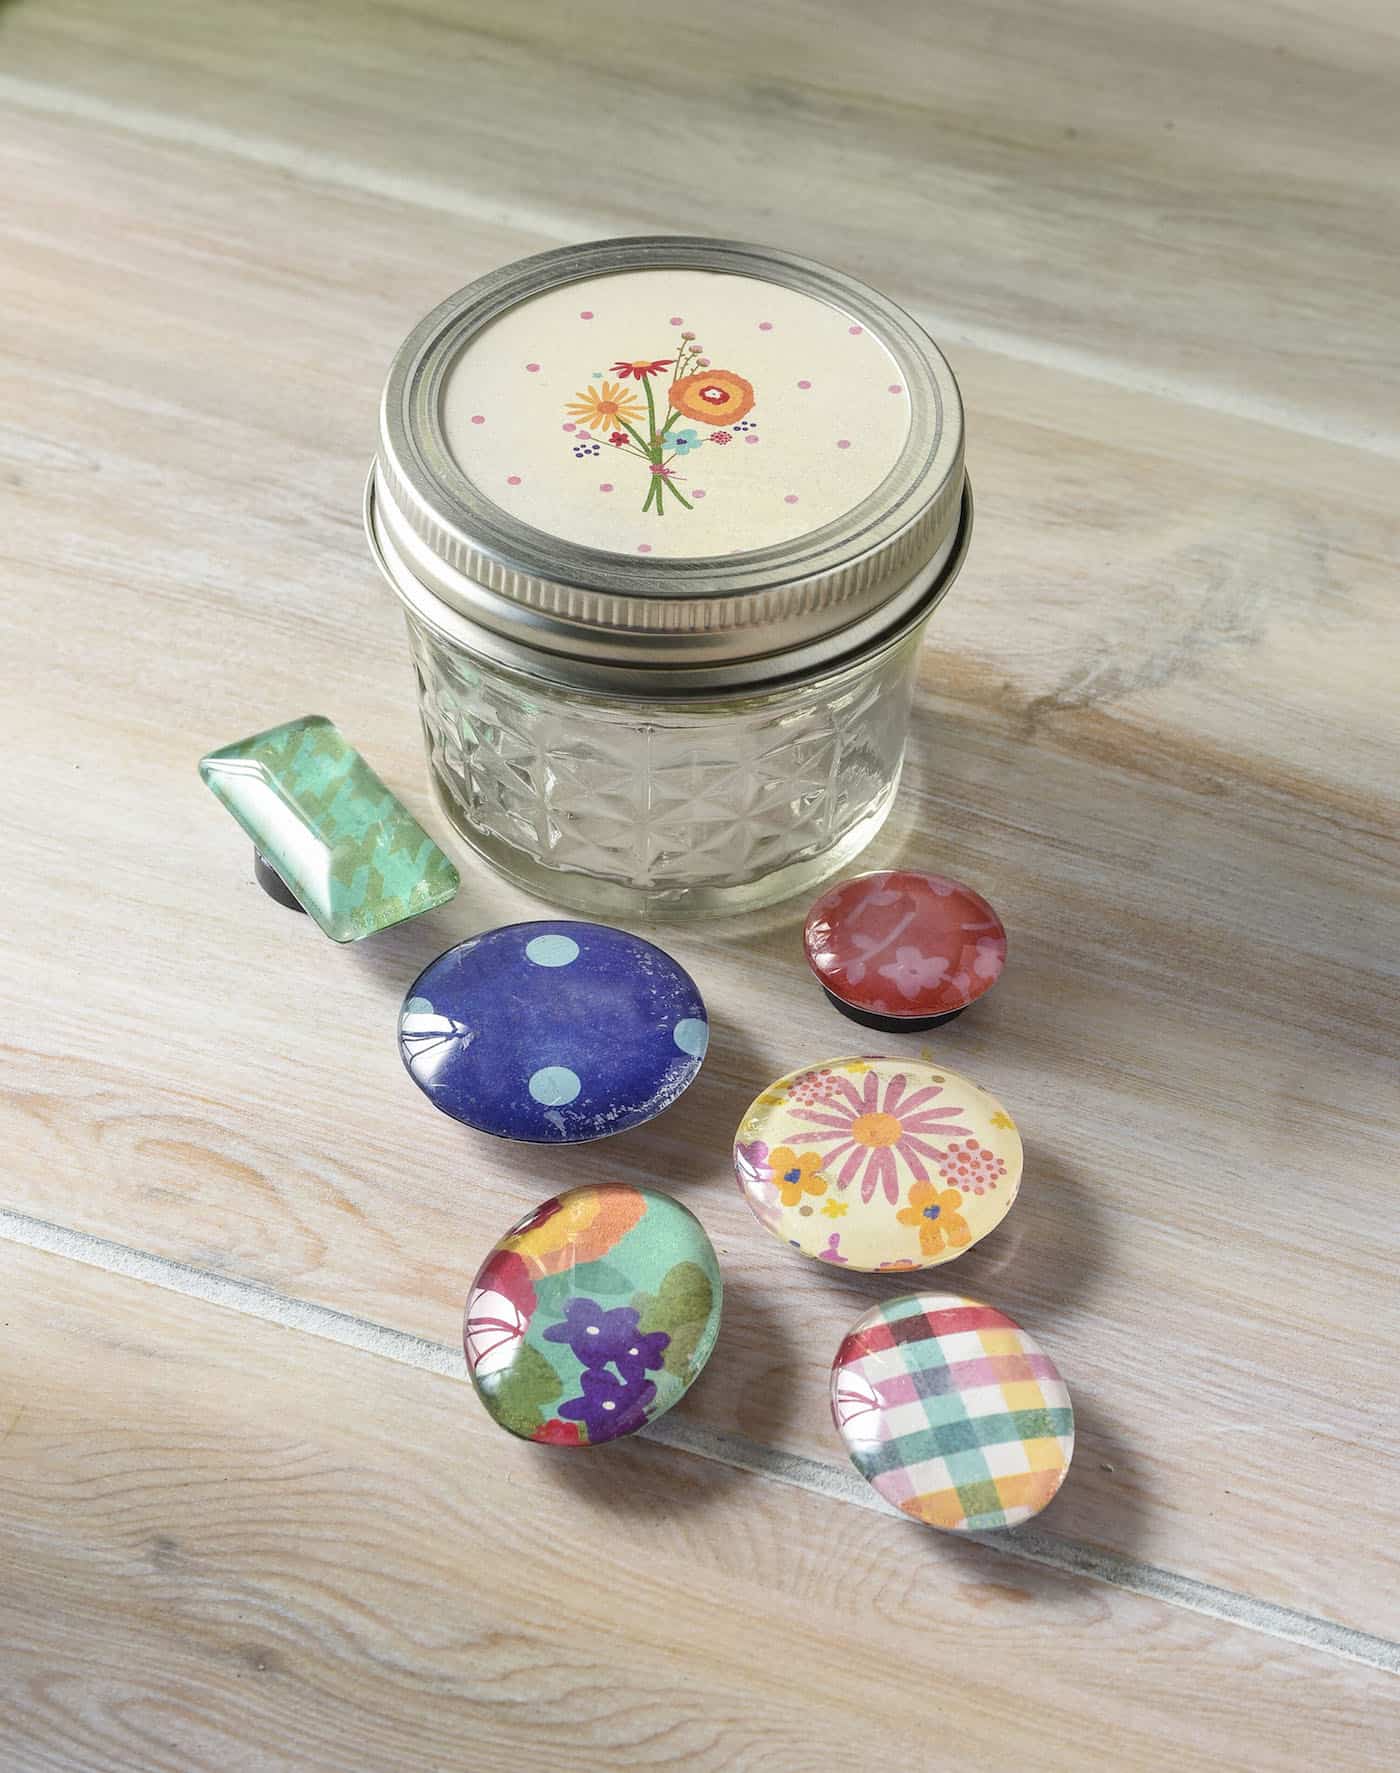
Are you looking for a quick hostess or teacher appreciation gift idea? I’m all about handmade gifts for those situations! If you are too, I have something REALLY easy, quick, and budget friendly for you. DIY magnets in a mason jar!
When I tell you this fridge magnet project is cheap and super simple, I’m not even joking. But the best part is that it’s not cheap looking. In fact, I think it looks great, don’t you?
You can obviously customize with the papers of your choice, just for the recipient. Here’s how you do it.
Gather These Supplies
- Glass cabochons/domes
- Mod Podge Gloss
- Small mason jar – 4 oz.
- Paper scraps in six patterns – and a piece for the mason jar lid
- Craft magnets – 6
- Scissors
- Pencil
- Craft glue
- Paintbrush
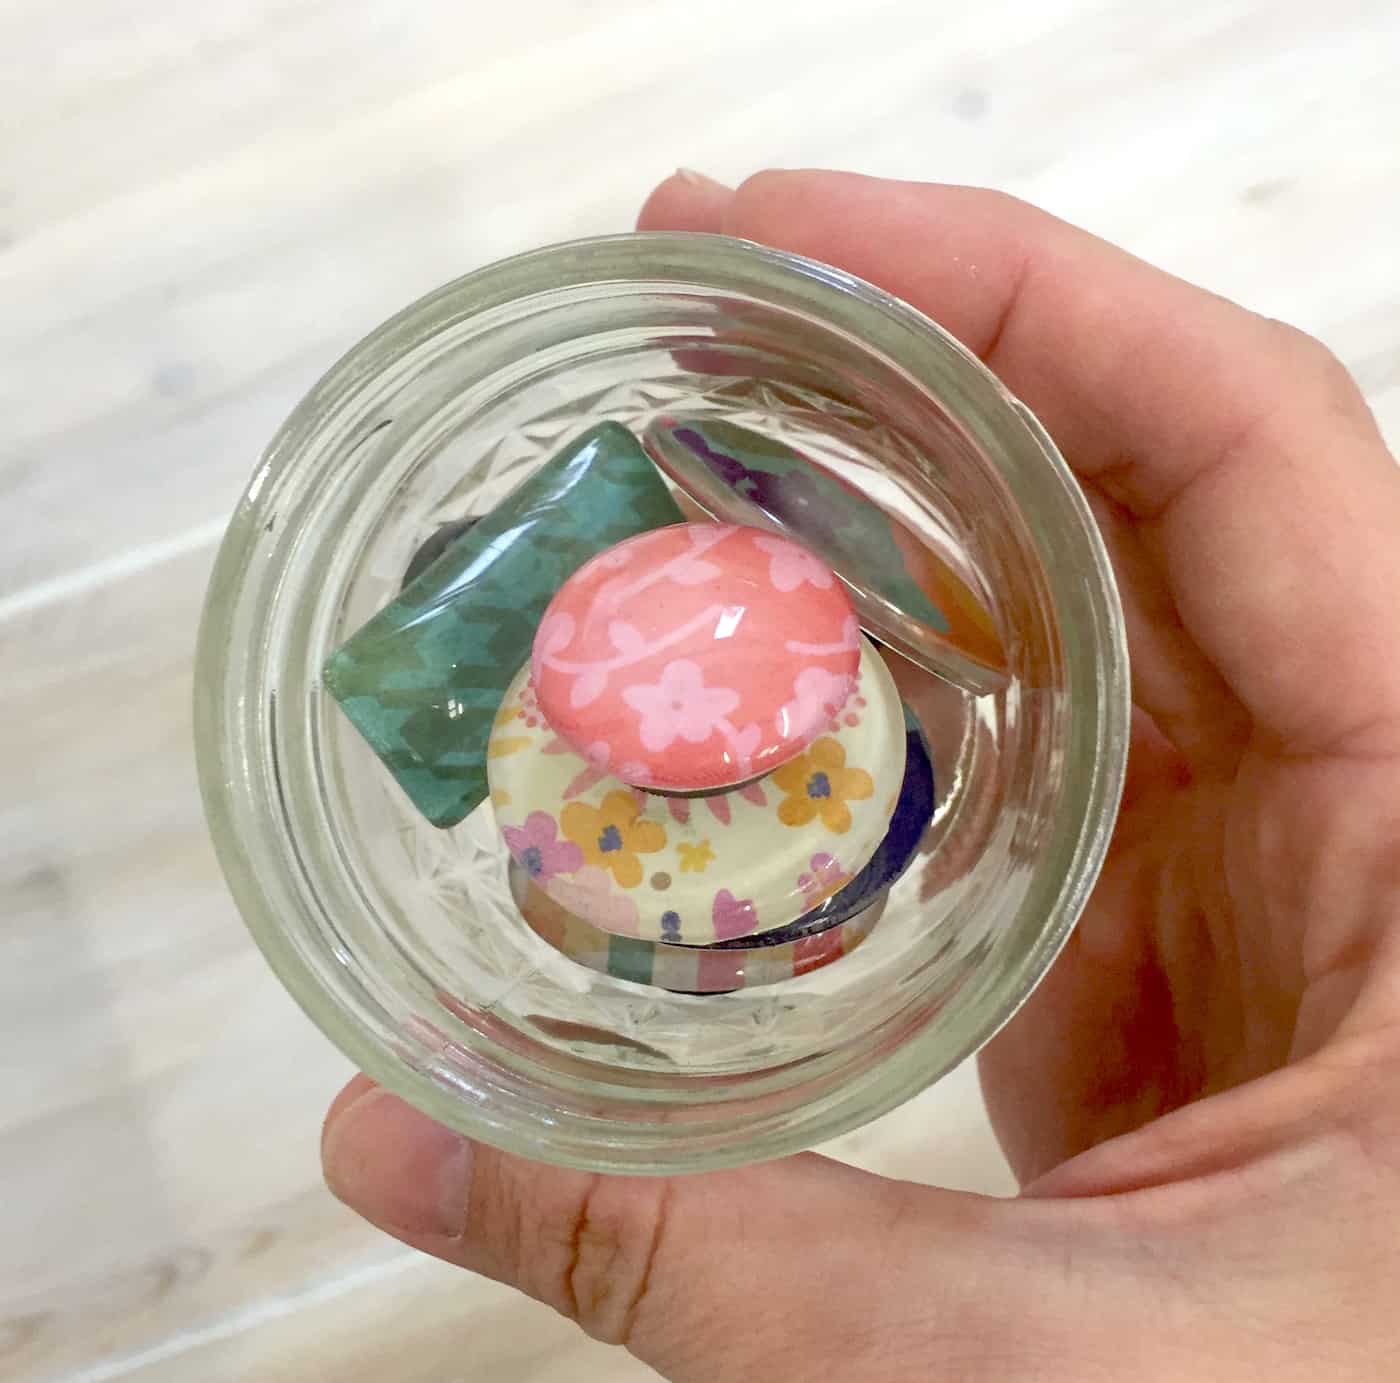
Do you know any hostesses that needs some cute gifts at the holiday season? I do . . . and they’ll be receiving these!
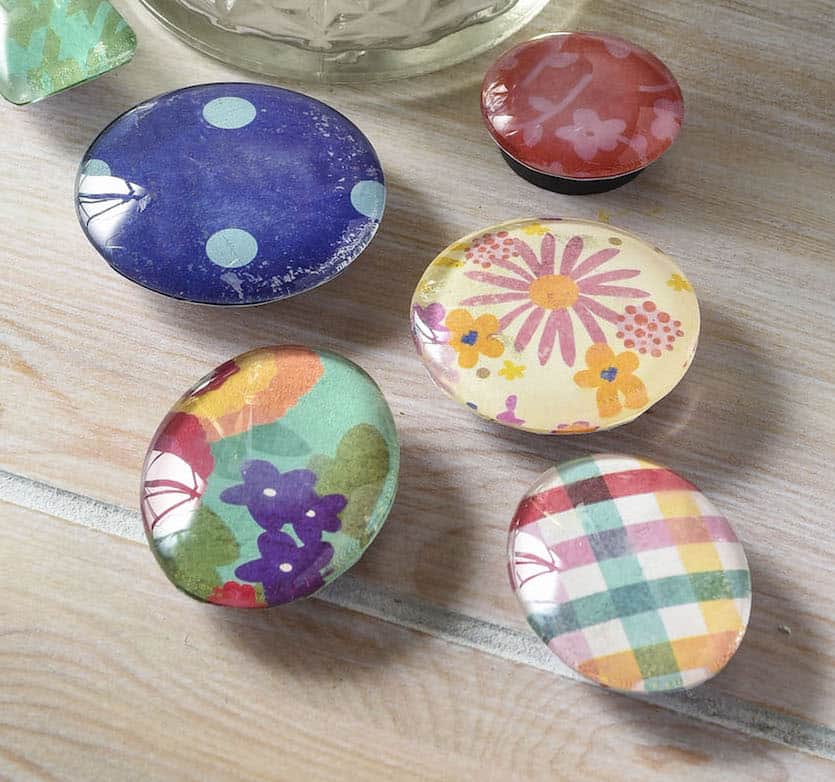
Aren’t these magnets so fun? I absolutely love them! Get the printable how to card below:

Handmade Fridge Magnets
Equipment
Materials
- Glass domes
- Mod Podge Gloss
- Mason jar(s) 4 oz. (small and quilted!)
- Paper scraps in six patterns
- 6 Craft magnets
- Pencil
- Craft glue
Instructions
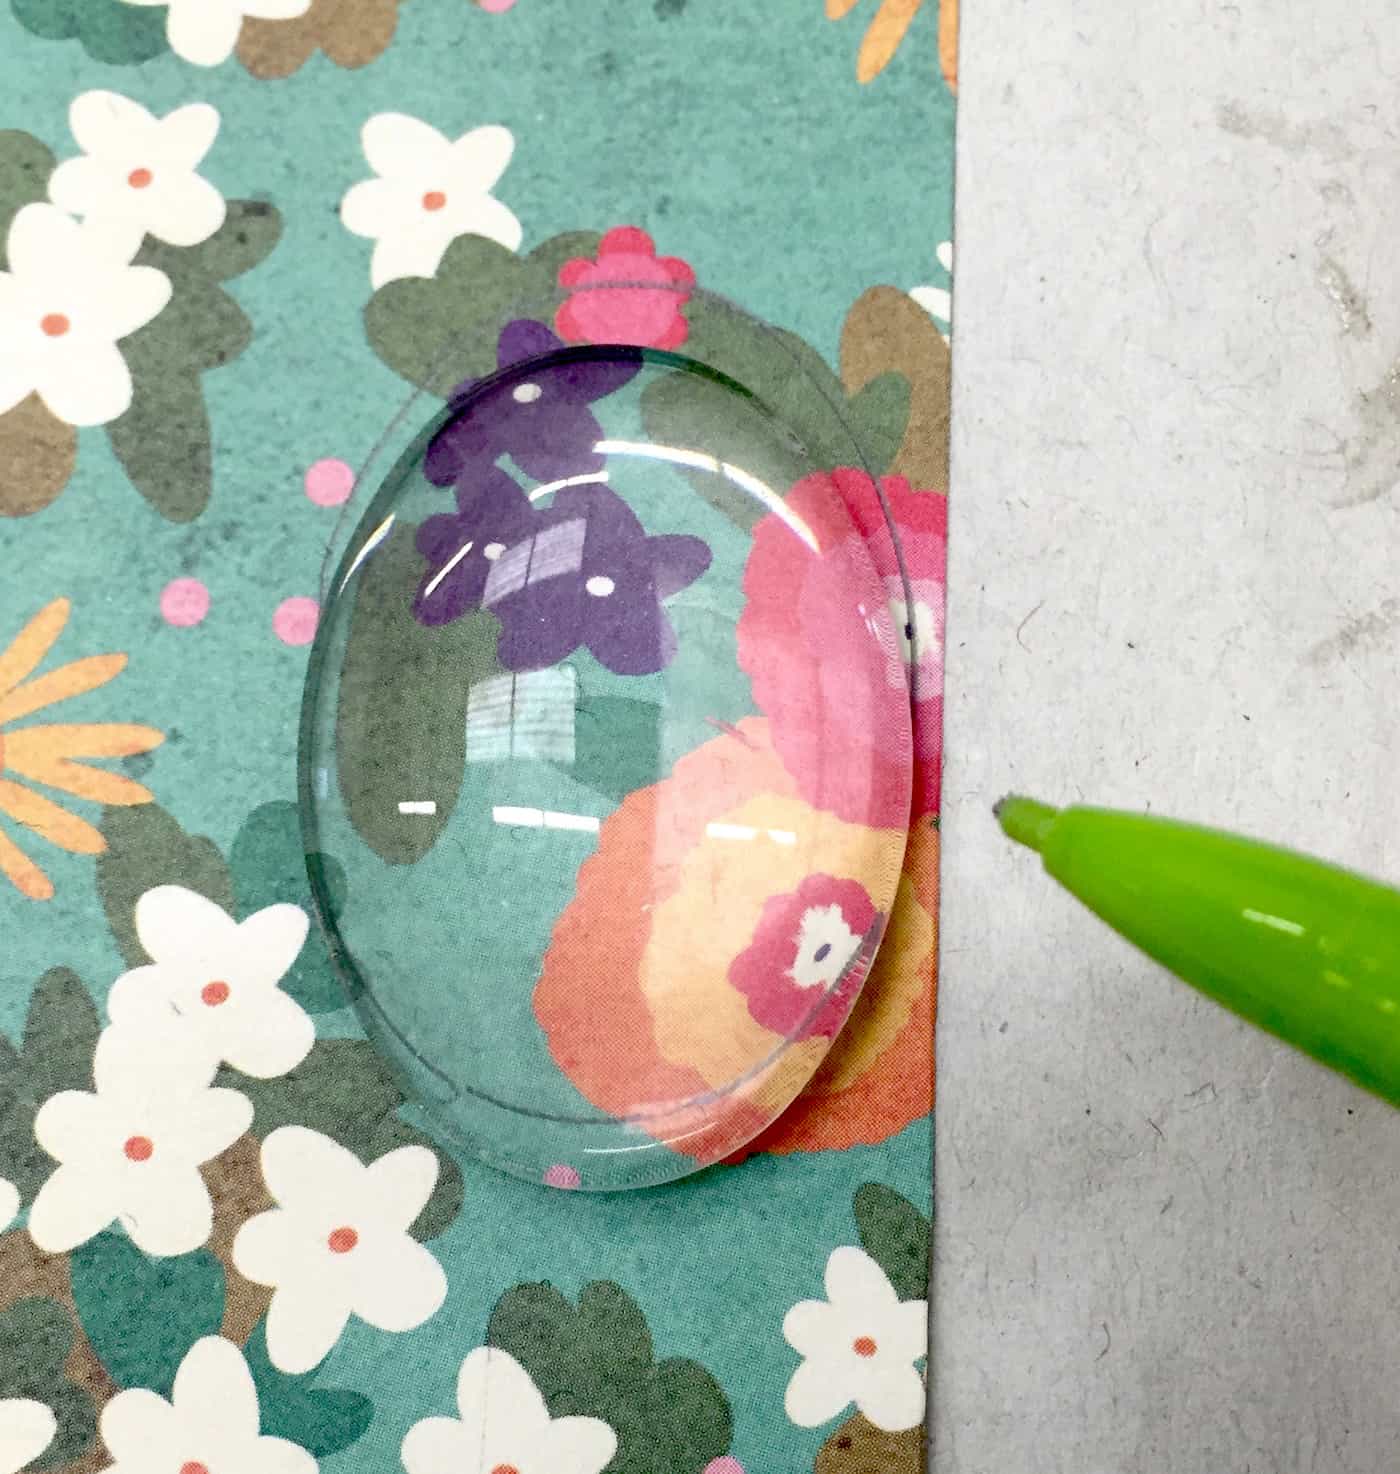
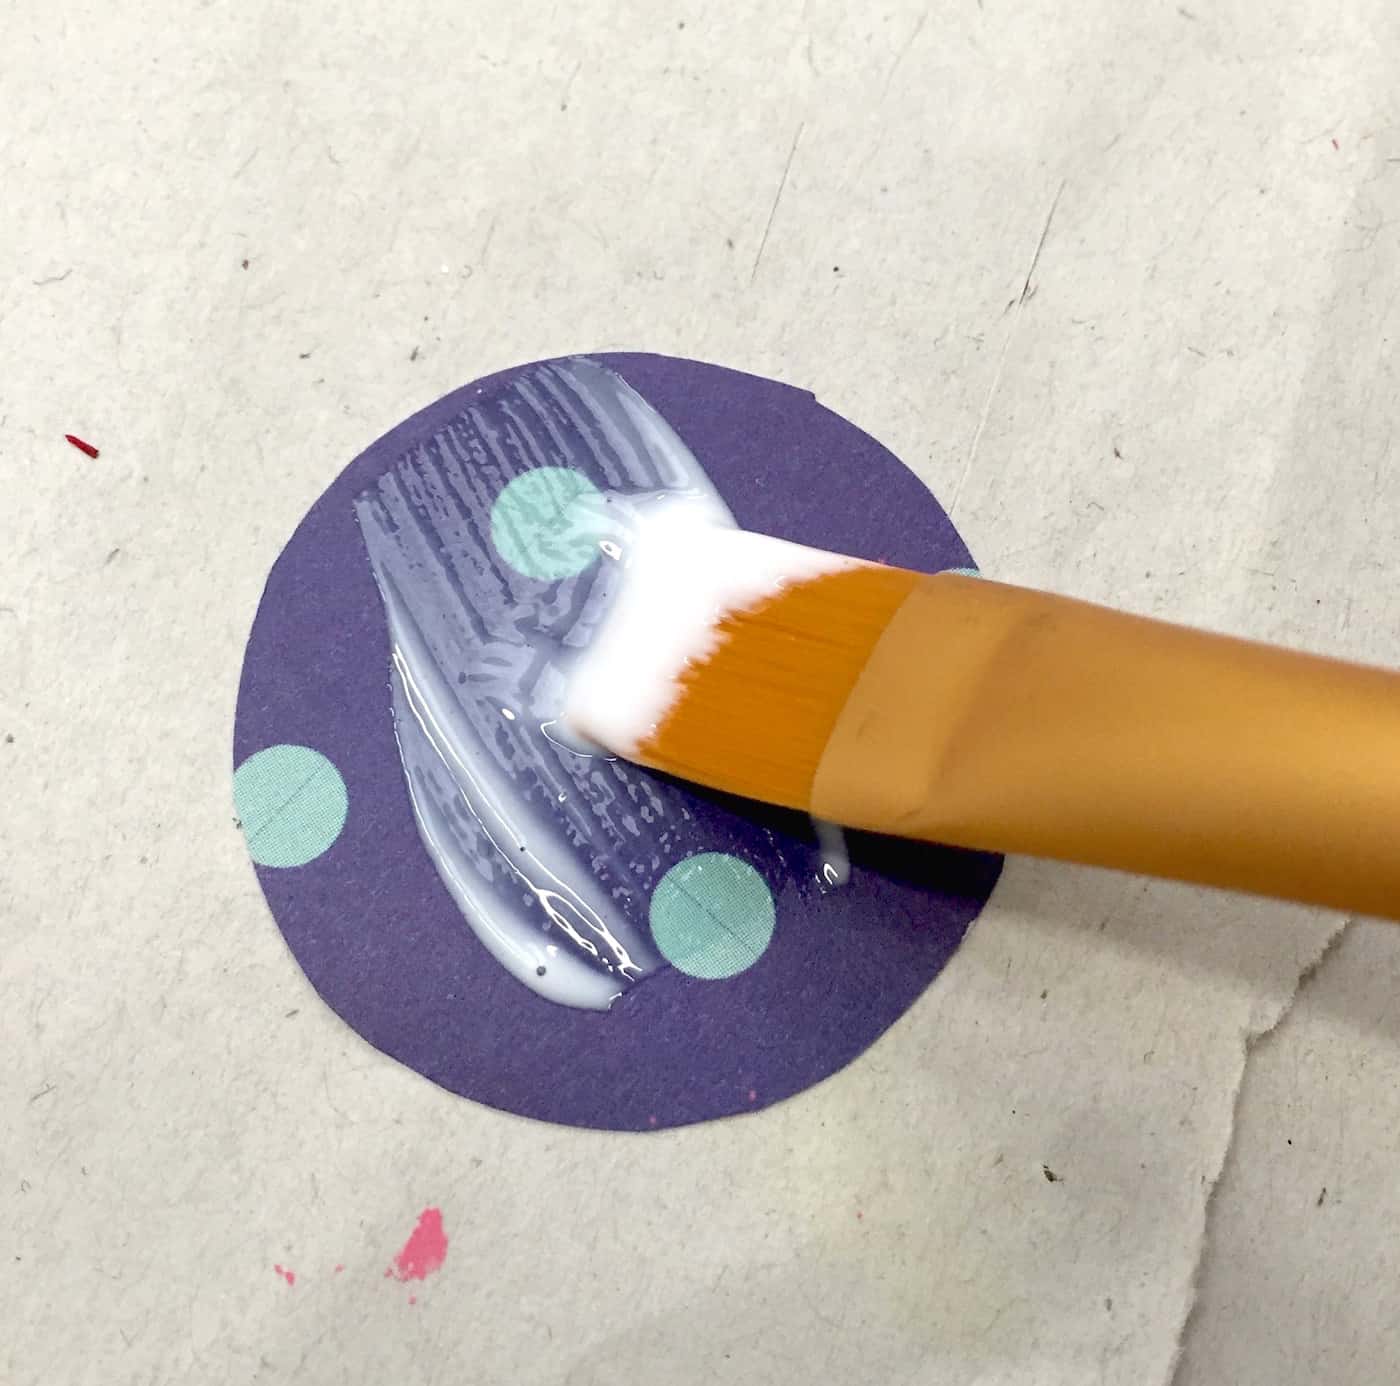
- Place the domes on scrap pieces of paper and trace with a pencil.
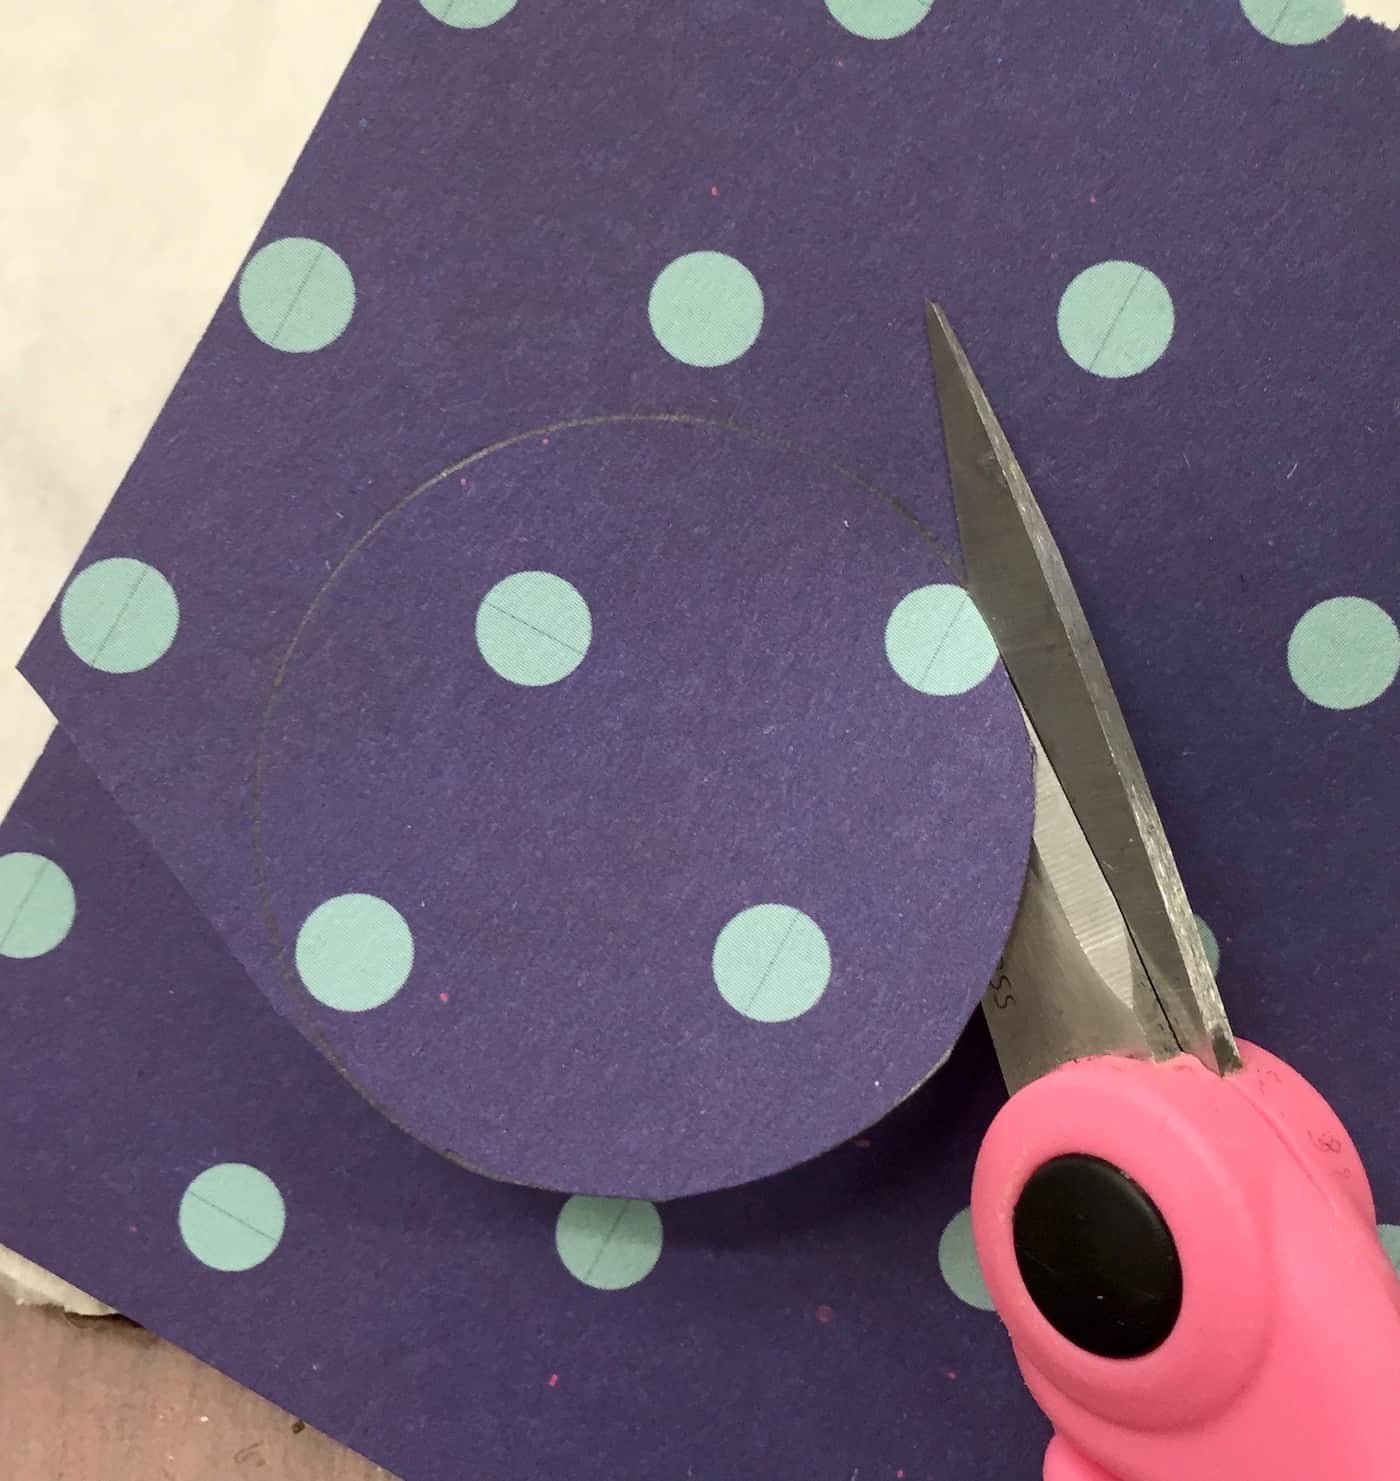
- Cut the paper out just inside the lines using scissors.
- Place a medium layer of Mod Podge on the top of the scrapbook paper, then place the dome down and press/smooth. If Mod Podge comes out the sides, wipe it away with your brush.
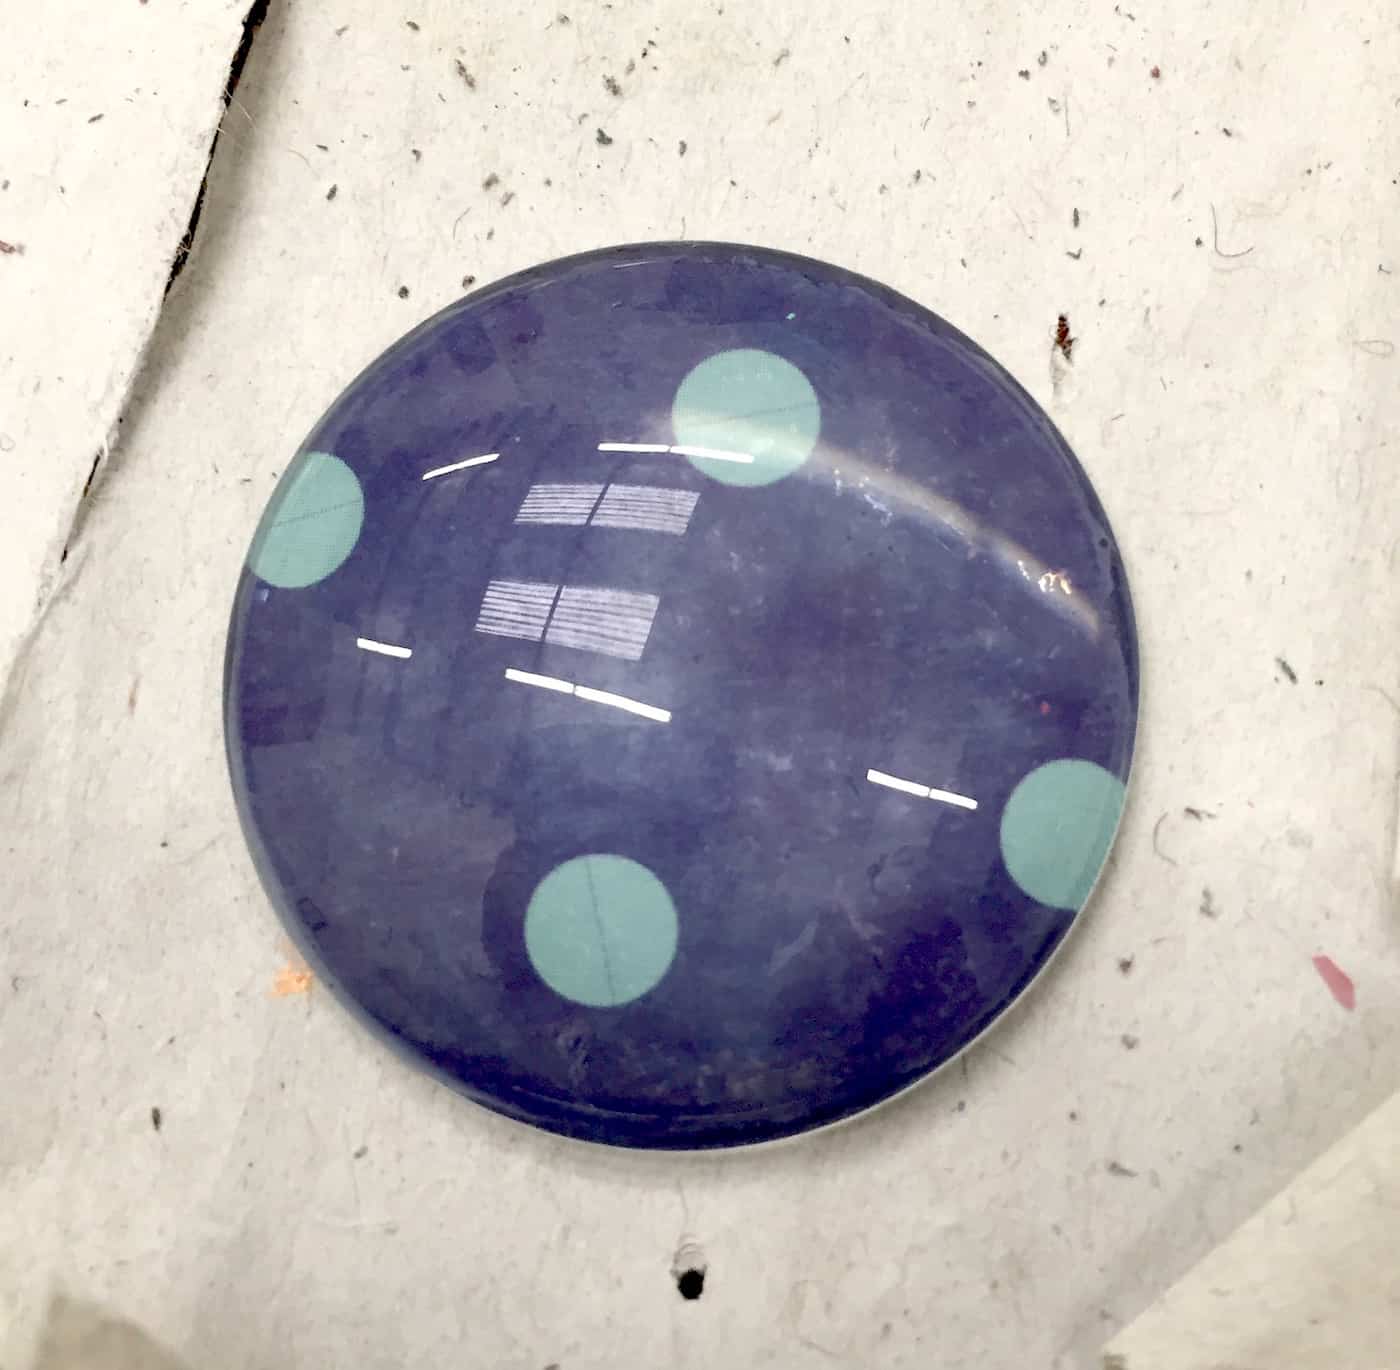
- Repeat with all of your glass cabochons and let the paper dry for a few hours.
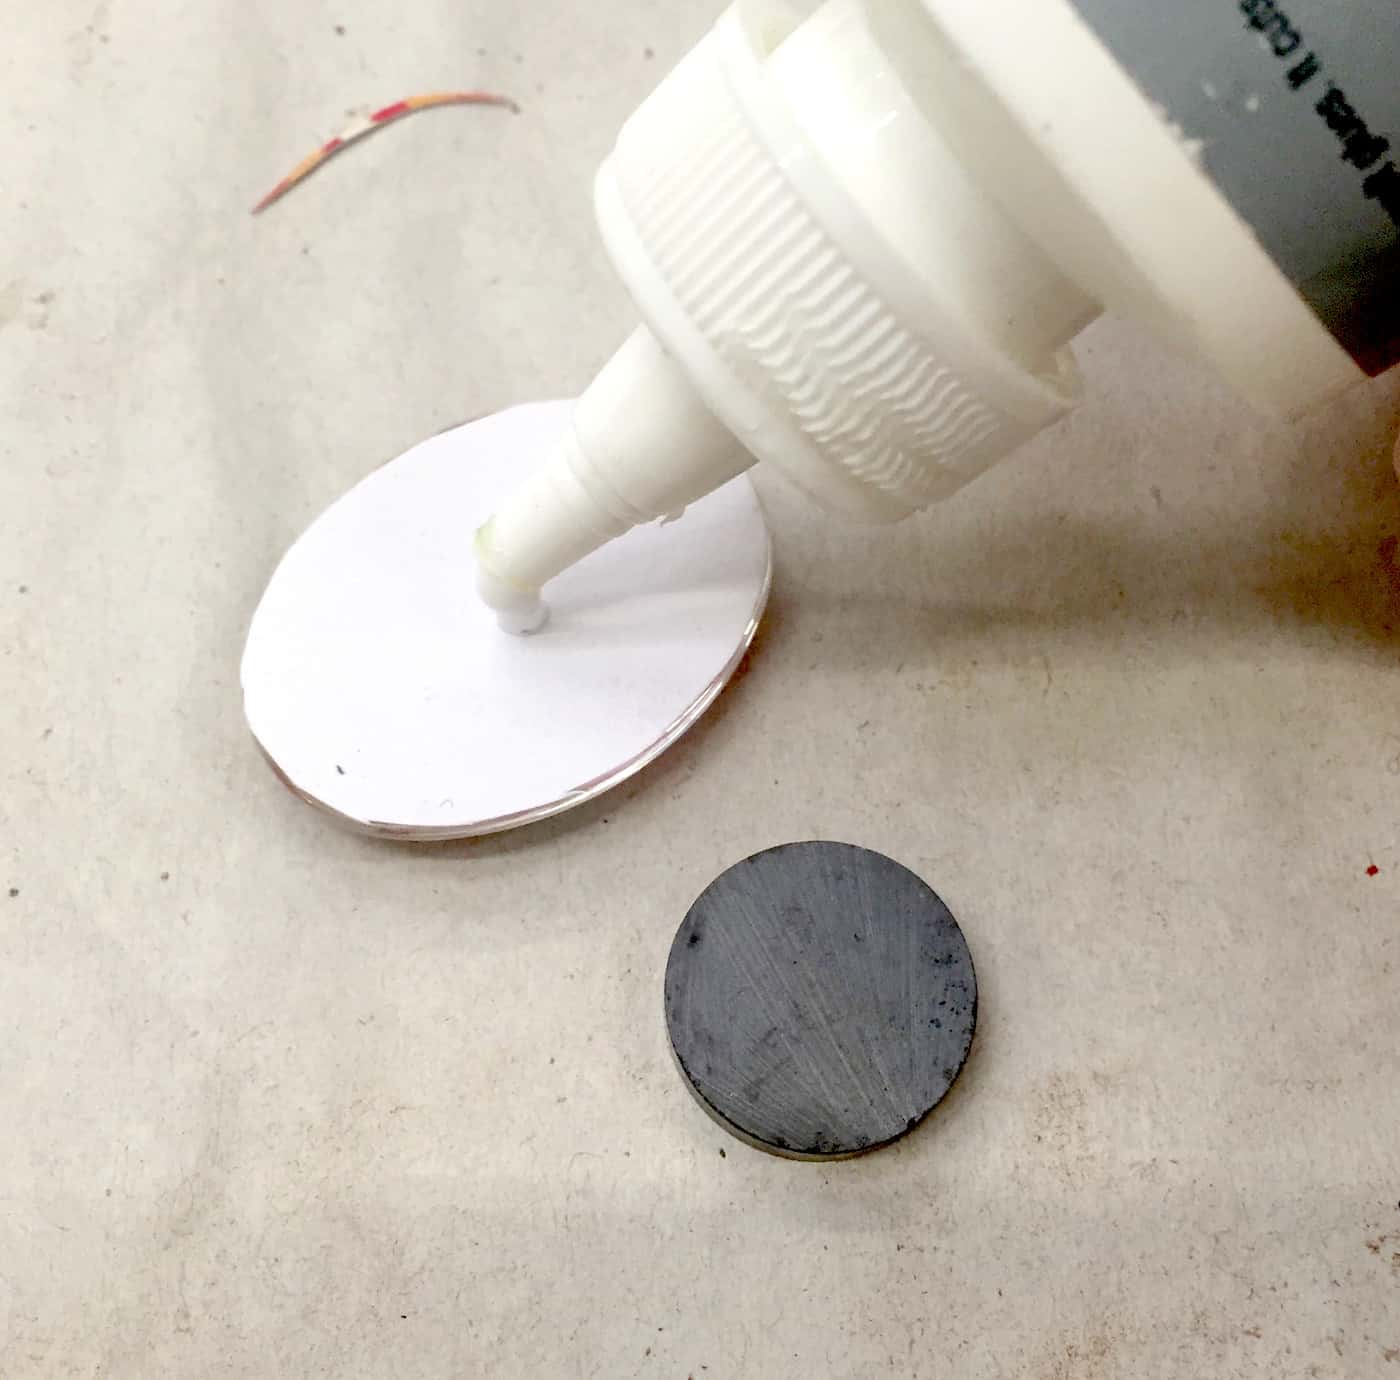
- Glue one magnet to the back of each one. Let dry.
- Trace the mason jar lid on scrapbook paper. Cut out the insert and place inside the lid.
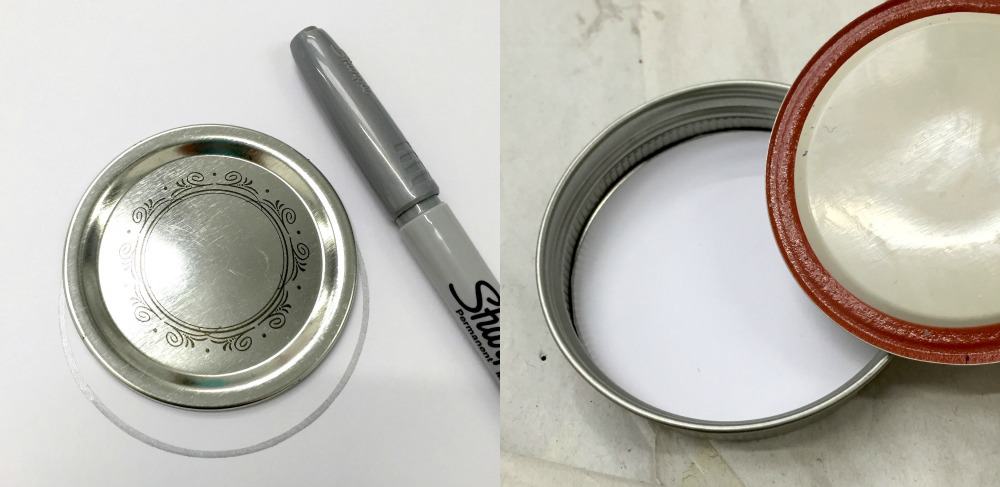
- Place the magnets in the jar and screw on the top to gift.
If you enjoyed this project, let me know in the comments! I’d also love for you to check out these other posts:
Clothespin Dragonflies • Clothespin Magnets • Decorate a Memory Box • Decoupage Napkins on Canvas • DIY Bow Holder • DIY Cork Boards • DIY Pressed Flowers • DIY Recipe Holder • DIY Tile Coasters • Dried Flowers on Glass • Dried Flowers in Resin • Fabric Covered Books • Ice Cream Stick Wall Hanging • Rainbow Magnets


Hola ❤️ gracias sois un encanto ,todo es muy creativo y bello !🌹
How do you keep the dark magnets from showing through the scrapbook paper? I can see the magnet through the glass after everything is dry. Do you think it would help to paint the glued side of the magnet white before attaching it? Or is there something easier that would work?
So my paper was thick enough that you couldn’t see through it. Having said that, Mod Podge the paper down and let dry. THEN paint the scrapbook paper backside with white. And the glue down side of the magnet. Then glue them together. You shouldn’t have any problems then!
Hello! These are cute! But if they fall, doesn’t the glass break? Are there any plastic equivalents that you could recommend?
Hi Rachel! They are pretty tough glass kind of like marbles. However, if one hit tile really hard I could see it cracking. If you want to try something else, take a peek at “clear acrylic shapes” both on Amazon and Etsy. You can Mod Podge pics, etc. to the back of those shapes and then add a magnet!
Adorable!
How beautiful, Great step by step idea 🙂 Thanks for sharing!